_GOTOBOTTOM
Ships by Class/Type: Cruisers
Topics covering cruisers both past and present.
The italian job - heavy cruiser ZARA 1:350
Black_sheep
Visit this Community
Bayern, Germany
Joined: December 11, 2009
KitMaker: 823 posts
Model Shipwrights: 551 posts
Posted: Wednesday, March 27, 2019 - 09:00 AM UTC
Ciao a tutti!

Until now since I started to model surface ships I finished five ships; the heaviest was the Dingyuan battleship with 7.144 ts. displacement.
Now I feel fit for something slightly more complicated and bigger than the kits before but, as I seem to have a soft spot for, I want to stay this time with a cruiser again:

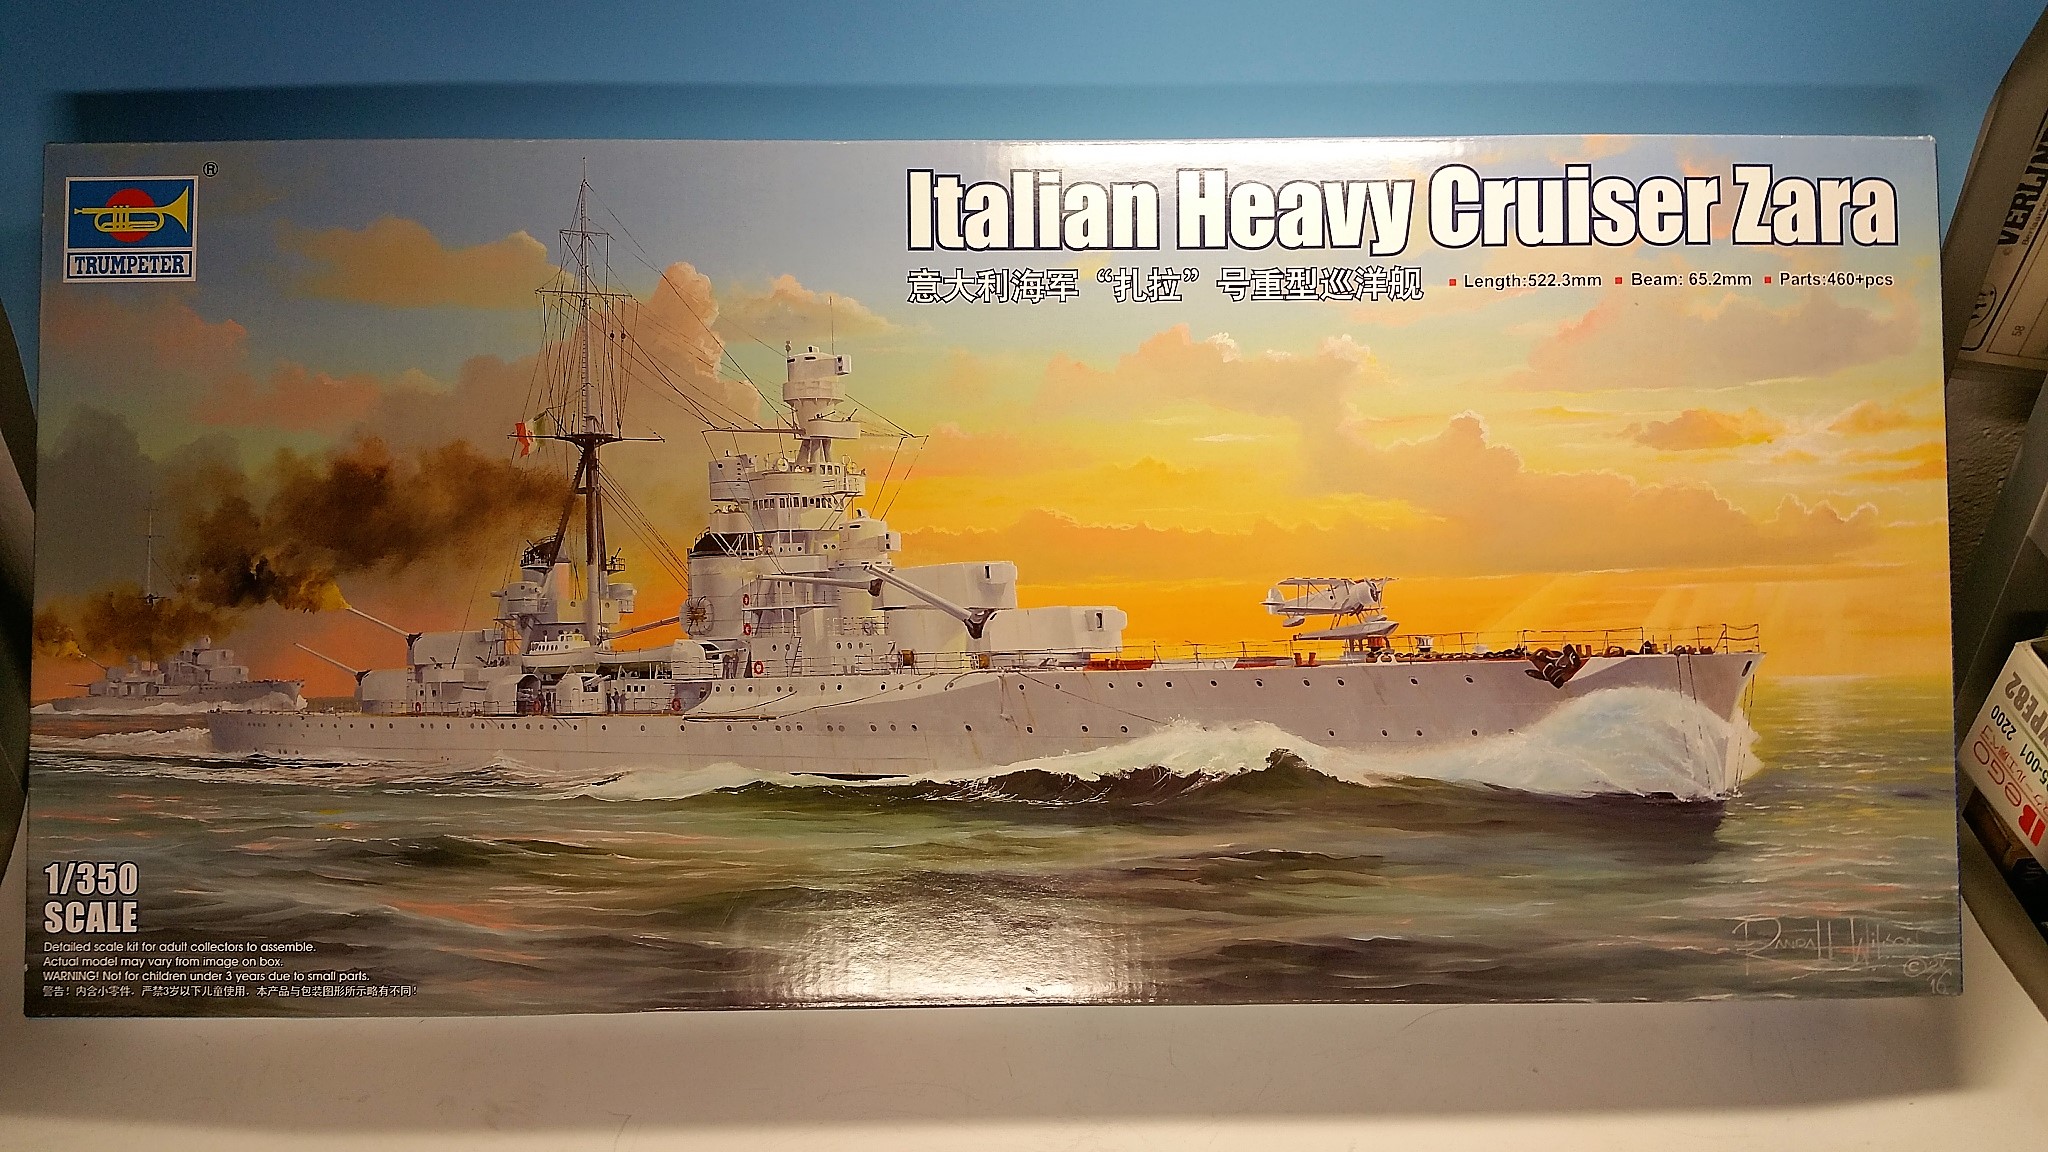
I decided my next build will be the italian heavy cruiser ZARA in scale 1:350. The ship itself with its 14.300 ts displacement looks elegant to me and was good armed for its class, took part in Italy´s occupation of Albania and was involved in diverse convoy hunting actions. It´s motto was "tenacemente" which means "tenacously".
The ship finally met its fate when it, together with five other ships ran unawarely into three british battleships off the Greek coast. The british opened fire at, for their big BB guns, point blank range and shot the Italian ships into pieces within just 3 minutes without noteworthy opposition. The british ships had radar but the italians not, having their guns still in resting positions as they were completely unaware who was approaching...

This is Trumpeters 1:350 scale kit of this specific ship. Very nicely done as far as I can say now

There were already extra turned barrels and a wooden deck for this ship in the kit I got from the seller from Ebay
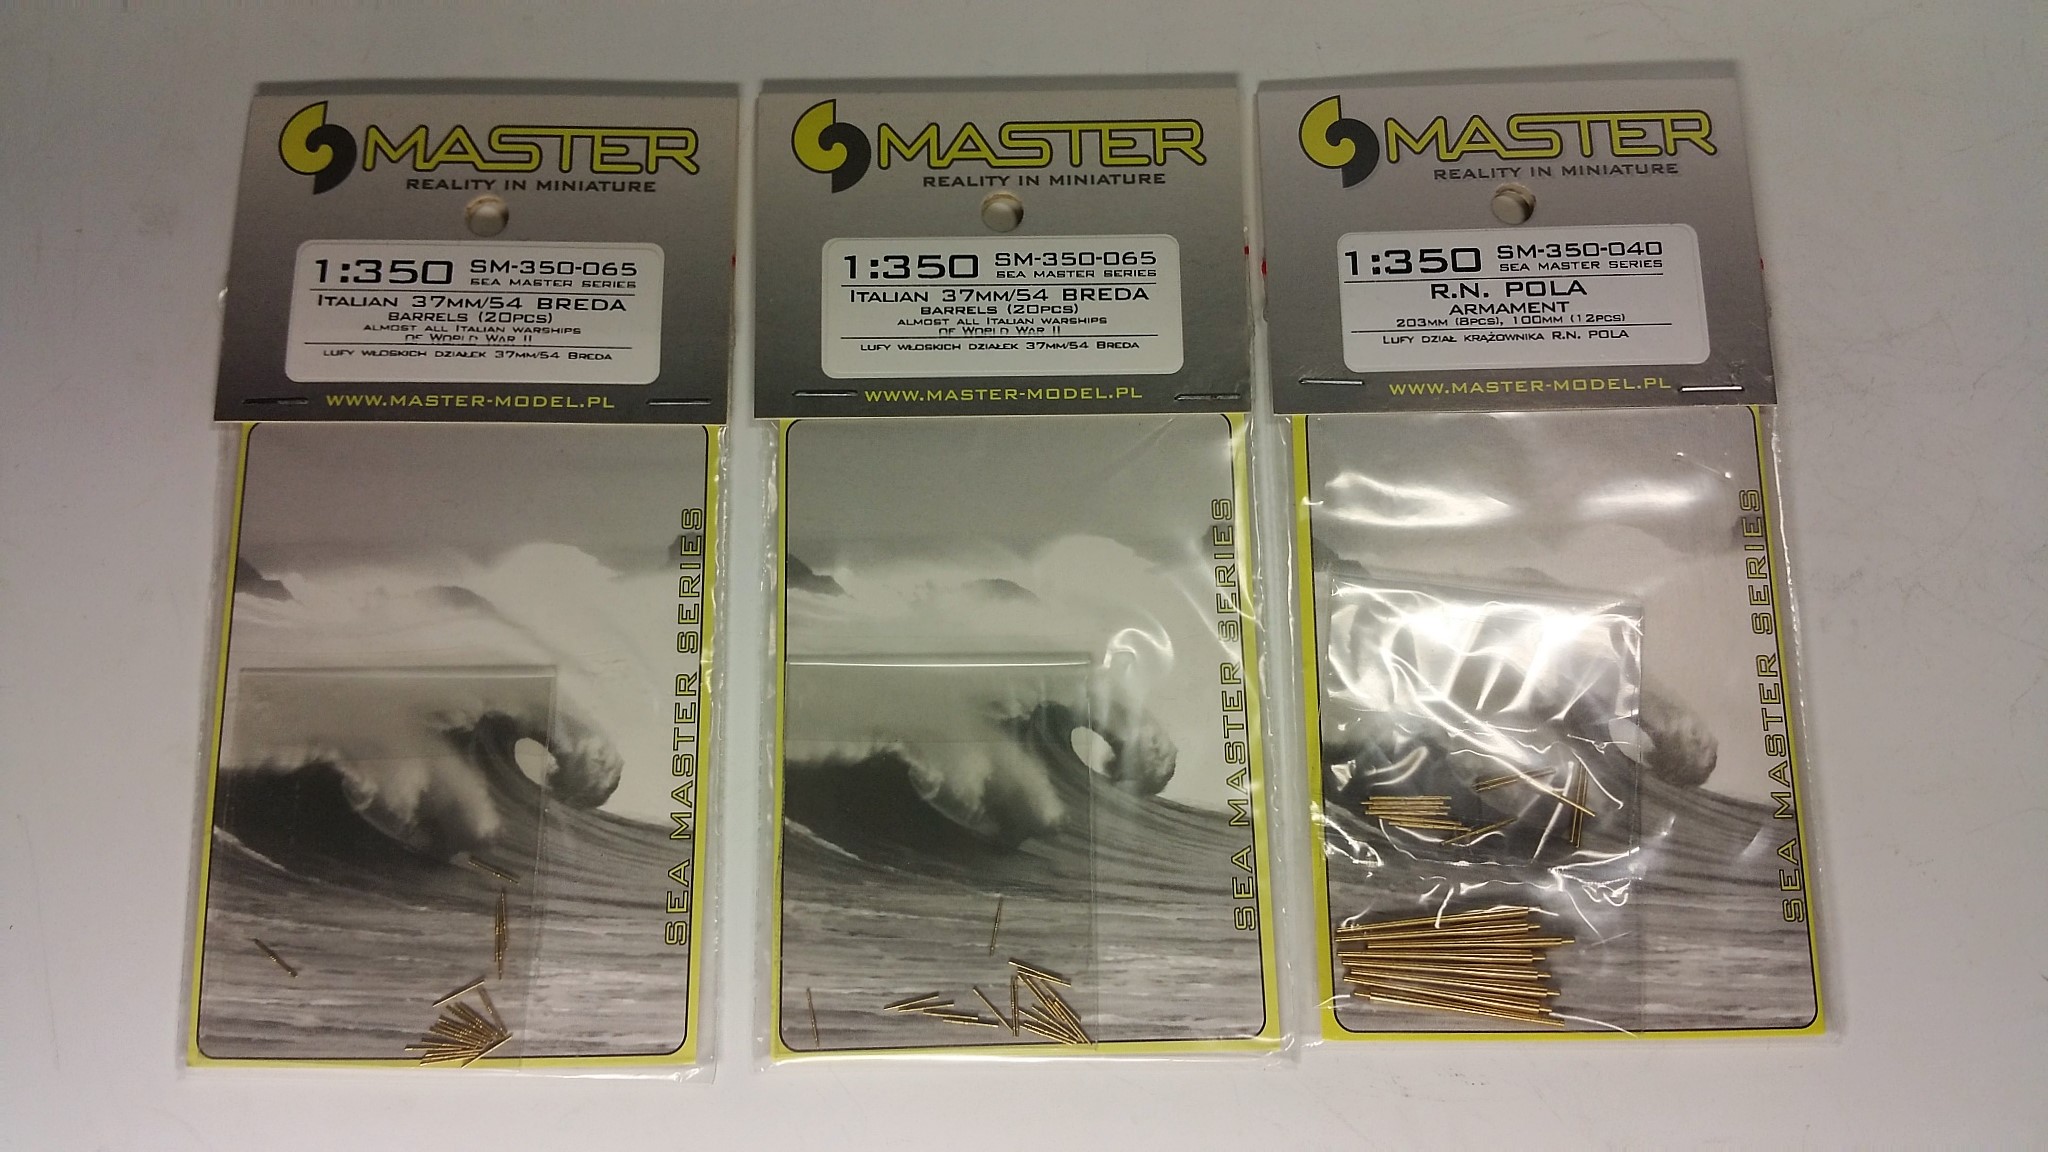
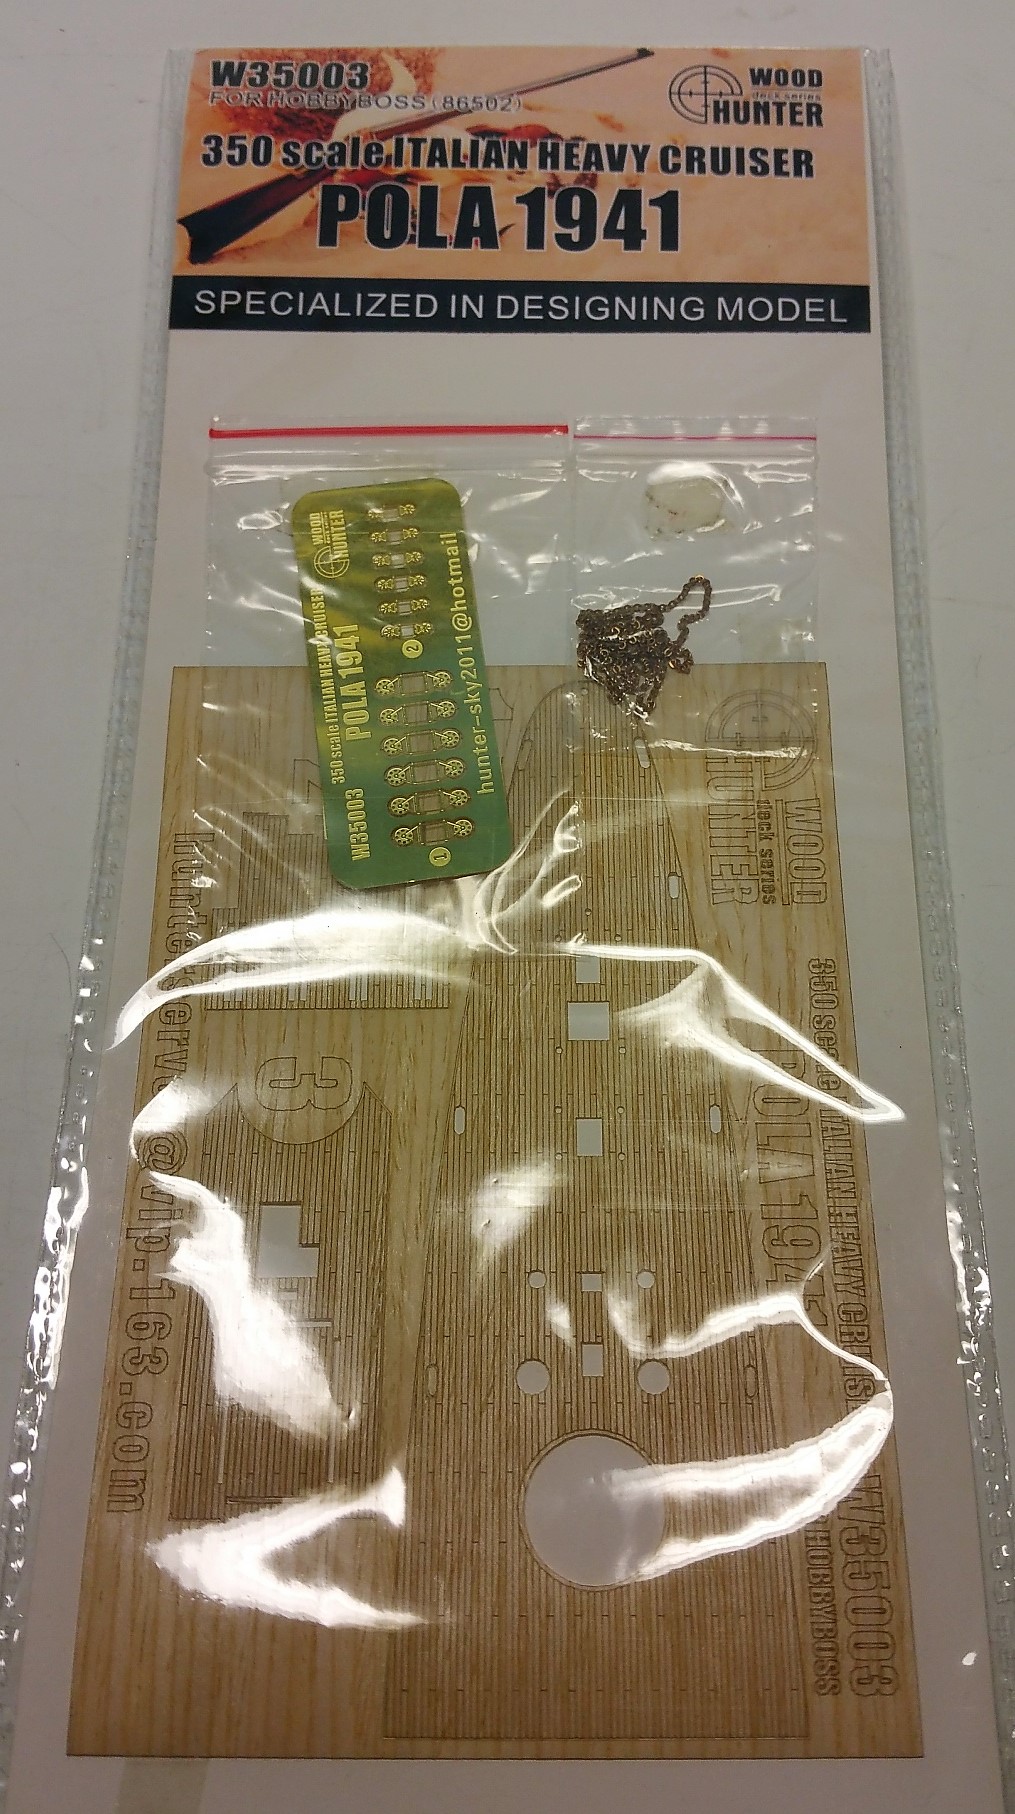

And there is a very nice upgrade set from the chinese company SHIPYARD WORKS for this specific ship which drew my attention and arrived yesterday at my harbor:
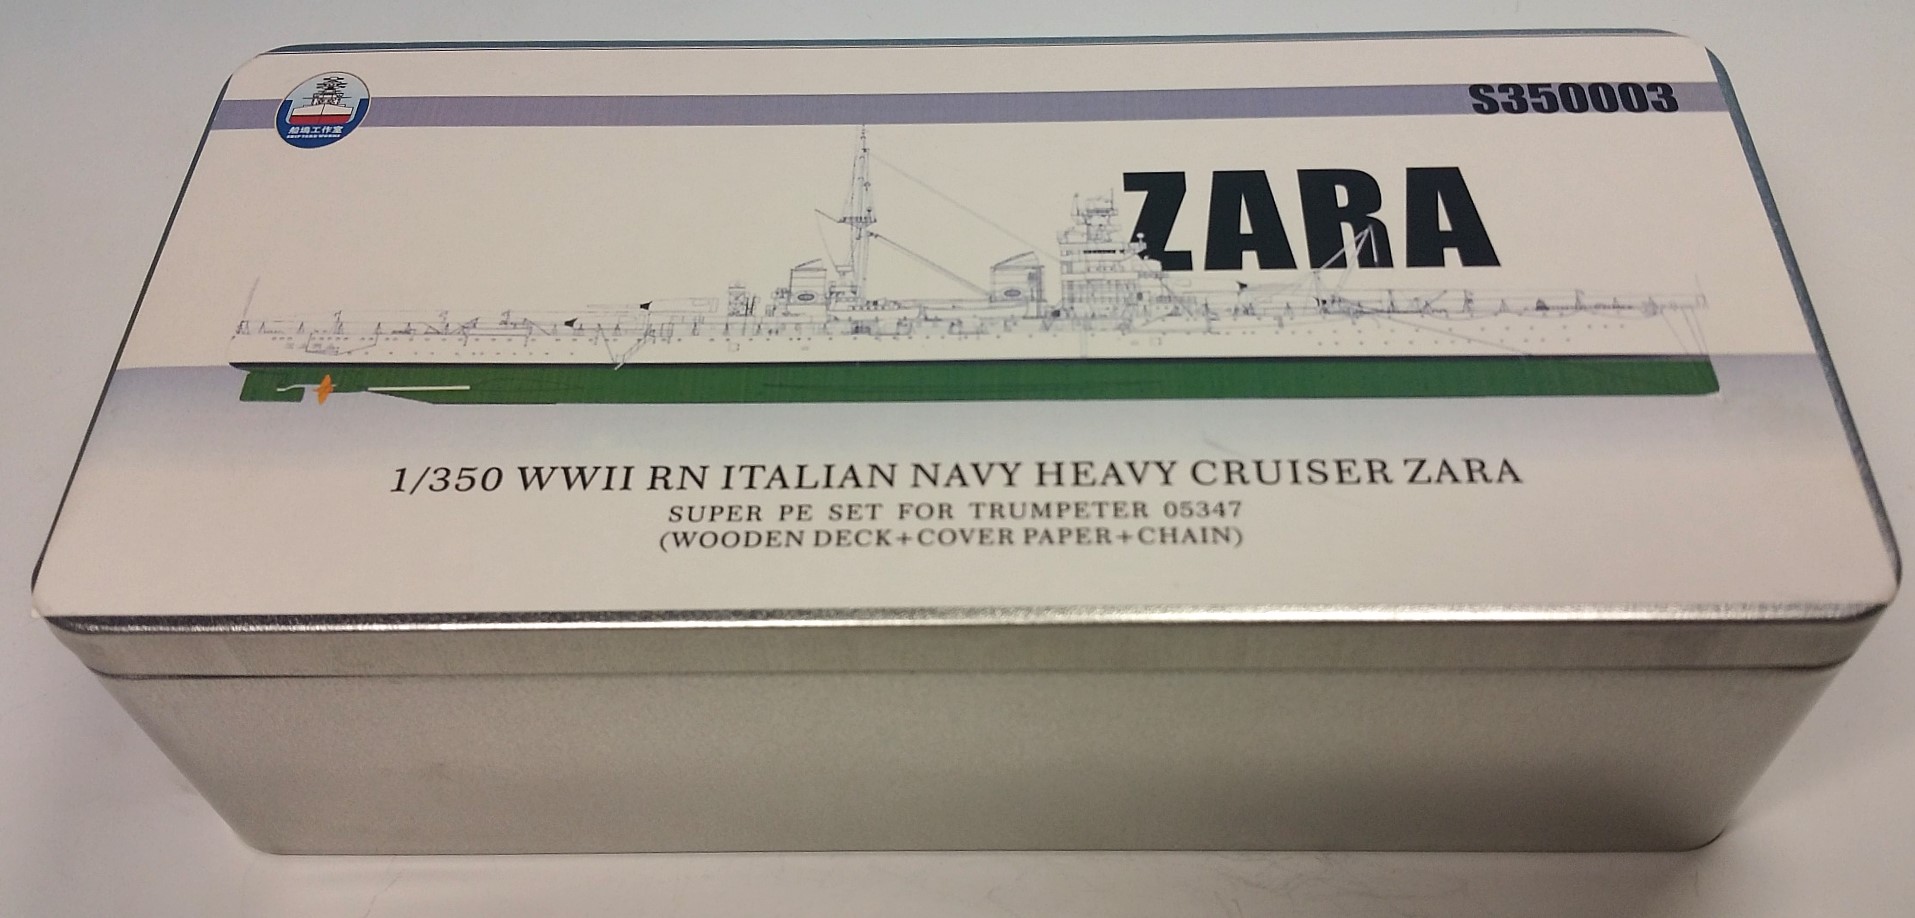

This set is so nice! There are six etched platines (flyhawk like quality), turned barrels, a wooden deck for the ship and the smaller cutters, masking paper and a colored instruction manual. Everything carefully packed inside this attractive aluminium box. At the first glimpse at the parts and the instruction I can say it looks like it will improve the already nice kit a lot!
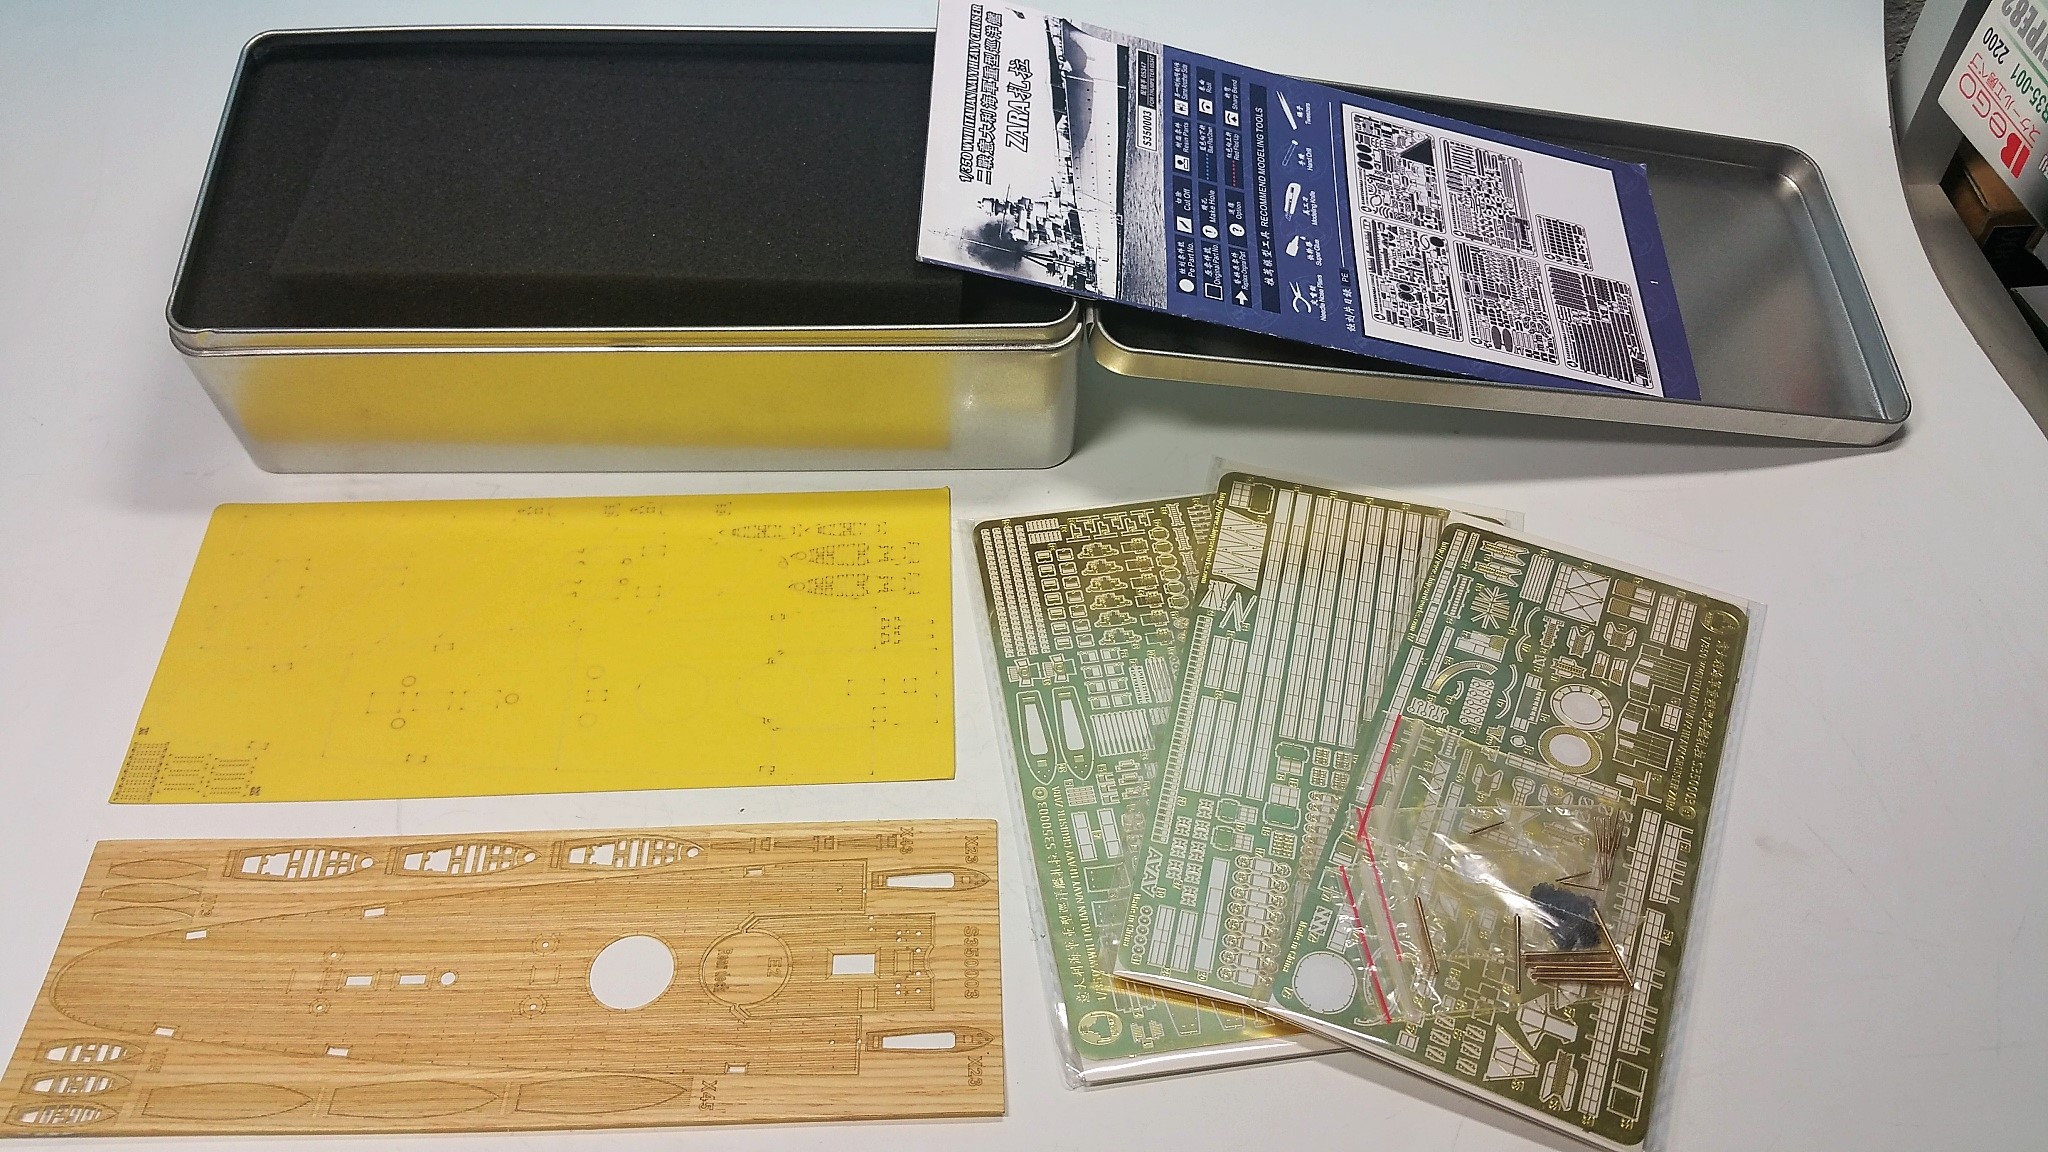

Whether barrels and wooden deck I will use I will decide later on.

Oh and I bought two extra brass pedestials as I want to depict this ship with full hull on a wooden socket later
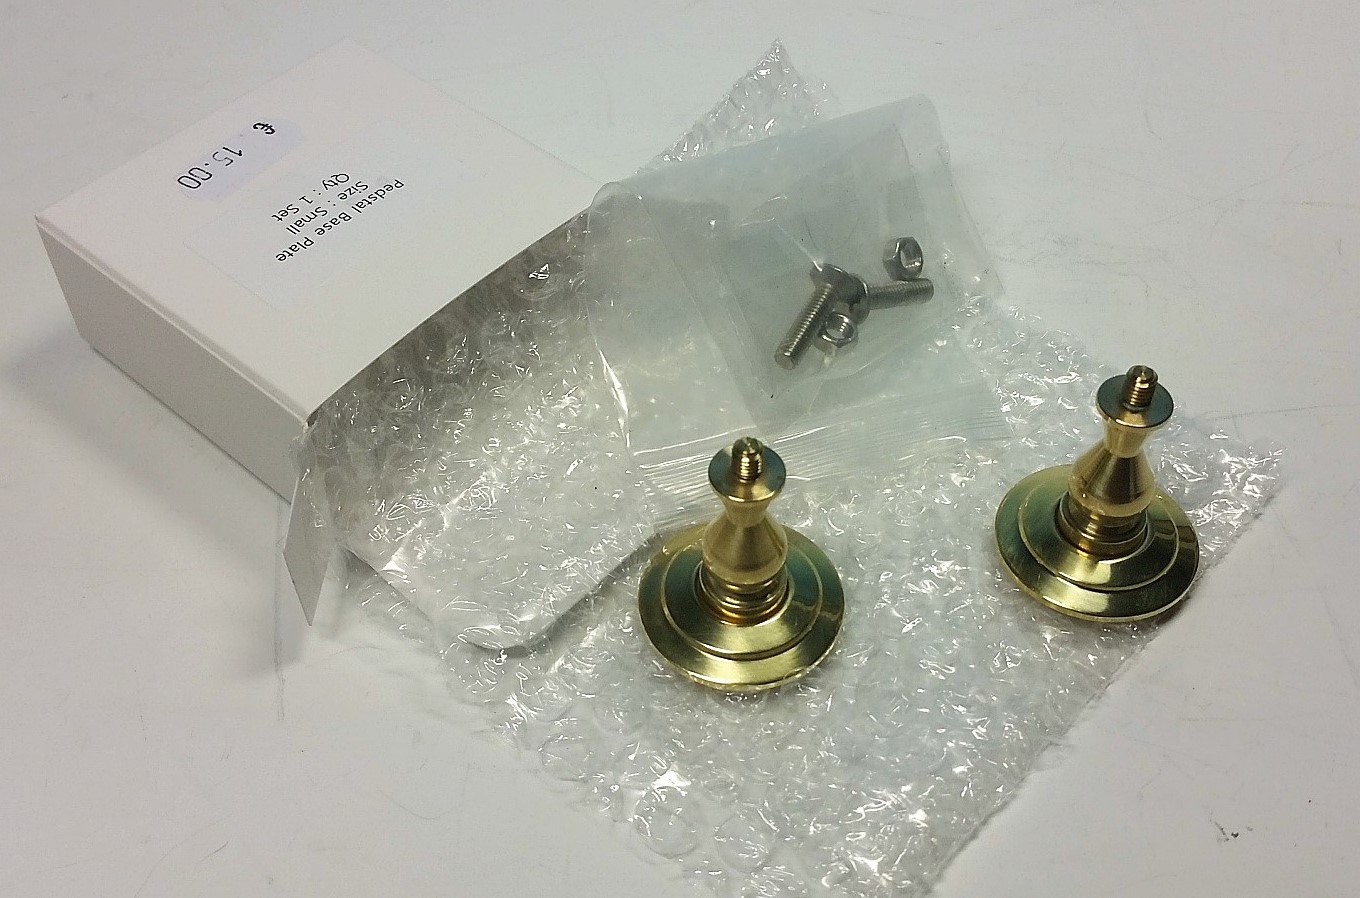

I just still need to buy some small extra stuff (turned brass rods for the mast, the right grey color for it and a wooden socket from the carpenter - then the games can begin shortly!

Would be nice to have you aboard again


Gracie!

Thomas
ChurchSTSV
Visit this Community
Arizona, United States
Joined: September 20, 2017
KitMaker: 350 posts
Model Shipwrights: 175 posts
Posted: Wednesday, March 27, 2019 - 09:18 AM UTC
Looking forward to this build!
Quincannon
Visit this Community
Colorado, United States
Joined: June 22, 2018
KitMaker: 275 posts
Model Shipwrights: 273 posts
Posted: Wednesday, March 27, 2019 - 02:16 PM UTC
Me too Thomas. To me the Italian Navy cruisers are far from beautiful, but at the same time possess a certain elegance all their own. I do wish Trumpeter or someone would come out with an Italian Navy destroyer in 1/350 scale
surfsup
Visit this Community
Queensland, Australia
Joined: May 20, 2010
KitMaker: 1,230 posts
Model Shipwrights: 1,212 posts
Posted: Wednesday, March 27, 2019 - 08:39 PM UTC
Where is the Popcorn. Watching this one with interest.....Cheers mark
d6mst0
#453
Visit this Community
Texas, United States
Joined: August 28, 2016
KitMaker: 1,925 posts
Model Shipwrights: 1,298 posts
Posted: Thursday, March 28, 2019 - 12:08 AM UTC

Quoted Text

Where is the Popcorn. Watching this one with interest.....Cheers mark


DITTO!

Mark
RedDuster
Visit this Community
England - South East, United Kingdom
Joined: March 01, 2010
KitMaker: 7,078 posts
Model Shipwrights: 6,649 posts
Posted: Thursday, March 28, 2019 - 08:26 AM UTC
I am along for the ride too.

Cheers

Si
Black_sheep
Visit this Community
Bayern, Germany
Joined: December 11, 2009
KitMaker: 823 posts
Model Shipwrights: 551 posts
Posted: Wednesday, April 10, 2019 - 06:17 AM UTC

Quoted Text

I am along for the ride too.

Cheers

Si


Fantastico to have you aboard, too Si!
Black_sheep
Visit this Community
Bayern, Germany
Joined: December 11, 2009
KitMaker: 823 posts
Model Shipwrights: 551 posts
Posted: Wednesday, April 10, 2019 - 06:44 AM UTC
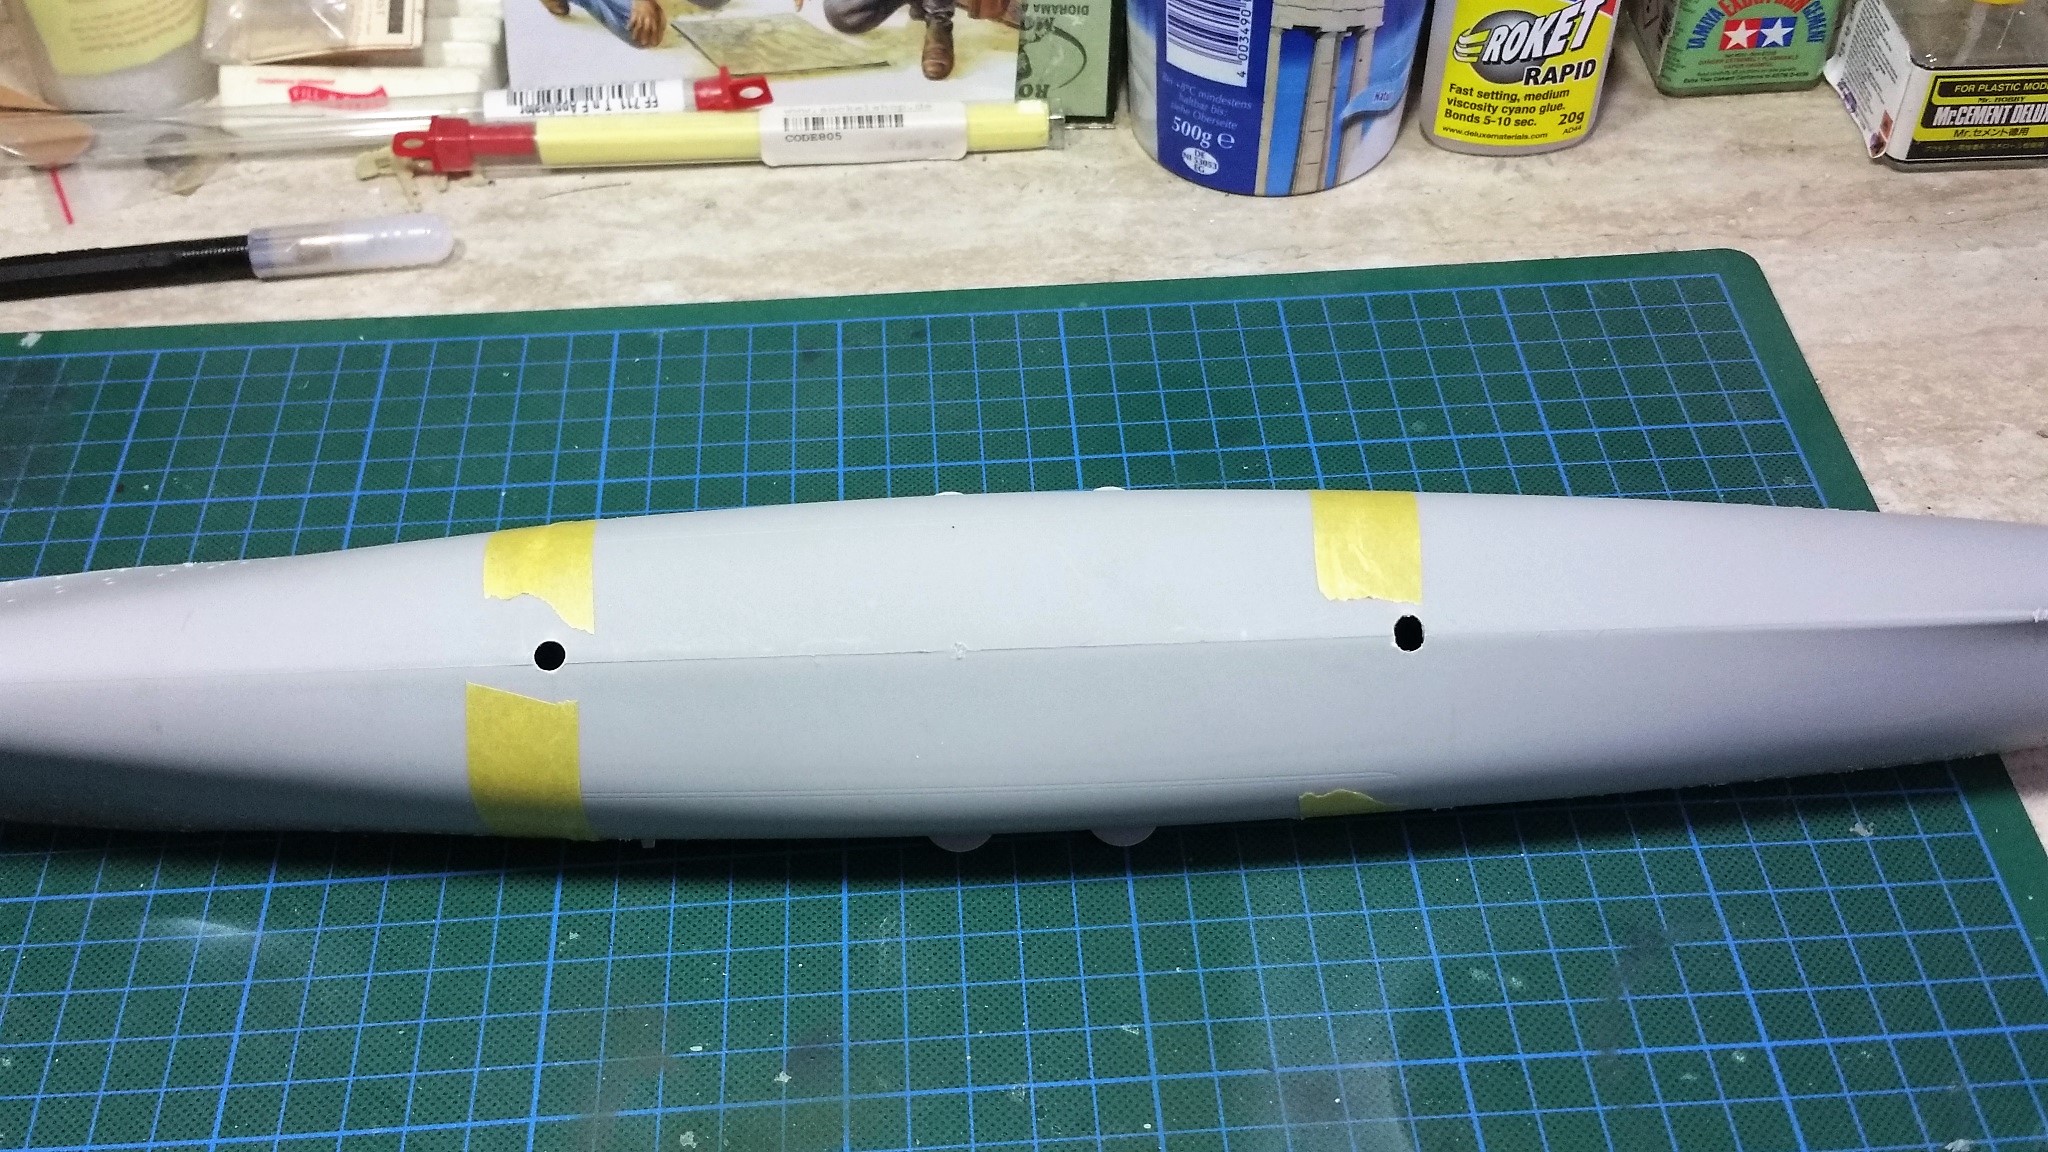
Andiamo! All needed equipment is aboard - now I can start my next build. As I wanted to depict a full hull ship on a socket I needed to drill two holes inside the hull bottom


some very small seams at the driving shafts were smoothed out with putty


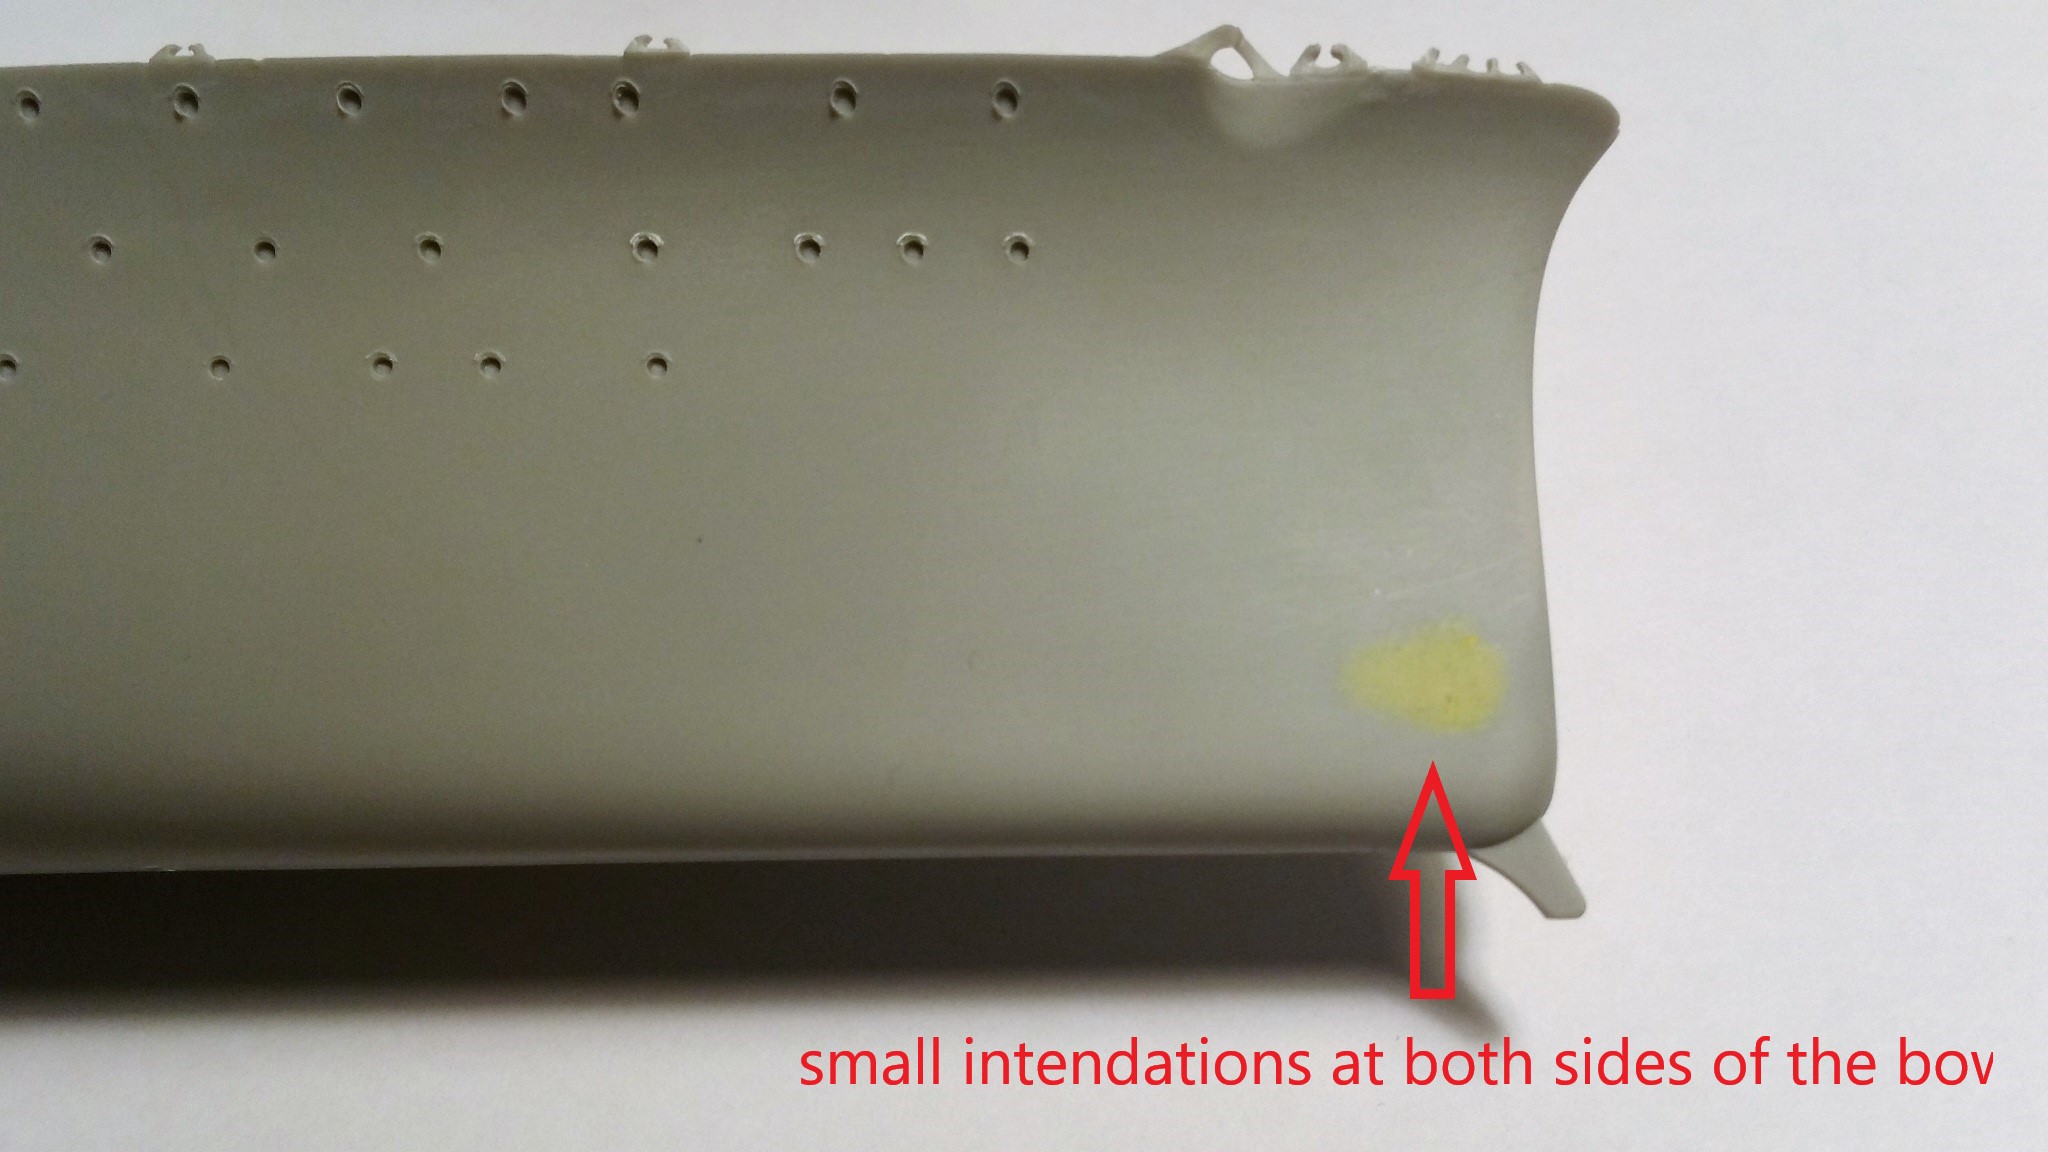
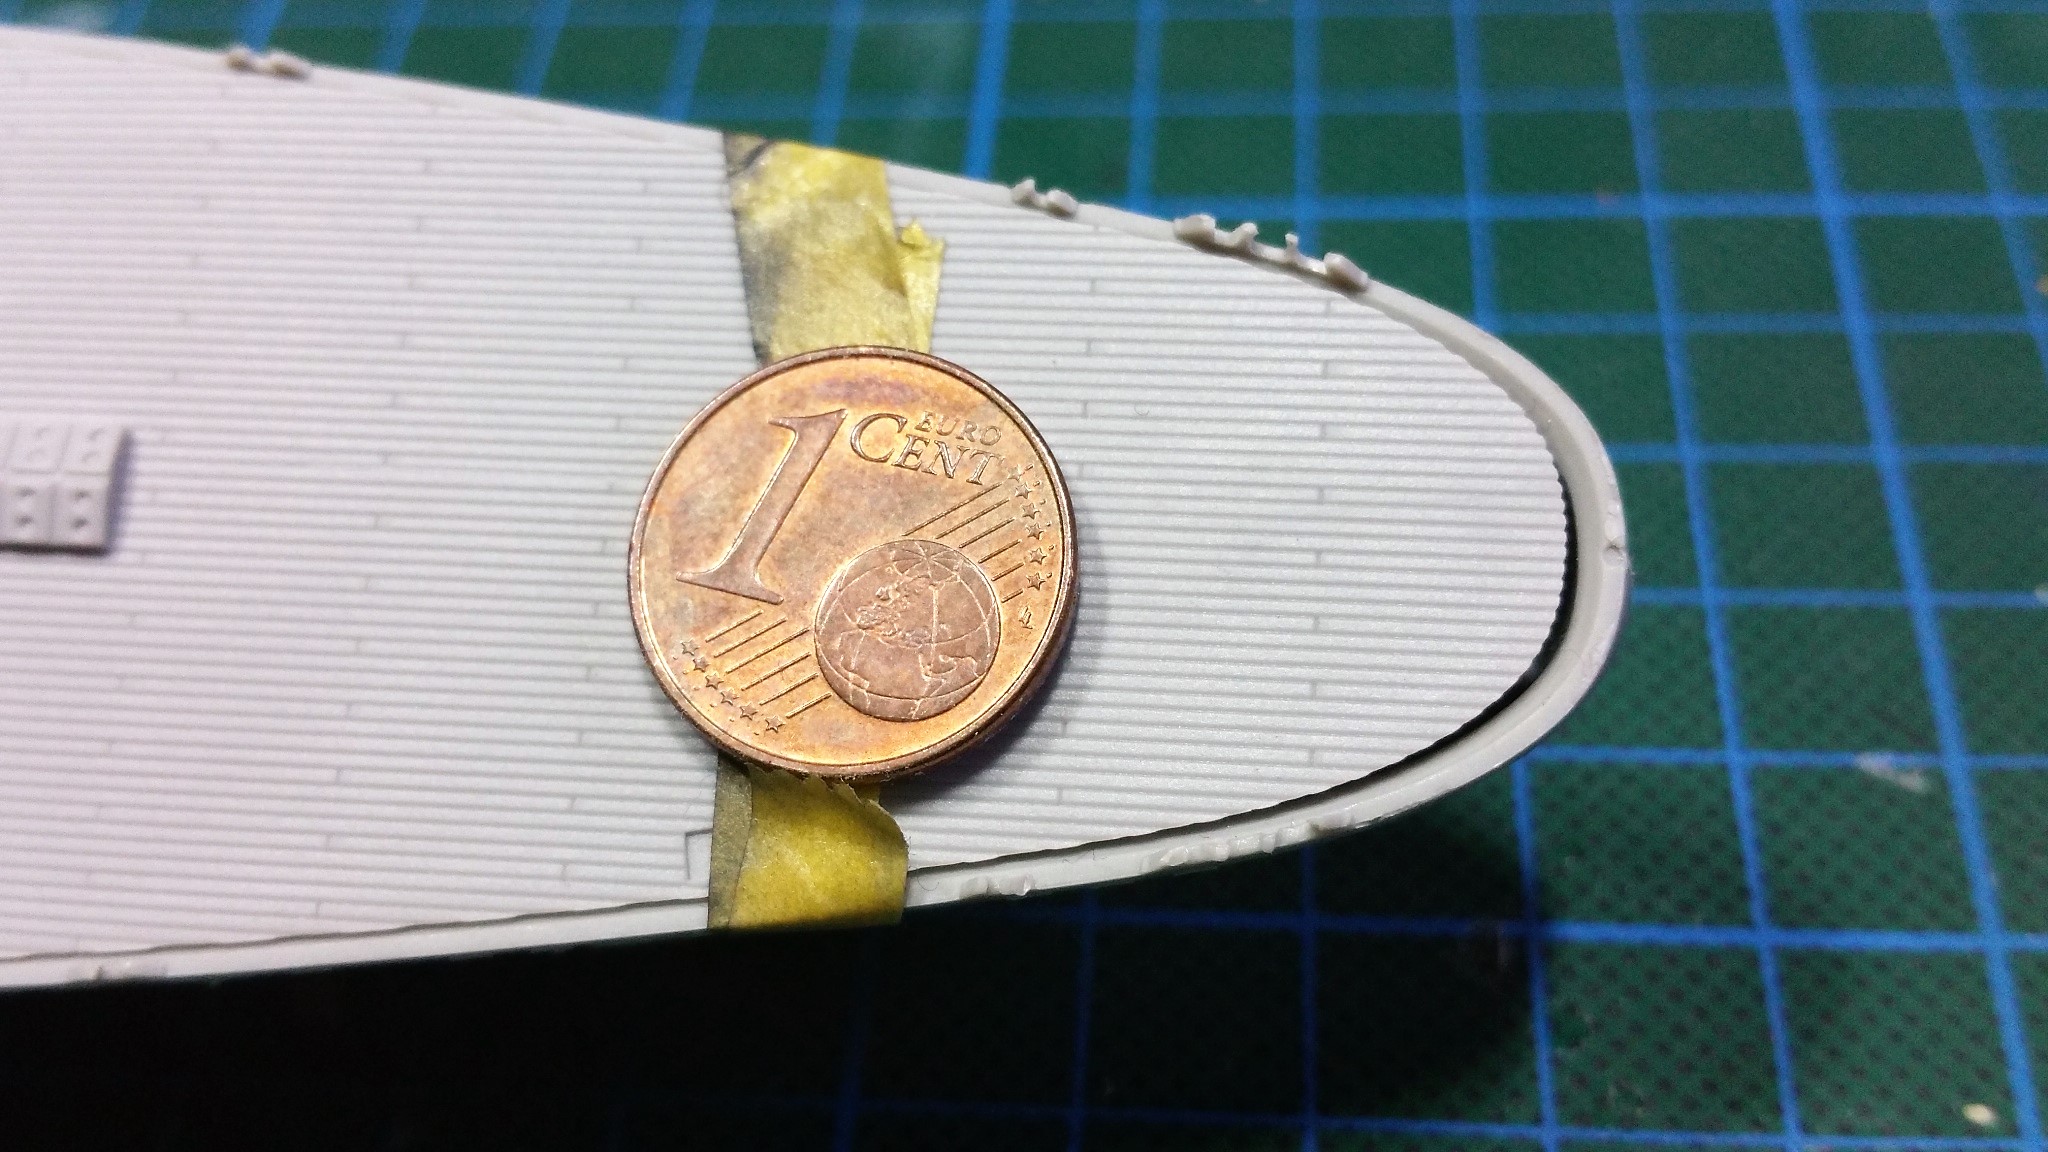
At both front bow sides there were some very small intendations which were also leveled out with putty


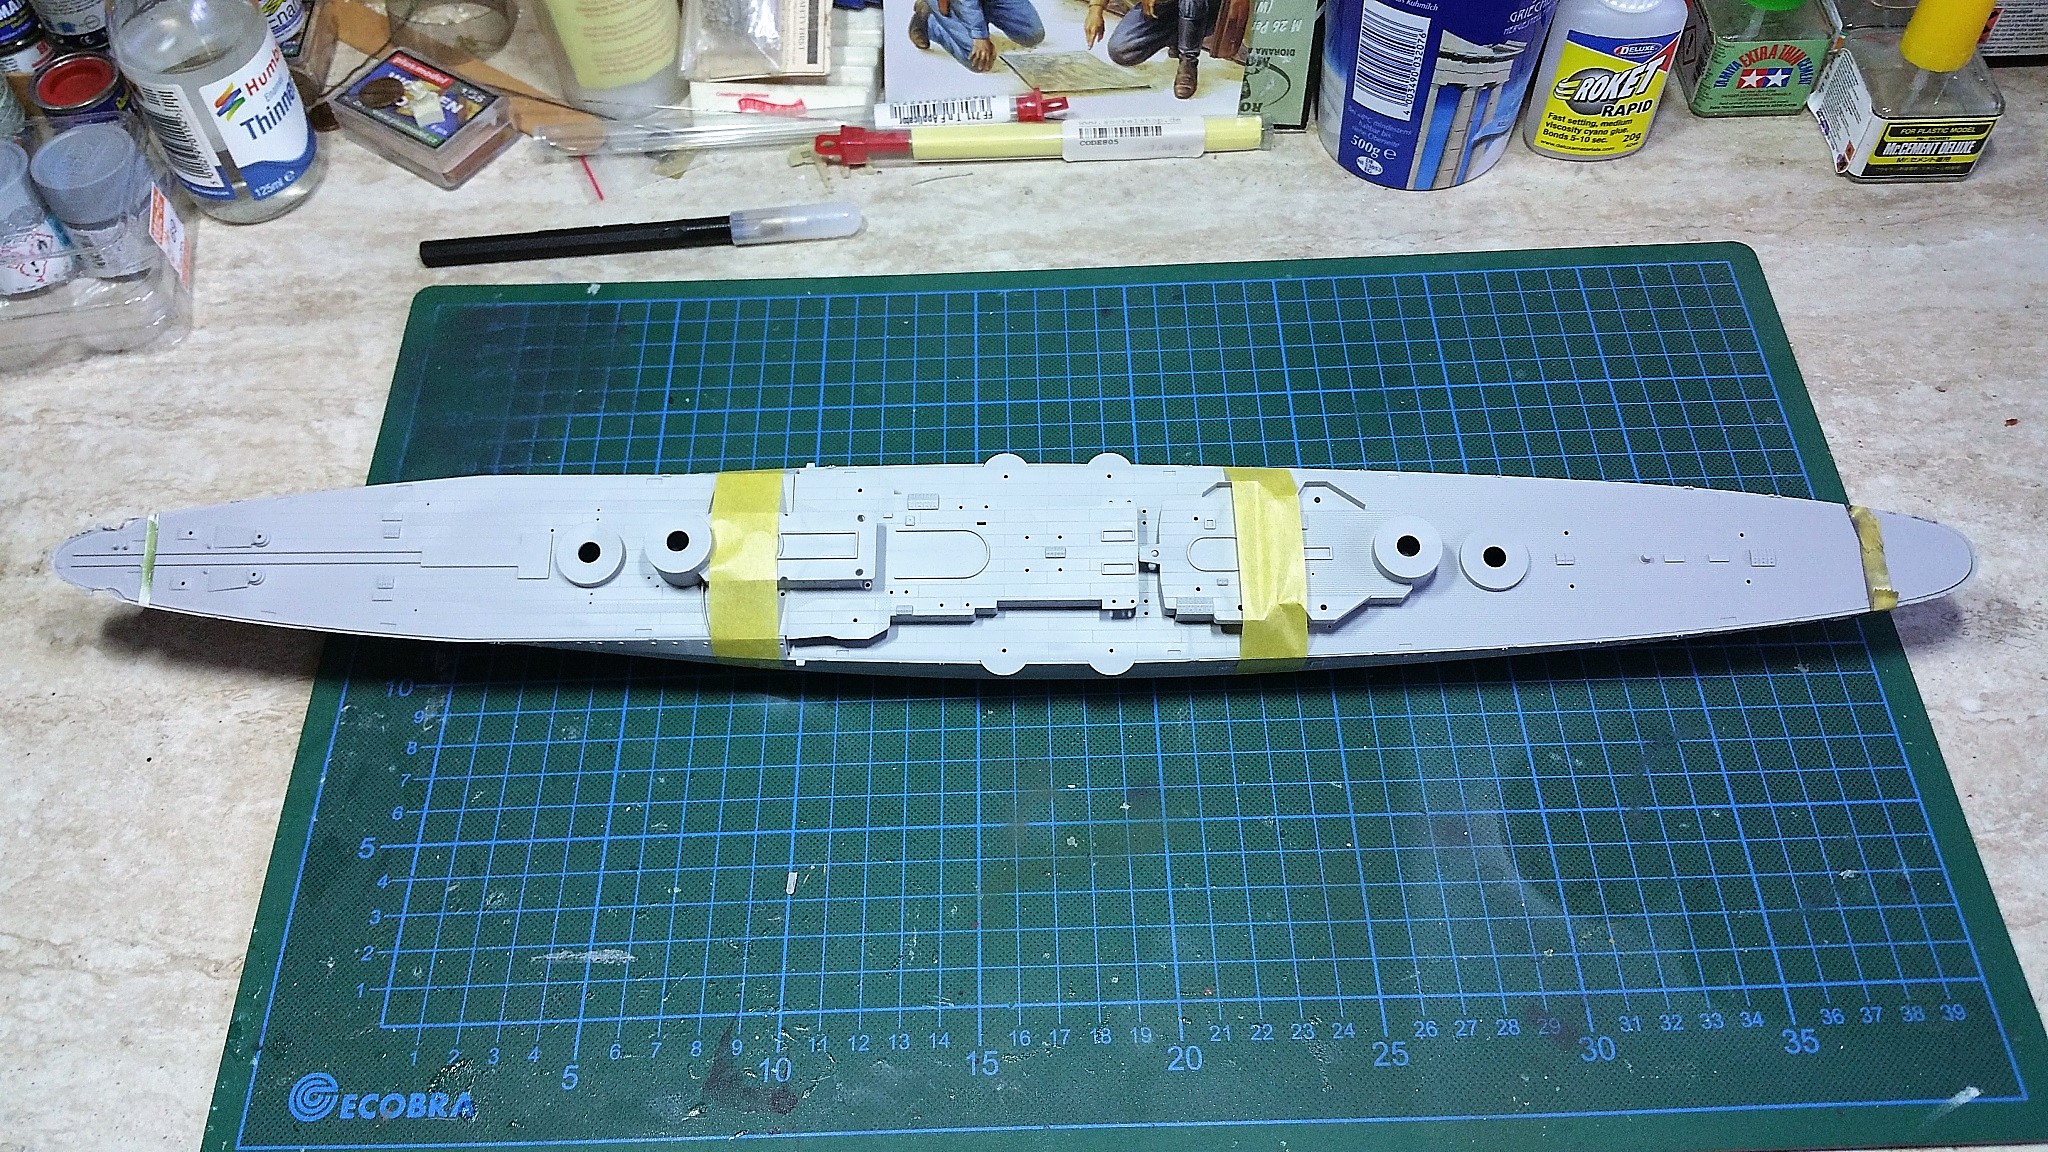
I then dryfitted the decks with the ship´s hull to get a first Impression of the general fit


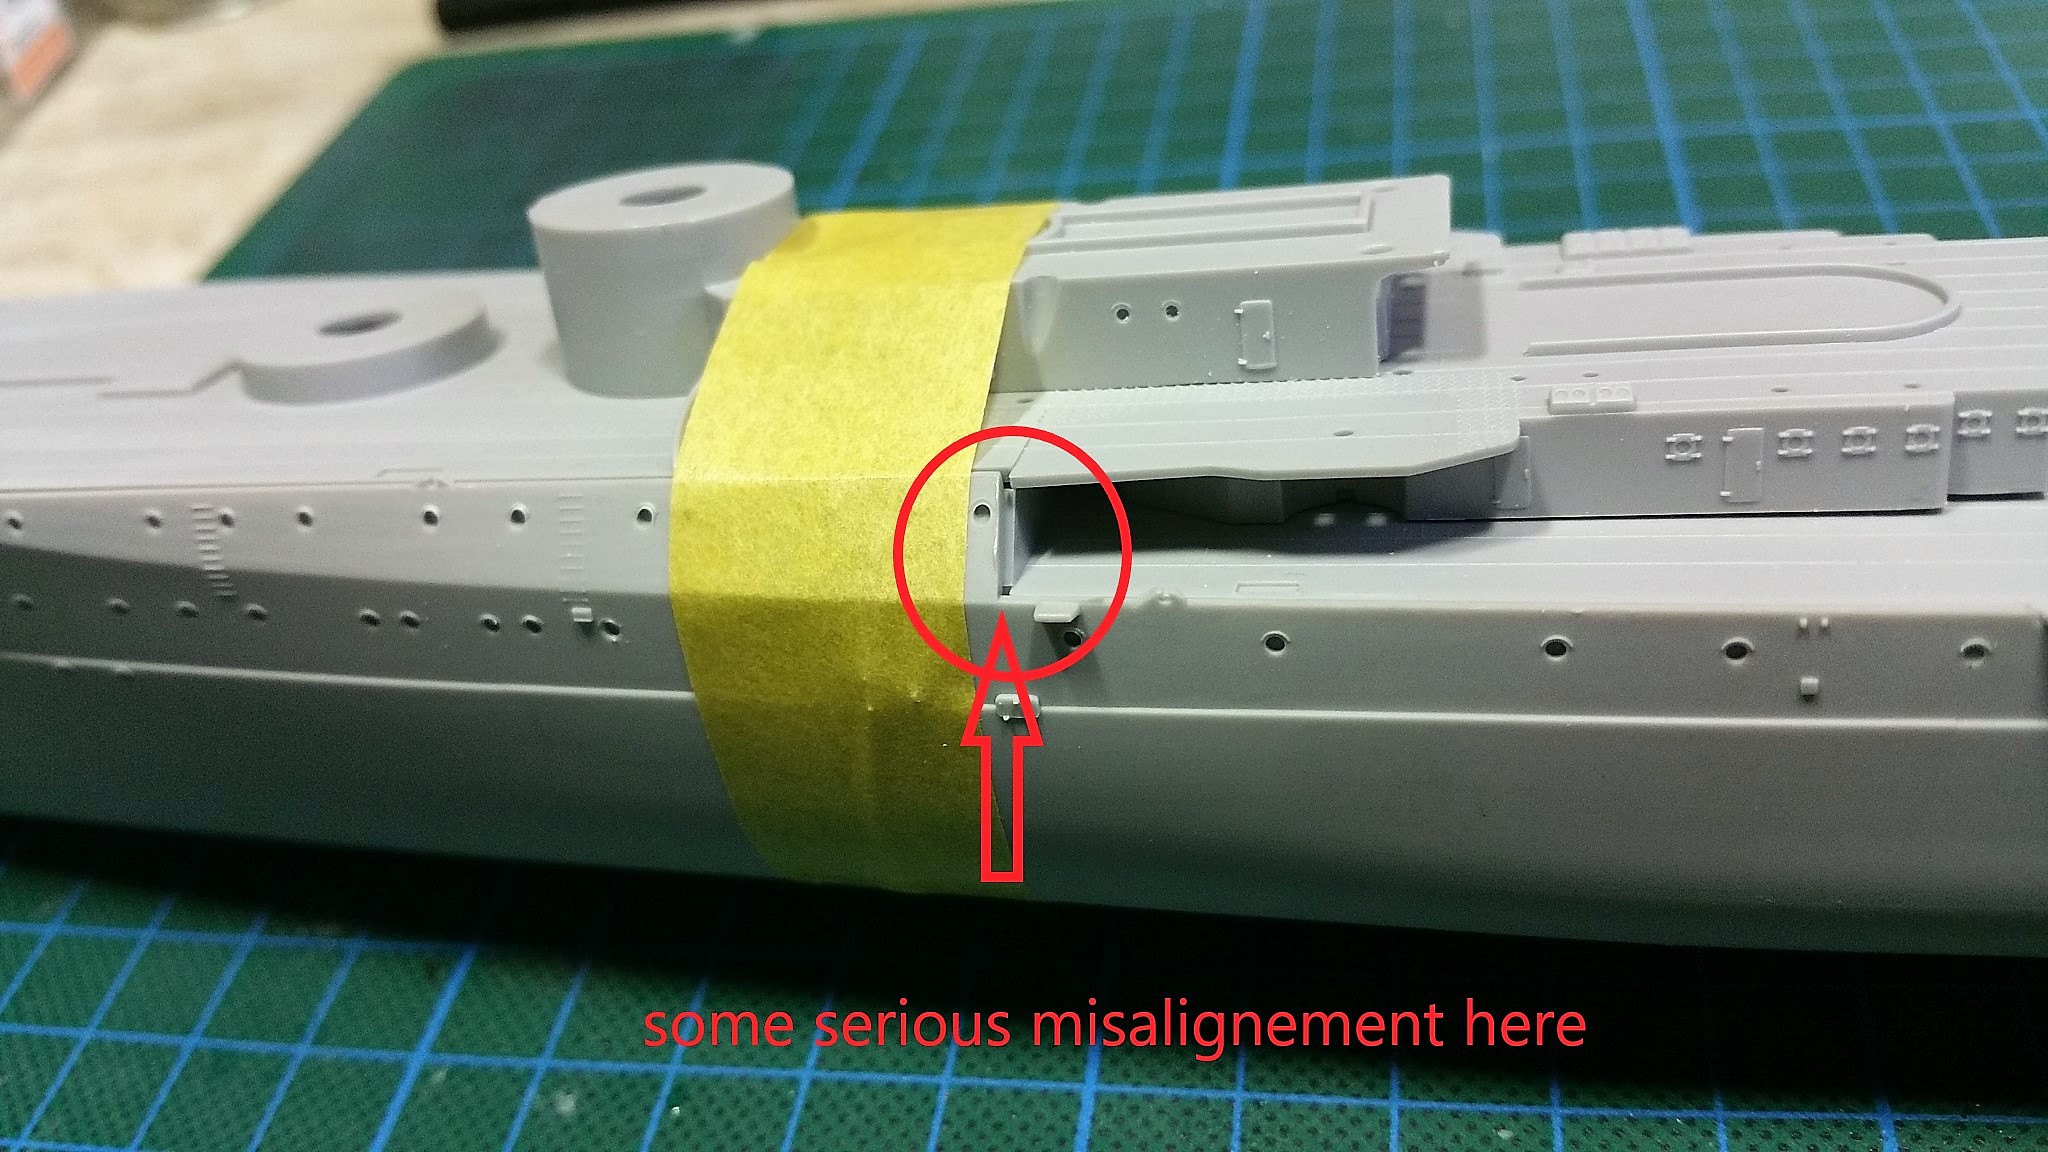
...and discovered a misalignment between two decks. Even with taking care that the frontal deck is even with the two sidewalls of the ship the middle deck doesn`t fit properly together with it. I will need to rework this part with a new Evergreen wall or just putty maybe


Also the ship´s Stern deck is a bit too short. I will need to use putty here too. As there will be used the aftermarket wooden laminate deck I think this will not be a visible thing later


This is how the ship will sit screwed with its socket right from the beginning on before I will glue the stern deck part on top.


Ciao ragazzi!
ChurchSTSV
Visit this Community
Arizona, United States
Joined: September 20, 2017
KitMaker: 350 posts
Model Shipwrights: 175 posts
Posted: Wednesday, April 10, 2019 - 07:04 AM UTC
Great start, Thomas! I love that stand and name plate!!
RedDuster
Visit this Community
England - South East, United Kingdom
Joined: March 01, 2010
KitMaker: 7,078 posts
Model Shipwrights: 6,649 posts
Posted: Wednesday, April 10, 2019 - 08:12 AM UTC
Nice start Thomas,

taking notes for when I get round to my build.

Cheers

Si
d6mst0
#453
Visit this Community
Texas, United States
Joined: August 28, 2016
KitMaker: 1,925 posts
Model Shipwrights: 1,298 posts
Posted: Wednesday, April 10, 2019 - 08:22 AM UTC
Thomas,

Nice progress, the work on the hull will make for a nice clean look when painted.

I am surprised that the deck is so short (for a Trumpeter kit)at the stern. This is new tool kit from 2017! Was interested in purchasing this kit but now I am going to hold off until I see how the rest of your build goes.

Mark
RussellE
#306
Visit this Community
Victoria, Australia
Joined: June 27, 2010
KitMaker: 3,959 posts
Model Shipwrights: 2,777 posts
Posted: Wednesday, April 10, 2019 - 10:46 PM UTC
Hi Thomas!

watching with interest!

Wouldn't miss it!
Quincannon
Visit this Community
Colorado, United States
Joined: June 22, 2018
KitMaker: 275 posts
Model Shipwrights: 273 posts
Posted: Thursday, April 11, 2019 - 04:35 AM UTC
Thomas: Trumpeter most often includes Vallejo brand paint in their color charts. Would you mind giving me the Vallejo paint that they recommend for the anti-fouling green on Zara, if any, I know Tamiya makes a green that is suitable, but I much prefer Vallejo in most cases. Thanks. C
Black_sheep
Visit this Community
Bayern, Germany
Joined: December 11, 2009
KitMaker: 823 posts
Model Shipwrights: 551 posts
Posted: Thursday, April 11, 2019 - 07:48 AM UTC

Quoted Text

Thomas: Trumpeter most often includes Vallejo brand paint in their color charts. Would you mind giving me the Vallejo paint that they recommend for the anti-fouling green on Zara, if any, I know Tamiya makes a green that is suitable, but I much prefer Vallejo in most cases. Thanks. C


Chuck, no problem: For the antifouling green they recommend a mix of 90% Vallejo 969 and 10% Vallejo 897 RLM70 black green. I made myself life easier and will use LIFECOLOR´s UA 617 Regia Marina Italiana Verde Scuro Antivegatativo acrylic color which looks spot on for my taste. If needed I can make a picture of this color at a paper sheet for a better impression for yourself?!


Ciao
Quincannon
Visit this Community
Colorado, United States
Joined: June 22, 2018
KitMaker: 275 posts
Model Shipwrights: 273 posts
Posted: Thursday, April 11, 2019 - 08:33 AM UTC
Thanks Thomas: My local hobby shop does not carry Lifecolor, so I will first look on line to see if I can find it at one of the usual suspect mail order shops we have here in the States. Barring that I will go with the mixture of Vallejo. The three Trumpeter Italian BB's in 1/700 hold some interest for me. I have never built anything from the Italian Navy, but suspect one may find its way to my bench, much sooner than later. Working on a Bismarck at present using the AK Interactive DKM paint set. Especially like AK's DKM hull red.
TimReynaga
Staff MemberAssociate Editor
MODEL SHIPWRIGHTS
Visit this Community
California, United States
Joined: May 03, 2006
KitMaker: 2,500 posts
Model Shipwrights: 1,830 posts
Posted: Thursday, April 11, 2019 - 10:05 AM UTC

Quoted Text

...At both front bow sides there were some very small intendations which were also leveled out with putty...
misalignment between two decks...the ship´s Stern deck is a bit too short...


Thomas,

It is funny, I built the Tauro (ex-Modelcraft) 1/400 scale Zara years ago, and that kit had exactly these same shortcomings - I wonder if the Trumpeter effort was "inspired" by the old 1960s Modelcraft molding or if these parallels are just due to the design of the original ship somehow...?

Anyway, good progress so far!

Black_sheep
Visit this Community
Bayern, Germany
Joined: December 11, 2009
KitMaker: 823 posts
Model Shipwrights: 551 posts
Posted: Friday, April 12, 2019 - 06:12 PM UTC

Quoted Text


Quoted Text

...At both front bow sides there were some very small intendations which were also leveled out with putty...
misalignment between two decks...the ship´s Stern deck is a bit too short...


Thomas,

It is funny, I built the Tauro (ex-Modelcraft) 1/400 scale Zara years ago, and that kit had exactly these same shortcomings - I wonder if the Trumpeter effort was "inspired" by the old 1960s Modelcraft molding or if these parallels are just due to the design of the original ship somehow...?

Anyway, good progress so far!


Tim, luckily this ship mouldings have nothing to do with the old Modelcraft kit The whole kit parts look very nice so far.

Cheers
Black_sheep
Visit this Community
Bayern, Germany
Joined: December 11, 2009
KitMaker: 823 posts
Model Shipwrights: 551 posts
Posted: Friday, April 12, 2019 - 06:23 PM UTC
Some "small" work done at the ship´s hull:

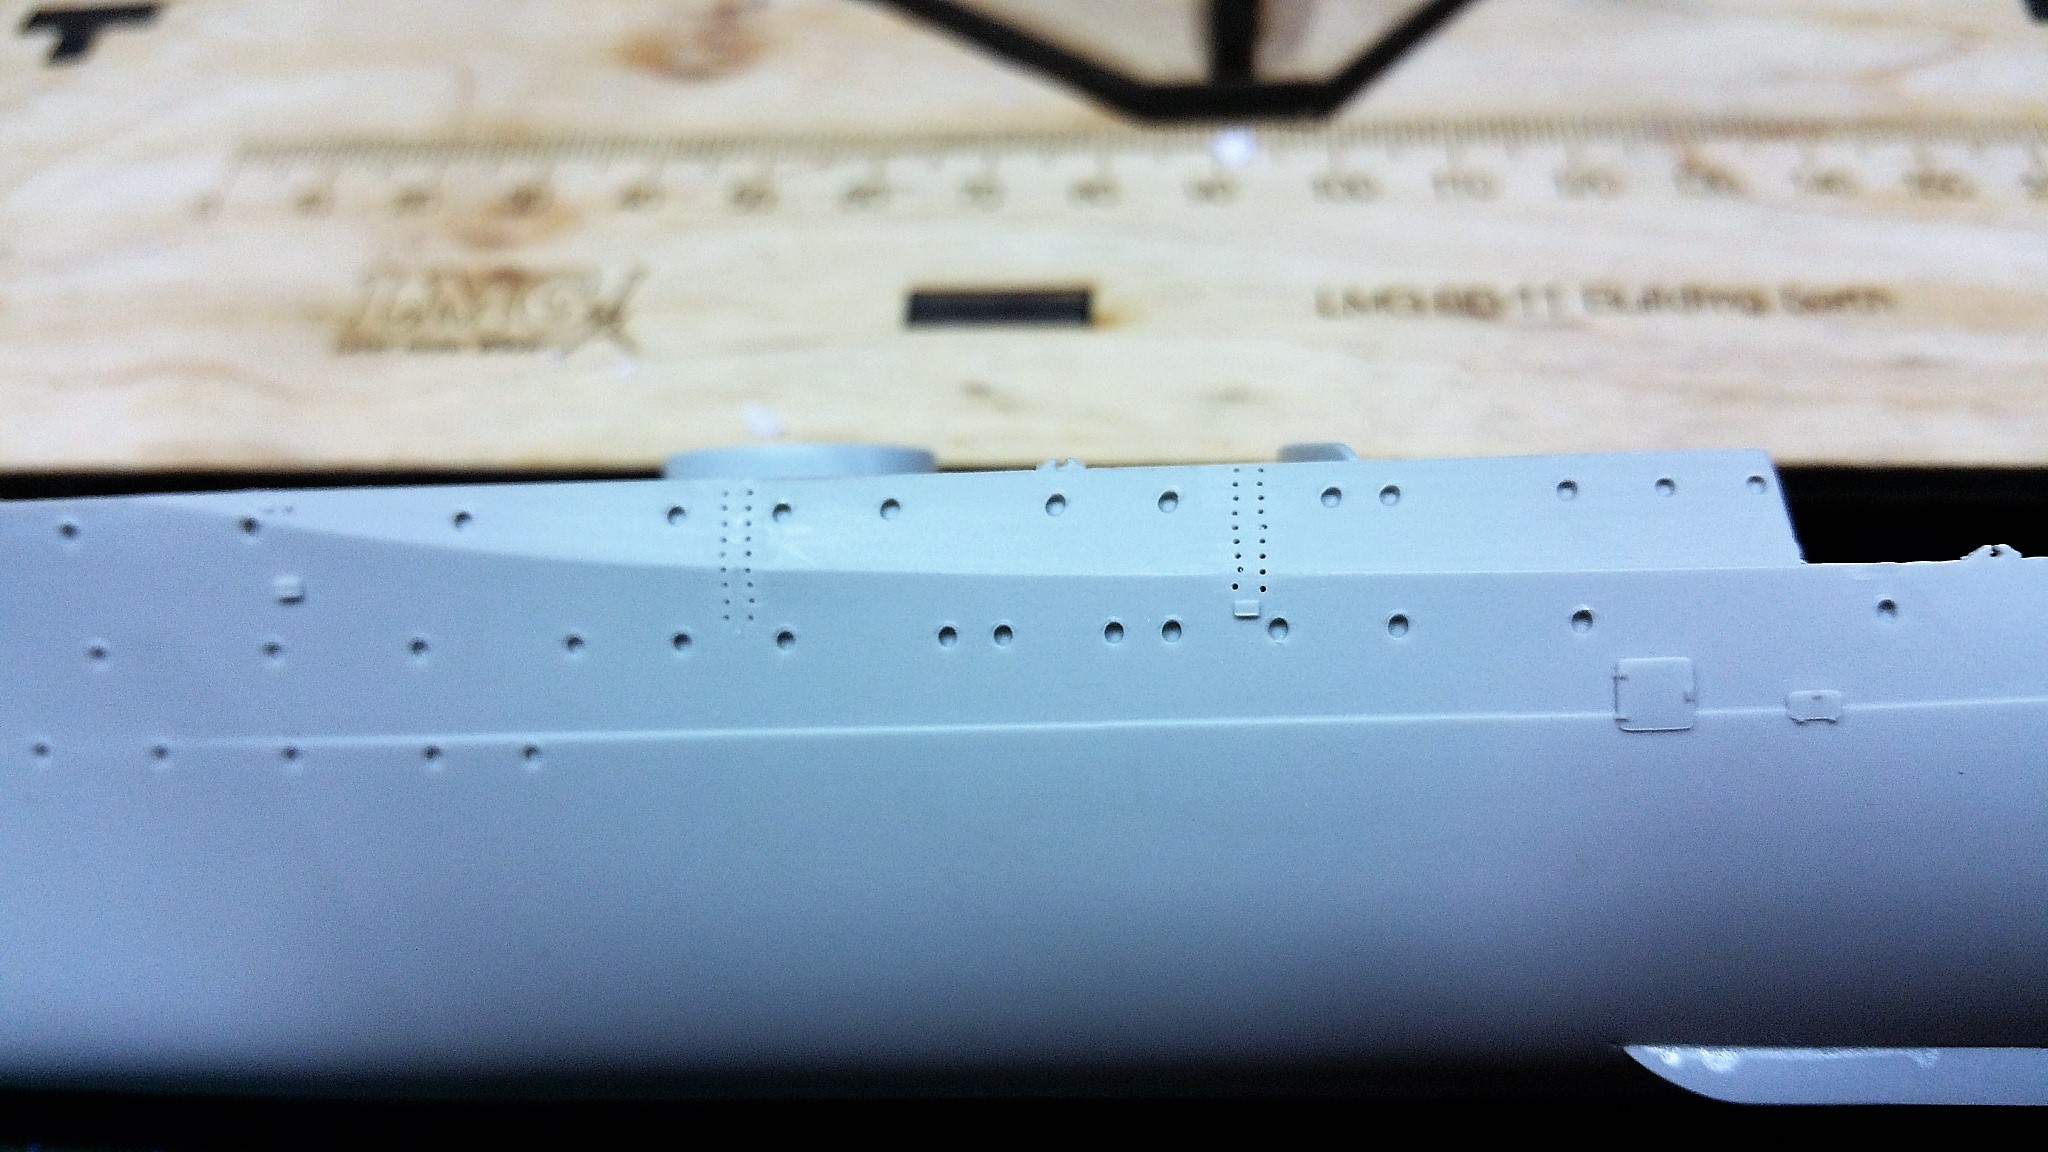
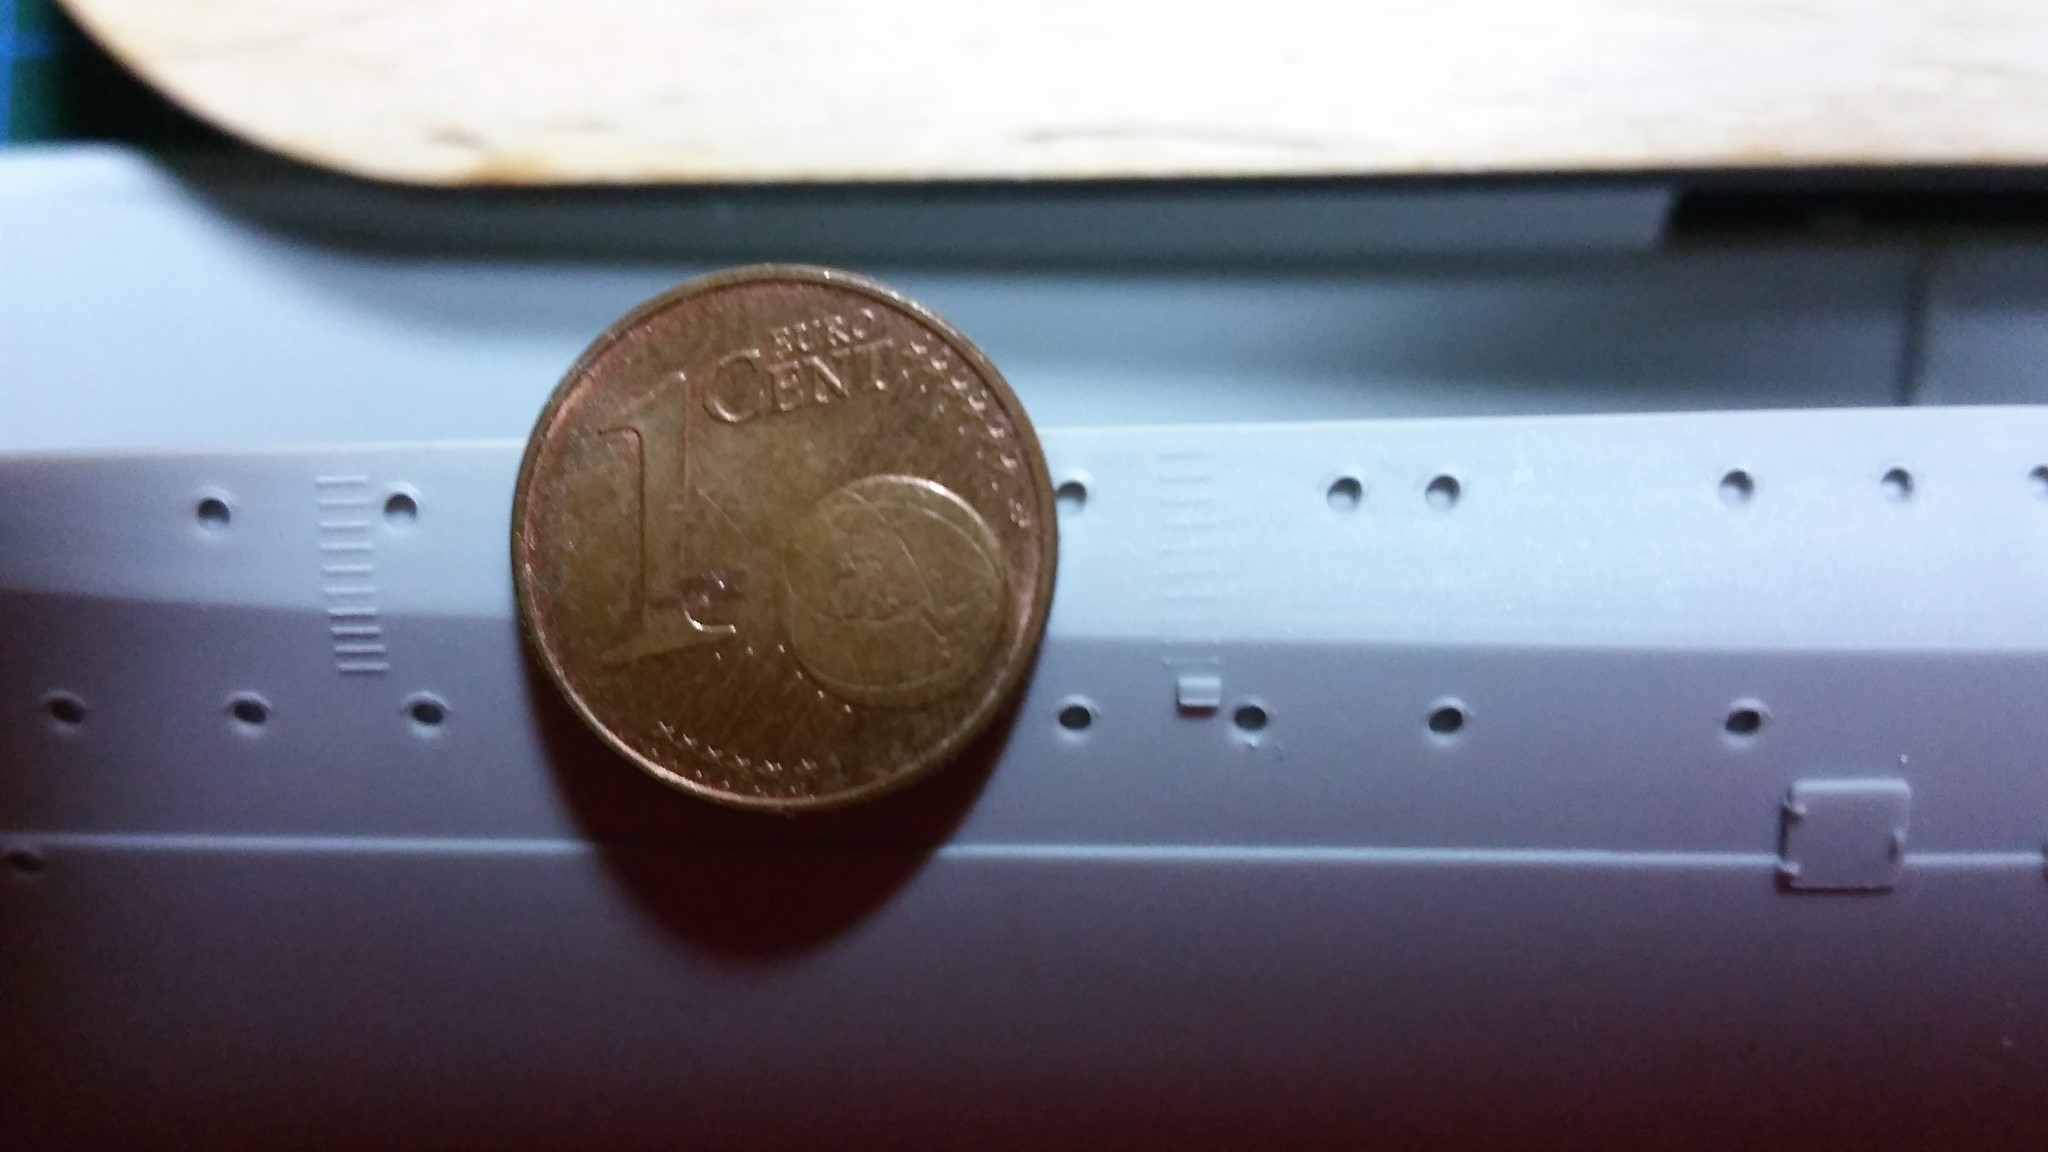
These are the molded on kits boarding handles (correct word for these?!)


I did shaved them off carefully...


...and prepared the drilling templates


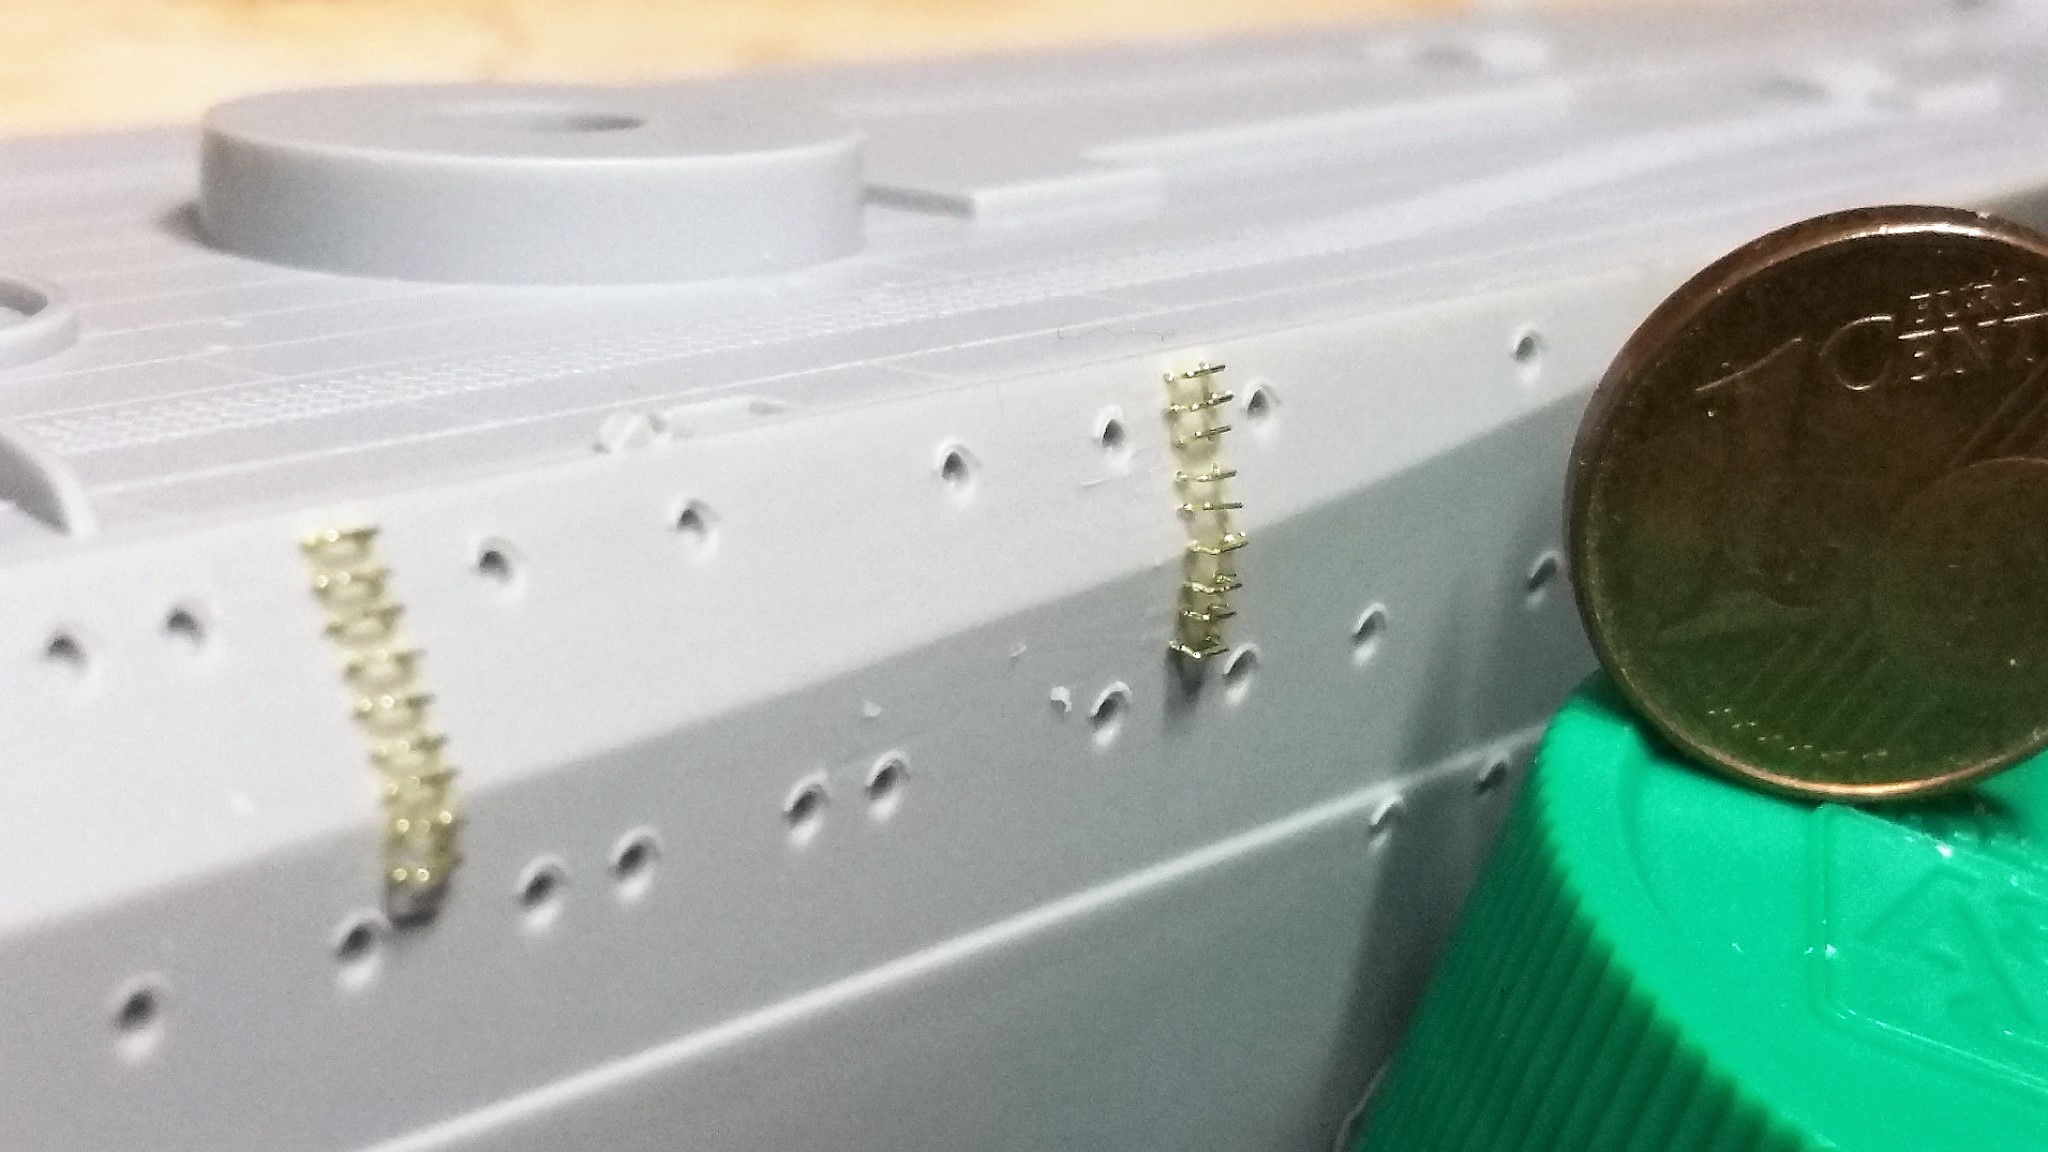
After drilling the wholes with a 0,3 mm drill everything looks this way


I glued in the small etched handles into the prepared wholes. This job was done very easily and the result looks very promising to me


Now on for the other side!
d6mst0
#453
Visit this Community
Texas, United States
Joined: August 28, 2016
KitMaker: 1,925 posts
Model Shipwrights: 1,298 posts
Posted: Saturday, April 13, 2019 - 12:25 AM UTC
Thomas,

Very nice job adding those ladders. Using a template was a great idea to fit those ladders down the side of the ship.

Mark
RussellE
#306
Visit this Community
Victoria, Australia
Joined: June 27, 2010
KitMaker: 3,959 posts
Model Shipwrights: 2,777 posts
Posted: Saturday, April 13, 2019 - 12:25 PM UTC
Nice work on those ladders Thomas
I always shy away from those individual steps as I'd never get them in line, but you've done a pretty good job
TimReynaga
Staff MemberAssociate Editor
MODEL SHIPWRIGHTS
Visit this Community
California, United States
Joined: May 03, 2006
KitMaker: 2,500 posts
Model Shipwrights: 1,830 posts
Posted: Sunday, April 14, 2019 - 04:30 AM UTC
Thomas,

Your hull side ladders look great, nice and even... which is why I usually work in smaller scales where I can get away with not dealing with such details. Nice work!

surfsup
Visit this Community
Queensland, Australia
Joined: May 20, 2010
KitMaker: 1,230 posts
Model Shipwrights: 1,212 posts
Posted: Monday, April 15, 2019 - 11:28 AM UTC
Lovely work with the Hull and the Ladder Rungs my Friend.....Cheers mark
Black_sheep
Visit this Community
Bayern, Germany
Joined: December 11, 2009
KitMaker: 823 posts
Model Shipwrights: 551 posts
Posted: Wednesday, April 17, 2019 - 04:33 AM UTC
Thank you all for watching and commenting my work here - very encouraging

Last night I did finished the main painting at the hull: After priming everything with Mr. Surfacer 1200 I painted the black waterline with GUNZE black. Then I masked it off and painted the unterwater ship with Lifecolor`s UA617 Regia Marina Italiana Verde scuro Antivegetativo (quite a mouthful, eh?) green. The color look spot on if you ask me. After that I sprayed Gunze H334 Barley Grey. Usually the Manual ask you for mixing two different Grey Colors but that Barley Grey look very like the same without mixing; that´s the reason I Chose this and I am very satisfied:


The ship´s name characters were used out of the etched upgrade set instead of the kit´s decals


Next step is to seal everything with a matt varnish and complete the screws, drilling out the portholes and close them again with kristal klear
ChurchSTSV
Visit this Community
Arizona, United States
Joined: September 20, 2017
KitMaker: 350 posts
Model Shipwrights: 175 posts
Posted: Wednesday, April 17, 2019 - 04:43 AM UTC
She is looking really good, Thomas.

Love that green despite its incredibly long name.
Quincannon
Visit this Community
Colorado, United States
Joined: June 22, 2018
KitMaker: 275 posts
Model Shipwrights: 273 posts
Posted: Wednesday, April 17, 2019 - 05:03 AM UTC
Absolutely splendid Thomas.

The Verde, and Barley sounds like it may be the makings of one of SWMBO's pasta dishes, but I will let that go for now and concentrate on following what is both a beautiful rendition of the ship, along with a stand that makes me Verde with envy.

You can always tell the difference between a modeler like yourself who prepares the stand in advance of model completion, and a hack like me who hopes and prays, saving the stand ordering and engraving for after if the model turns out halfway decent. Order far fewer stands than the number of models I build.
 _GOTOTOP