Thomas,
joining in late - almost as usual... But I'd never miss out on one of your build logs!
I do have the Schleswig-Holstein 1935 in my stash, too - well, some time to go - but actually I'm quite keen to build her, for that's a very special one, one of two of the old pre-dreadnoughts of the DKM that made it into the second world war.
Great effort to get here right! Once more a really great build log of yours!
Cheers
Jan
You are viewing the archived version of the site.
Go to modelshipwrights.com for the current dynamic site!
Go to modelshipwrights.com for the current dynamic site!
Hosted by Steve Joyce
Schulschiff Schleswig-Holstein 1939 1:350
Posted: Thursday, July 30, 2020 - 09:31 AM UTC

Black_sheep

Joined: December 11, 2009
KitMaker: 823 posts
Model Shipwrights: 551 posts

Posted: Friday, July 31, 2020 - 04:50 AM UTC
Quoted Text
Thomas,
joining in late - almost as usual... But I'd never miss out on one of your build logs!
I do have the Schleswig-Holstein 1935 in my stash, too - well, some time to go - but actually I'm quite keen to build her, for that's a very special one, one of two of the old pre-dreadnoughts of the DKM that made it into the second world war.
Great effort to get here right! Once more a really great build log of yours!
Cheers
Jan
Hello Jan,
no need to worry - you know "better late than never" so you are always welcome aboard

Indeed the Schleswig-Holstein is a really interesting ship international known for her opening shots against the Westerplatte. Ships with a distinct history are very interesting for me. But be prepared mate if you will start to build her one day - there is a lot of work and improvement ahead of you...
Have a nice warm weekend in Hamburg with some Alsterwassers


TimReynaga

Joined: May 03, 2006
KitMaker: 2,500 posts
Model Shipwrights: 1,830 posts

Posted: Friday, July 31, 2020 - 12:11 PM UTC

Black_sheep

Joined: December 11, 2009
KitMaker: 823 posts
Model Shipwrights: 551 posts

Posted: Friday, July 31, 2020 - 08:43 PM UTC
Quoted Text
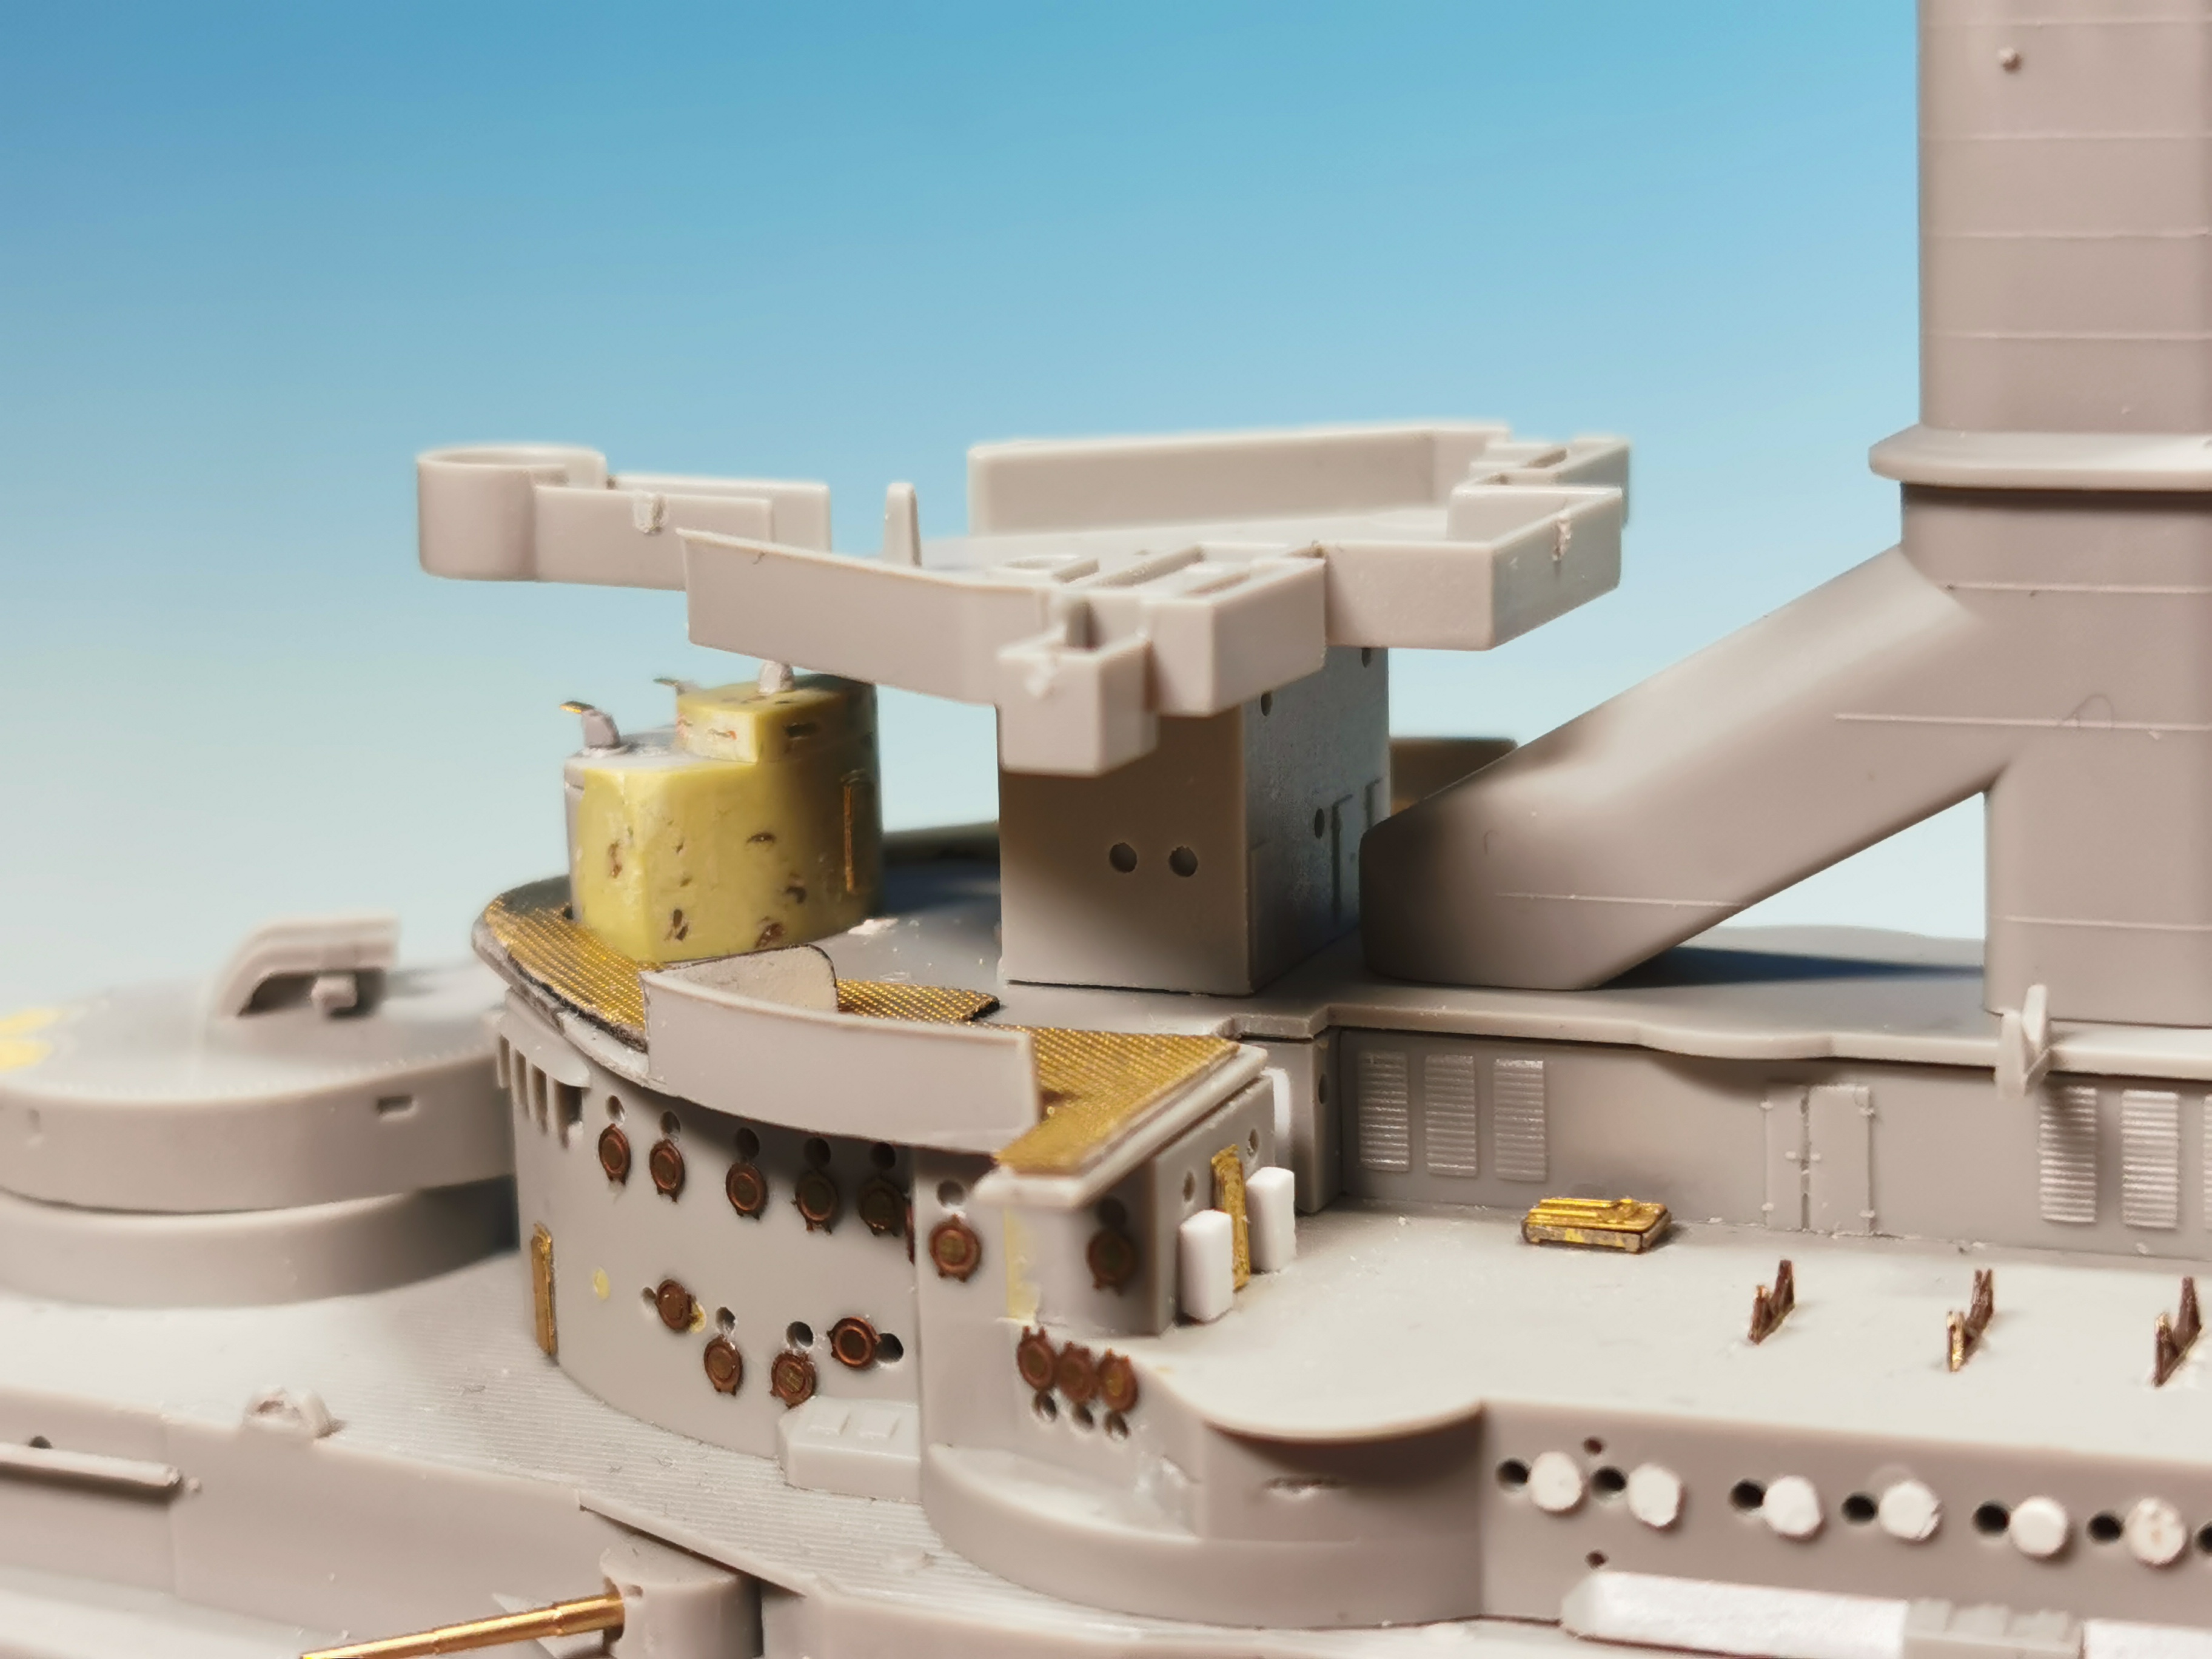
Thomas, nice work with the armored bridge!
Is it just me... or does it resemble a bit of chewy candy or cheese or something...?

Hey Tim, thank you! Yes these armored bridges were formerly made out of old cheese sometimes when raw materials were scarce. Old cheese can get very hard you know, even impregnable to certain projectiles - no seriously: I just used the true and original milliput standart yellow-grey putty
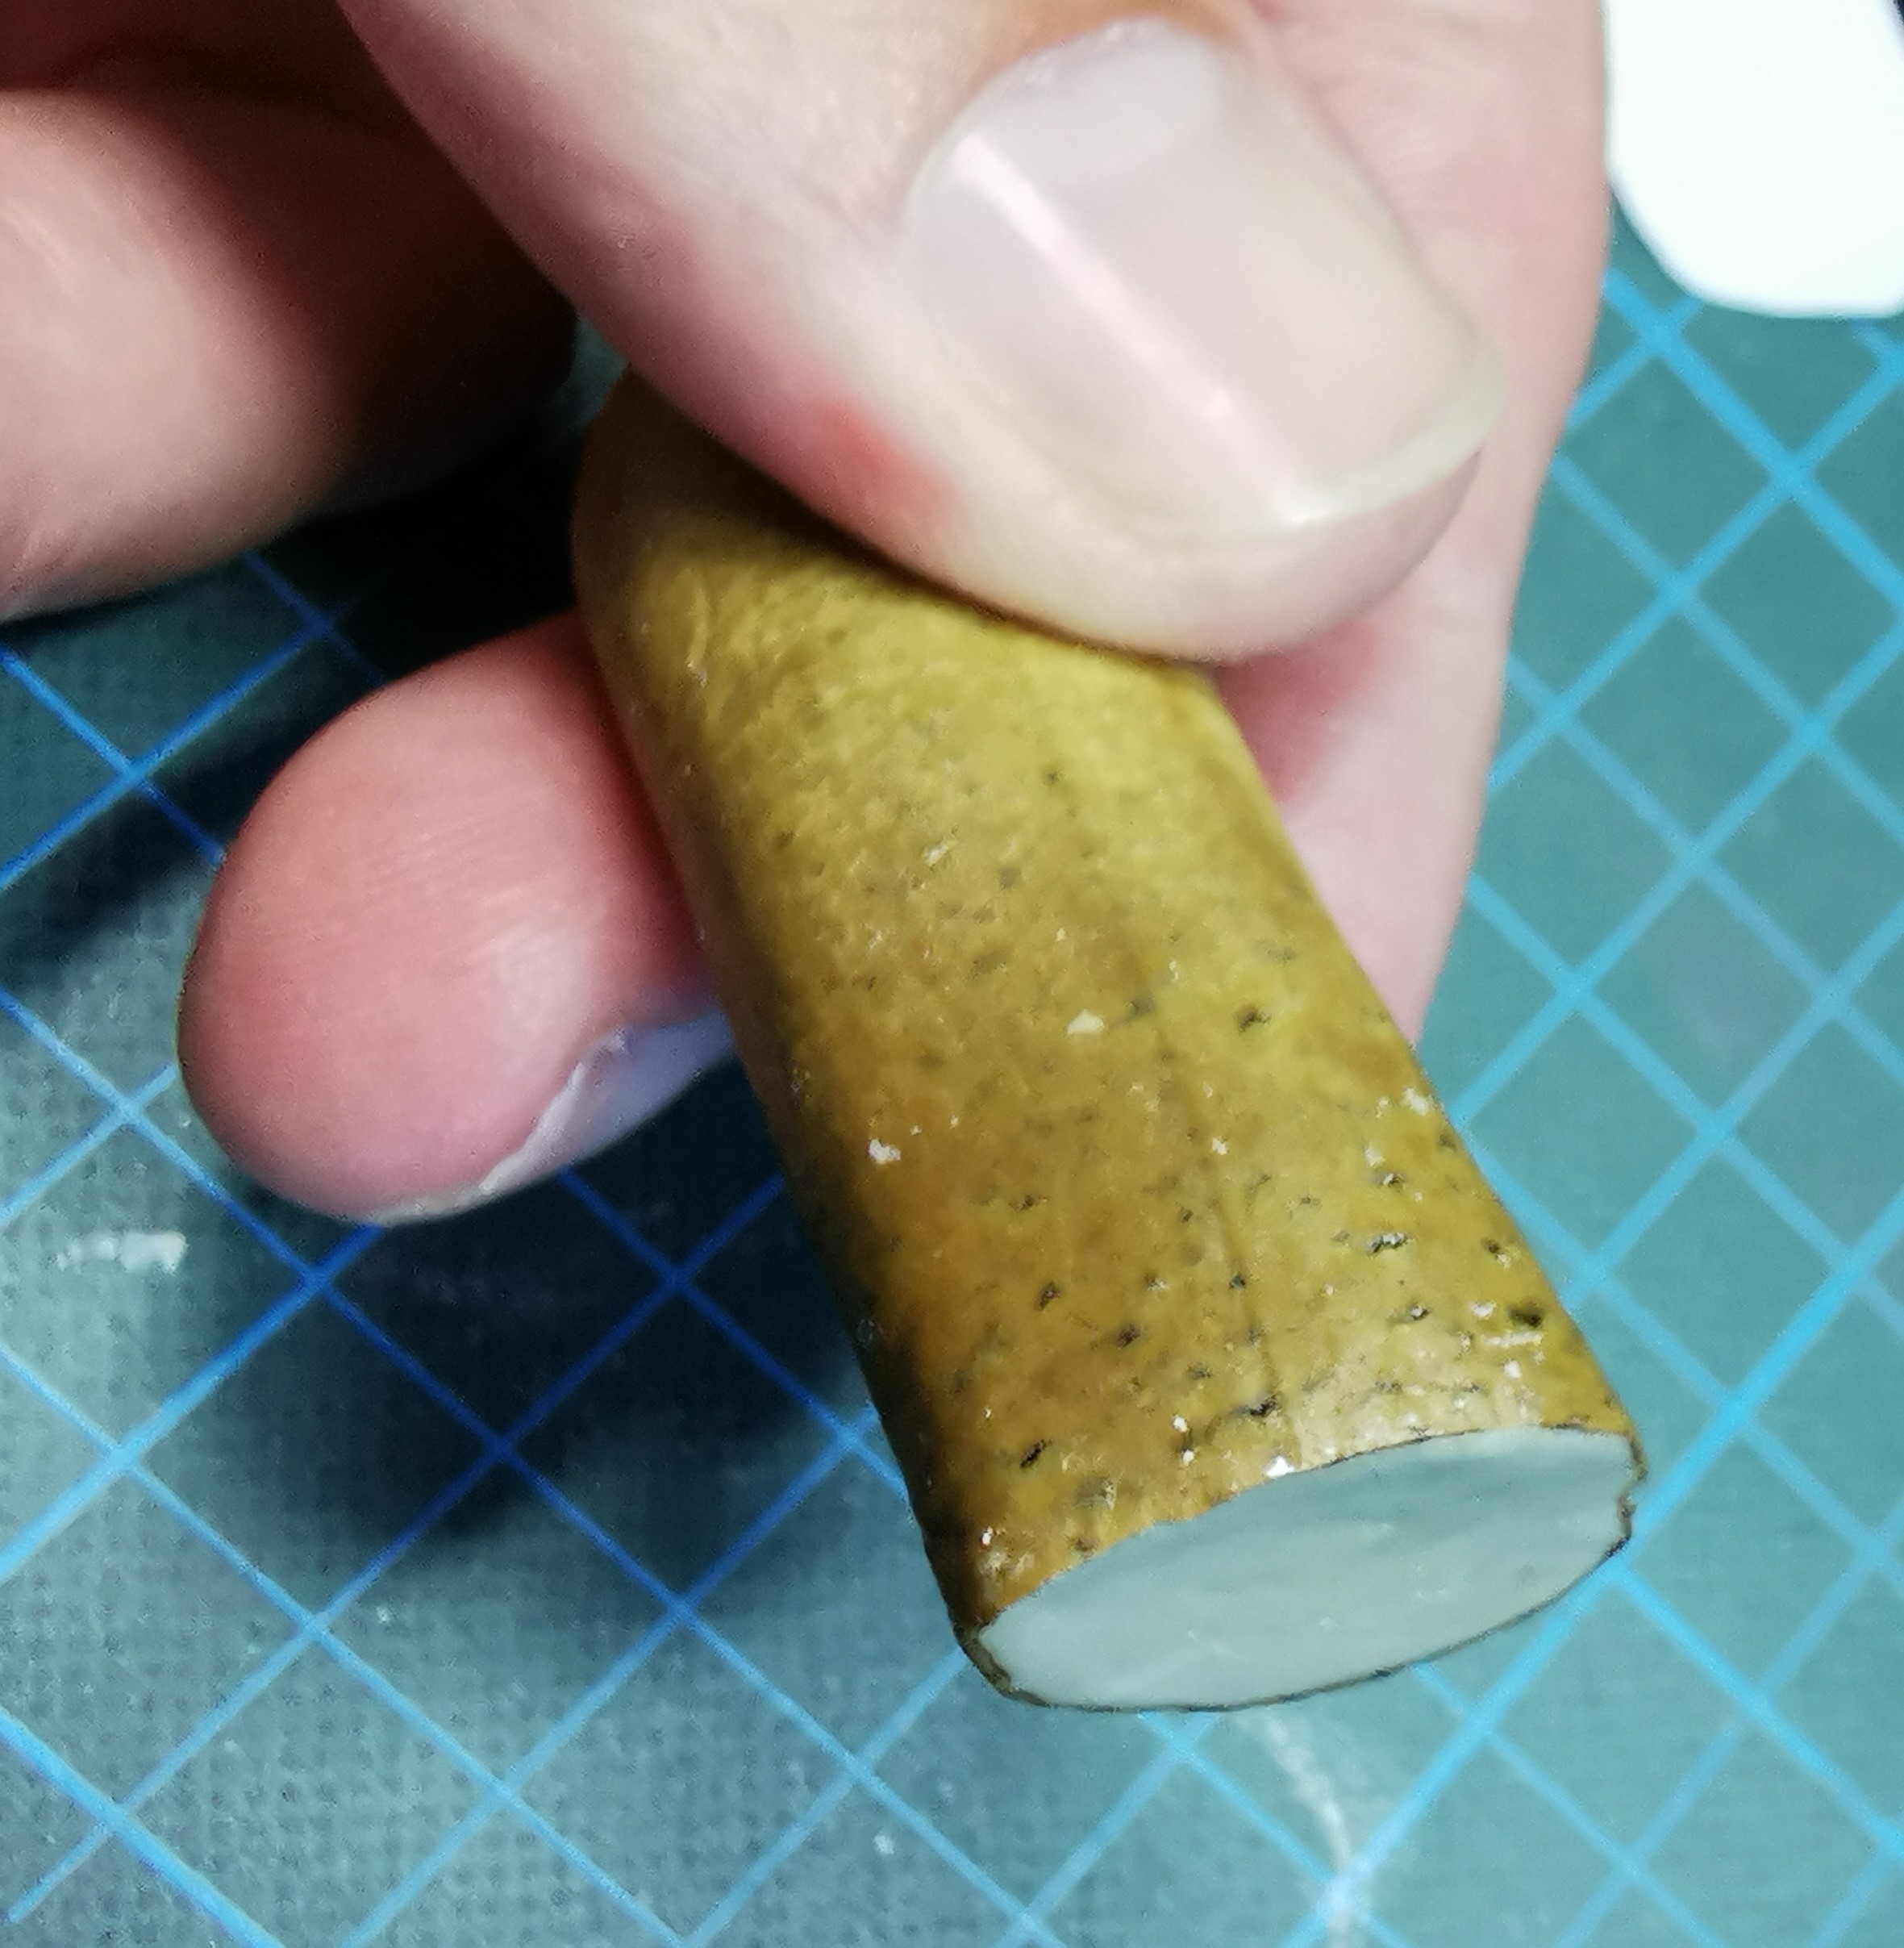
But even if you put them in a sealed back where no fresh air can come in the outside is getting dark after some time. I usually shave this away as it is getting a bit harder as the inside core but it is still workable even if it looks funny in the end
But after the painter had done his job carefully you will nothing see anymore about this


Black_sheep

Joined: December 11, 2009
KitMaker: 823 posts
Model Shipwrights: 551 posts

Posted: Friday, August 07, 2020 - 05:10 AM UTC
I want to show you some small progress with my Schleswig-Holstein: The railing of the upper bridge is finished. The frontside is glued already and all the other railings are prebended and will be fixed later when the complete superstructure is painted. I have to say that these railings are more delicate than others I had before. Extremely care is necessary not to bend one accidently. The strange shapes which have to be bended donīt add safety to this, too:
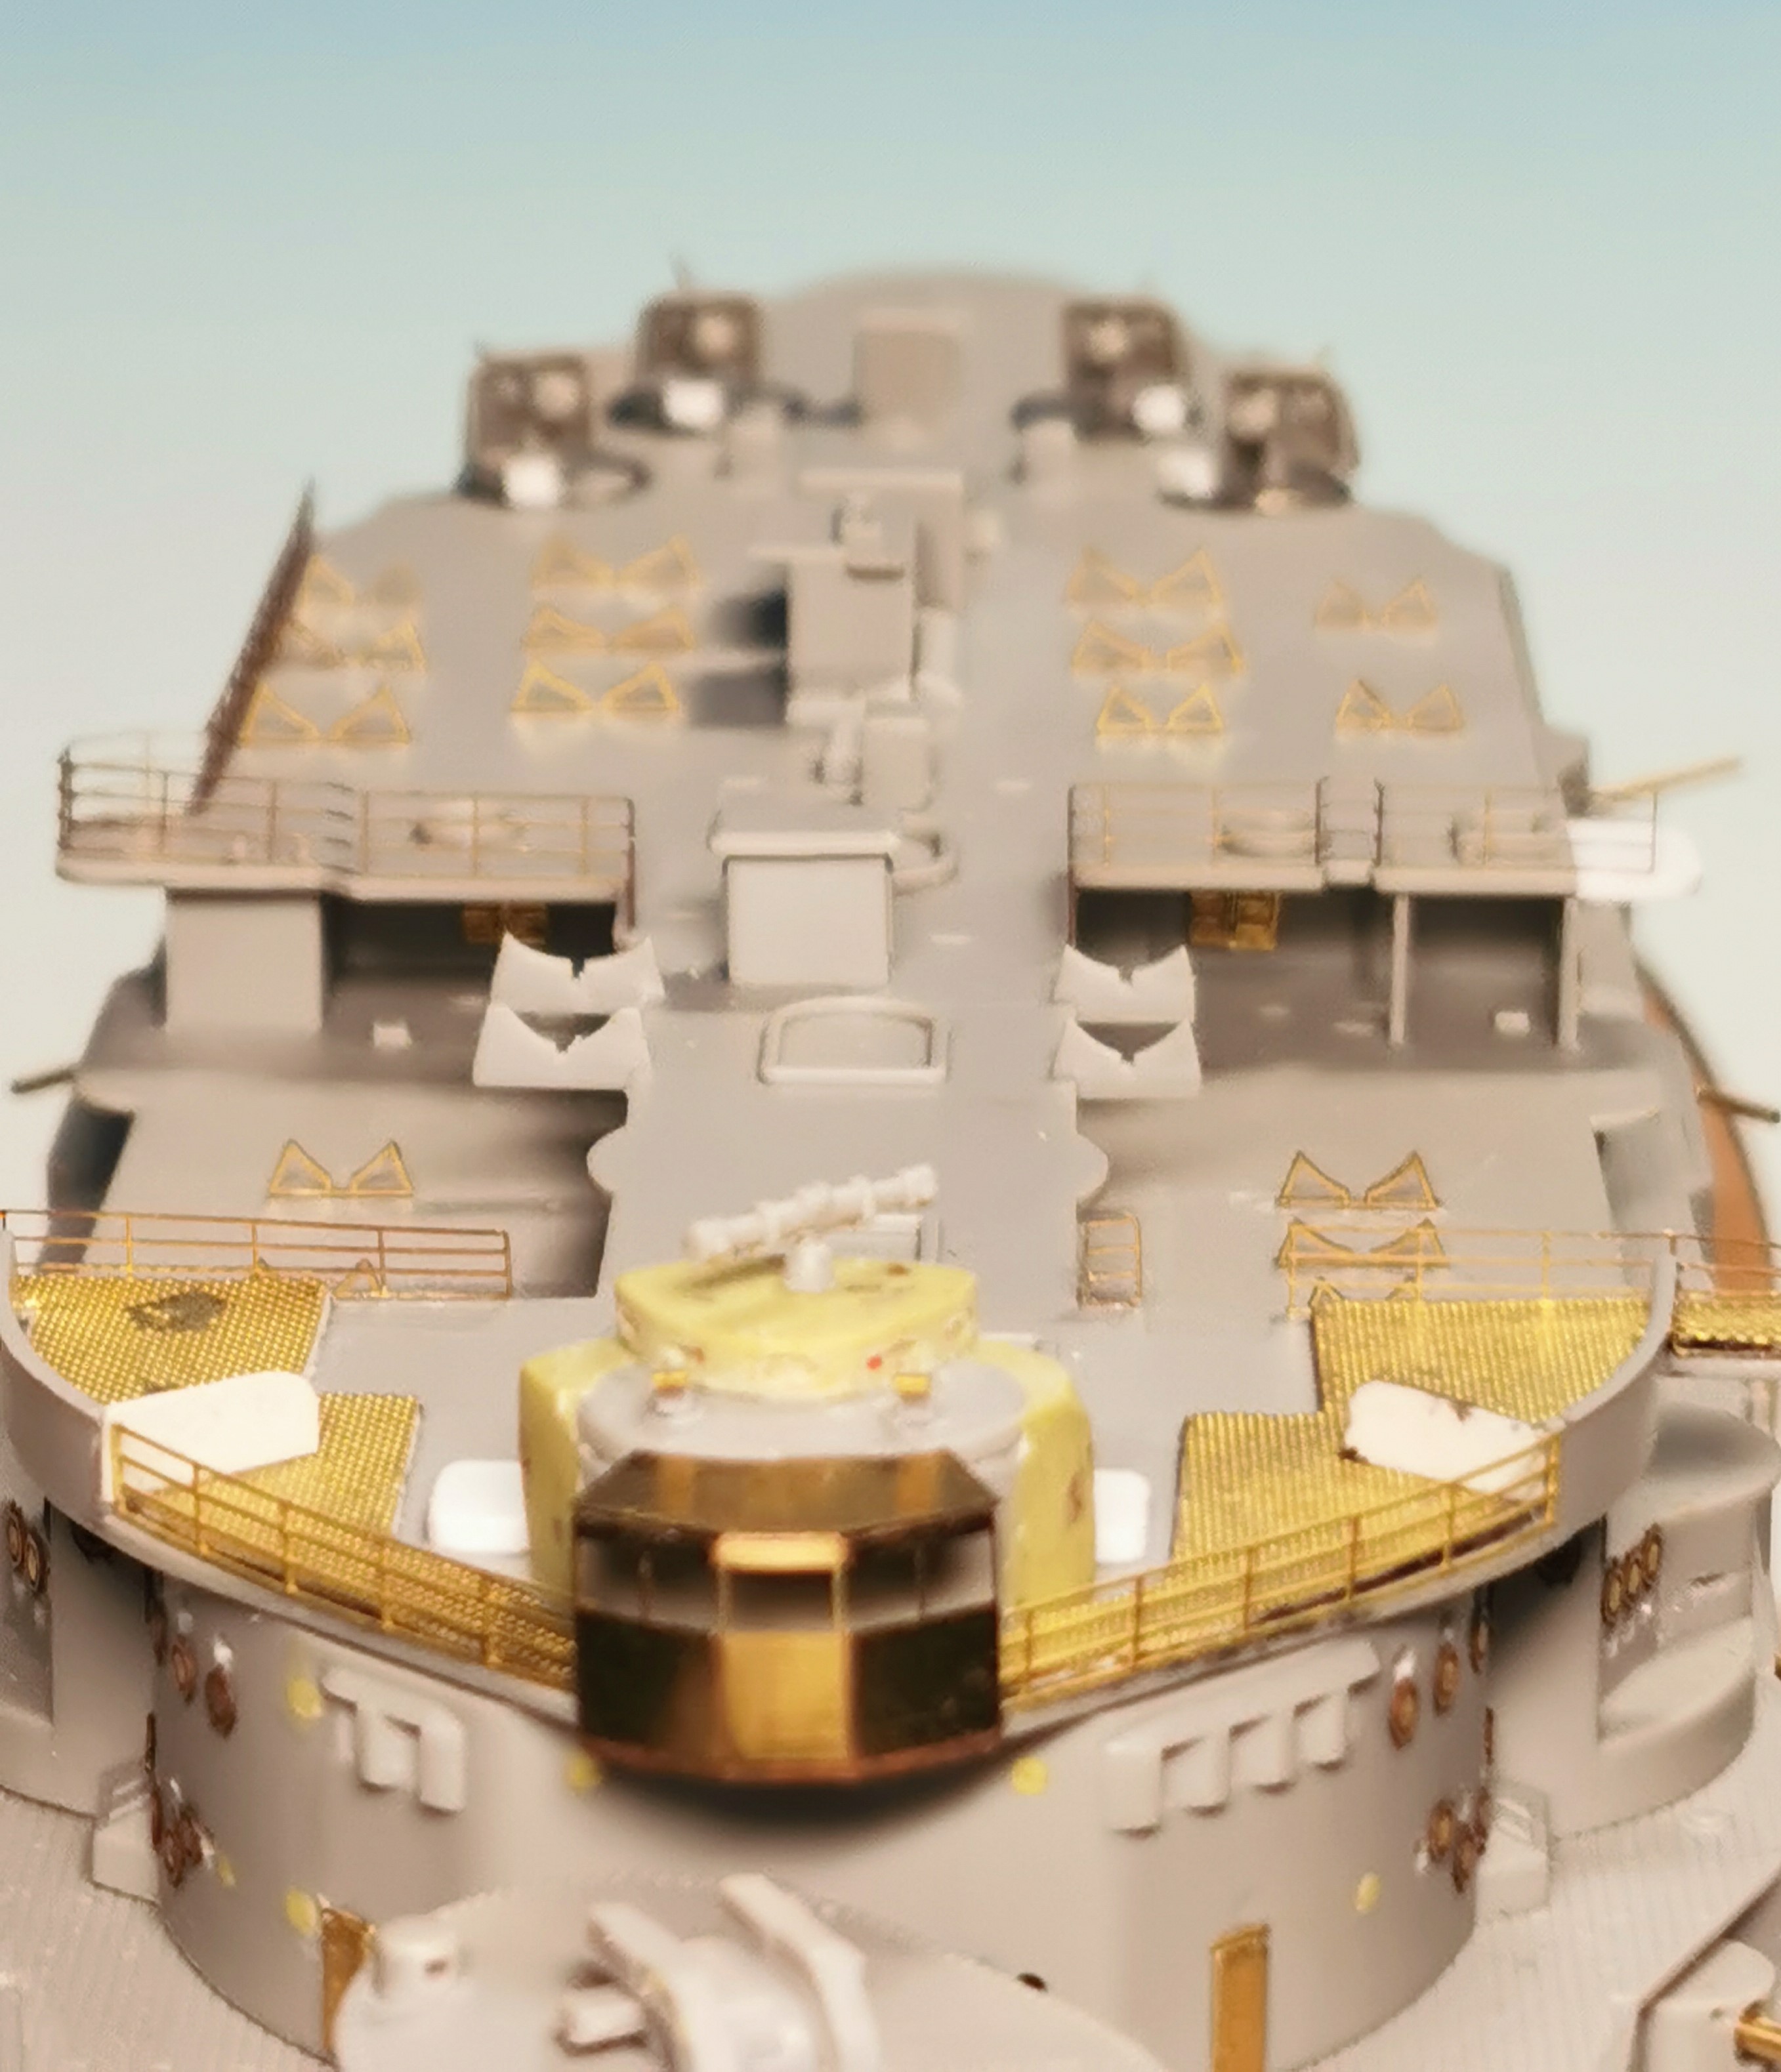
I also prepared all the aperatures which were there at the 1st upper bridge. These parts are all from VETERANīs Kriegsmarine set - very fragile but supernice in detail!
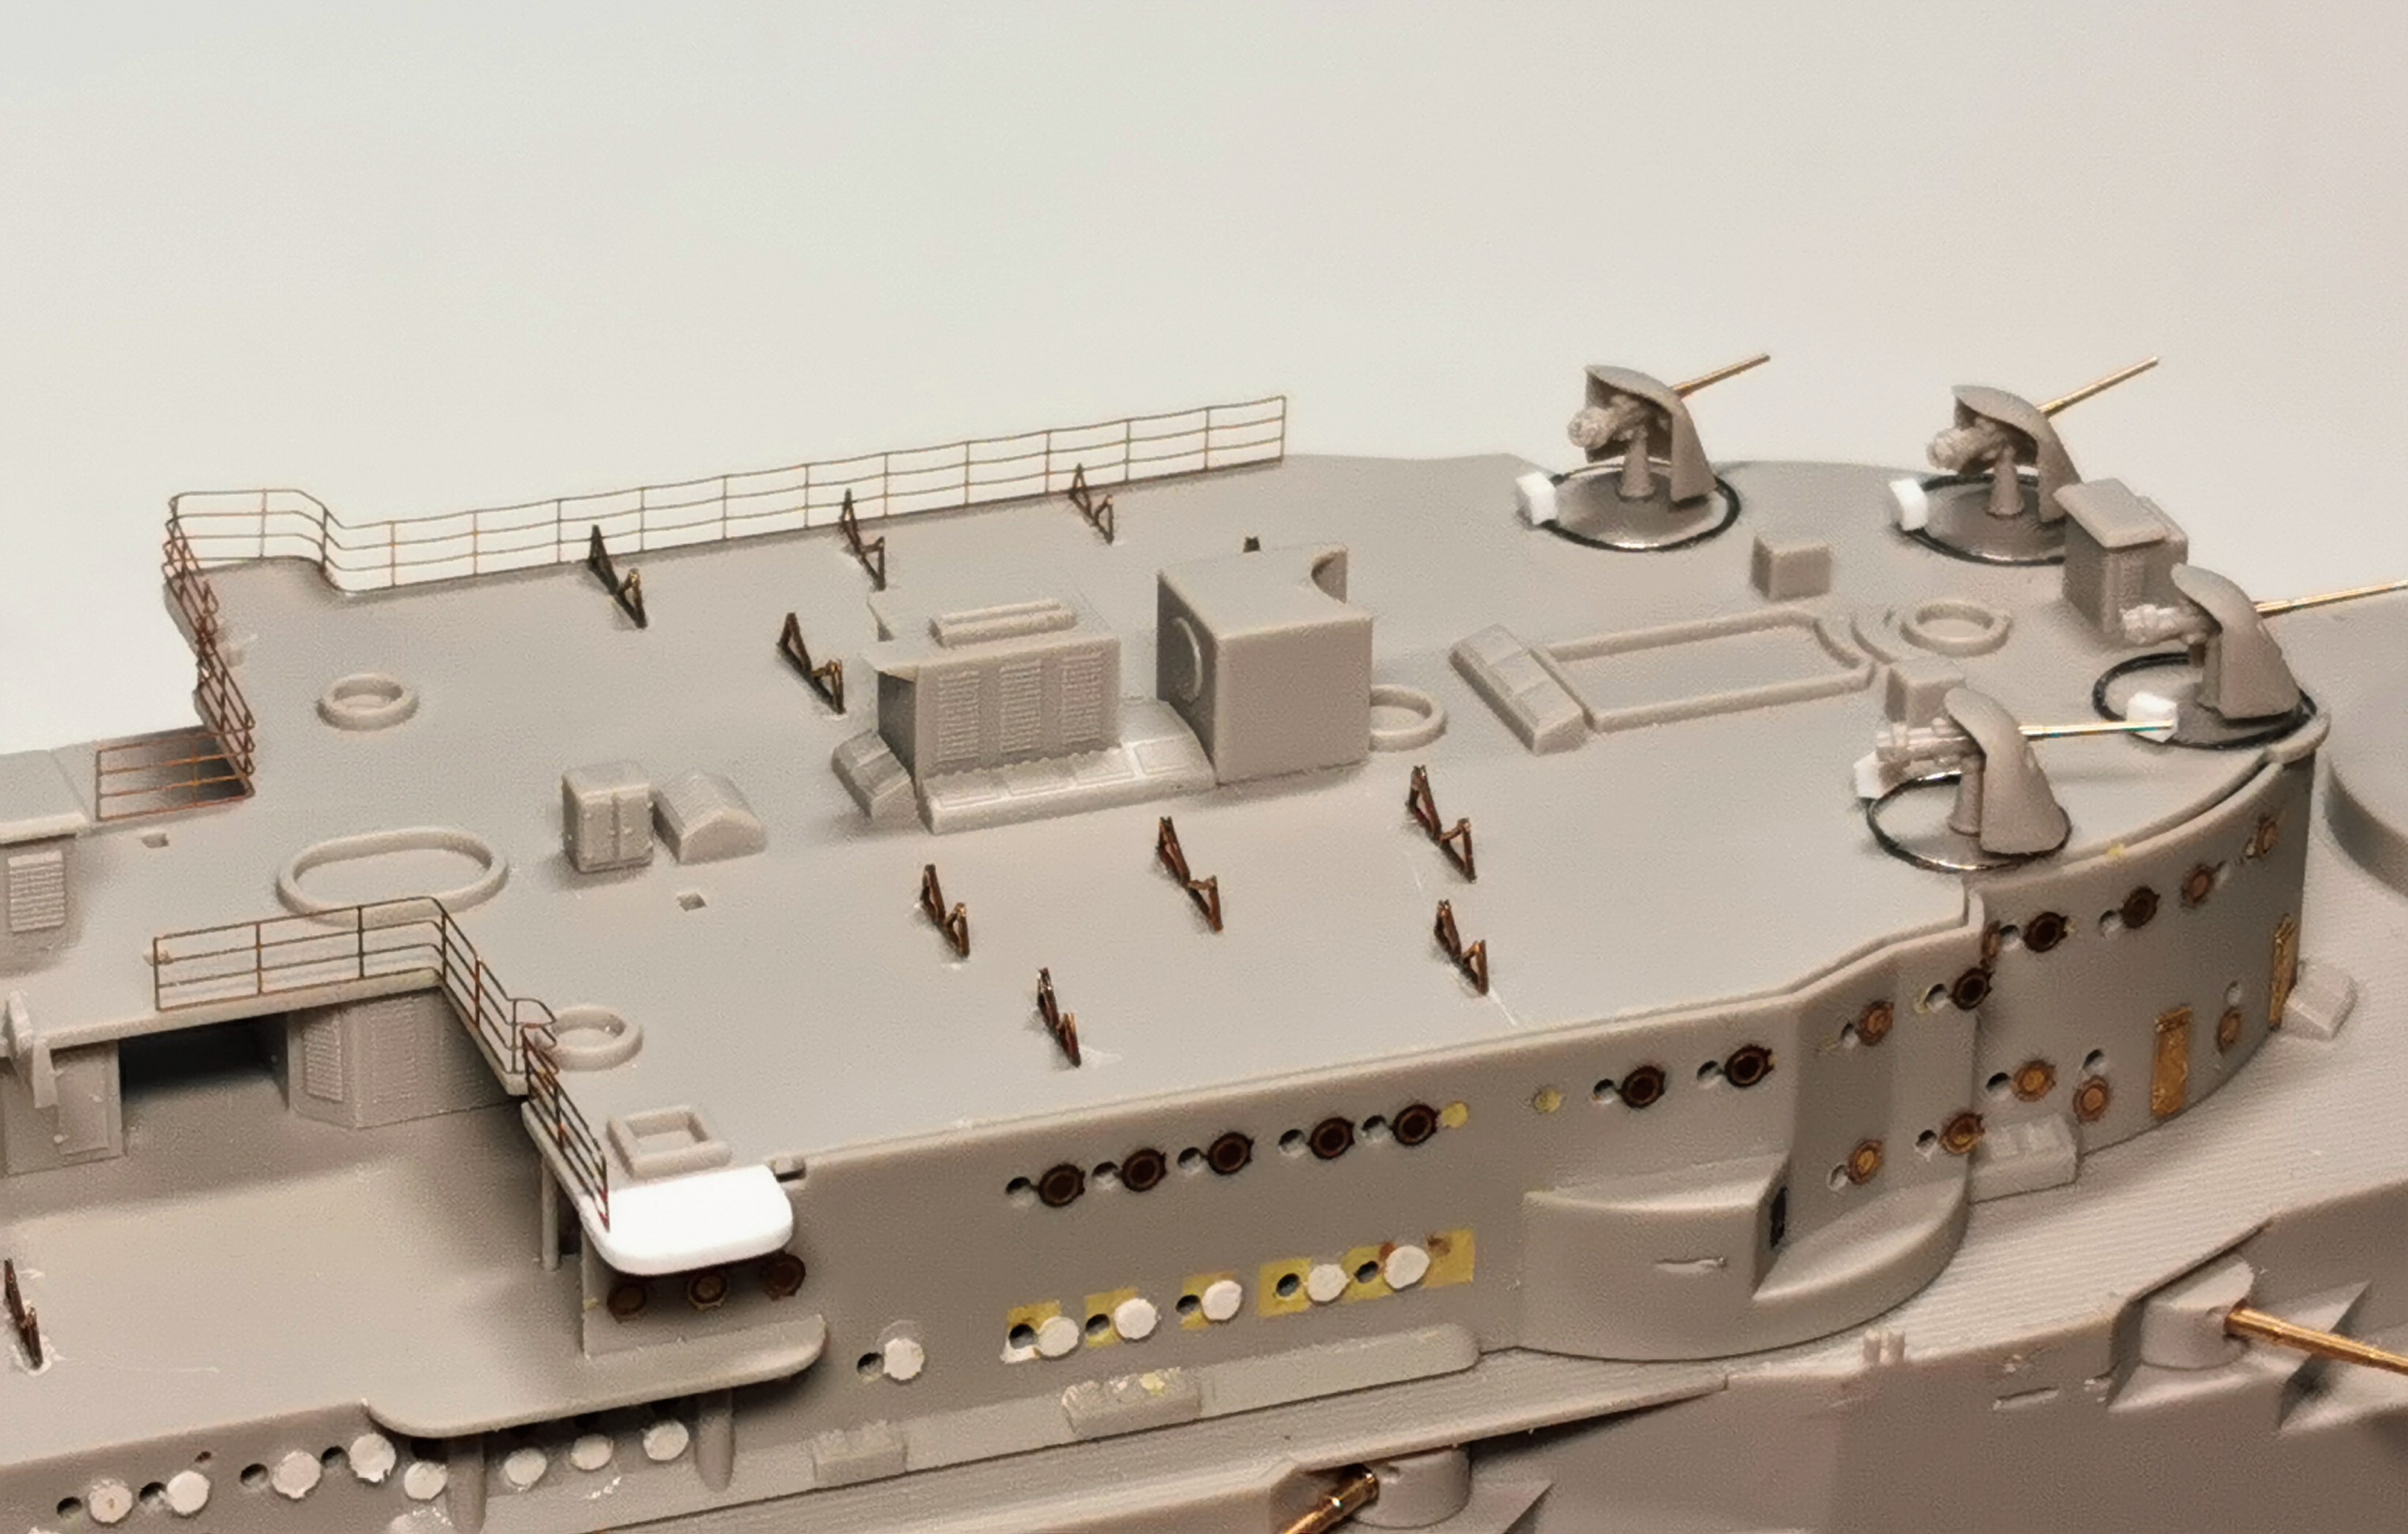
Some of the aft railings are prefitted for testing. The 8.8 cm guns are installed already
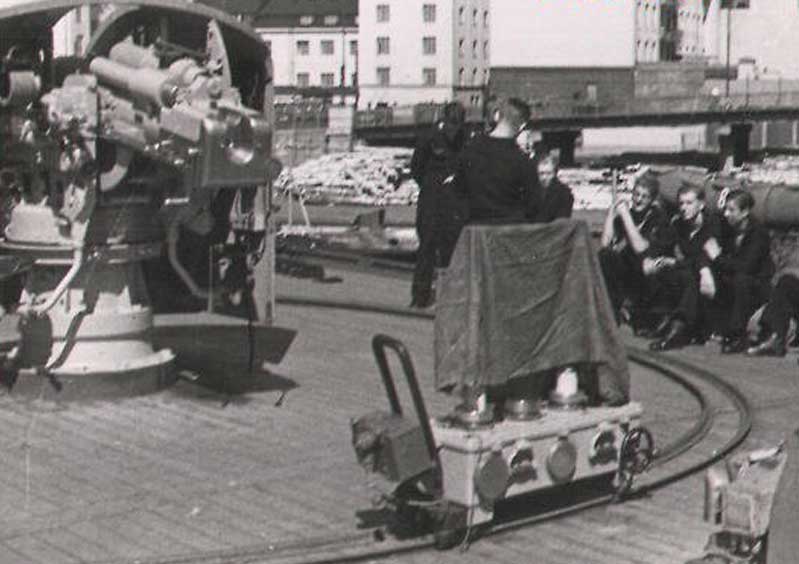
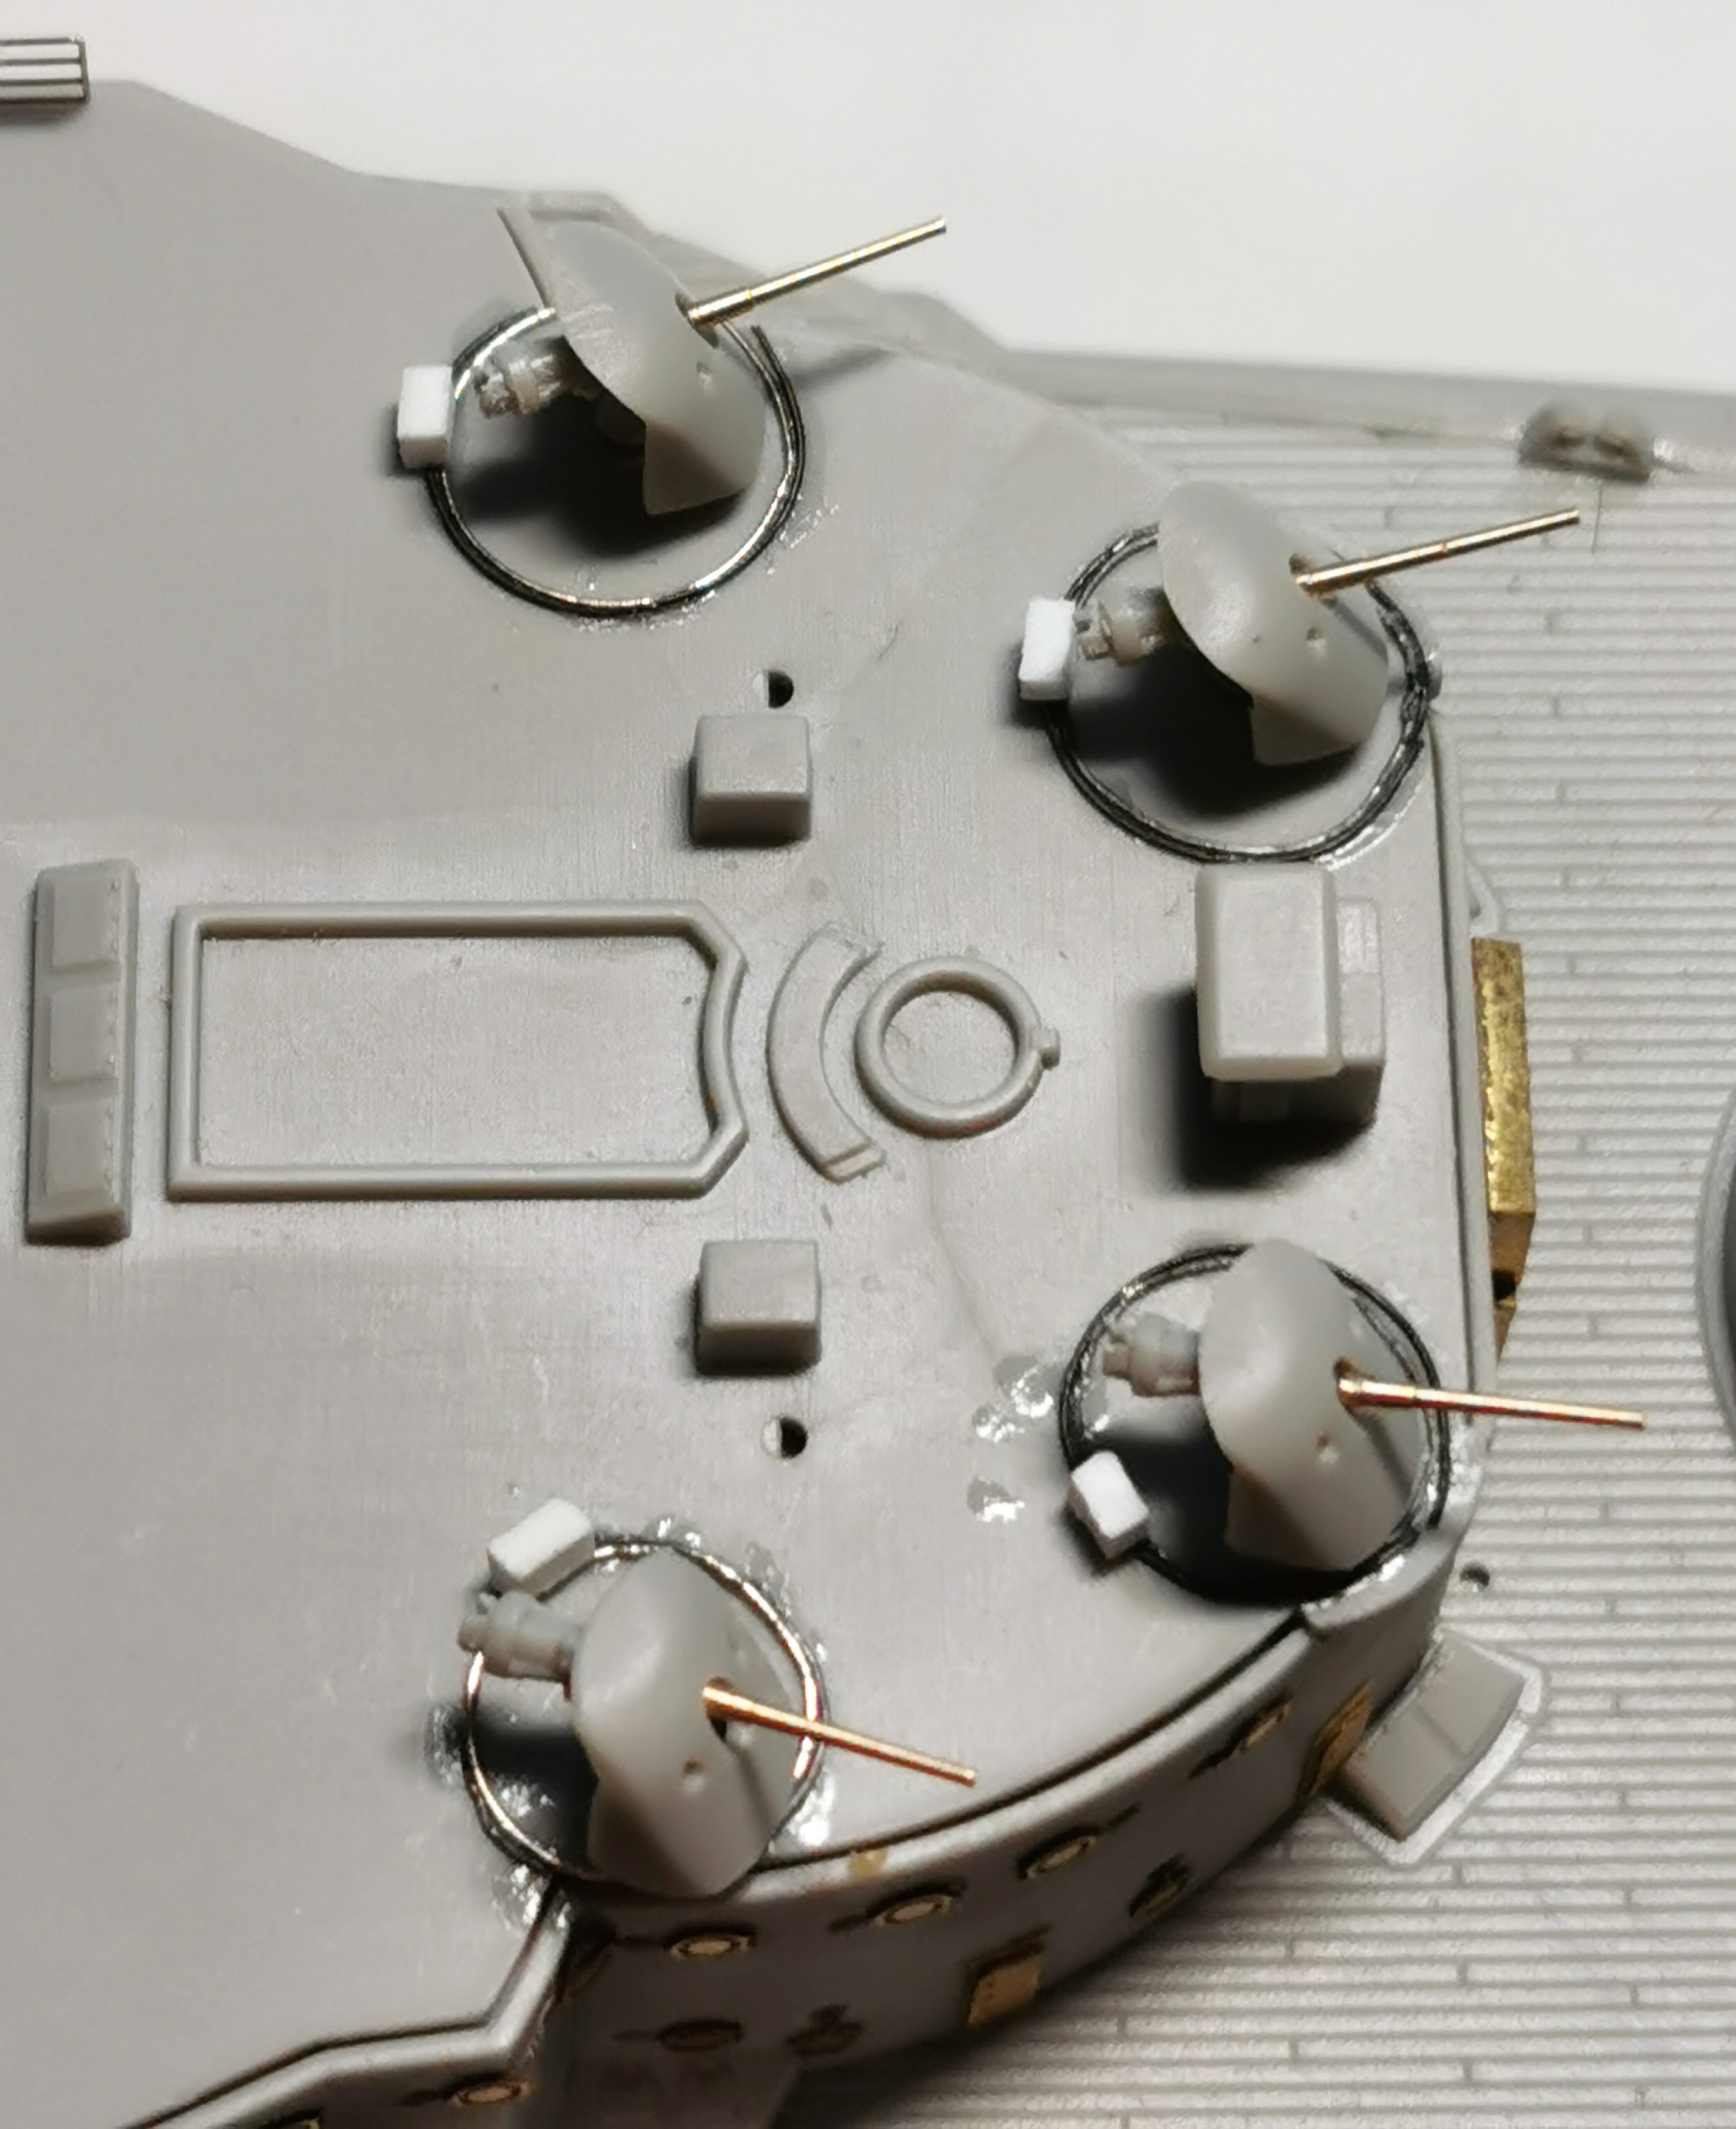
Here TRUMPETER again completely ommitted the railings for the fuse setters around each 8.8 cm Flak. Here is a picture of one real one:
I did this with circular bended 0,2 mm wire - each two times for two railings around each gun. I hope it will be better visible later after a drybrush. These circles arenīt too exactly but I failed to achive a better result. The fuse setting devices were resembled out of an Evergreen sheet
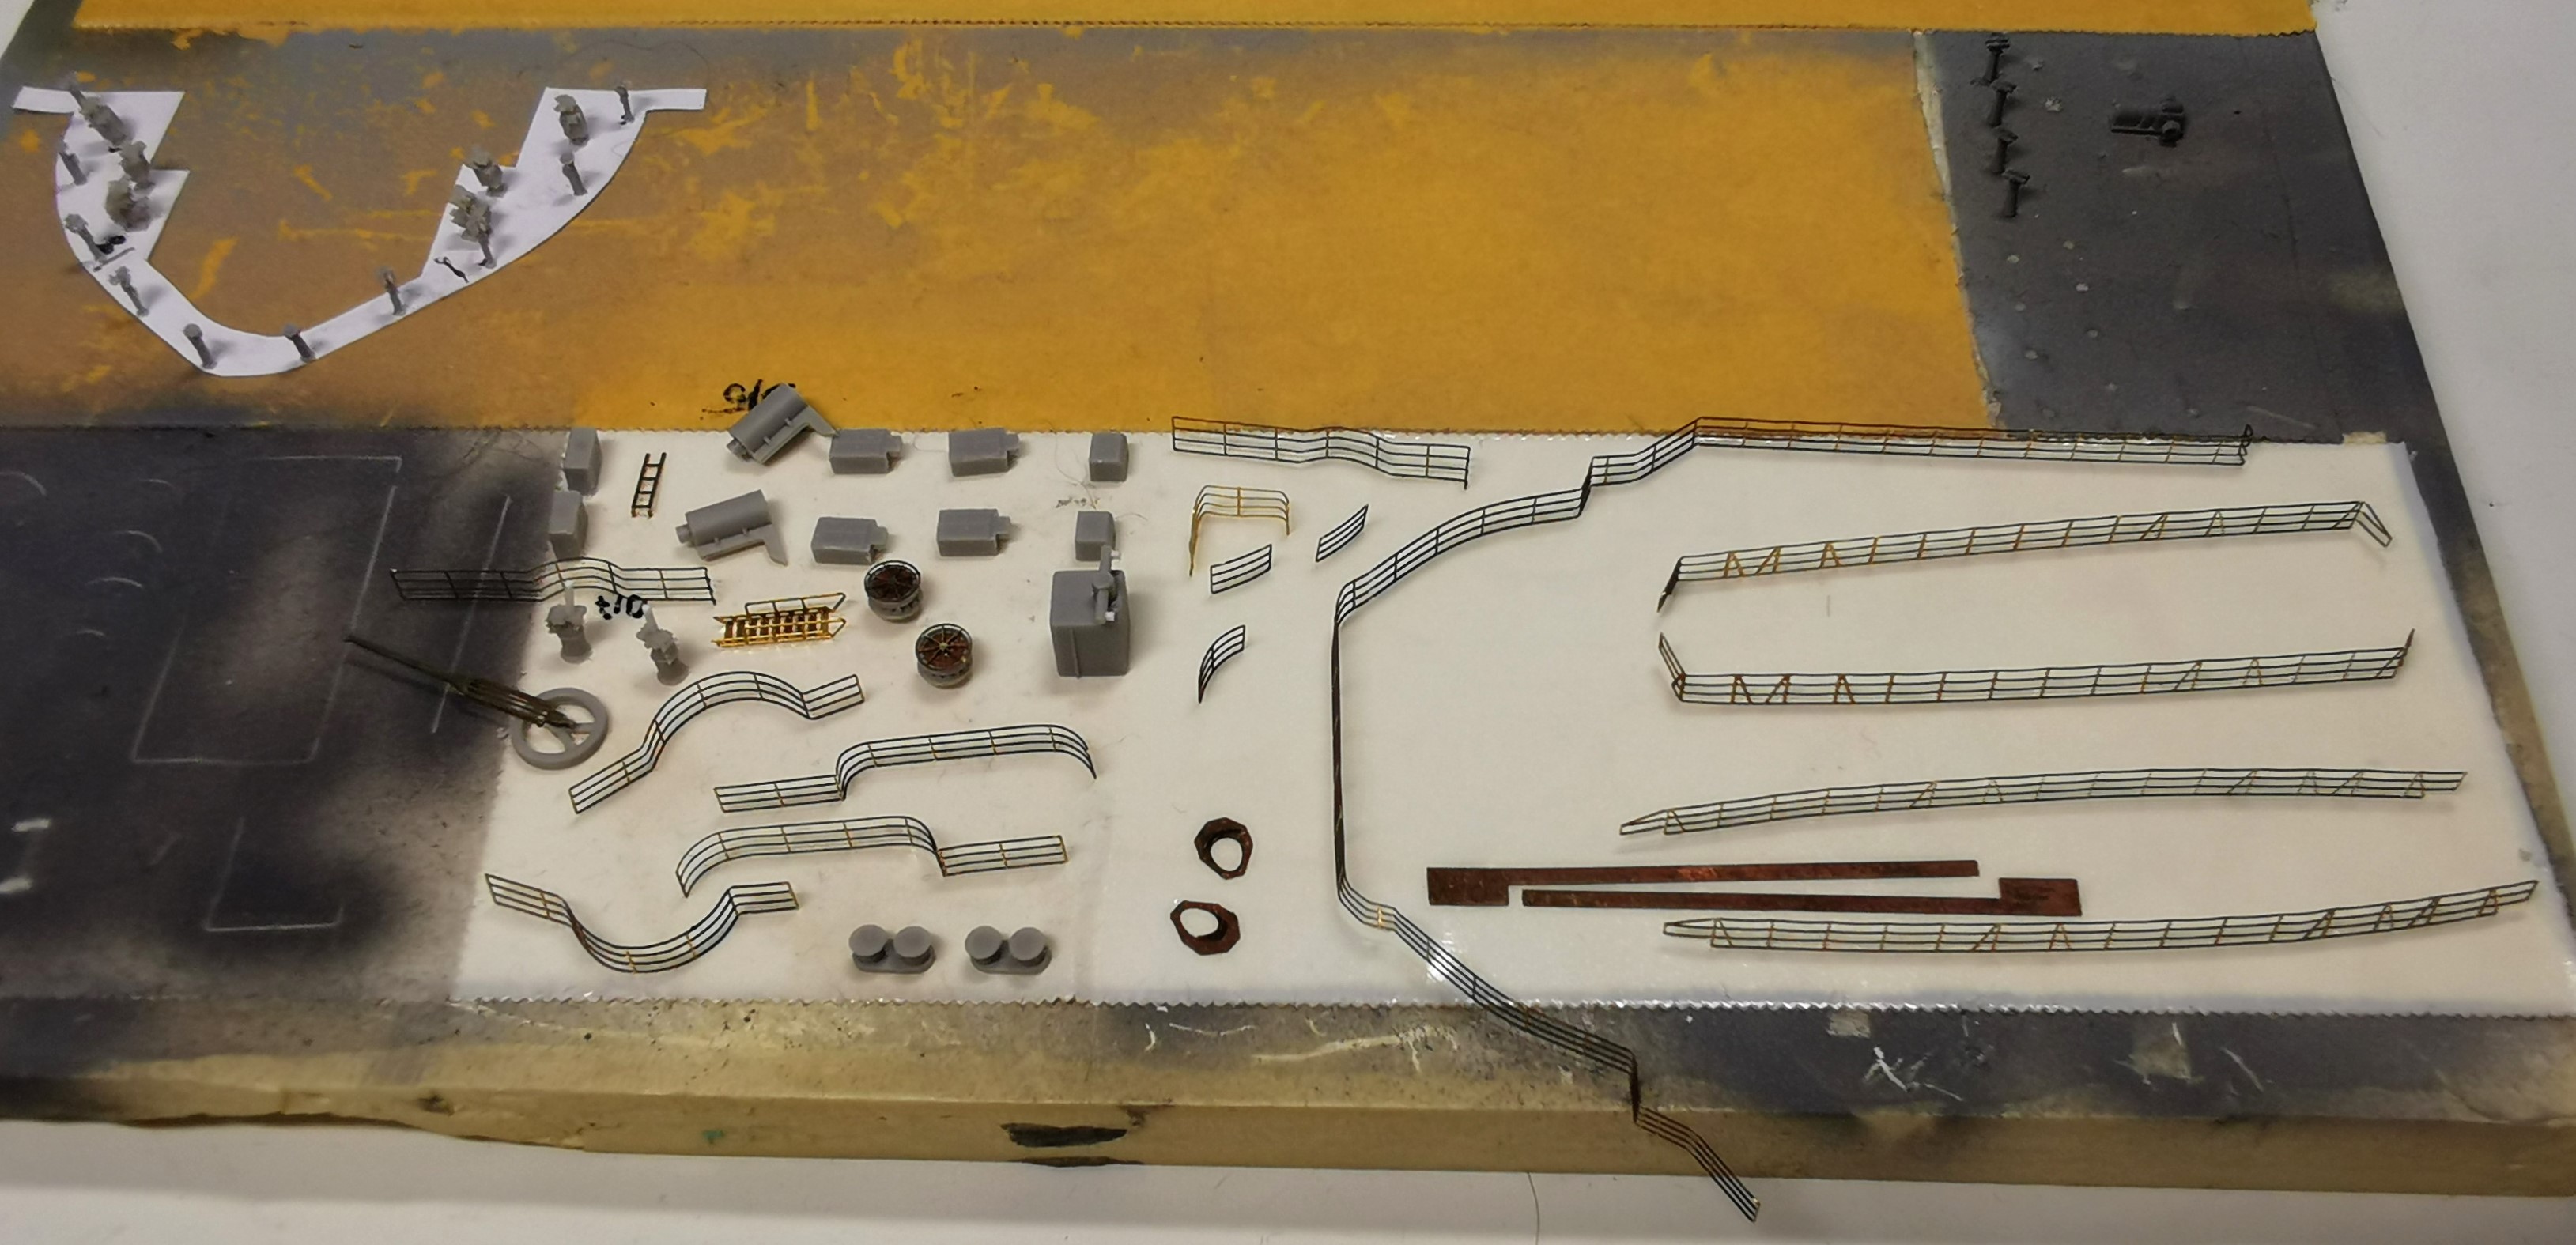
And finally the growing table of small parts waiting for painting
Next will be the water diorama base and after that painting the hull

I also prepared all the aperatures which were there at the 1st upper bridge. These parts are all from VETERANīs Kriegsmarine set - very fragile but supernice in detail!

Some of the aft railings are prefitted for testing. The 8.8 cm guns are installed already

Here TRUMPETER again completely ommitted the railings for the fuse setters around each 8.8 cm Flak. Here is a picture of one real one:

I did this with circular bended 0,2 mm wire - each two times for two railings around each gun. I hope it will be better visible later after a drybrush. These circles arenīt too exactly but I failed to achive a better result. The fuse setting devices were resembled out of an Evergreen sheet

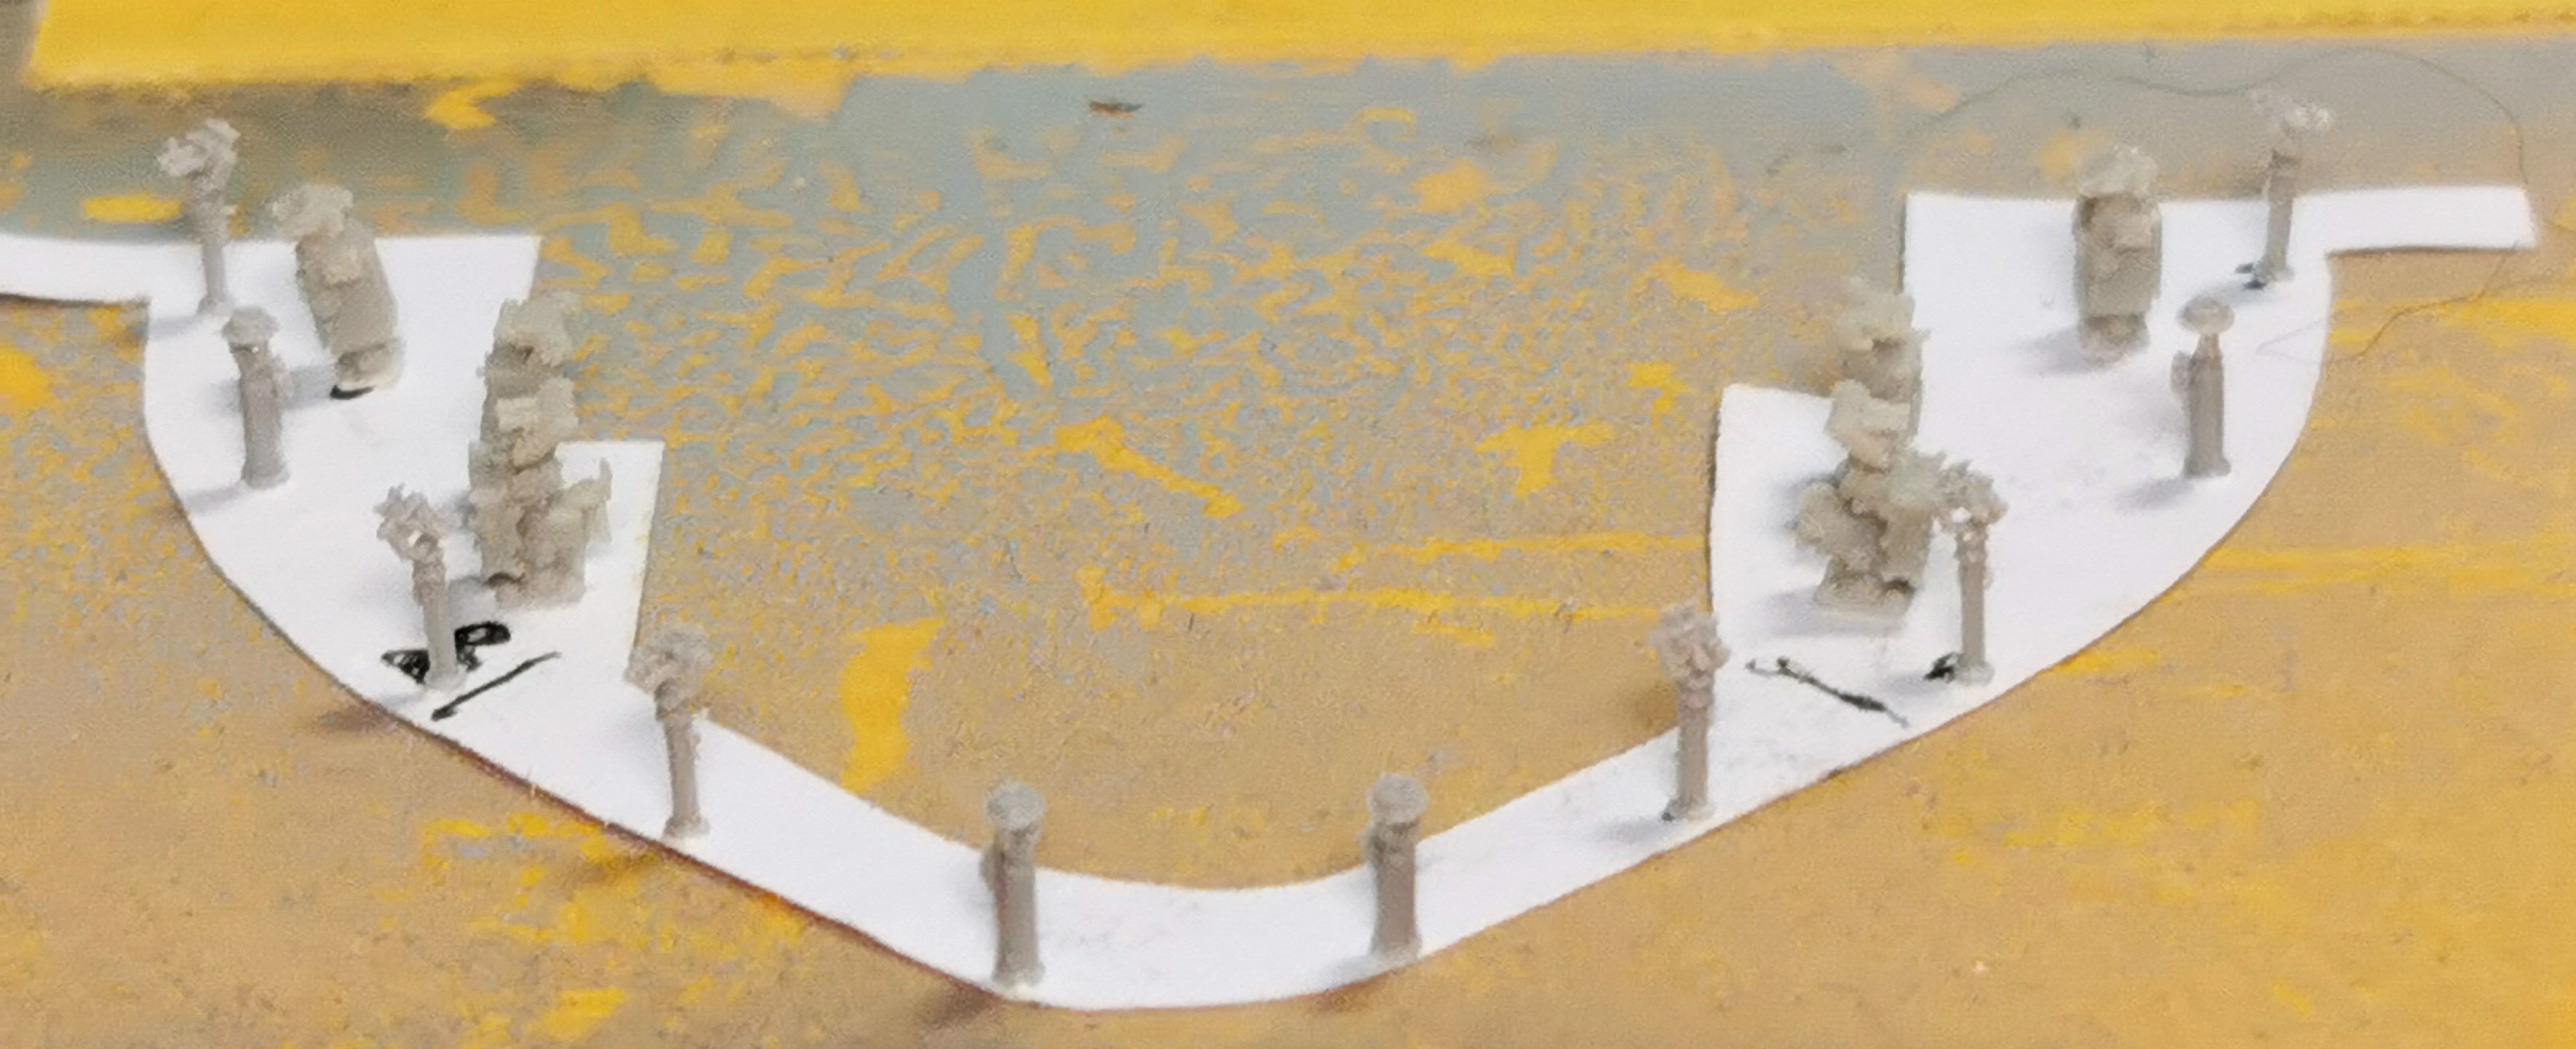
And finally the growing table of small parts waiting for painting

Next will be the water diorama base and after that painting the hull

Posted: Friday, August 07, 2020 - 05:43 AM UTC
Looking really good Thomas. Love your attention to the small details.
Posted: Friday, August 07, 2020 - 05:53 AM UTC
Thomas,
Really looking good. Glad someone can pre-bend railings, me if I get then bend close enough they get installed.
Mark
Really looking good. Glad someone can pre-bend railings, me if I get then bend close enough they get installed.
Mark


Black_sheep

Joined: December 11, 2009
KitMaker: 823 posts
Model Shipwrights: 551 posts

Posted: Friday, August 07, 2020 - 06:10 AM UTC
Quoted Text
Looking really good Thomas. Love your attention to the small details.
Thank you Rory I give my best to let her as close as possible as the real ship


Black_sheep

Joined: December 11, 2009
KitMaker: 823 posts
Model Shipwrights: 551 posts

Posted: Friday, August 07, 2020 - 06:13 AM UTC
Quoted Text
Thomas,
Really looking good. Glad someone can pre-bend railings, me if I get then bend close enough they get installed.
Mark
Hey Mark,
its not too difficult. I use a folding device and sometimes also two tweezers; that works astonishing well. It is getting more difficult if you have to bend railings circular. Here I had to bend and fold an extraordinary long piece of railing for the aft superstructure which was not really easy but it should fit later

Posted: Friday, August 07, 2020 - 08:34 AM UTC
Thomas,
great update and great progress! Very delicate work on etch and particularly the railings, I do them more like in an "in-situ approach". I love your attention to detail, like the rails for the 8.8 fuse setters or your work on the bridge!
Cheers
Jan
great update and great progress! Very delicate work on etch and particularly the railings, I do them more like in an "in-situ approach". I love your attention to detail, like the rails for the 8.8 fuse setters or your work on the bridge!
Cheers
Jan
Posted: Friday, August 07, 2020 - 01:46 PM UTC
Beautiful work, Thomas!
I wonder how many of the Kaiser's ships have fuse setters on railings.
I wonder how many of the Kaiser's ships have fuse setters on railings.

Black_sheep

Joined: December 11, 2009
KitMaker: 823 posts
Model Shipwrights: 551 posts

Posted: Saturday, August 08, 2020 - 12:56 AM UTC
Quoted Text
Beautiful work, Thomas!
I wonder how many of the Kaiser's ships have fuse setters on railings.
Hey Gazza, as far as I know all of the three ships of the Deutschland Class had have these 8,8 cm Flaks aboard. At WWI these were intended against torpedoboats but as the vessel was converted into a school ship and the 8.8 cm gun were used by the anti air studends I presume these fuse setters were added at this time. But I dont have a proof...

Black_sheep

Joined: December 11, 2009
KitMaker: 823 posts
Model Shipwrights: 551 posts

Posted: Saturday, August 08, 2020 - 01:01 AM UTC
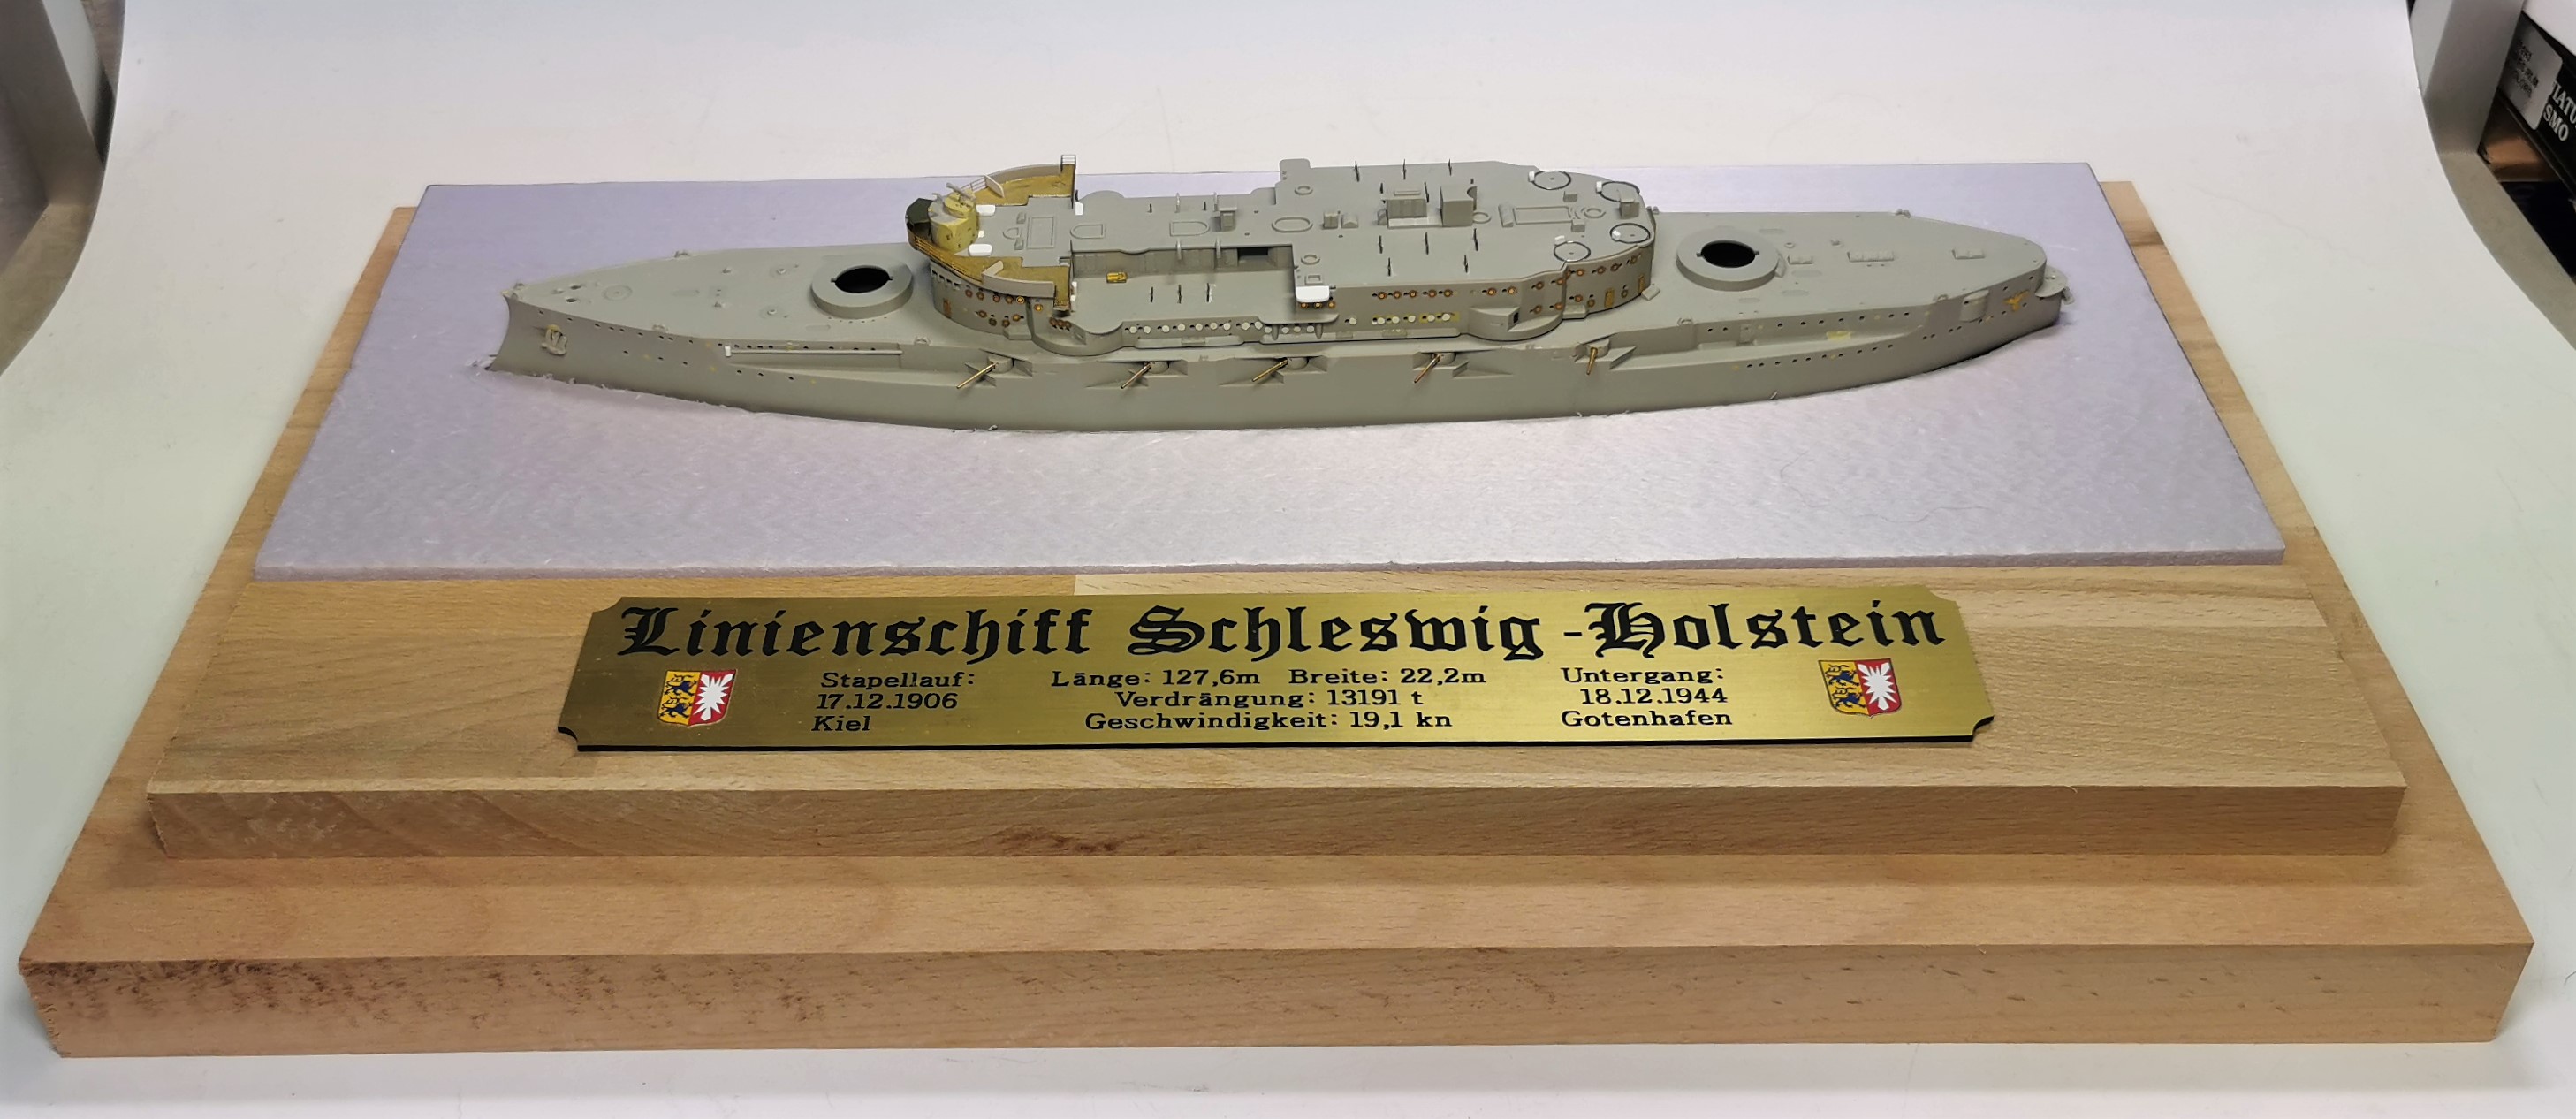
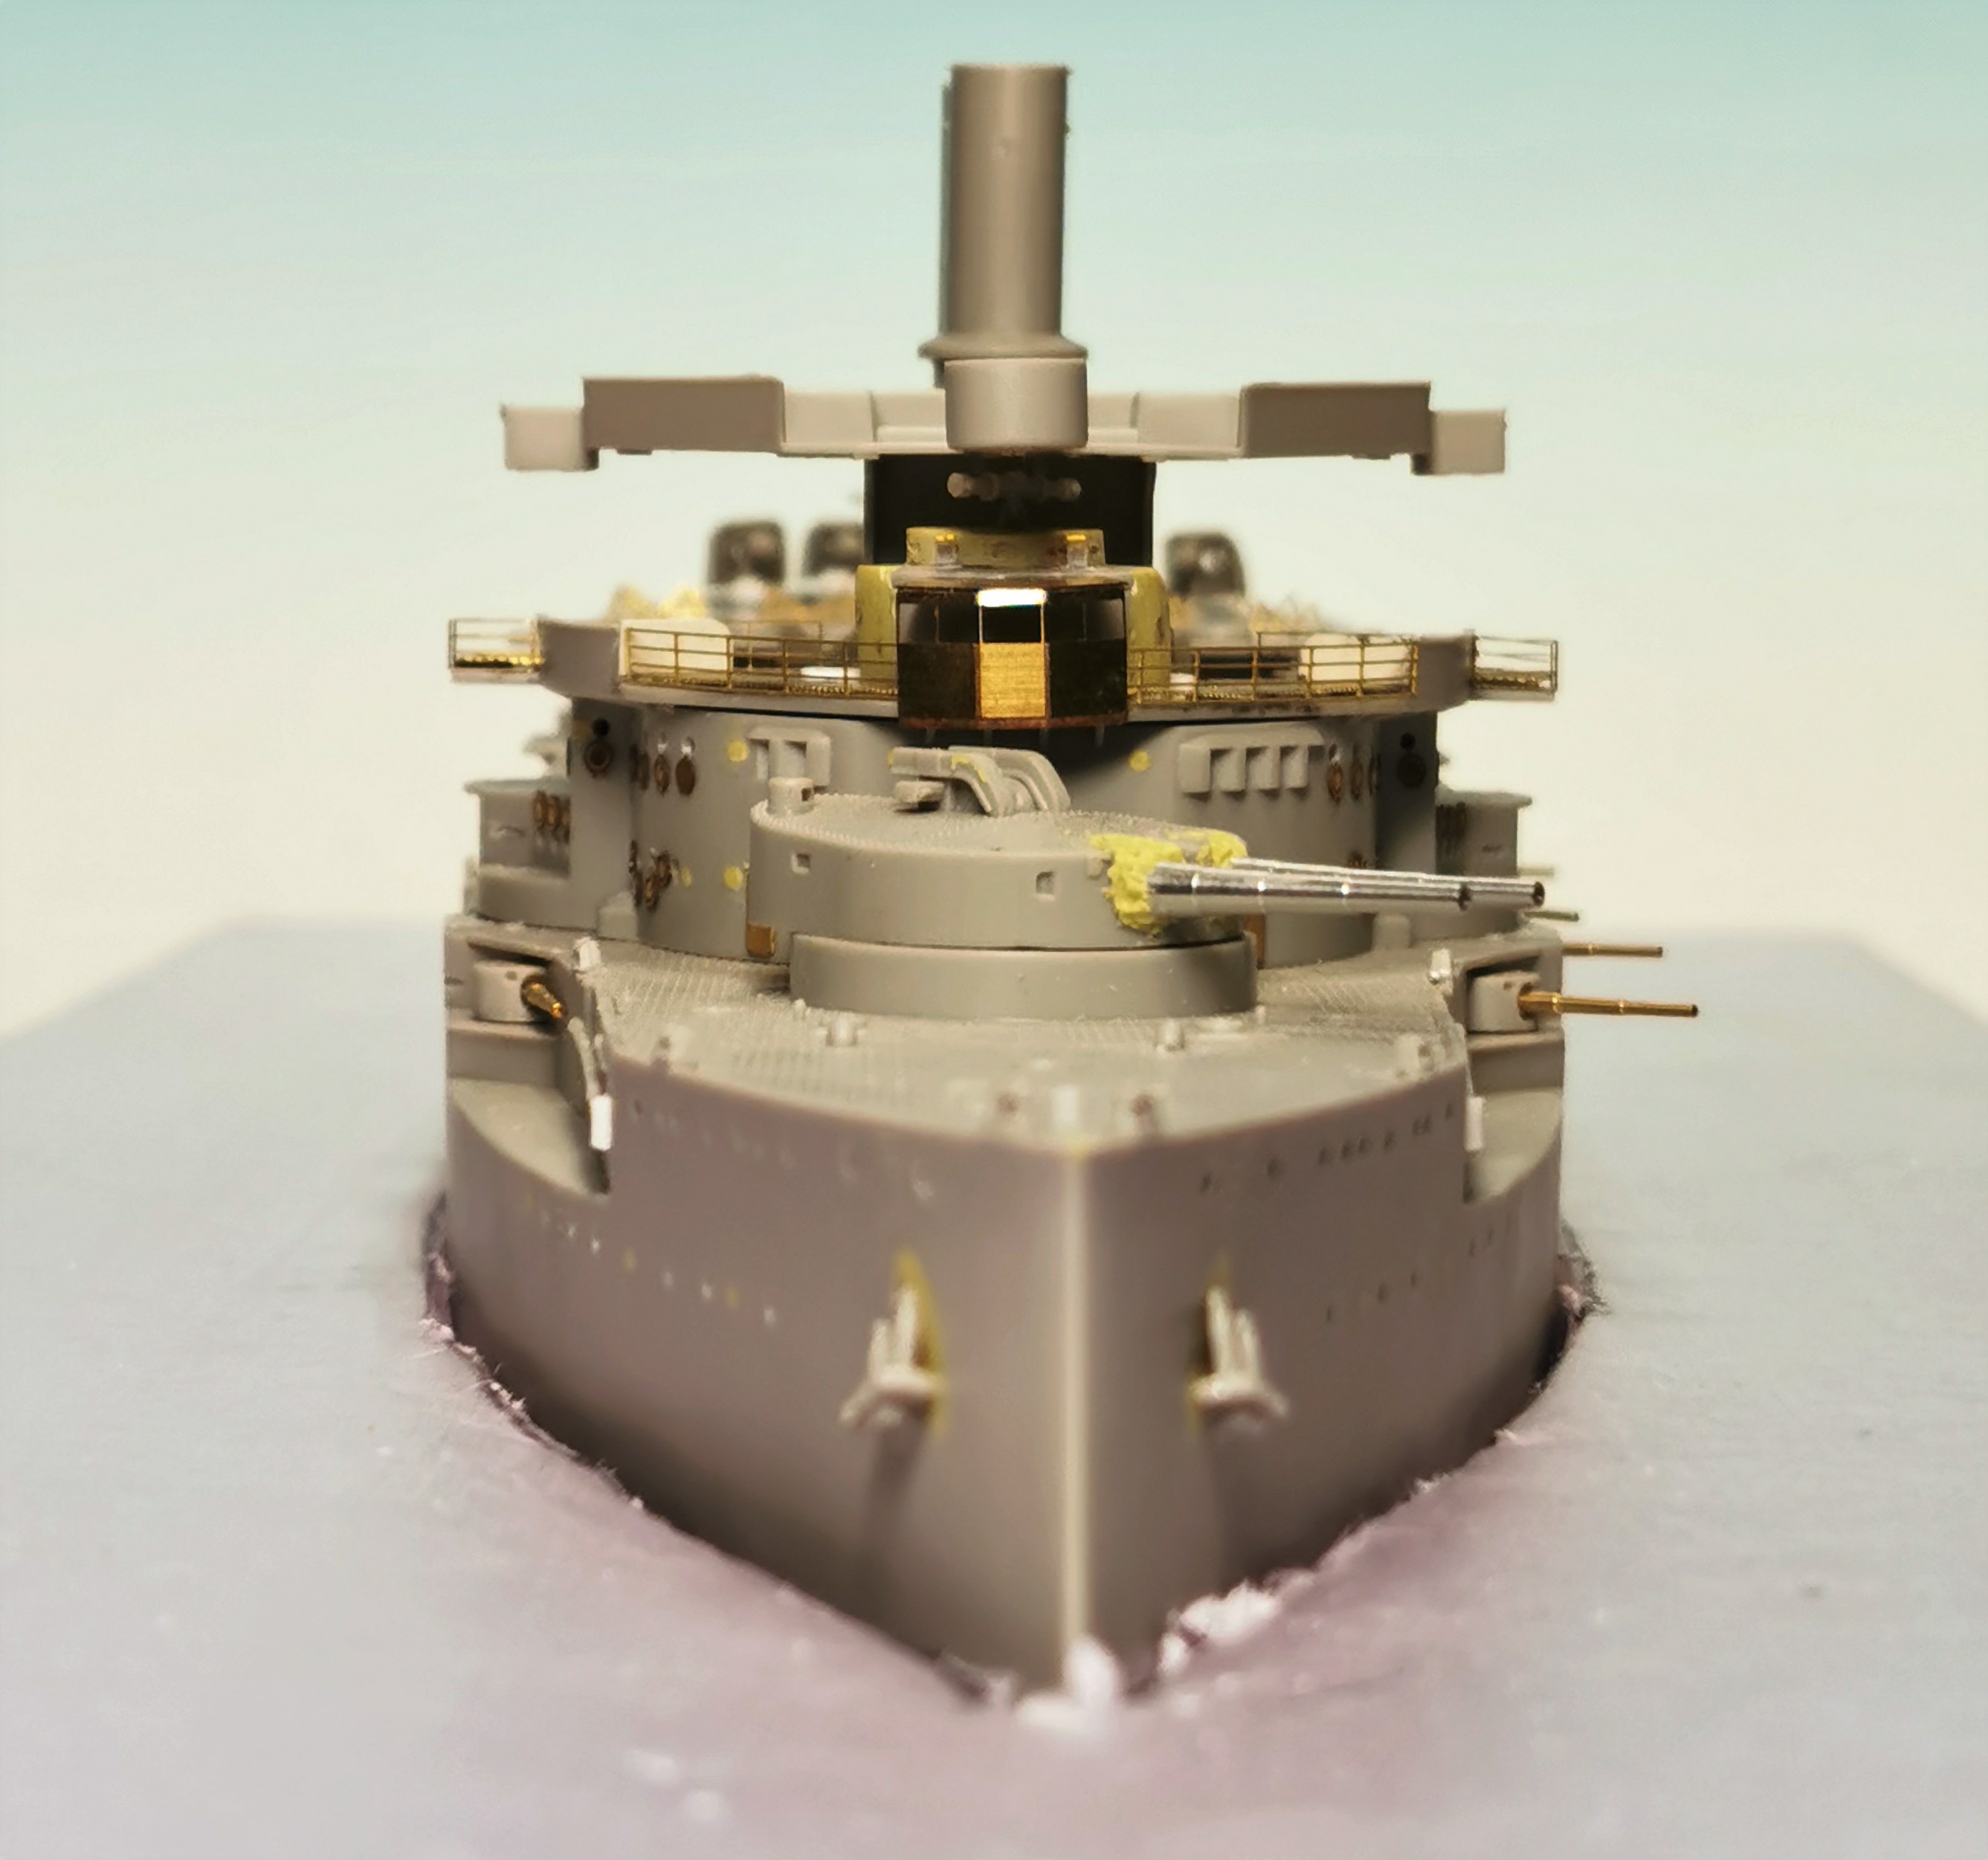
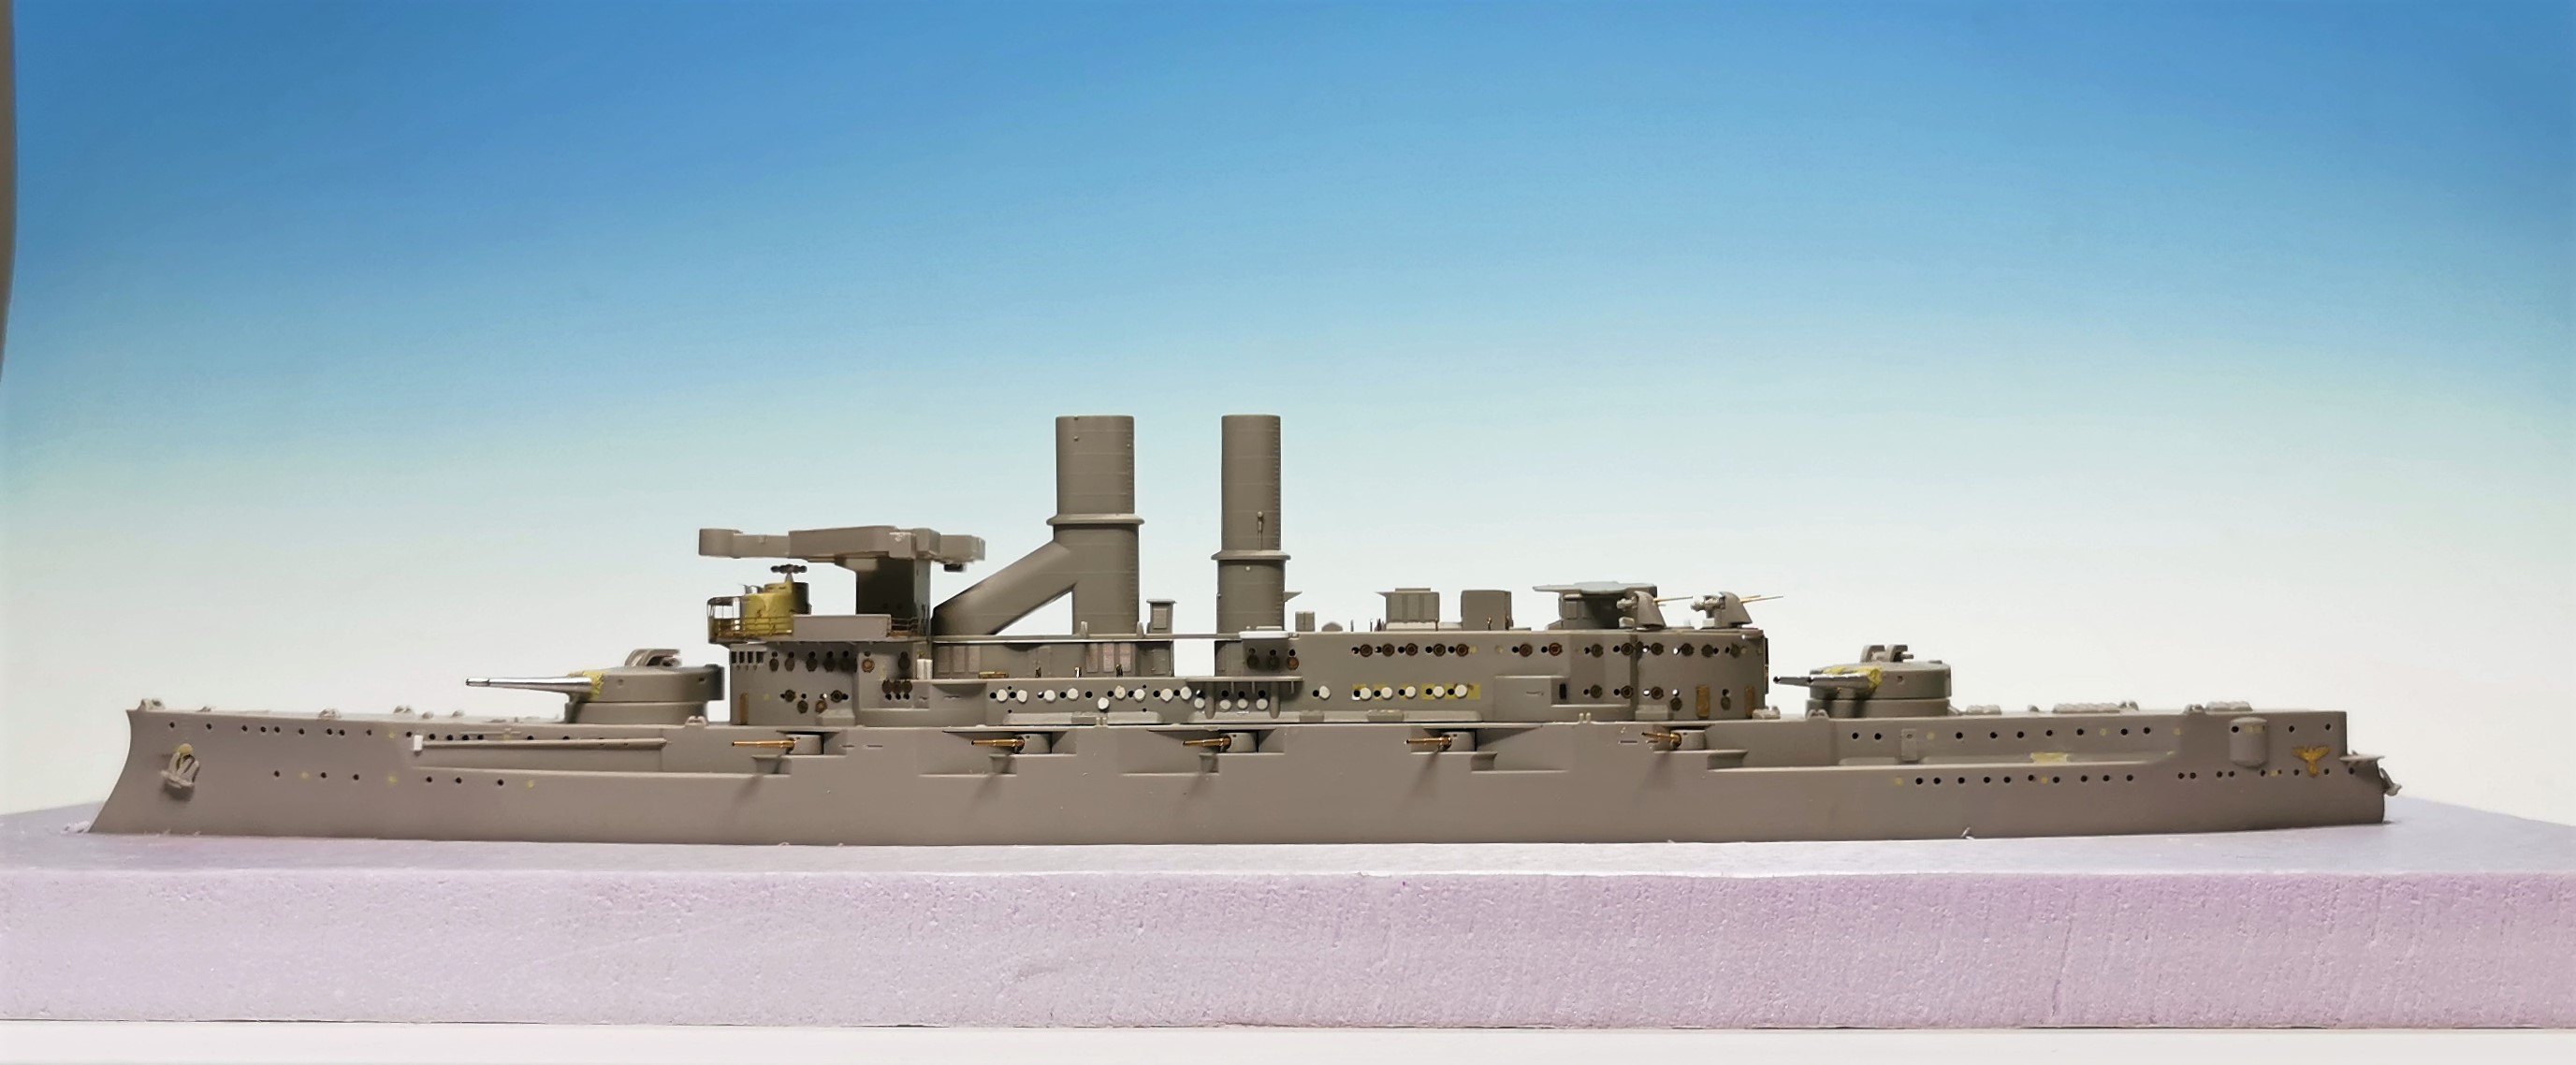
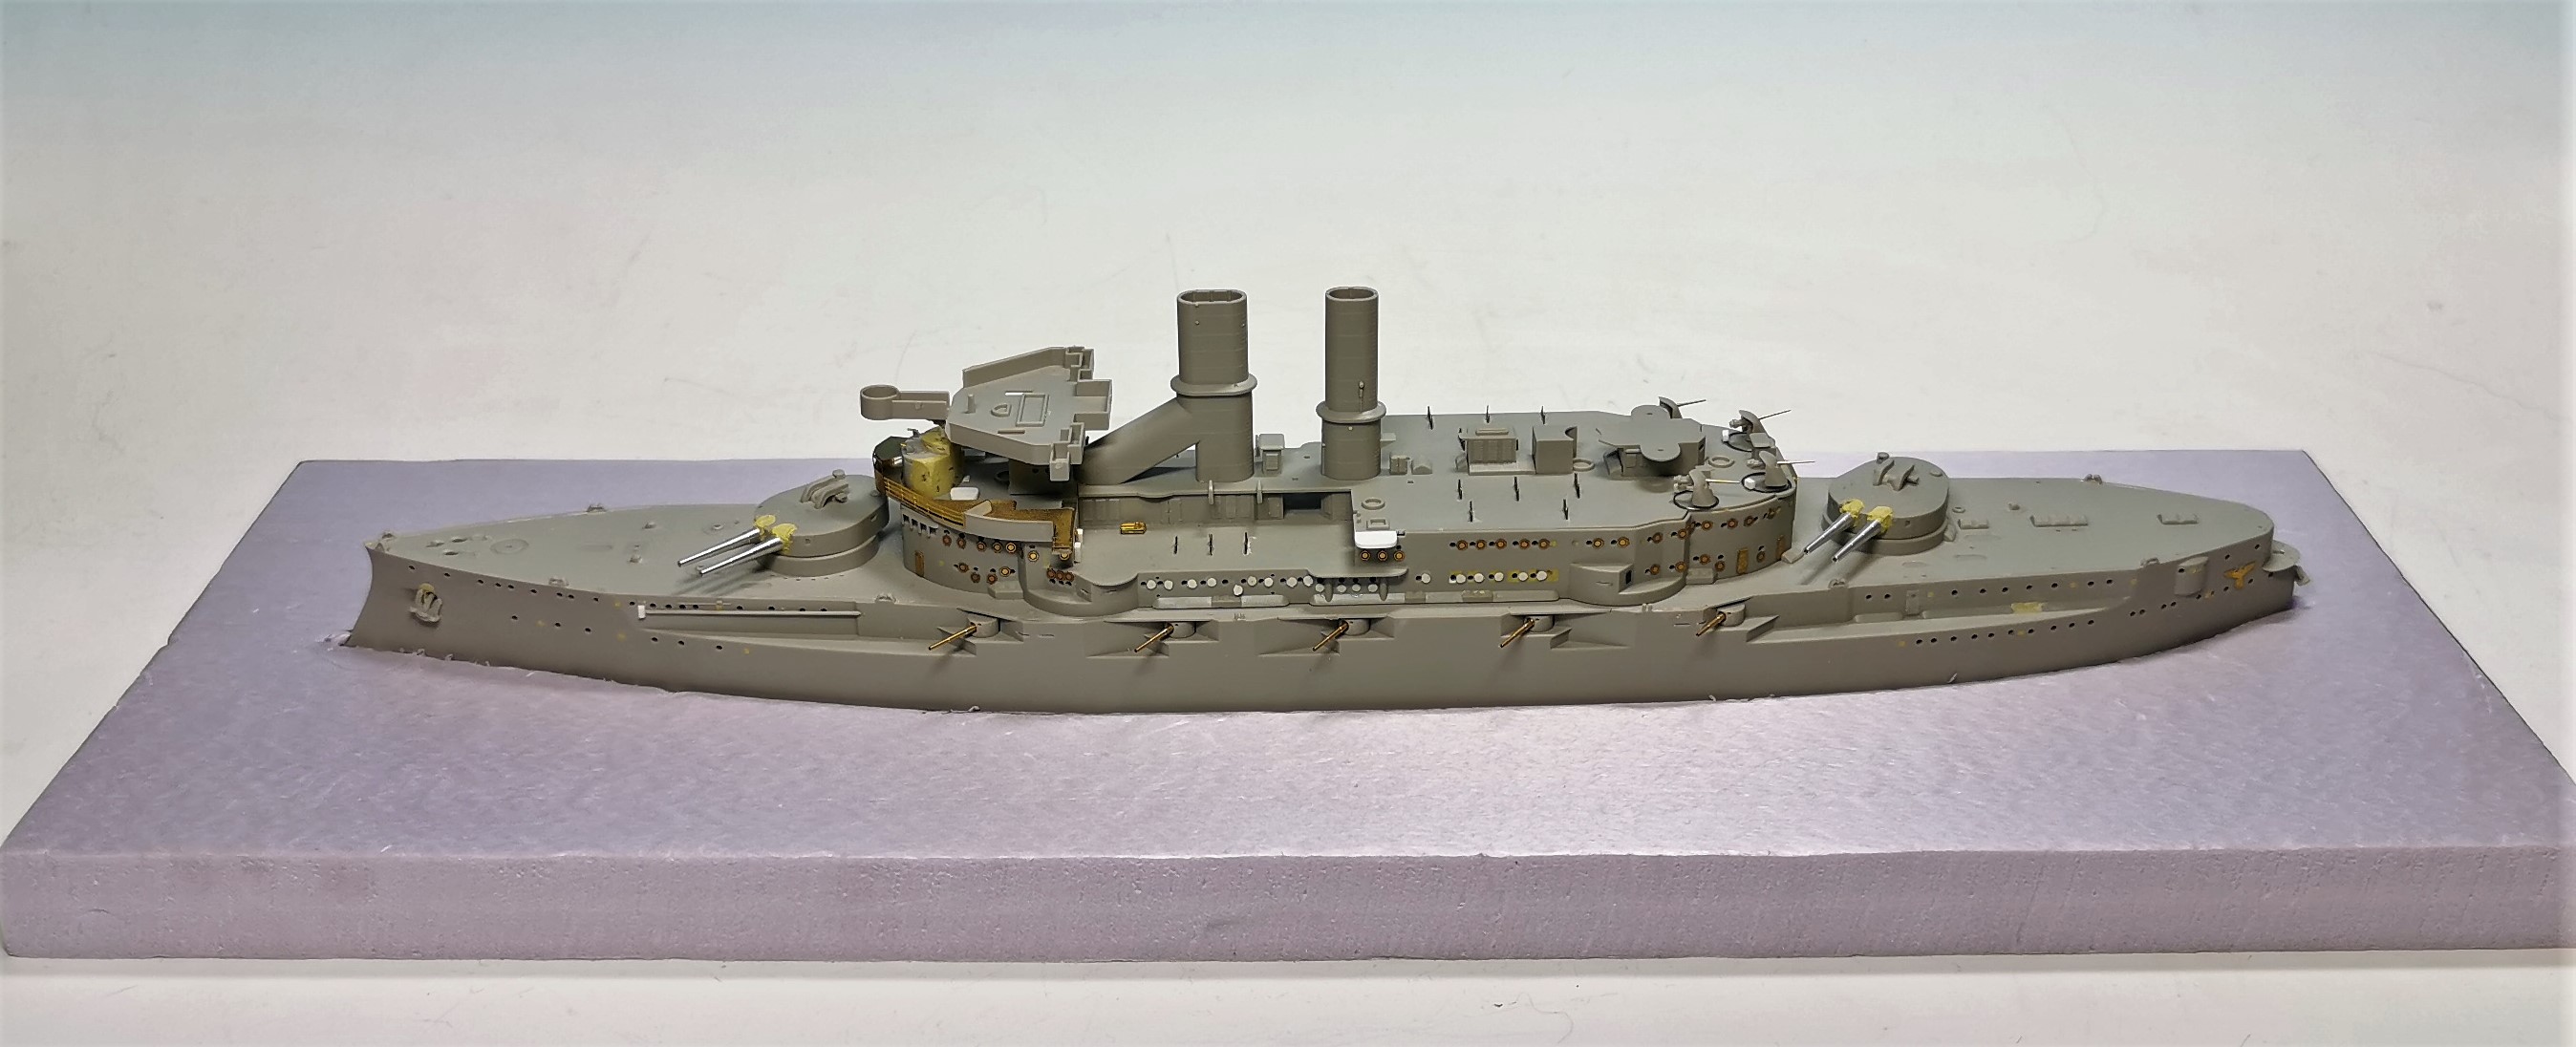
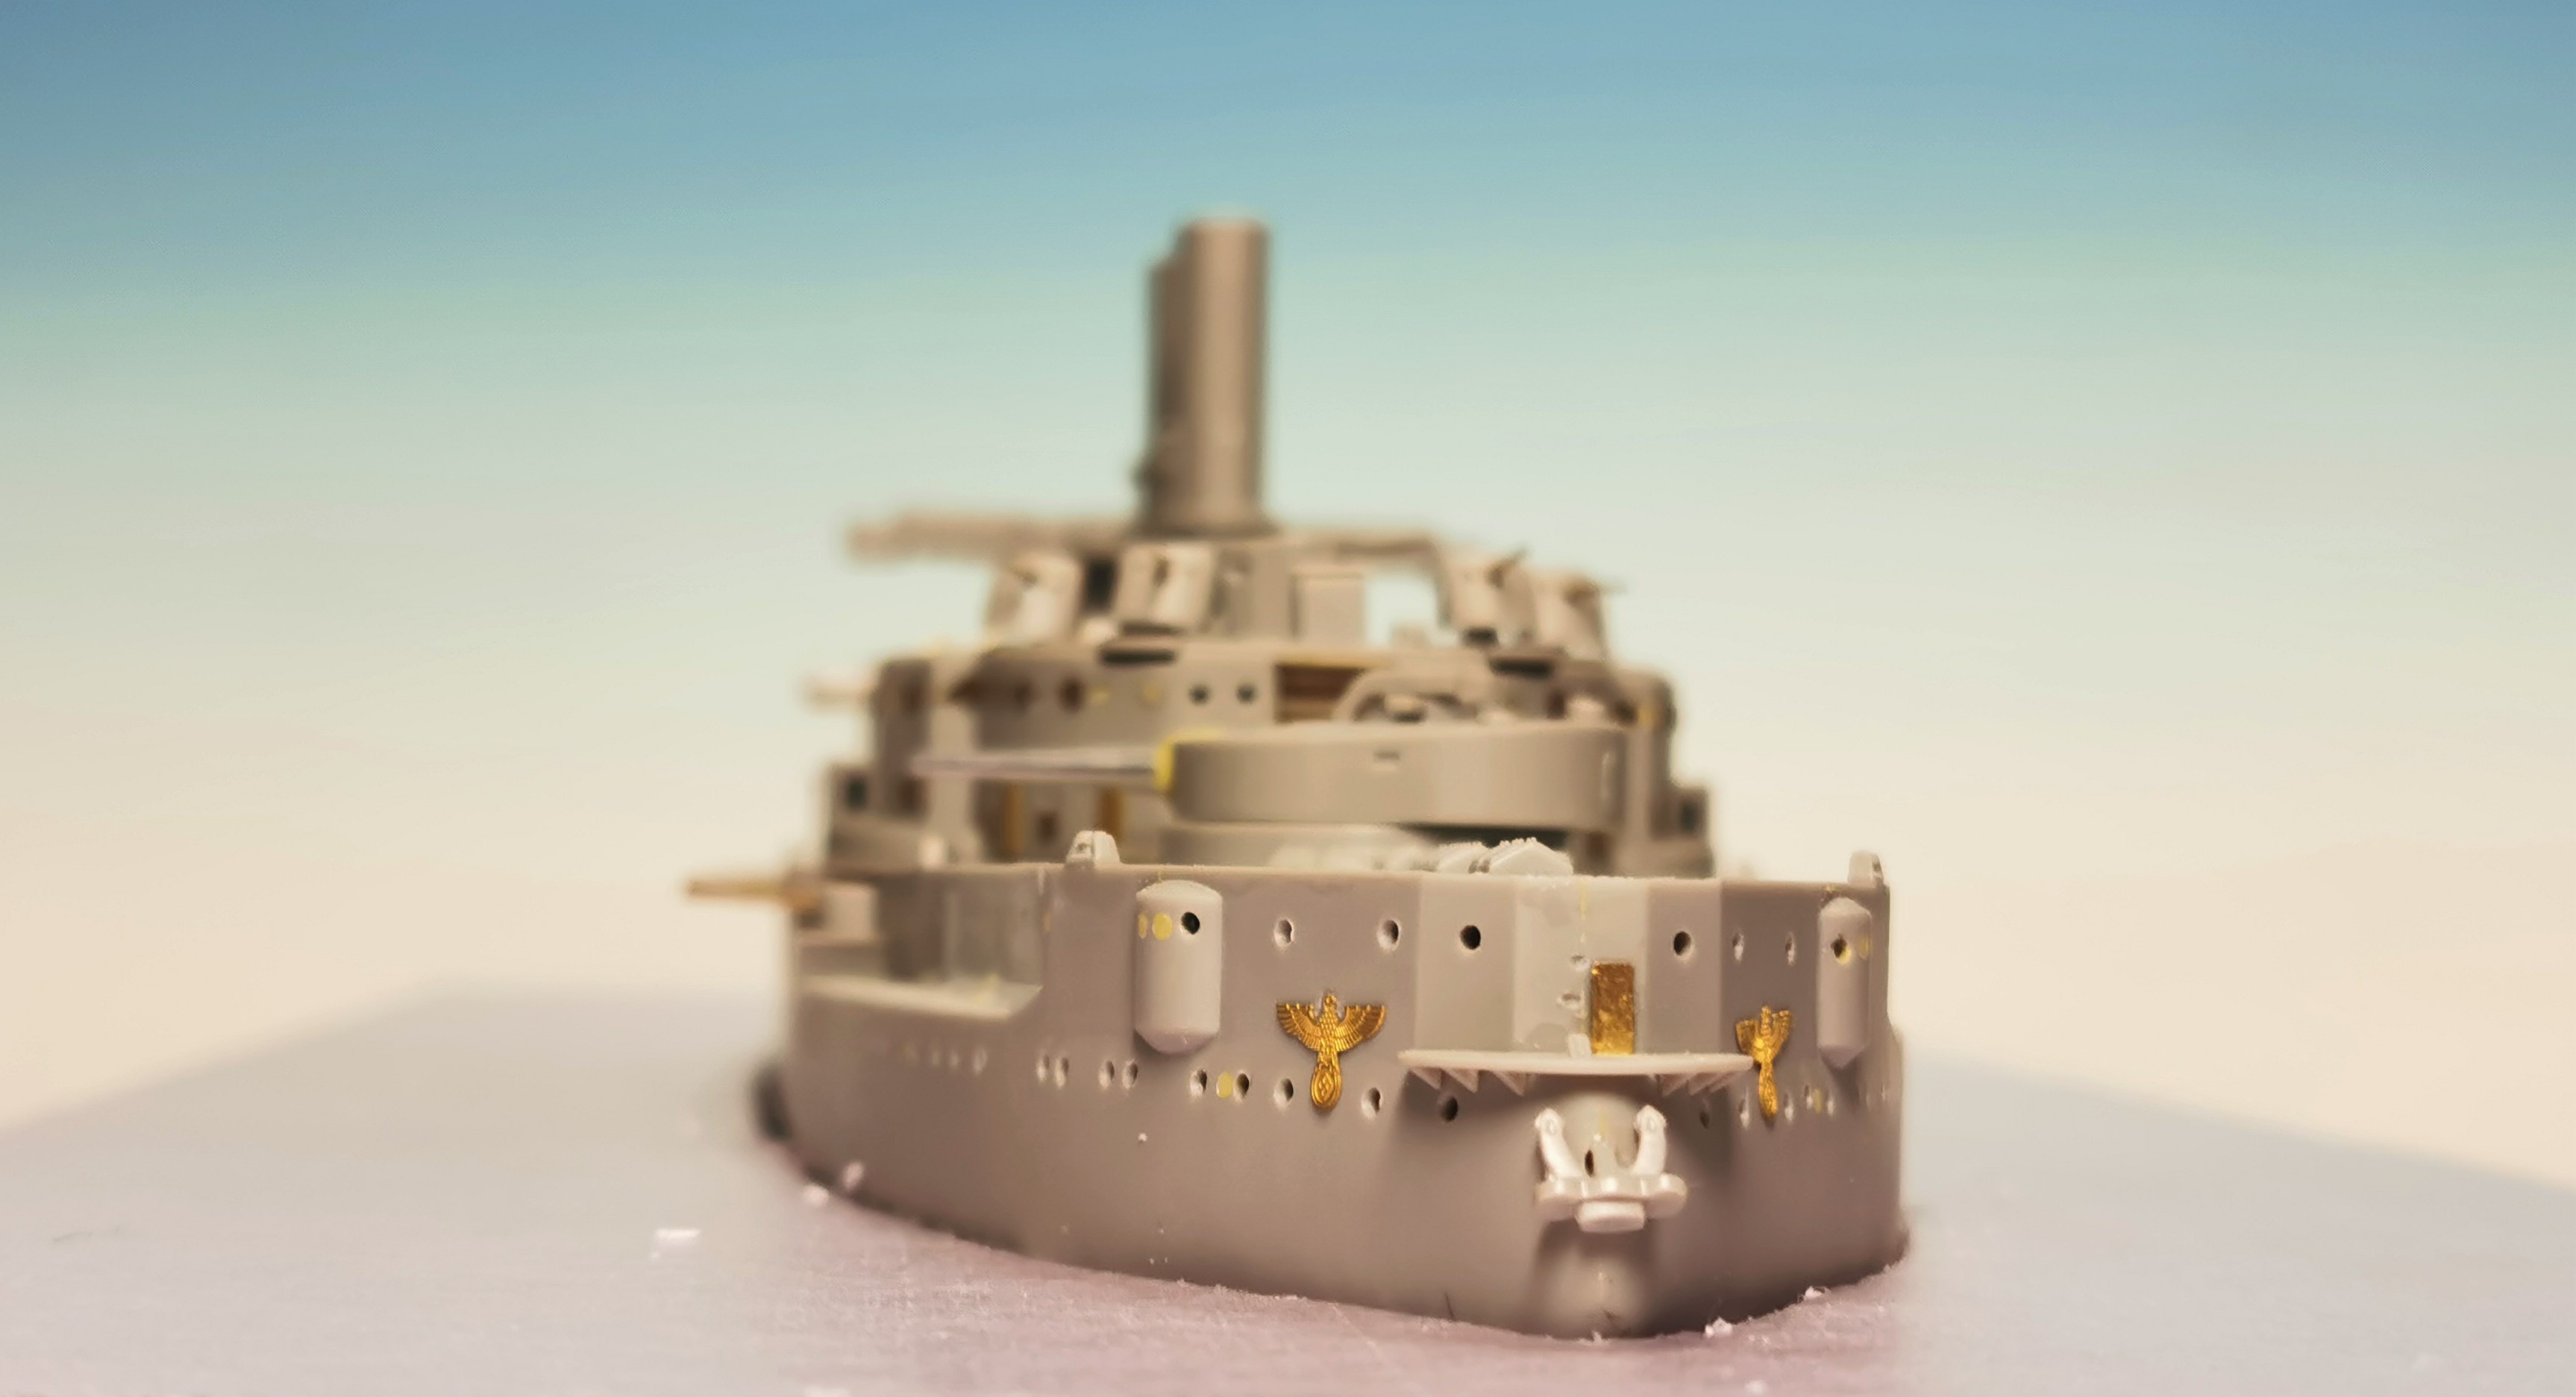
started with the base today. I did cut an appropriate sized piece of Styrodur, cutted out the measurments of the Schleswig-Holstein and fitted her in. Later the whole diorama will come atop a wooden socket. I will display her during her first shots at the Westerplatte. She is looking already nice I think 


Posted: Saturday, August 08, 2020 - 02:21 AM UTC
Thomas,
Your build is looking awesome! The PE really stands out to bad you have to cover it up with paint.
Mark
Your build is looking awesome! The PE really stands out to bad you have to cover it up with paint.
Mark

Posted: Saturday, August 08, 2020 - 11:47 AM UTC
Thomas,
I love it!
I love it!
RedDuster

Joined: March 01, 2010
KitMaker: 7,078 posts
Model Shipwrights: 6,649 posts

Posted: Sunday, August 09, 2020 - 05:34 AM UTC
Great progress Thomas,
Like the railings for the fuse setter's trolley, bridge details looking good too.
Big fan of Veteran's upgrades, as you might have guessed.
Cheers
Si
Like the railings for the fuse setter's trolley, bridge details looking good too.
Big fan of Veteran's upgrades, as you might have guessed.
Cheers
Si
Posted: Sunday, August 09, 2020 - 01:20 PM UTC
Beautiful progress Thomas! 
I note, that you've done most of the assembly prior to painting... How will you handle the challenge of masking all those smaller parts to accommodate varying colours?

I note, that you've done most of the assembly prior to painting... How will you handle the challenge of masking all those smaller parts to accommodate varying colours?


MartinJQuinn

Joined: January 19, 2005
KitMaker: 574 posts
Model Shipwrights: 530 posts

Posted: Monday, August 10, 2020 - 02:12 AM UTC
Really fine work! Look forward to more.

Black_sheep

Joined: December 11, 2009
KitMaker: 823 posts
Model Shipwrights: 551 posts

Posted: Tuesday, August 11, 2020 - 04:32 AM UTC
Quoted Text
Beautiful progress Thomas!
I note, that you've done most of the assembly prior to painting... How will you handle the challenge of masking all those smaller parts to accommodate varying colours?
Russell I usually paint the ship and most of the small parts which can not be preassembled step by step and add the painted components together. In this case I will paint the shipīs hull now (just waiting for the ordered colors to come and the seascape, then glue them together, add the wooden furniture deck and continue with the upper superstructure. The deck of the upper superstructure will be painted by hand in a dark blue color (Trumpeter is wrong here again with its brown suggestion). This way I donīt need to mask anything. In my previous ships this worked fine for me.

Posted: Tuesday, August 11, 2020 - 09:33 PM UTC
Quoted Text
Russell I usually paint the ship and most of the small parts which can not be preassembled step by step and add the painted components together. In this case I will paint the shipīs hull now (just waiting for the ordered colors to come and the seascape, then glue them together, add the wooden furniture deck and continue with the upper superstructure. The deck of the upper superstructure will be painted by hand in a dark blue color (Trumpeter is wrong here again with its brown suggestion). This way I donīt need to mask anything. In my previous ships this worked fine for me.
Elegant solution Thomas...
Hand/brush painting and I don't usually get along so I'll watch how you go about it


Black_sheep

Joined: December 11, 2009
KitMaker: 823 posts
Model Shipwrights: 551 posts

Posted: Thursday, August 13, 2020 - 06:01 AM UTC

MartinJQuinn

Joined: January 19, 2005
KitMaker: 574 posts
Model Shipwrights: 530 posts

Posted: Thursday, August 13, 2020 - 06:21 AM UTC
That's a good looking display base
Posted: Thursday, August 13, 2020 - 06:25 AM UTC
Quoted Text
That's a good looking display base
Ditto!
RedDuster

Joined: March 01, 2010
KitMaker: 7,078 posts
Model Shipwrights: 6,649 posts

Posted: Thursday, August 13, 2020 - 06:42 AM UTC
Quoted Text
Quoted TextThat's a good looking display base
Ditto!
What mark & Martin said.
Cheers
Si
Posted: Thursday, August 13, 2020 - 08:49 AM UTC
Love the plaque and base!
 |


