

Go to modelshipwrights.com for the current dynamic site!


1⁄35Making a Water Base, Step-by-Step
8
Comments
step 1, and a 2. . .
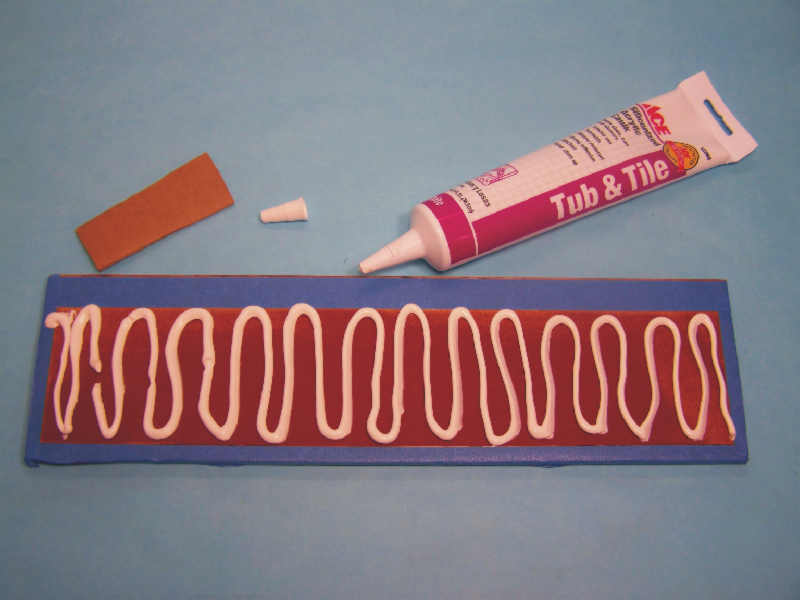
Start off by squeezing out a fair amount of latex tub and tile caulk. Then, using your foam brush spread the caulk out evenly over the base.
Once you have covered the whole base, use a stabbing motion to create the waves. (Photo 3) If you dont like your results, simply smooth the caulk out and try again. Once you get the water looking like you want it, set the base aside to dry (putting it in front of a fan greatly speeds up the drying time.
 "Photo 3"

About the Author


FROM: LOUISIANA, UNITED STATES
I was the kid that his dad would say "Hey, there's a war movie on." and come running. As a kid, I dived head first into military history. We would always have to stop at the USS Alabama on our way to Florida. I also got to visit the Seawolf Park and the Alamo on vacation, too. All things I want ...
Comments


Umm... not seeing anything here Mark... easy on the rum there matey[/quote]
Darn html tag...
Thanks for the heads up, brother Tarok!
JUN 17, 2007 - 08:26 AM


Disclaimer:
No bodily injuries were inflicted during the making of the wood base.
Just for you Jake.
JUN 17, 2007 - 01:24 PM

Hey Kenny,
excellent technique and article, I book marked as I'm hoping to do this over the summer. One question, in the last stage, making the wakes. What and how are the blended into the water. Did you smooth them in and how does the brightness of the white blend in. Thanks..
Joe
JUN 17, 2007 - 03:51 PM
Hey Joe,
I got back with my paints an blend them in to the surrounding colors. When making the wakes, I wet the brush with water to blend it into the base.
Hope this helps.
JUN 18, 2007 - 12:16 AM

Thanks for the info Ken. I especially like the "splash" effects.
As we say in Florida, Go Gator!
JUL 09, 2007 - 01:11 PM
Copyright ©2021 by Kenny Loup. _OPINIONS Model Shipwrights, KitMaker Network, or Silver Star Enterrpises. Images also by copyright holder unless otherwise noted. Opinions expressed are those of the author(s) and not necessarily those of Model Shipwrights. All rights reserved. Originally published on: 2007-06-17 00:00:00. Unique Reads: 16193

WEB HOSTING BY


Copyright ©2021 Model Shipwrights and Kitmaker Network, a subsidiary of Silver Star Enterprises
All Rights Reserved. Please read our Conditions of Use and Privacy Policy.
All Rights Reserved. Please read our Conditions of Use and Privacy Policy.