

Go to modelshipwrights.com for the current dynamic site!


1⁄35Building the Beast - Part Two
8
Comments
the saga continues
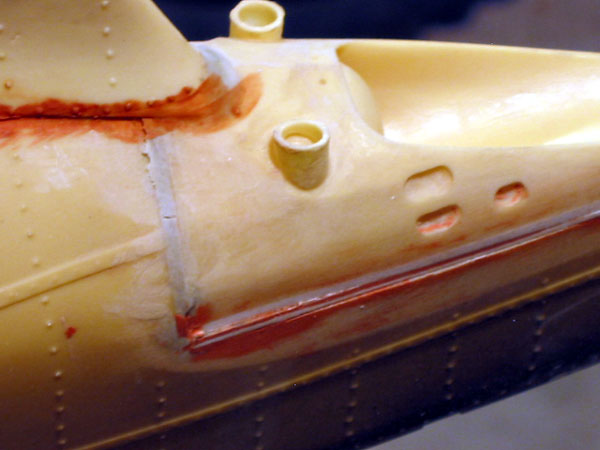
11/25/05 finds me awake at 4:30am in hopes of finding a TV for my son for Christmas. I am lucky to have escaped Wal-Mart with my life by 5 am. Never again will I do this. I have to work today, but that is another 4 hours away. Theres plenty of time to get some more building accomplished on the Uber-sub. I cleaned up the putty I applied yesterday with most of the work revolving around the very tail end of the boat where a large resin plug attaches. This plug is part of the attaching point for the rudders and tail planes. Initially it fit like crap, but after several shims, lots of putty, and copious amounts of colorful words, it looks pretty good. I lost a fair amount of rivet detail due to the heavy sanding required to blend everything in. I will replace as much as I can without losing my sanity.
One hour into the clean up, I am done. The hull bottom will need a good washing, but other than that, it is ready for the replacement rivets that are to come. I turn the boat over and begin working on the placement of those wonderful photo-etch pieces to the deck plates. Hatches, anti-skid strips, hinges, lots of hinges, white metal stanchions, additional grab rails on the deck itself and finally, the main rails that run the perimeter of the boat. I begin to notice an increase in the boats weight go figure.
I decide that the main grab rails will be scratch built as well. They are too fragile in white metal for my ham fisted handling of the boat. As 8:25 am approaches I finish up with the last of the photo-etch pieces. I can almost smell the paint and I smile.
When I arrived home from work I gave the guard rails an additional look. I had re-thought scratch building the railings as my first several attempts didnt go so well. I cleaned up the white metal pieces and using fair amounts of CA they were attached to the deck plates. They are a lot sturdier than I gave them credit for initially. They also look great at this point. I just need to ensure that I am careful while handling the beast. I carefully flip the boat up-side down and add the remaining pieces; rudders, dive planes, support arms for the screws and finally the bow planes. I had previously cleaned all of these parts up adding brass pins to help with attaching them. There are a few gaps that require some putty, but nothing major. The next few days I dont get much if any further progress done as the weather has turned nasty. Painting will have to wait. Hopefully it will warm up.


About the Author


FROM: CALIFORNIA, UNITED STATES
After a several year break from the hobby I have happily returned to it. Slowly, but surely getting my mojo back.
Comments

Truly an amazing piece of work, Mathew. Thank you for sharing the experience with us!
Gunny
JAN 12, 2006 - 11:45 PM

Hi matthew
Superb work I liked your information/method on the finishing/painting.
I hope to carry it forward into my 1/72 Revell kit.
Take a large bow for patience and perseverance.
Regards
Sean
JAN 15, 2006 - 06:03 PM

Very very nice,
I particulary like the rust effects, what colour oils did you use for those?
I'm about to start my first boot ever... (any ship) ..
Martyn
JAN 16, 2006 - 09:14 AM

that is just NUTS!!!!! WOW!!!! I wish armorama had a clapping emote
JAN 17, 2006 - 07:16 AM

The rust streaks were done with oil paints. I cant recall the exact color as the label is worn off, but it is either burnt umber/sienna or raw umber/sienna. I always get the two confused. If you open the top of the tube it will look like rust. Thats the easiest way I can describe it. Hope it helps. "Q"
JAN 21, 2006 - 08:47 AM

"The rust streaks were done with oil paints. I cant recall the exact color as the label is worn off, but it is either burnt umber/sienna or raw umber/sienna."
Burnt Sienna
JAN 21, 2006 - 09:12 AM
Copyright ©2021 by Matthew Quiroz. _OPINIONS Model Shipwrights, KitMaker Network, or Silver Star Enterrpises. Images also by copyright holder unless otherwise noted. Opinions expressed are those of the author(s) and not necessarily those of Model Shipwrights. All rights reserved. Originally published on: 2006-01-13 00:00:00. Unique Reads: 23852

WEB HOSTING BY


Copyright ©2021 Model Shipwrights and Kitmaker Network, a subsidiary of Silver Star Enterprises
All Rights Reserved. Please read our Conditions of Use and Privacy Policy.
All Rights Reserved. Please read our Conditions of Use and Privacy Policy.