I figured I would get this blog started as I am not only getting close to actually seeing the top of my bench from some left over items from last year, I am going through some withdrawals as I have not glued any thing together for a while.
First, If you do not know by now, I have just recently finished a video as well as a written review her on Model Shipwrights of this fine kit and I plan on bringing her to the bench now to build her and of course it will be fun to share the build along with you all.
Second, If you wish to check out the review you can follow this link to the video: PT 109 Video Review
or you can follow this link to the written review: PT 109 Box Review
And finally.......
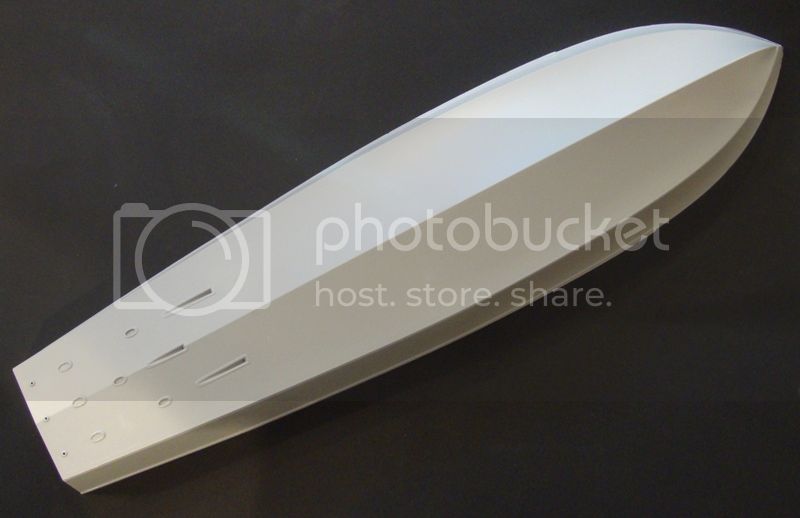
The Box:
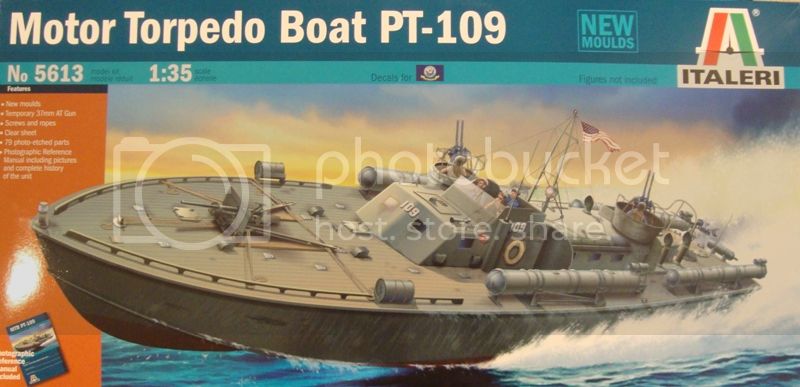
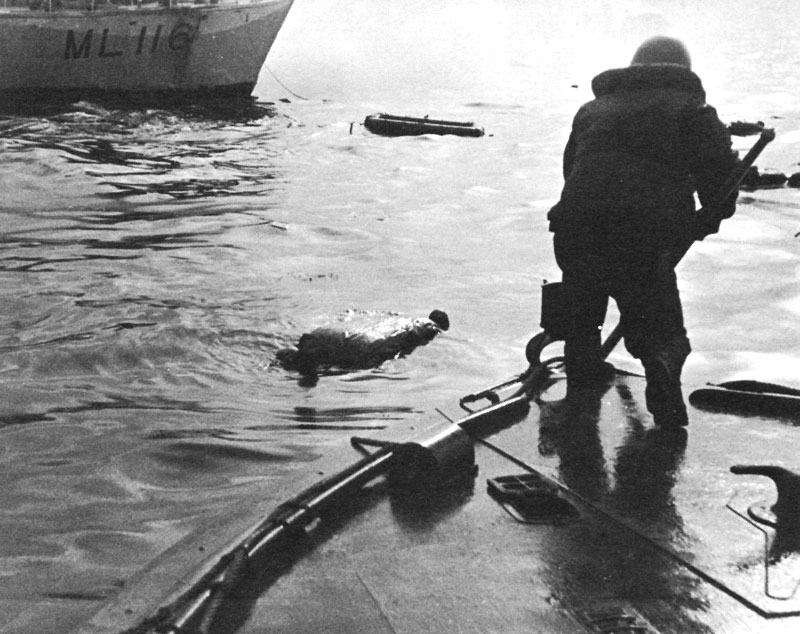
Most of us already know the collective story behind the last patrol of the PT 109 commanded by future President of the USA, John F. Kennedy and the sinking of the PT 109 and the death of two US Sailors. This build will focus on the time of the PT 109 and how she looked just prior to that sinking. She was a well used battle hardened Patrol Torpedo Boat. It may seem a bit cliche' to make the 109, understandably, however it is an Iconic boat and have yet to construct one myself......let's see where that leads us.
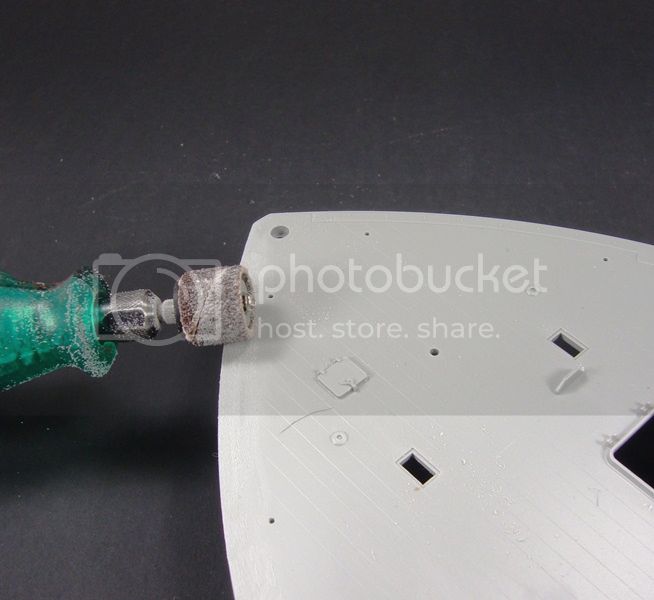
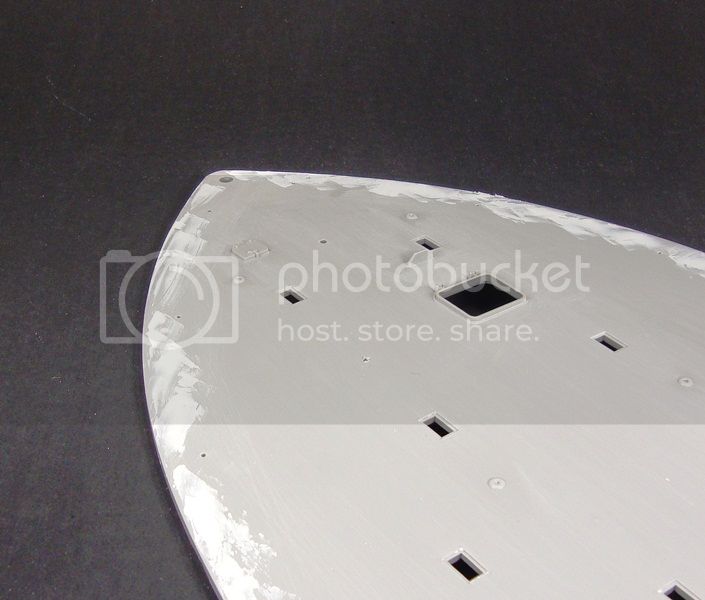
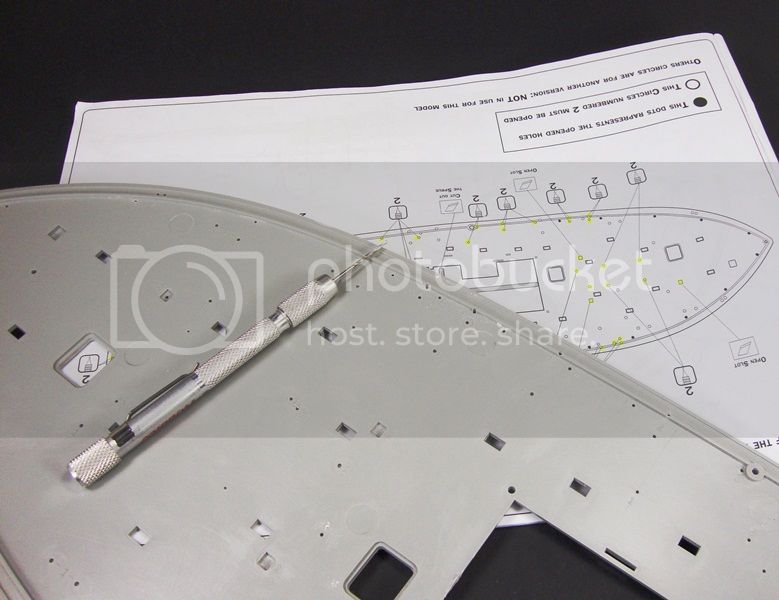
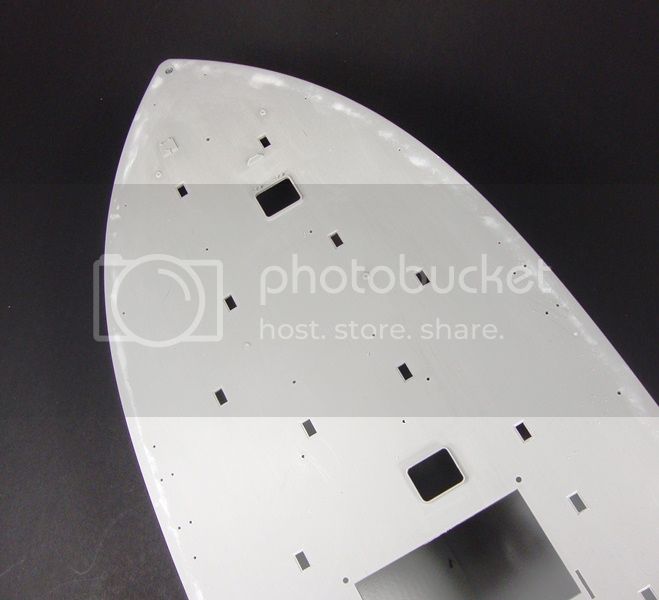
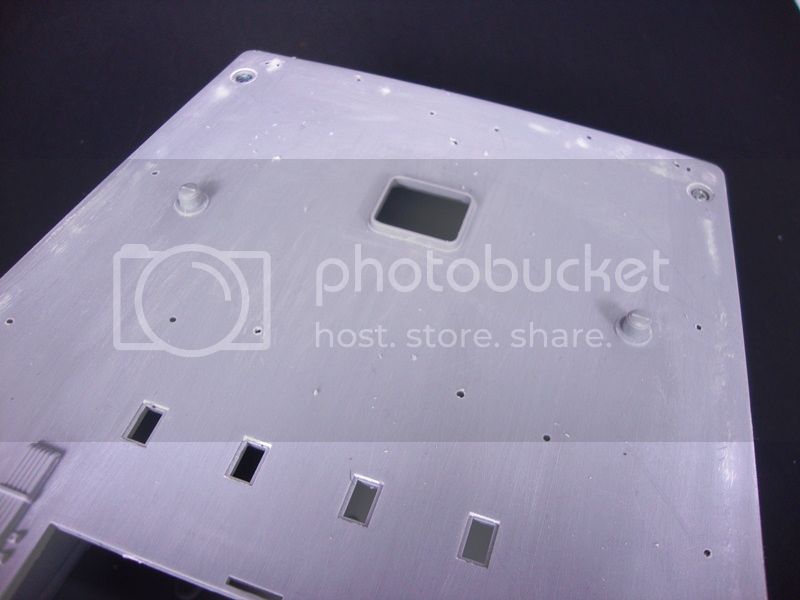
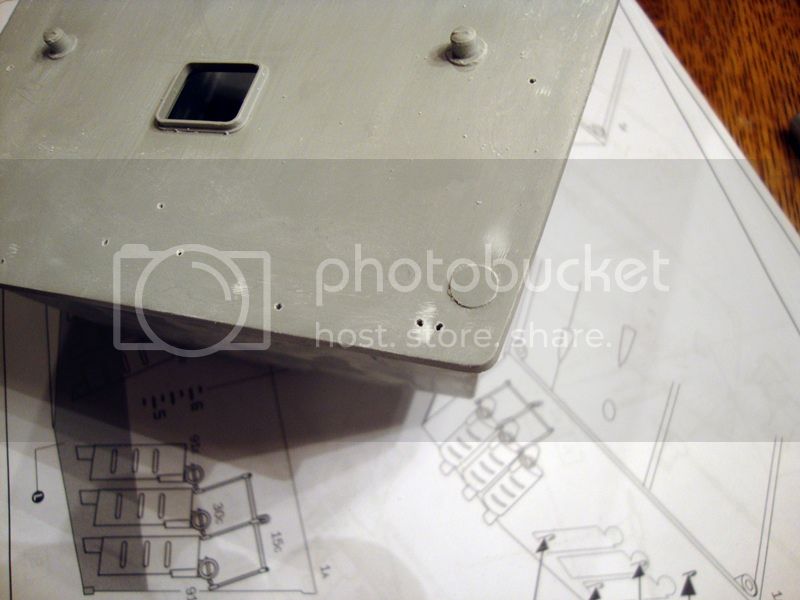
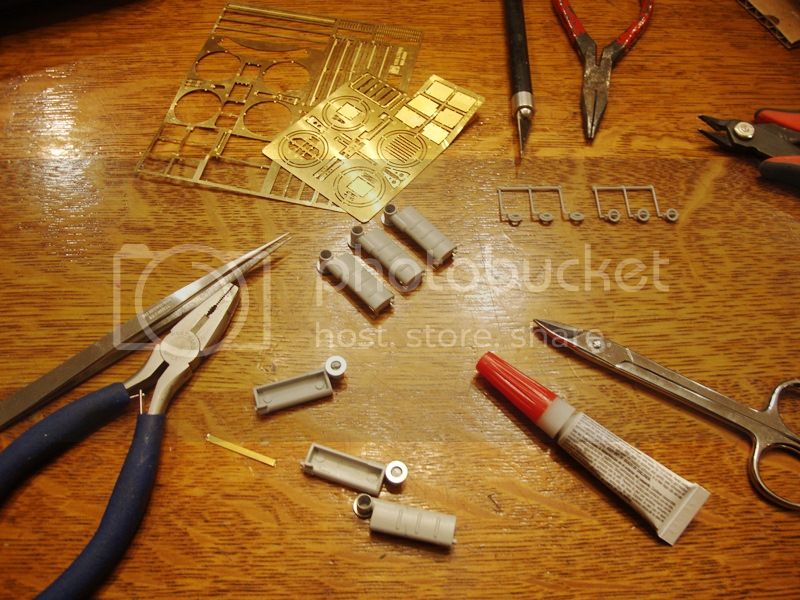
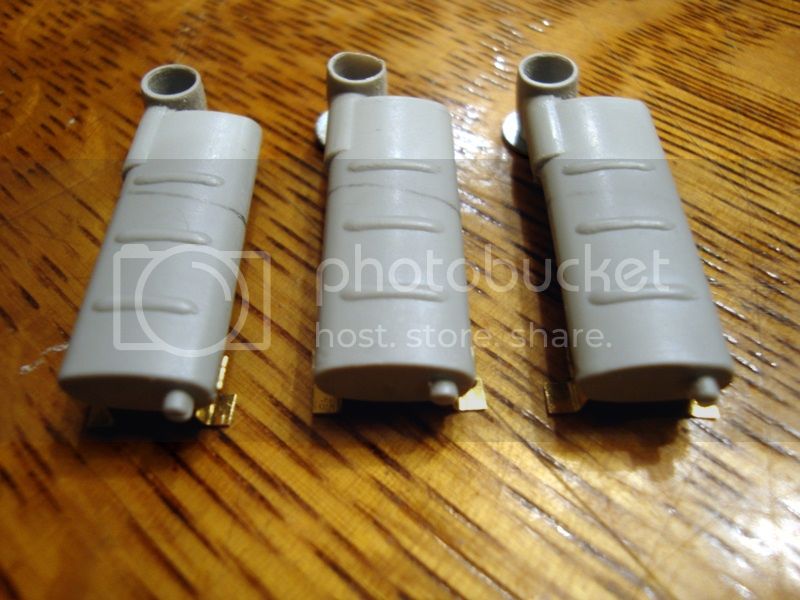
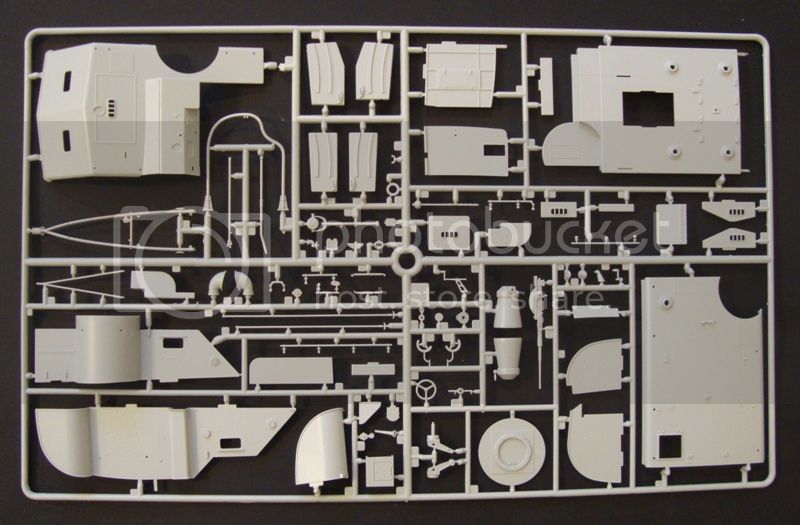
A few Plastic shots:
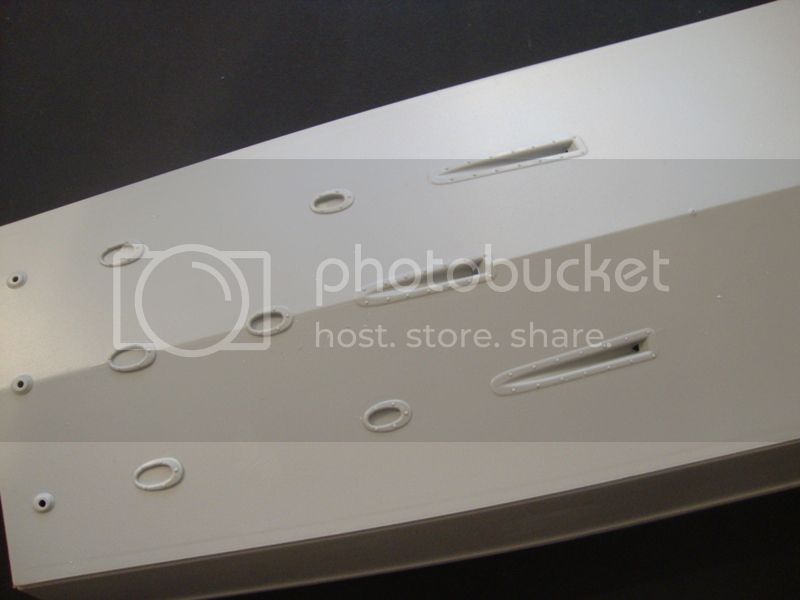
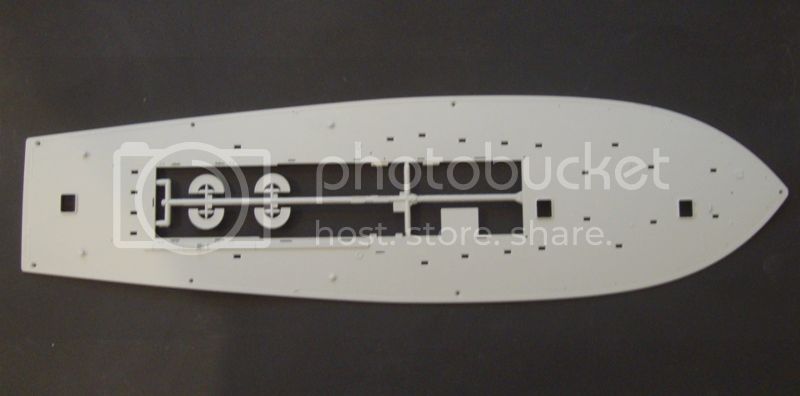
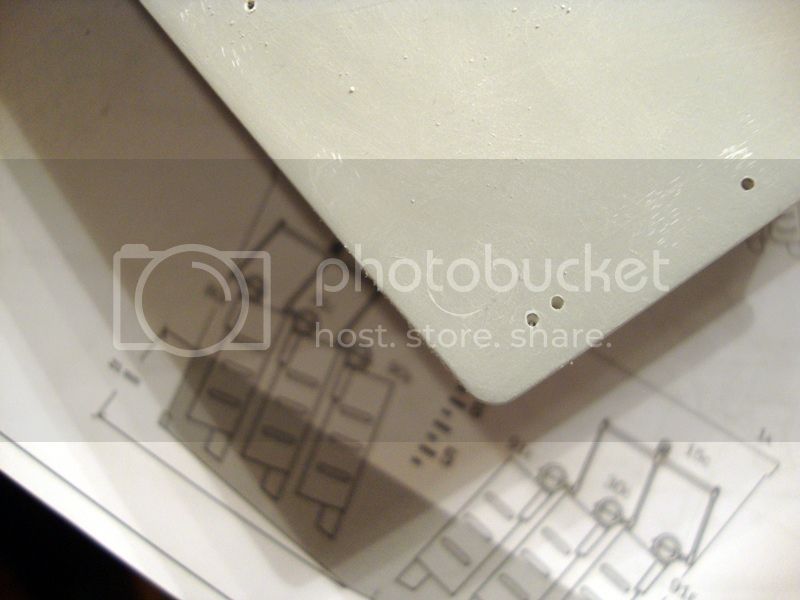
As I mention in the review, this is an exceptionally clean kit. As I go through the build, I will make note of any issues I come across that may have not been brought up in both my reviews of this kit.
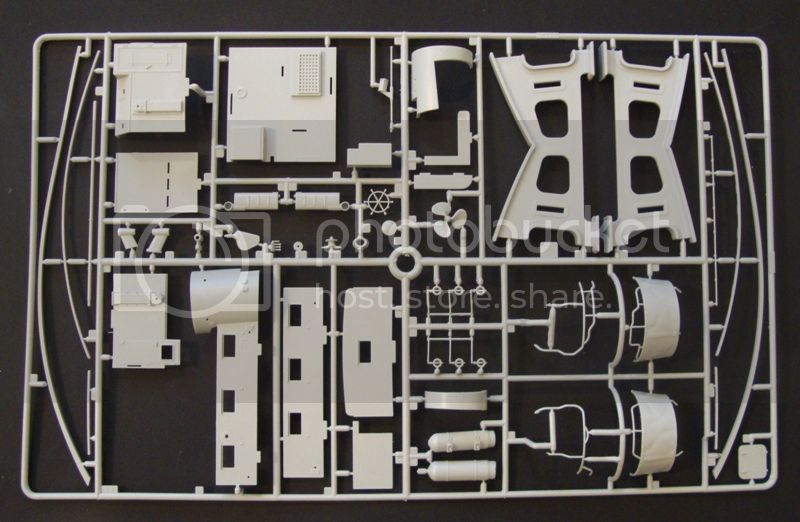
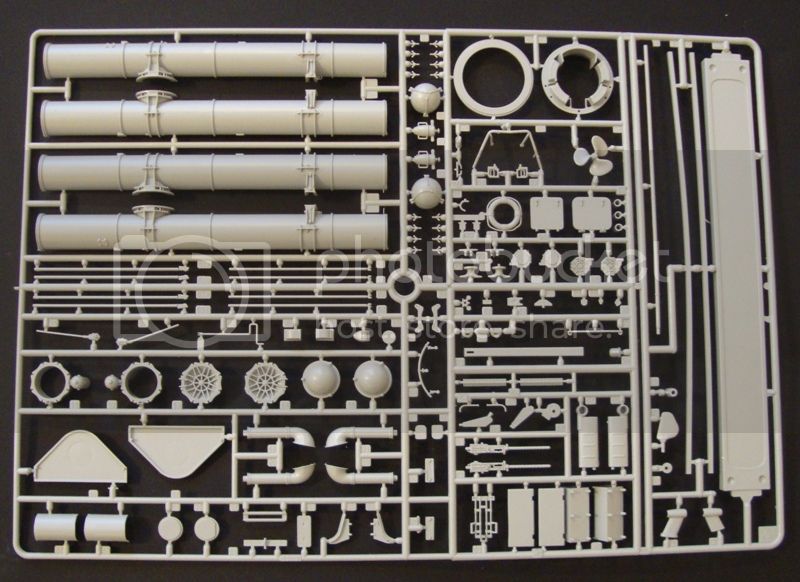
A little bit of firepower.... two twin .50 Cal. mounts

One 20mm AA gun...

And besides the 4 torpedoes and the depth charges....a 37mm Anti-tank cannon strapped to the bow by the crew....
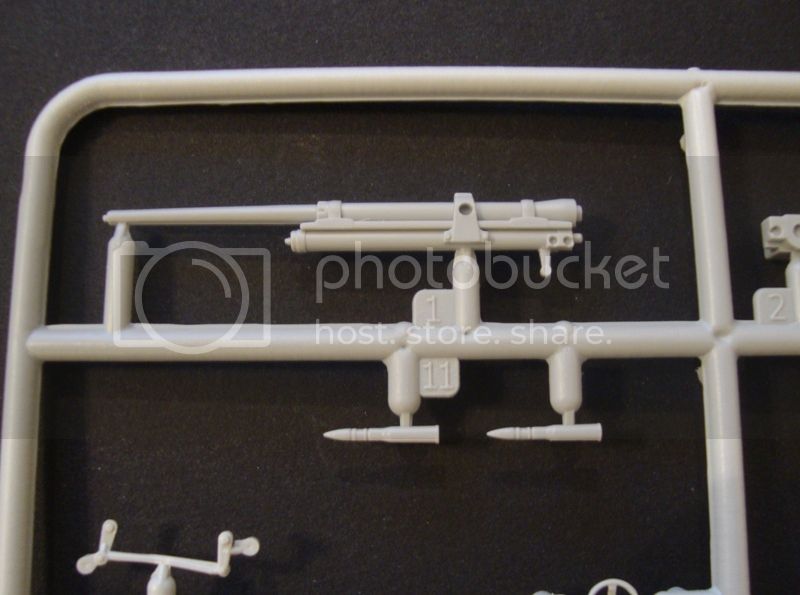
These are certainly not all the parts within this kit. I do show the complete contents on my reviews if you wish to see. But these are a great representation of what is included.
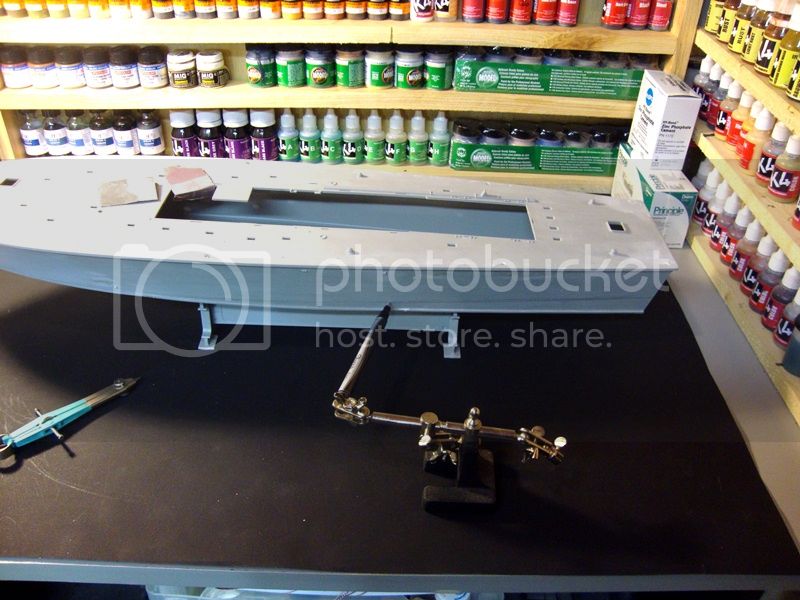
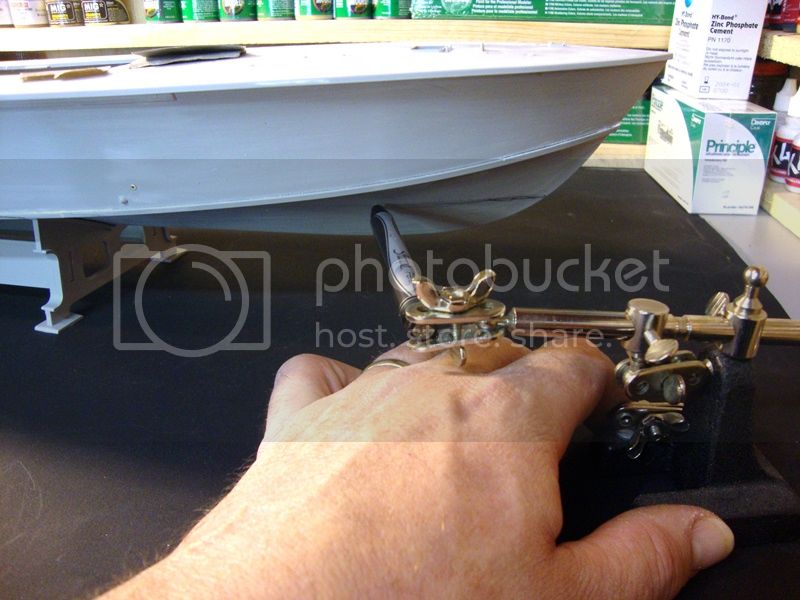
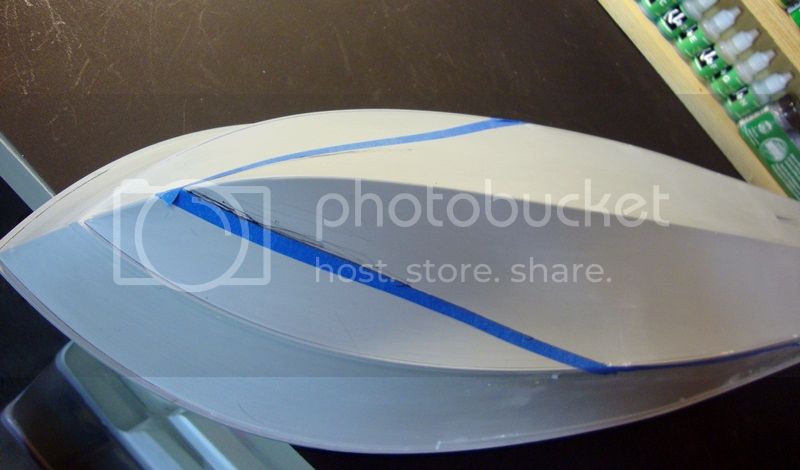
So, I hope to sit down for a few minutes and start gluing this weekend and moving forward on this project but I will not be rushing things. The whole Idea is to have some fun and build up a nice kit.
As part of the research I have obtained the Squadron/Signal Publications book PT Boats in action Actually from and by the Author and Naval Historian, T. Garth Connelly. After speaking with Mr. Connnelly about the book, I purchased one for the reading enjoyment of course as well as the research and he was kind enough to sign the copy for me too...thank you Garth!!! This book is packed with information on the front to back career of the PT Boats there are loads of great detail shots inside and out of these beauties. I try to gain as much information on a subject prior to the build and this book sum the majority of that up for me. I can only urge anyone interested in this subject or who will be building this kit should look into picking up PT Boats in action.

And that is that for the moment. I will be back soon as I pop the top of the box and toss some glue inside, hoping some of you can follow along with me on this one. Thanks for stopping by!!!