1/350 FFG-57 Reuben James
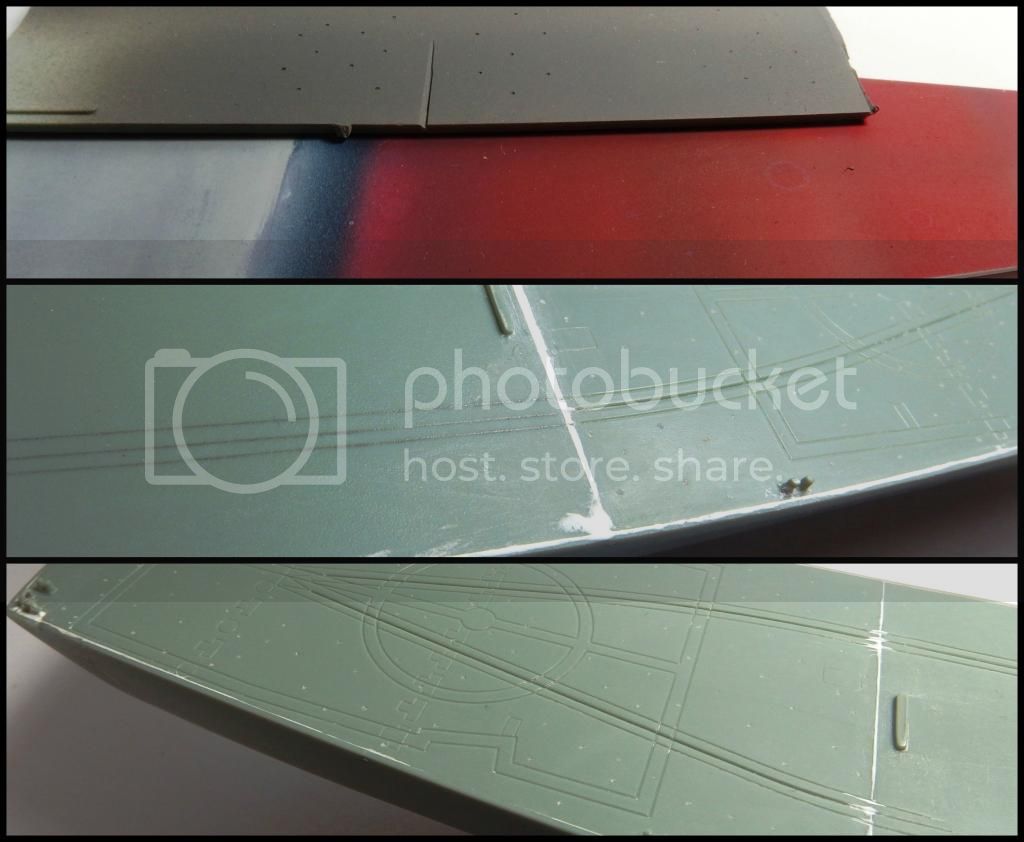
Almost let this thread die off. I was in the army all of last week running around and remembering the job of being a soldier. Anyway I have done a lot of work but none of it really photo worthy. I spent a great deal of time just filling, sanding, and polishing the hull and deck. I filled in the seams between deck pieces and the hull and polished the putty till it shined. I am proud of myself in that I find this to be one of the most difficult parts of a build and I think I did an alright job.
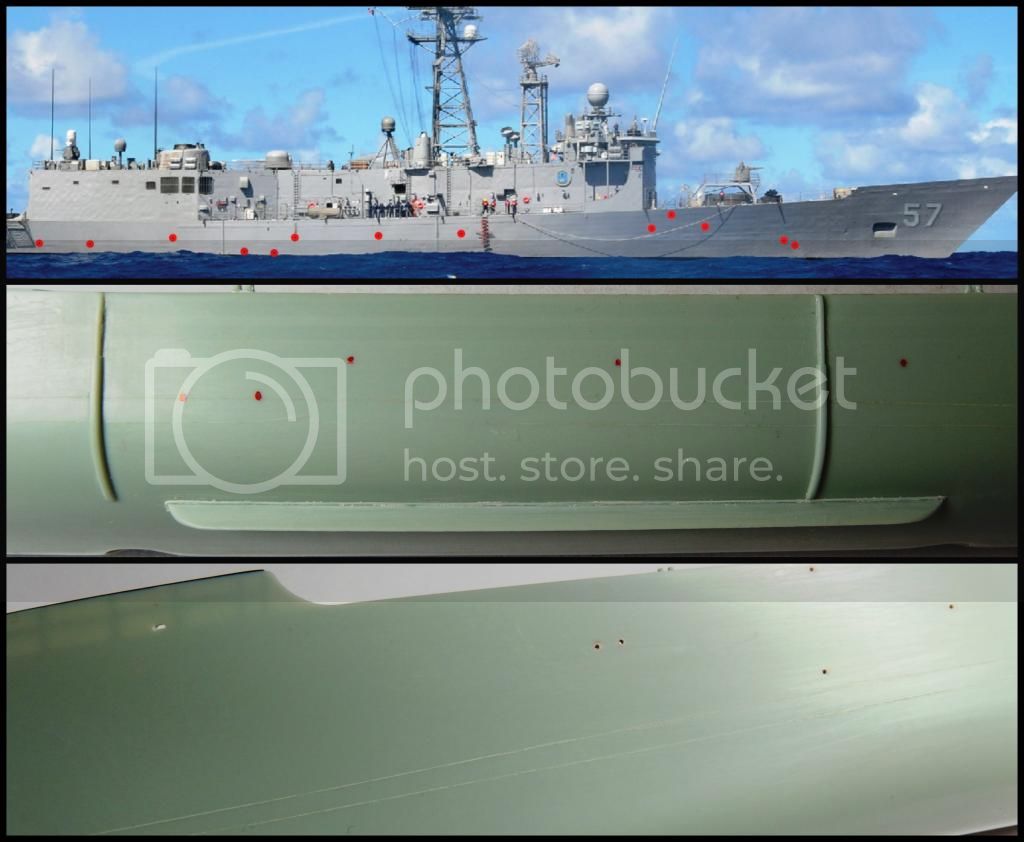
Regarding the tie down points I undertook a scientific study, as seen in the first cells of the first photo. Deeper holes from right to left. I decided on 1.5 turns of a .5mm drill through the masking tape after paint looked subtle enough. I also took the opportunity to try out the colors slated for the whole model. Grey green for the deck, light gray for hull/bulkheads, red+green for anti-fowling and black boot-stripe. The following cells show the flight deck, I extended the rail system into the left hanger bay so that I can build it open. Does anyone know if there are tie downs in the hanger bay as well?
In addition I took some time to research and map out the holes in the hull for dumping various waste water. I drilled the holes and attached the hull stabilizers and glued some stretched sprue to simulate the weld line which is pretty clear in photos. This process is shown in the following picture.
Finally, in preparation for building up the superstructure I mapped out the details on the bulkheads.
Green = replace with PE
Black = missing detail to be added
Blue = molded detail to be removed
Red = detail to be rebuilt/scratch-built
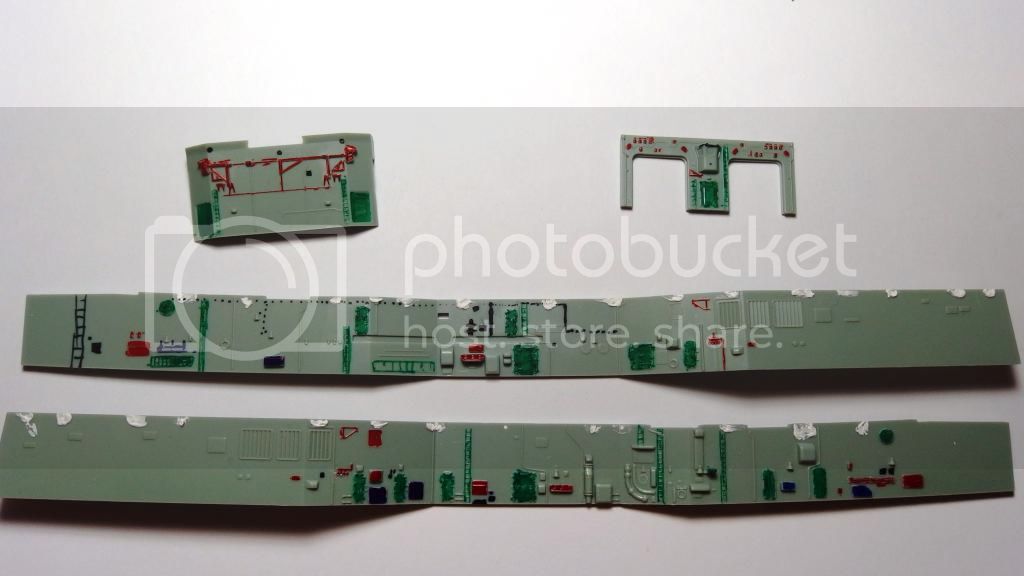
Actually the detail is pretty good OOB but I have to keep the madness going.
Thanks for looking, comments and help more than welcome,
Bryan


 LOL!! That makes more sense!! Thanks for clearing that up!! Good luck with the pen!