_GOTOBOTTOM
General Ship Modeling
Discuss modeling techniques, experiences, and ship modeling in general.
Build Log: 1/350 USS Missouri
McRunty
#491
Visit this Community
Missouri, United States
Joined: April 06, 2016
KitMaker: 602 posts
Model Shipwrights: 349 posts
Posted: Saturday, April 14, 2018 - 12:38 AM UTC
About 6 months ago I was perusing Craigslist when I came across an offer for the Tamiya 1/350 USS Missouri (1945) for a very good price ($40). I quickly contacted the seller and the next day retrieved her.

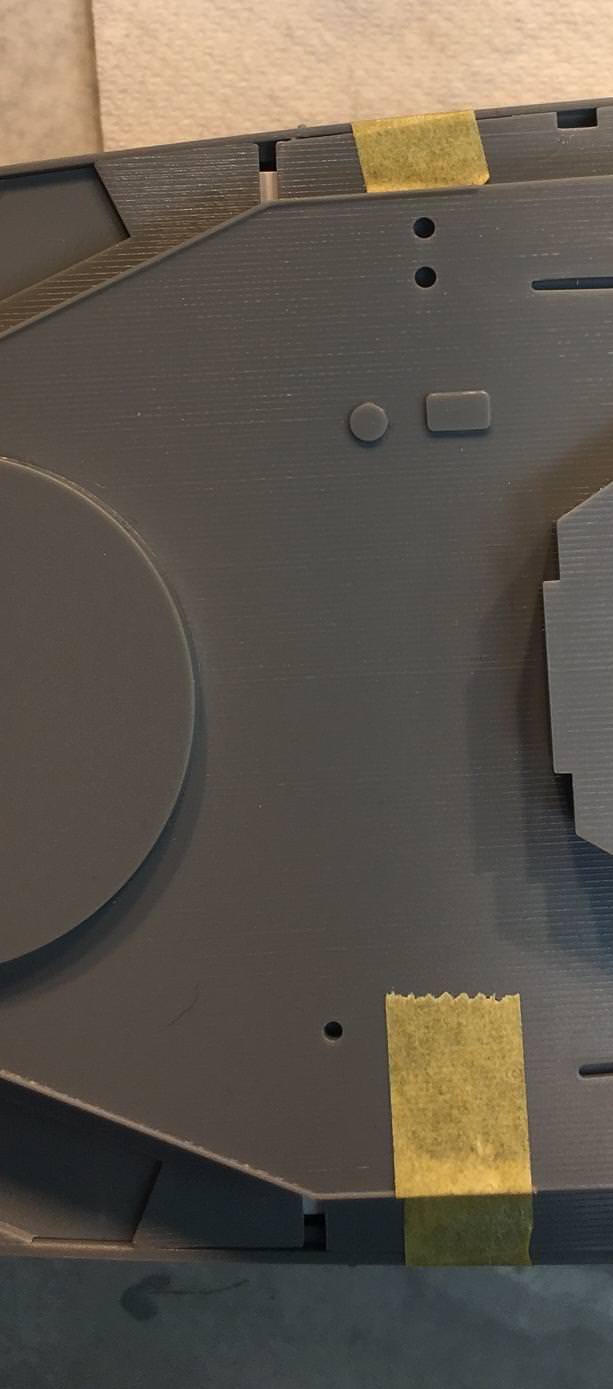
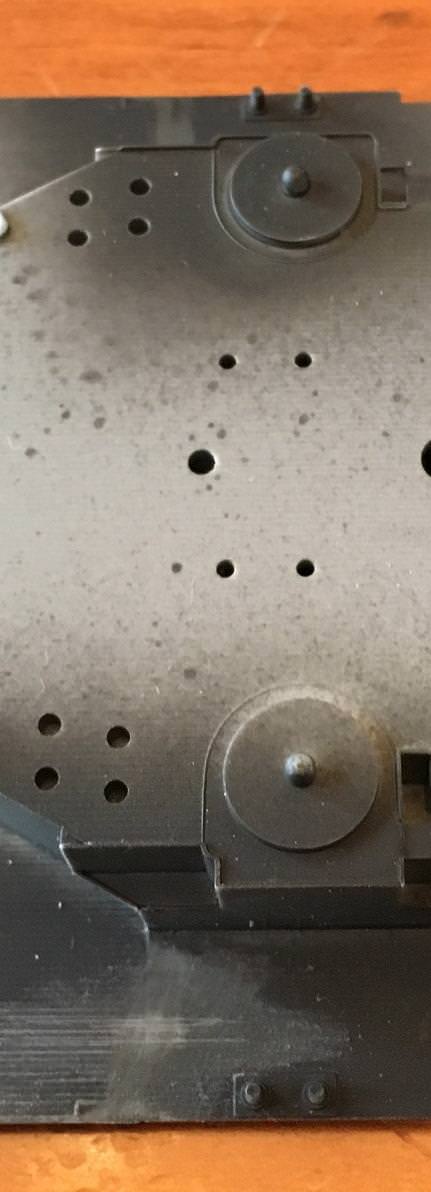
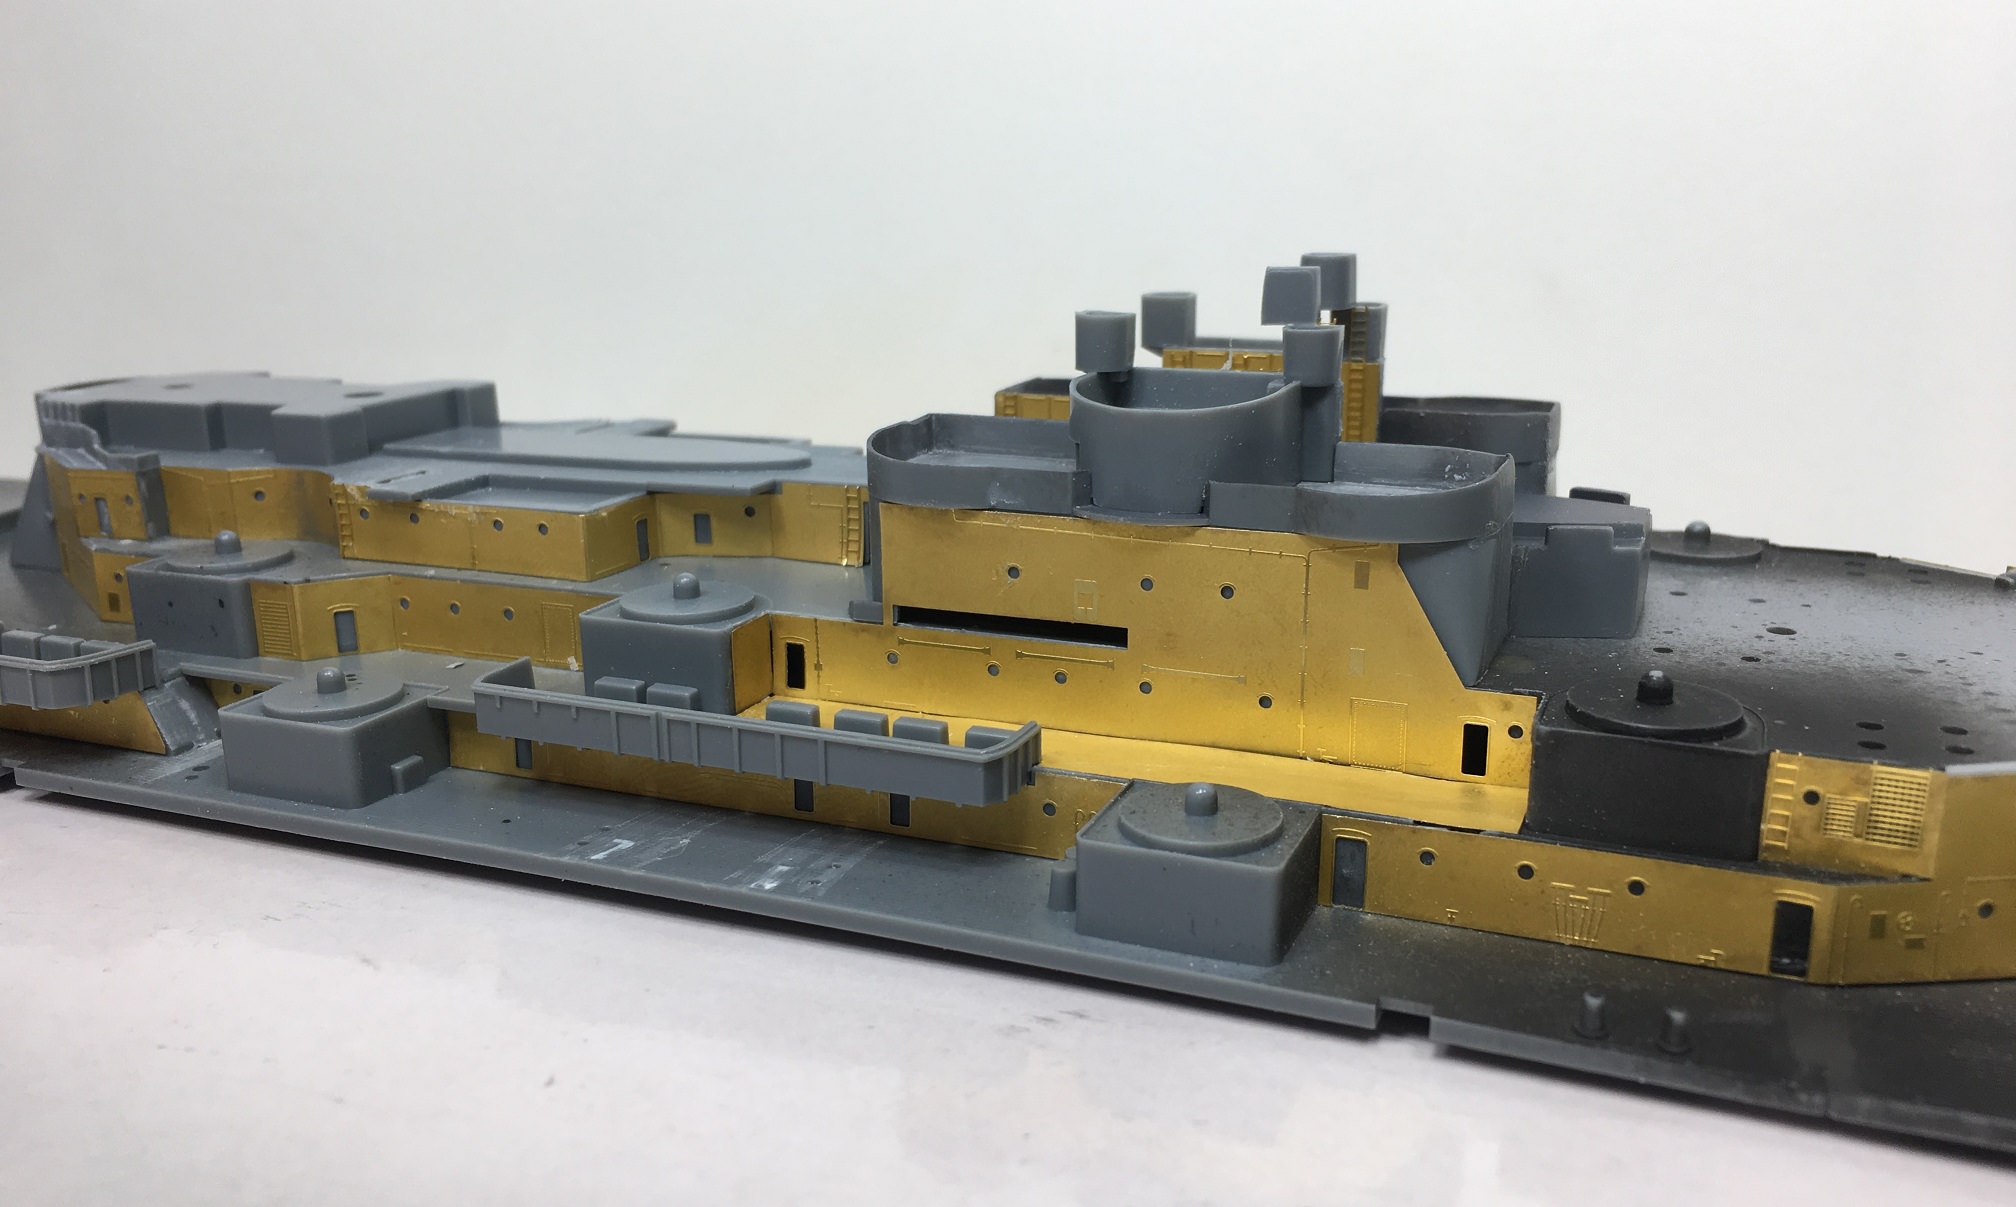
Looking at the kit I realized that while it was a fantastic kit when it came out it now lacked a lot of the details I am used to. Huge amounts of flat, featureless plastic. So I resolved to correct this.

I have slowly been gathering the necessary aftermarket bits I wanted to incorporate. I bought not 1, not 2 but 3 different sets of PE for her. There is a fair amount of redundancy between sets but that just means I can makes some mistakes and not have it be the end of the world.

I have turned brass barrels for the 16" and 5" guns and I also got some 3D printed replacements for the 5" turrets as well as the Mk 37 and Mk38 Directors.

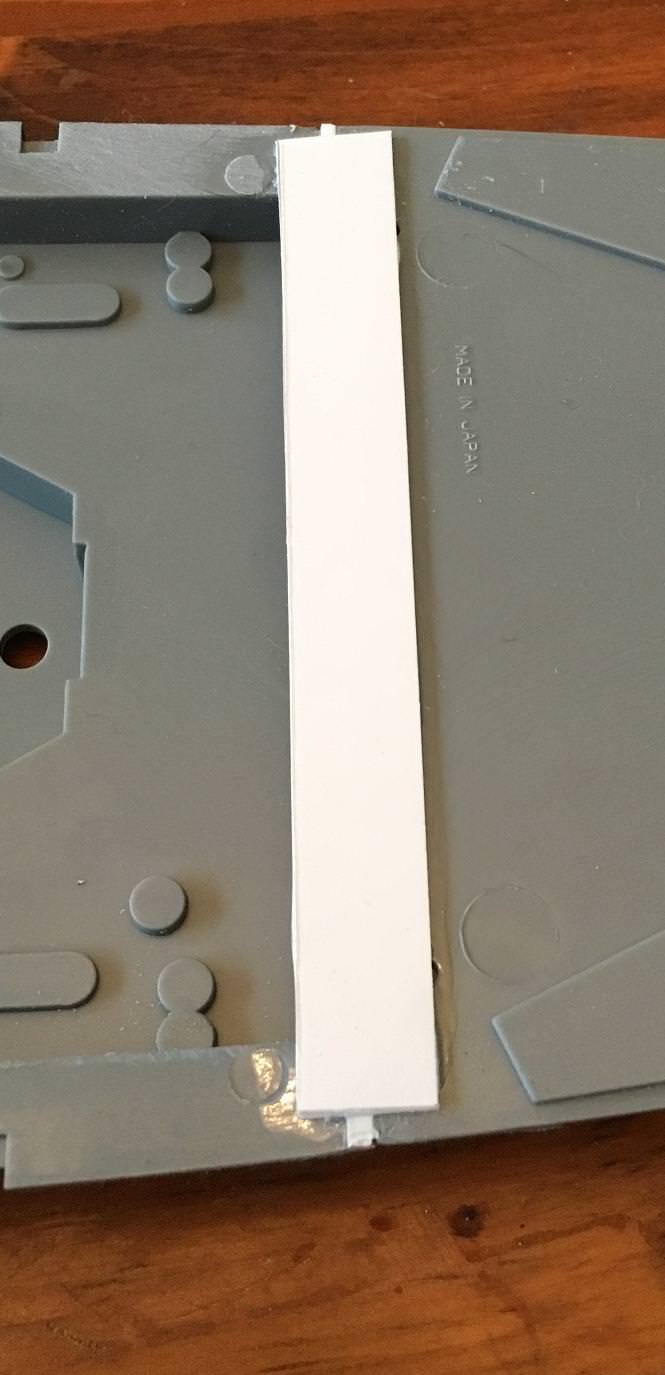
Only thing I am undecided on is the deck. I am going to try paint a realistic look deck before I hand over another $40 for a wooden aftermarket.


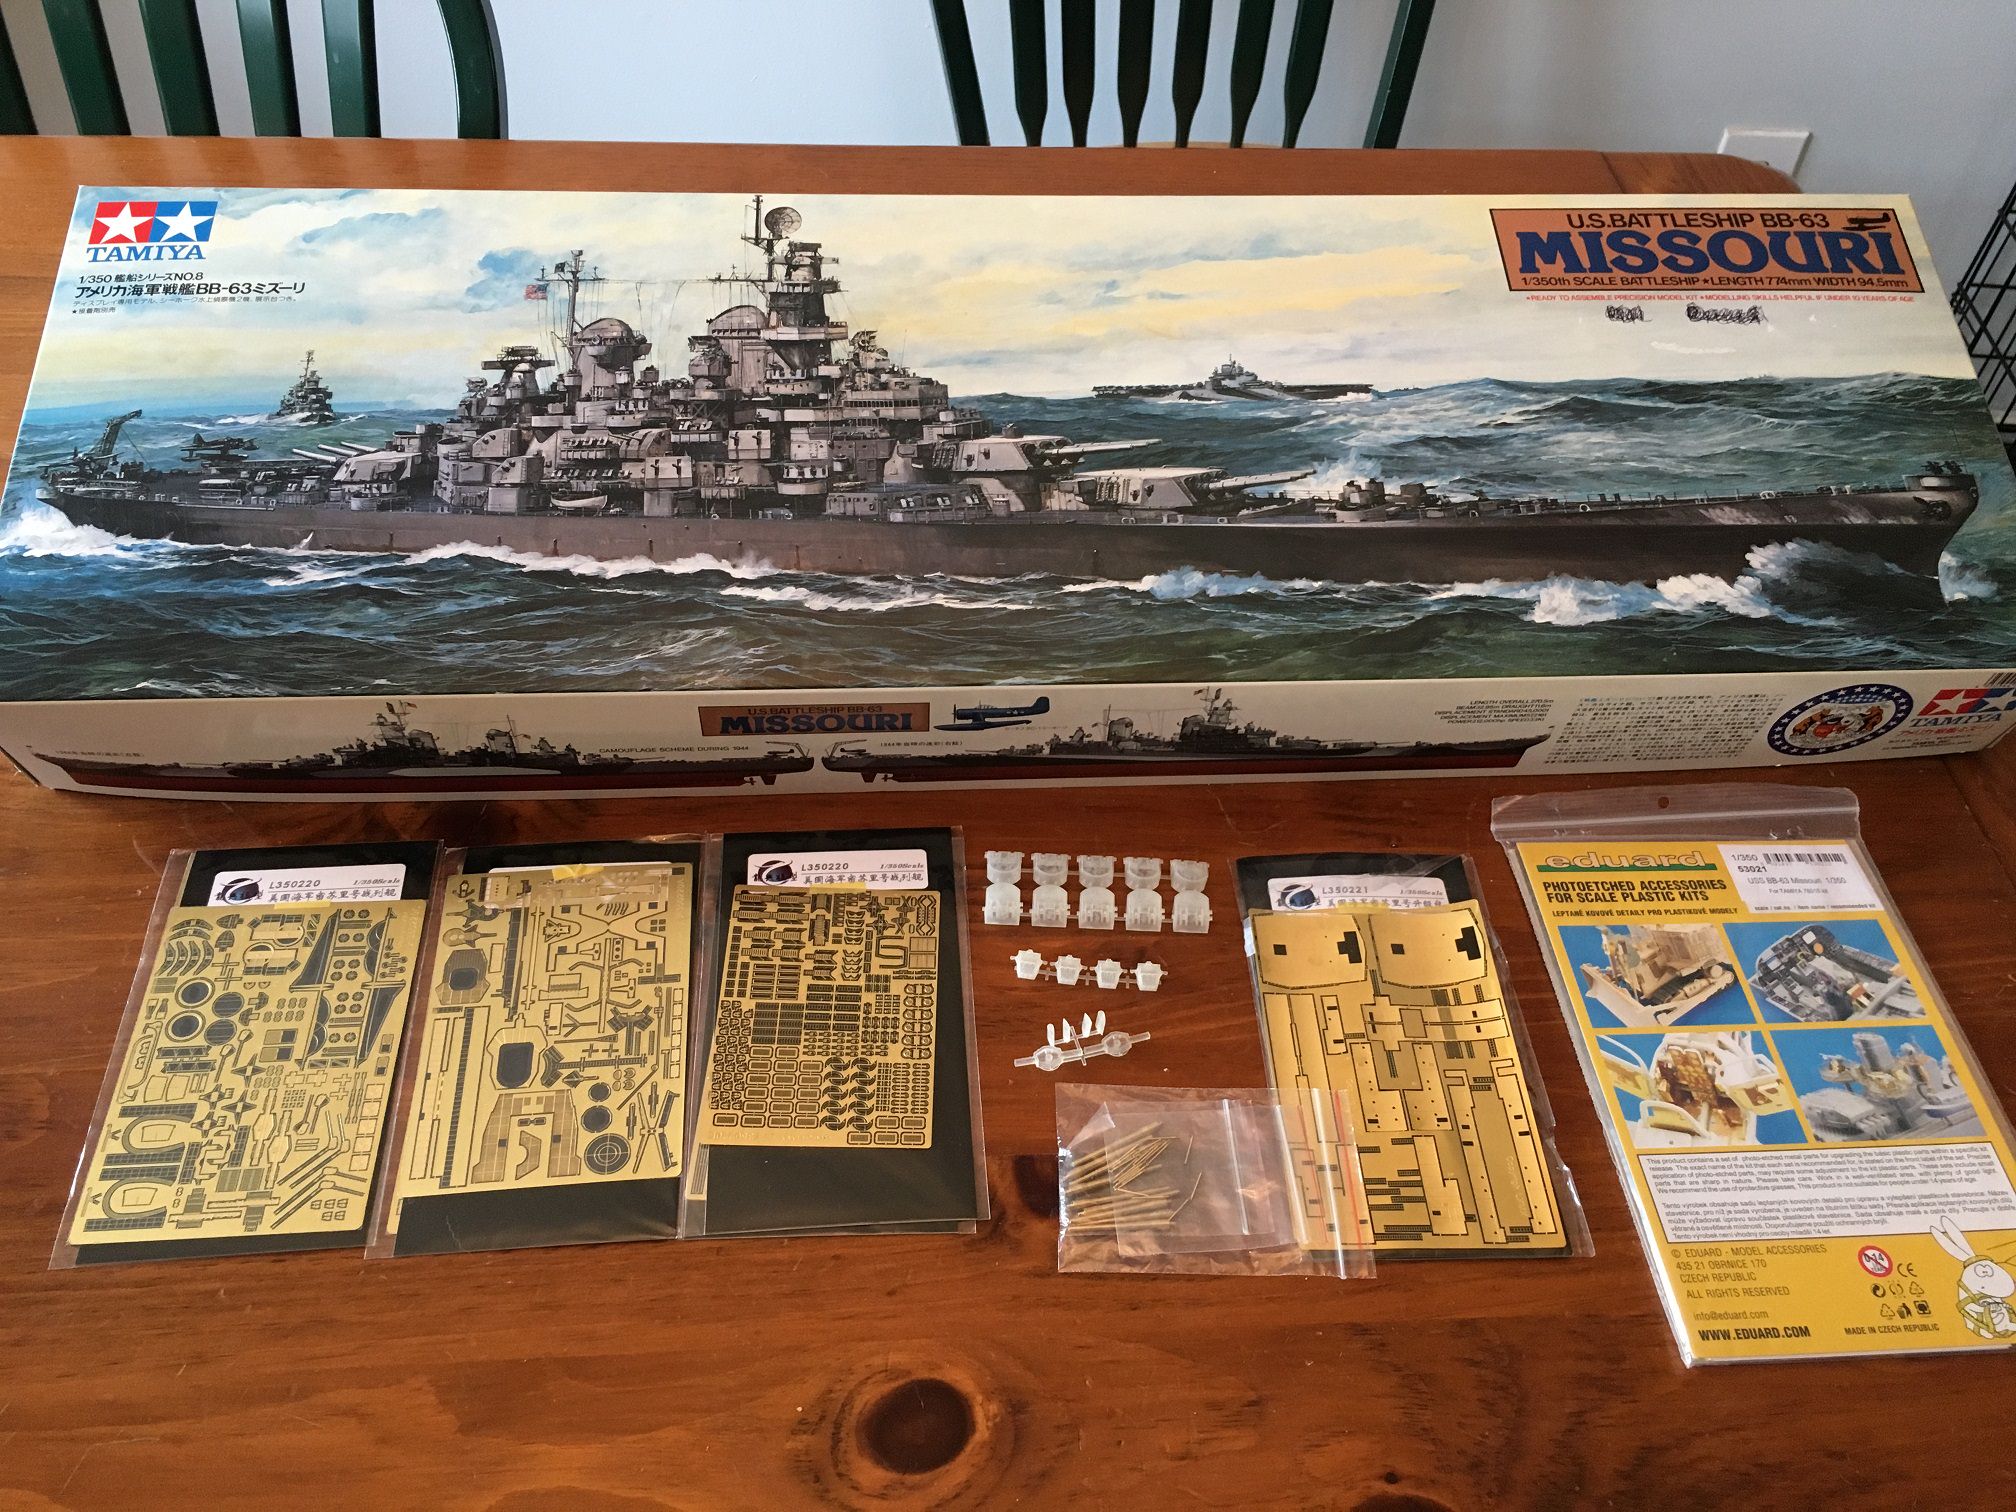
All the bits and pieces.


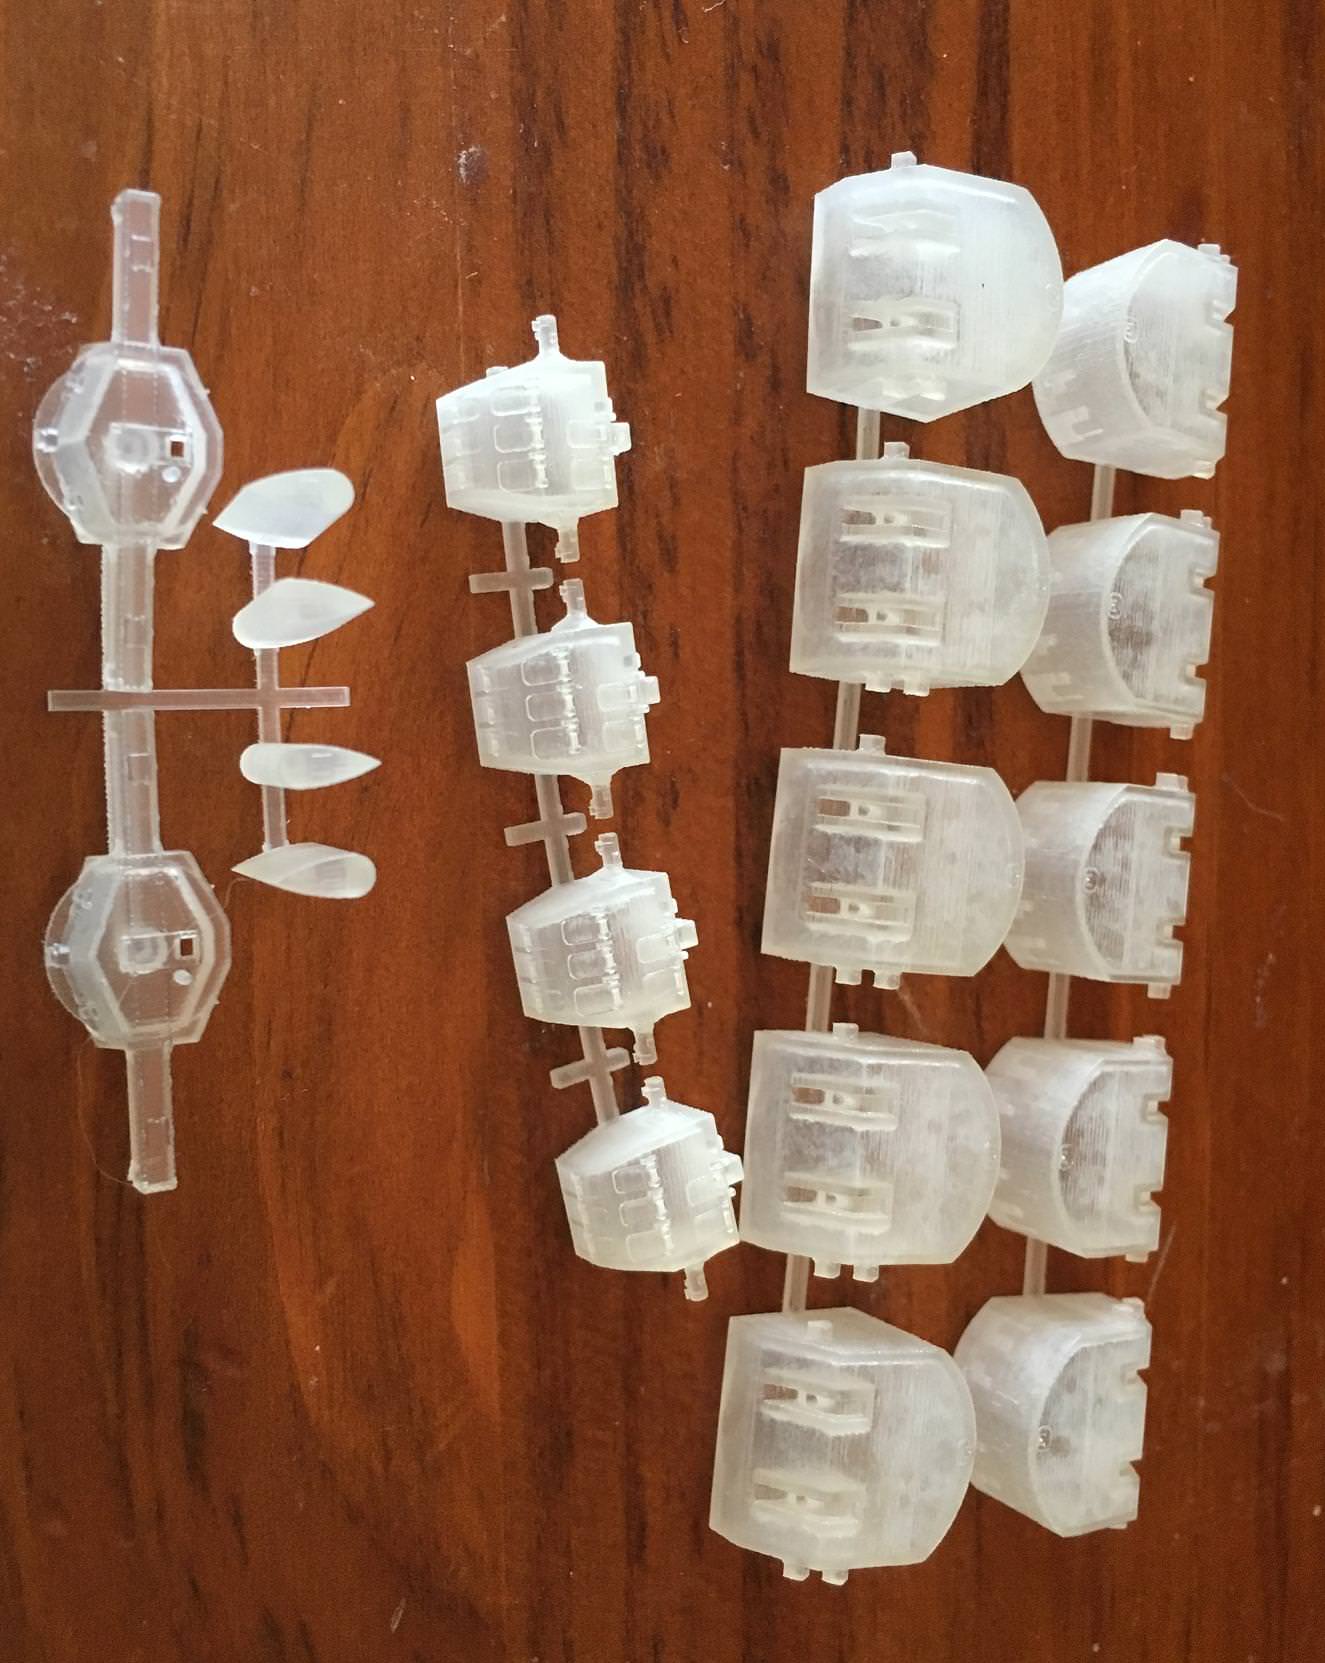
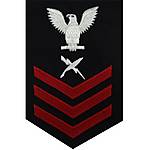
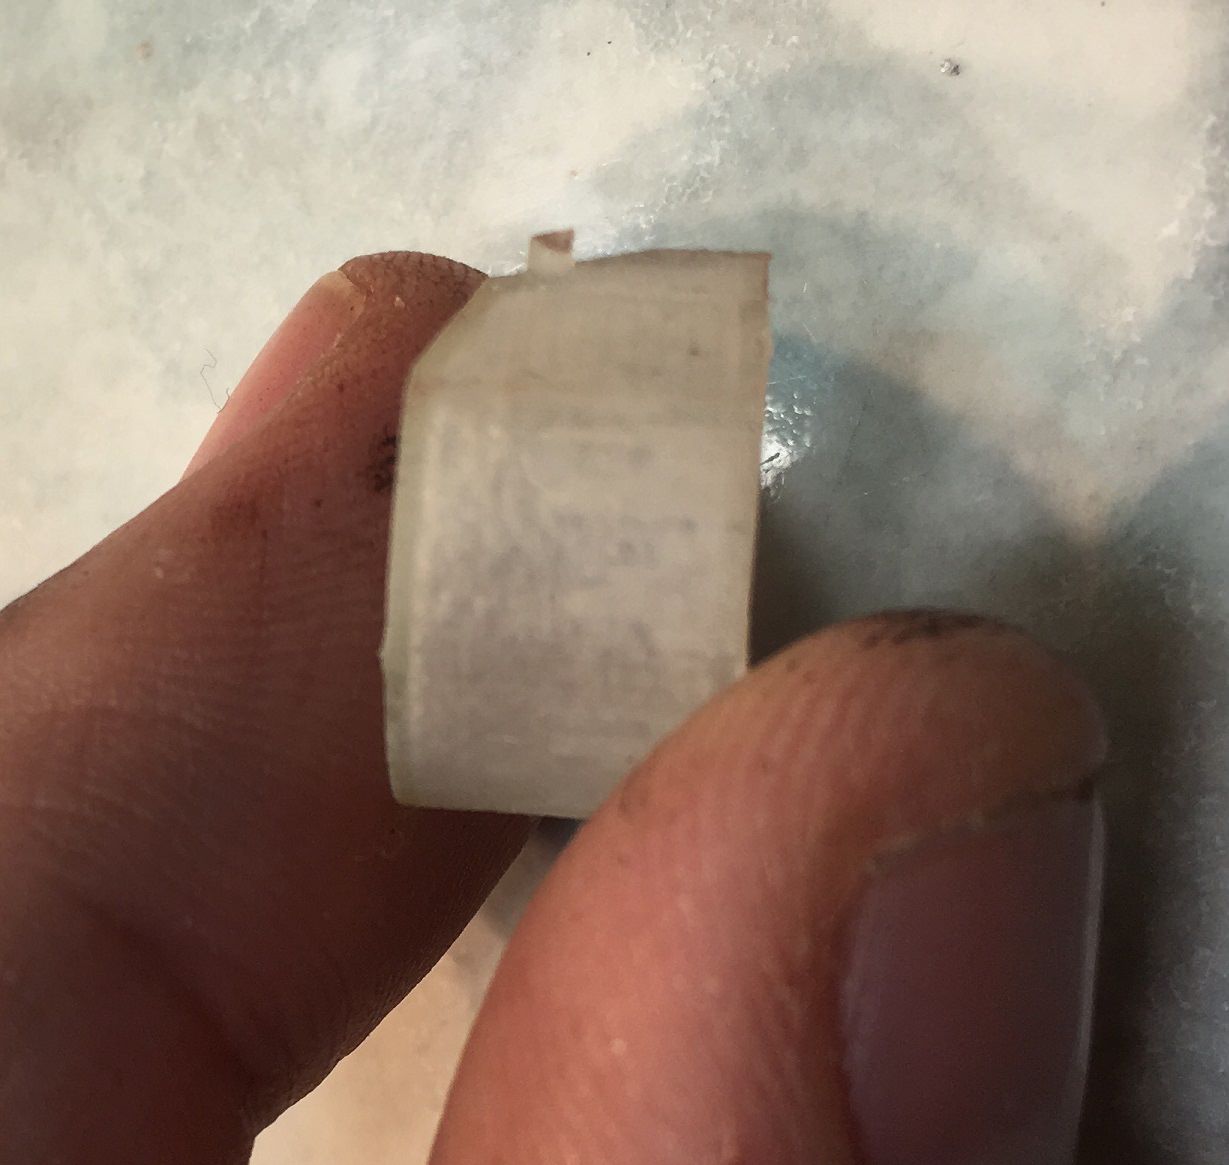
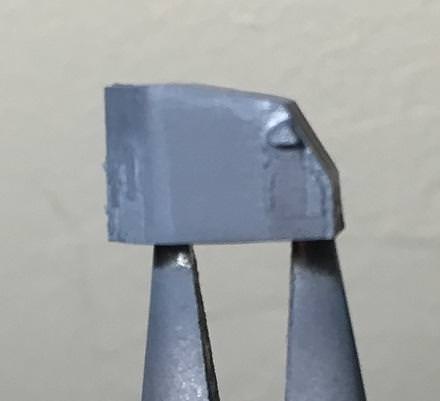
3D printed parts. I am very happy with the directors but will wait to judge the 5" turrets until I have some primer on them to see all the details.


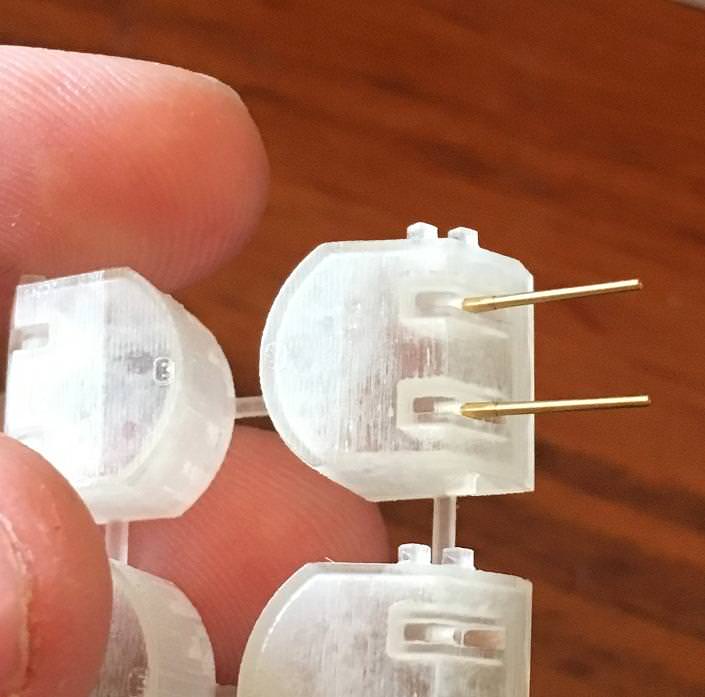
The one good thing about the 5" turrets is that they already have holes for the barrels and they fit perfectly, as least when dry fitted.

I am really looking forward to getting stuck in to this kit. Definitely going to take some of my attention from the HMS Roberts.

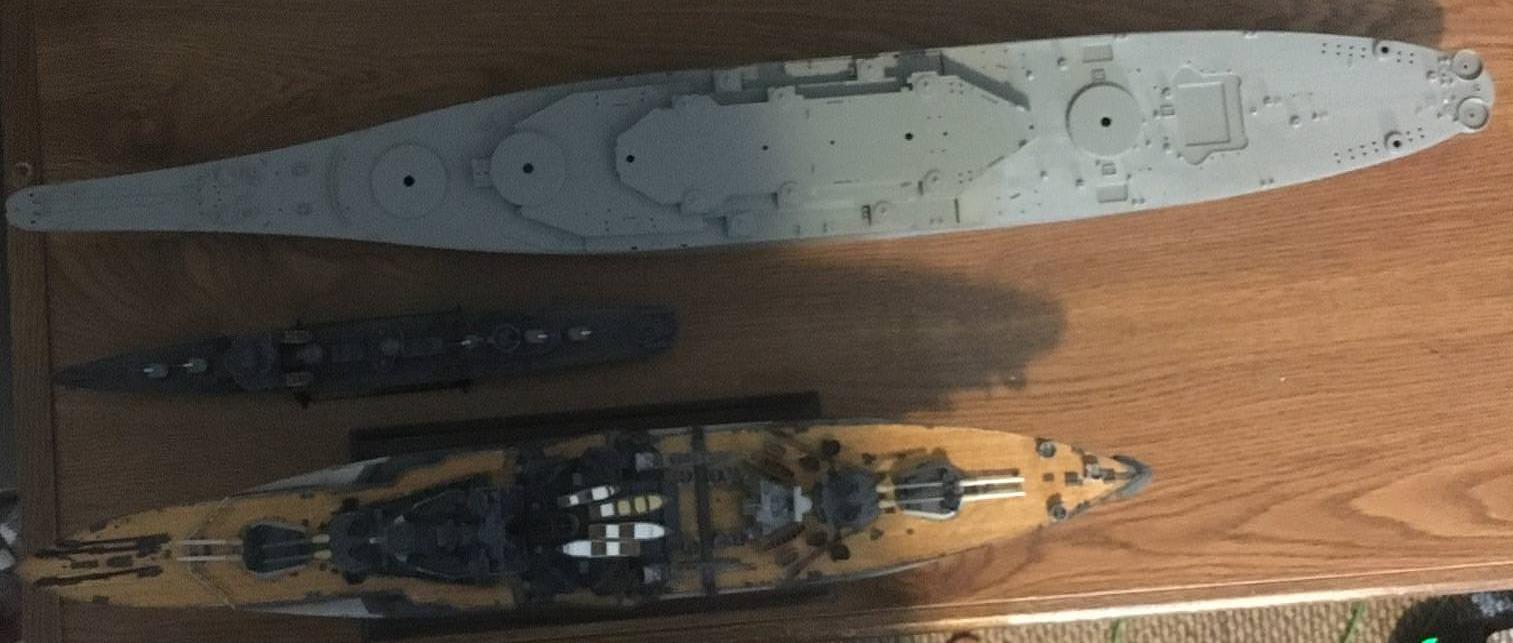
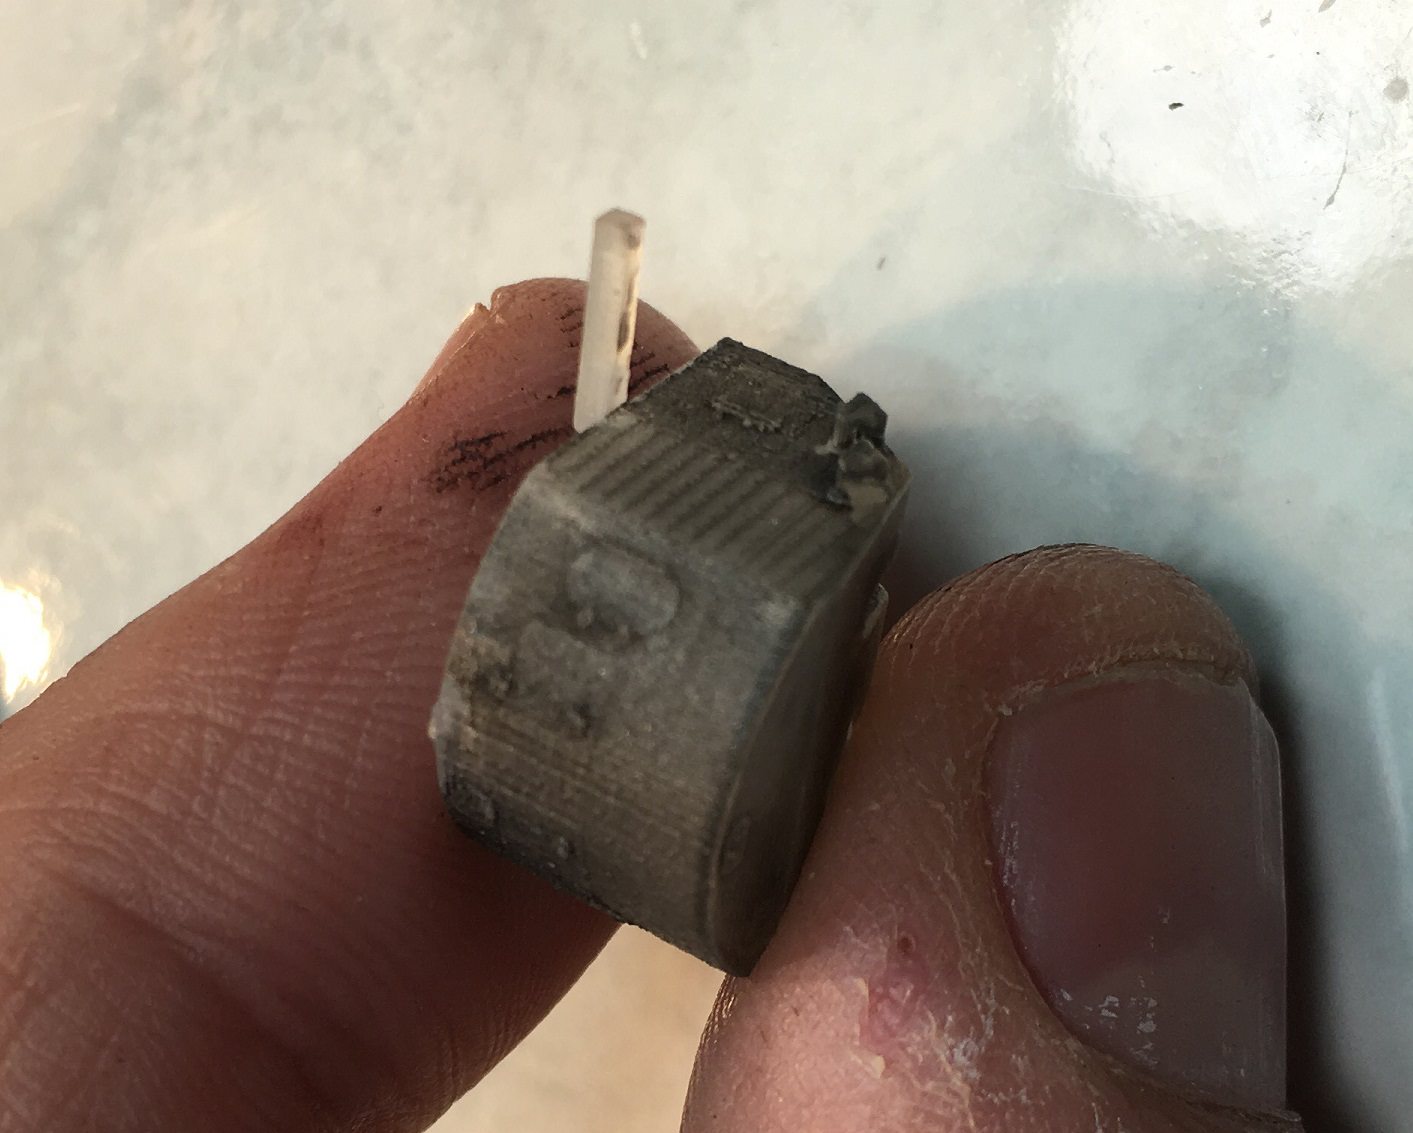
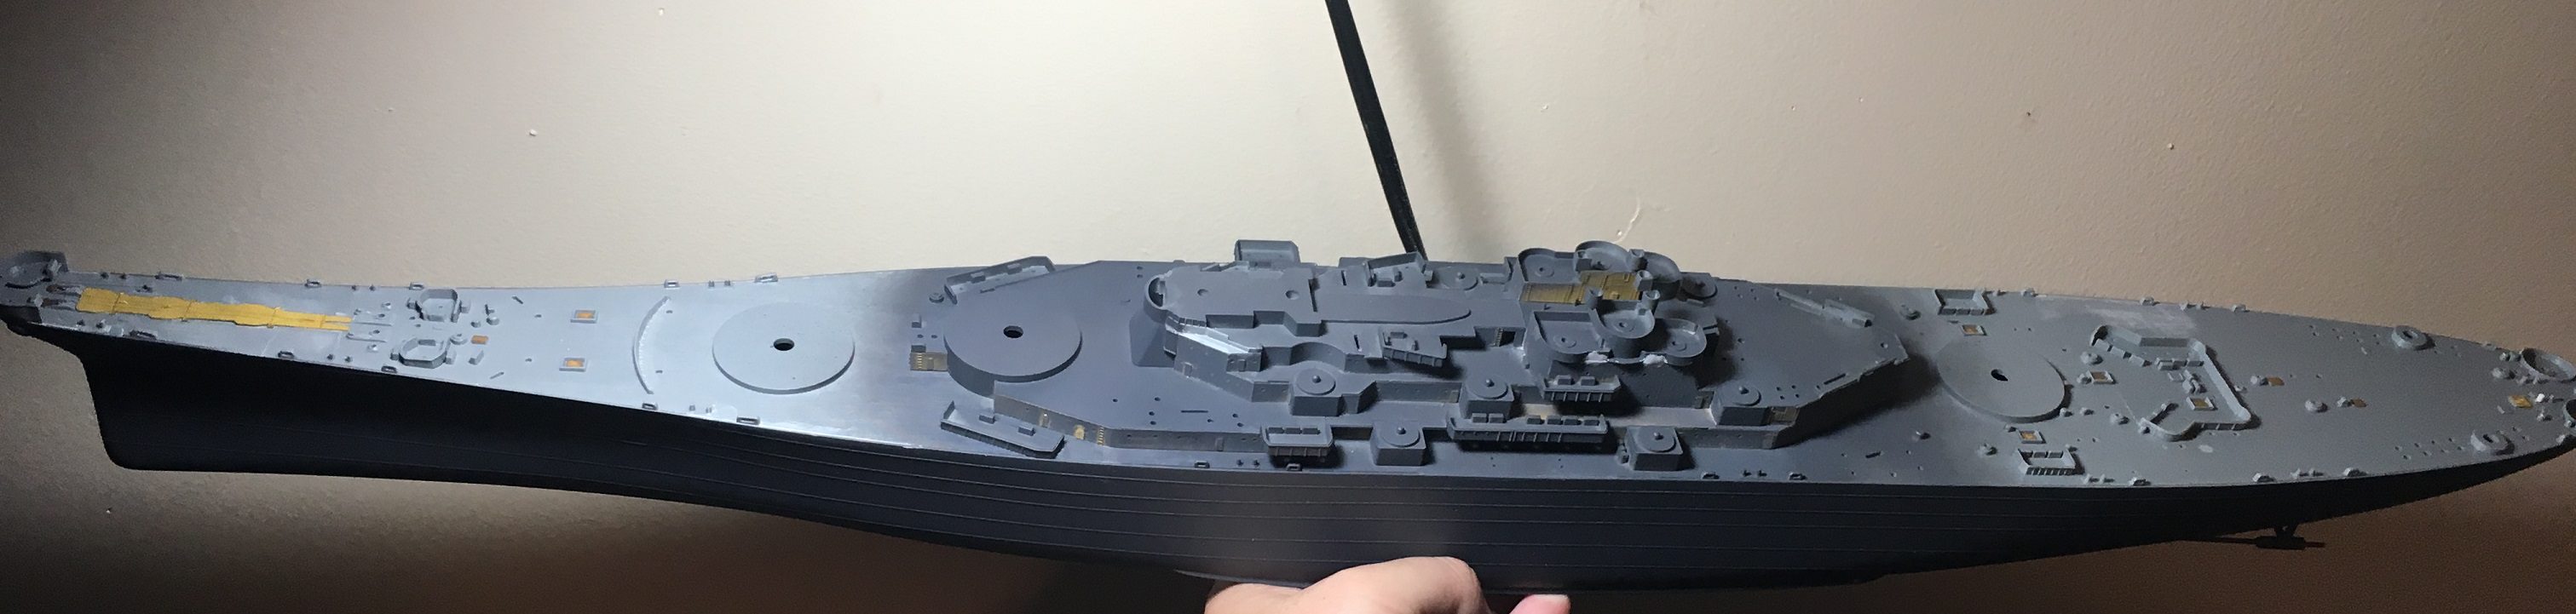
Speaking of the Roberts here is a size comparison.


And just to compare the size of the Missouri against other ships here she is compared to my USS Fletcher and my HMS Warspite. Just a wee size difference. She really is a massive ship in real life.

McRunty
#491
Visit this Community
Missouri, United States
Joined: April 06, 2016
KitMaker: 602 posts
Model Shipwrights: 349 posts
Posted: Saturday, April 14, 2018 - 12:44 AM UTC
I have done some preliminary work on the deck. It comes in 3 parts which means seams to correct. Unfortunately there was a massive gap between the middle and front deck pieces which I have been working on correcting.


Reinforced the undersides of the joins with sheet styrene and also to provide an anchor for my filling in.


As stated, its a substantial gap


Filled and mostly sanded down. Just needs a bot more work. Unfortunately this has obliterated the planking detail which I am going to attempt to rescribe in.


Gap between the rear decking plates cleaned up really well. Not nearly as much rescribing needed.

sdk10159
Visit this Community
Oregon, United States
Joined: December 08, 2005
KitMaker: 556 posts
Model Shipwrights: 110 posts
Posted: Sunday, April 15, 2018 - 06:17 AM UTC
Rory,

I'll be following along, as I want to do a New Jersey in the future.

Are those 5" turrets from Shapeways?

Steve
McRunty
#491
Visit this Community
Missouri, United States
Joined: April 06, 2016
KitMaker: 602 posts
Model Shipwrights: 349 posts
Posted: Sunday, April 15, 2018 - 06:28 AM UTC

Quoted Text

Rory,

I'll be following along, as I want to do a New Jersey in the future.

Are those 5" turrets from Shapeways?

Steve


Yes they are. The seller was ModelMonkey I believe.
RussellE
#306
Visit this Community
Victoria, Australia
Joined: June 27, 2010
KitMaker: 3,959 posts
Model Shipwrights: 2,777 posts
Posted: Sunday, April 15, 2018 - 03:18 PM UTC
Excellent subject choice Rory!

These old Tamiya kits are great but they sure lack details...

I had to purchase both the WEM and the Eduard sets for my KGV by Tamiya, but even then I needed to top up with a friend's Pontos kit's spares and a wooden deck!

Following with interest!
timmyp
Visit this Community
Virginia, United States
Joined: May 18, 2008
KitMaker: 496 posts
Model Shipwrights: 404 posts
Posted: Sunday, April 15, 2018 - 03:18 PM UTC
Very cool-looking 5" turrets! I like the translucent look about them. I would love to see those brass 16" barrels - the 5 inchers look really good, so those "big boys" must look great!
sdk10159
Visit this Community
Oregon, United States
Joined: December 08, 2005
KitMaker: 556 posts
Model Shipwrights: 110 posts
Posted: Sunday, April 15, 2018 - 04:39 PM UTC

Quoted Text


Quoted Text

Rory,

I'll be following along, as I want to do a New Jersey in the future.

Are those 5" turrets from Shapeways?

Steve


Yes they are. The seller was ModelMonkey I believe.


THanks I have a USS Alaska waiting in the wings and I might replace those turrets.

Steve
McRunty
#491
Visit this Community
Missouri, United States
Joined: April 06, 2016
KitMaker: 602 posts
Model Shipwrights: 349 posts
Posted: Sunday, April 15, 2018 - 07:28 PM UTC
@ Steve:

I will say they don't appear as detailed as they did from the 3D model on Shapeways which is a shame as the Mk37 and Mk38 Directors look identical to the model. That being said, because they are translucent it is very hard to see the finer detail so I will wait till I get a wash or primer down on them to bring the detail out.
Either way its not that big a deal since both the Eduard and Long Xing Model PE kit both have a lot of detail to add to the 5" turrets.

Here is the Shapeways page for them: https://www.shapeways.com/product/YBJ7W23A8/1-350-5-quot-38-mk-28-twin-mounts-fixed-trunnion?optionId=59943575

@Russel:

I hear you. The Eduard set provides a lot of detail and like all Eduard sets looks to be easy to bend and install. However after looking at the instructions I could see a bunch of detail that it left off. After doing some searching I found the Long Xing Model L3502201:350 Battleship Etched Remodeling Kit for US Missouri. This has lots of the same stuff as the Eduard kit but it also has a lot of additional detail. It also came with the turned brass barrels.

I am still deciding on the deck. I think it ultimately comes down to when I want to model her. After looking at photos I noted she had the Blue deck until right after VJ Day. You can see the blue when the Japanese came on board to surrender. However it looks like a short time after the deck paint was scrubbed off though she still had the rest of her Measure 22 camo.

If I keep the Blue deck then I will paint it since the dark blue will hide a multitude of sins i.e. sanded and re-scribe lines. If I go for the wood deck then I will buy an aftermarket set.

@Timothy: I will try and remember to take some pictures tonight of the 16" barrels. They came in the Long Xing set and while I was not expecting them to be great I am pleasantly surprised by how good they are. If I am honest though, if they hadn't come in the set I would rather have bought the 16" ones from RB Model.
RussellE
#306
Visit this Community
Victoria, Australia
Joined: June 27, 2010
KitMaker: 3,959 posts
Model Shipwrights: 2,777 posts
Posted: Monday, April 16, 2018 - 02:34 AM UTC

Quoted Text


I hear you. The Eduard set provides a lot of detail and like all Eduard sets looks to be easy to bend and install. However after looking at the instructions I could see a bunch of detail that it left off. After doing some searching I found the Long Xing Model L3502201:350 Battleship Etched Remodeling Kit for US Missouri. This has lots of the same stuff as the Eduard kit but it also has a lot of additional detail. It also came with the turned brass barrels.


I found the same thing with the KGV sets. Lots of overlap between WEM, Eduard and Pontos-Just depends what level of crazy we are as to how much detail we wanna add I guess

The Shapeways stuff looks great, but the thing I've found with them is that they are hard to paint (it doesn't adhere as well as it does to plastic or resin) and there's a definite 'grain' on the surface from the printing process, so you need to do a bit of experimentation and take extra care with the finish.
McRunty
#491
Visit this Community
Missouri, United States
Joined: April 06, 2016
KitMaker: 602 posts
Model Shipwrights: 349 posts
Posted: Monday, April 16, 2018 - 06:19 PM UTC
As promised some pics of the Shapeways 5" turret.


You cannot see any detail at all, looks like smoothish plastic.

However a bit of a wash and....


All the detail pops out. I am concerned about how delicate the detail is though and I am wondering if the paint will cover it up.

@Russell, I can definitely see and feel those ridges however they seem to be very fine and I am hoping some 800 grit will buff them out. I think it will still be an easier clean up than the kit turrets with their multi piece construction.
StephenLarsen
#474
Visit this Community
North Carolina, United States
Joined: June 13, 2015
KitMaker: 67 posts
Model Shipwrights: 41 posts
Posted: Sunday, May 13, 2018 - 03:38 PM UTC
Thanks for your patronage, Rory!

Great build! Really enjoying your thread. Thanks for taking the time to share it with us.
McRunty
#491
Visit this Community
Missouri, United States
Joined: April 06, 2016
KitMaker: 602 posts
Model Shipwrights: 349 posts
Posted: Thursday, August 30, 2018 - 12:00 PM UTC
Been a while since my last update. I was distracted by Tanky things and such.

I was also stumped with trying to figure out how to get plate lines onto the hull. I had researched various methods online but none of them captured my imagination.

Then one day I stumbled across a video by Harry Hourdini Models in which he described using fingernail tape to do hull lines for his Varyag. This seemed perfect. I went online and found the thinnest nail tape I could find and ordered it. Waited patiently for it to arrive and...it was too darn wide. 1mm was too wide.

Back online I went and finally found some 0.5mm graphic tape. After using the new Very Fire USS Missouri (which has hull lines) as a general guide for line placement I got to work.


After primer:


I have to say as a first time experiment I am very happy with it. Is it perfect? No. Is it accurate? I doubt it. Are the lines a bit wonky in some parts? Absolutely!

But perfect accuracy was never my goal. My hope is that after layers of paint, clear coats, dull coats etc that the hint of lines will remain. I do have some work still to do once the primer dries. I am going to do a light sand to get rid of any roughness and further reduce the height of the lines.

I have also given up on the idea of painting the deck. I couldn't get my scribe lines to work and it looks ugly at the join. I have ordered a Pontos deck which should be here mid September sometime.
JJ1973
#345
Visit this Community
Niedersachsen, Germany
Joined: August 22, 2011
KitMaker: 1,835 posts
Model Shipwrights: 1,832 posts
Posted: Sunday, September 02, 2018 - 06:50 AM UTC
Rory,

certainly a nice subject and a very good start into the build!

I'll be following with interest! Fine work so far!

Cheers,
Jan
RussellE
#306
Visit this Community
Victoria, Australia
Joined: June 27, 2010
KitMaker: 3,959 posts
Model Shipwrights: 2,777 posts
Posted: Sunday, September 02, 2018 - 10:08 AM UTC
Rory, very tricky to get the plating effect correct at this scale, but this is looking good so far
McRunty
#491
Visit this Community
Missouri, United States
Joined: April 06, 2016
KitMaker: 602 posts
Model Shipwrights: 349 posts
Posted: Wednesday, September 05, 2018 - 11:19 AM UTC
Todays efforts were highly truncated. I was all ready to put on the rudders, braces and prop shafts. Only to discover the supplied styrene shafts are horrible. More oval than round with large mold lines. I was really hoping to avoid spending more money on brass rod but I think that's the route I have to go

Will hit the store tomorrow to get the rod so no building today since I am not in the mood for more fiddly stuff
RussellE
#306
Visit this Community
Victoria, Australia
Joined: June 27, 2010
KitMaker: 3,959 posts
Model Shipwrights: 2,777 posts
Posted: Wednesday, September 05, 2018 - 04:06 PM UTC
Hi Rory

I know that feeling.

If it helps, I often find that, if size allows, styrene rod is cheaper and easier to work with than brass when it comes to replacing kit prop shafts (which are generally lousy anyway given you can't mold a round shaft using IM tech)

But for masts, nothing beats brass....
McRunty
#491
Visit this Community
Missouri, United States
Joined: April 06, 2016
KitMaker: 602 posts
Model Shipwrights: 349 posts
Posted: Thursday, September 06, 2018 - 02:11 AM UTC

Quoted Text

Hi Rory

I know that feeling.

If it helps, I often find that, if size allows, styrene rod is cheaper and easier to work with than brass when it comes to replacing kit prop shafts (which are generally lousy anyway given you can't mold a round shaft using IM tech)

But for masts, nothing beats brass....


I am going to give Styrene a look as well. I have some at home but its hollow so was too flexible. If I can find some solid rod that could be the way to go.
McRunty
#491
Visit this Community
Missouri, United States
Joined: April 06, 2016
KitMaker: 602 posts
Model Shipwrights: 349 posts
Posted: Sunday, September 09, 2018 - 10:45 AM UTC
This weekend we had Progress!

I replaced the prop shafts with copper rod which worked really well. With that the hull is complete and ready for paint which will be done once I have the deck installed.

Speaking of the deck I ran into a slight hiccup with my plan to build up the superstructure in segments. The way the PE works it spans multiple subassemblies so I am going to have to deal with that when it comes time for painting and wooden deck install.

That being said I got a lot done on the superstructure. I went from dull featureless slabs of plastic like this:


And ended up with:


Still lots to do just with what I have done so far. Have to clean up joins, add watertight doors etc. Plus keep building up the superstructure.

Fingers crossed this PE has been some of the easiest I have ever used. Fits perfectly and looks good.
d6mst0
#453
Visit this Community
Texas, United States
Joined: August 28, 2016
KitMaker: 1,925 posts
Model Shipwrights: 1,298 posts
Posted: Sunday, September 09, 2018 - 01:27 PM UTC
Rory,

Good thing the Missouri was built in the 40's. If you add anymore metal you would be in violation of the Washington Naval Treaty....LOL.

Sounds like you may have to do a lot masking to work around your problem with sub-assembly and the deck.

Enjoying you build.

Mark
McRunty
#491
Visit this Community
Missouri, United States
Joined: April 06, 2016
KitMaker: 602 posts
Model Shipwrights: 349 posts
Posted: Monday, September 10, 2018 - 02:32 AM UTC

Quoted Text

Rory,

Good thing the Missouri was built in the 40's. If you add anymore metal you would be in violation of the Washington Naval Treaty....LOL.

Sounds like you may have to do a lot masking to work around your problem with sub-assembly and the deck.

Enjoying you build.

Mark


There's a lot more metal to come!

Looking at the instructions I believe I have reached the point where sub-assemblies are now possible which is good news. I am going to leave the superstructure for now and get started on the deck. Lots to do before I can glue the deck to the hull and throw on some paint.

I am undecided if I am going to leave my wooden deck the wood colour or spray it deck blue.

Has anyone sprayed a wooden deck and how did it come out?
RussellE
#306
Visit this Community
Victoria, Australia
Joined: June 27, 2010
KitMaker: 3,959 posts
Model Shipwrights: 2,777 posts
Posted: Monday, September 10, 2018 - 10:59 PM UTC
Looking good Rory!
TimReynaga
Staff MemberAssociate Editor
MODEL SHIPWRIGHTS
Visit this Community
California, United States
Joined: May 03, 2006
KitMaker: 2,500 posts
Model Shipwrights: 1,830 posts
Posted: Tuesday, September 11, 2018 - 01:02 AM UTC
Rory,

Your Missouri is definitely starting to look the part! Replacing entire bulkheads with detailed photoetch sheet is an interesting approach... I've always added all those bits one at a time, but this looks like a big time saver for a similar effect. I'm interested to see how all this will look under paint. Great work so far!

McRunty
#491
Visit this Community
Missouri, United States
Joined: April 06, 2016
KitMaker: 602 posts
Model Shipwrights: 349 posts
Posted: Thursday, September 13, 2018 - 12:14 PM UTC
Aaaaand we have run into a snag which has taken the wind out of my sails. I was going along quite merrily when I discovered to my horror that my Eduard PE set is missing an entire fret. Up to now I had been using the PE set sourced from China so had not opened the Eduard set.

I have emailed Eduard to see if I can get a replacement.

Its not entirely bad news because almost everything on the fret is also present in the Chinese set. HOWEVER I think the Eduard set had some more detail on those pieces.

Long story short I lost all enthusiasm to work on the kit tonight. I will wait to hear back from Eduard before recommencing.

On the actually progress side I have the deck on the hull now and the majority of the lower superstructure complete. Putting all the hatches on was a pain in the behind. Threw on a light coat of primer to look for issues. There are less than expected which is nice


I also threw on some primer on one of the 3D Printed 5" turrets. There are definitely striations visible even with a primer designed to fill small scratches.


Side that's been sanded.


Side that has not.

Shouldn't be too much of an issue to sand them out.
McRunty
#491
Visit this Community
Missouri, United States
Joined: April 06, 2016
KitMaker: 602 posts
Model Shipwrights: 349 posts
Posted: Friday, September 14, 2018 - 05:50 AM UTC
Update: Eduard are sending me out a replacement fret (which I had to pay for) The shipping was almost the cost of the replacement which is irksome. Allegedly the fret is in stock and is being packaged as we speak.

Missouri is on hold till it arrives so hopefully it doesn't take too long.
RussellE
#306
Visit this Community
Victoria, Australia
Joined: June 27, 2010
KitMaker: 3,959 posts
Model Shipwrights: 2,777 posts
Posted: Sunday, September 16, 2018 - 10:18 AM UTC
That's a real bummer about the missing fret, Rory!

Hopefully you'll be back on track soon!

How'd you go painting the shapeways parts?

I have real issues with them in terms of painting: Grainy surfaces that require sanding; and because the parts are nylon, paint wont stick!
 _GOTOTOP