


It might be my eyes but the cam and the reflection in the water base look verey sharp to me thanks for another great method to follow from. Now how the hell can i save these tips to a folder or disc because my memory is not that good at the best of times.


Hi Keith!
I'm making Peter's base technique into a full feature here at MSW, which will be available soon, stored in the MSW memory banks for all time, mate, available for your reference any time...something that I've marveled at since I first saw one of his bases....
 thank you!


Here's a point, the good thing about this build along, is that you can see from other peoples work where your own shortfalls are :
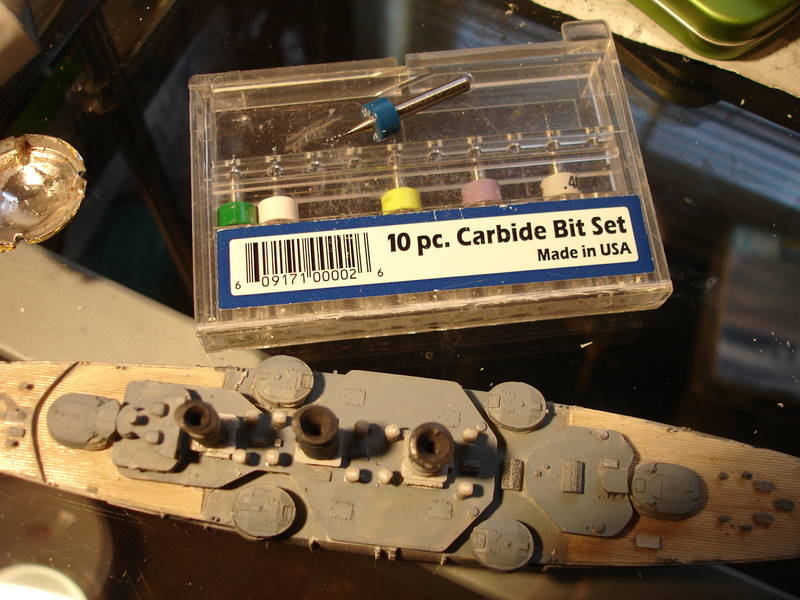
Just now, I have learnt from Guido to keep a tidy, and organised bench - a cleaner build must surely be facilitated.
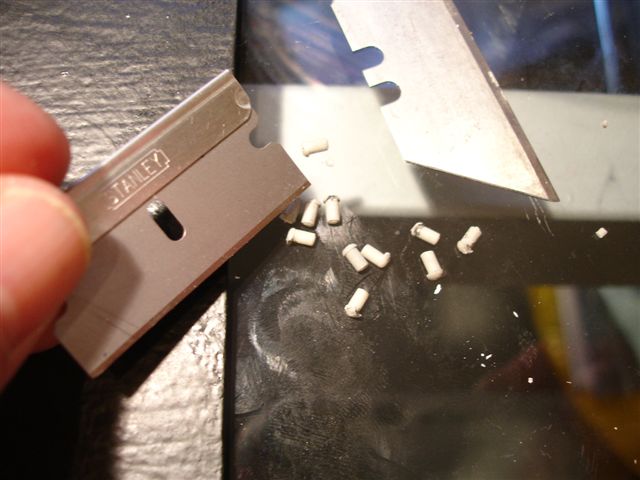
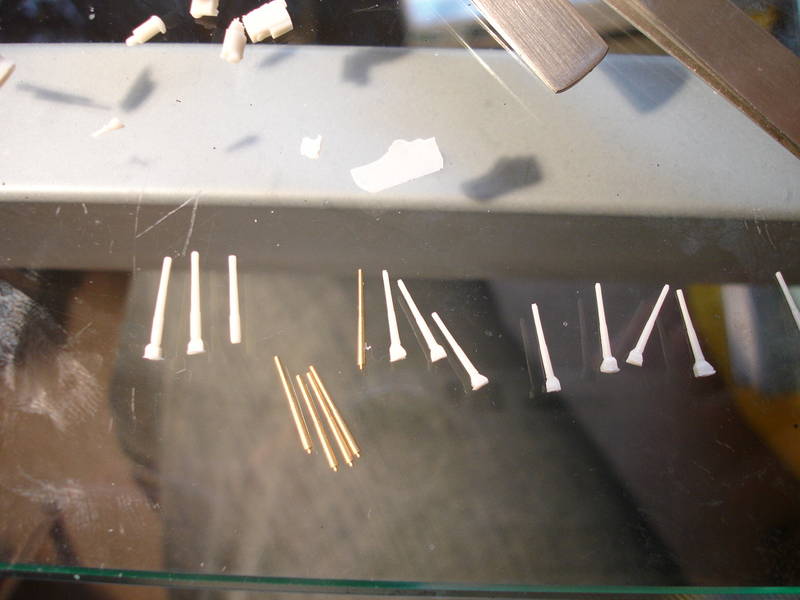
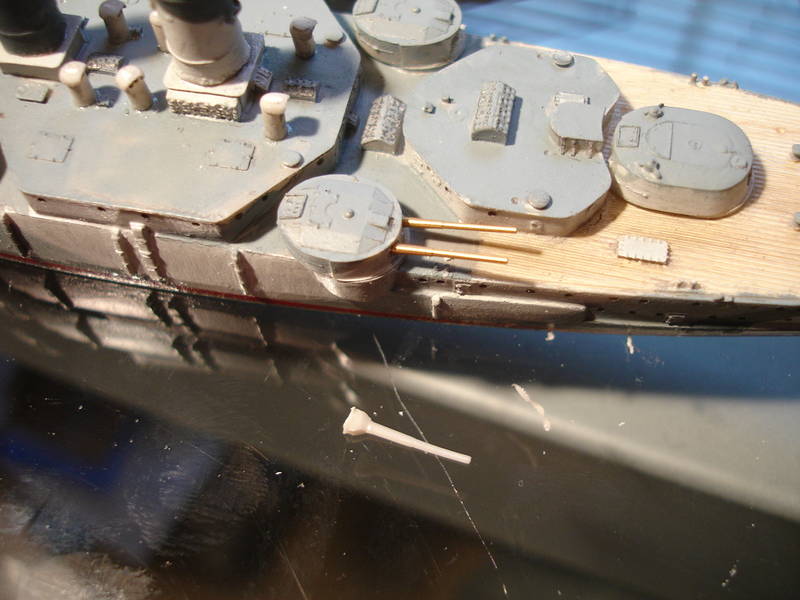
I have seen from Nanaond's work how the build can be sculptured, and how to add the pe like its a jeweler's creation.
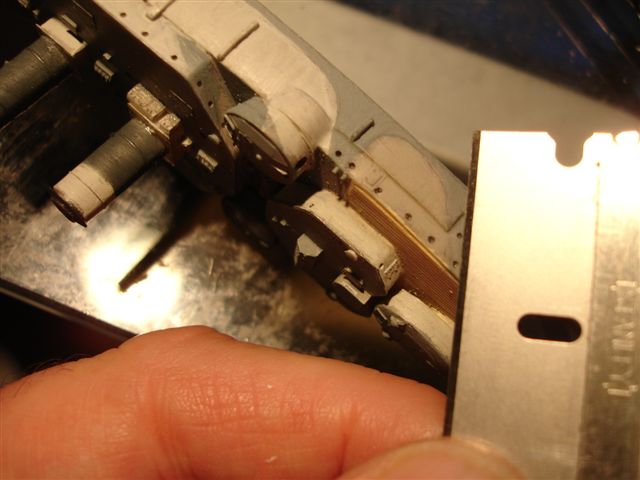
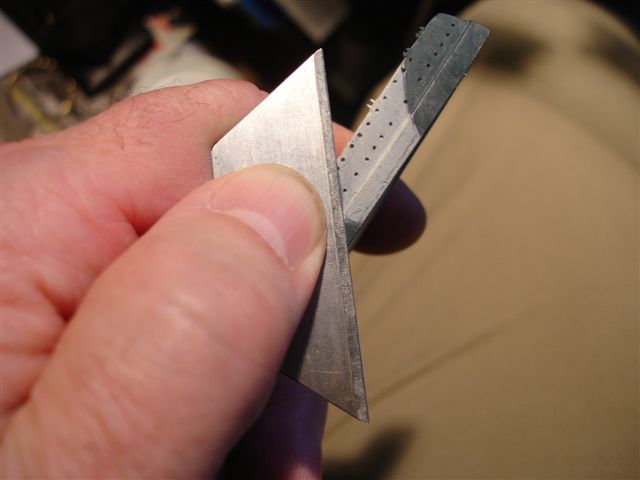
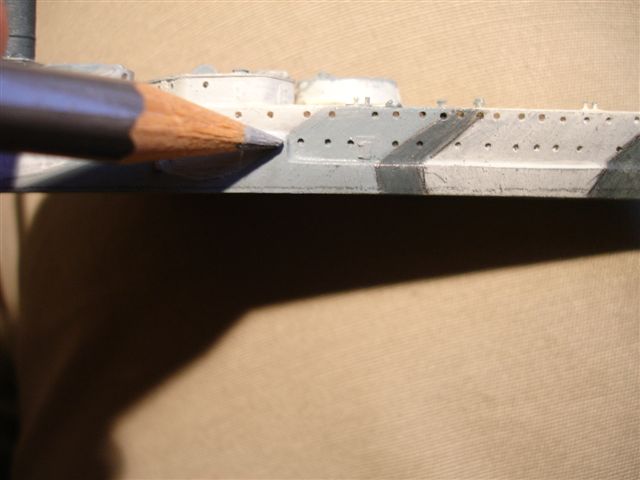
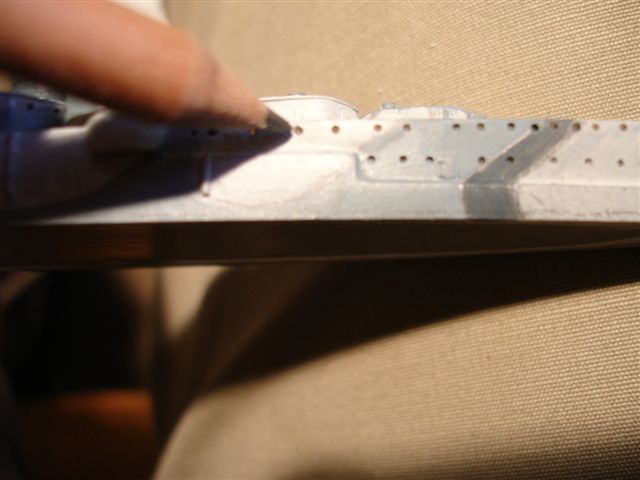
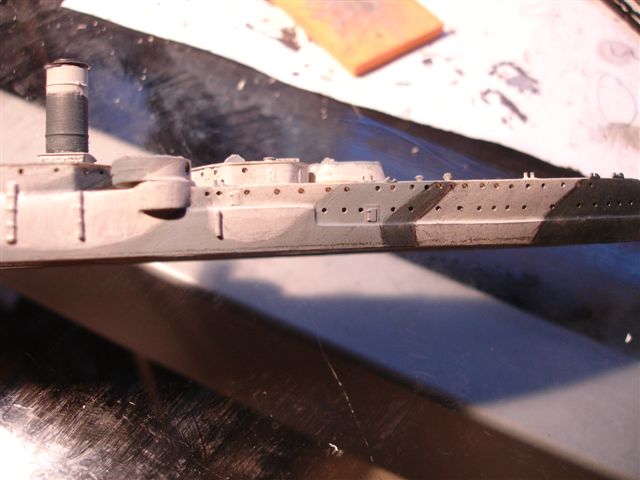
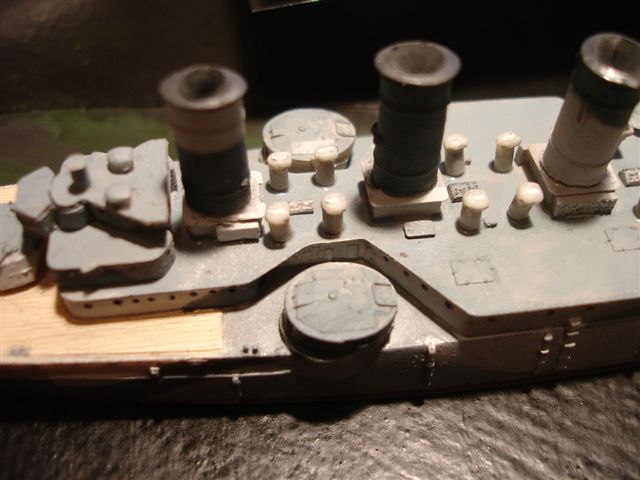
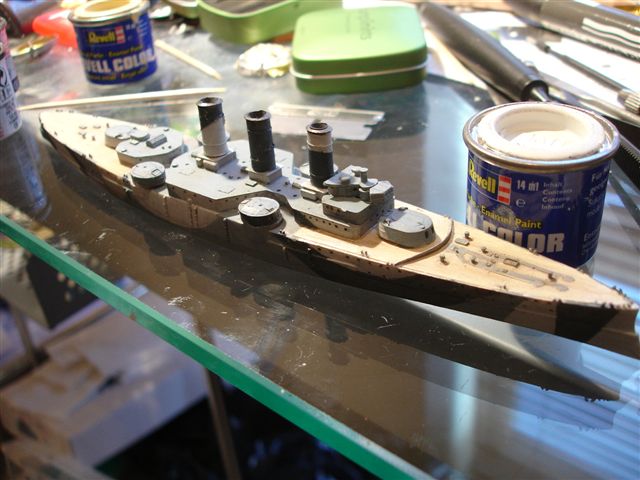
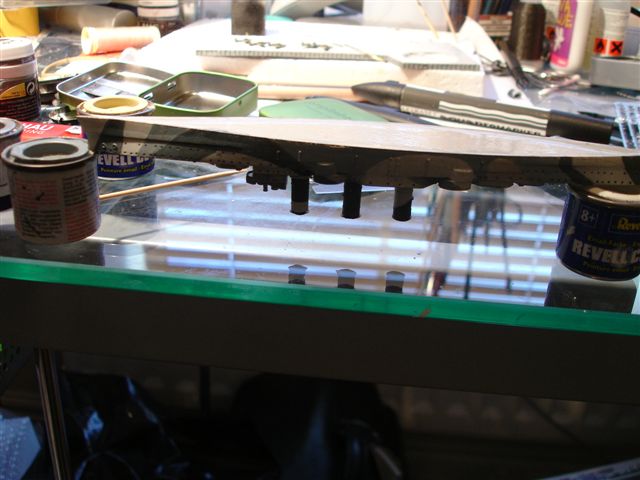
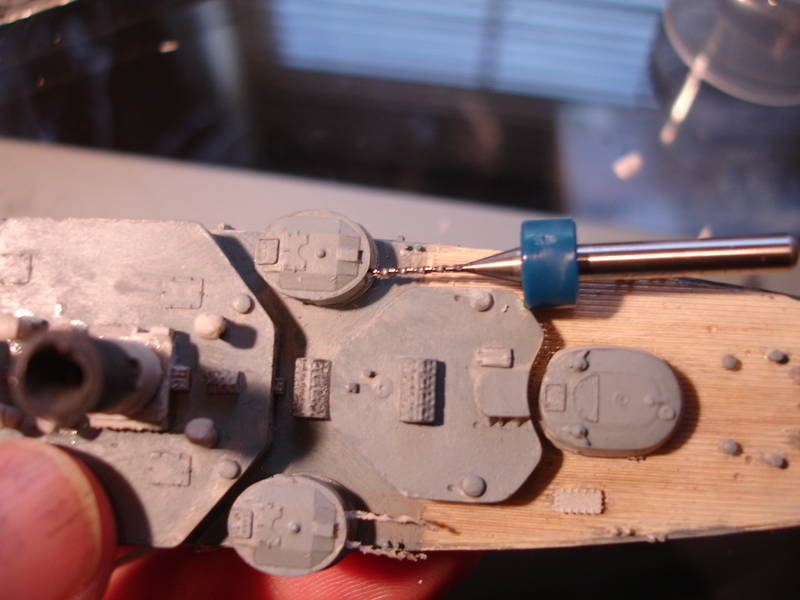
Keith Richardson has demonstarted how to correct errors and achieve the best result - something which I must do next to update my subject for WW2.
Thank you my fellow modellers, its a pleasure to be alondside you.
Peter F


Just now, I have learnt from Guido to keep a tidy, and organised bench - a cleaner build must surely be facilitated.
I have seen from Nanaond's work how the build can be sculptured, and how to add the pe like its a jeweler's creation.
Keith Richardson has demonstarted how to correct errors and achieve the best result - something which I must do next to update my subject for WW2.
Kidding aside, great work, Peter! 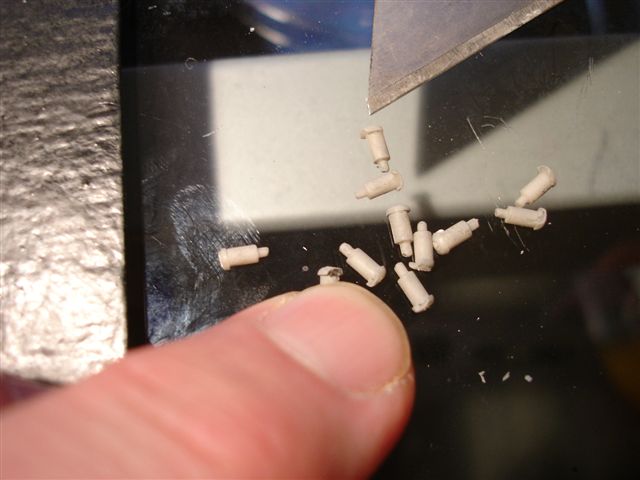


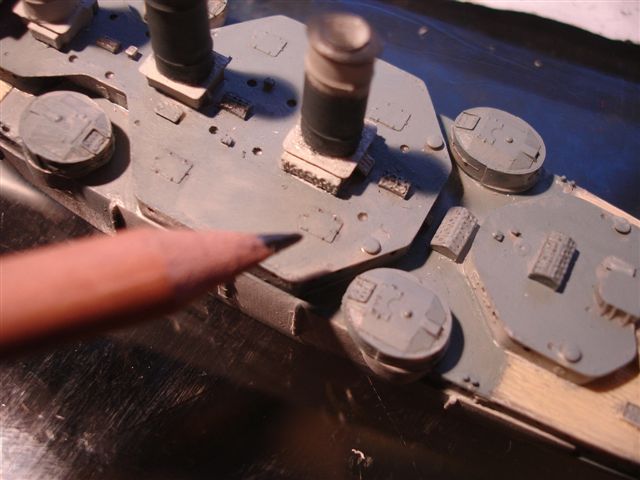
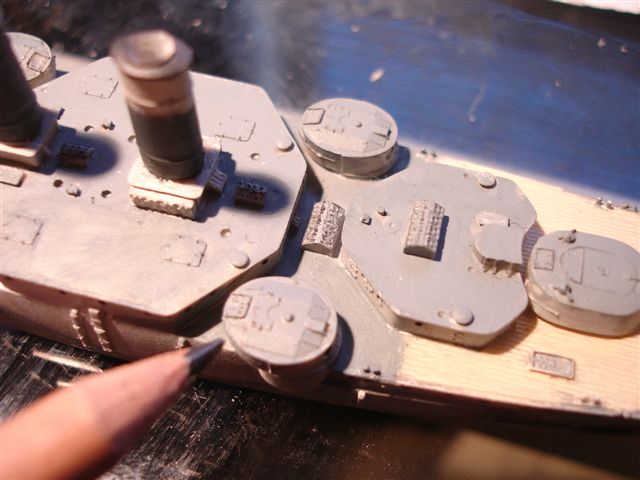
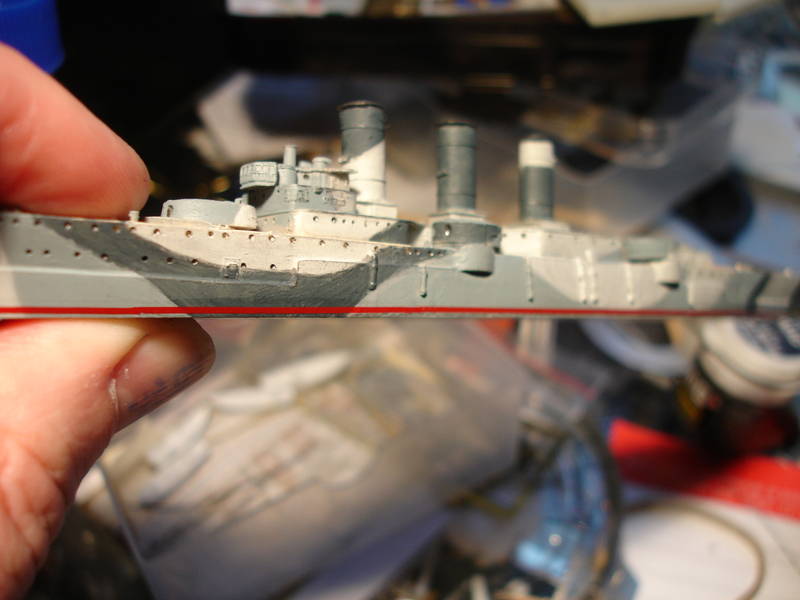
if you're not happy with the look of the finish then don't accept it - keep trying.
looks good still 


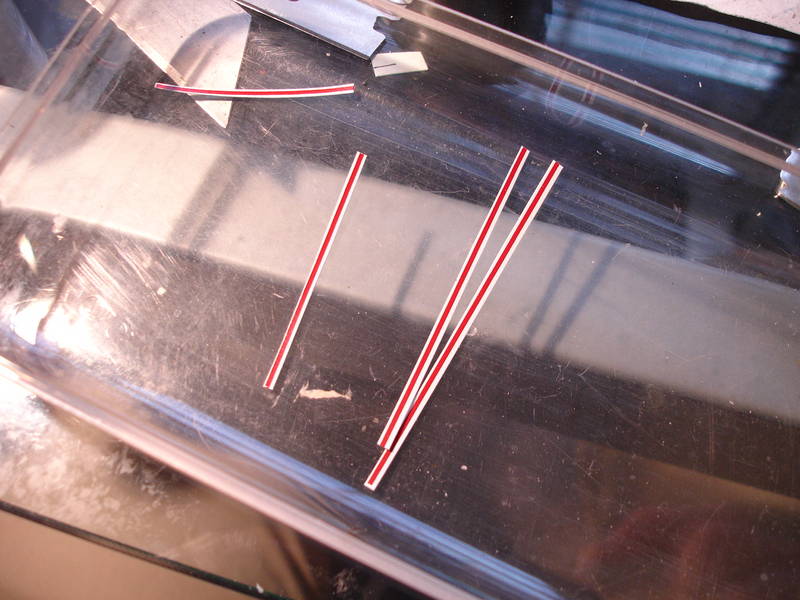
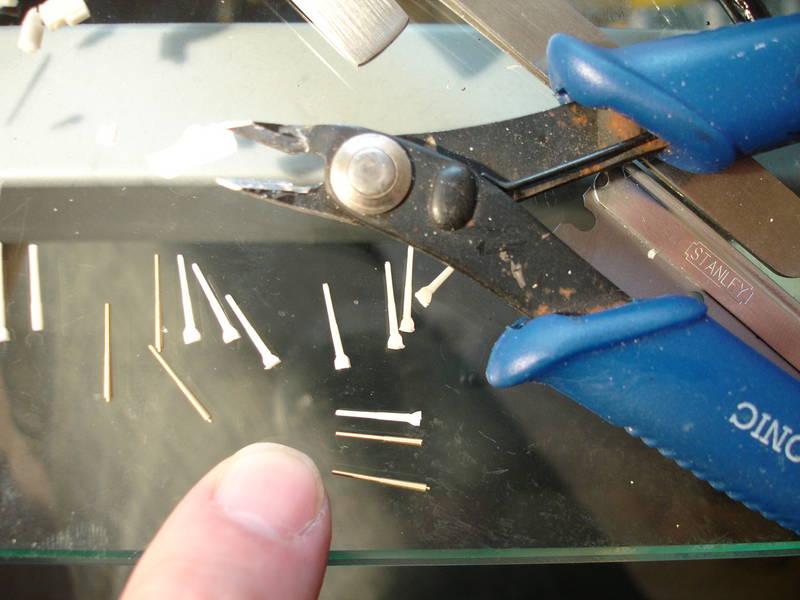
Sometimes I just want to chuck 'em all in the bin JB., it's a very frustrating game we play. Sometimes they look good but if I'm honest ...............
Cheers,
Peter F


The day I finish a perfect model, I will put down my modelling knife for good!
As long as there is room for improvement, as long I will feel alive! As long as there is room for improvement, as long I will pick up the next model from the stash.
Rui- You'll have to wait until SMW 2009 for my Leipizig to appear publicly. Peter's Averoff - I don't know! He is realy putting up some serious speed here!
Cheers mates!
Guido
I can wait and this means... we are going to meet again next year!
Are the Gamblers planning a trip to SMW this year?
Rui


 |


