_GOTOBOTTOM
Ships by Class/Type: Battleships
Topics from the Dreadnaught era to modern day.
Hosted by Steve Joyce
DKM BISMARCK 1941 – 1/200 - Trumpeter, Pontos
elmarriachi
Visit this Community
Baden-Württemberg, Germany
Joined: December 26, 2009
KitMaker: 813 posts
Model Shipwrights: 304 posts
Posted: Wednesday, July 08, 2015 - 07:21 PM UTC
Hello friends of the big ships...

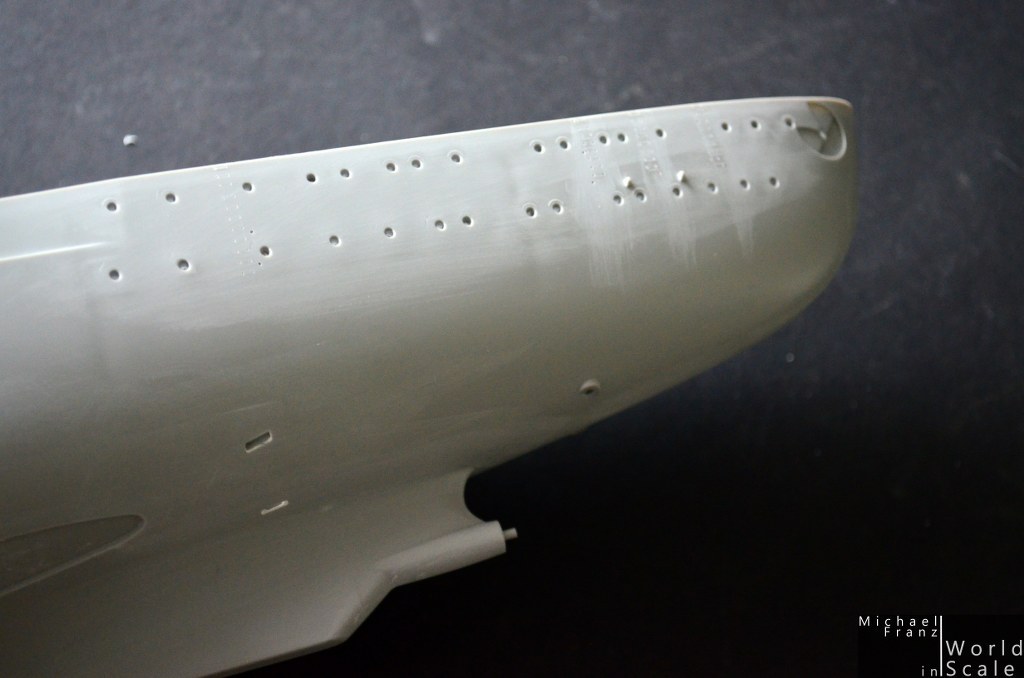
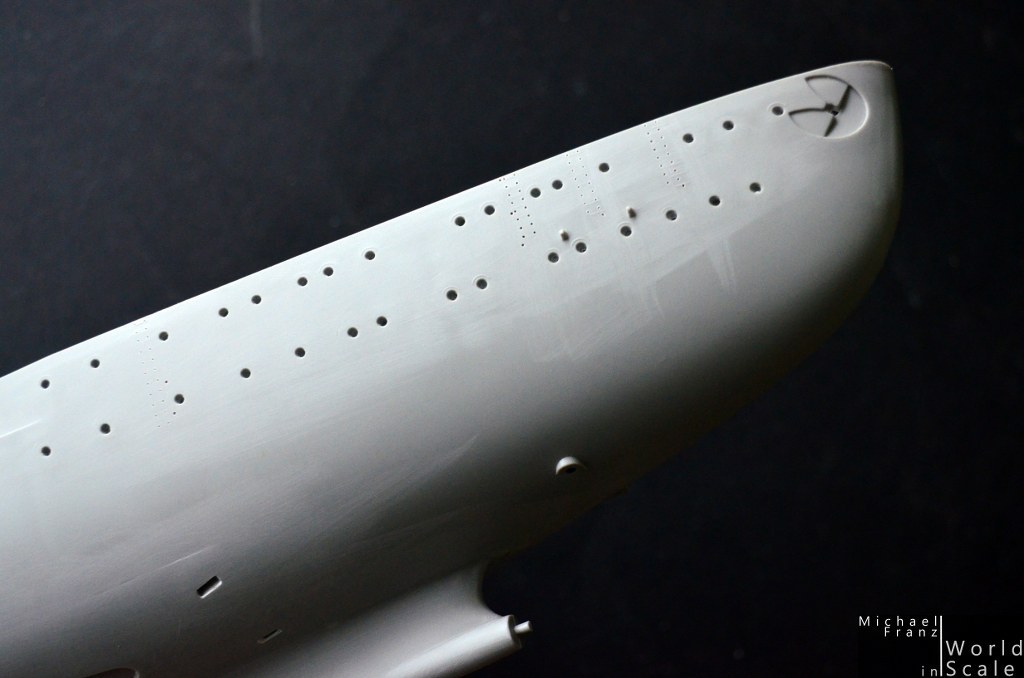
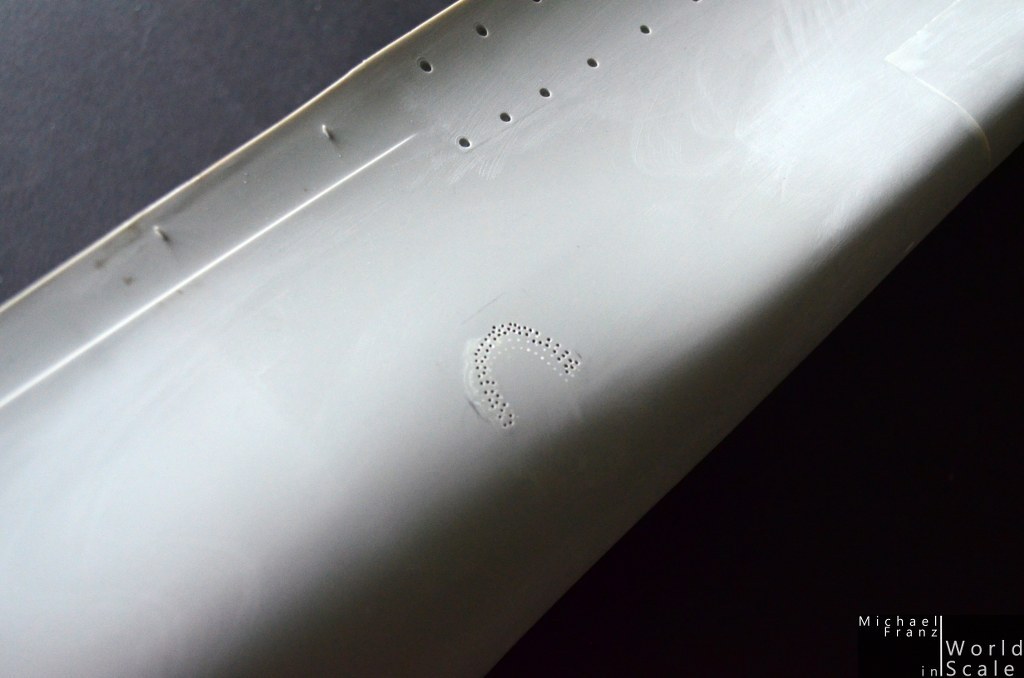
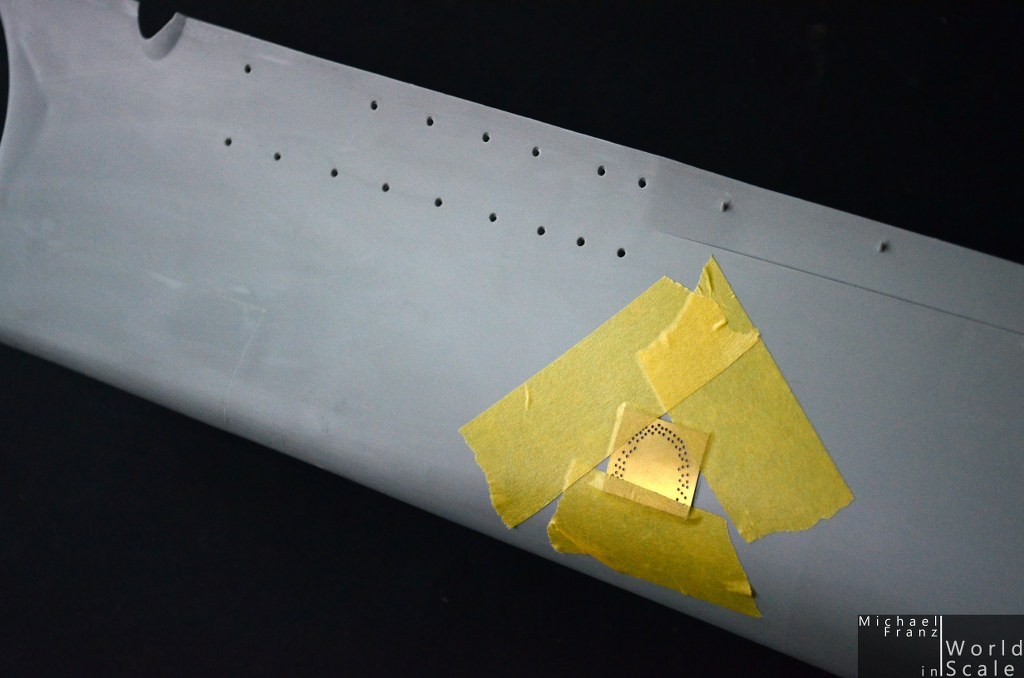
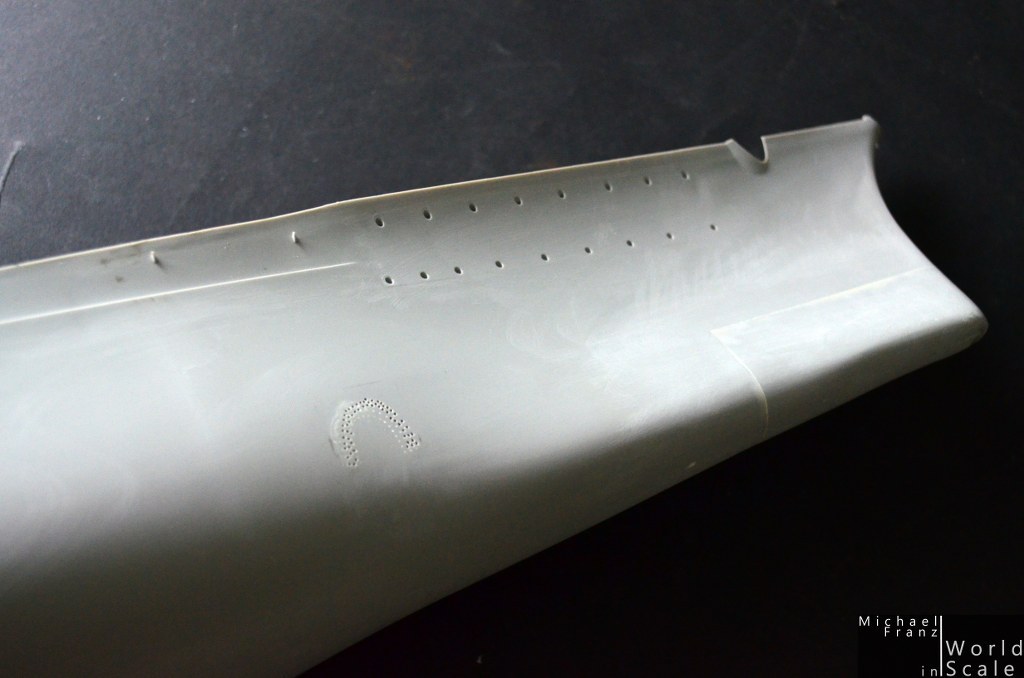
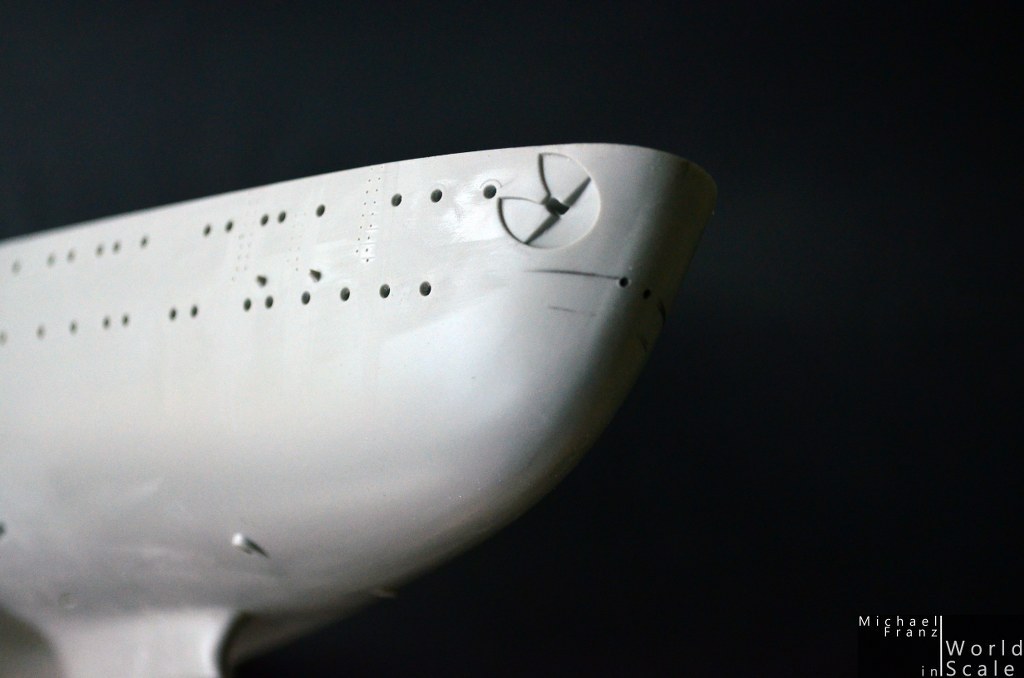
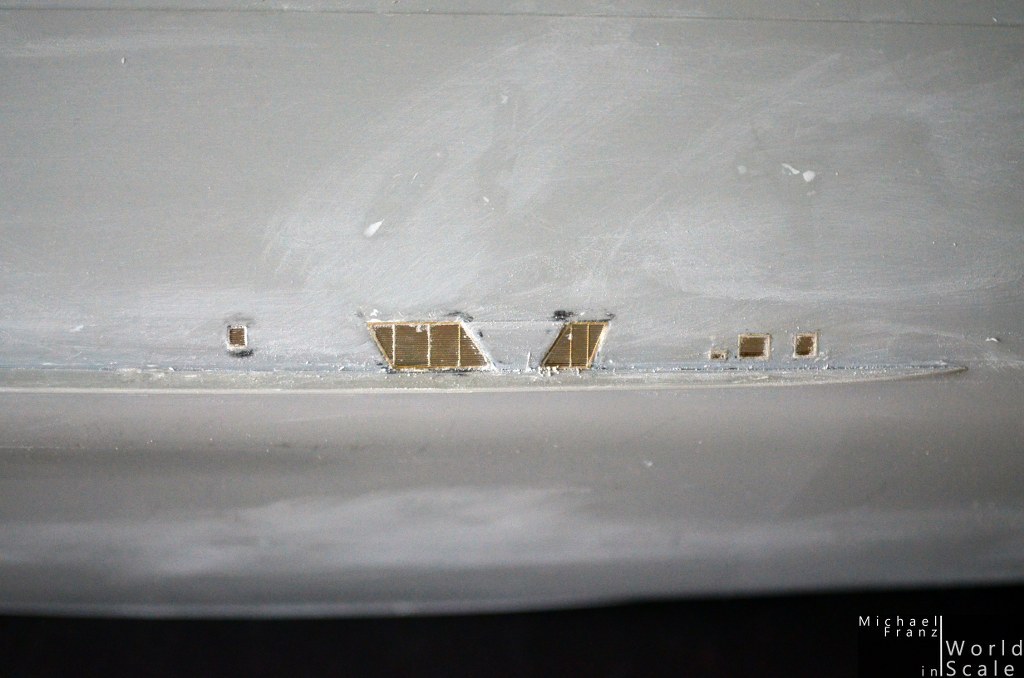
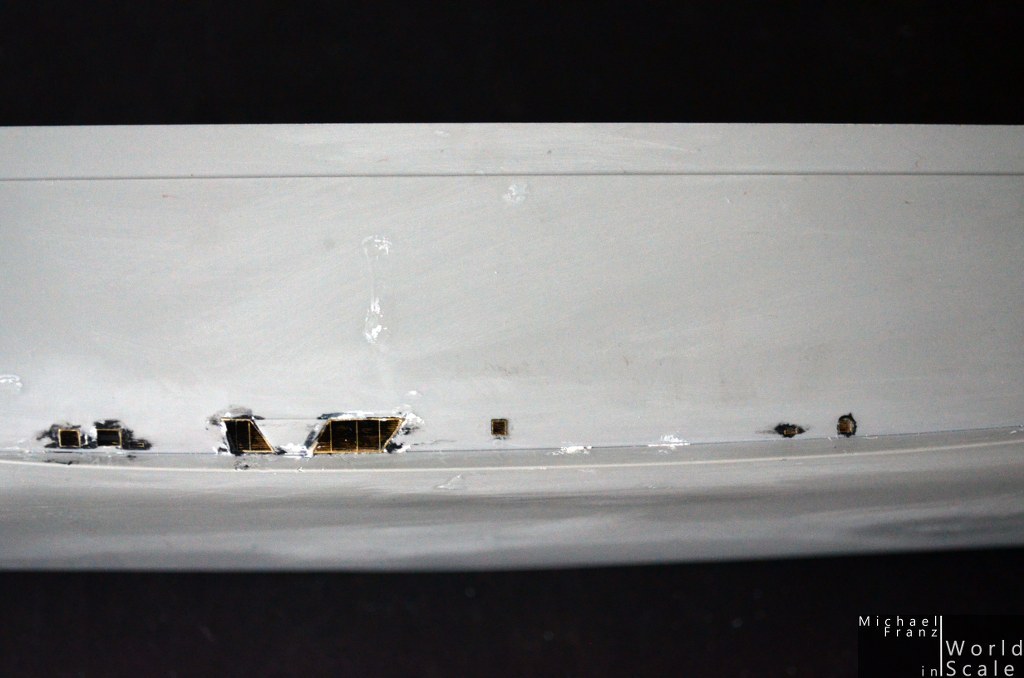
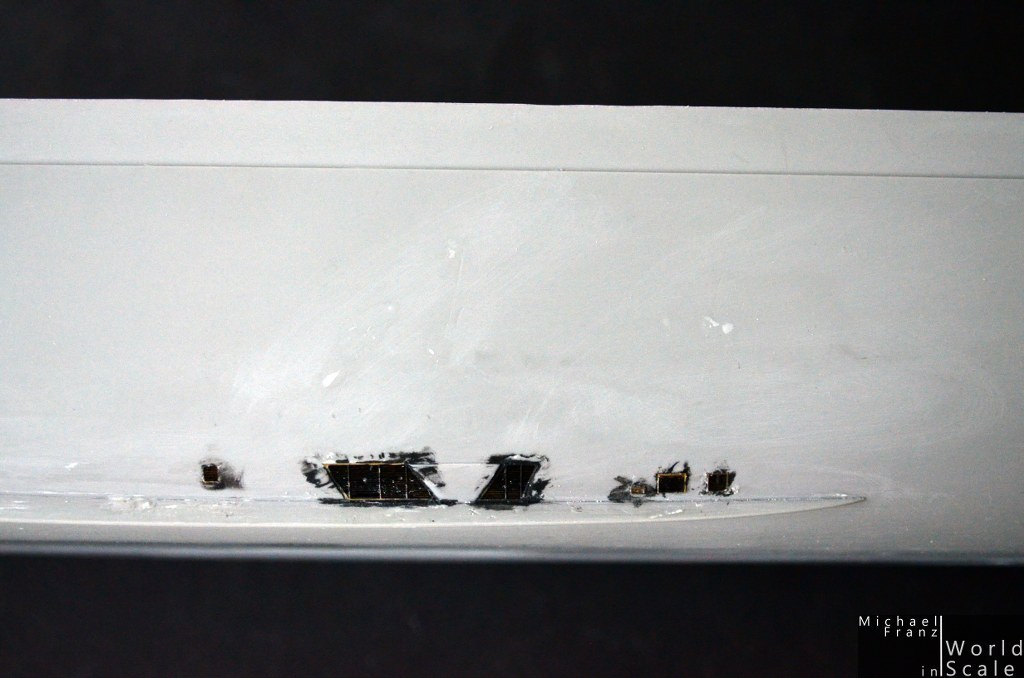
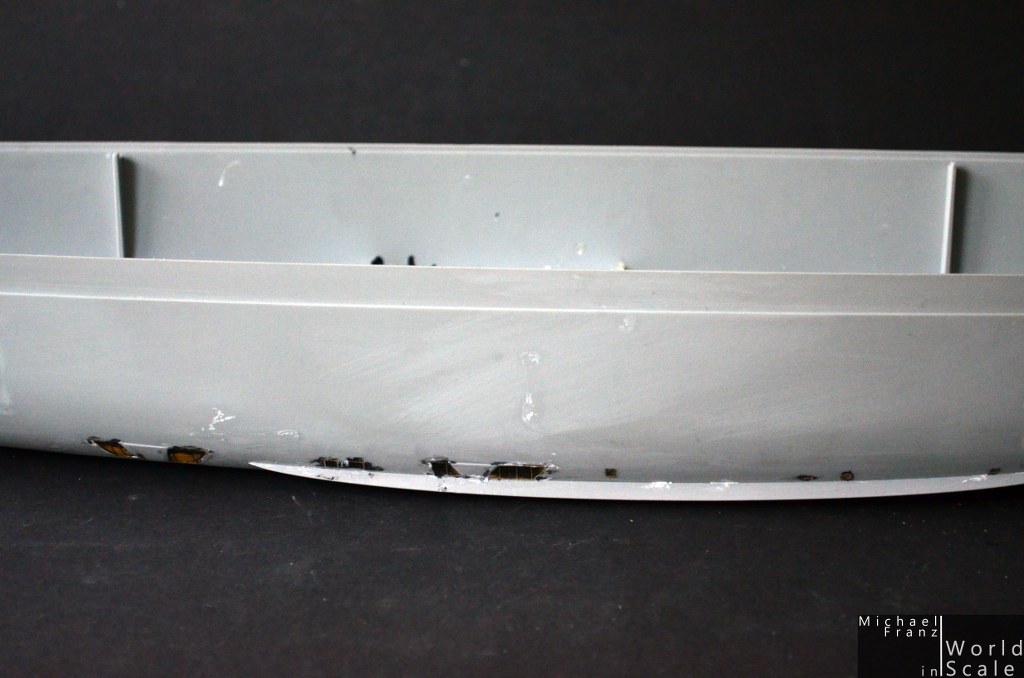
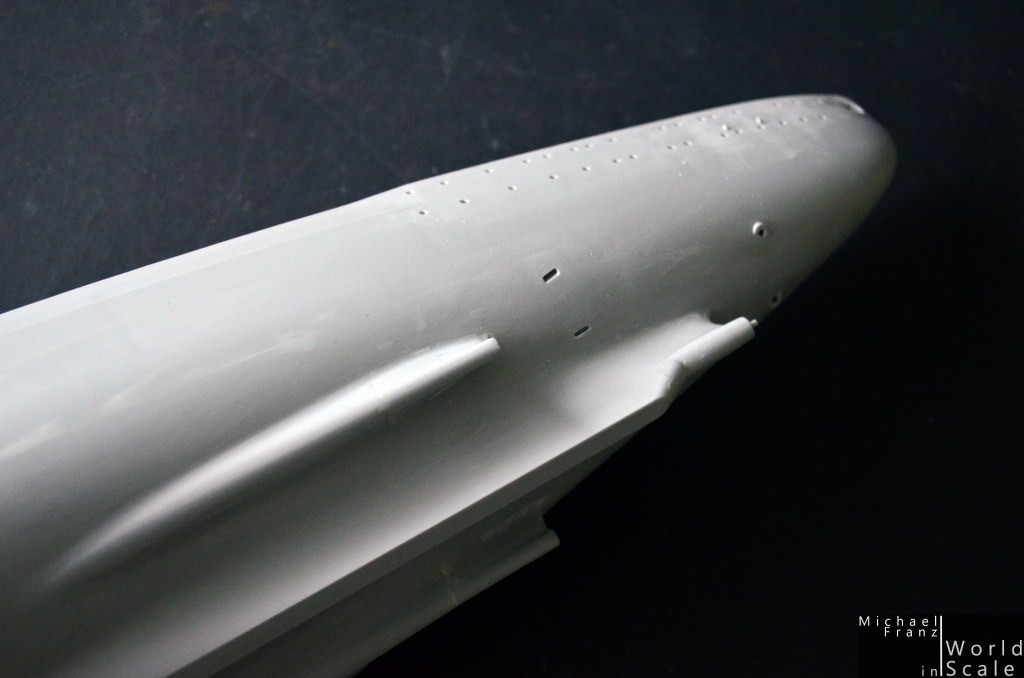
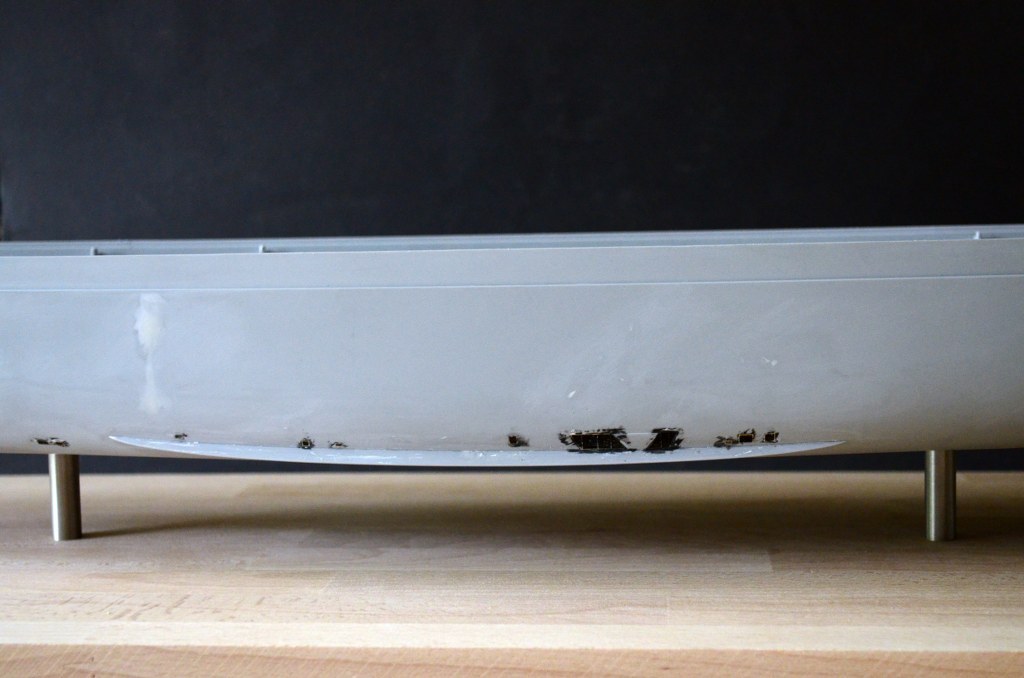
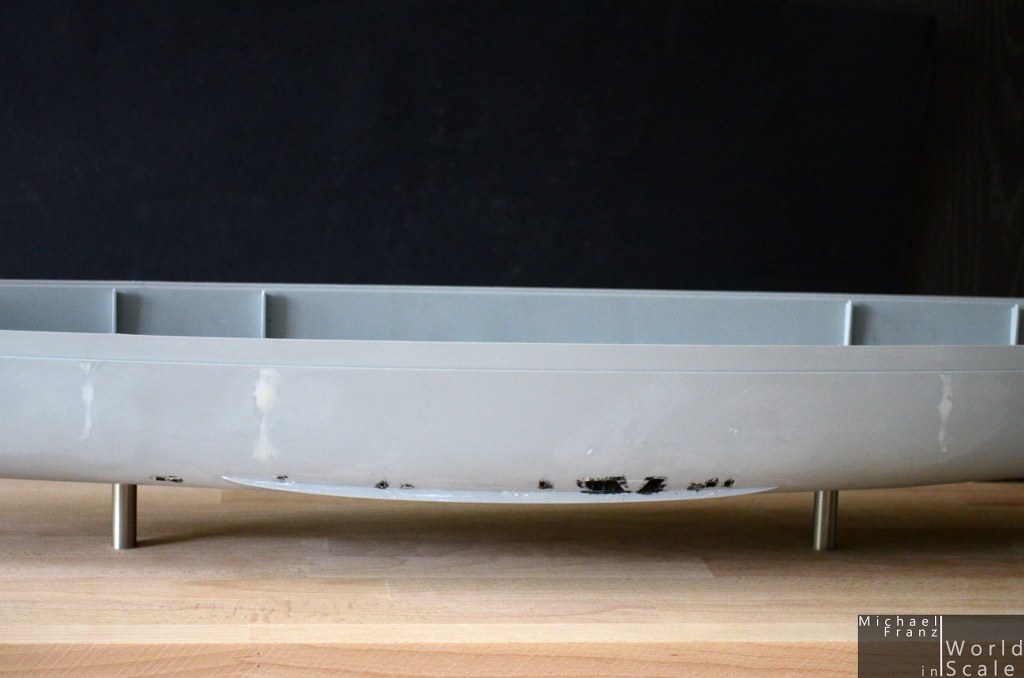
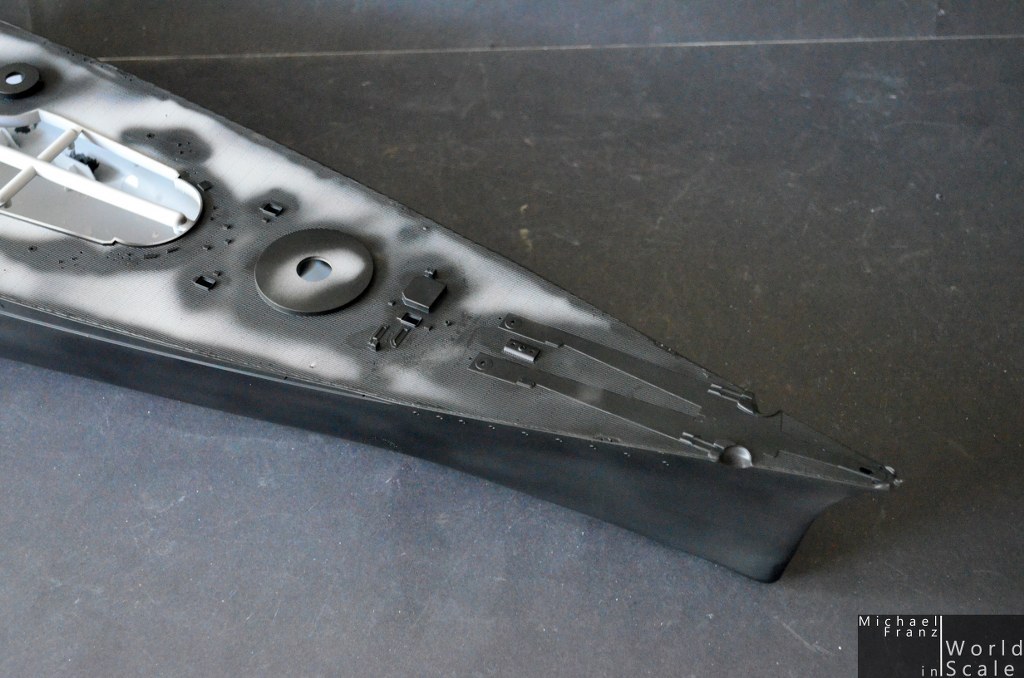
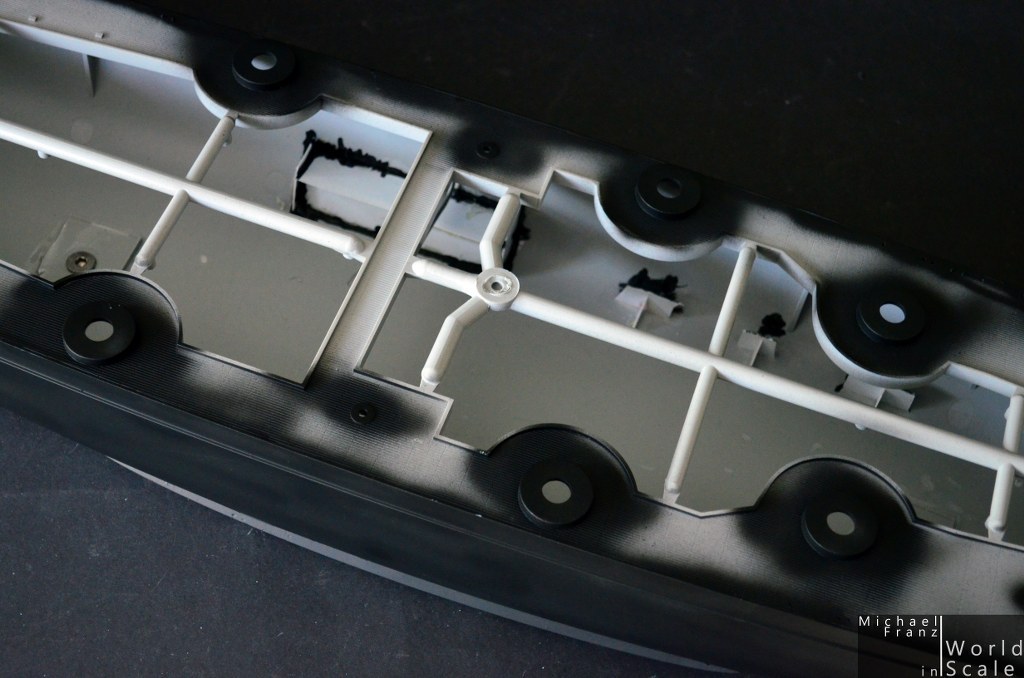
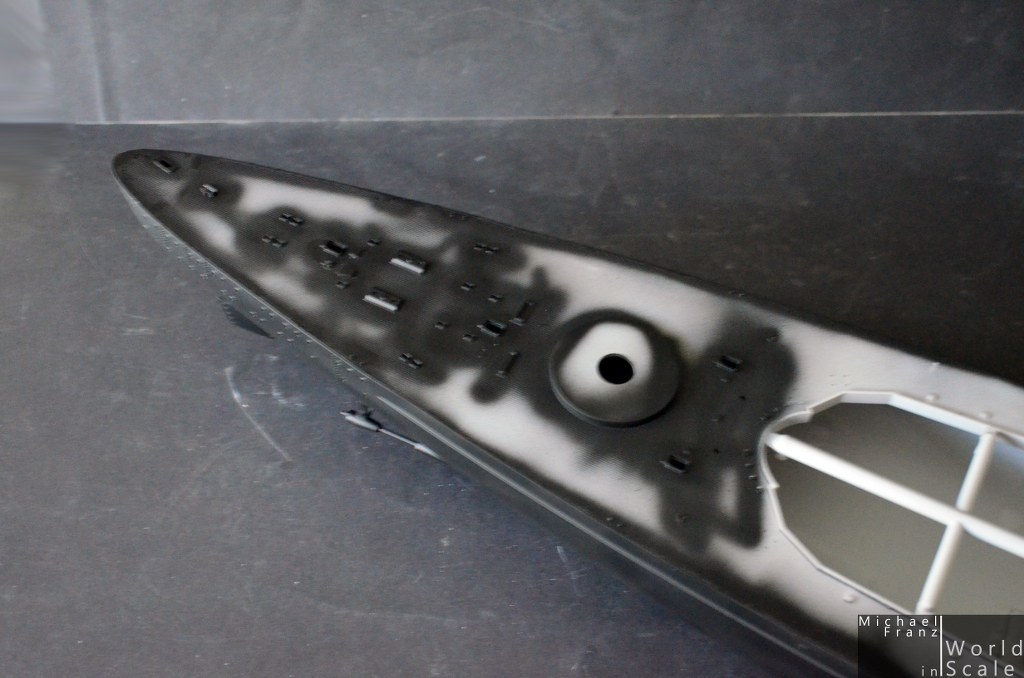
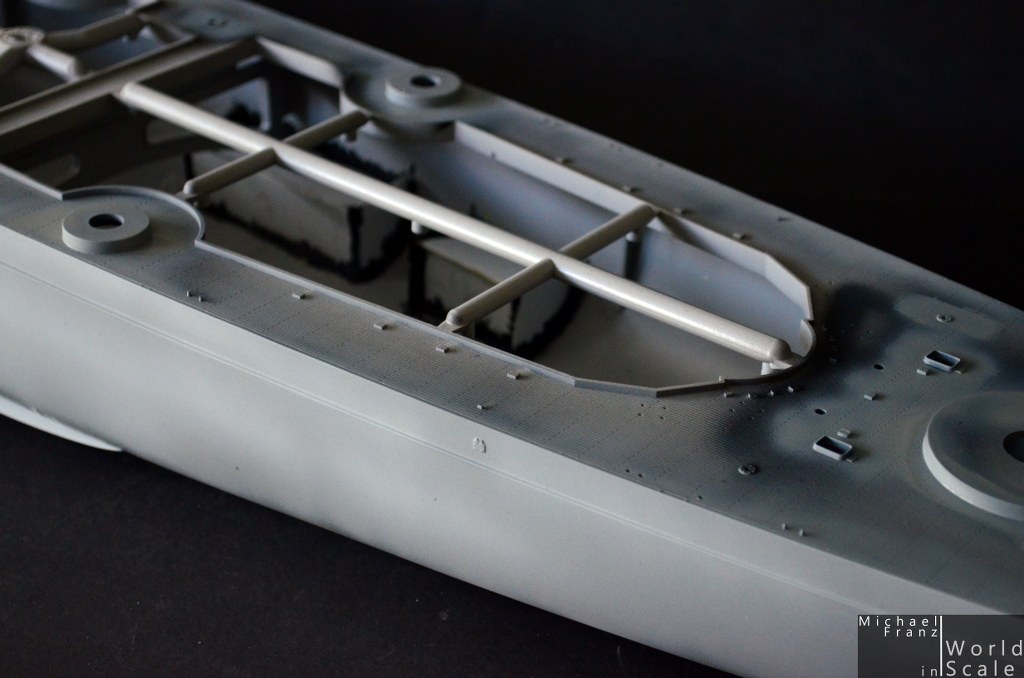
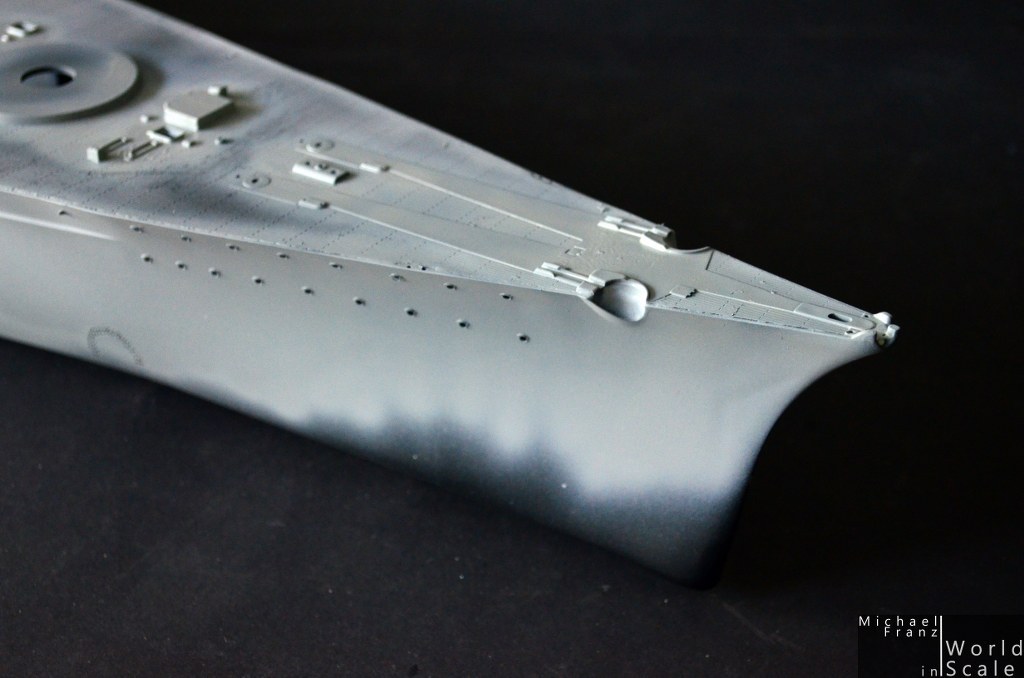
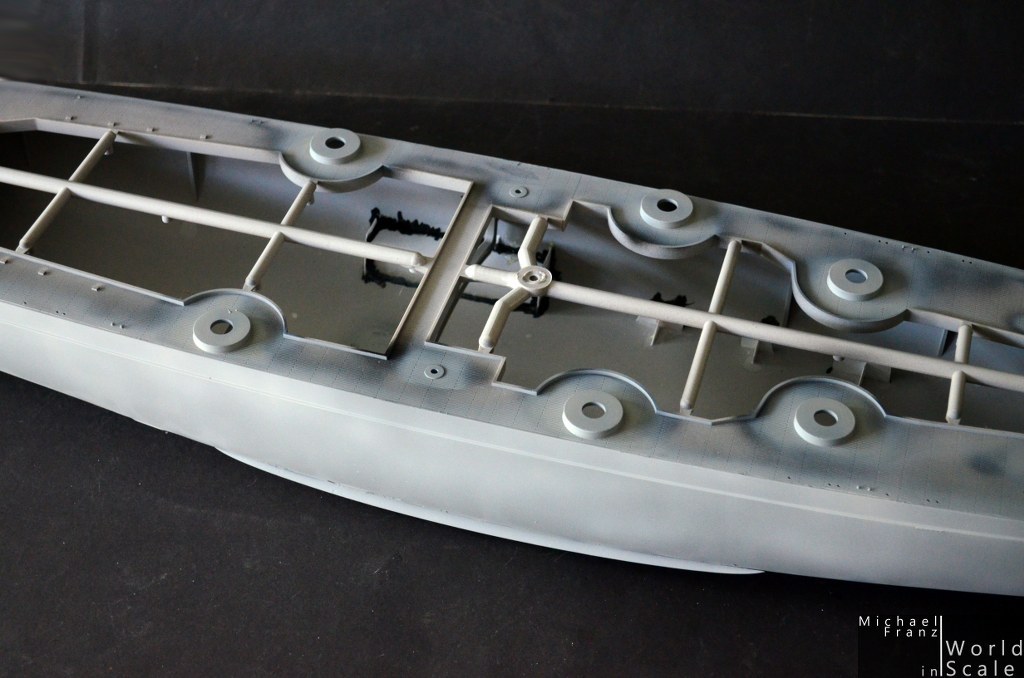
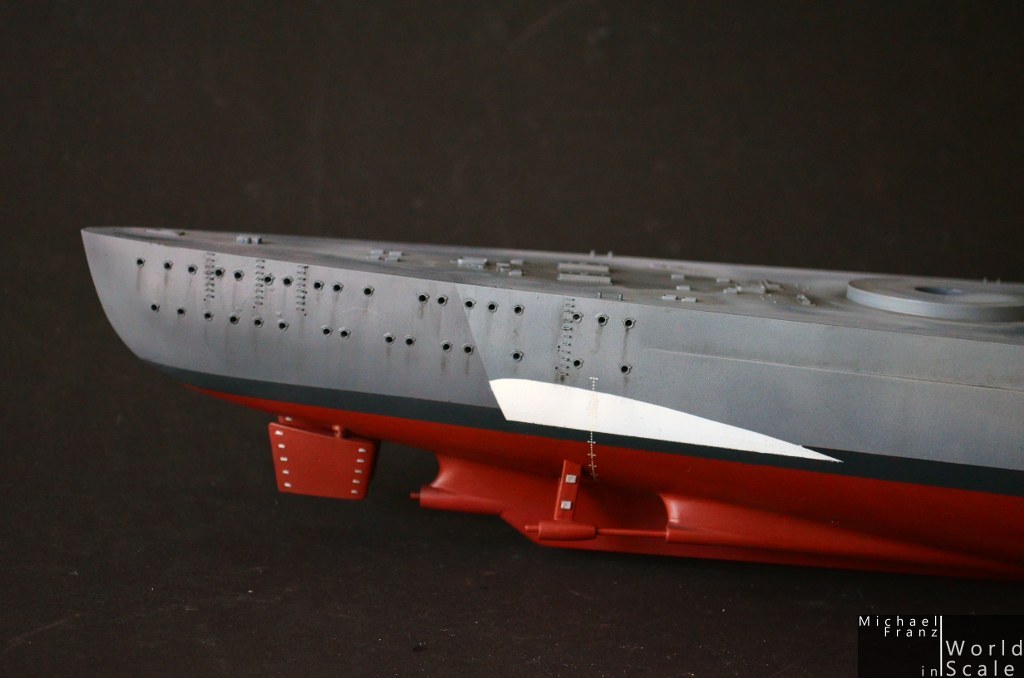
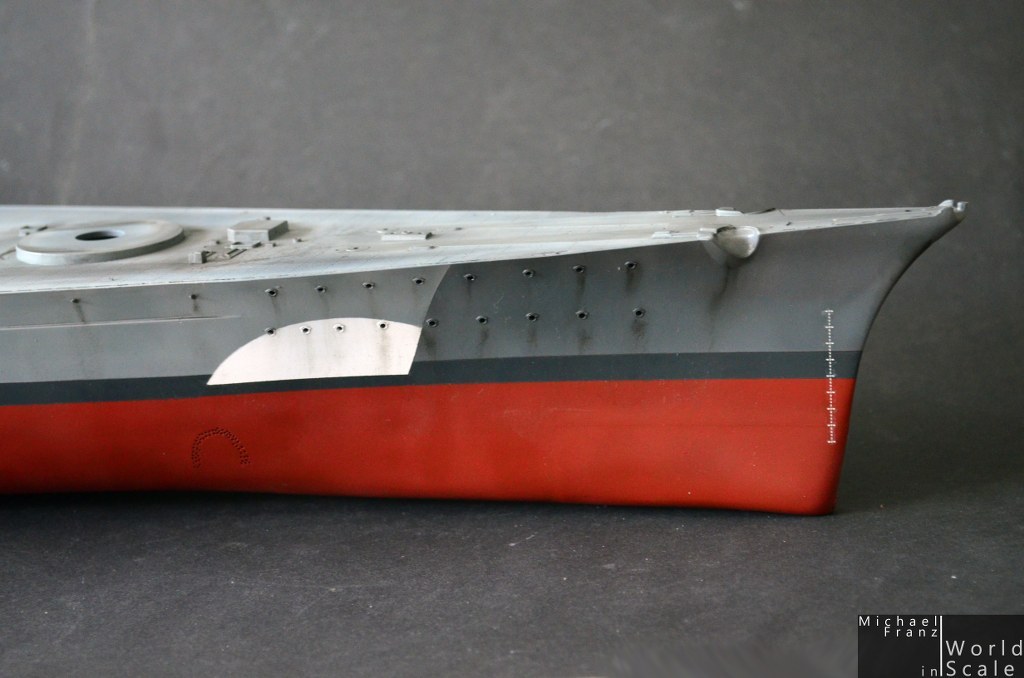
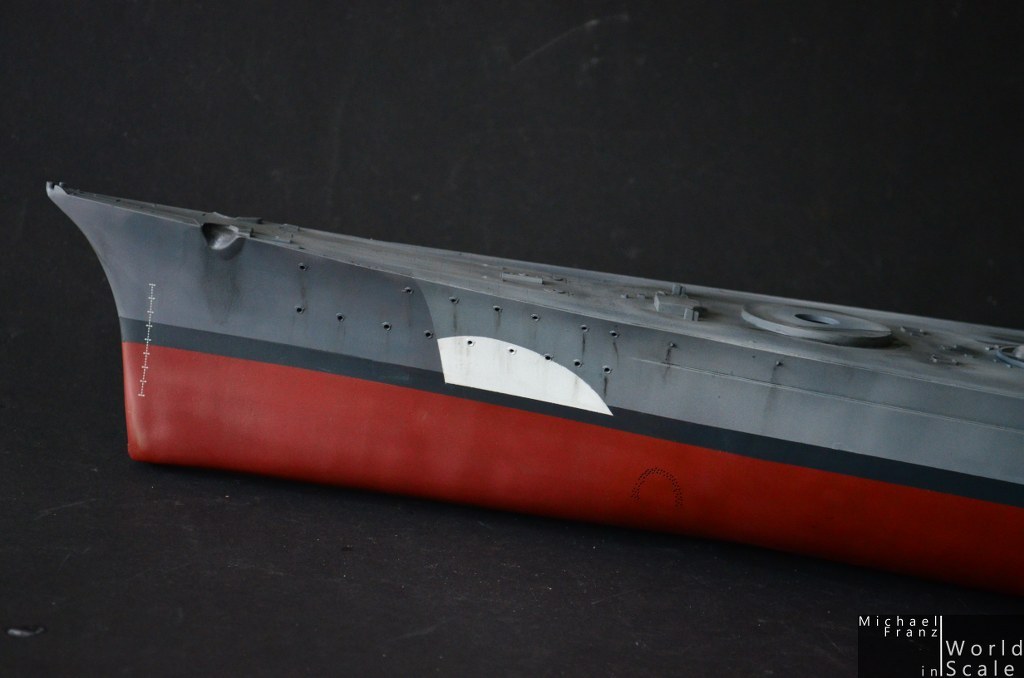
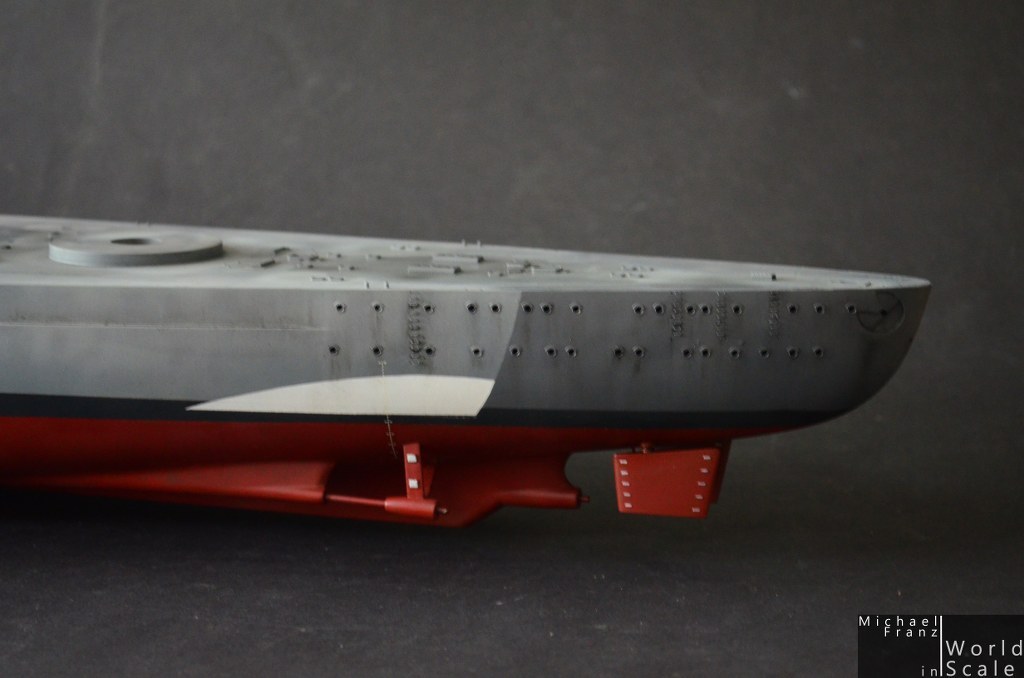
I'll do it again... one more big BISMARCK in 1/200 scale by Trumpeter. This time with the big upgrade set ("Advanced-Set") by Pontos. Further upgrade parts are coming from CMK, some others I still have on my stock from the first Bismarck. The figures are coming from North Star Models, the decals on the deck by Blue Ridge Model.
My first Bismarck you could see here at the featuers at http://modelshipwrights.kitmaker.net/features/6442
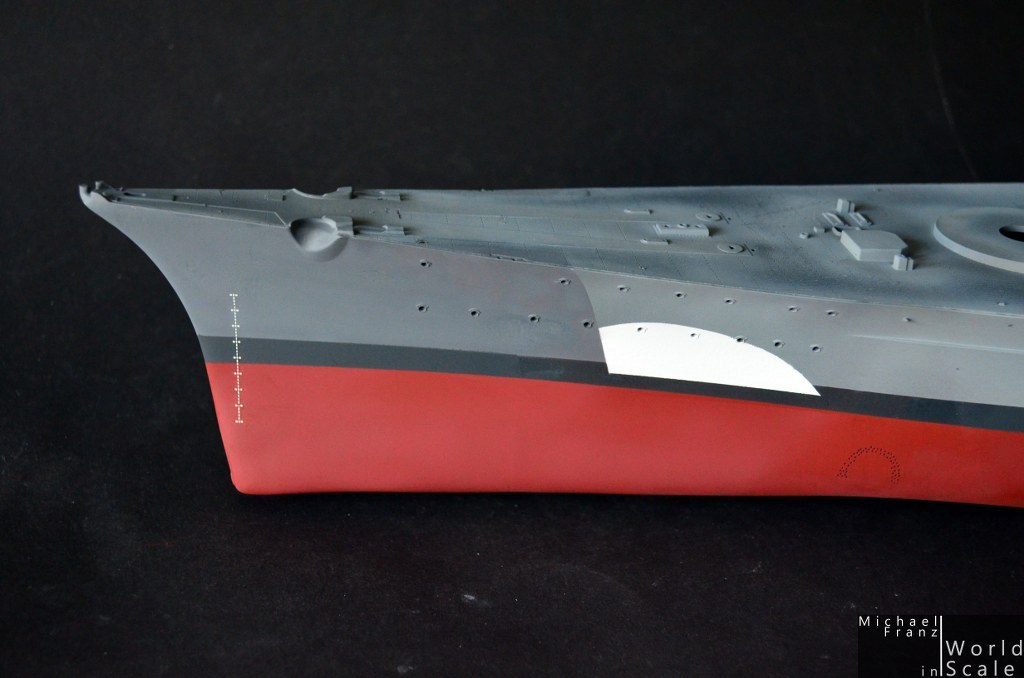
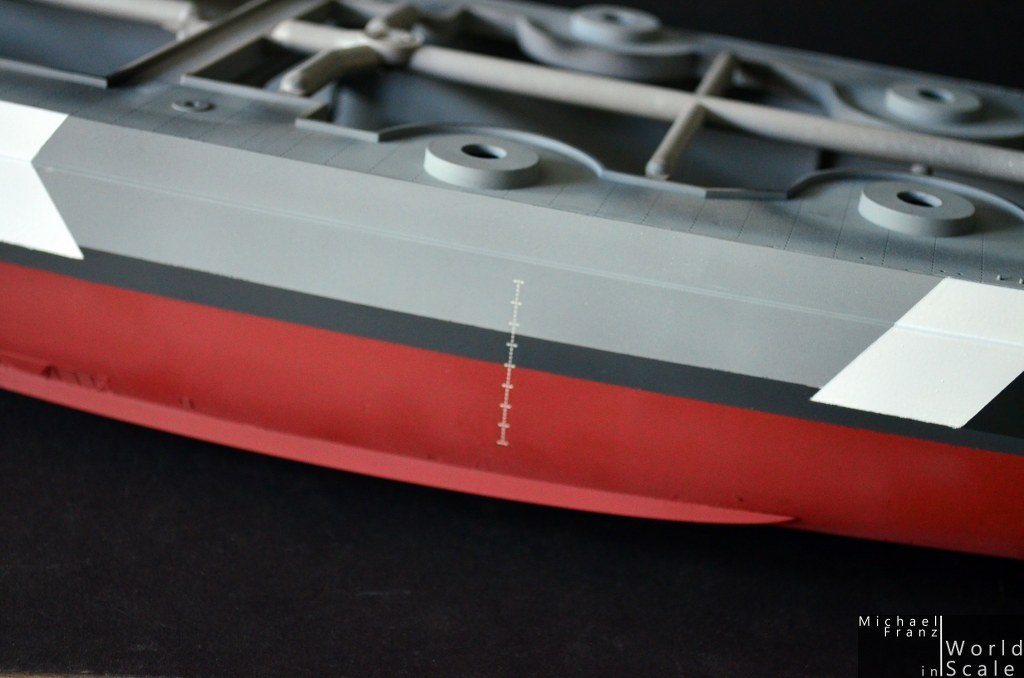
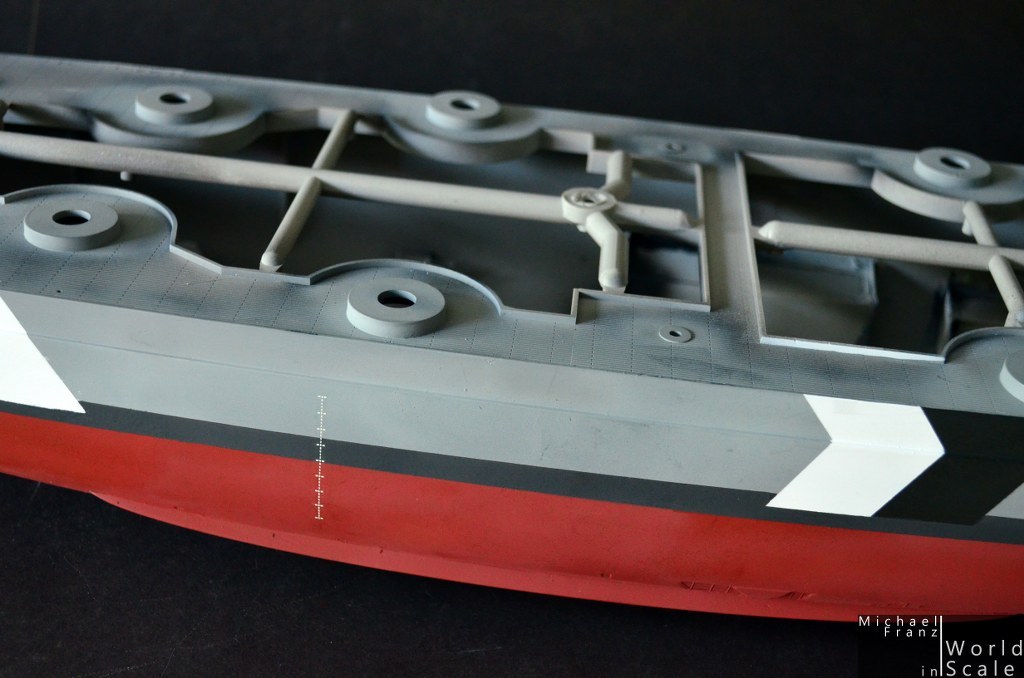
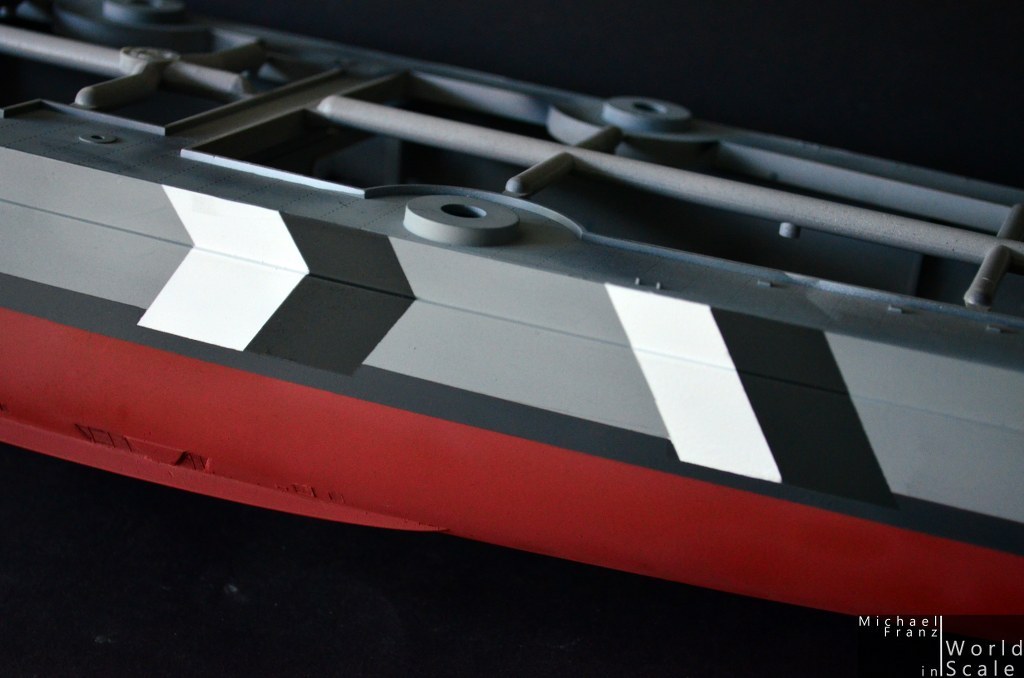
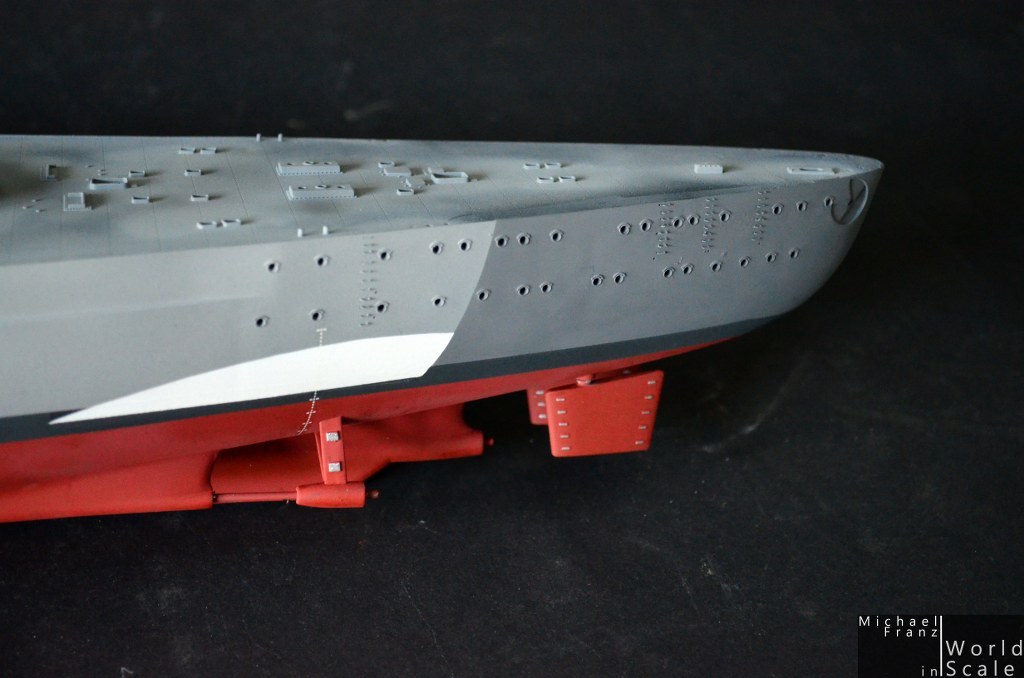
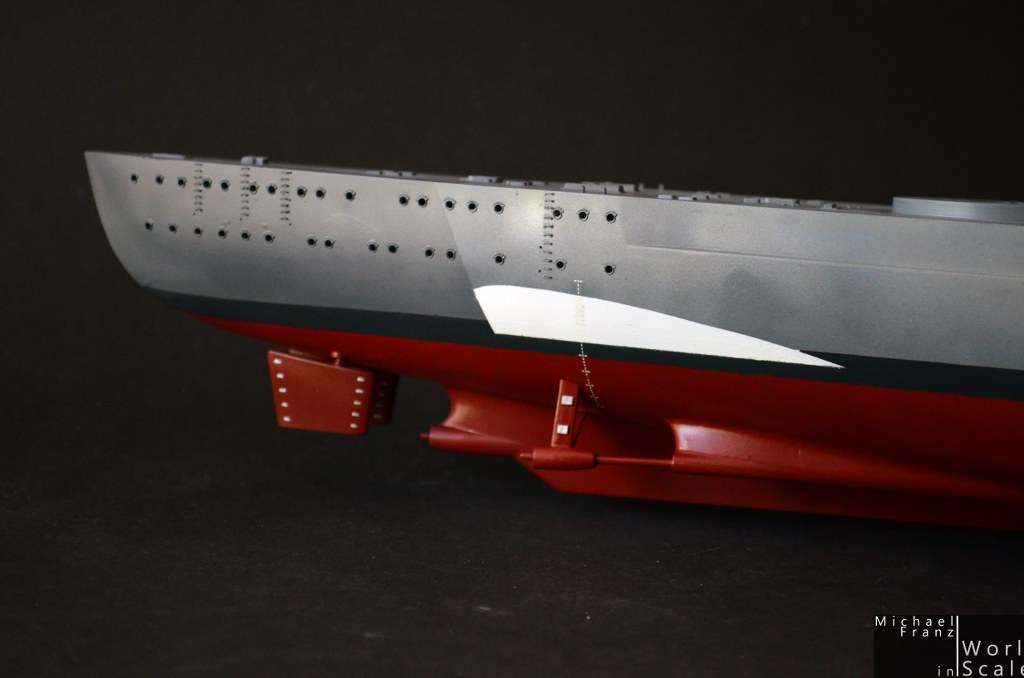
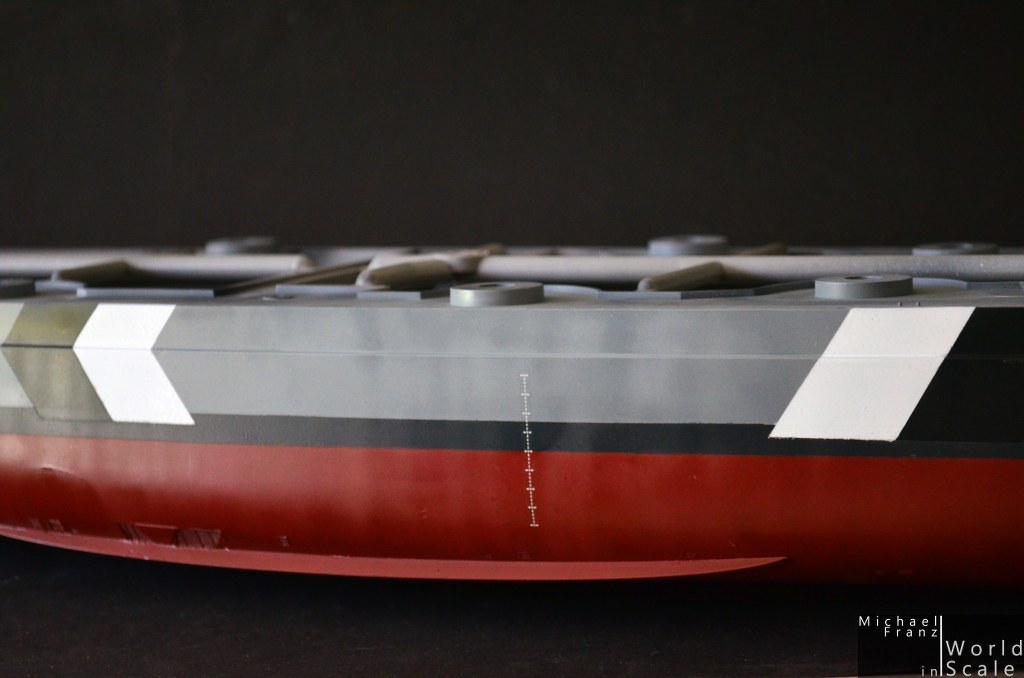
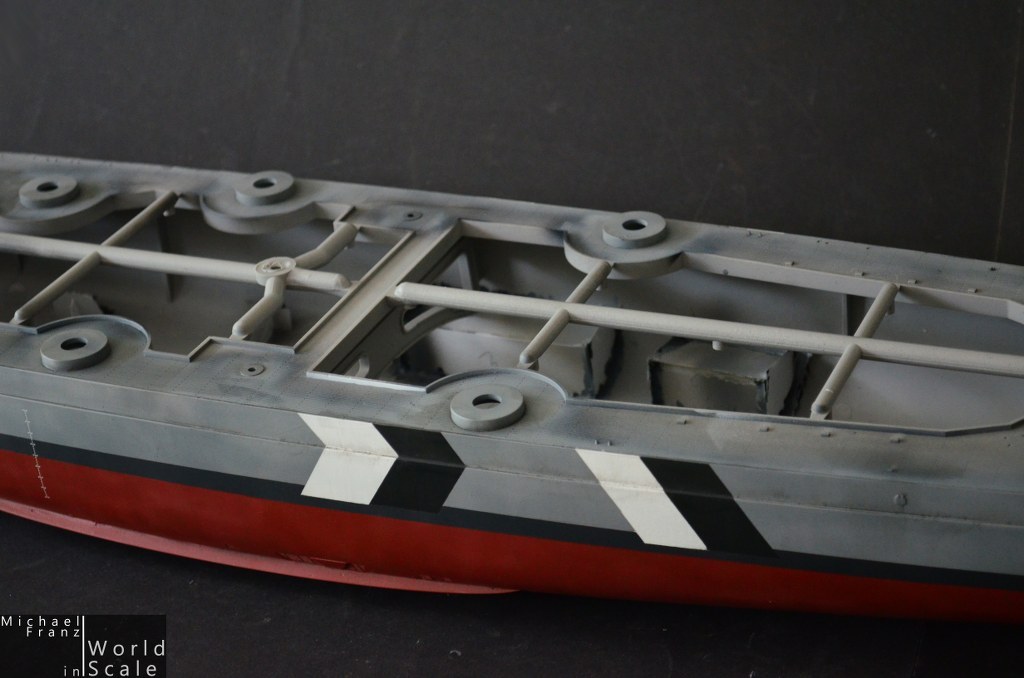
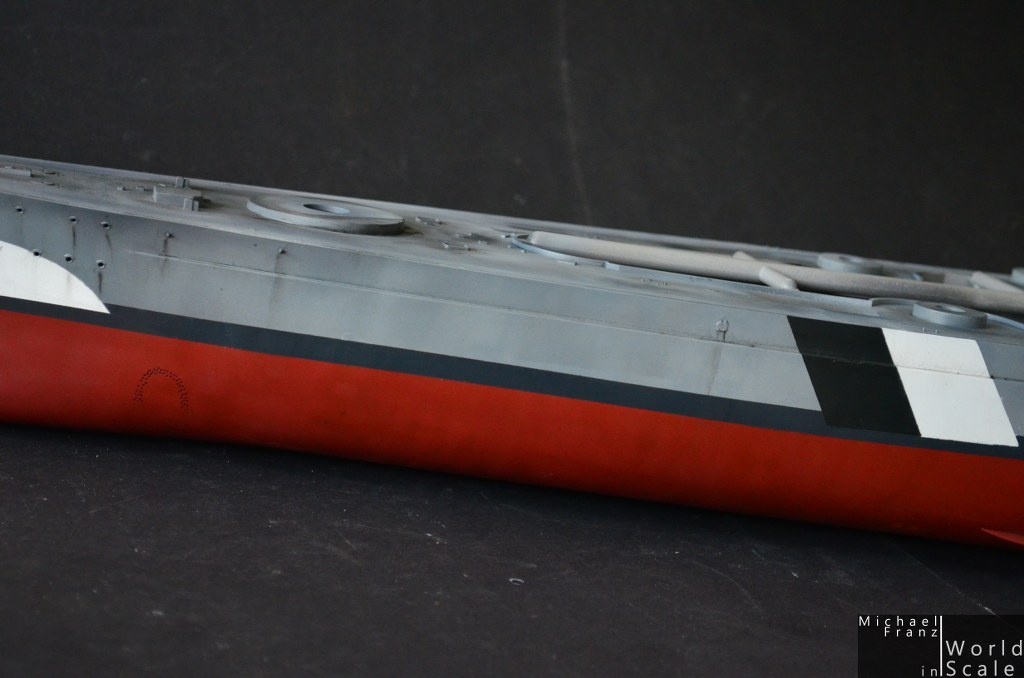
This Bismarck will be painted in the 1941 scheme in grey with black/white stripes on the sides and the darker bow/stern.....


The BISMARCK

The “Bismarck” was the first of two Bismarck-class battleships built for Nazi Germany's Kriegsmarine. Named after Chancellor Otto von Bismarck, the primary force behind theunification of Germany in 1871, the ship was laid down at the Blohm & Voss shipyard in Hamburg in July 1936 and launched in February 1939. Work was completed in August 1940, when she was commissioned into the German fleet. Bismarck and her sister ship Tirpitz were the largest battleships ever built by Germany, and two of the largest built by any European power.

In the course of the warship's eight-month career under its sole commanding officer, Capt. Ernst Lindemann, Bismarck conducted only one offensive operation, in May 1941, codenamed Rheinübung. The ship, along with the heavy cruiser Prinz Eugen, was to break into the Atlantic Ocean and raid Allied shipping from North America to Great Britain. The two ships were detected several times off Scandinavia, and British naval units were deployed to block their route. At the Battle of the Denmark Strait, Bismarck engaged and destroyed the battlecruiser HMS Hood, the pride of the Royal Navy, and forced the battleship HMS Prince of Wales to retreat; Bismarck was hit three times and suffered an oil leak from a ruptured tank.

The destruction of Hood spurred a relentless pursuit by the Royal Navy involving dozens of warships. Two days later, while heading for the relative safety of occupied France,Bismarck was attacked by obsolescent Fairey Swordfish biplane torpedo bombers from the aircraft carrier HMS Ark Royal; one scored a hit that rendered the battleship's steering gear inoperable. In her final battle the following morning, Bismarck was neutralised by a sustained bombardment from a British fleet, was scuttled by her crew, and sank with heavy loss of life. Most experts agree that the battle damage would have caused her to sink eventually. The wreck was located in June 1989 by Robert Ballard, and has since been further surveyed by several other expeditions.
(source: www.wikipedia.com)

elmarriachi
Visit this Community
Baden-Württemberg, Germany
Joined: December 26, 2009
KitMaker: 813 posts
Model Shipwrights: 304 posts
Posted: Wednesday, July 08, 2015 - 07:22 PM UTC
Fist step.... adding the bow which is consisting of two seperate parts. Then filling the gaps, also filling some areas on the hull as well. Then sanding the complete hull in several stages. Also sanding the eyebrows over the portholes, and the steps on the stern. I also filled the "Gruppenhorchgerät" GHG on both sides as the holes where completely wrong.

After the complete hull was sanded smooth, I started drilling all the holes.... firstly I opend all portholes..... then I drilled the holes of the "Gruppenhorchgerät" with the Pontos template, and the holes for the later coming steps on the stern, also with templates from Pontos....


elmarriachi
Visit this Community
Baden-Württemberg, Germany
Joined: December 26, 2009
KitMaker: 813 posts
Model Shipwrights: 304 posts
Posted: Wednesday, July 08, 2015 - 07:25 PM UTC
*** UPDATE ***

The two openigs for the smoke system at the stern were added ...


The GHG "Gruppenhorchgeräte" in the hull were finished:


All openings for the cooling water left & right opend, parts from Pontos added... scratch made boxes of plastic card added on the inside to avoid seeing through the hull... and painted black ...


Several times sanded under the water ....


The holes drilled and the metal parts for the display tested...


Next step... PE stuff...

Cheers
Micha
elmarriachi
Visit this Community
Baden-Württemberg, Germany
Joined: December 26, 2009
KitMaker: 813 posts
Model Shipwrights: 304 posts
Posted: Wednesday, July 08, 2015 - 07:27 PM UTC
Time for the portholes.... lot of portholes... small PE stuff....

BOW:


STERN:


Next step... installing the main deck.... filling possible gaps, sanding, then primer (black) on the hull before starting the main painting of the final colors.
The next PE parts and brass parts follow after the painting ....

Cheers
Michael
RedDuster
Visit this Community
England - South East, United Kingdom
Joined: March 01, 2010
KitMaker: 7,078 posts
Model Shipwrights: 6,649 posts
Posted: Wednesday, July 08, 2015 - 07:41 PM UTC
Hi Michael,

Coming on great, will be following interest, I have the Revell 1/350th Bismarck and Pontos set, so will be watching for scaled up tips.

Cheers.

Si
elmarriachi
Visit this Community
Baden-Württemberg, Germany
Joined: December 26, 2009
KitMaker: 813 posts
Model Shipwrights: 304 posts
Posted: Thursday, July 09, 2015 - 01:29 AM UTC
The painting of the hull... first a black primer to show the last gaps, scratches, etc.... then sanding once again a little bit......


The first "real" color on the hull is DKM51 "Mittelgrau" (Lifecolor UA602) which is sprayed cloudy, not fully covering the black on the hull in several thin layers. Then some lightings follow with the DKM51 "Mittelgrau Variants" (Lifecolor UA604).


Next steps are some shadows with darker grey, then following the darker parts on the bow & stern.

Cheers.
Micha
rolltide31
#377
Visit this Community
Texas, United States
Joined: June 27, 2010
KitMaker: 1,481 posts
Model Shipwrights: 1,332 posts
Posted: Thursday, July 09, 2015 - 02:58 AM UTC
Michael,

Nice work on what is sure to be a beautiful model. I look forward to the day I can work on such a monster. Looking forward to watch you as you progress through this build

Dave

TRM5150
Visit this Community
Massachusetts, United States
Joined: January 03, 2010
KitMaker: 2,159 posts
Model Shipwrights: 1,400 posts
Posted: Thursday, July 09, 2015 - 04:49 AM UTC
Big Girl! Nice job so far Michael!! The details are beginning to pop!!! Looking forward to seeing more!
RussellE
#306
Visit this Community
Victoria, Australia
Joined: June 27, 2010
KitMaker: 3,959 posts
Model Shipwrights: 2,777 posts
Posted: Thursday, July 09, 2015 - 06:49 AM UTC
Following along with interest, Michael...

off to a great start!

elmarriachi
Visit this Community
Baden-Württemberg, Germany
Joined: December 26, 2009
KitMaker: 813 posts
Model Shipwrights: 304 posts
Posted: Thursday, July 09, 2015 - 11:57 AM UTC
Thank you very much guys! Now masking and painting the darker parts at the bow and stern today noon after work

Cheers Michael
RedDuster
Visit this Community
England - South East, United Kingdom
Joined: March 01, 2010
KitMaker: 7,078 posts
Model Shipwrights: 6,649 posts
Posted: Thursday, July 09, 2015 - 12:42 PM UTC
Hi Michael,

Looking good with some paint on.

Cheers,

Si
elmarriachi
Visit this Community
Baden-Württemberg, Germany
Joined: December 26, 2009
KitMaker: 813 posts
Model Shipwrights: 304 posts
Posted: Sunday, July 12, 2015 - 12:29 PM UTC
Hello.

let's move forward with the painting of the hull.

The hull was masked for painting of the dark areas at the bow and stern with Lifecolor UA605.
Then with a dark grey the shadow area at the bow and stern was darkend a little bit.


Once this was dried I have masked the upper part of the hull and painted the underside in "Schiffsbodenfarbe Nr.5", also Lifecolor.

Then.... masking the complete hull upper and lower part for painting the dark strip around the ship. I used Lifecolor Black/grey UA208 for that.


Next step will be masking and painting the waves at the bow/stern and the white/black stripes at the sides ...
... then some smaller repairings of the paint follow, before the weathering starts.


Cheers
Michael
warreni
Visit this Community
South Australia, Australia
Joined: August 14, 2007
KitMaker: 5,926 posts
Model Shipwrights: 2,624 posts
Posted: Sunday, July 12, 2015 - 02:27 PM UTC
Looking fantastic Michael. Yet another one I have in the stash.. but I must finish Snowberry first, must finish Snowberry first... You might need a few of these before you finish.
elmarriachi
Visit this Community
Baden-Württemberg, Germany
Joined: December 26, 2009
KitMaker: 813 posts
Model Shipwrights: 304 posts
Posted: Monday, July 13, 2015 - 11:53 AM UTC
*** UPDATE ***

Everything masked and the white stripes and the wrong waves at bow/stern airbrushed.

During the white painting the worst case happend... I did not mask everything... and then it happend. I had some white overspray on the red hull, the black stripe around the ship, and the grey.... not everywhere, but partially....
Means lot of correction work to be done later. .... wow

Ok... Let's go on..... Then everything masked new again (and better this time) and the black stripes airbrushed (Tamiya Navy black).

During this step of painting I already repaired the red part of the hull... and the grey parts ... some little masking and covering, new spraying......


Now it is looking as following .....


Next step .... masking the upper and lower part of the hull once again to correct the black waterline stripe partly.....
And masking the black/white stripes and correcting the buttom lines of these stripes in the waterline which is not 100% accurate.
Then - when everything is 100% as it should be, then clear coat as base of the weathering.

CHEERS - Michael
Blespooky
Visit this Community
Tel Aviv-Yafo, Israel
Joined: June 03, 2014
KitMaker: 277 posts
Model Shipwrights: 171 posts
Posted: Monday, July 13, 2015 - 03:04 PM UTC
Looking great Michael, thats a big ship! and great progress so far. I will be following with anticipation.

Bryan
RussellE
#306
Visit this Community
Victoria, Australia
Joined: June 27, 2010
KitMaker: 3,959 posts
Model Shipwrights: 2,777 posts
Posted: Monday, July 13, 2015 - 03:55 PM UTC
Be careful with the stripes, Michael, as they are tricky to line up with the stripes on the superstructure.

Sometimes it's best to leave them until after the stripes on the superstructure are painted and the superstructure shipped in order to make sure they line up.

Russ
elmarriachi
Visit this Community
Baden-Württemberg, Germany
Joined: December 26, 2009
KitMaker: 813 posts
Model Shipwrights: 304 posts
Posted: Monday, July 13, 2015 - 06:34 PM UTC
Thanks a lot for your kind words.

Regarding the stripes... no worry, that won't be a problem I think

Cheers
Michael
JJ1973
#345
Visit this Community
Niedersachsen, Germany
Joined: August 22, 2011
KitMaker: 1,835 posts
Model Shipwrights: 1,832 posts
Posted: Monday, July 13, 2015 - 11:00 PM UTC
Great work Michael on your second 'big' Bismarck - you must be trying to do something better than you did before, and I wonder what that might be, since your first Bismarck was absolutely awesome and stunning!!

I will be following with interest for sure!

...and I agree with Russ - I built a Bismarck some time ago, simple Heller 1/400 kit but I tried my hands on the strip (baltic) camouflage. It was a lot easier to start with the superstructure. But as long as you have a plan, from your earlier build logs I am sure you know what you are doing!!

Cheers

Jan
elmarriachi
Visit this Community
Baden-Württemberg, Germany
Joined: December 26, 2009
KitMaker: 813 posts
Model Shipwrights: 304 posts
Posted: Wednesday, July 15, 2015 - 11:59 AM UTC
Thanks a lot. I always wanted to make a 2nd one with the Pontos set... and in this camo-scheme which is difficult, but looking so great when finished....
I think it will work starting with the hull... I tried it with a small one some time ago and it worked fine. I hope, that it will go this time too Have a plan in 1/200 on my desk.... and in my head (I hope so .... a bit more or less)
Cheers Michael
elmarriachi
Visit this Community
Baden-Württemberg, Germany
Joined: December 26, 2009
KitMaker: 813 posts
Model Shipwrights: 304 posts
Posted: Friday, July 17, 2015 - 12:58 AM UTC
Hello,....

... and here we go..... it is done, the painting of the hull is done, the smaller mistakes are repaired... finally, I am happy with it so far...... also the dry-transfers from Pontos are also added....


Next step will be clear coat (futur) on the hull as a base for the coiming weathering .....

Cheers
Micha
JJ1973
#345
Visit this Community
Niedersachsen, Germany
Joined: August 22, 2011
KitMaker: 1,835 posts
Model Shipwrights: 1,832 posts
Posted: Saturday, July 18, 2015 - 10:42 PM UTC
Excellent, crisp and clean work!! The stripes look great!

This is going to be another outstanding Bismarck! I really like the look of the Baltic Camouflage, but I think it's about the toughest paint scheme to do for a modeler - following with great interest!!

Cheers ,

Jan
elmarriachi
Visit this Community
Baden-Württemberg, Germany
Joined: December 26, 2009
KitMaker: 813 posts
Model Shipwrights: 304 posts
Posted: Saturday, July 18, 2015 - 11:09 PM UTC
*** UPDATE ***

The next step was an airbrush layer with Pledge Future to save the painting before the weathering beginns....


The weathering is made with a thinned oil-color washing in black, which was wished from bottom to top with a cloth.
The water noses on the portholes was made with a small dot of oil color, faded with the rest of the oil colors on the hull.


Next step (when everything is dry, it is still wet on the pictures): Clear coat matt on everything ...

CHEERS
Micha
JJ1973
#345
Visit this Community
Niedersachsen, Germany
Joined: August 22, 2011
KitMaker: 1,835 posts
Model Shipwrights: 1,832 posts
Posted: Saturday, July 18, 2015 - 11:51 PM UTC
Now that makes a difference!!! - great job on the wash, Michael!

Cheers

Jan
rolltide31
#377
Visit this Community
Texas, United States
Joined: June 27, 2010
KitMaker: 1,481 posts
Model Shipwrights: 1,332 posts
Posted: Monday, July 20, 2015 - 05:25 AM UTC
Michael,

Great job on the paint and the weathering. Look forward to seeing more

Dave
Cosimodo
#335
Visit this Community
Auckland, New Zealand
Joined: September 03, 2013
KitMaker: 1,808 posts
Model Shipwrights: 871 posts
Posted: Monday, July 20, 2015 - 03:35 PM UTC
Excellent work on the hull and the weathering looks nicely restrained.
I think I agree with you on the camo and it is easier to work from the hull up then align the superstructure. Looking forward to see how it plays out.

cheers

Michael
 _GOTOTOP