Campaigns
Want to be part of a group build? This is where to start, plan, and meet about them.
Official: Guadalcanal Campaign
RedDuster
Visit this Community
England - South East, United Kingdom
Joined: March 01, 2010
KitMaker: 7,078 posts
Model Shipwrights: 6,649 posts
Posted: Saturday, December 12, 2015 - 02:57 AM UTC
Looking good Dave, very interesting Sub, may go together quick, but the devil will be in the paint job.

A very small update on the Chikuma.

Primer coat (Halfords red primer on) underside given a shot of Tamiya Dark Red (TS33). barely notices over the primer, but adds a little depth.


More soon.

Si
Littorio
Visit this Community
England - South East, United Kingdom
Joined: September 15, 2004
KitMaker: 4,728 posts
Model Shipwrights: 1,080 posts
Posted: Saturday, December 12, 2015 - 03:35 PM UTC
Nice bit of progress Si for build two.

My tank has arrived with some marines now just waiting for the tank crew and BAR gunner then I'll get a photo up of all the parts. However all that said I'll not get to the bench except for half day next week, then not until just before the new year due to my work schedule, my first day off will be the 28th Dec.
RedDuster
Visit this Community
England - South East, United Kingdom
Joined: March 01, 2010
KitMaker: 7,078 posts
Model Shipwrights: 6,649 posts
Posted: Sunday, December 13, 2015 - 12:01 AM UTC
Thanks Luciano, made a bit more progress today..

The decks have been sprayed TS78, Linoleum, and masked for the spraying of the hull TS67, Sasebo arsenal grey.


Sprayed and the masking off.

A few touch ups needed, but all in all pretty good.


The instructions say the metal shafts can be added after assembly of the fairings and A frames. Being of a scientific mind I decided to test the theory....


It worked!

Good old Tamiya, very minor criticism of this kit, there is a little too much detail moulded into the deck for my taste.

Don't get me wrong I am enjoying this build, just a personal preference.

Cheers.

Si
RedDuster
Visit this Community
England - South East, United Kingdom
Joined: March 01, 2010
KitMaker: 7,078 posts
Model Shipwrights: 6,649 posts
Posted: Friday, December 18, 2015 - 02:35 AM UTC
Quick update.

The torpedo warheads and reloads painted.


The tubes built with etched detail fitted.


The tubes and reloads in place.


Si
rolltide31
#377
Visit this Community
Texas, United States
Joined: June 27, 2010
KitMaker: 1,481 posts
Model Shipwrights: 1,332 posts
Posted: Friday, December 18, 2015 - 05:48 AM UTC
Si,

Nice work on the Chikuma. Is that the PE that came with the kit or are you using an AM kit?

Dave
RedDuster
Visit this Community
England - South East, United Kingdom
Joined: March 01, 2010
KitMaker: 7,078 posts
Model Shipwrights: 6,649 posts
Posted: Saturday, December 19, 2015 - 02:30 AM UTC
Thanks Dave,

I am using the Eduard aftermarket, not as comprehensive as the likes of Flyhawk or Pontos, but will do the job.

I am still waiting for the Flyhawk deck strips to arrive from the far east, so on with some sub assemblies. The shelter deck test fitted, and the bridge and fore funnel under way.


Looks like something out of a sci fi kit, but it is the bridge tower, the front still needs fitting, but this is beautiful kit design.


The bridge going higher.


platforms on.


and test fitted back with the funnel.


More soon, got to tackle the foredeck details next.

Cheers.

Si
Cosimodo
#335
Visit this Community
Auckland, New Zealand
Joined: September 03, 2013
KitMaker: 1,808 posts
Model Shipwrights: 871 posts
Posted: Saturday, December 19, 2015 - 02:03 PM UTC
Very nice progress Si.
Those torpedos look great. I hope you'll be able to see them when the deck goes on.

cheers
Michael
RedDuster
Visit this Community
England - South East, United Kingdom
Joined: March 01, 2010
KitMaker: 7,078 posts
Model Shipwrights: 6,649 posts
Posted: Saturday, December 19, 2015 - 03:30 PM UTC
Thanks Michael,

Just about, by squinting though the openings for the tubes. Might leave both banks on one side trained outboard to make it easier.

Just nice to know they are there.

Si
RedDuster
Visit this Community
England - South East, United Kingdom
Joined: March 01, 2010
KitMaker: 7,078 posts
Model Shipwrights: 6,649 posts
Posted: Sunday, December 20, 2015 - 12:22 AM UTC
Bit more progress today.

The etched tops on the bits fitted.


Detail paint job on the foredeck.


And on the quarter deck.


The bridge under construction, the sides added and the etched front ready to go, except it appears way too long.


The bridge structure with some etch on.


The shelter deck has been sprayed and detail painted, everything test fitted.


Si
rolltide31
#377
Visit this Community
Texas, United States
Joined: June 27, 2010
KitMaker: 1,481 posts
Model Shipwrights: 1,332 posts
Posted: Sunday, December 20, 2015 - 03:17 AM UTC
Si,

Very nice progress on your Chikuma. Are you going to place the brass strip on top of the molded brass strip?

It is always interesting to see how the different manufacturers approach like models. The build up of the Chikuma bridge is a lot different than the one for the Maya. I do like the idea of the interior support structure.

Looking forward to seeing more.

Dave
RedDuster
Visit this Community
England - South East, United Kingdom
Joined: March 01, 2010
KitMaker: 7,078 posts
Model Shipwrights: 6,649 posts
Posted: Monday, December 21, 2015 - 01:06 AM UTC
Hi Dave,

The plan is to gently scrape the raised lines down a bit with a curved blade before fitting the brass strip (when it turns up from the far east)

The structural support within the bridge is a great idea, and typical of Tamiya's engineering.

Cheers.

Si
Littorio
Visit this Community
England - South East, United Kingdom
Joined: September 15, 2004
KitMaker: 4,728 posts
Model Shipwrights: 1,080 posts
Posted: Monday, December 21, 2015 - 09:04 PM UTC
Really nice work Si.

Ok here's my changed entry start point, still waiting for the BAR gunner to arrive.


RedDuster
Visit this Community
England - South East, United Kingdom
Joined: March 01, 2010
KitMaker: 7,078 posts
Model Shipwrights: 6,649 posts
Posted: Tuesday, December 22, 2015 - 12:41 AM UTC
Thanks Luciano,

Nice choice you have there, looking forward to seeing some progress

Cheers.

Si
RedDuster
Visit this Community
England - South East, United Kingdom
Joined: March 01, 2010
KitMaker: 7,078 posts
Model Shipwrights: 6,649 posts
Posted: Saturday, December 26, 2015 - 01:09 AM UTC
A little bit of Boxing day escape.

More etch going on the bridge.

Ladders on the rear end.


Followed by what seemed like an awful lot of railings.


More soon,

Si
RedDuster
Visit this Community
England - South East, United Kingdom
Joined: March 01, 2010
KitMaker: 7,078 posts
Model Shipwrights: 6,649 posts
Posted: Sunday, December 27, 2015 - 02:45 AM UTC
More progress today,

Detail added to the funnel, one shortcoming with the eduard etch is none of the rails that go round the funnel, apart from the uppermost ones are included,


Boiler intakes with etch fitted.


Midships superstructure, and foredeck vents etched up.


The weekend's work test fitted.


Cheers

Si
Cosimodo
#335
Visit this Community
Auckland, New Zealand
Joined: September 03, 2013
KitMaker: 1,808 posts
Model Shipwrights: 871 posts
Posted: Sunday, December 27, 2015 - 01:56 PM UTC
I like the look of the sets you have for your diorama Luciano. It should be an interesting project.

And Simon, great progress on Chikuma. i like the bridge construction and the japanese always have the most interesting funnels.

Progress on the Zero ground to halt five weeks ago when I broke my right wrist, the key one unfortunately. And I have only made some progress in the last two days by exercising my sympathy card because two days after the splint came off I fell off my motorbike and tore a muscle in my back. And here's a piece of trivia, did you know that you use the muscles in your back when you press the trigger on a airbrush.

Anyway during my downtime I decided to try some new techniques for me on the plane.
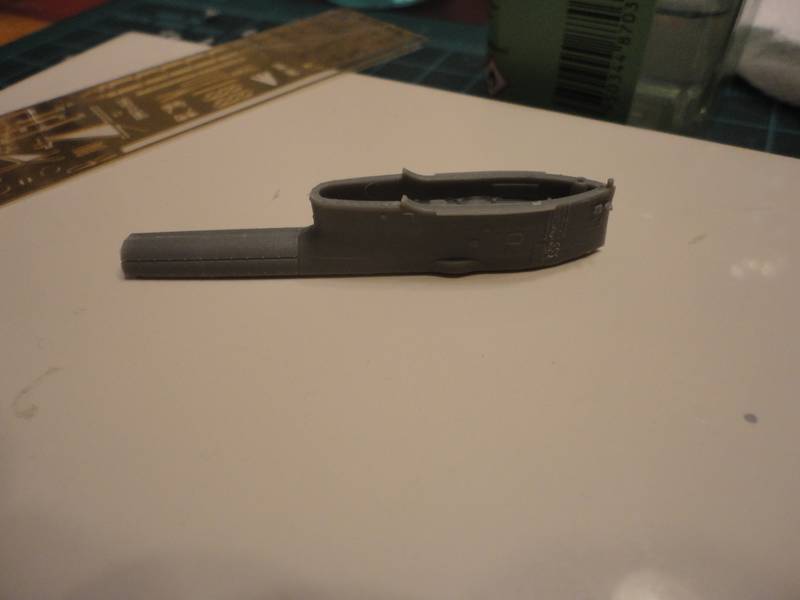
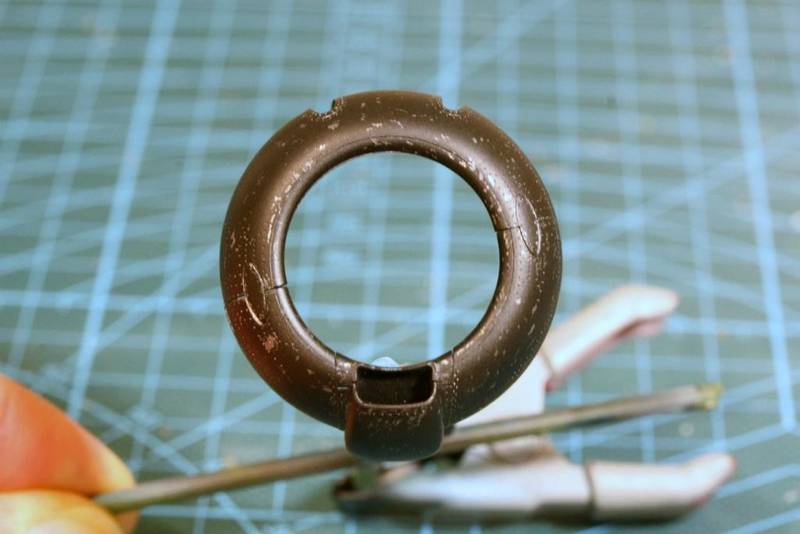
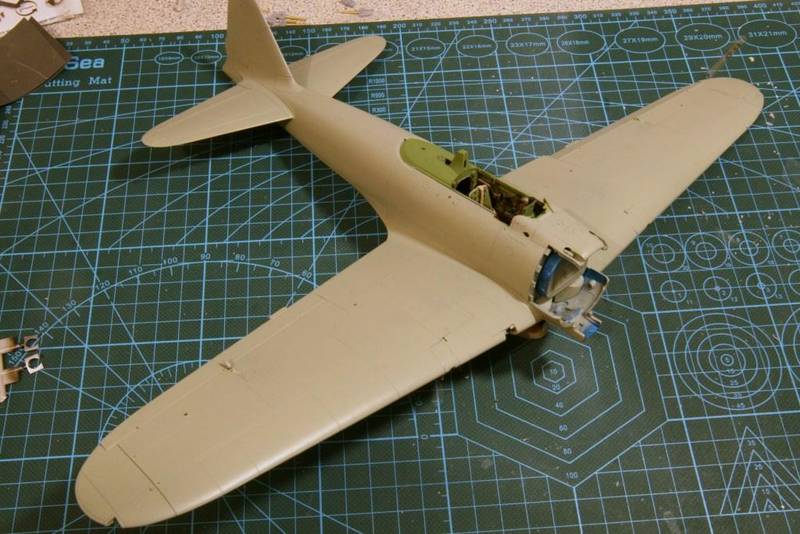
First up is layered chipping. I put a coat of tamiya primer on

then some Alclad primer where I thought I would try for some moderate wear on the fuselage, nose and canopy


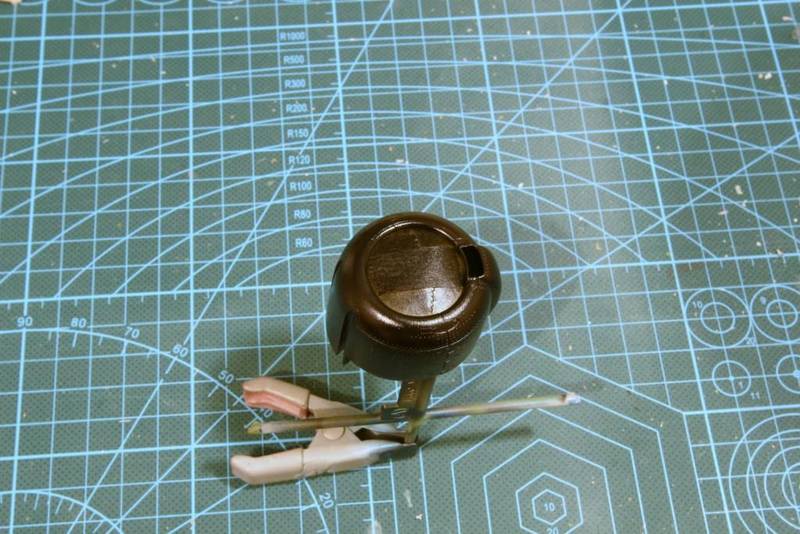
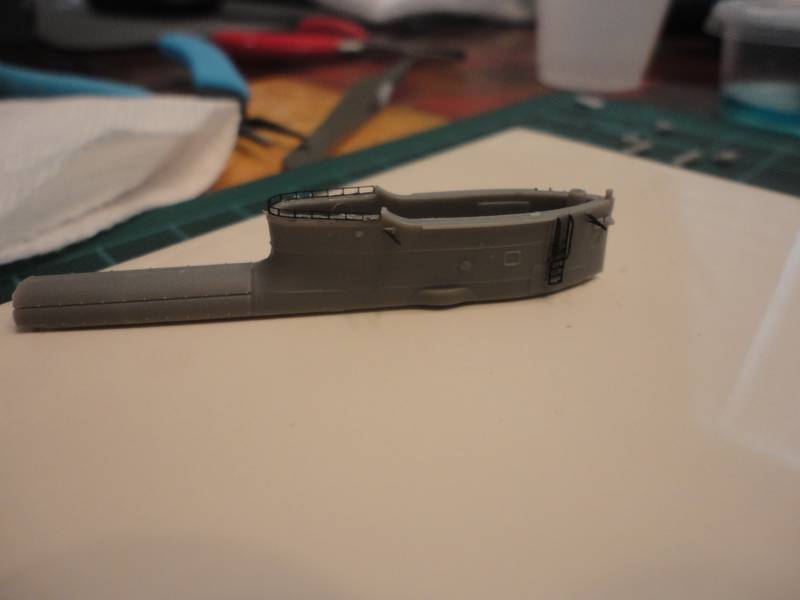
Then the Alclad Aluminium


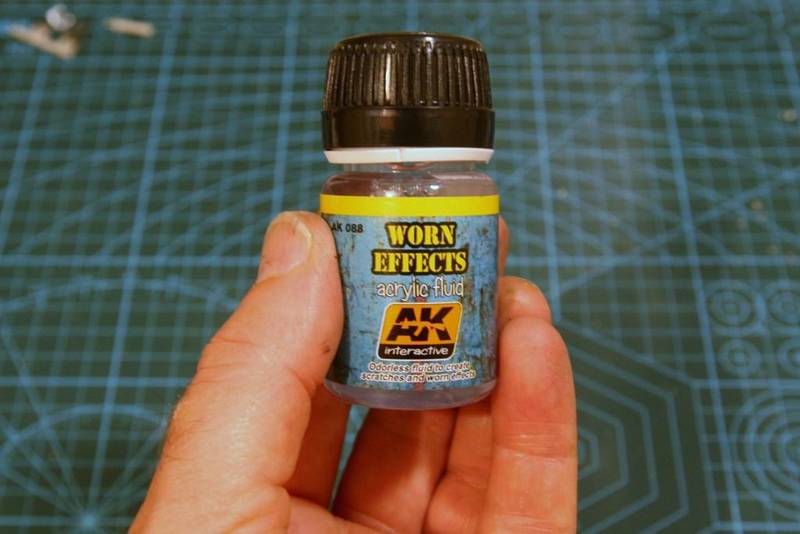
Then the worn effects fluid from AK. I am slightly apprehensive about getting this wrong but I think I can just respray the whole plane if it doesn't look right.

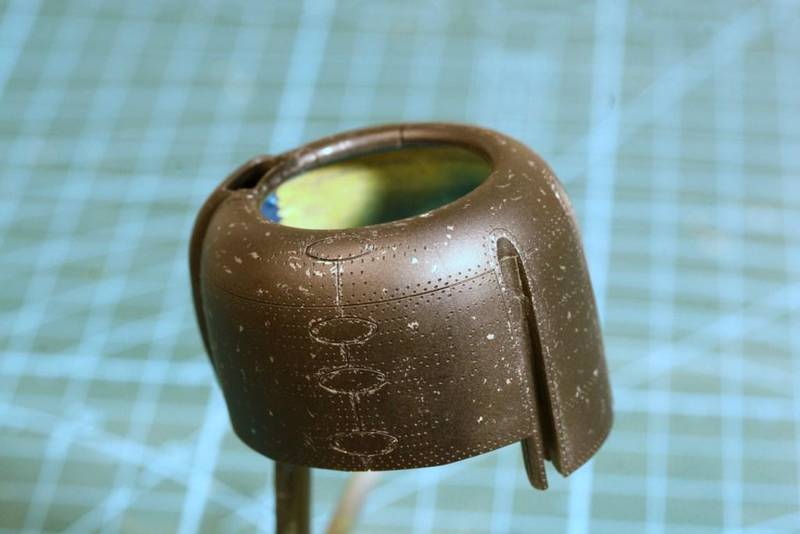
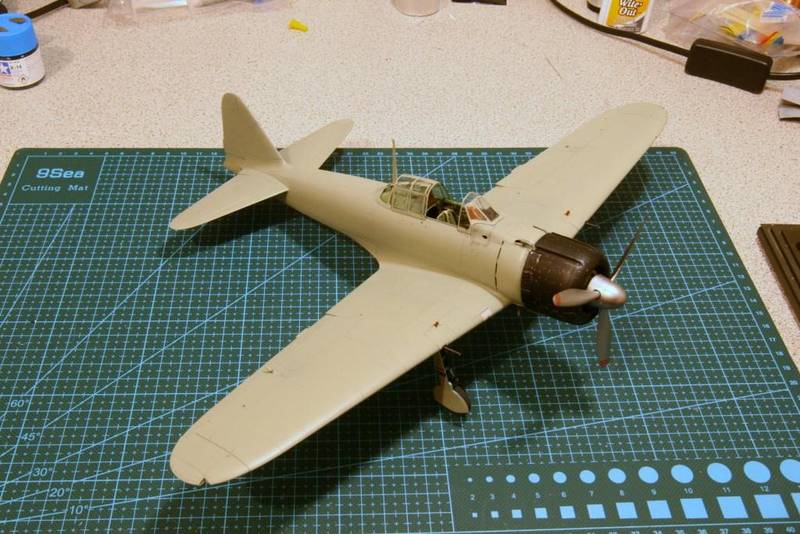
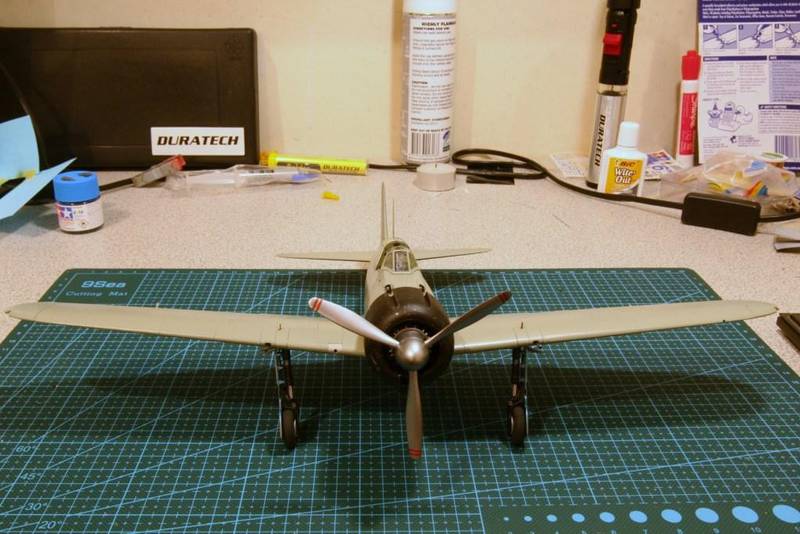
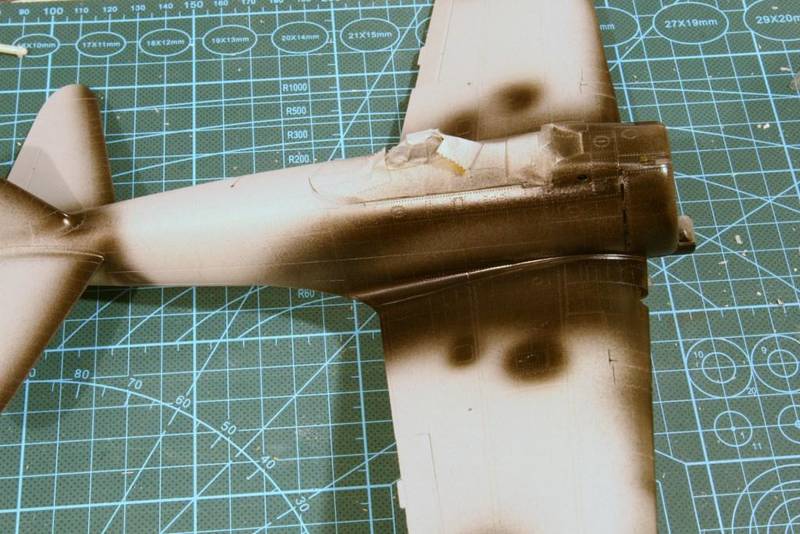
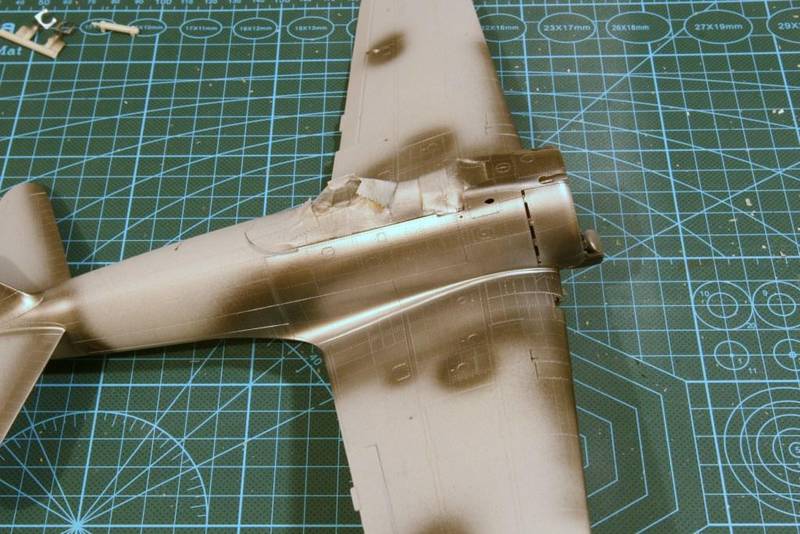
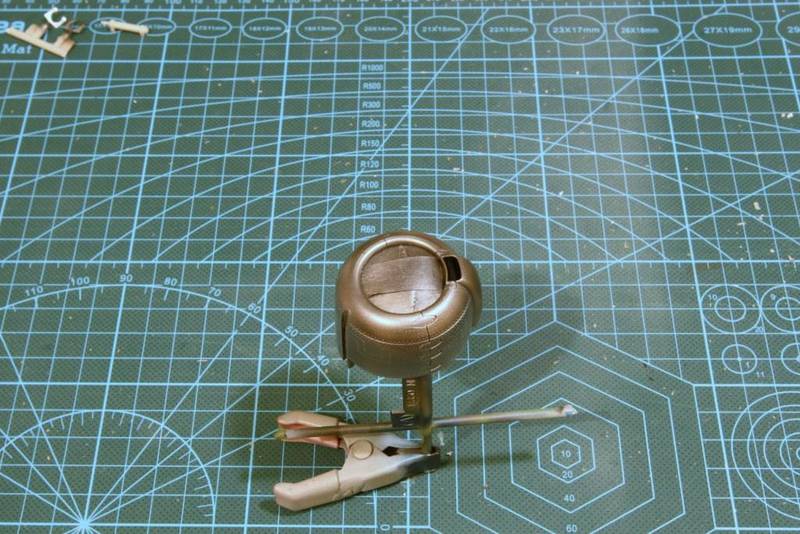
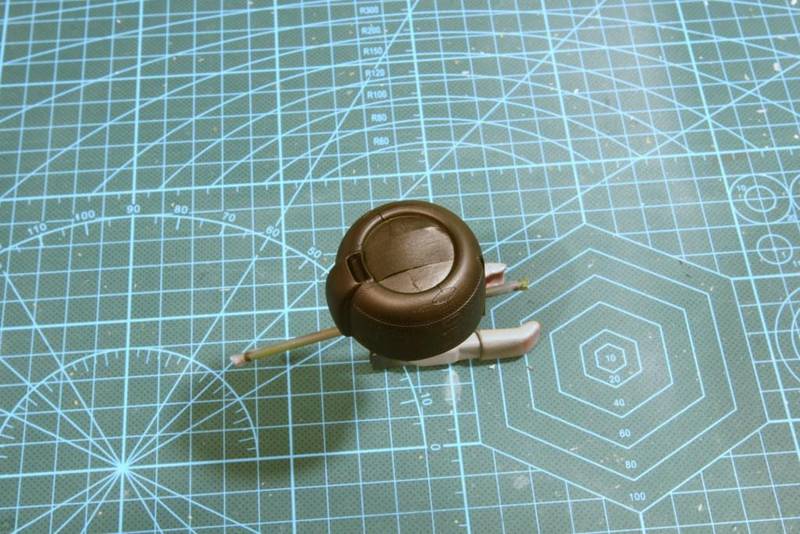
A couple coats of that then the plane is sprayed IJN grey and the nose in diluted black to give it a slightly worn look


I will try the chipping tomorrow and give an update.

The other idea I am going to try is making my own paint masks since the national insigna is fairly straight forward as are the plane numbers. that should require little input from the back.

cheers
Michael
Littorio
Visit this Community
England - South East, United Kingdom
Joined: September 15, 2004
KitMaker: 4,728 posts
Model Shipwrights: 1,080 posts
Posted: Sunday, December 27, 2015 - 02:12 PM UTC
Si impressive, I must admit that I'm not taken by Eduards ship pe sets. I like their armour and aircraft sets but I just find their ship sets lack something.

Michael, ouch and double ouch, having had a torn shoulder muscle I can appreciate the problems that can cause, also hope the bike was ok. A real trooper, injured and still at the bench, I think I can say we are all holding our breath to see how the chipping works.

Well for me I finished a set of night shifts (yep one of those that have to work over Christmas) yesterday so now I have a couple of days off and can get to the bench after a Christmas dinner, hopefully I can clear a Sherman off and get started on the Stuart.
RedDuster
Visit this Community
England - South East, United Kingdom
Joined: March 01, 2010
KitMaker: 7,078 posts
Model Shipwrights: 6,649 posts
Posted: Monday, December 28, 2015 - 03:14 AM UTC
Thanks Michael,

I is interesting, there is something about the look of the Japanese heavy cruisers.

Great work on the Zero, the paint job is coming on very nicely, looking forward to seeing how the weathering works

Thanks Luciano,

I agree, love their aircraft and armour stuff, but t don't they don't seem to get ships, and what ship modellers like in their etch.

Bit stuck now waiting for a package from the far east with the brss strip in

cheers

Si
rolltide31
#377
Visit this Community
Texas, United States
Joined: June 27, 2010
KitMaker: 1,481 posts
Model Shipwrights: 1,332 posts
Posted: Tuesday, December 29, 2015 - 01:11 AM UTC
Luciano - nice collection, looking forward to seeing you bring that together.

Si - Your IJN Chikuma is coming along nice. Regarding the Eduard PE, I know what you mean. I was a little disappointed when I built the Musashi as the Eduard set was lacking in some critical PE. You have taken it far though and she is looking great.

Michael - Your Zero is looking awesome. I have never used the Alcad paints but have some on hand. Looking forward to seeing how the worn effects come out.

As far as the I19 - found some time to begin working the PE for the bridge. The AFV Club PE set is pretty nice for a non traditional PE kit.

Before application:


and mid application


The next step was working the periscopes


I took a risk and glued the bridge roof to the periscopes in the hopes that when it comes time to permanently mount that the roof will be in the right place...fingers crossed.

More to come this weekend.

Dave
Cosimodo
#335
Visit this Community
Auckland, New Zealand
Joined: September 03, 2013
KitMaker: 1,808 posts
Model Shipwrights: 871 posts
Posted: Tuesday, December 29, 2015 - 04:04 PM UTC
Looking good Dave on the sub and thanks Si and Luciano.
Well an update on the weathering. It was 50% successful.
To save time I used a tamiya spray can for the fuselage since it was a single colour and no masking required. The worn effects from AK had no effect on this paint which is a shame but I guess I should have tested before hand.
On the cowling which I sprayed with Tamiya acrylic it worked a treat. Lot of fun to play with and you just needs lots of water, a needle and a stumpy brush.


It looks a lot more subtle in 1/32 scale.

cheers
Michael
Littorio
Visit this Community
England - South East, United Kingdom
Joined: September 15, 2004
KitMaker: 4,728 posts
Model Shipwrights: 1,080 posts
Posted: Tuesday, December 29, 2015 - 08:18 PM UTC
Michael it's a shame about the fuselage but the cowling has come out looking good.

Well for me I got some time at the bench with my entry as the Sherman was drying after a Matt coat, so the M3A1 hit the bench and the build is almost done
I also put together the first marine and two of the tankers, however with the turret hatches being so small I may have to build the tank buttoned up. We'll see how we go once the tank hits paint.

Need to get a name plate sorted.

Littorio
Visit this Community
England - South East, United Kingdom
Joined: September 15, 2004
KitMaker: 4,728 posts
Model Shipwrights: 1,080 posts
Posted: Wednesday, December 30, 2015 - 09:18 PM UTC
Little bit more progress on the M3 now close to primer. Two more marines put together and you may notice that the turret hatches are closed, well I tried to put the tank crew in but they just don't fit even trying to come up from inside, the openings are just to small. Being that this tank is on patrol I didn't think that it would be right for the crew to be sitting on the outside so it's closed up with the marines following behide keeping their eyes peeled.
Still waiting for the BAR gunner to arrive and need to get the base, I have one of my cruiser bases that I'm using for size but will get an Ash wood base for this.

Back to work tomorrow so no more updates until end of next week.

Cosimodo
#335
Visit this Community
Auckland, New Zealand
Joined: September 03, 2013
KitMaker: 1,808 posts
Model Shipwrights: 871 posts
Posted: Friday, January 01, 2016 - 09:54 AM UTC
Nice work Luciano. I like the early war tanks and must have been hot in there in the Pacific so you might want to leave those hatches open
cheers
Michael
Cosimodo
#335
Visit this Community
Auckland, New Zealand
Joined: September 03, 2013
KitMaker: 1,808 posts
Model Shipwrights: 871 posts
Posted: Friday, January 01, 2016 - 09:58 AM UTC
Time to kick off the New Year with an update.
With some unseasonal wet weather for the summer here allowed me some more progress on the Zero. Ready for flight it just needs it markings and some weathering.


I still plan to try my own masks but always have the decals to fall back to if that doesn't work. It might be a combination of both.
cheers

Michael
RedDuster
Visit this Community
England - South East, United Kingdom
Joined: March 01, 2010
KitMaker: 7,078 posts
Model Shipwrights: 6,649 posts
Posted: Friday, January 01, 2016 - 02:06 PM UTC
Excellent progress Dave and Luciano.

Enjoying both builds.

Happy new year

Si