Todd sent me the Master barrels for this which he had for review and wasn't going to use, for which I am grateful, and they are now getting used, so thanks again mate. And everything else except the rigging will be what is in the box.
Here you go.
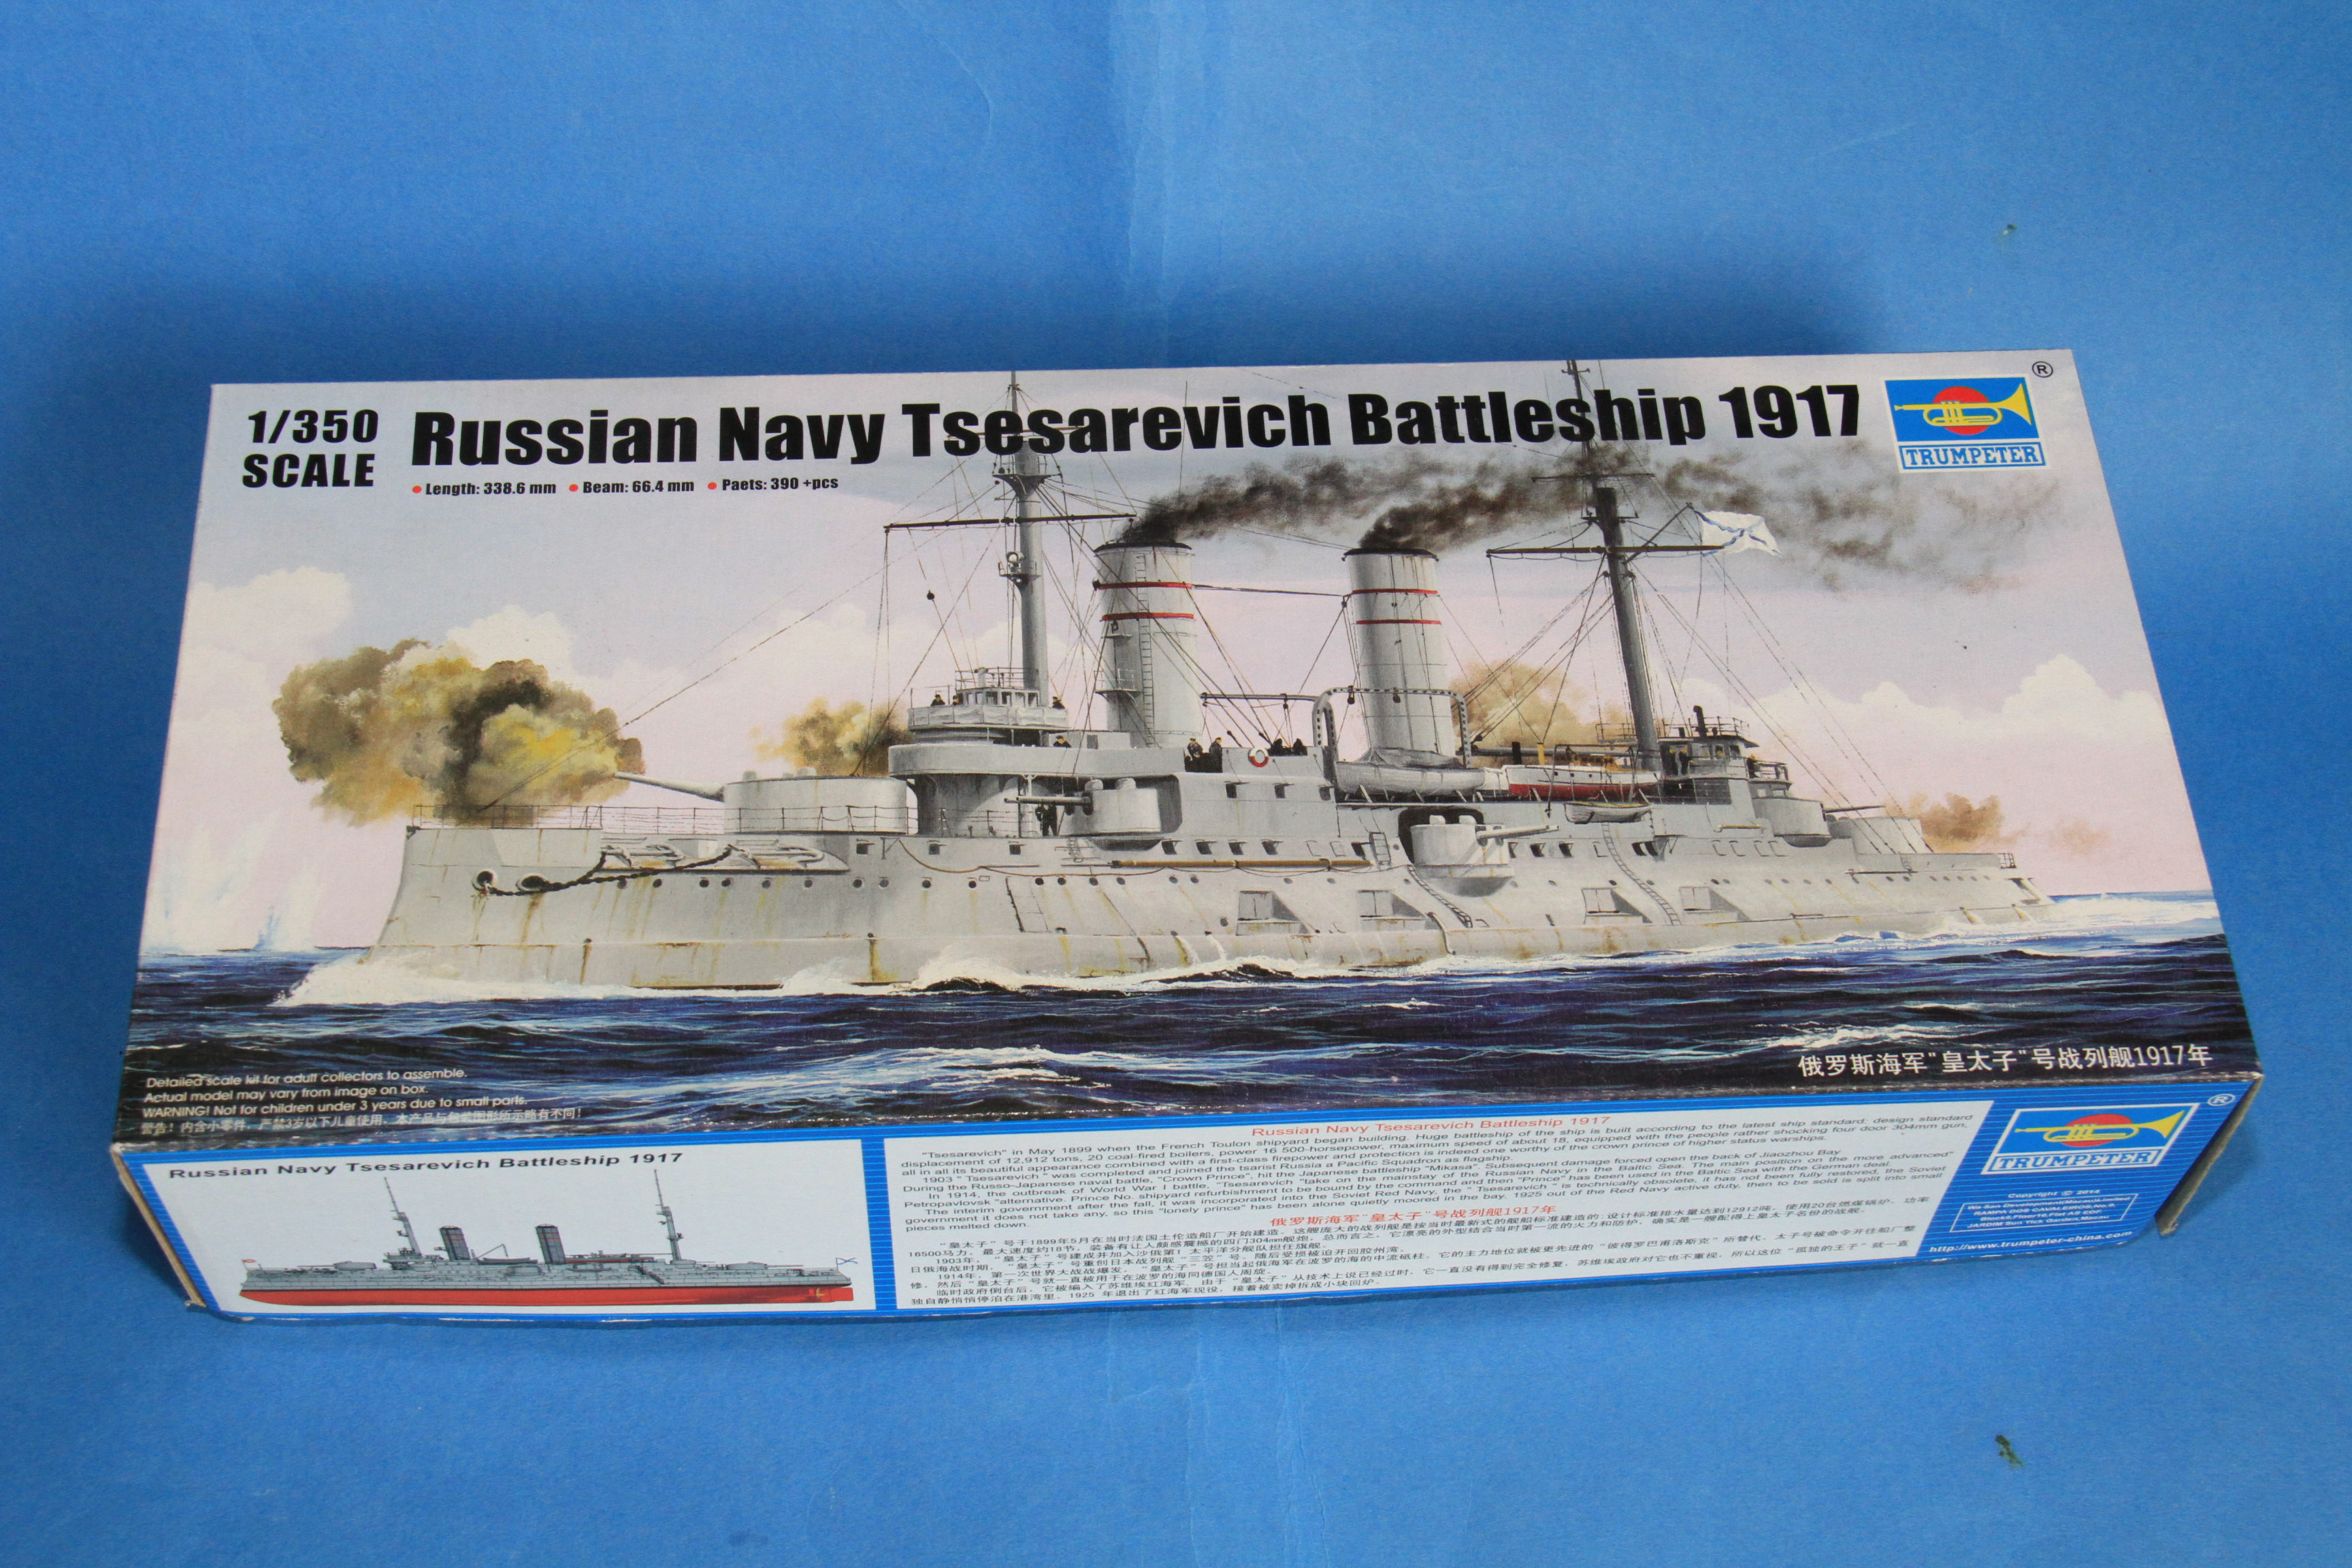
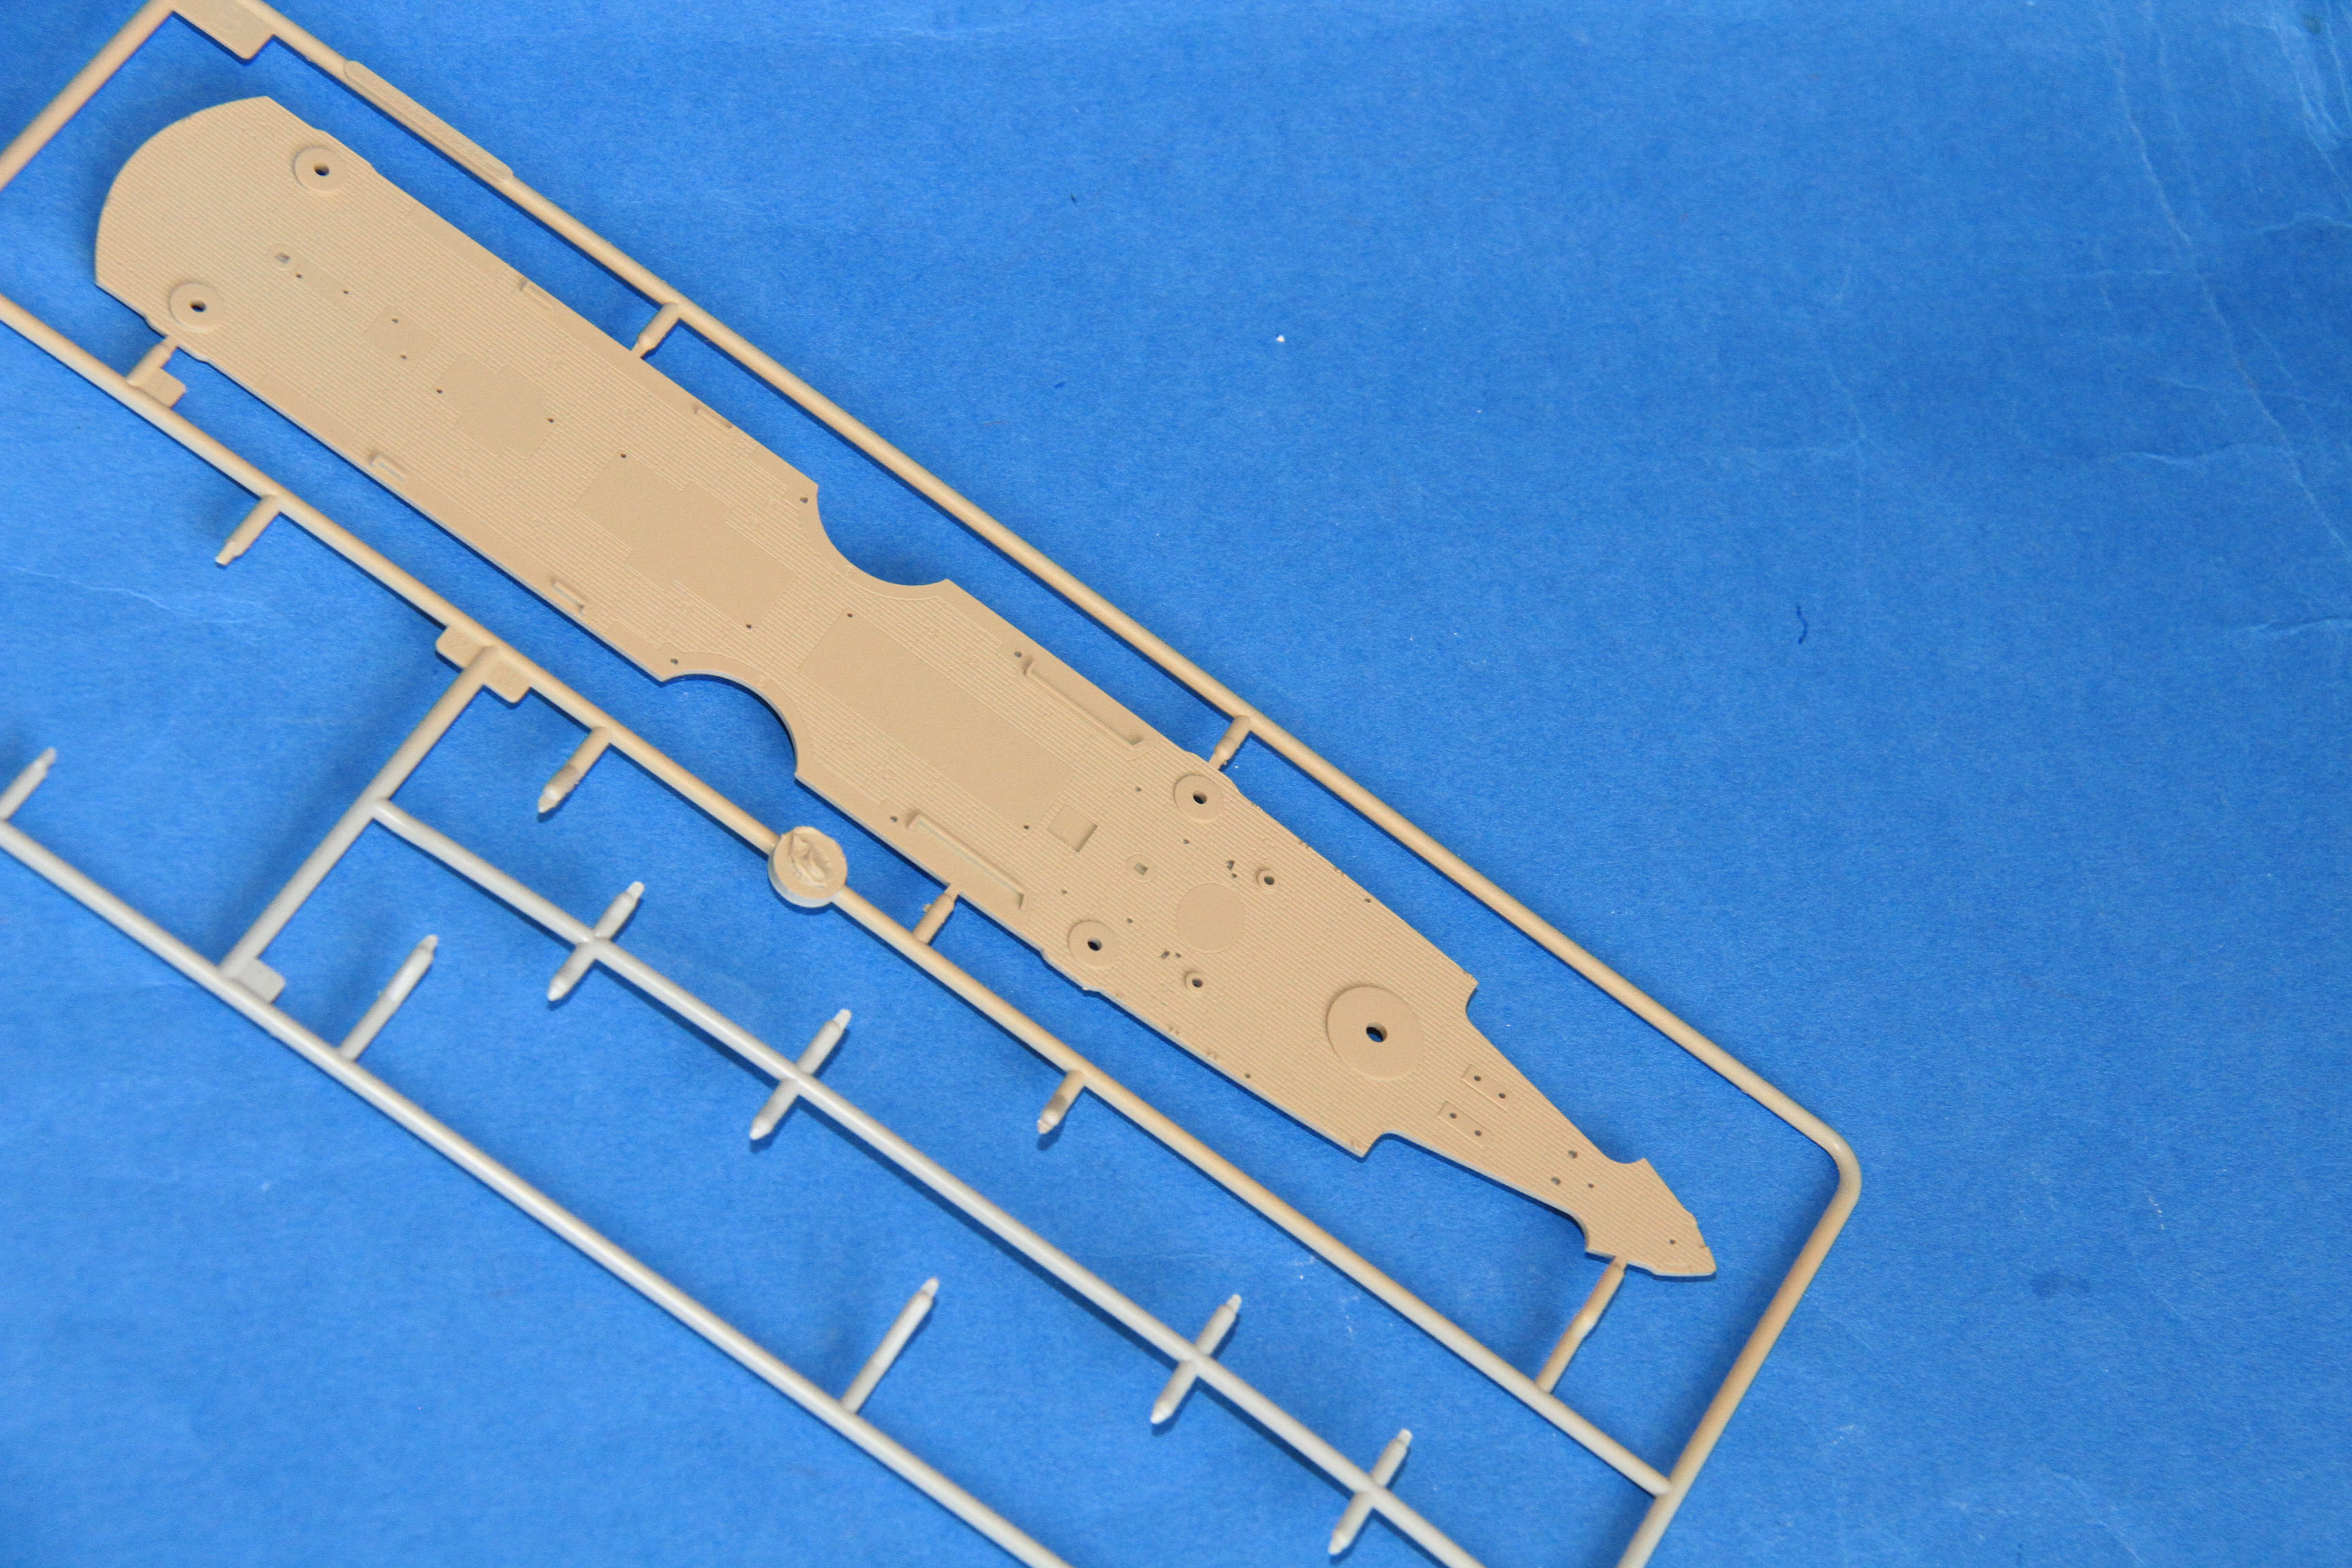
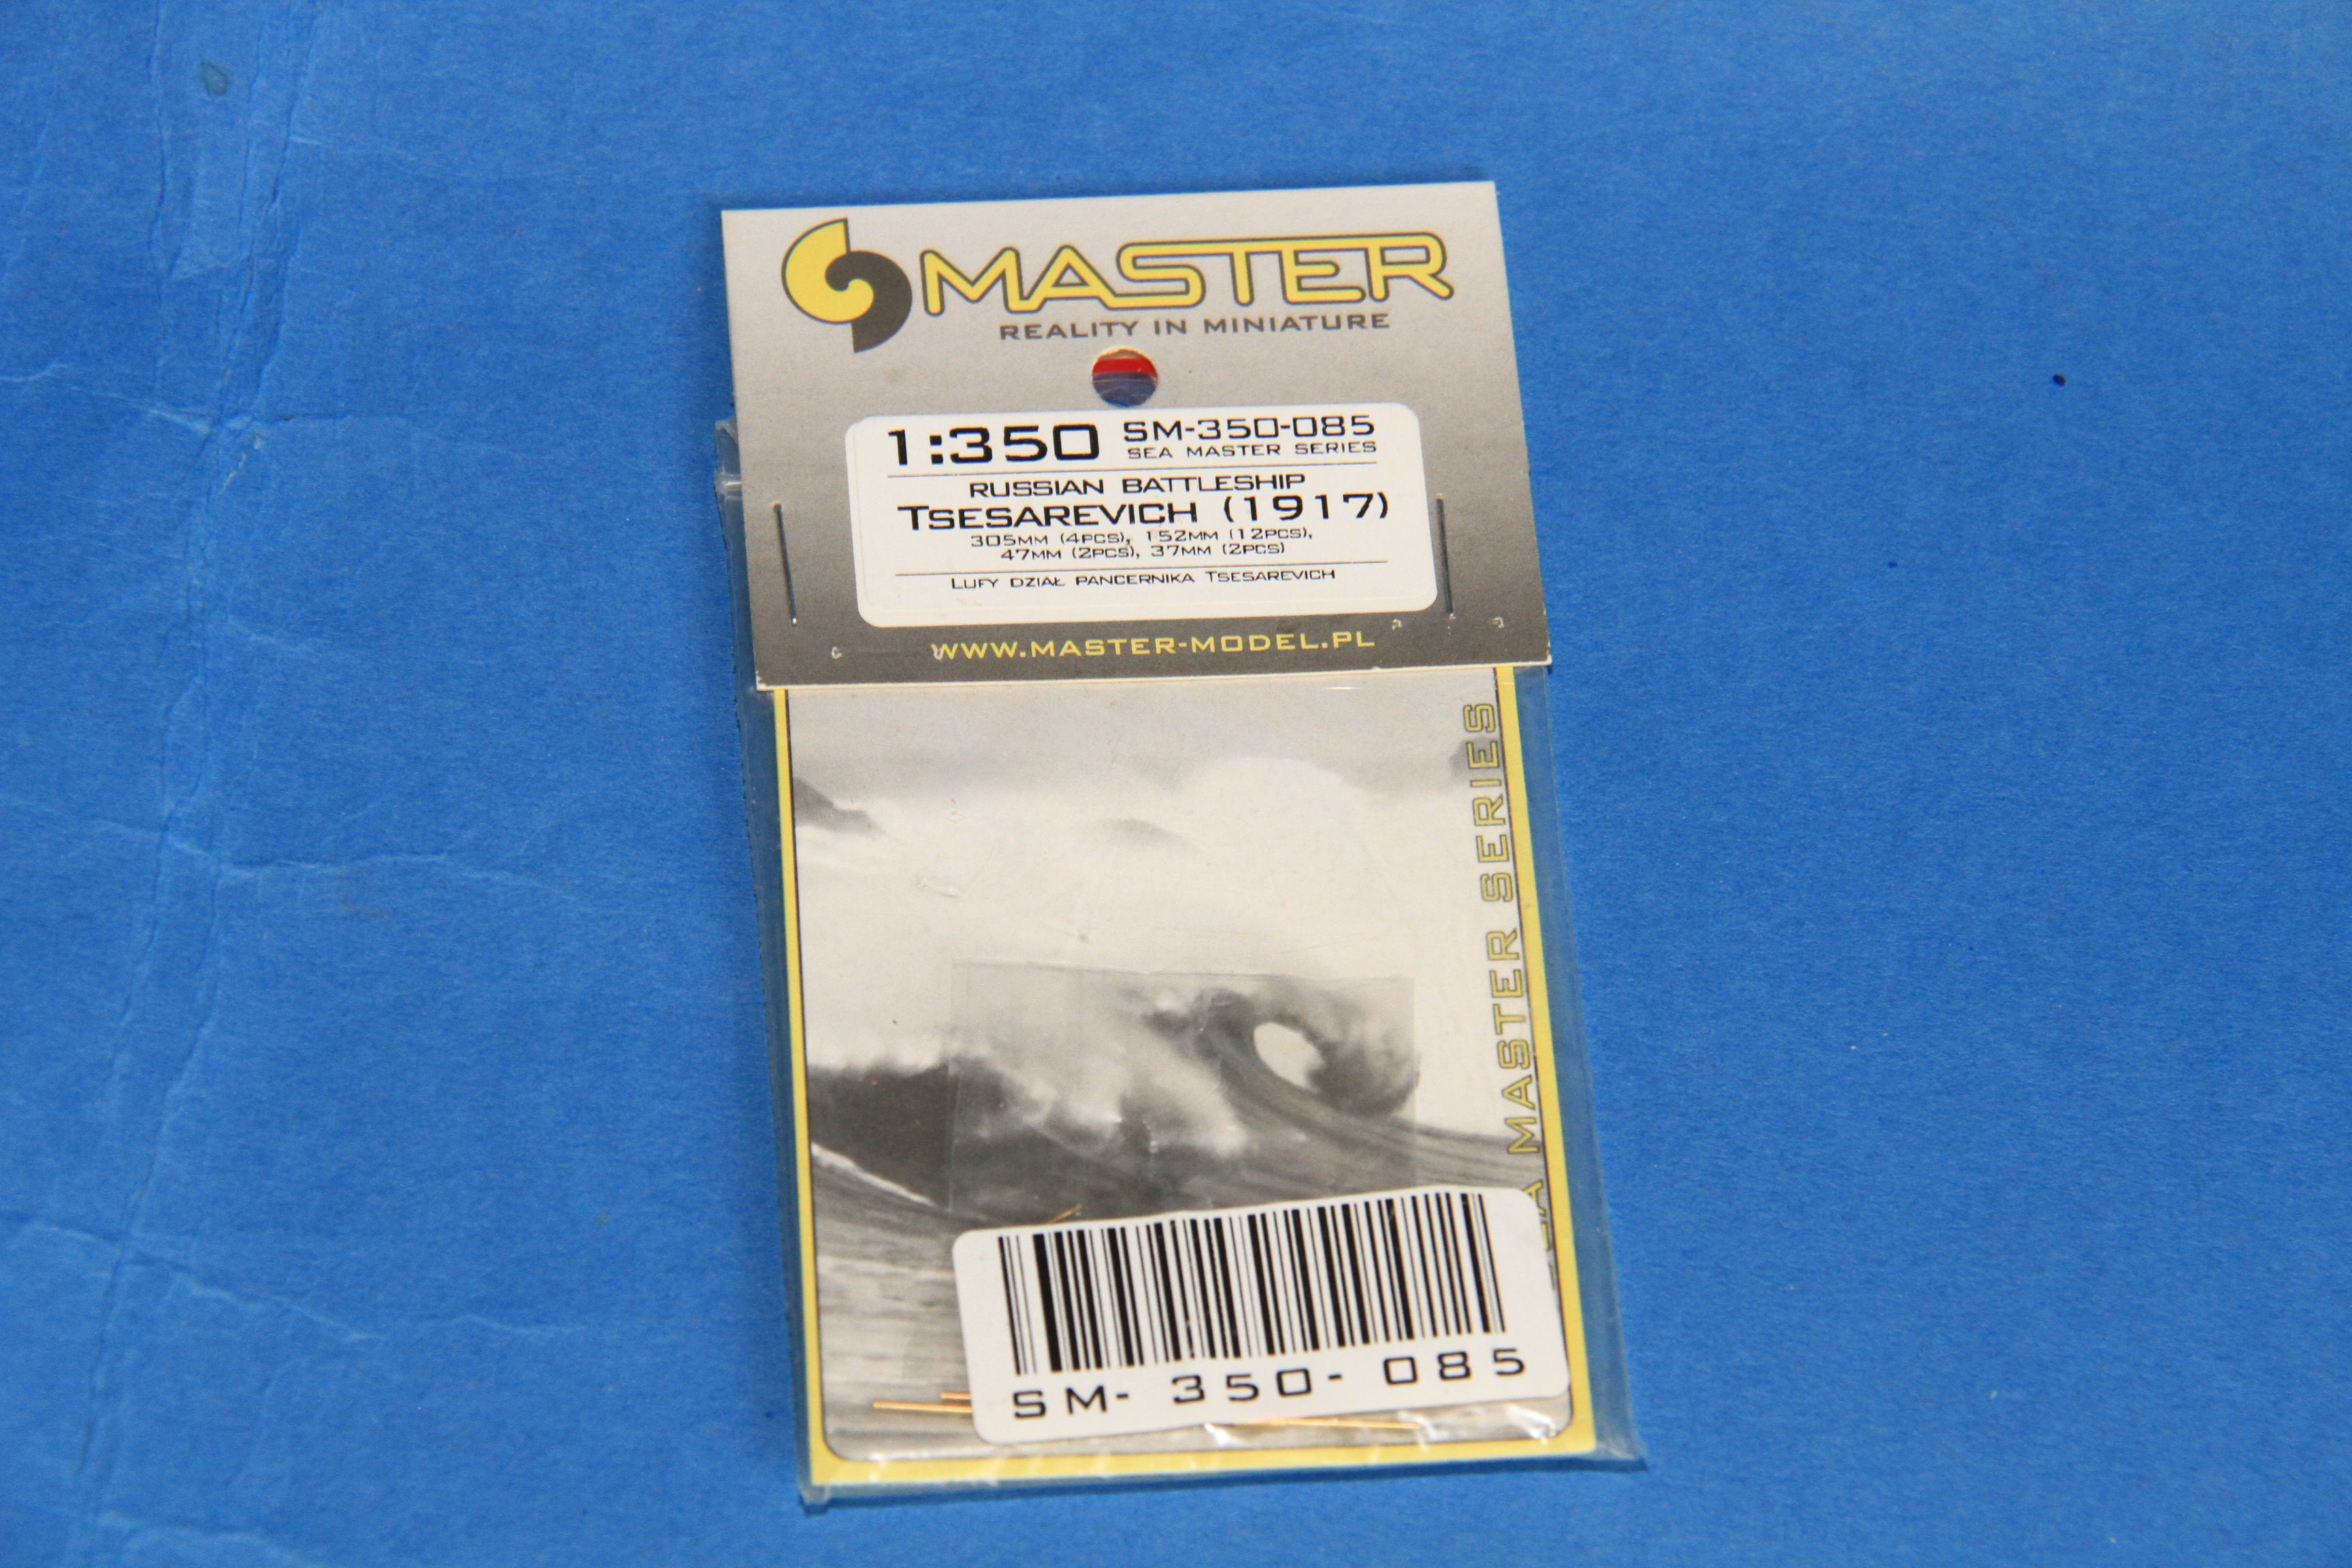
What is in the box
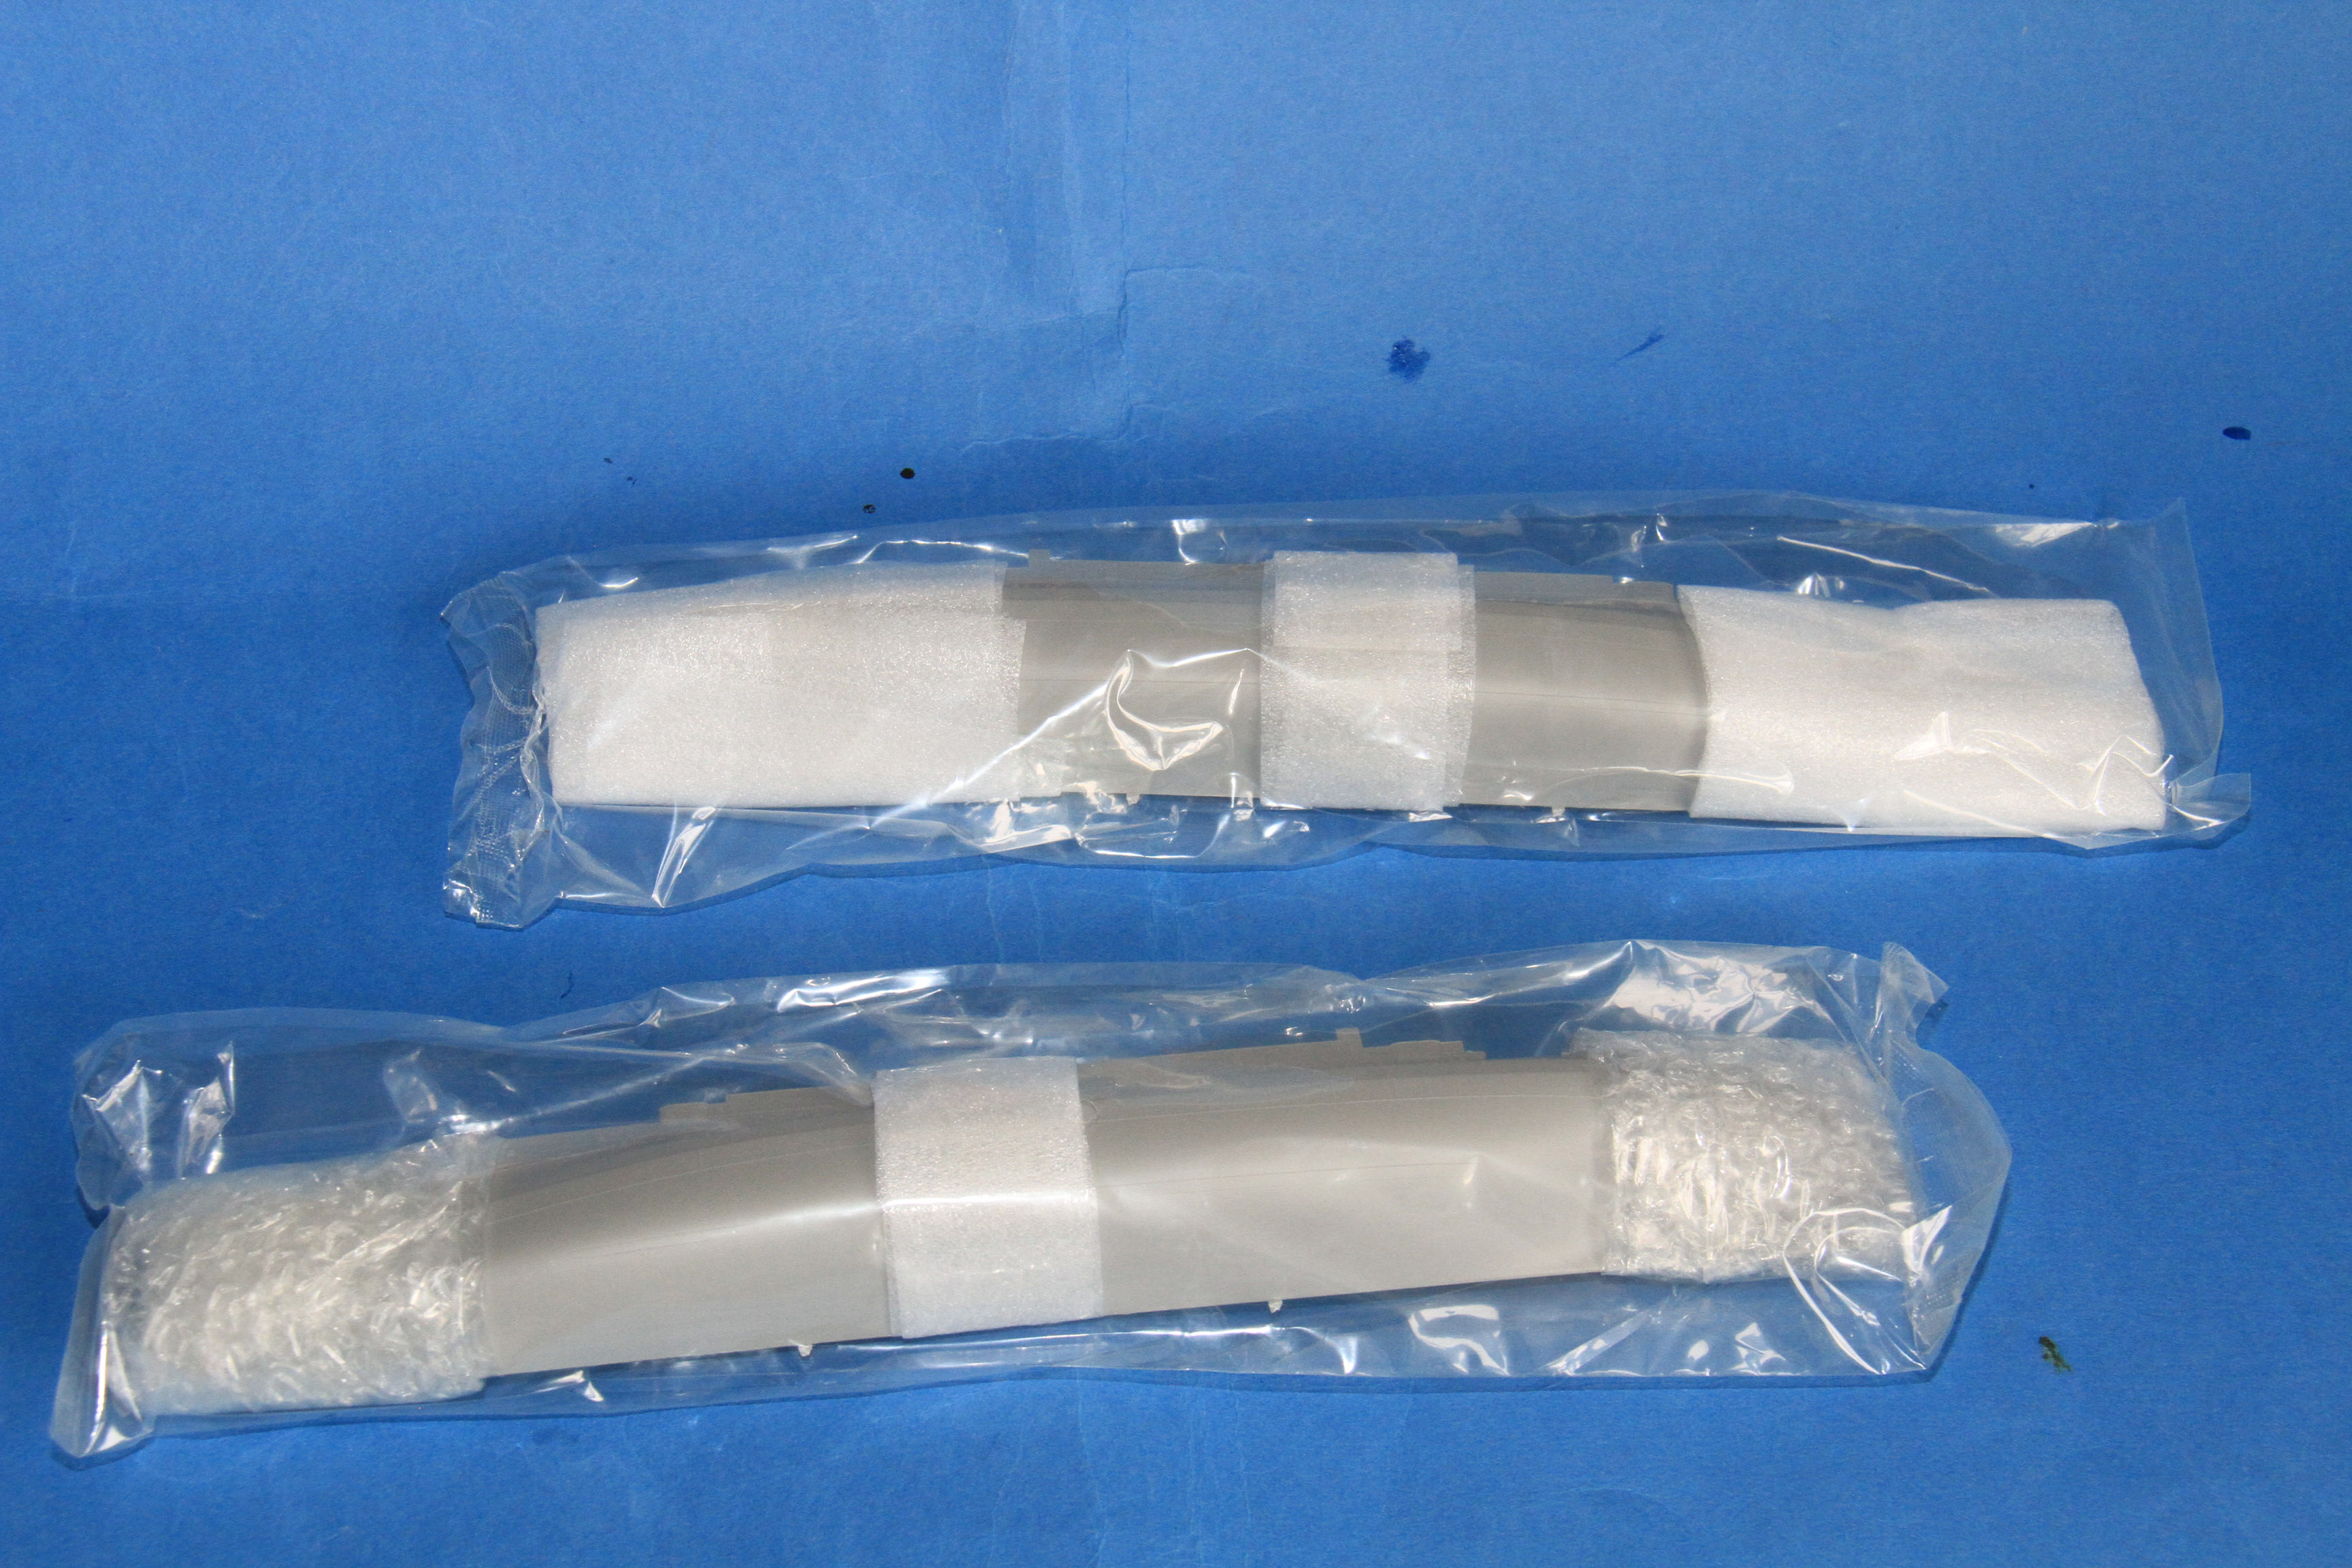
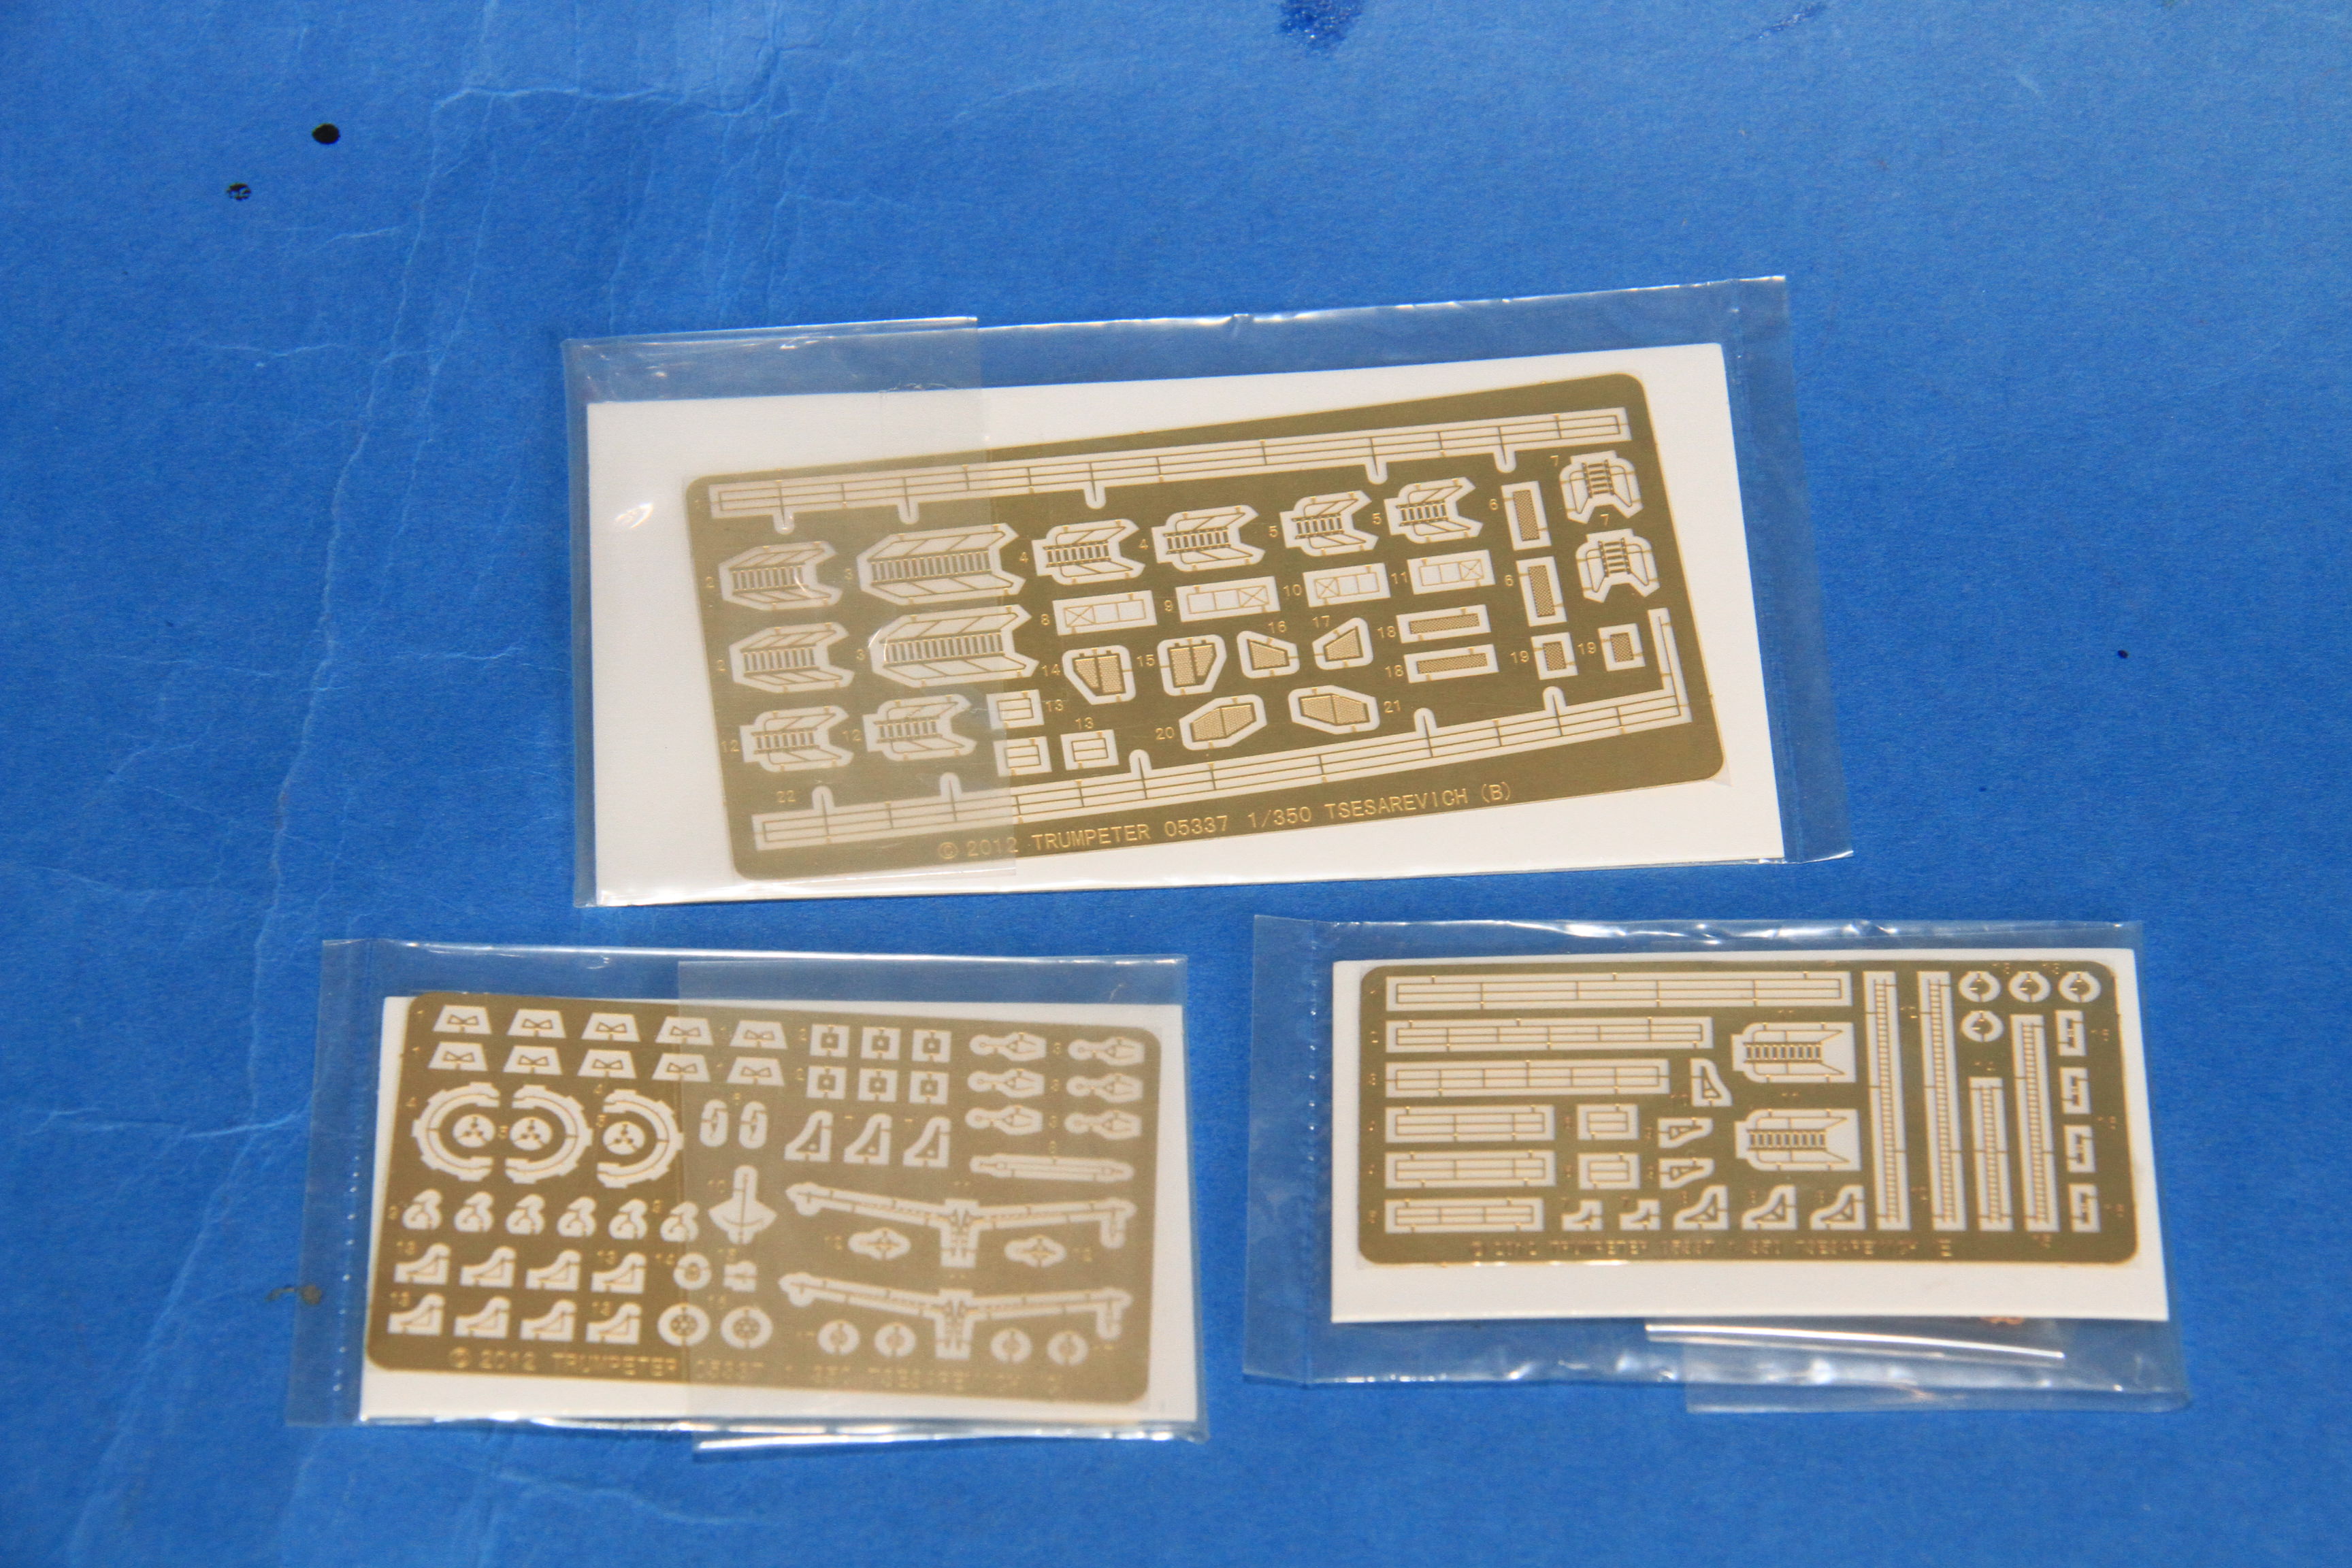

Well some of it.
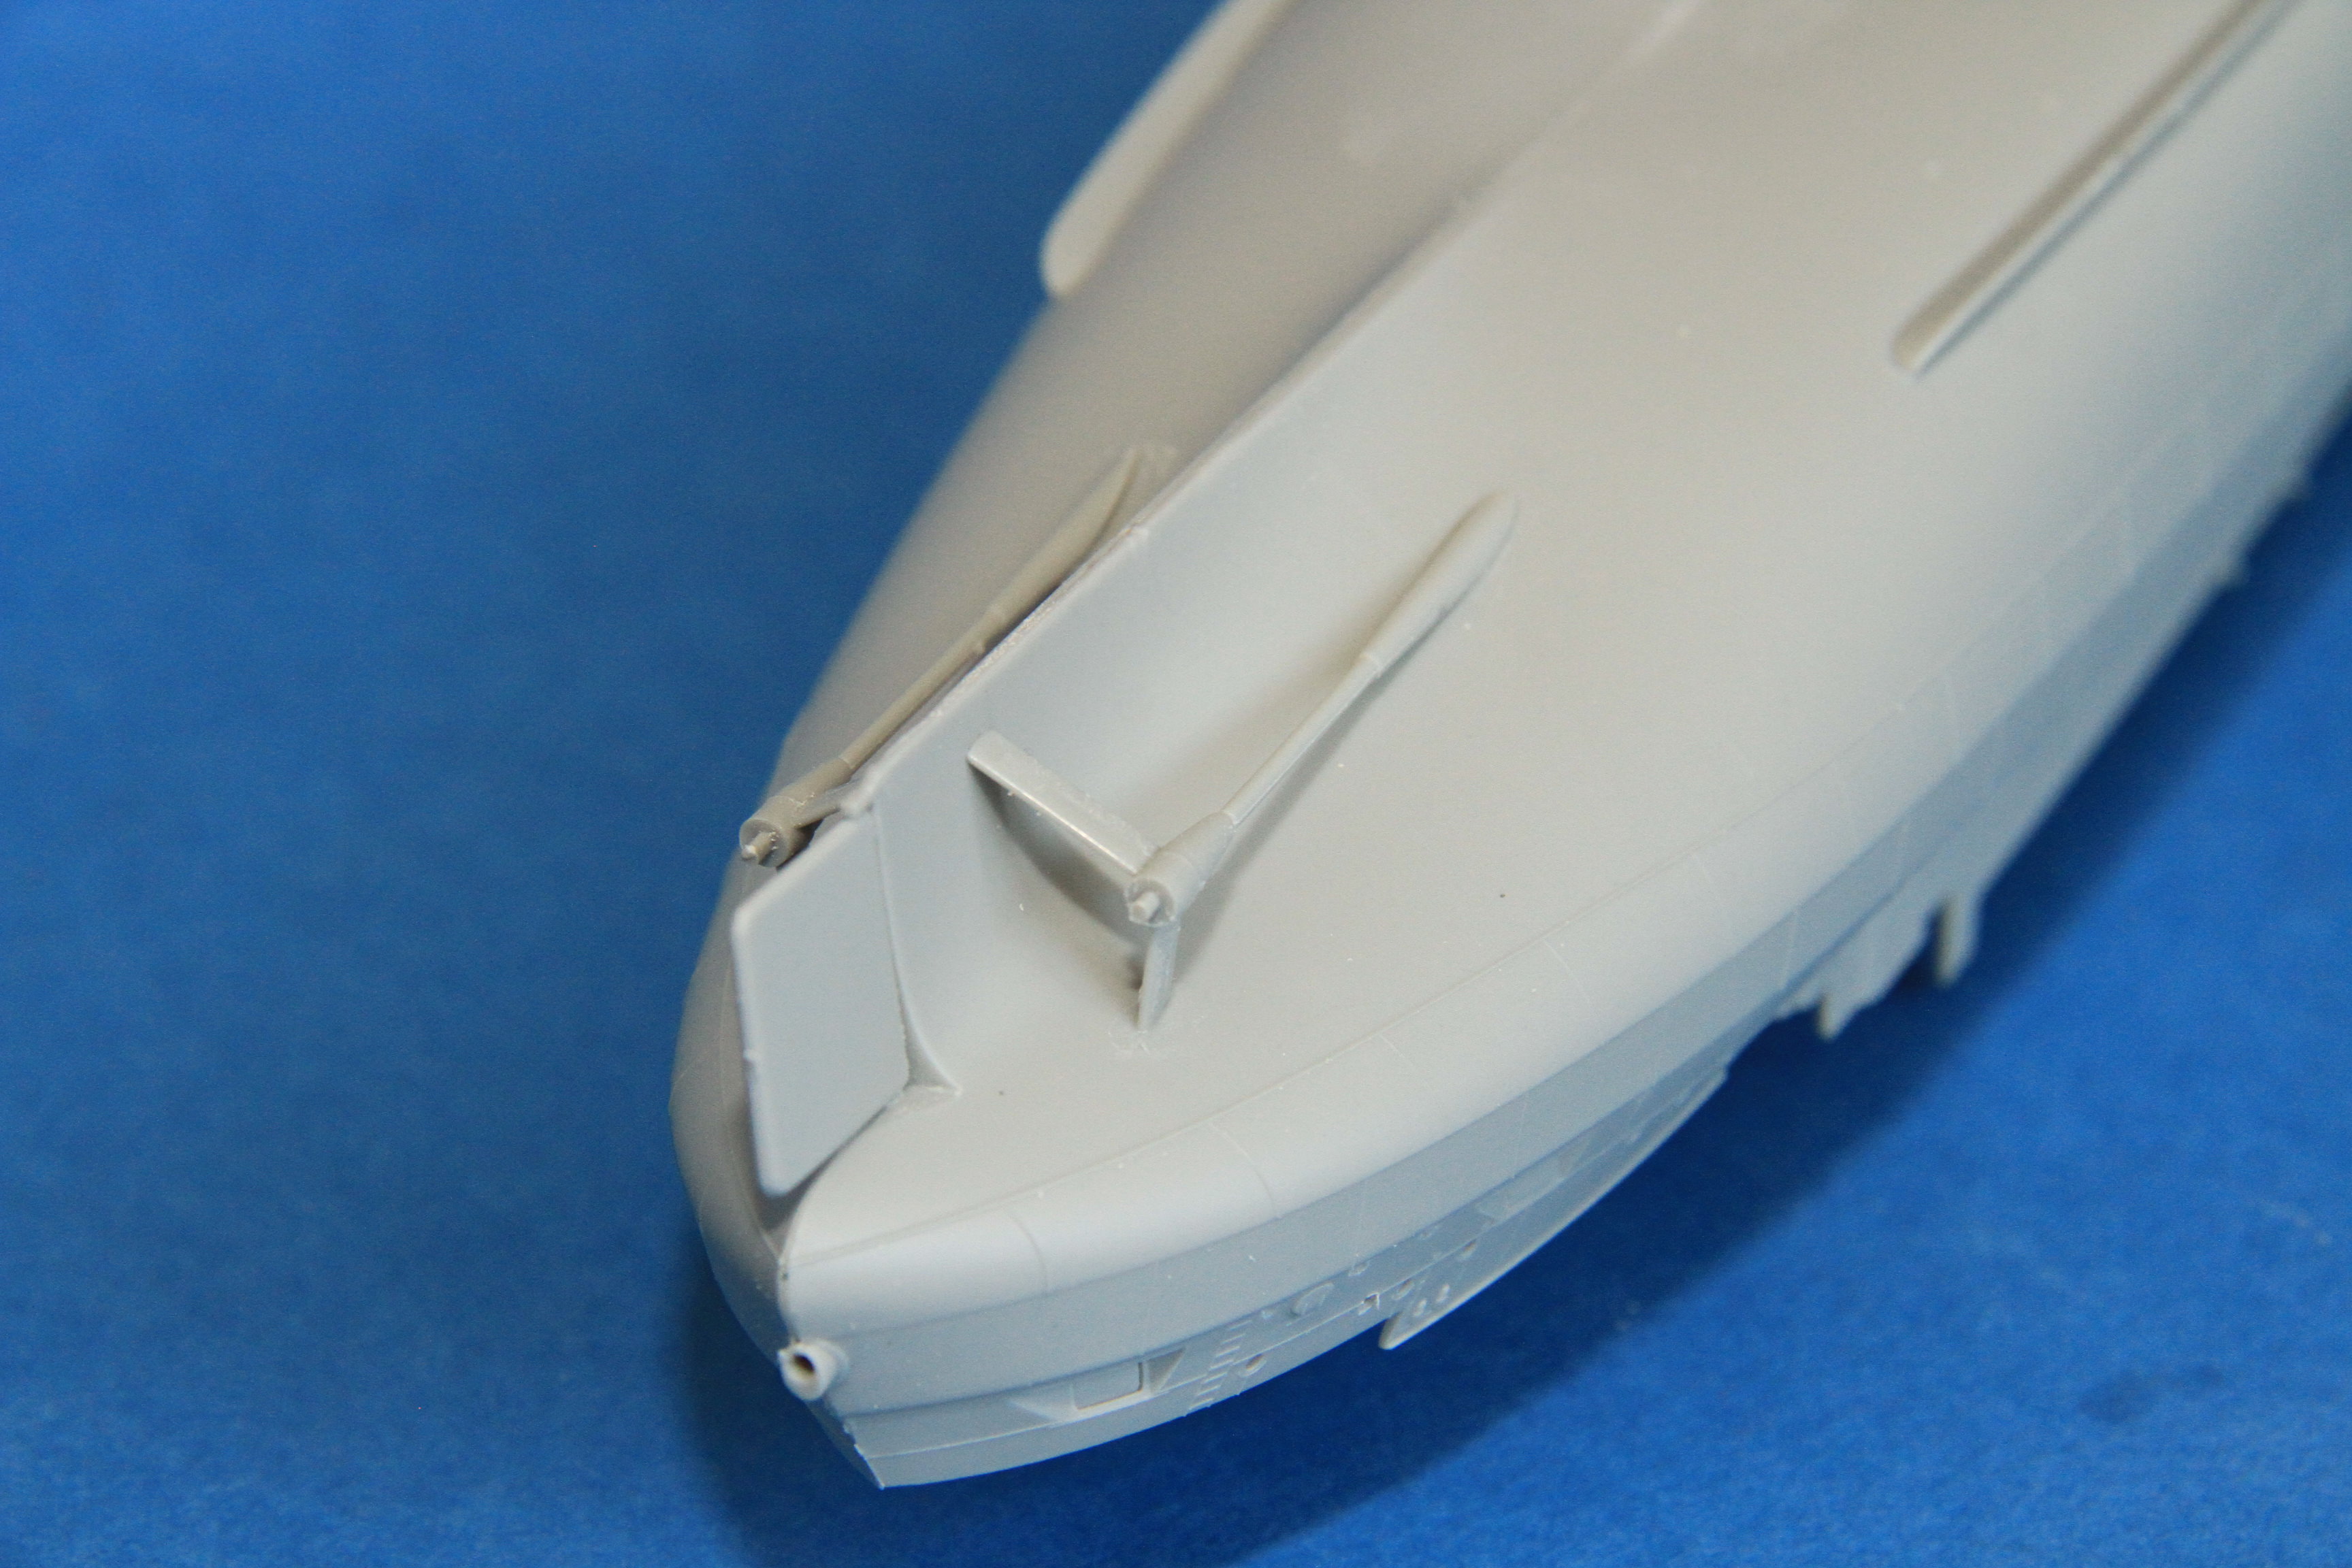
The master barrels.
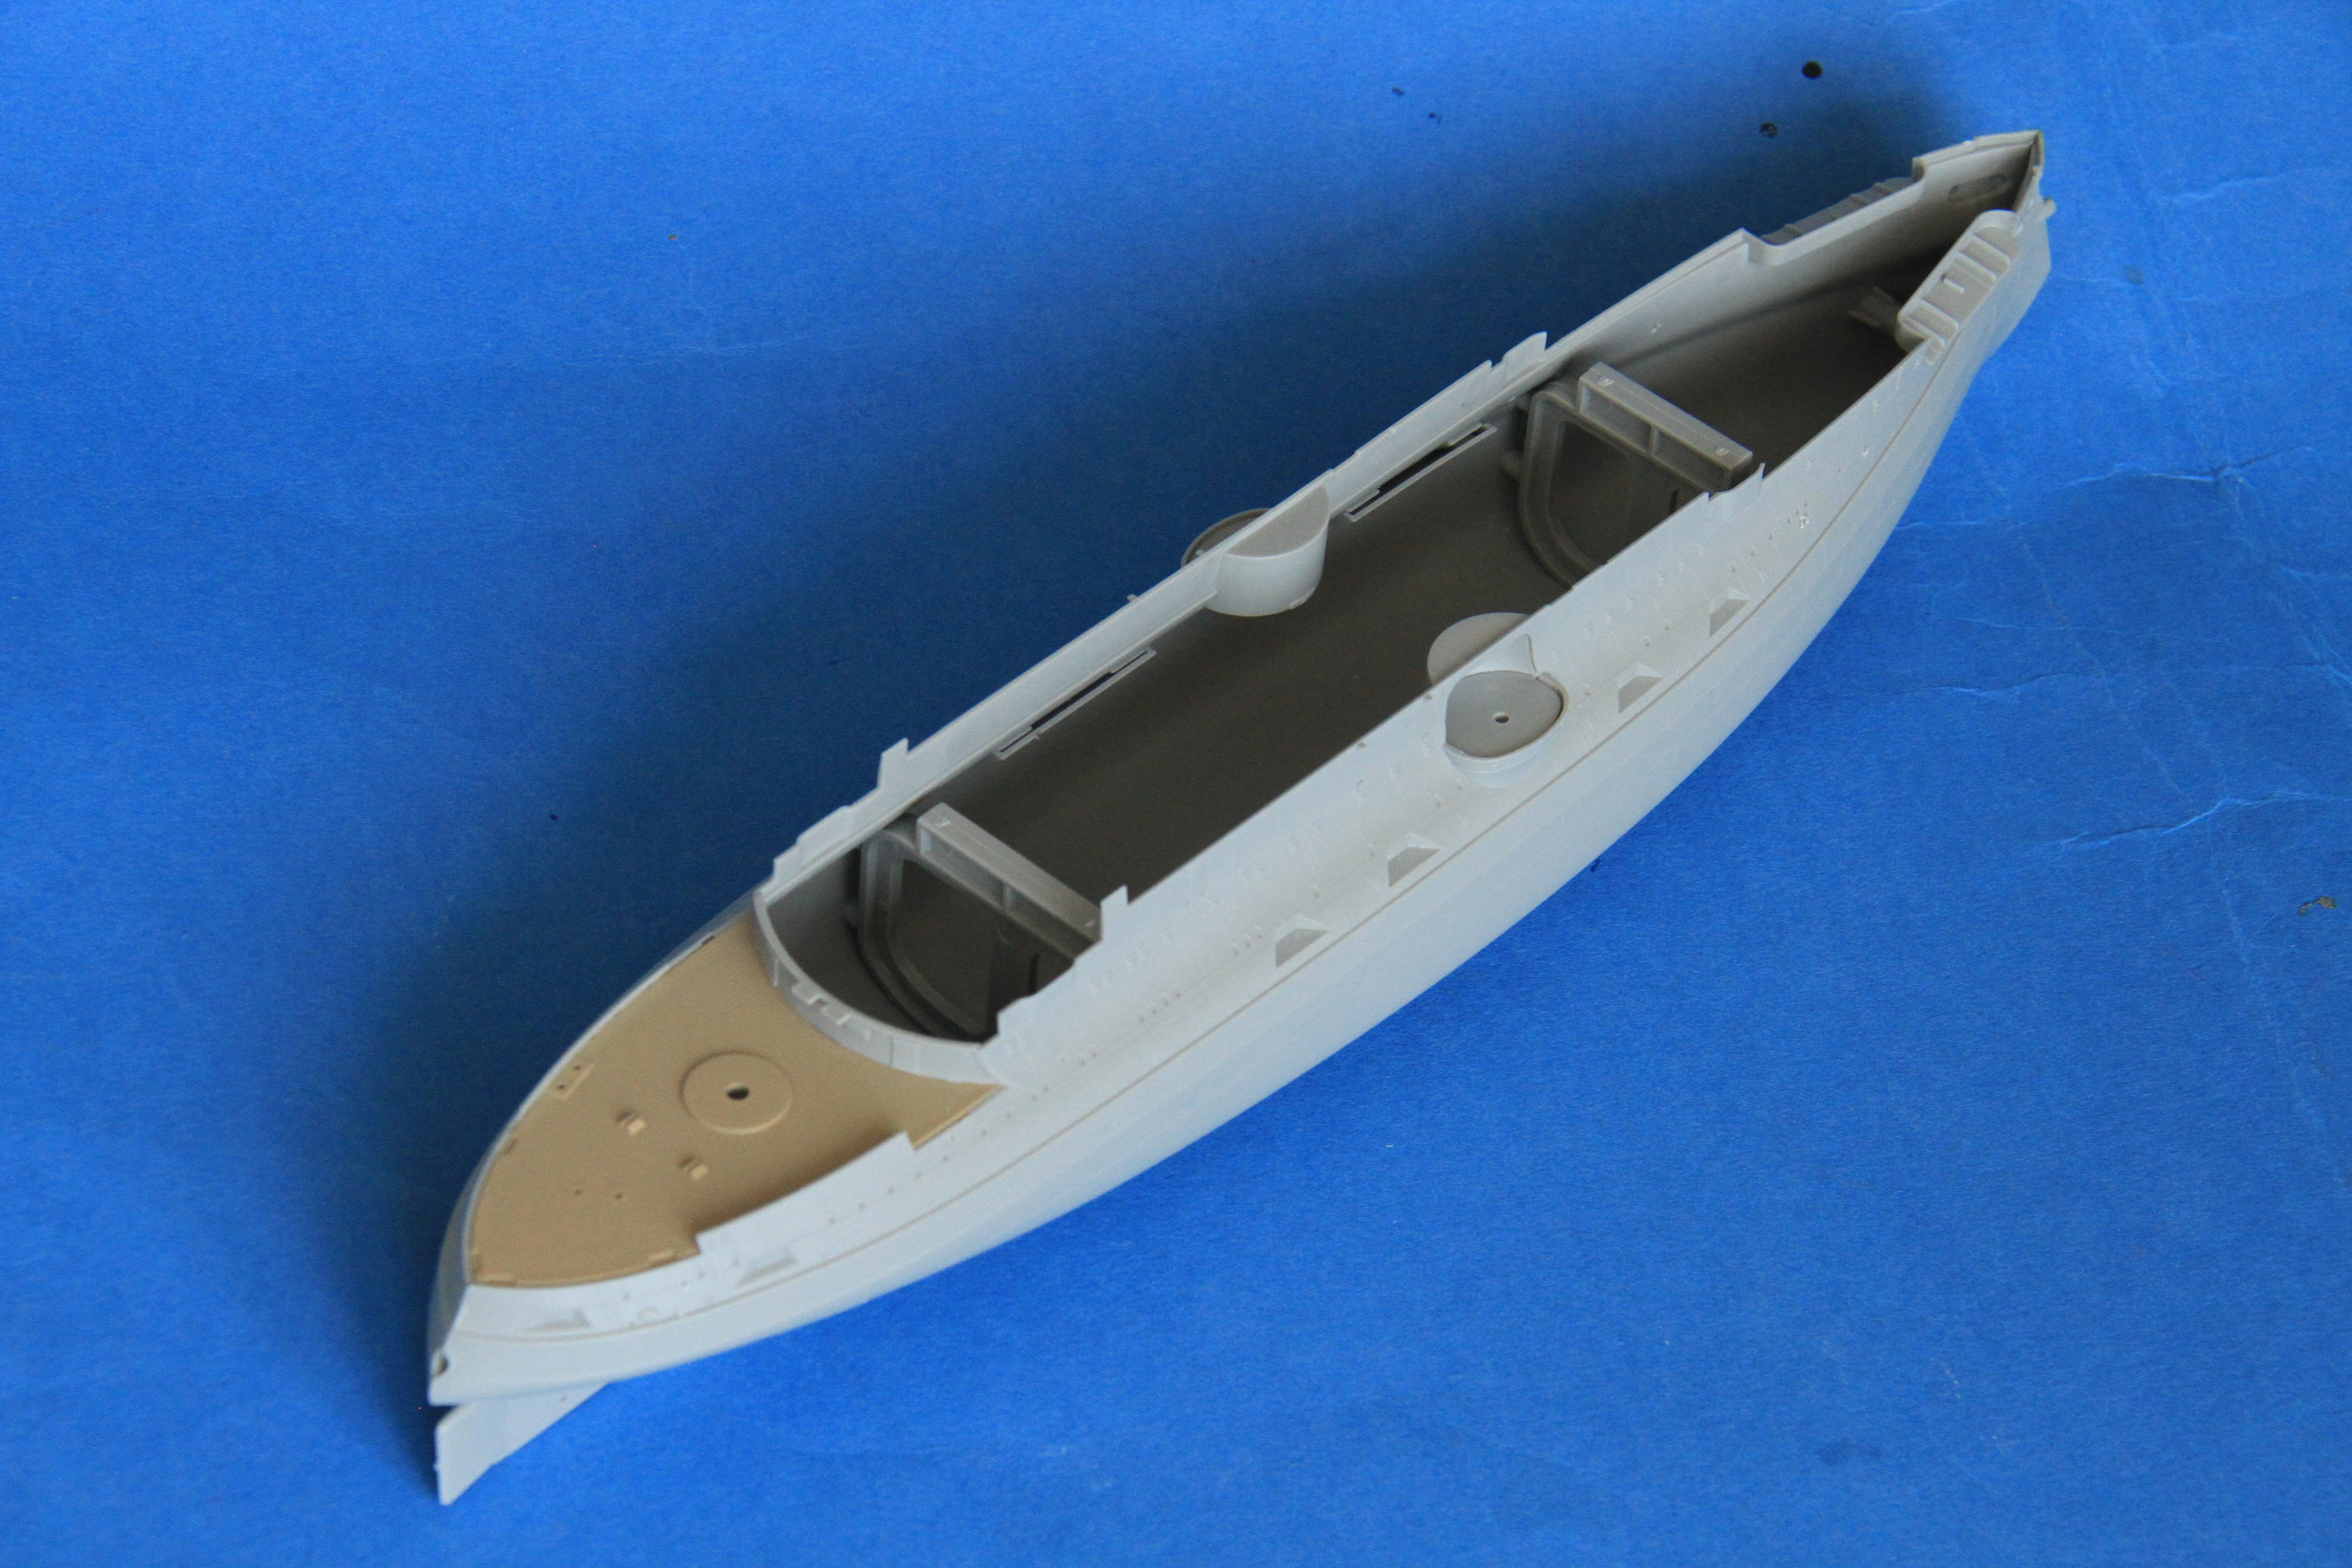
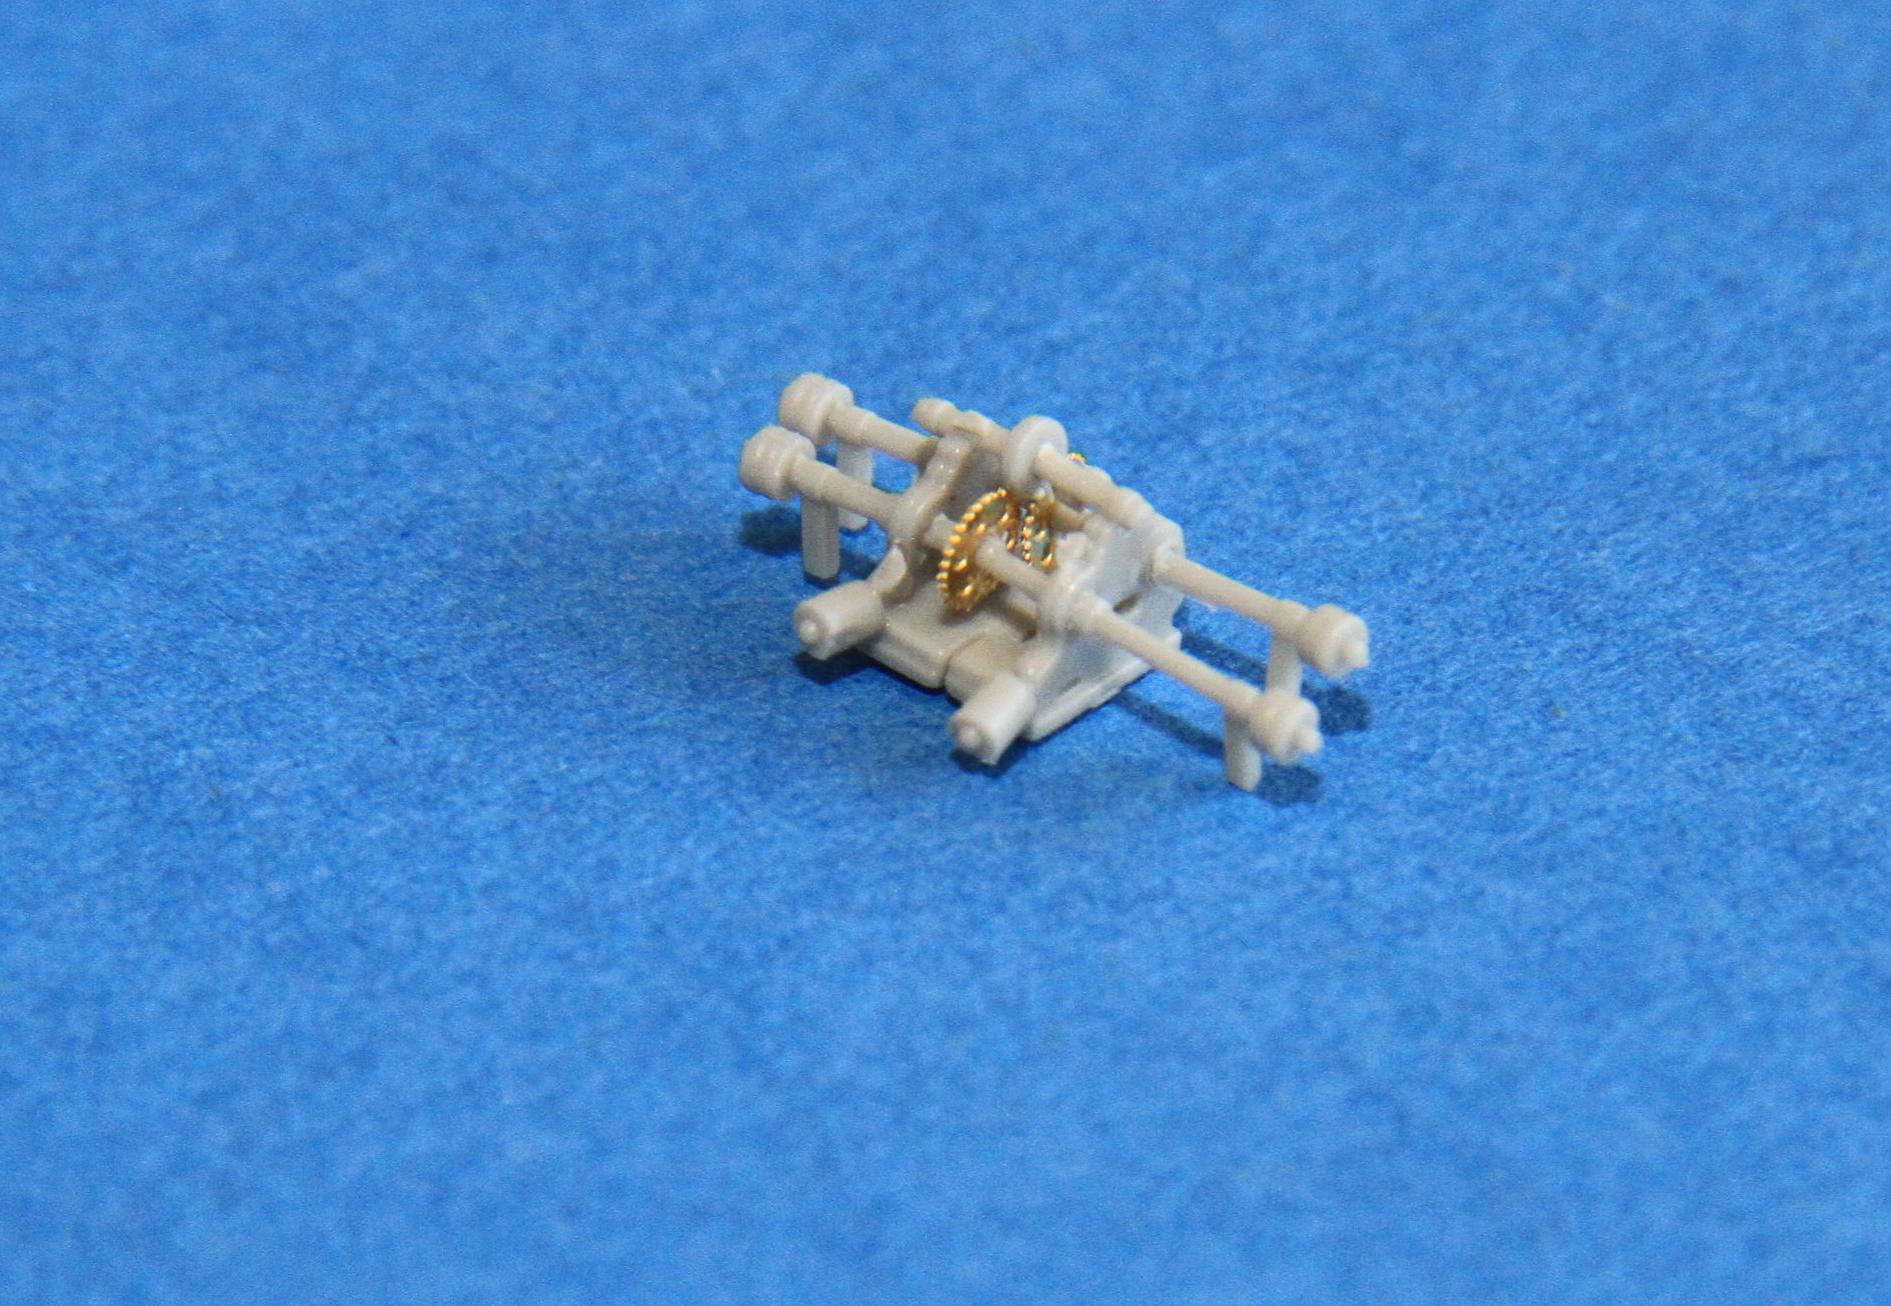
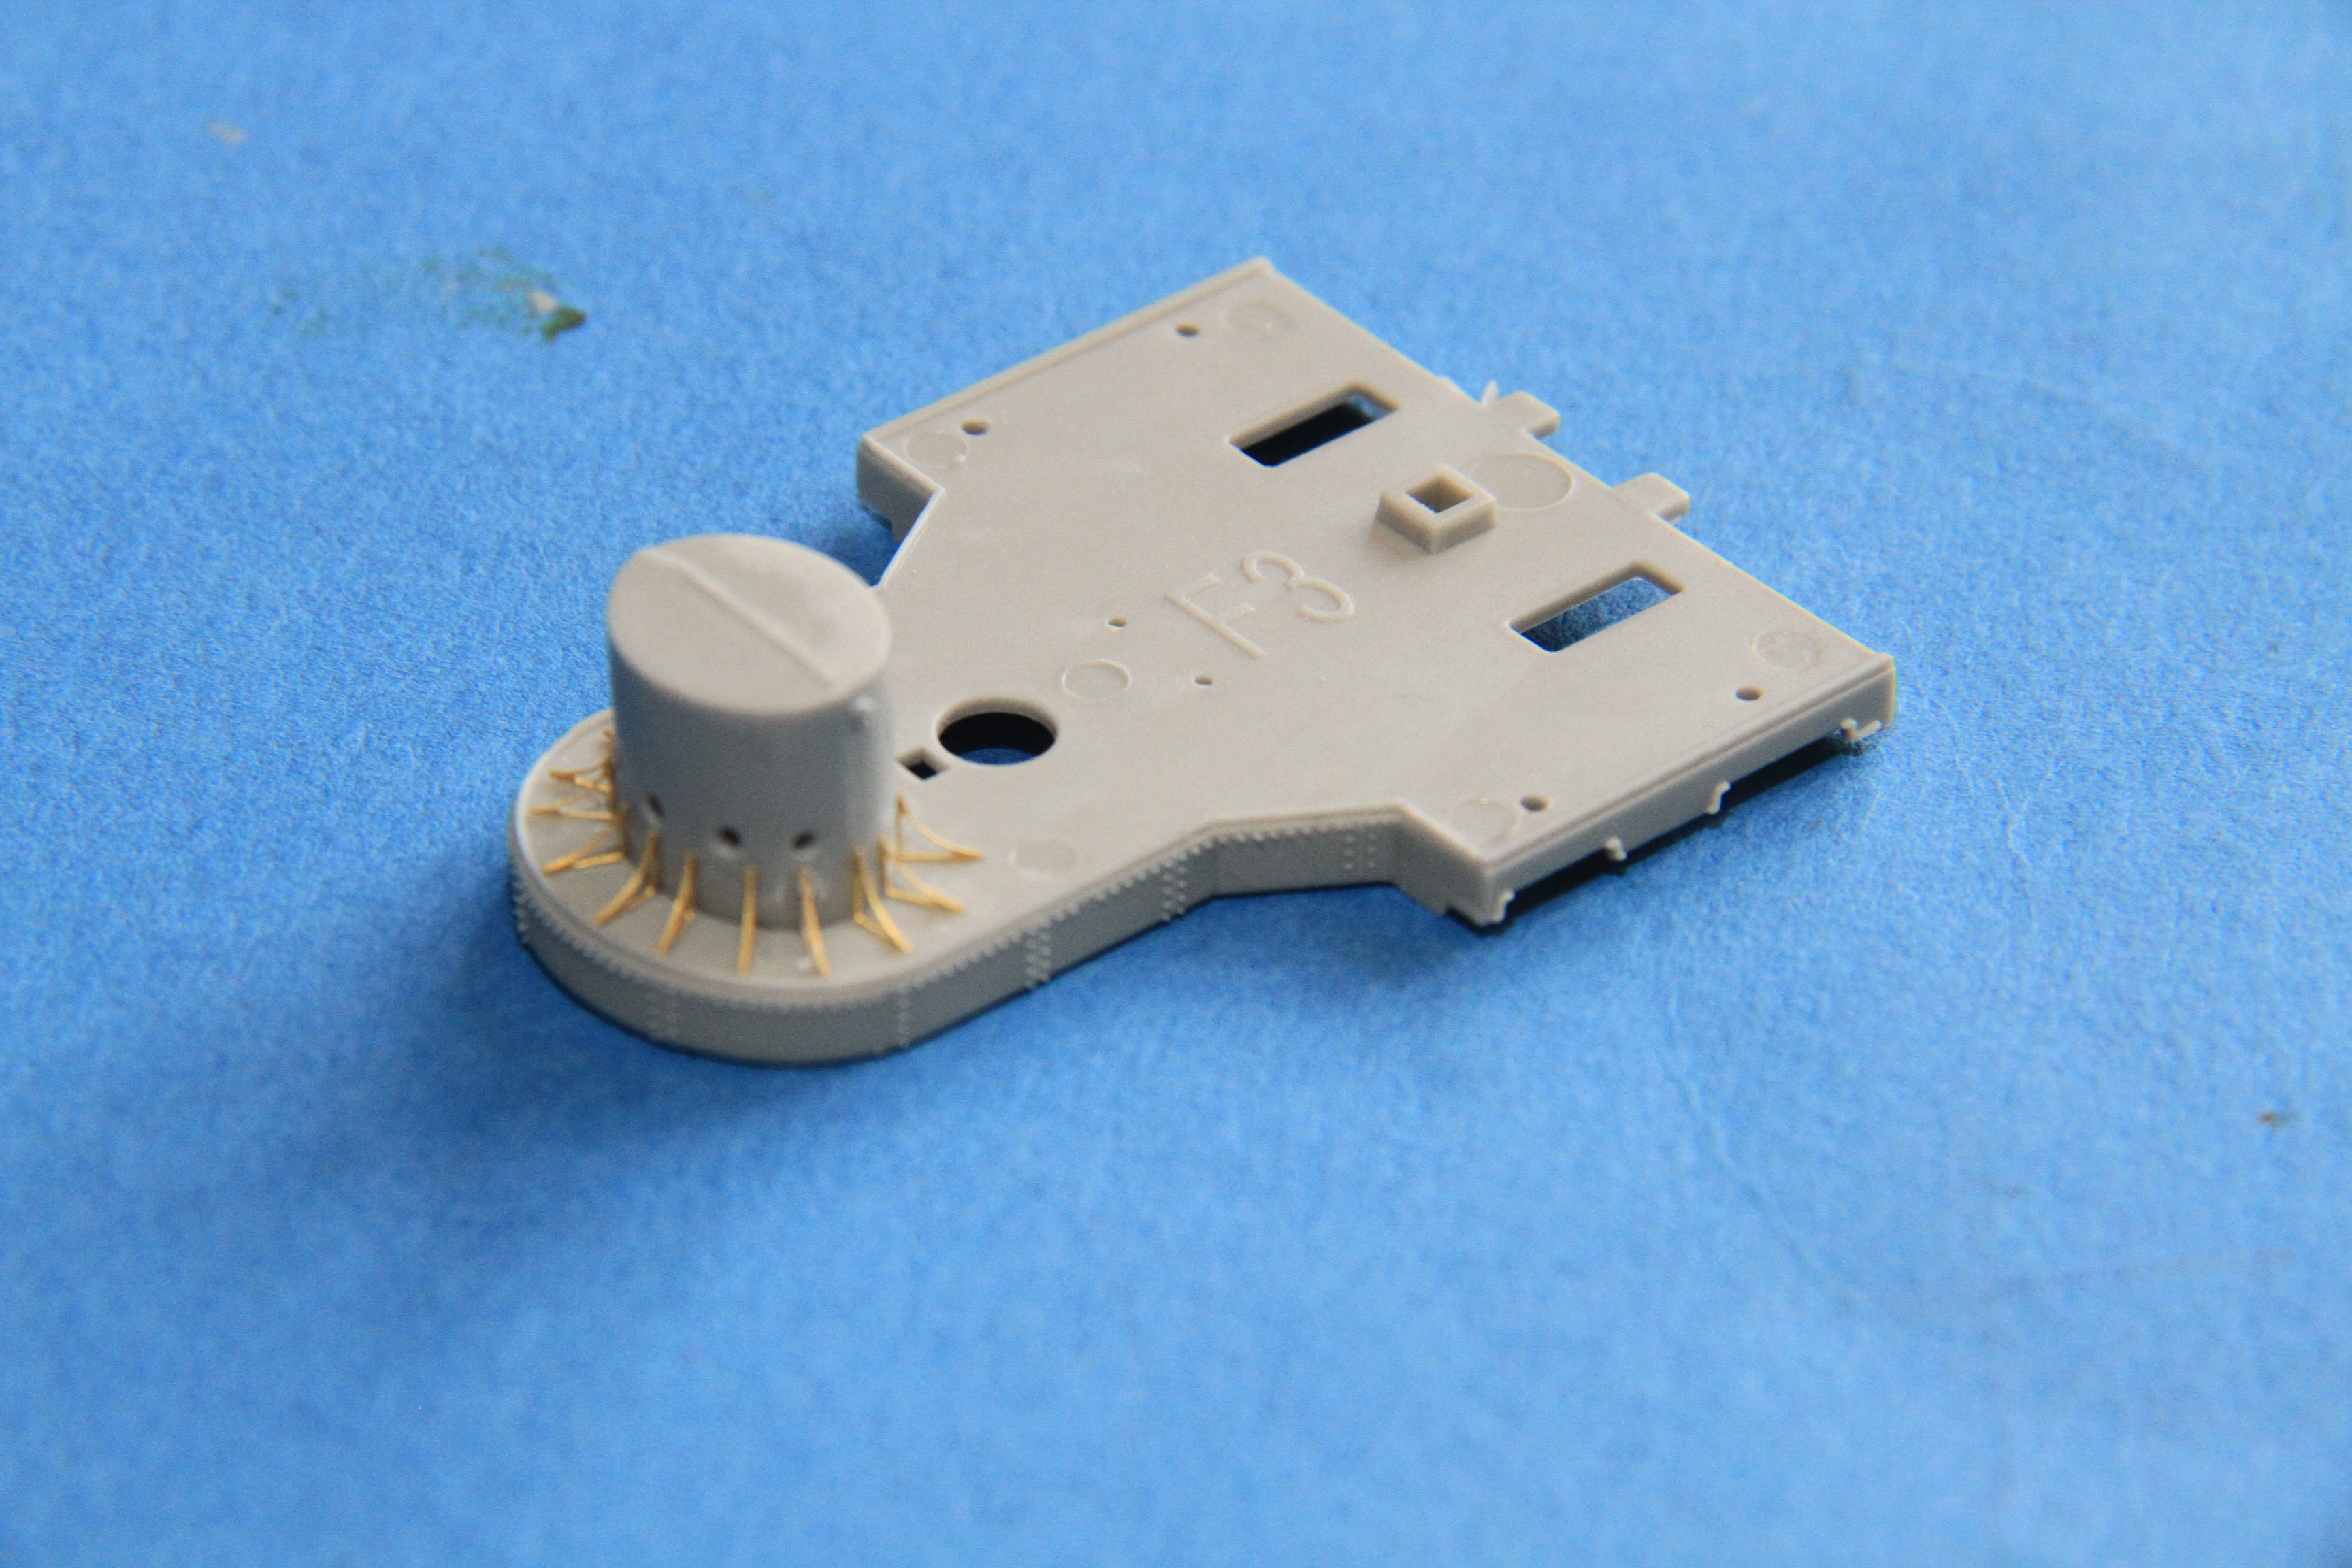
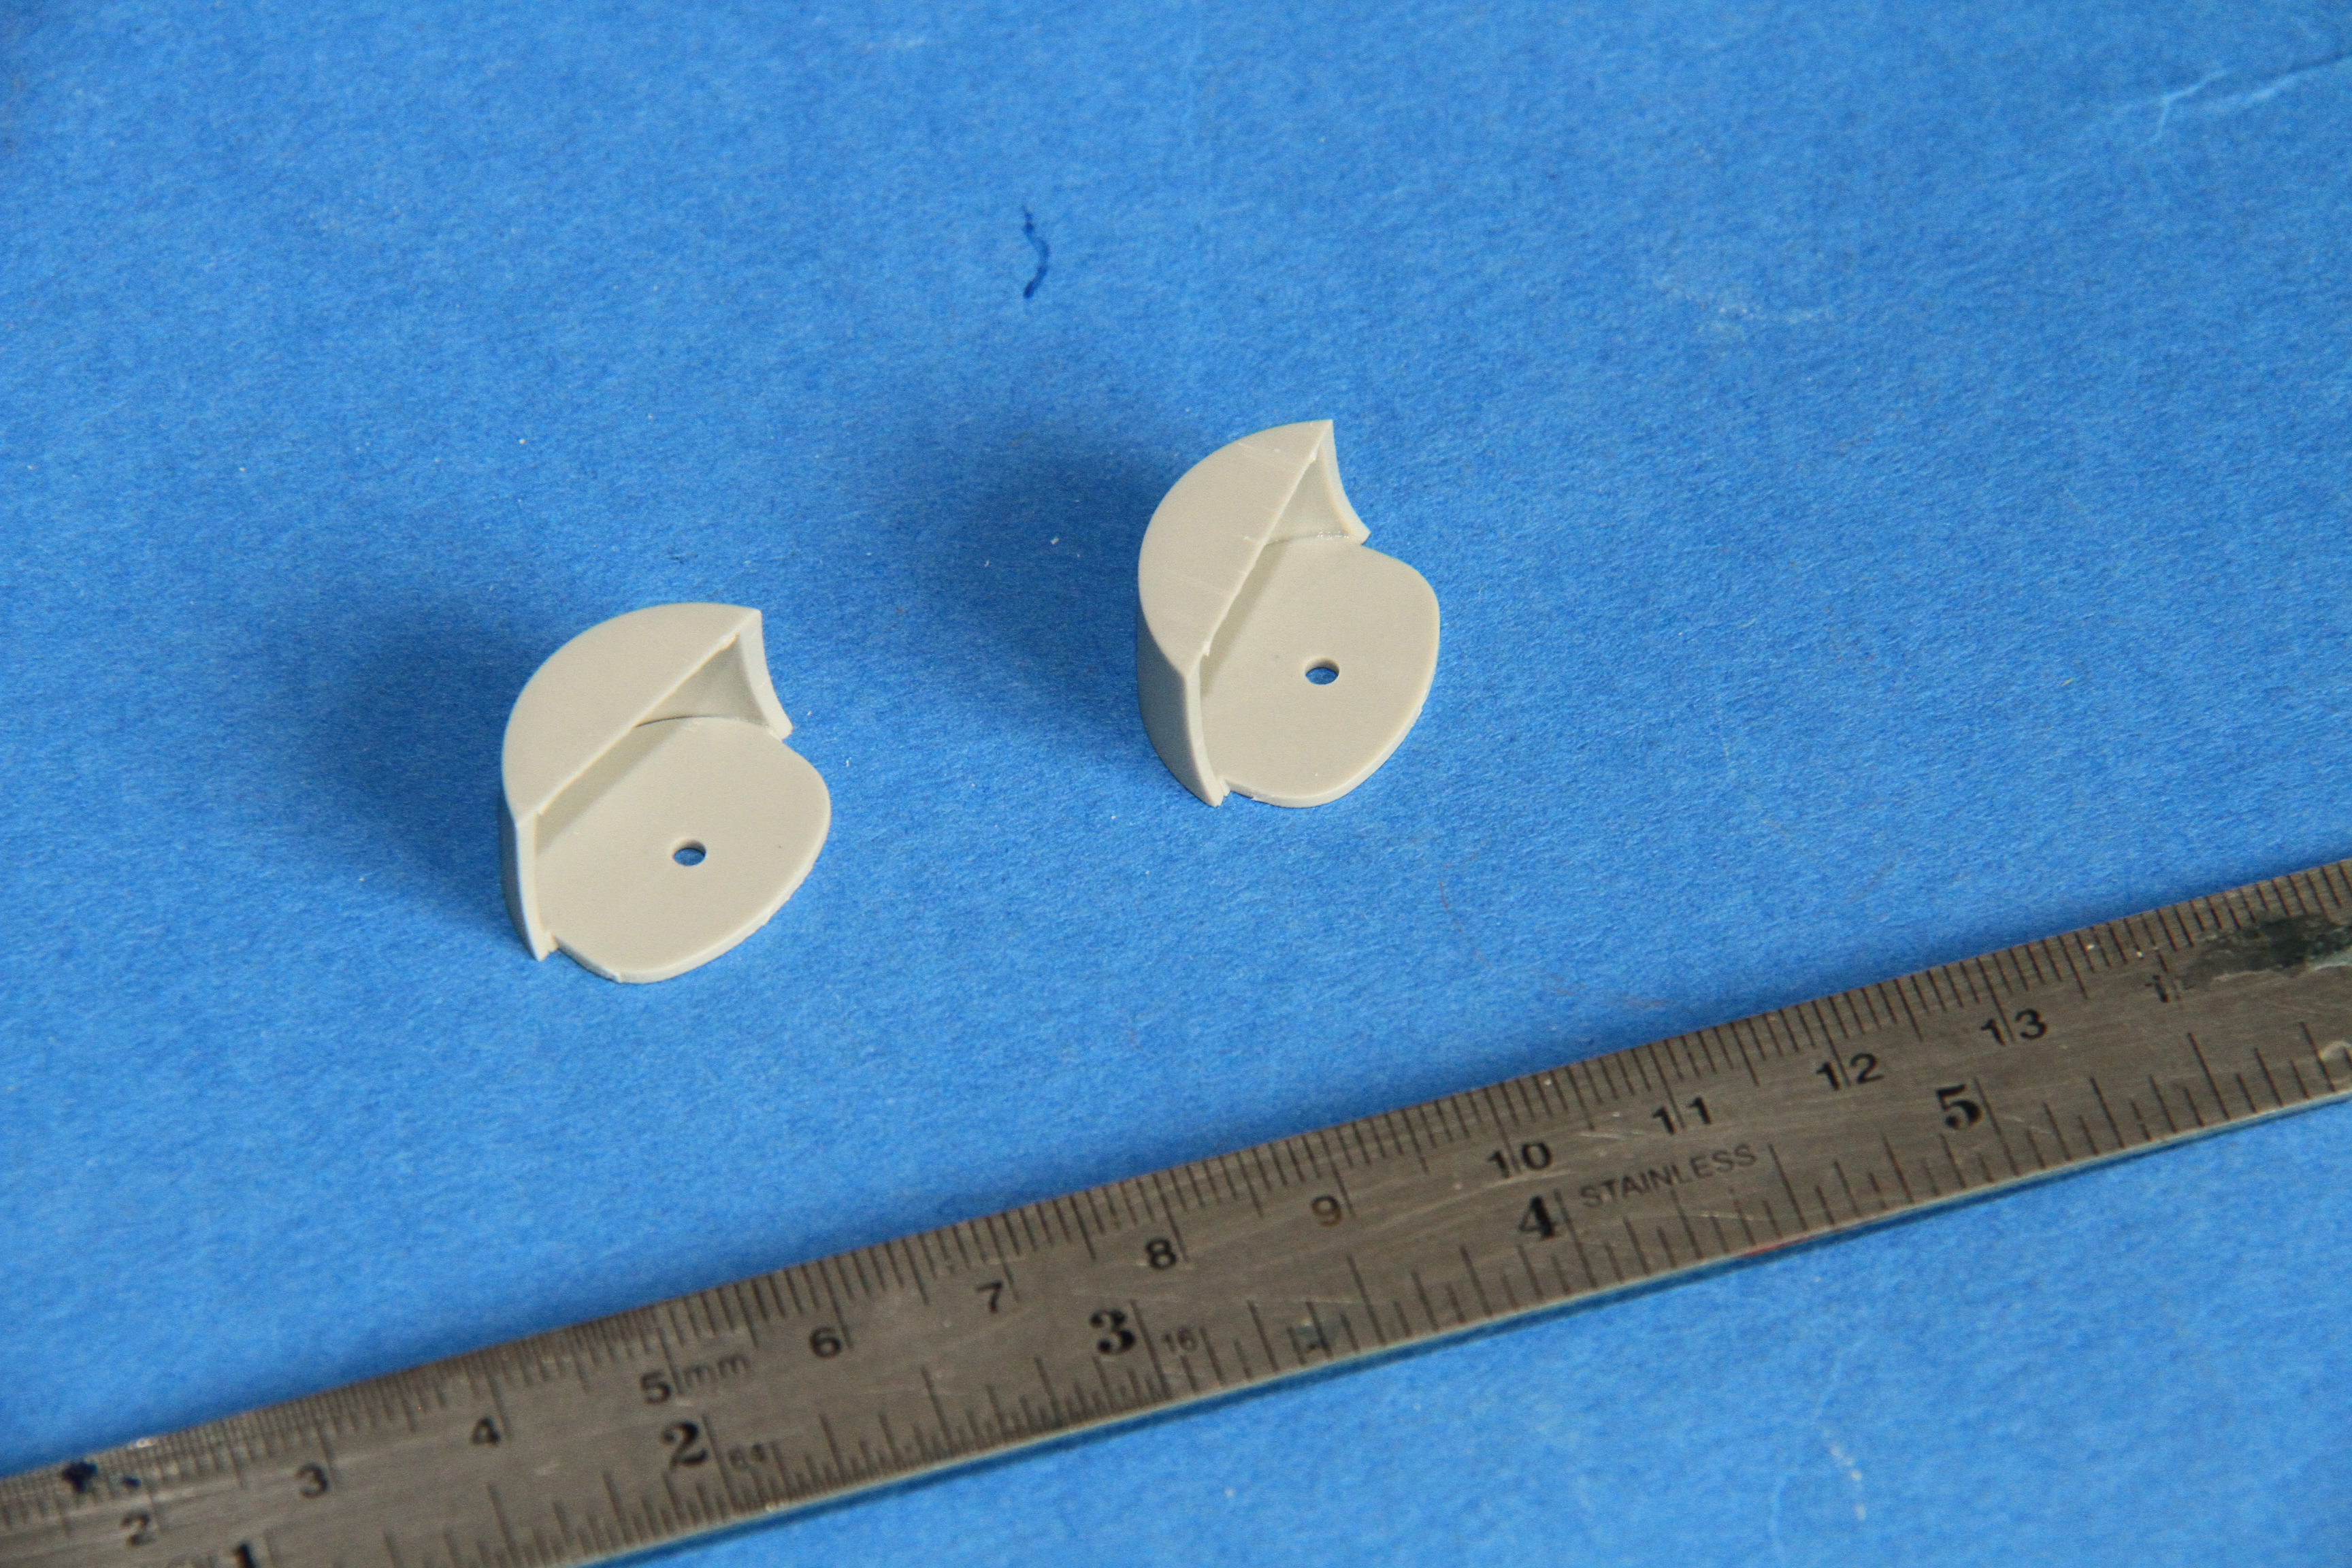
First job, the reventments, for want of a better word for the midships secondary turrets.
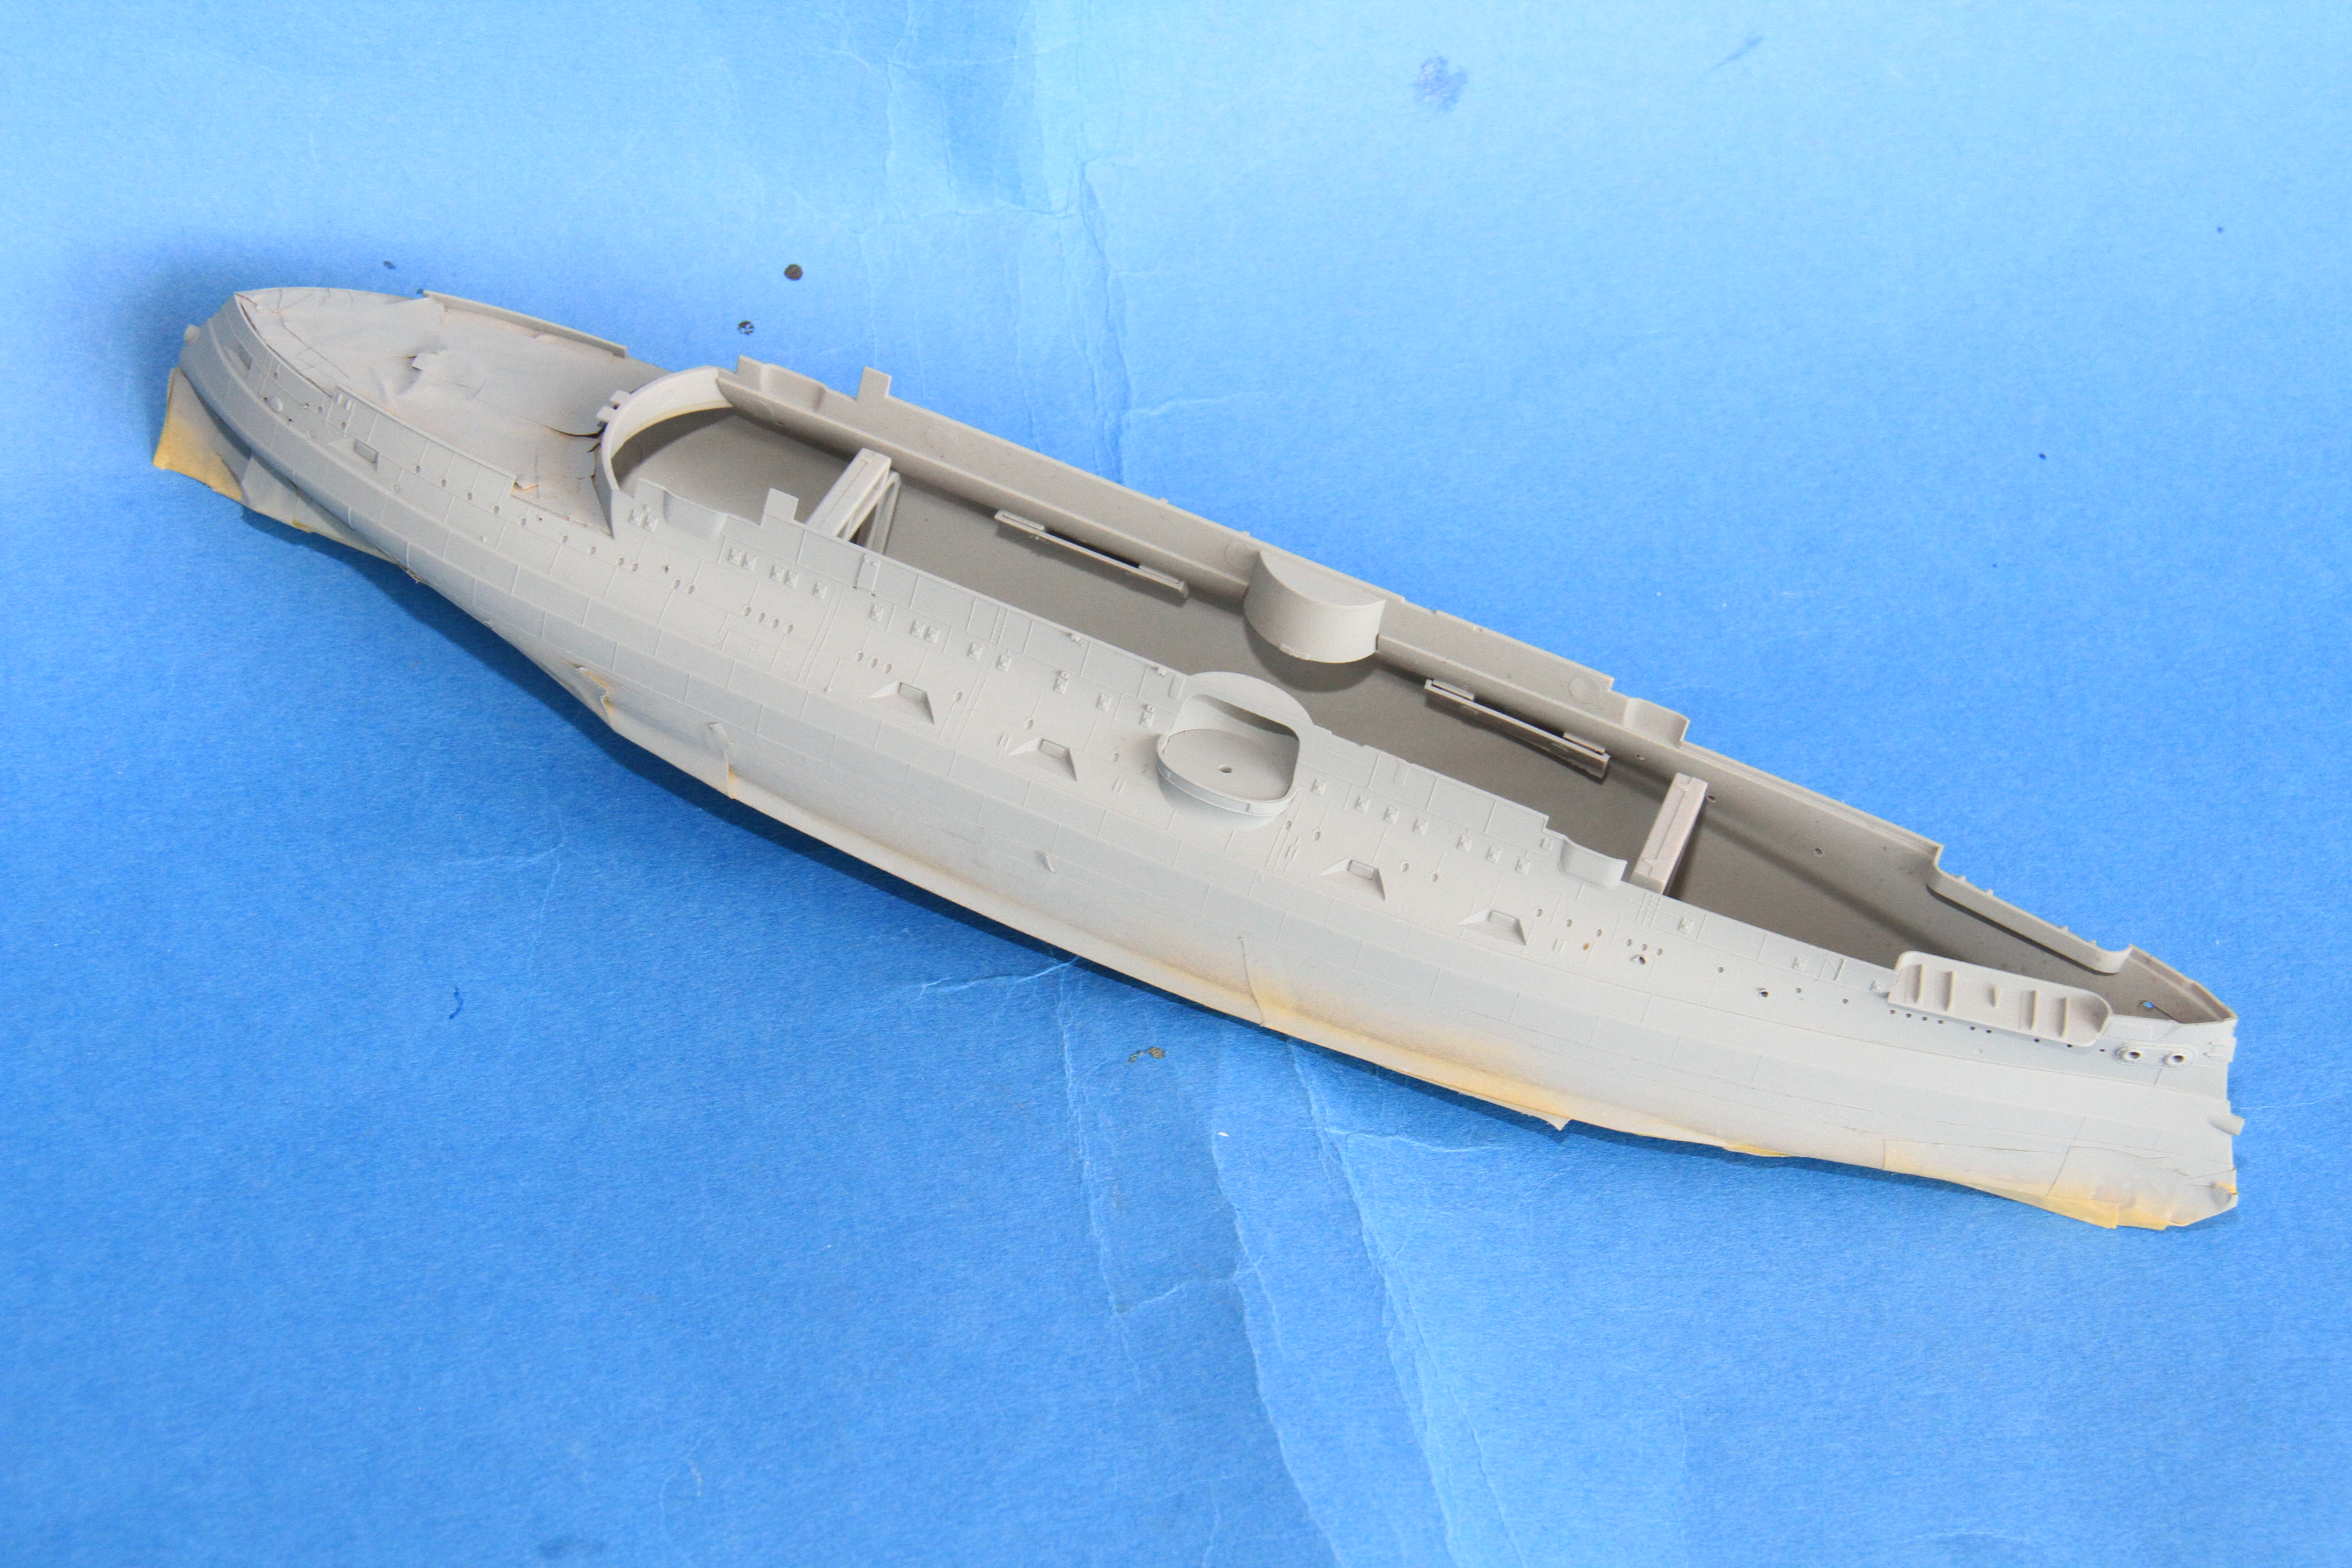
All the bits inside the hull halves.
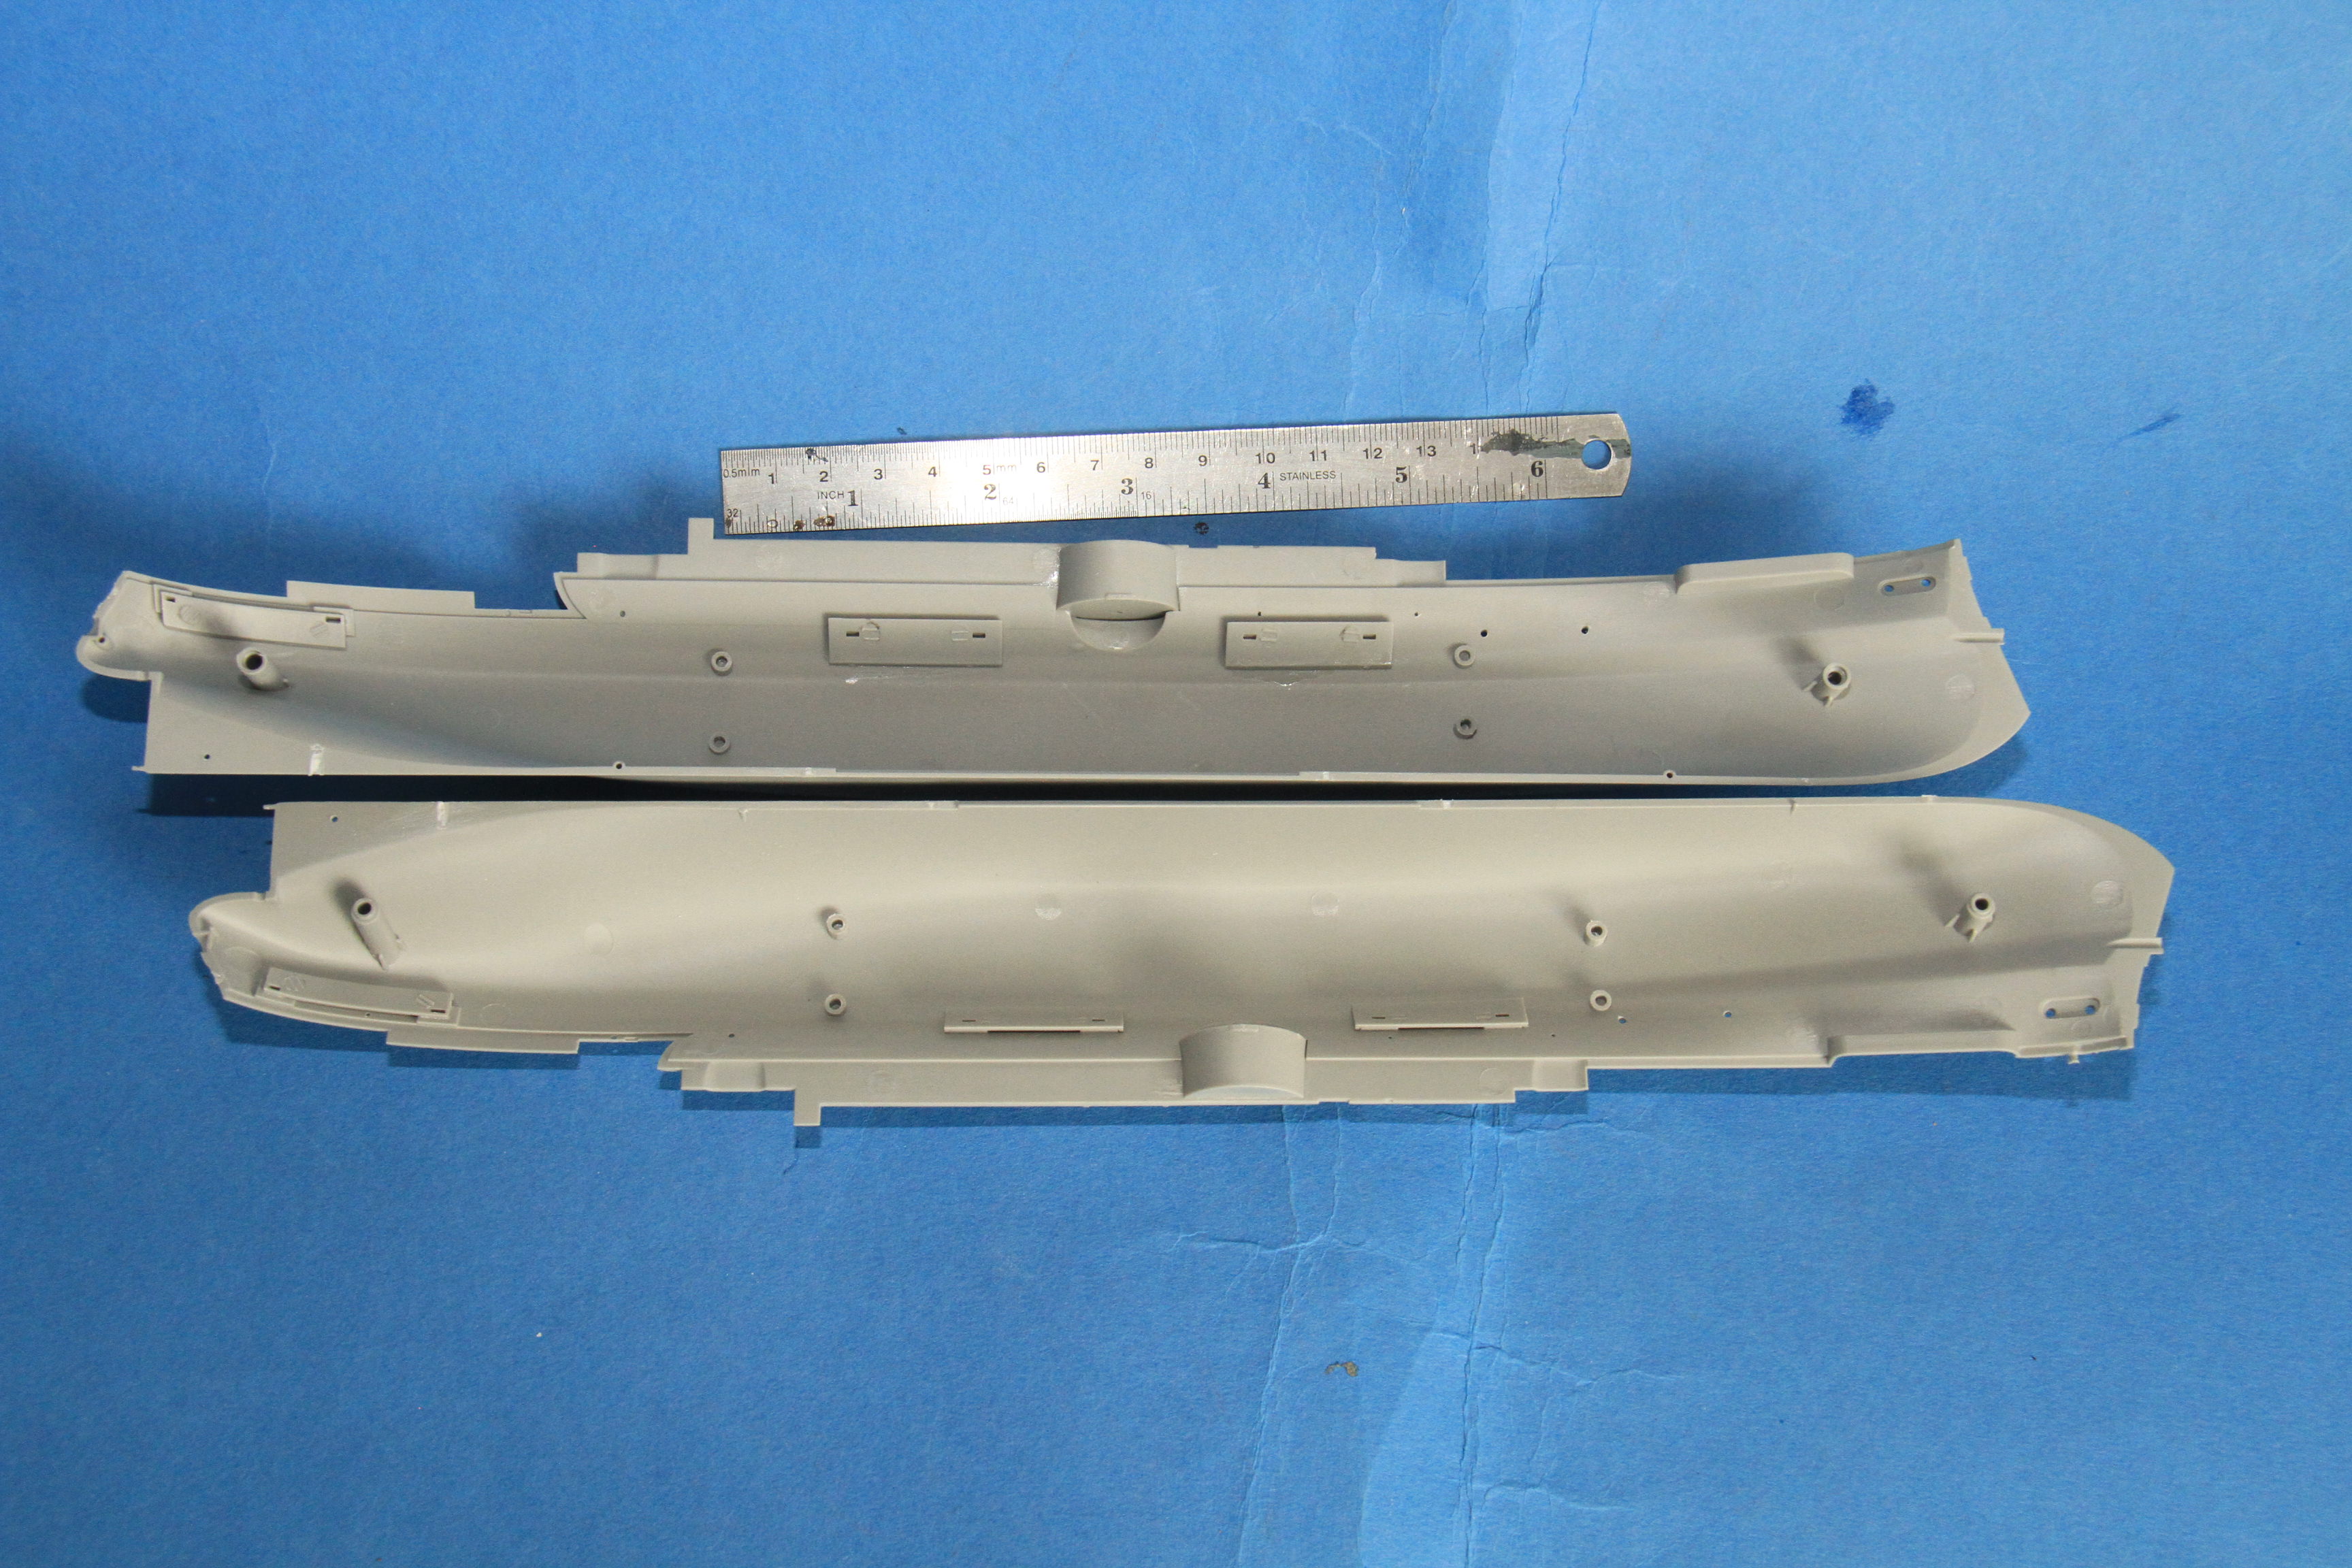
Watch the numbering of the blanking peices either side of the midships secondary turret, the instruction sheet and the sprues don't match, so trial and error, but they doo fit.
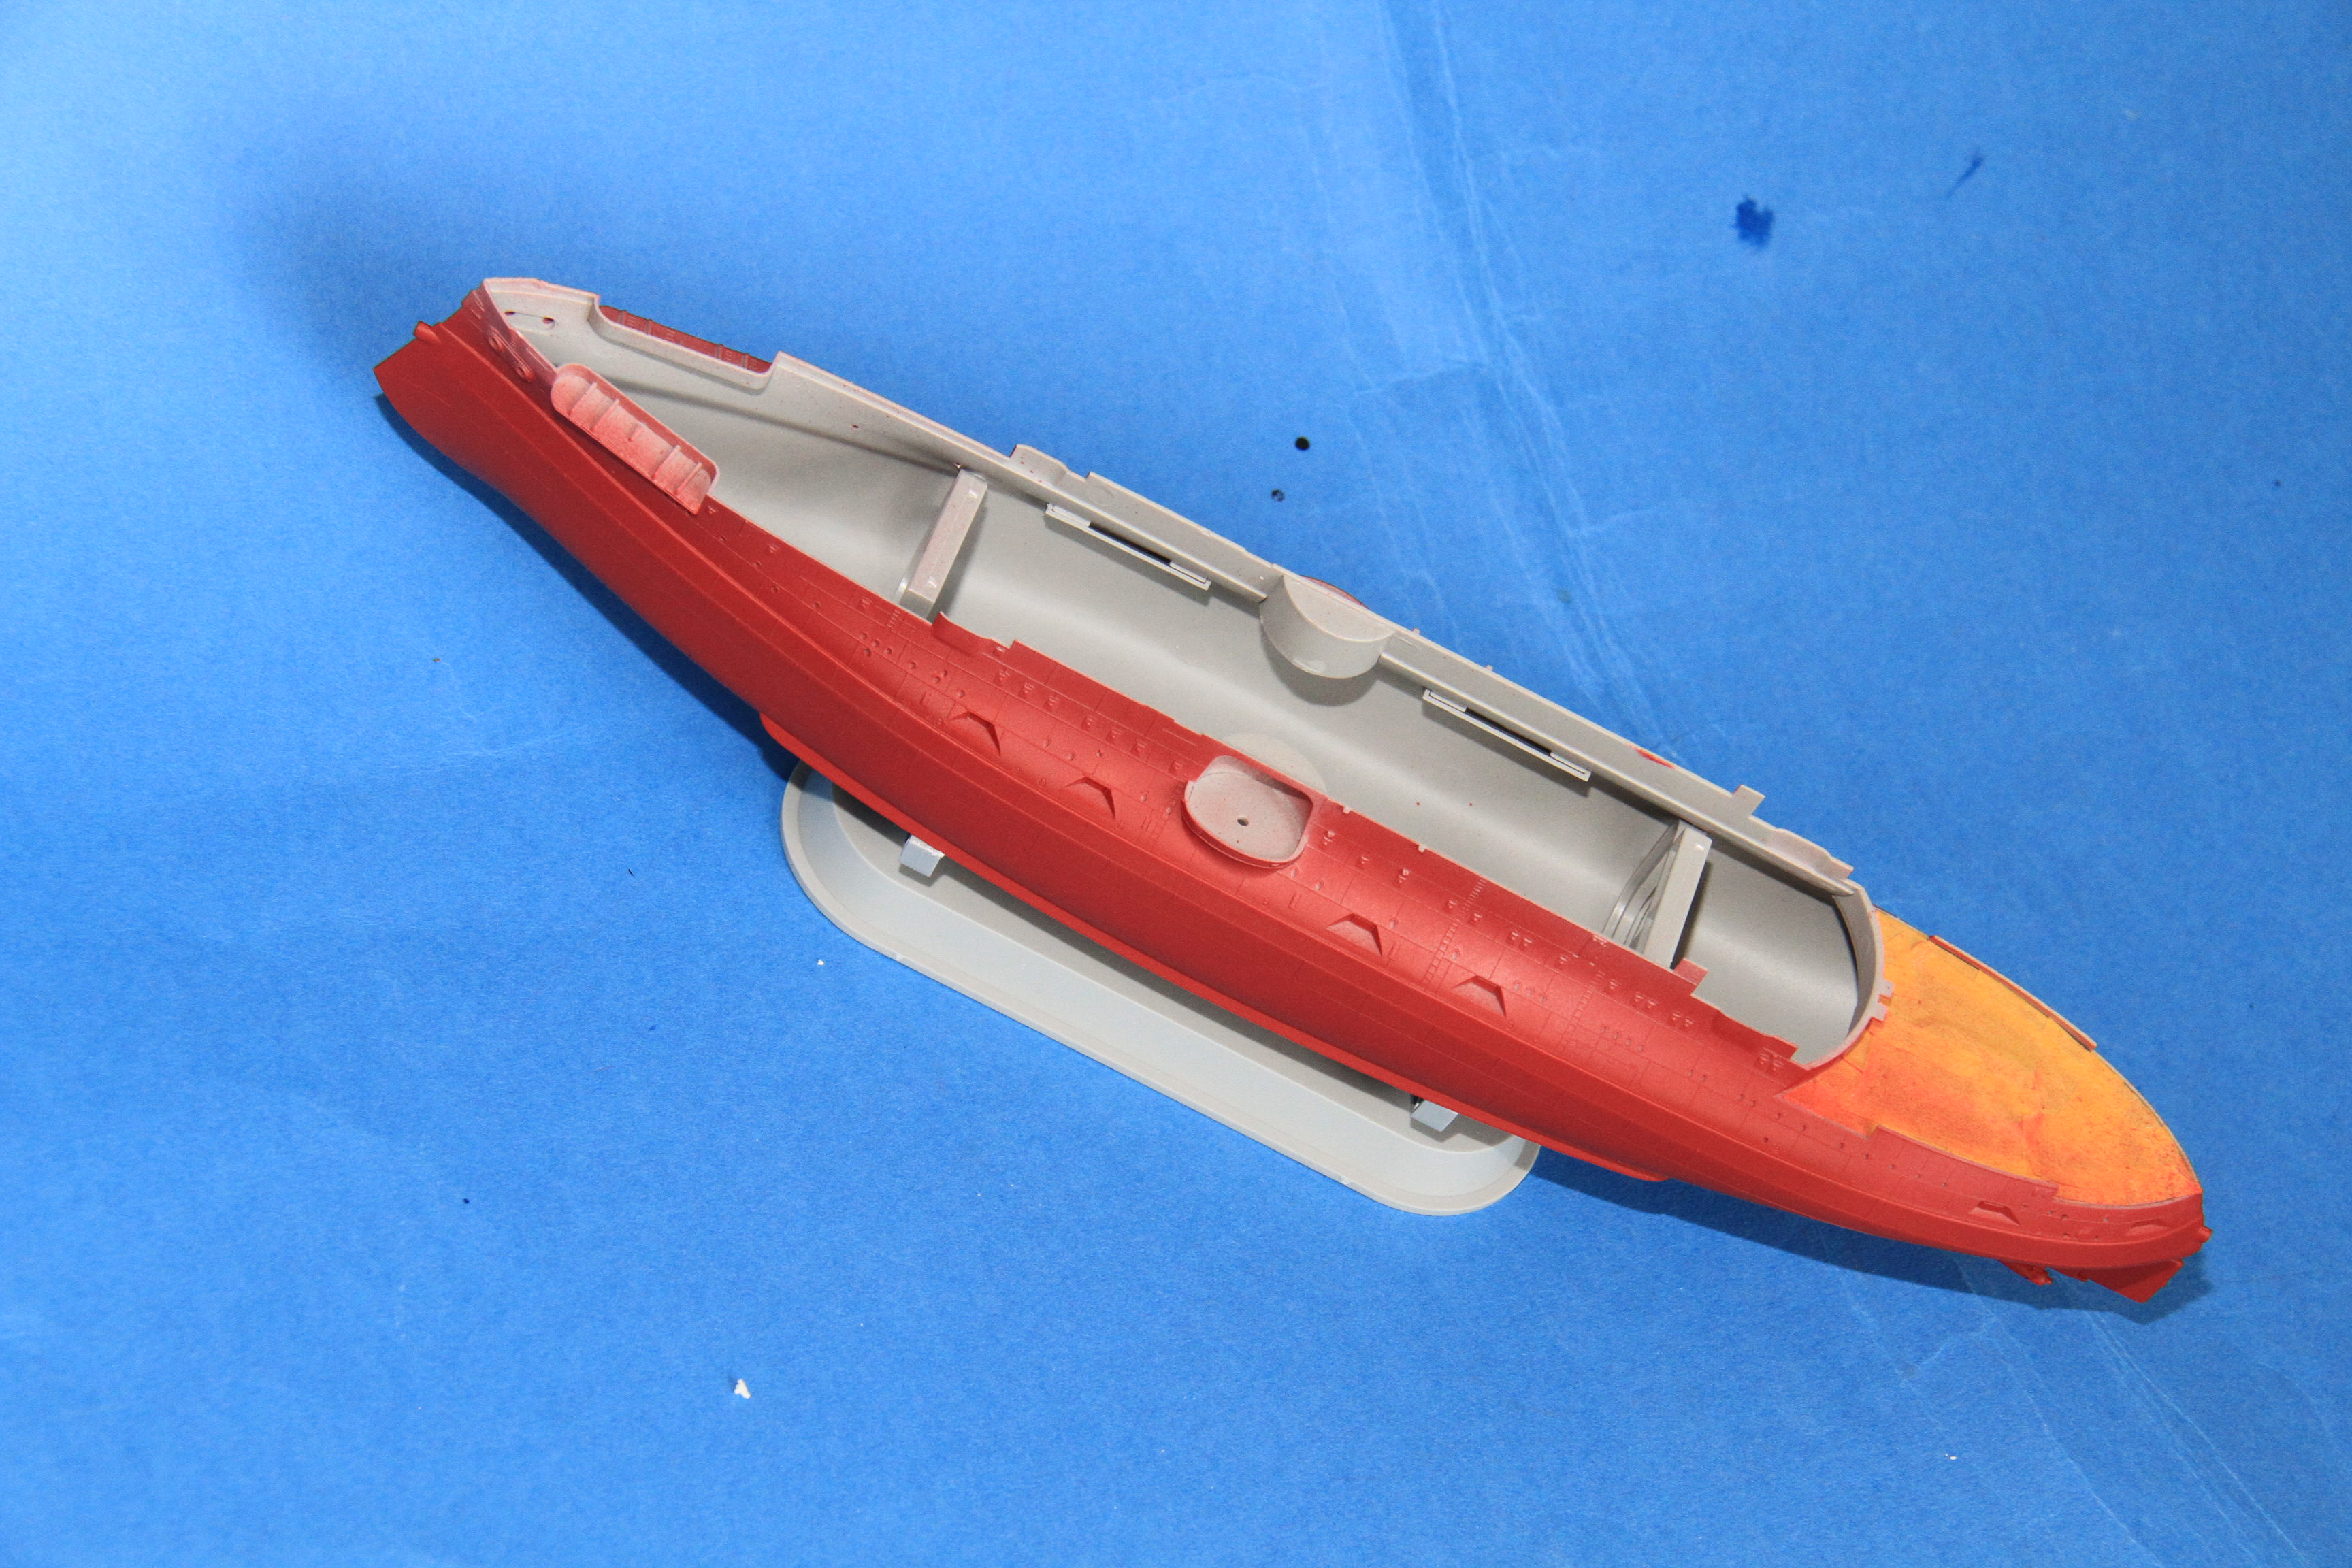
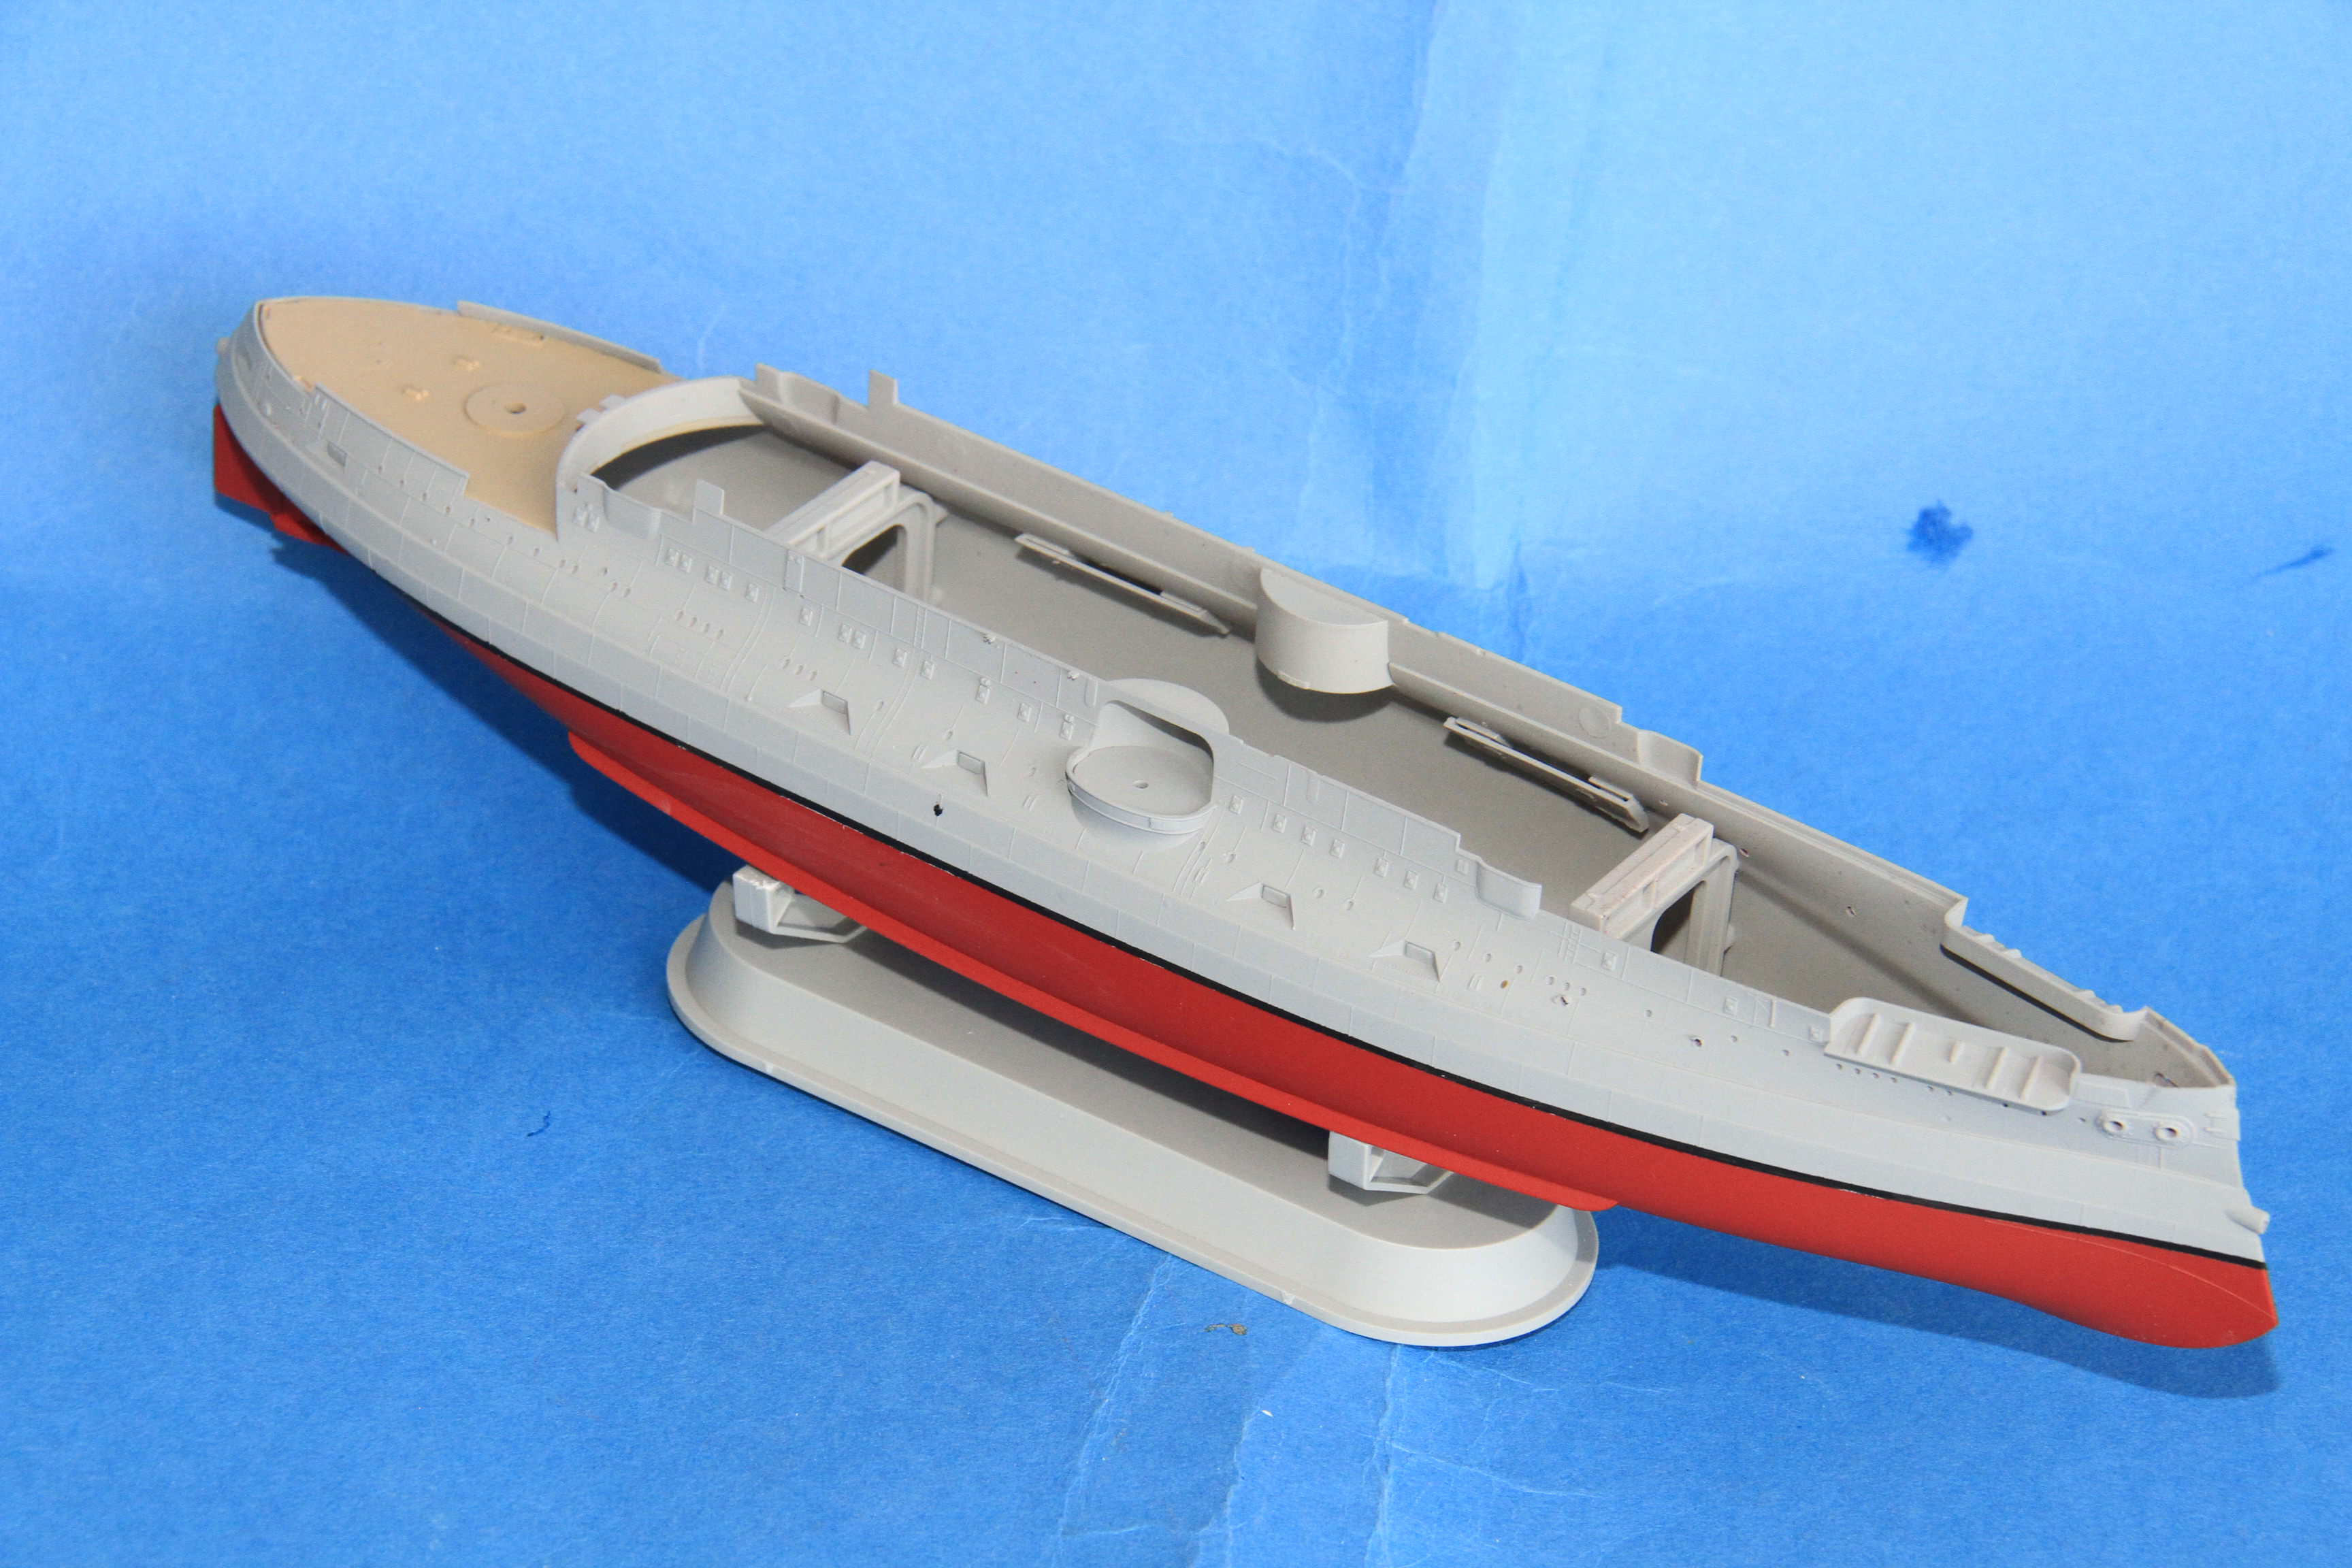
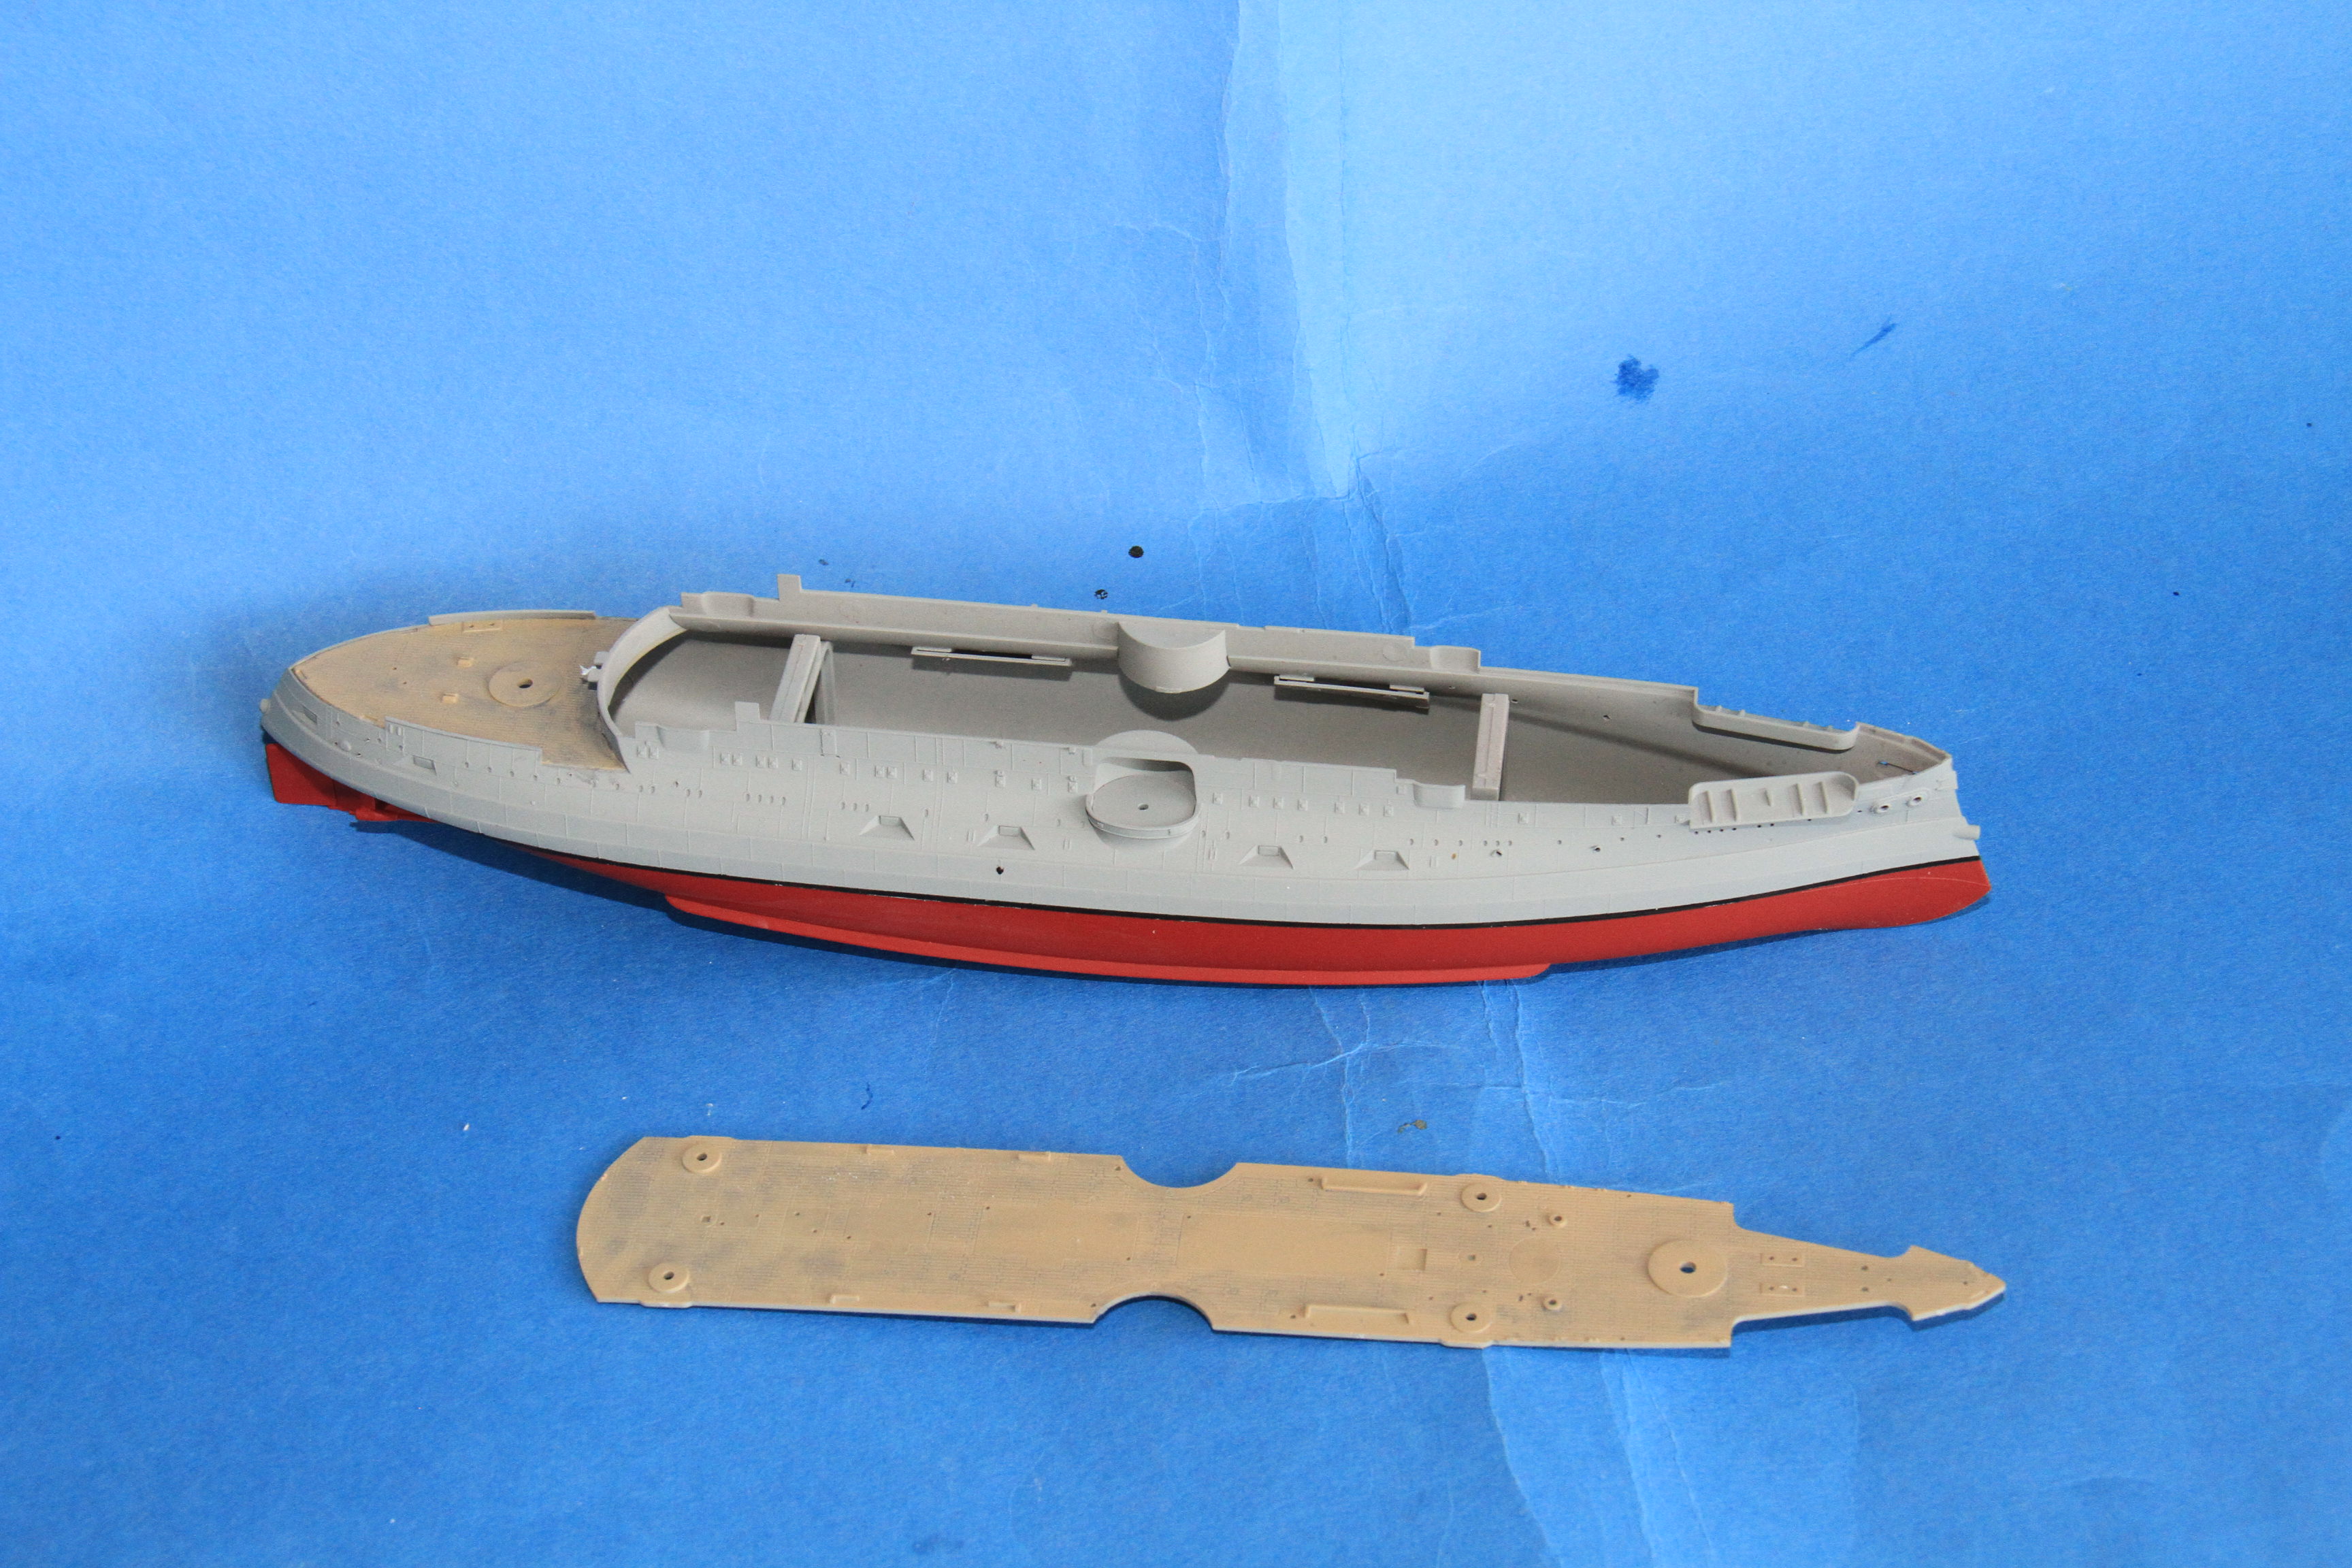
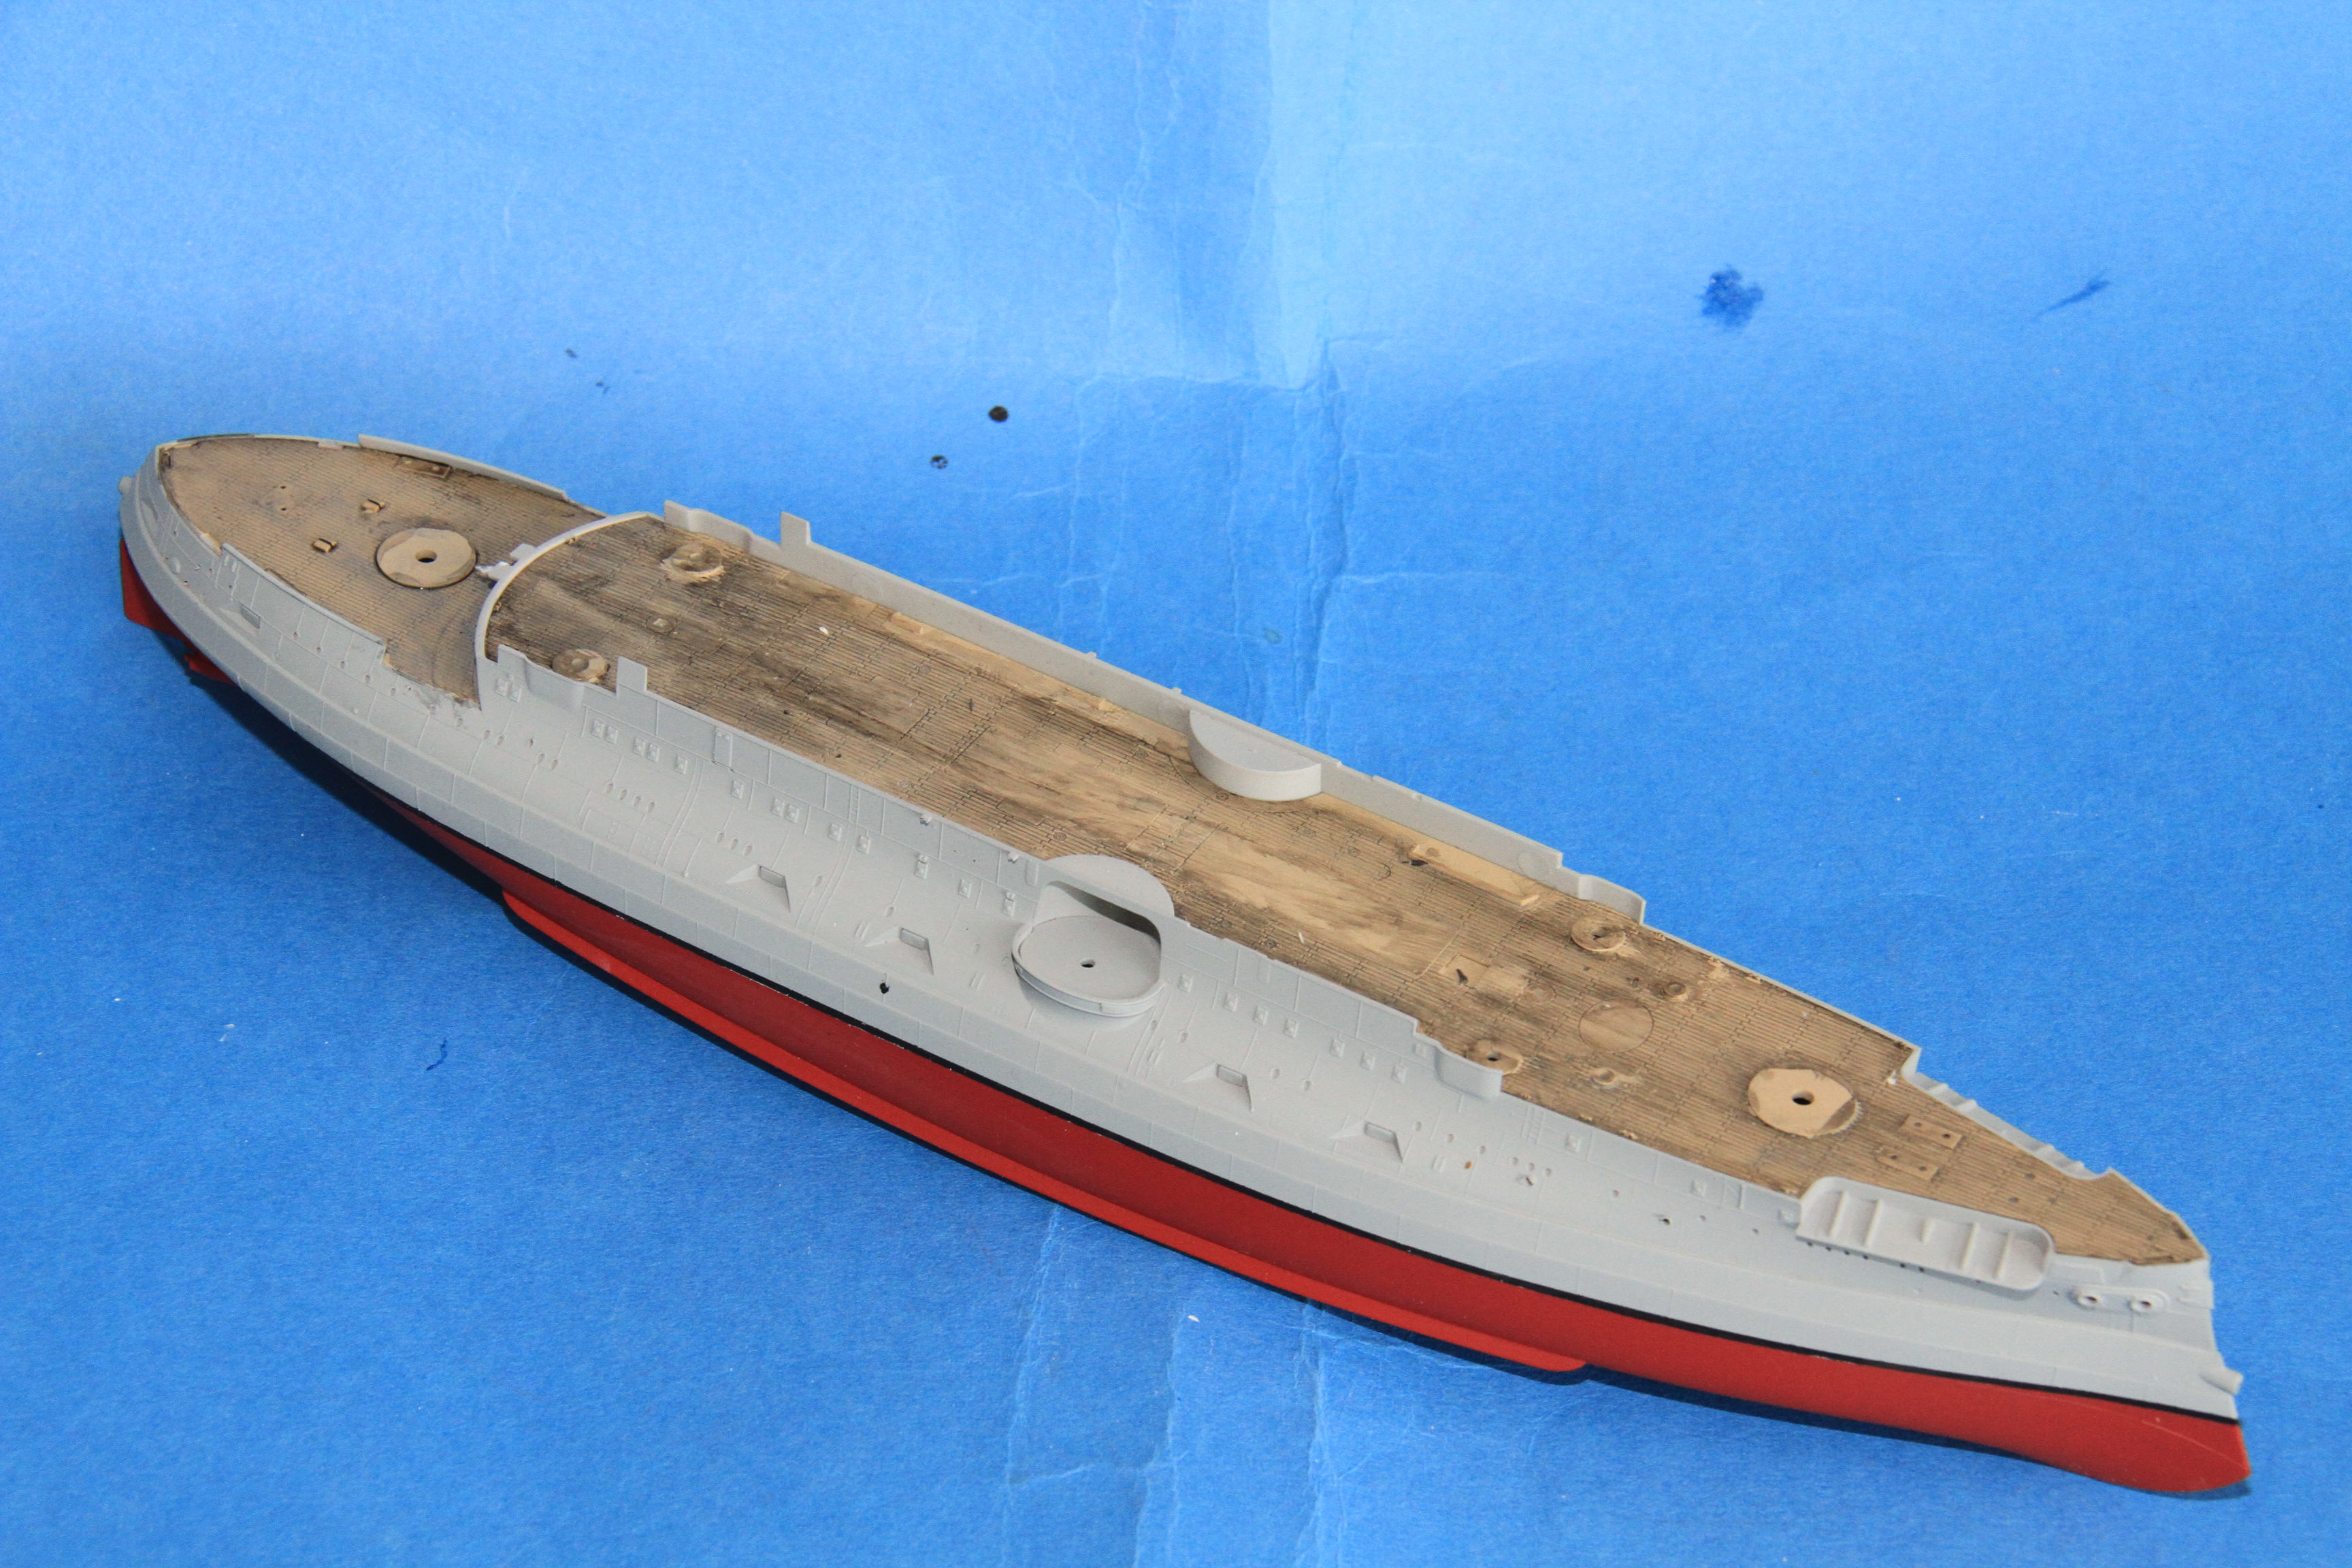
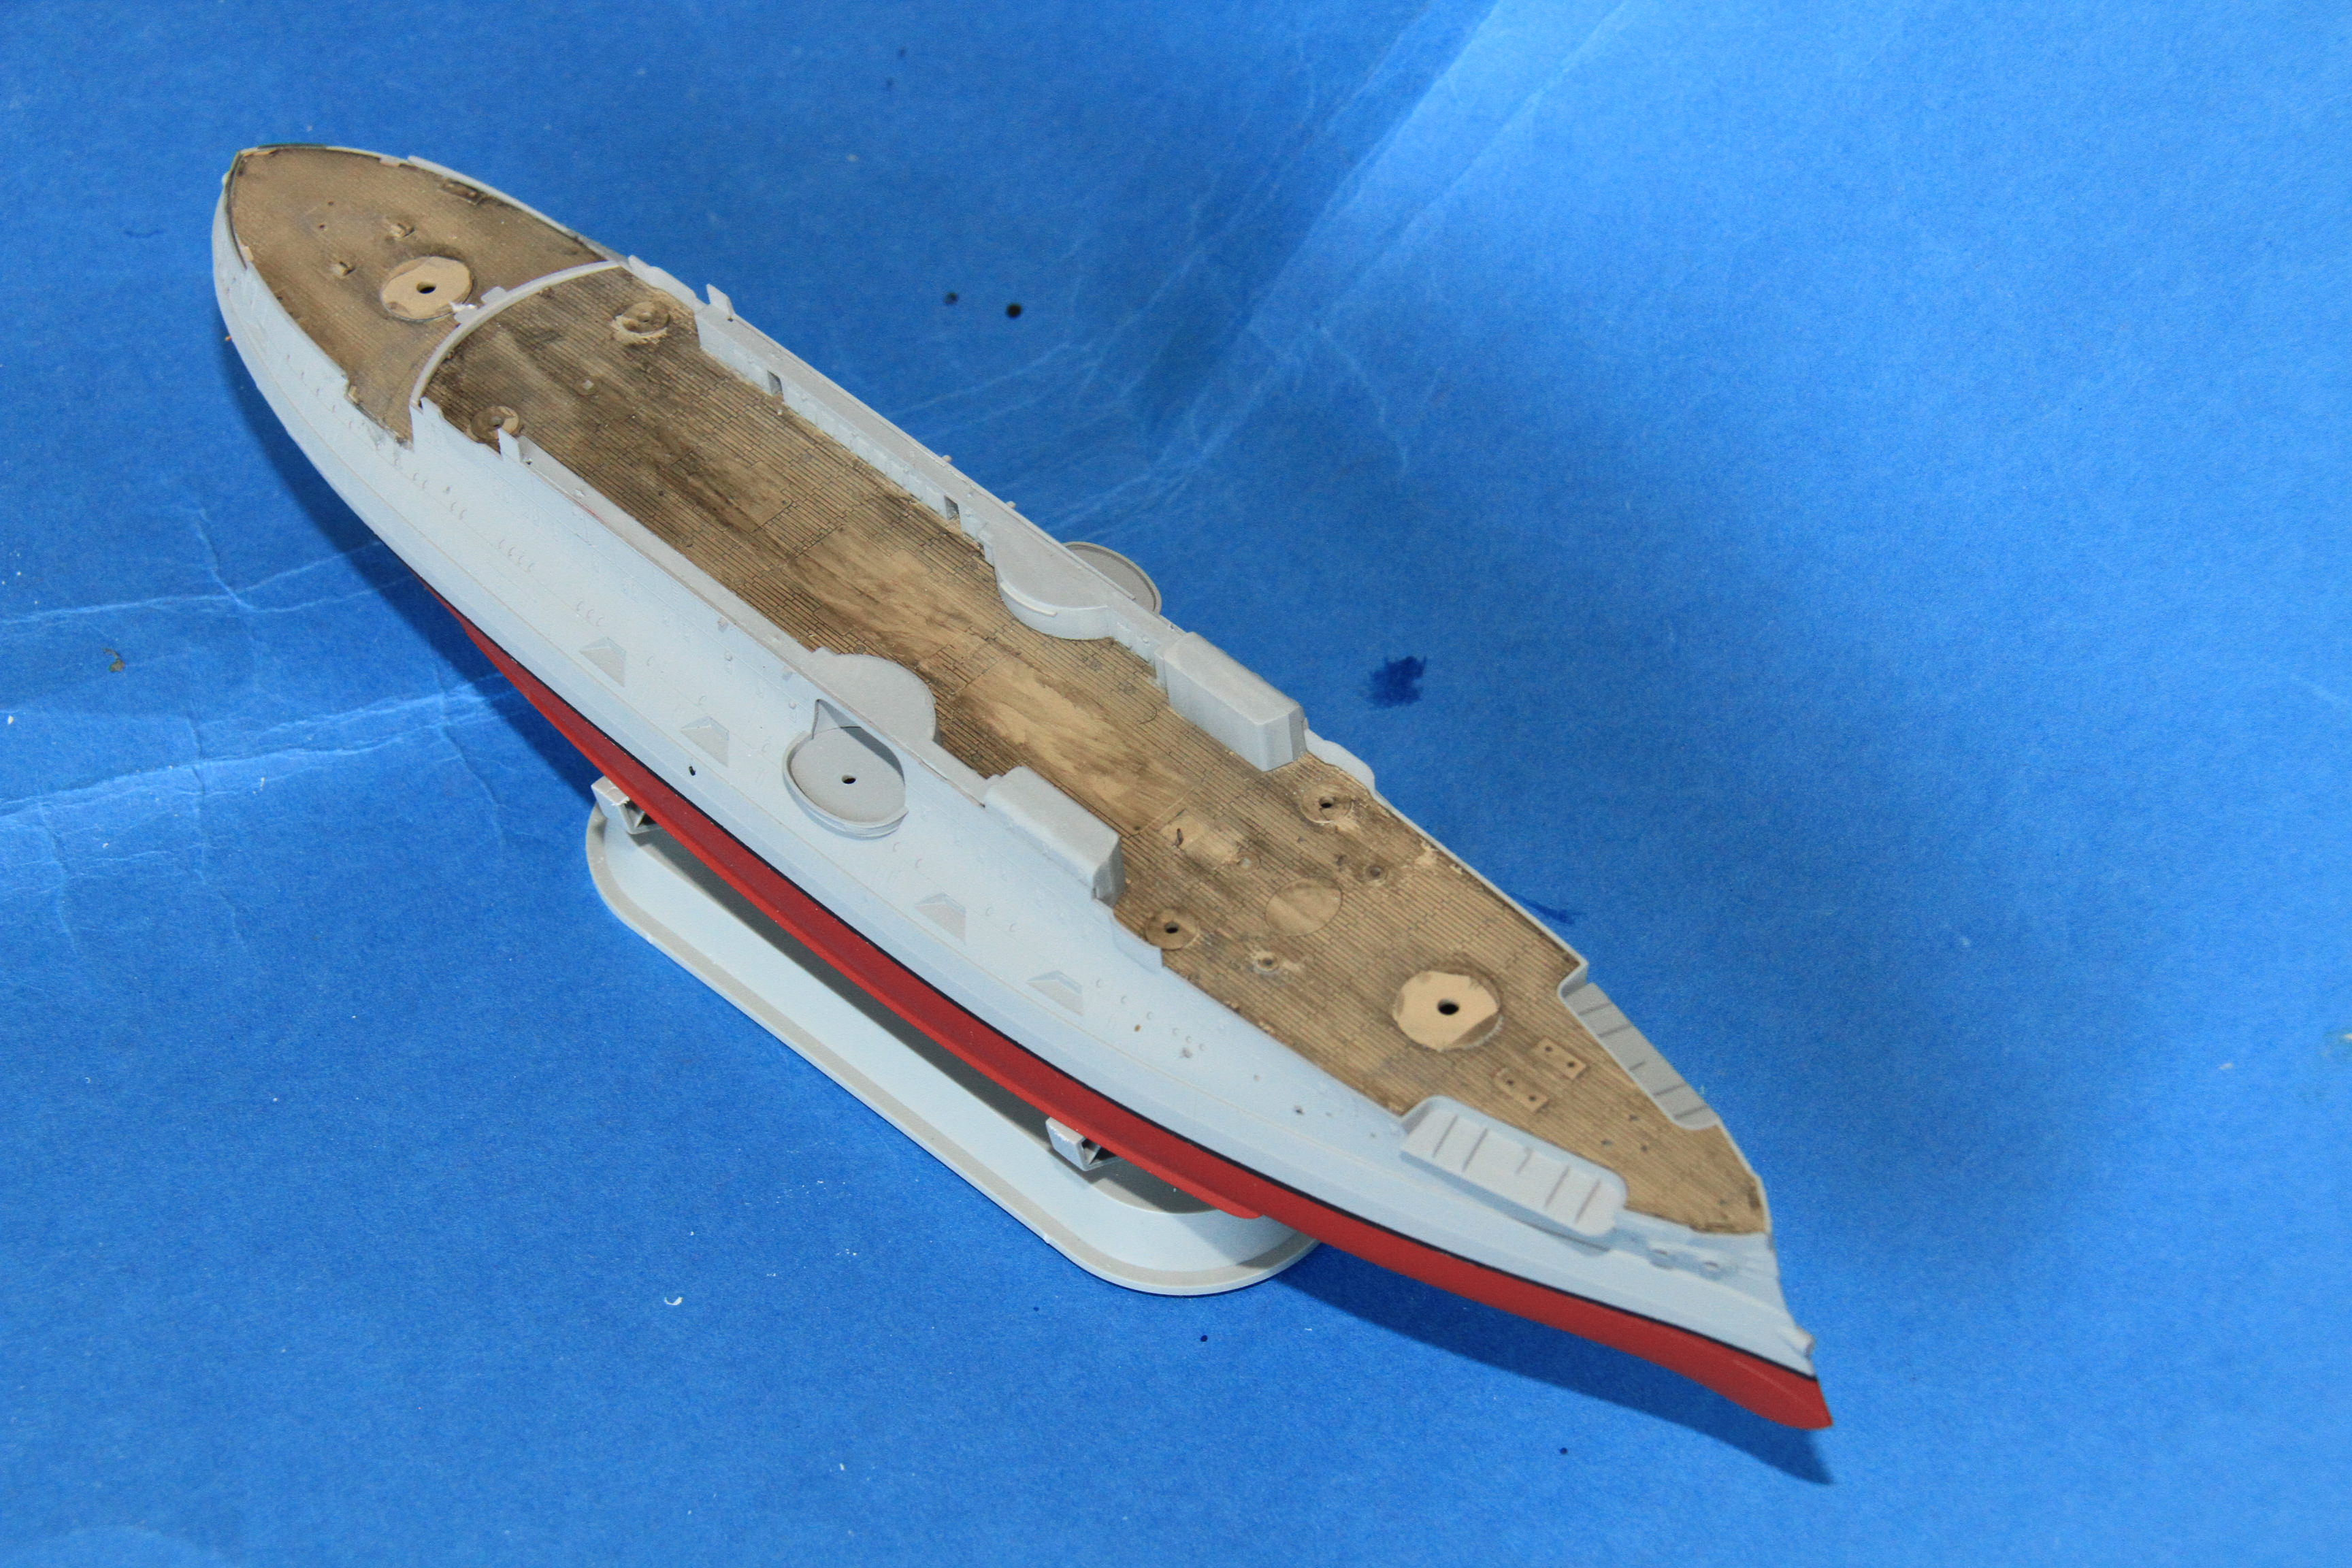
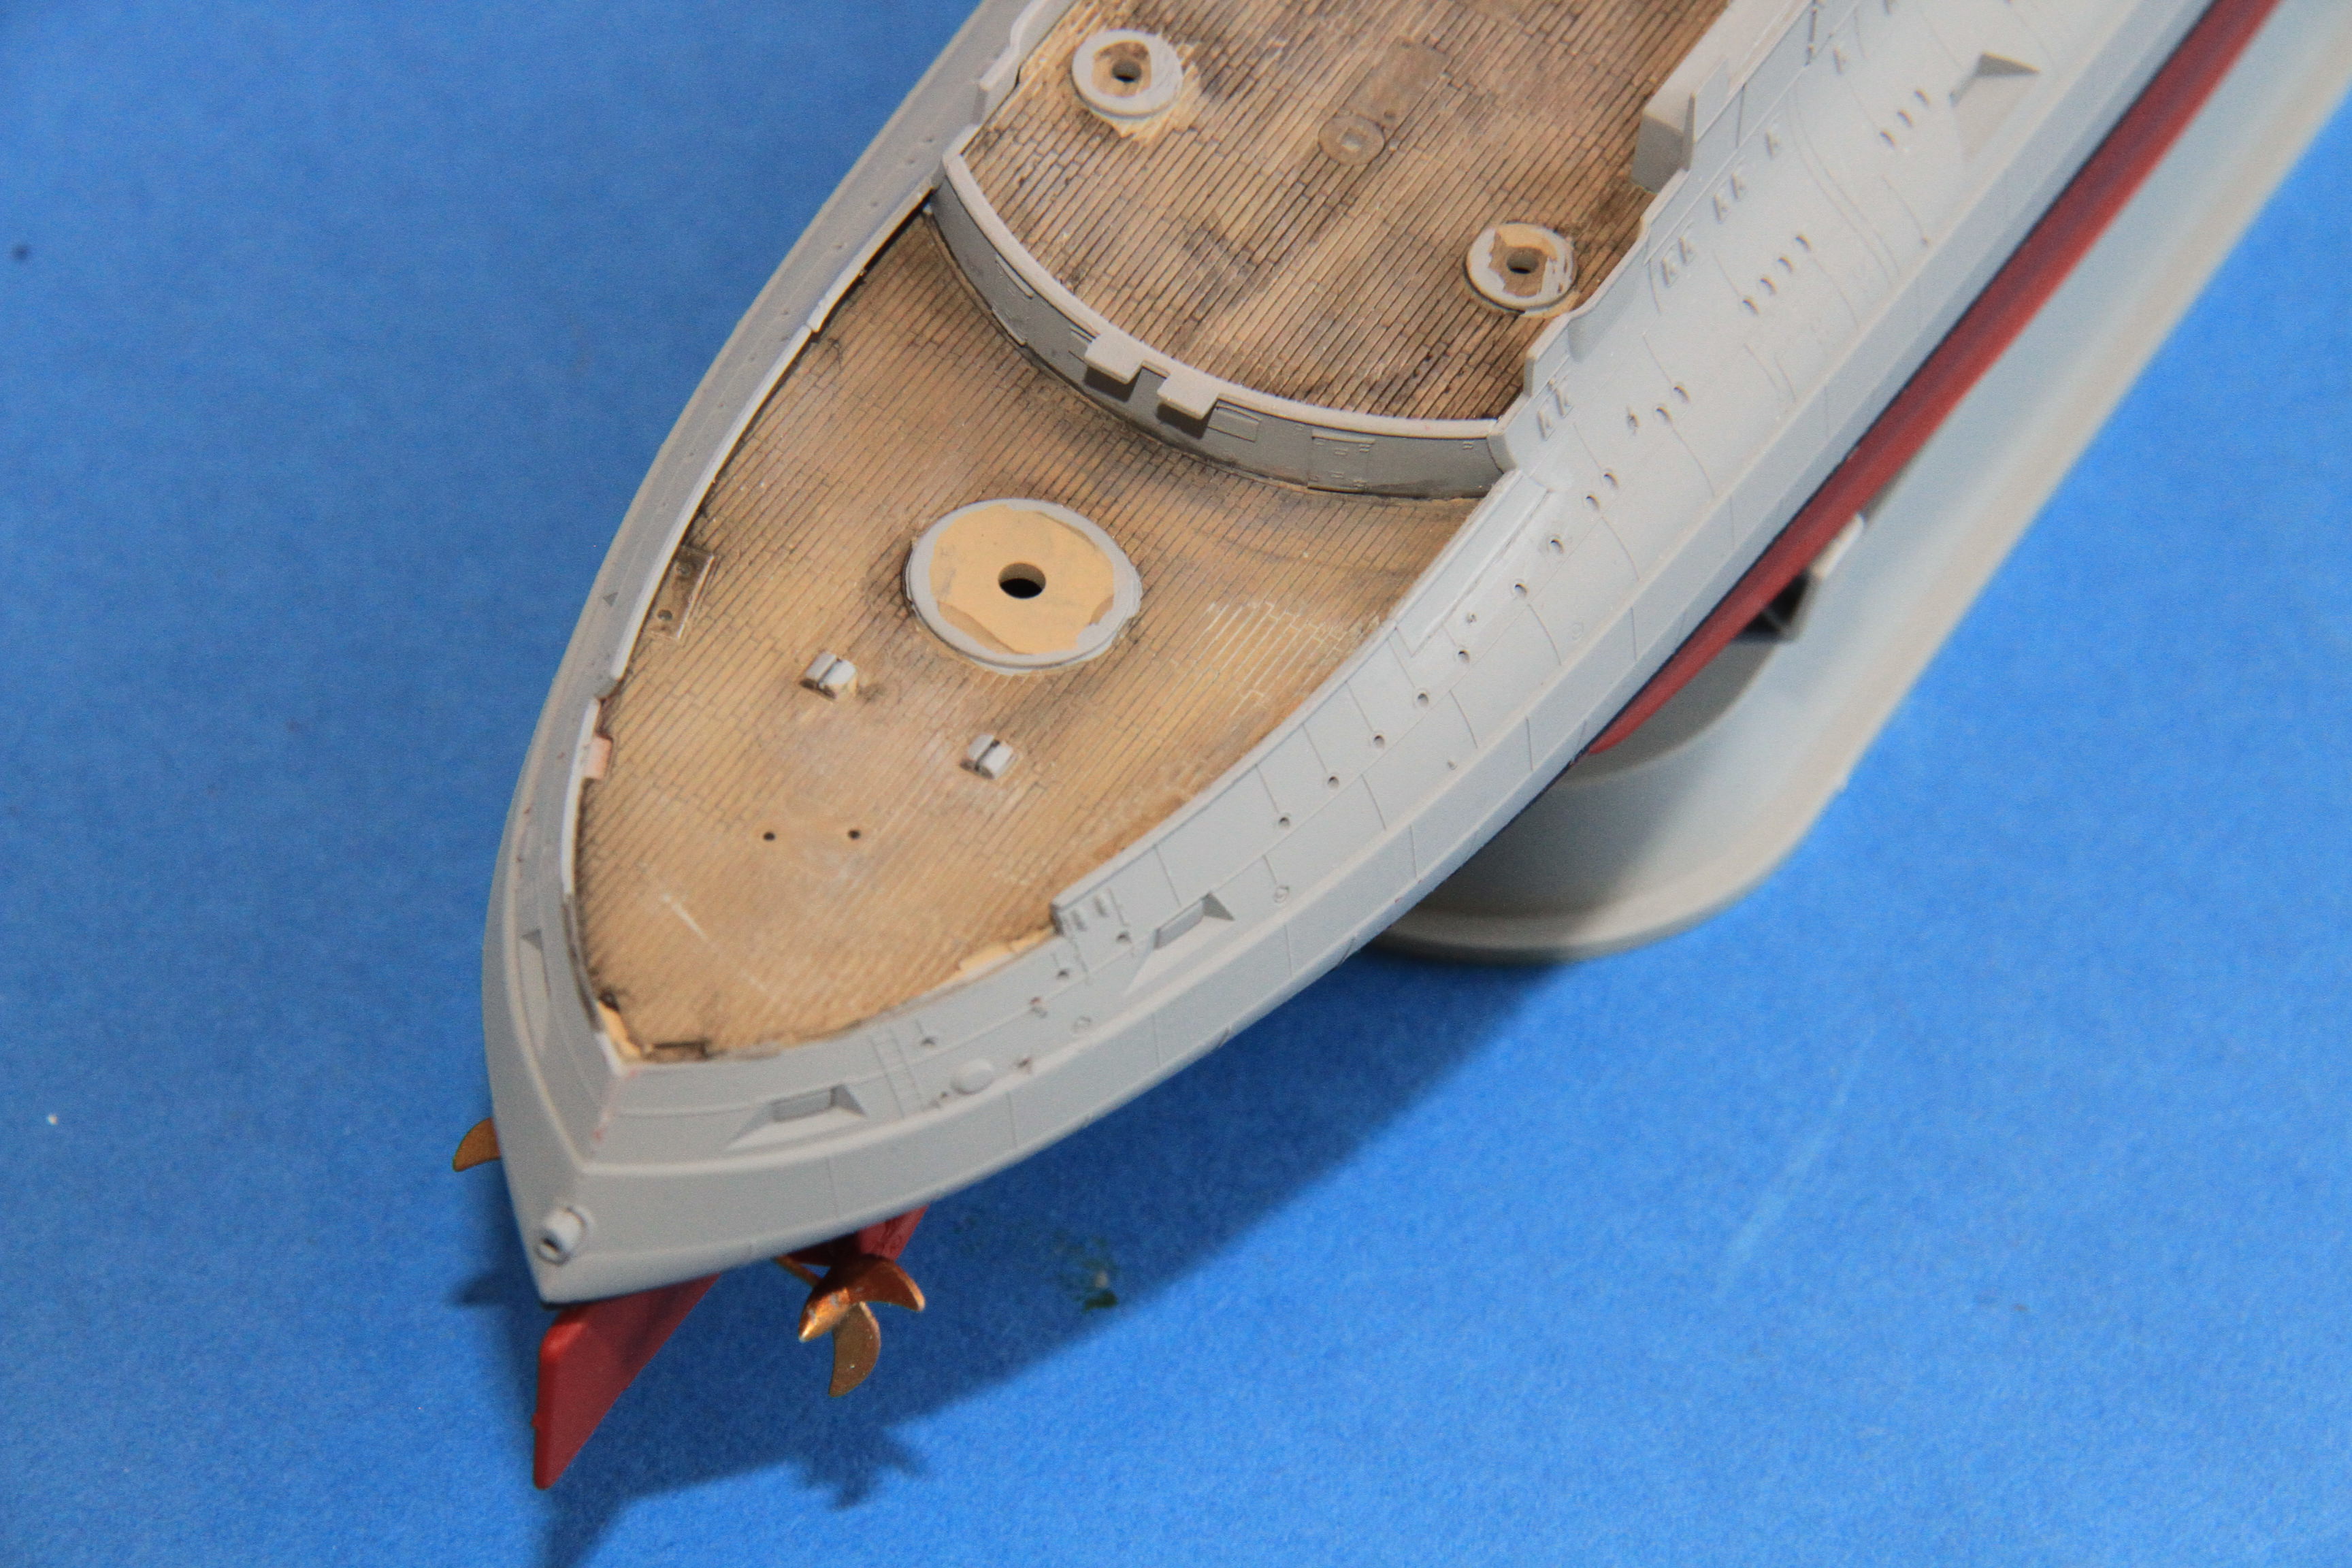
The hull halves test fitted together.

Very tidy.
More soon.
Si