

some more progress here as well!!
 And really great work! Slowly but steadily and with an astonishing degree of perfection and accuracy!
 It's great to see this wonderful model back on!
Cheers,
Jan


 And really great work! Slowly but steadily and with an astonishing degree of perfection and accuracy!

Hi Russ,
some more progress here as well!!
It's great to see this wonderful model back on!
Cheers,
Jan
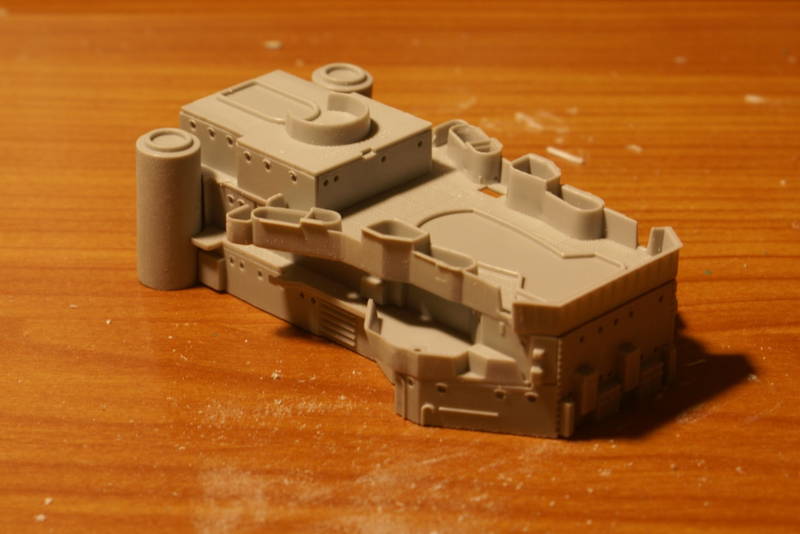
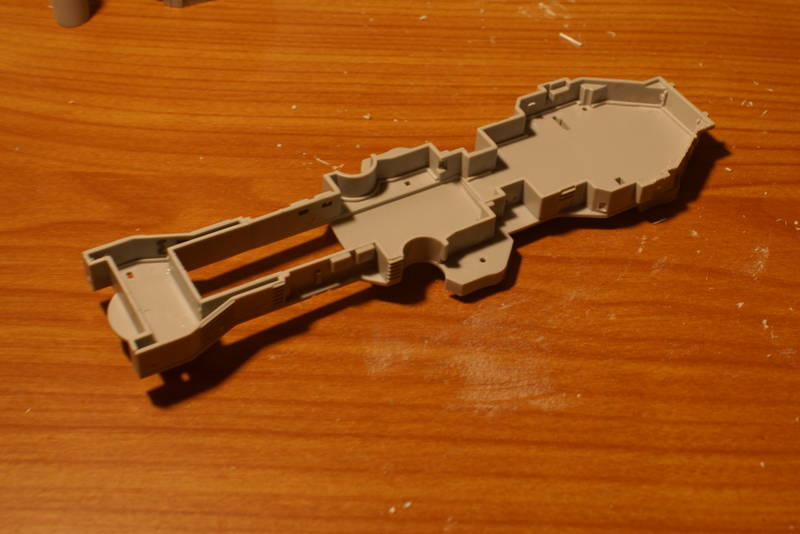
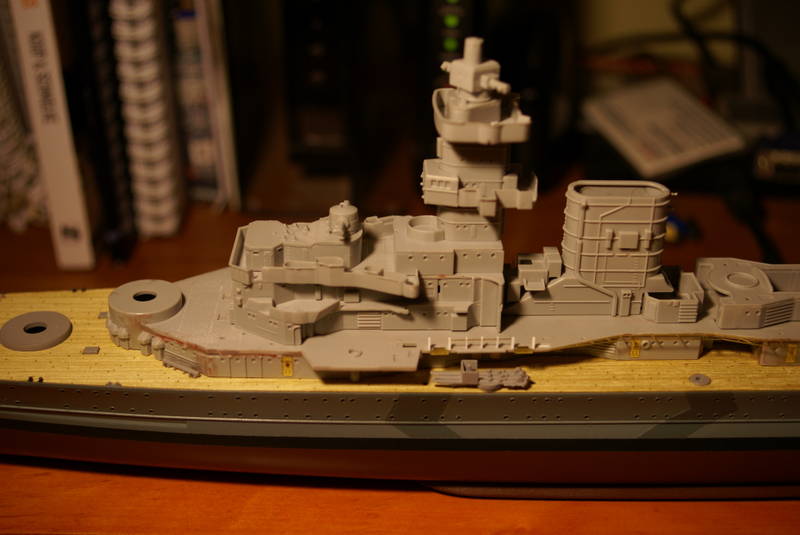
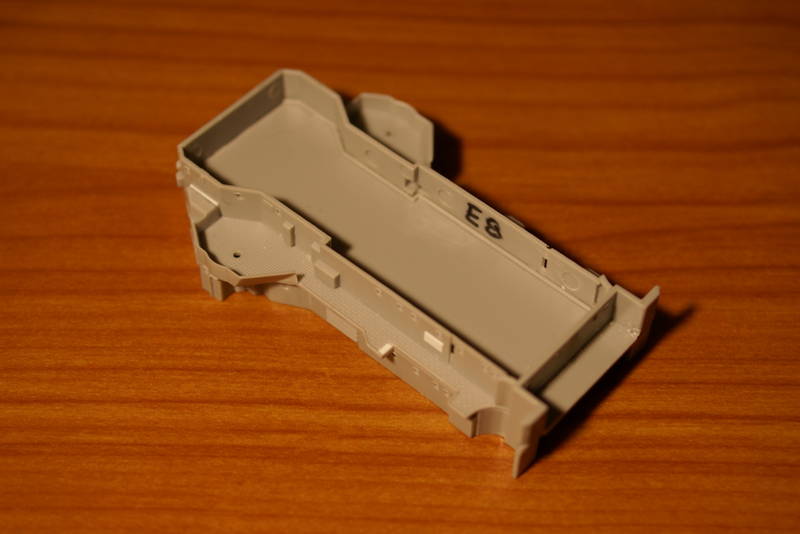
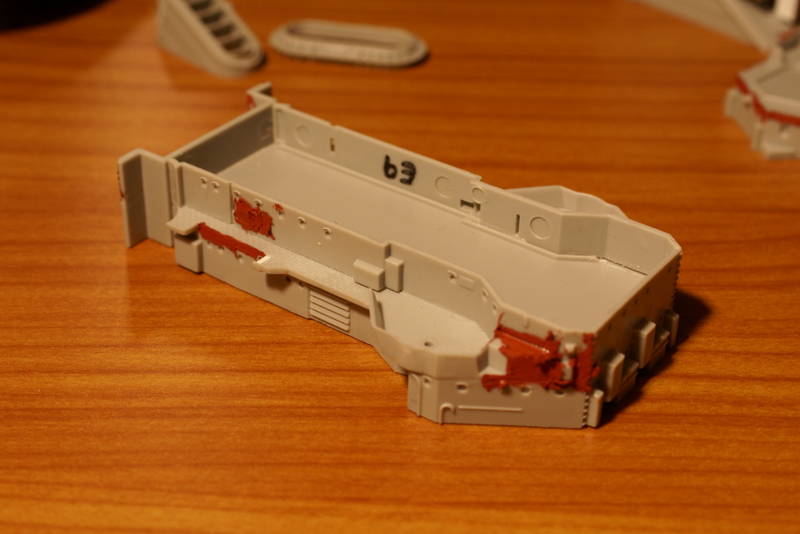
 small steps at the moment... The hull's in the paint shop at the moment getting a clear gloss coat to protect all that matt paint.


 Don't let Trumpi discourage you!!


 and than you for sticking around for the long haul
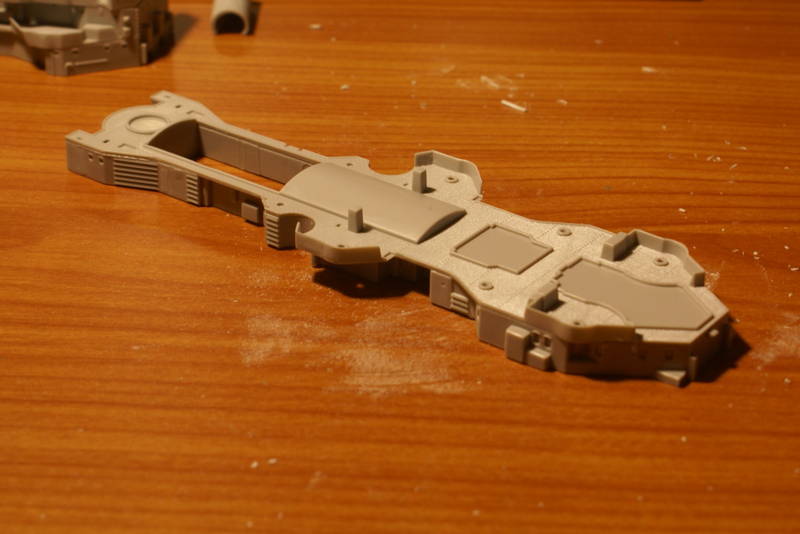
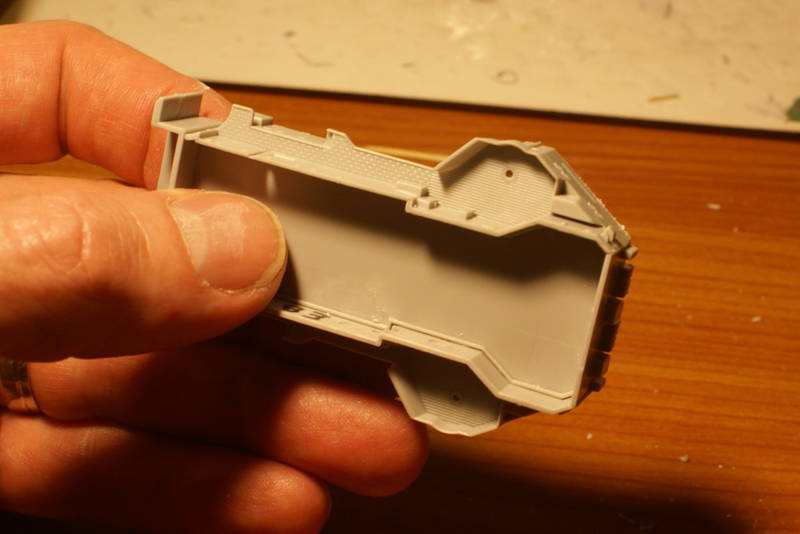
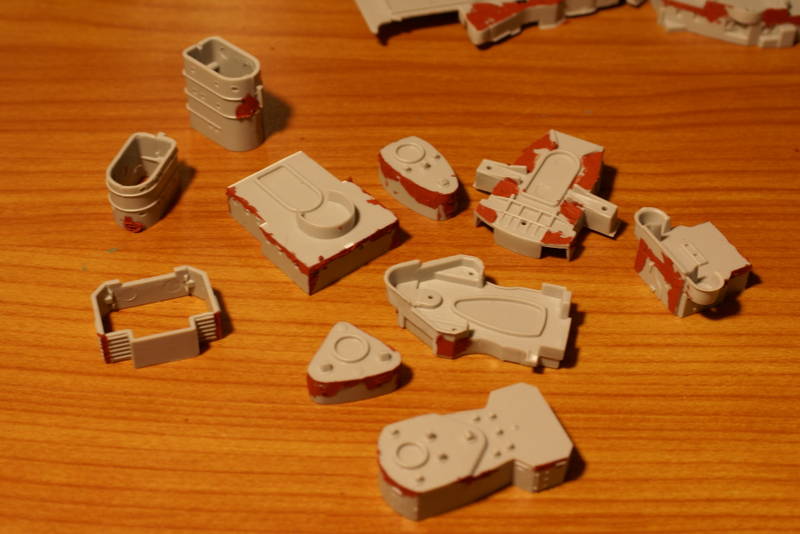
  you can see on the desk all the sanding and filing dust, just to get to where it is now... and still so much more superstructure to build yet.

 so Si's advice seems perfectly reasonable to me.

Hi Russ,
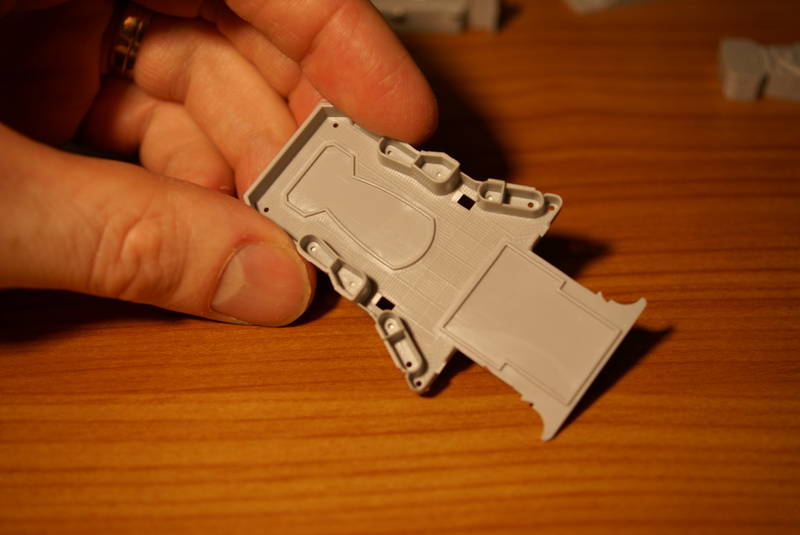
My methodology, I only replace moulded on doors, if they are poorly moulded, bland, or missing.
On my Repulse, the moulded on doors are pretty good, so I won't be replacing them at all. If I find any missing I will use etched doors.
I hope that helps
Si
Hi Russ!
After being over-enthusiastic about removing molded on parts and replacing them with PE parts, over time I do agree more and more with Si's approach. Many of the molded on doors and hatches are quite ok and look all right, to the extend that replacing the with a fairly two-dimensional PE door doesn't make it look much better.
Meanwhile I am away from that approach to use whatever the PE frets provide just to know I've used it...
Should you look for more extra doors, you'll find quite cheap sets - WEM and Eduard I know of - with DKM doors and hatches only. I have a few only to find out that, over time, I hardly ever use them...
Cheers,
Jan

Hi Russell,
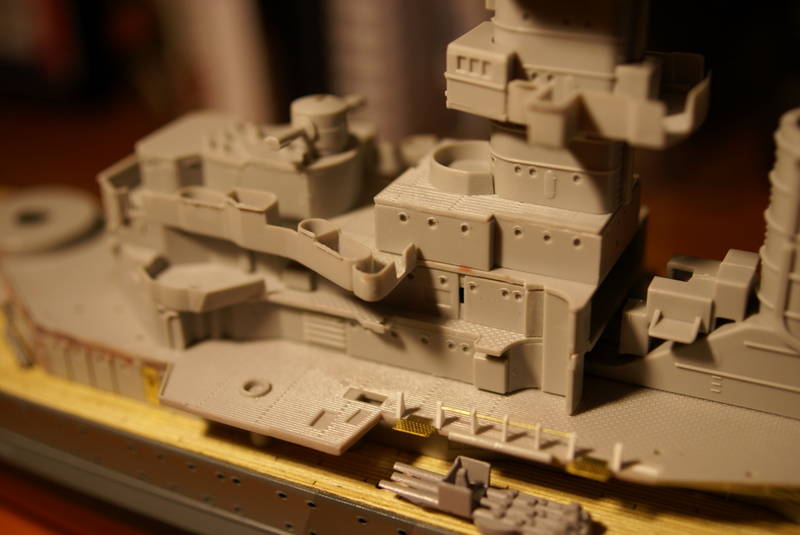
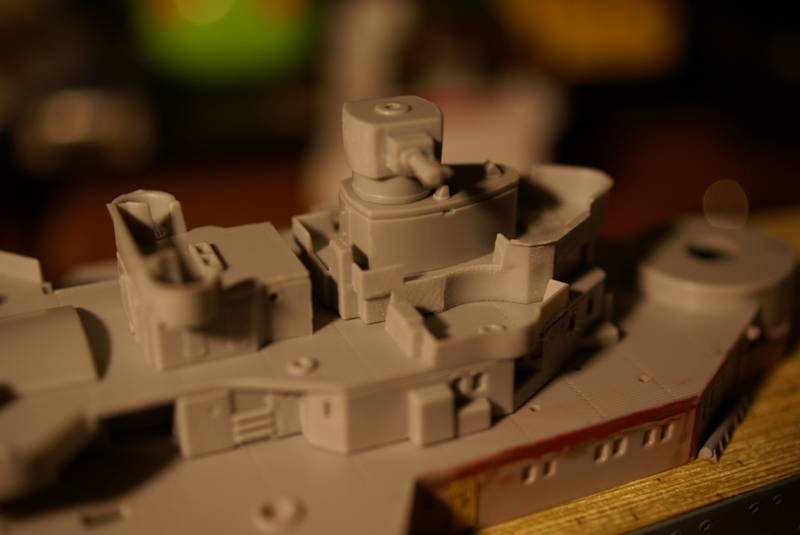
Thought I'd stop by and catch up with your Prinz. The hull looks excellent, so does the painting so far.
I've got two warships in my stash. Hopefully I can find a way to fit them into my building schedule.
Cheers,
Gaz


 I know I keep whinging about it, but when there are so many other great kits in the stash begging to be built... arrghh!

Even then, I've still managed to "shave" a few eyebrows off
G'day Russ.
I have just taken a stroll through this entire thread, what a great build! I noted that it was January 2014 when I last stuck my head through the porthole here to see what was happening. The work you have put in, and the techniques used to overcome the fit and mold issues is inspiring. I'm really looking forward to following the next chapter on this build.Quoted TextEven then, I've still managed to "shave" a few eyebrows off
Better that than having them burnt off by a nasty recalcitrant backfiring gas hot water service (he says from painful experience!).
Cheers, D


Hi Russel,
I am just wondering if you have a 'Friday Afternoon', or rogue kit there.
I have PE in my stash but have not checked any of her parts for fit issues, but yours seems to be the only one I've seen where these ill-fitting parts and the resulting large gaps are present.
This is a bloody shame, because the Prinz was a subject which many of us were waiting for in 1/350. I am still perplexed as to why she was done in her 1945 guise though, when we were all expecting the 1941 fit instead.
Keep lugging away at it - you'll get there in the end I'm sure.
 And it shouldn't stop you either! (Or anyone else for that matter). Maybe I'm just too pedantic??? Please let me know if I am


 |


