Haha! Yes, I know, another update!

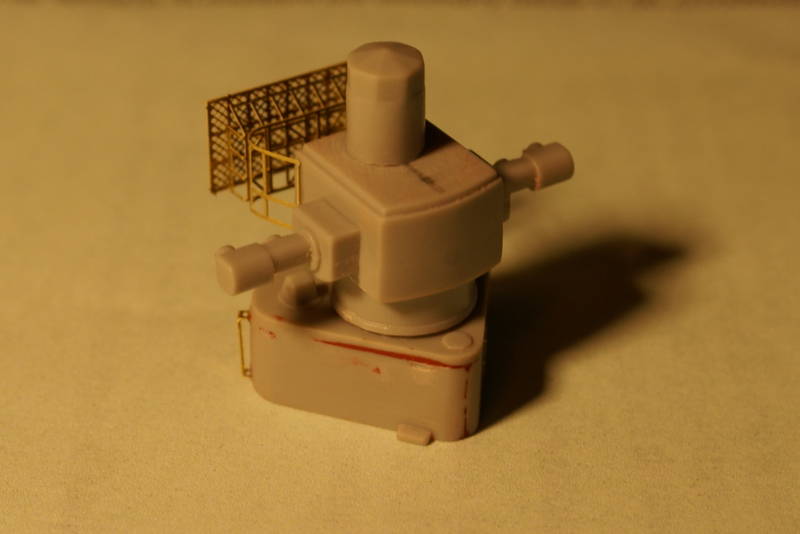
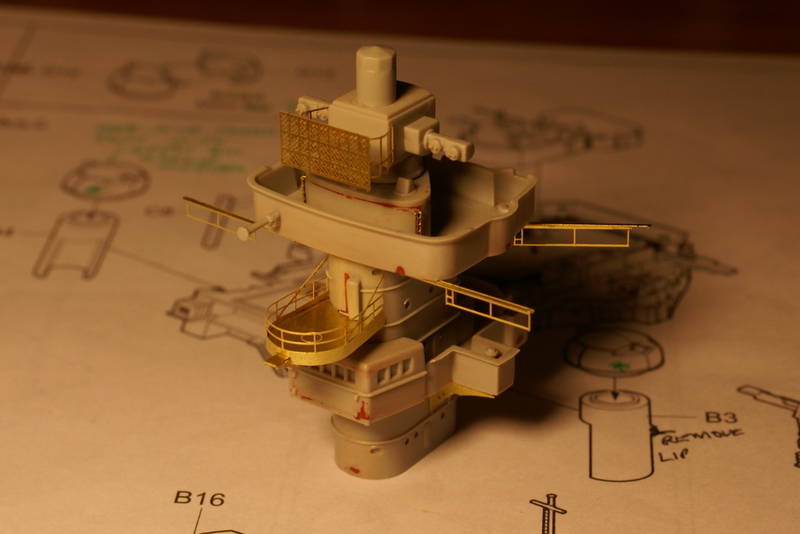
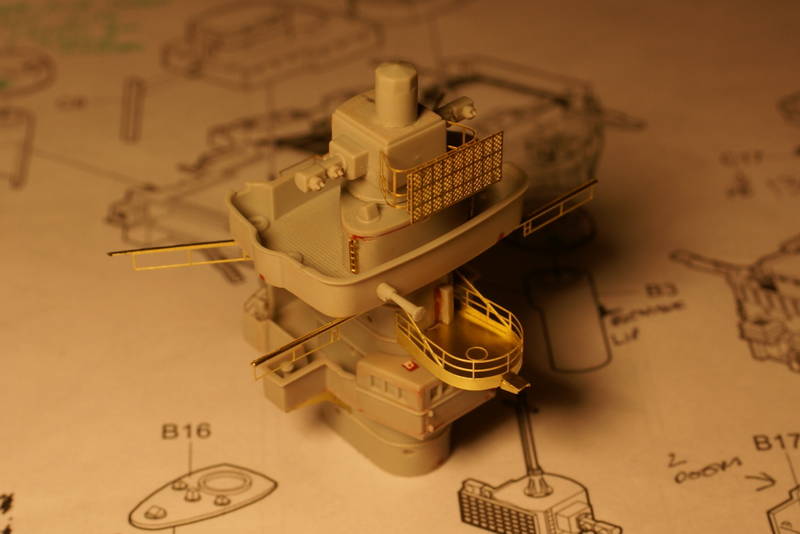
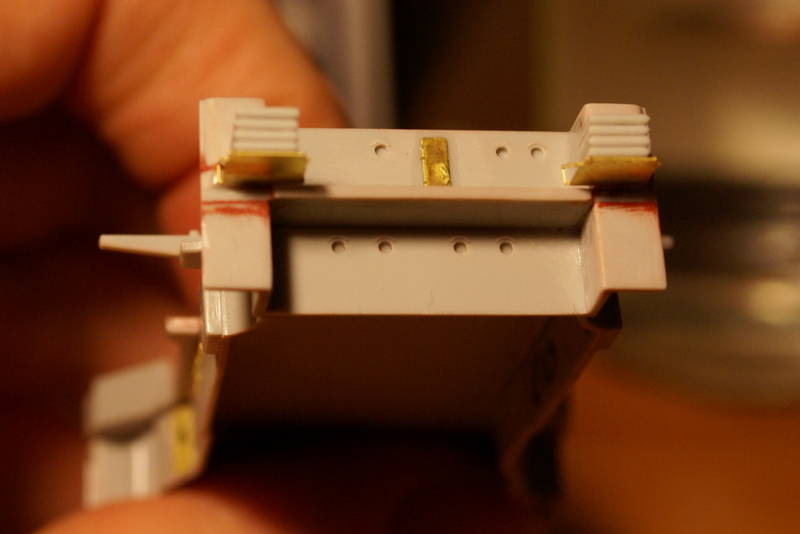
Something's definitely not right

I made myself a promise though: no more side projects, and definitely no more additions to the stash until the Prinz and the King are completed.

It's been very difficult, but as you can see it's paying off, and I've even been able to save some pocket money to SWHMBO's delight

Well, yes, ahem, the need for a water tight door on the turm mast would definitely indicate something is out of place. I'm putting it down to problems in the on-board CPU after the second vodka came into play last night

The Falcon's in for periodic maintenance after an extended deployment (around 20 years

)
Quoted Text
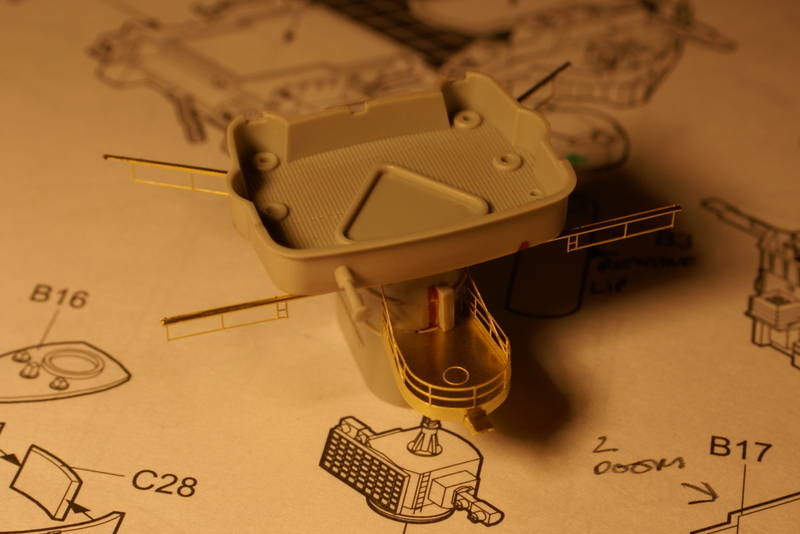
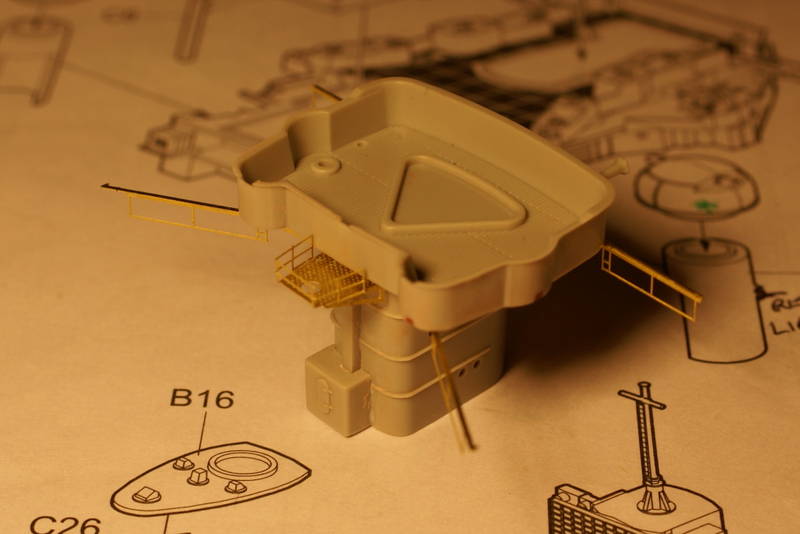
Nice to see more progress Russ,
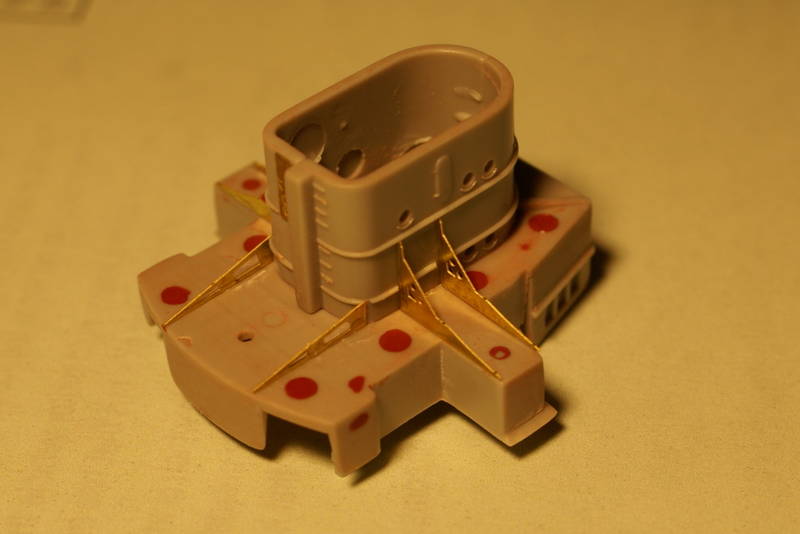
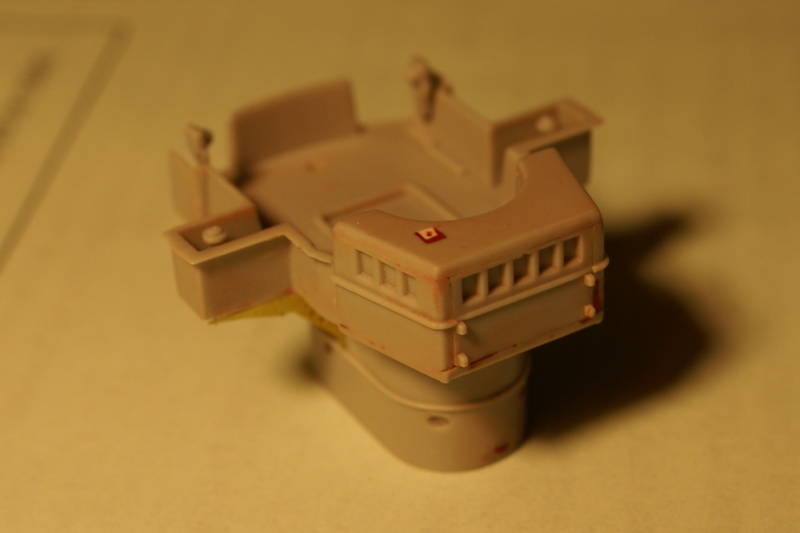
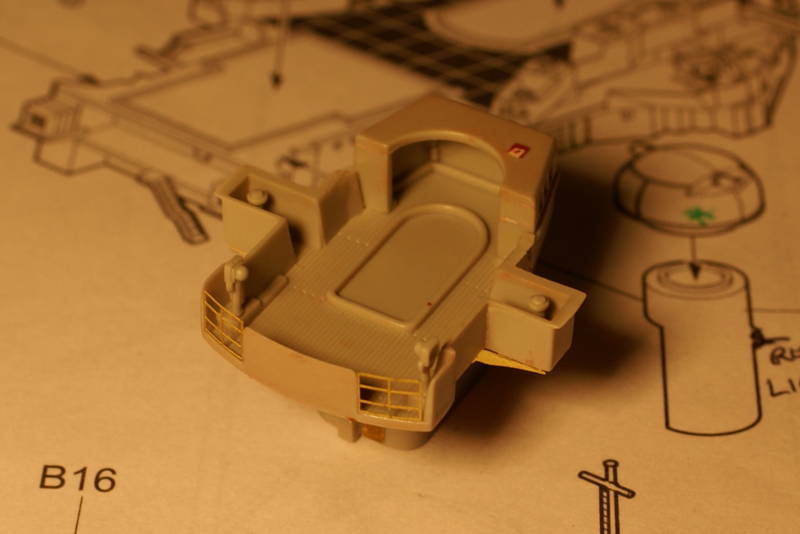
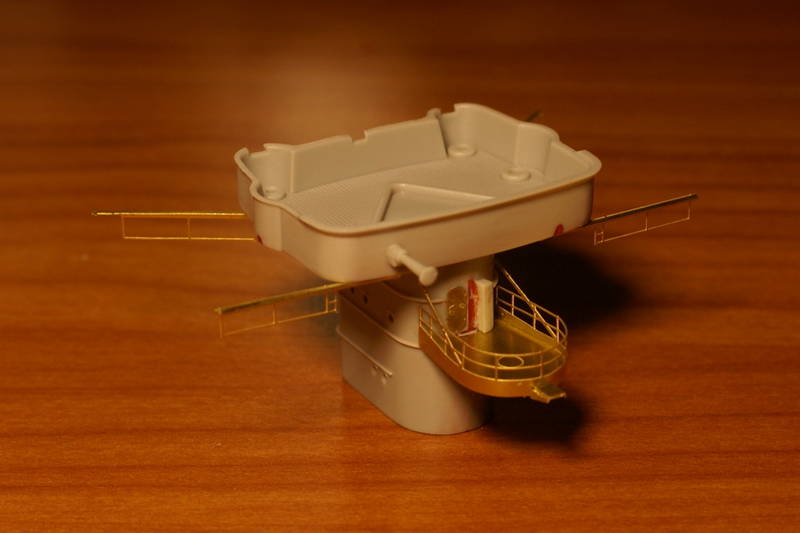
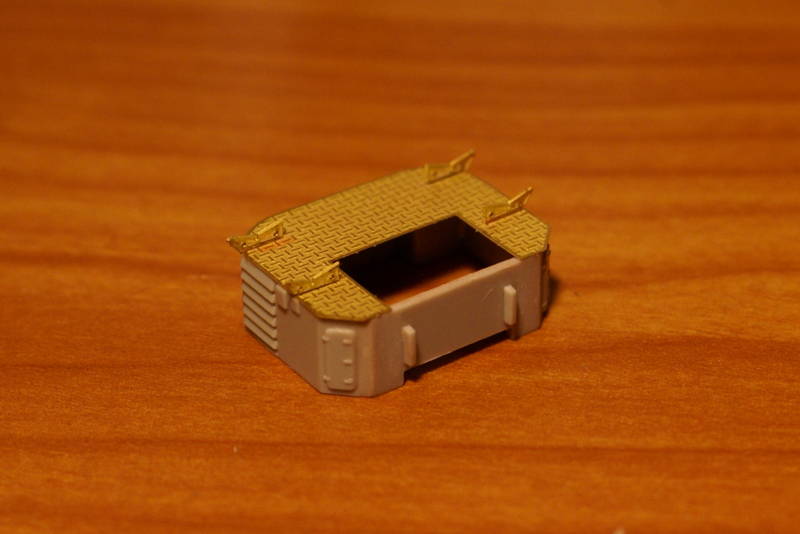
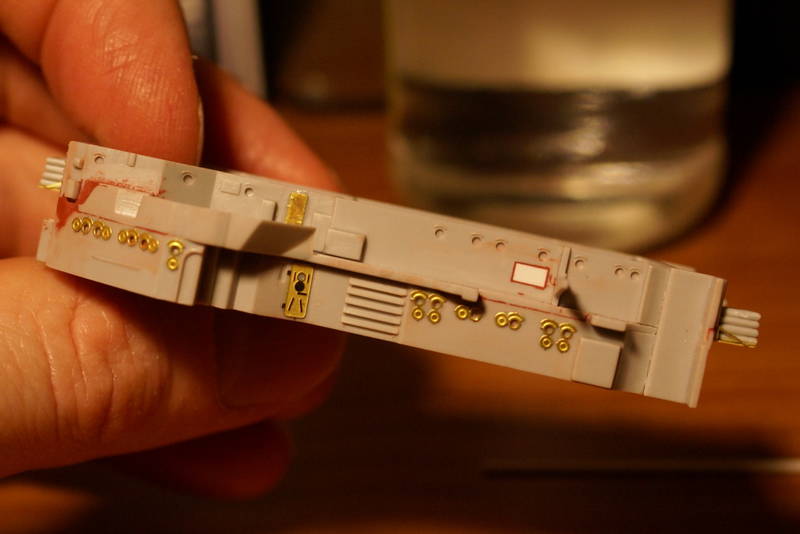
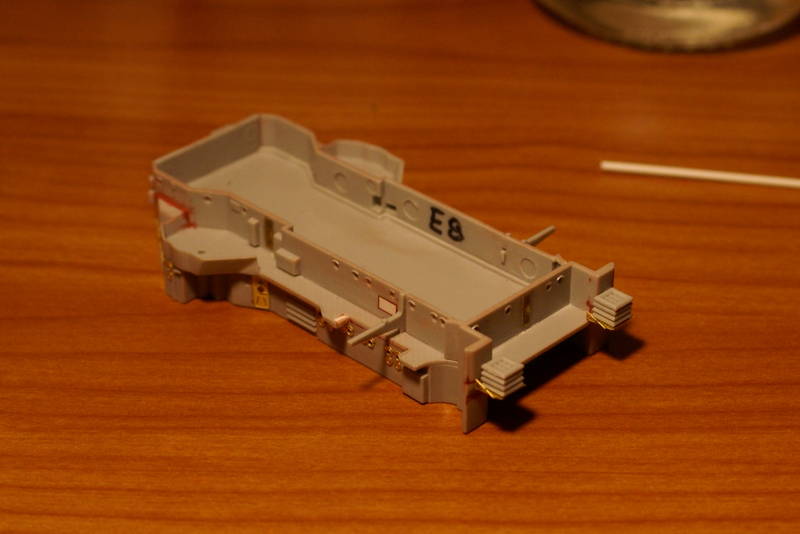
Tidy work on the on the sub assemblies.
The Falcon looks a cracking build, hope she is not in dock for too long.
Cheers
Si
Thanks Si. Yep, just some repairs to the legs required-essentially there's only a small area where the legs attach to the fuselage, and the join has finally given out. Originally I used polystyrene cement for the bond, so it's held out pretty well for 20 or so years. This time around though, I've used 2 part epoxy, so hopefully it should stand the test of time...
Looking over the kit, I'm pretty chuffed with what I was able to achieve way back then, before I knew what I know now about weathering and so on... Would love to pick up the (newish) 1/72 offering from Revell and re-visit my younger days, but the price is way out of my reach... ah but we can dream...