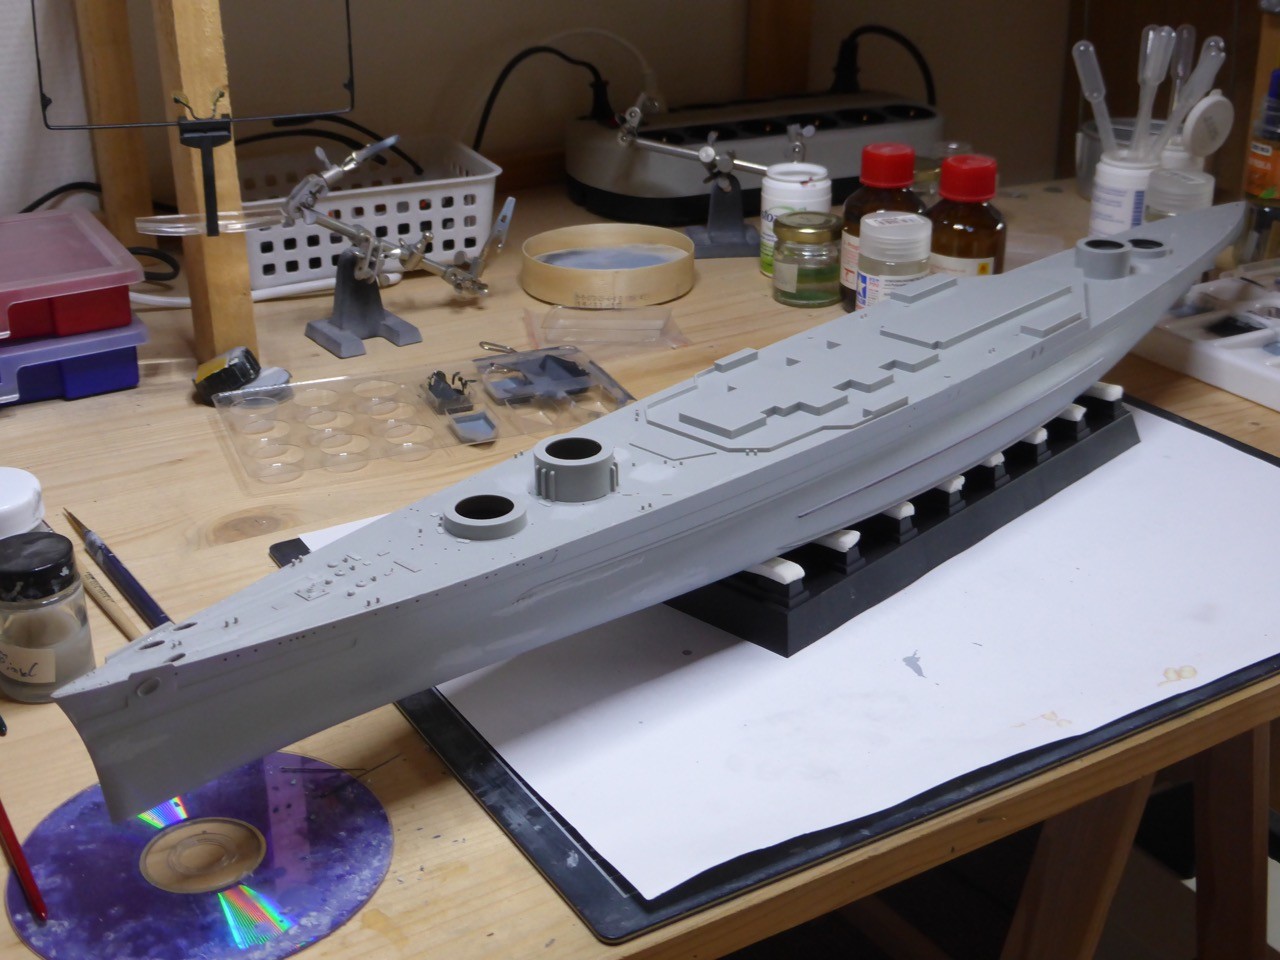
All right, here comes what I could accomplish this weekend...
After last week I was expecting to get something more accomplished, but it was more like a rollercoaster - or, two steps forward, one sideways and one back. At least one back...
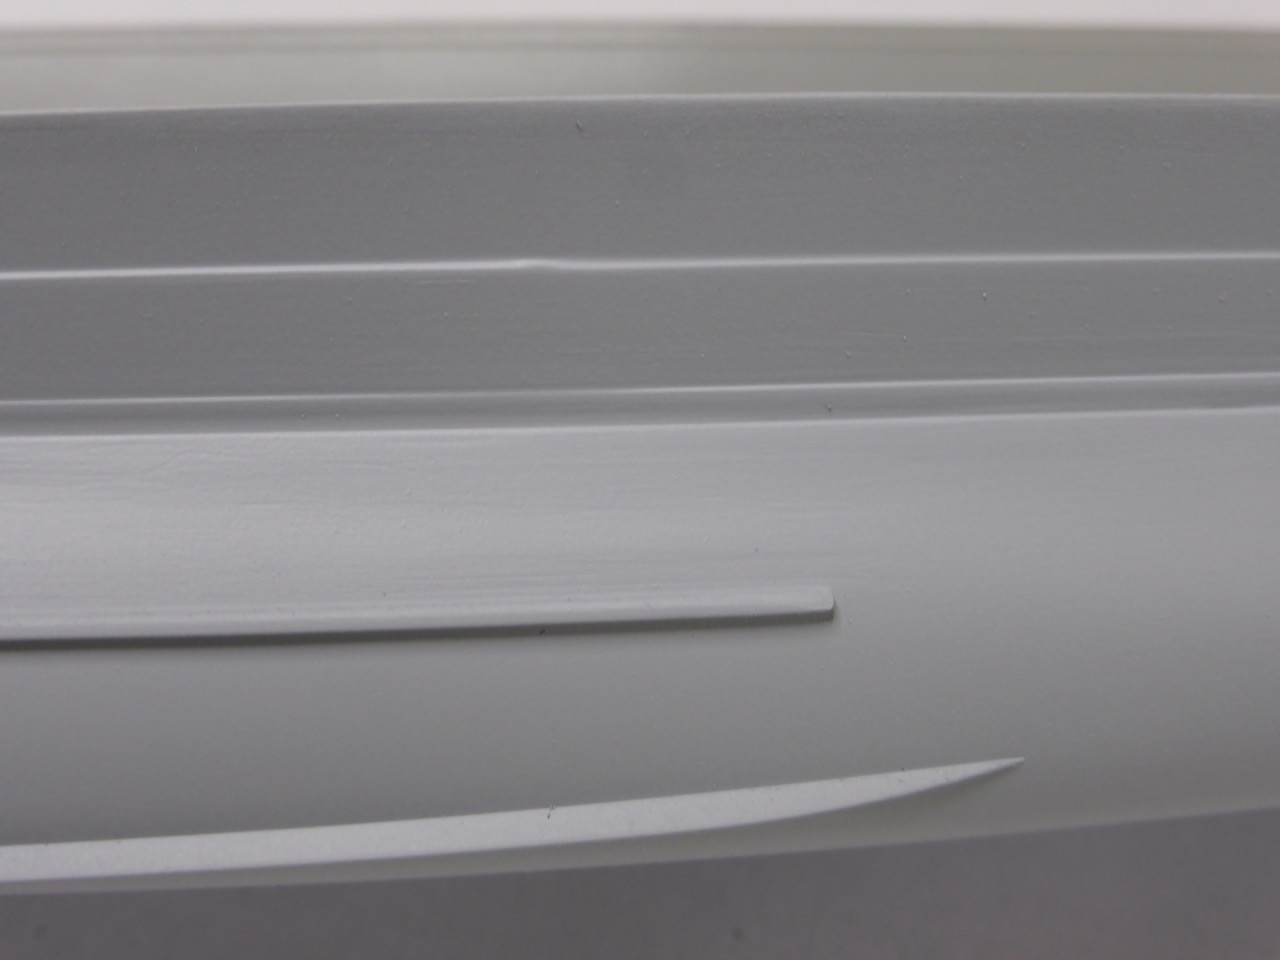
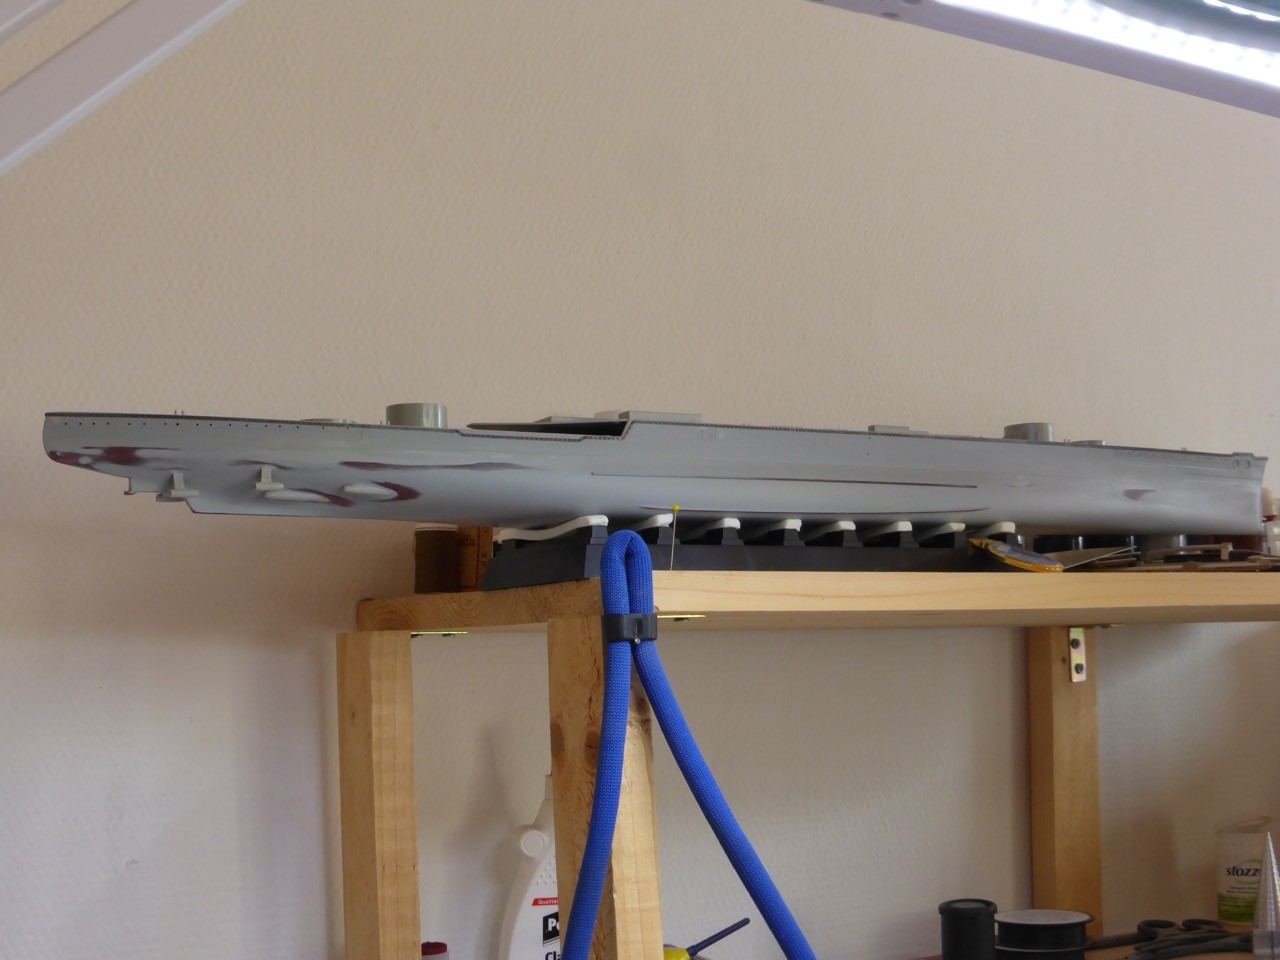
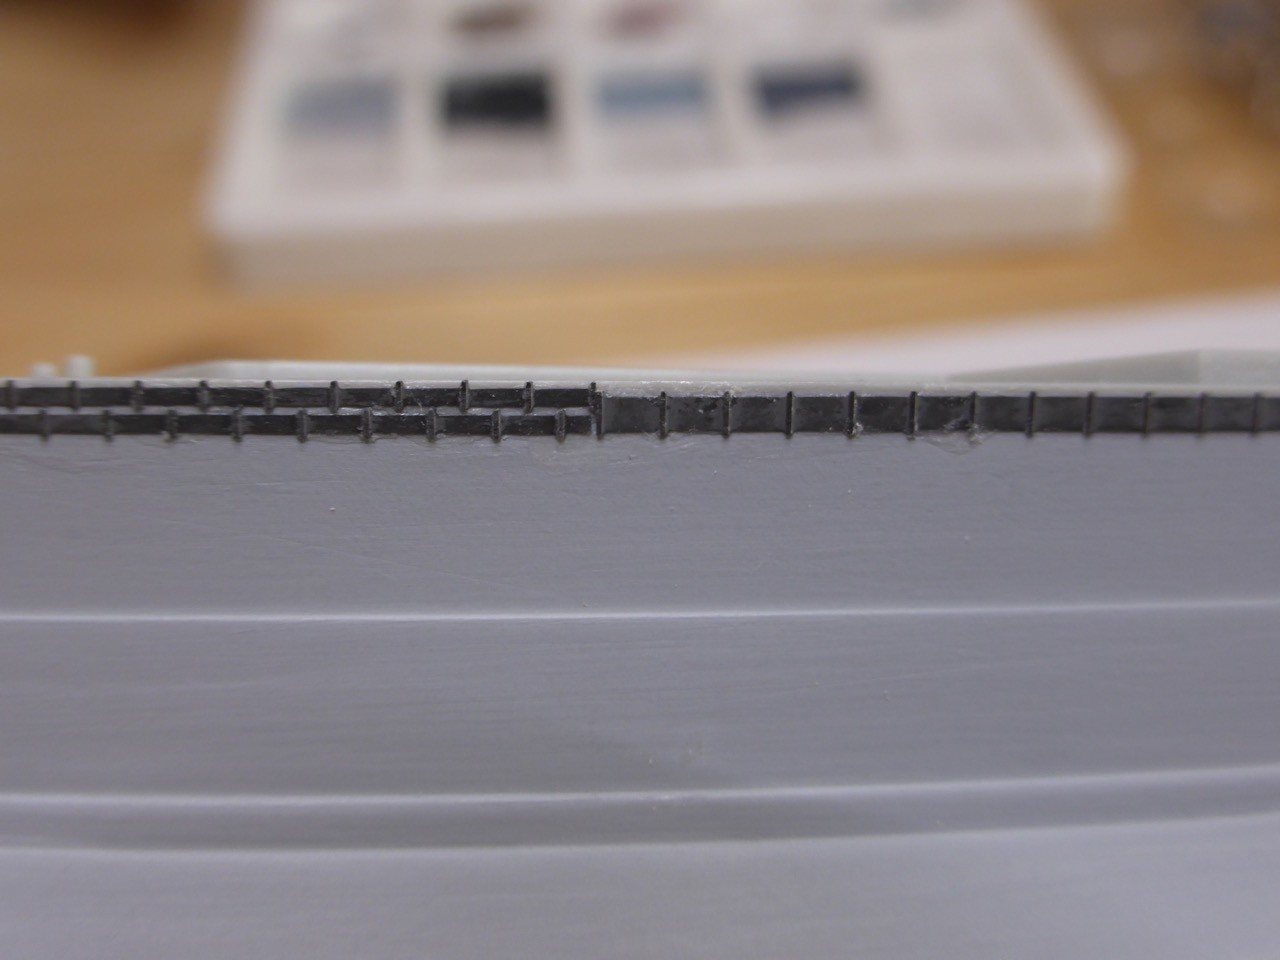
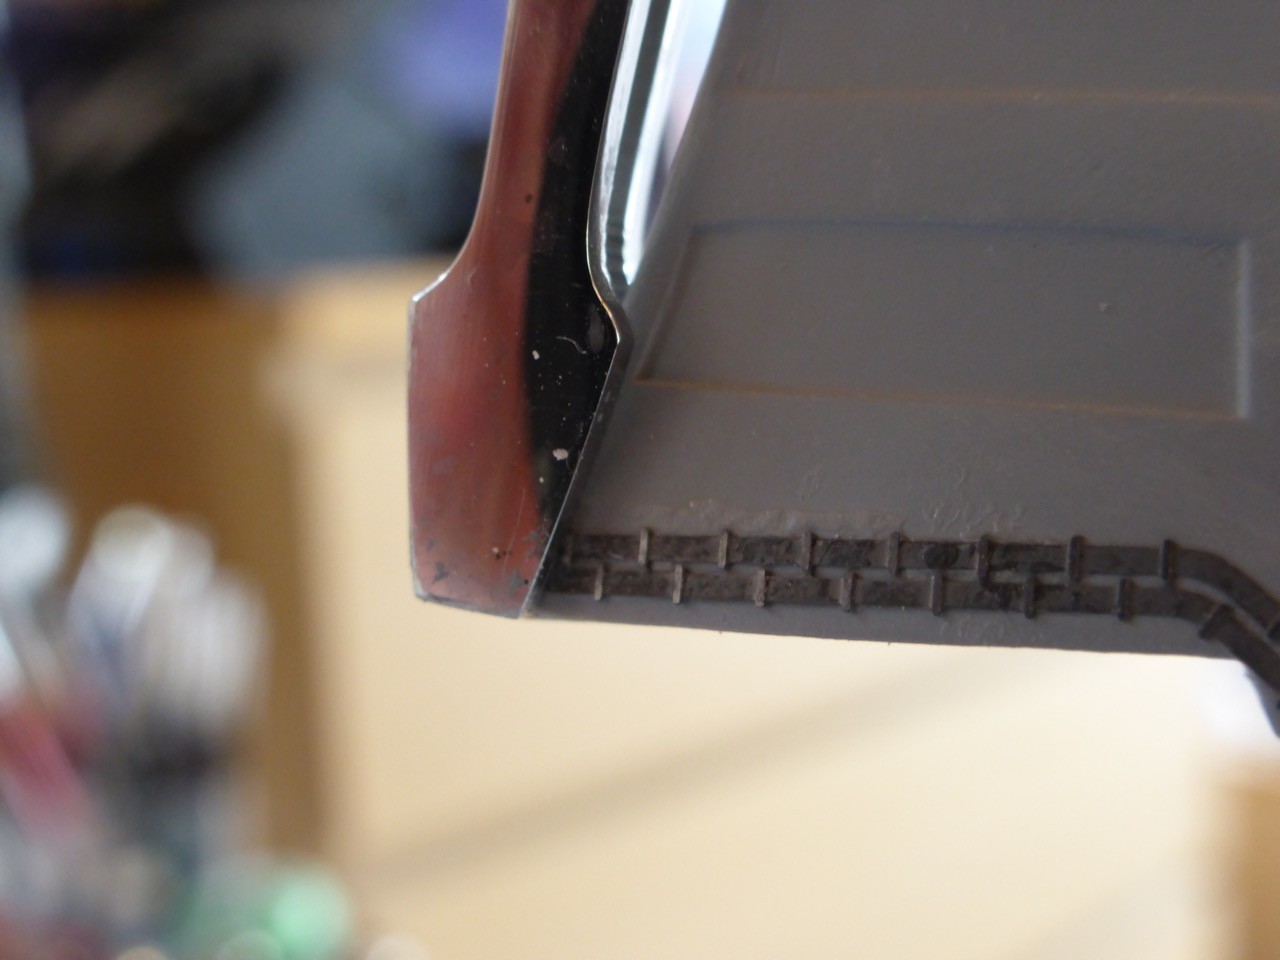
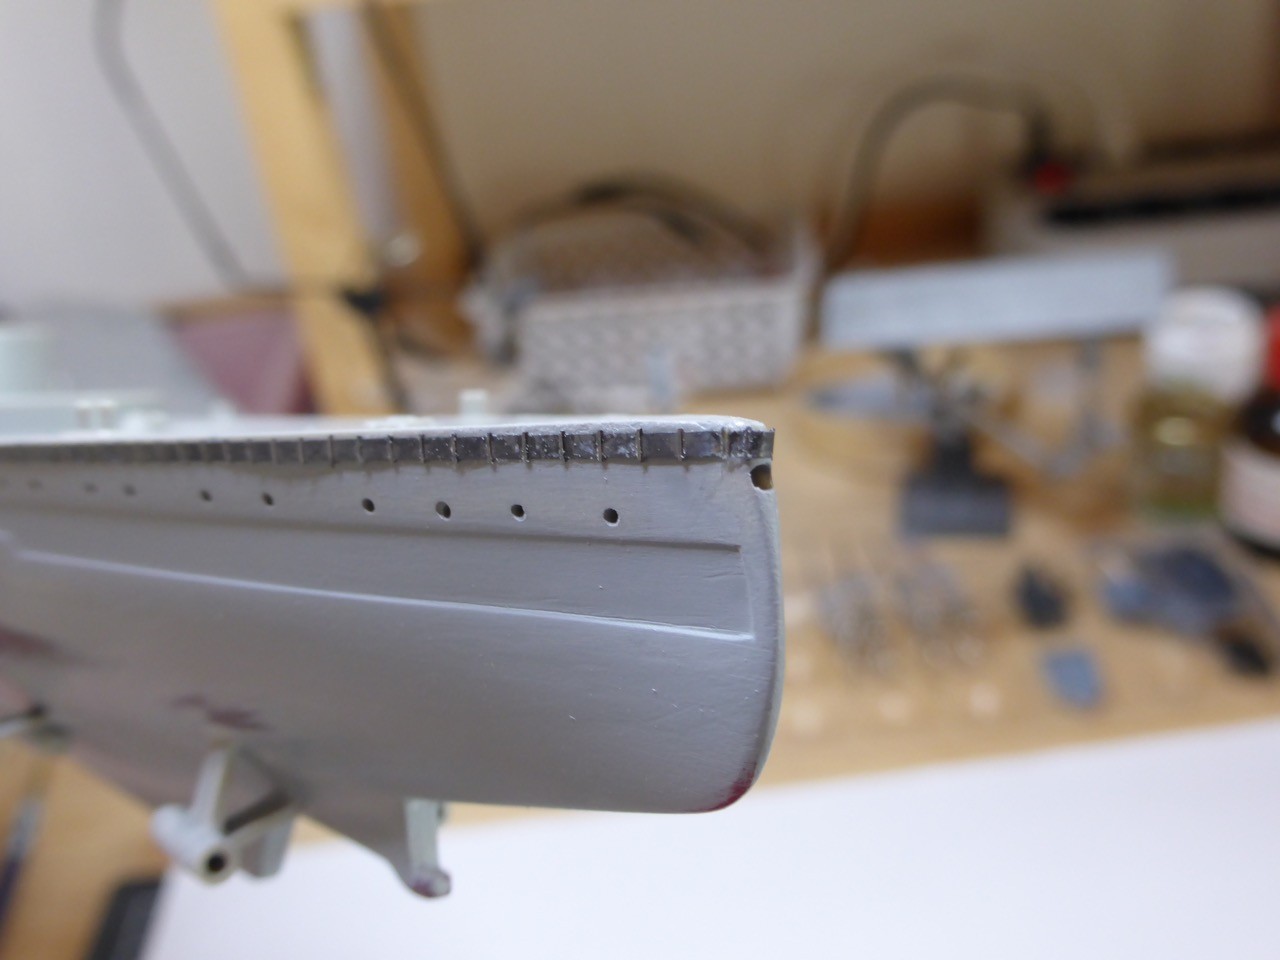
Start was quite smooth, PE added to the rudder
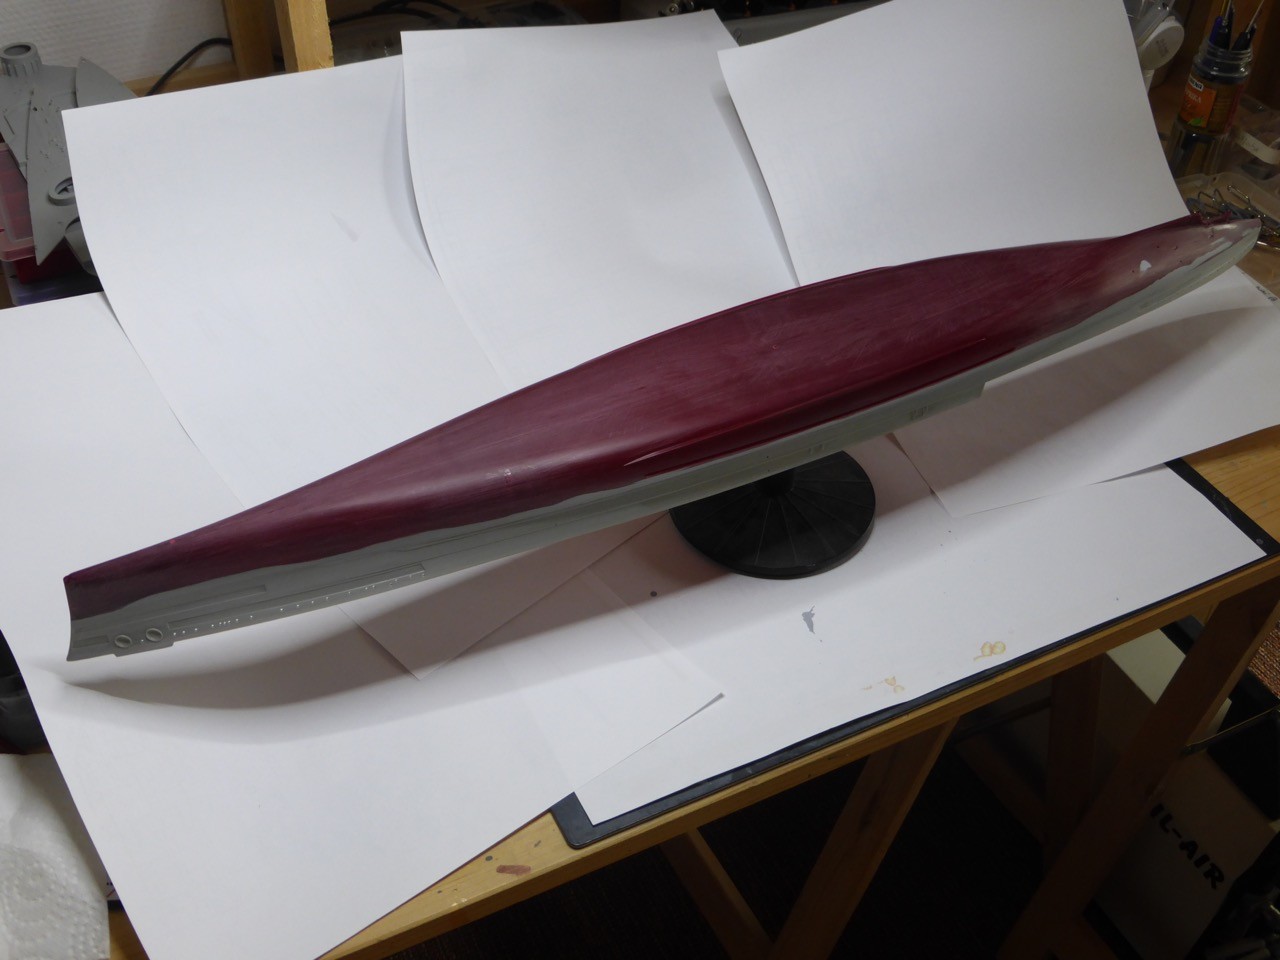
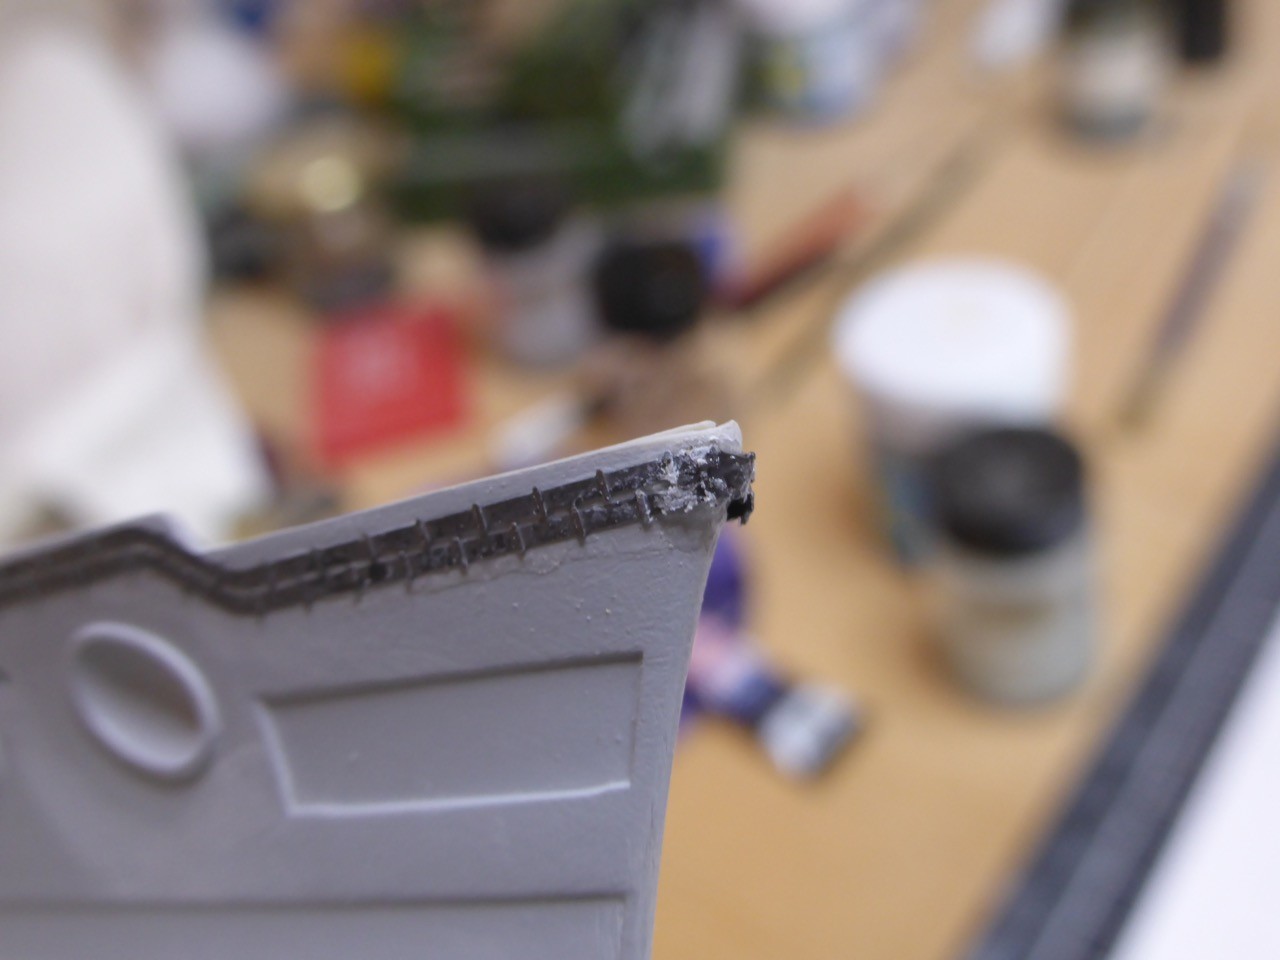
fixed the 'nose', the small bulge that I happened to sand down entirely on starboard side
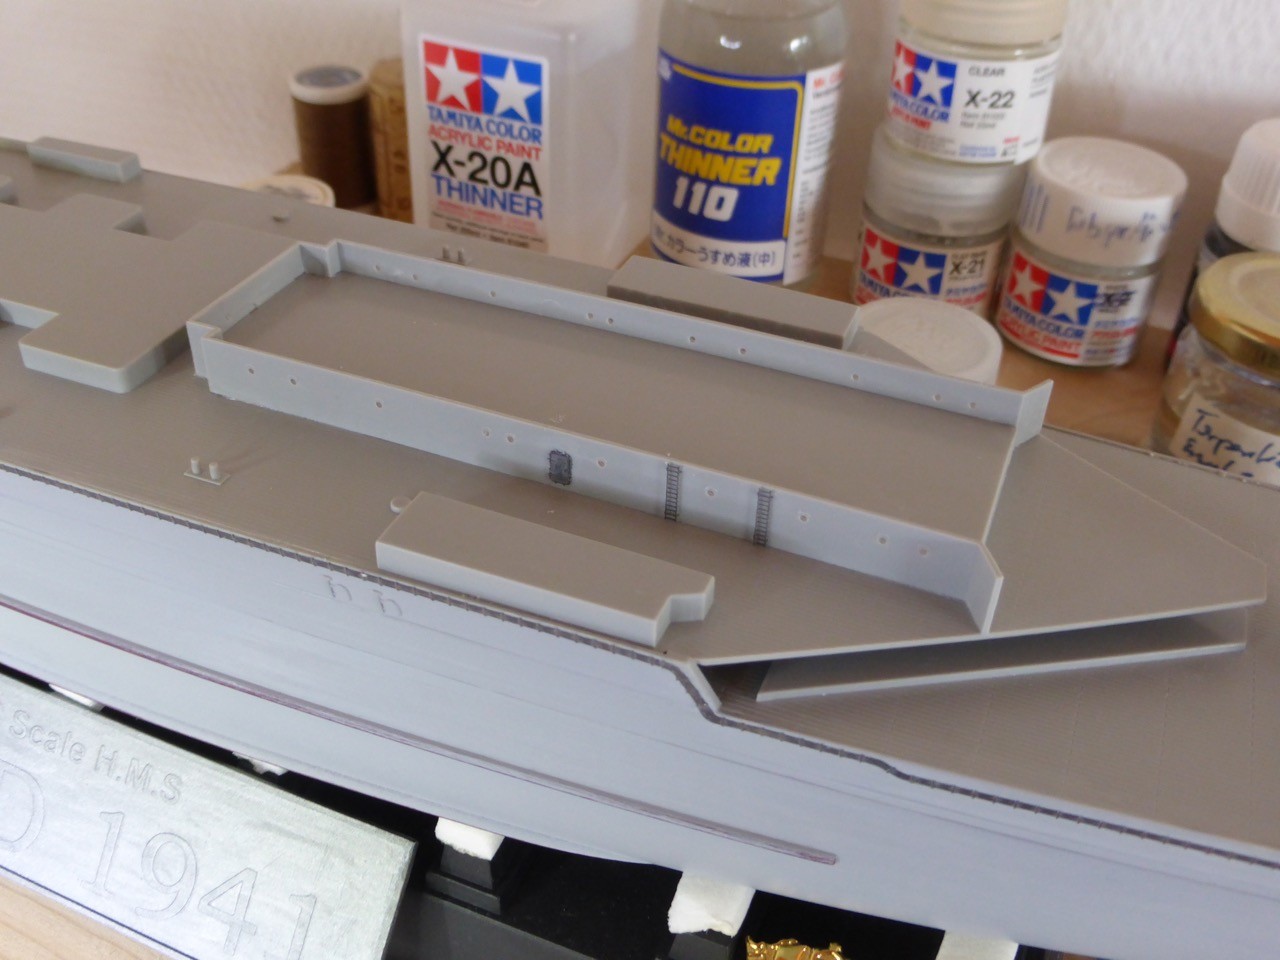
and now the plan was to get all the nice, tiny brass parts - hatches etc - in place on the decks.
The Lion Roar hatches look definitely great, they are double sided and can be displayed open ore closed.
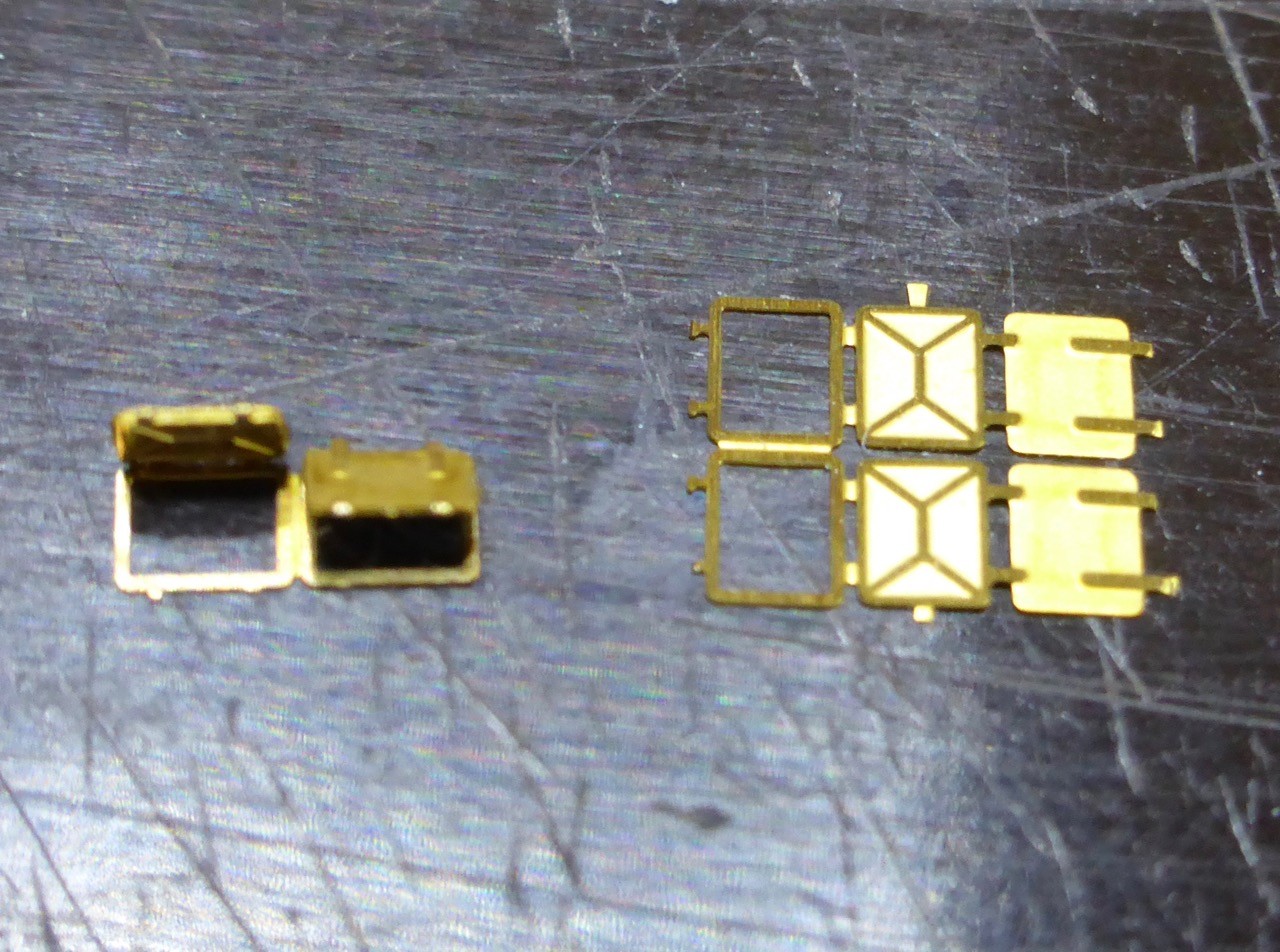
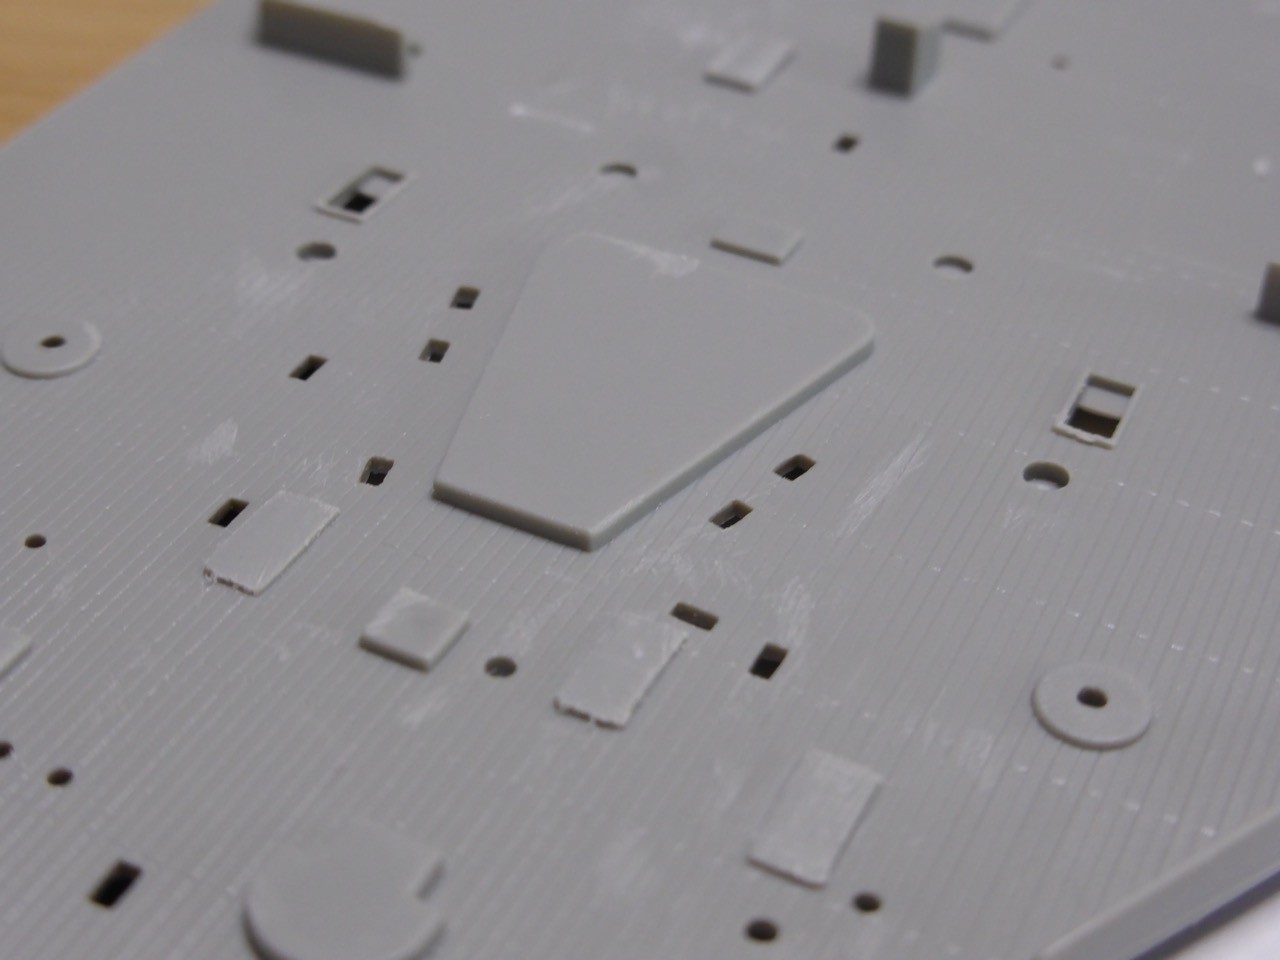
But they are just a notch bigger than the molded on plastic. Which is ok and will certainly look good, but - means I have to install them AFTER the wooden deck is in place. So put them in my 'small parts hibernating box'.
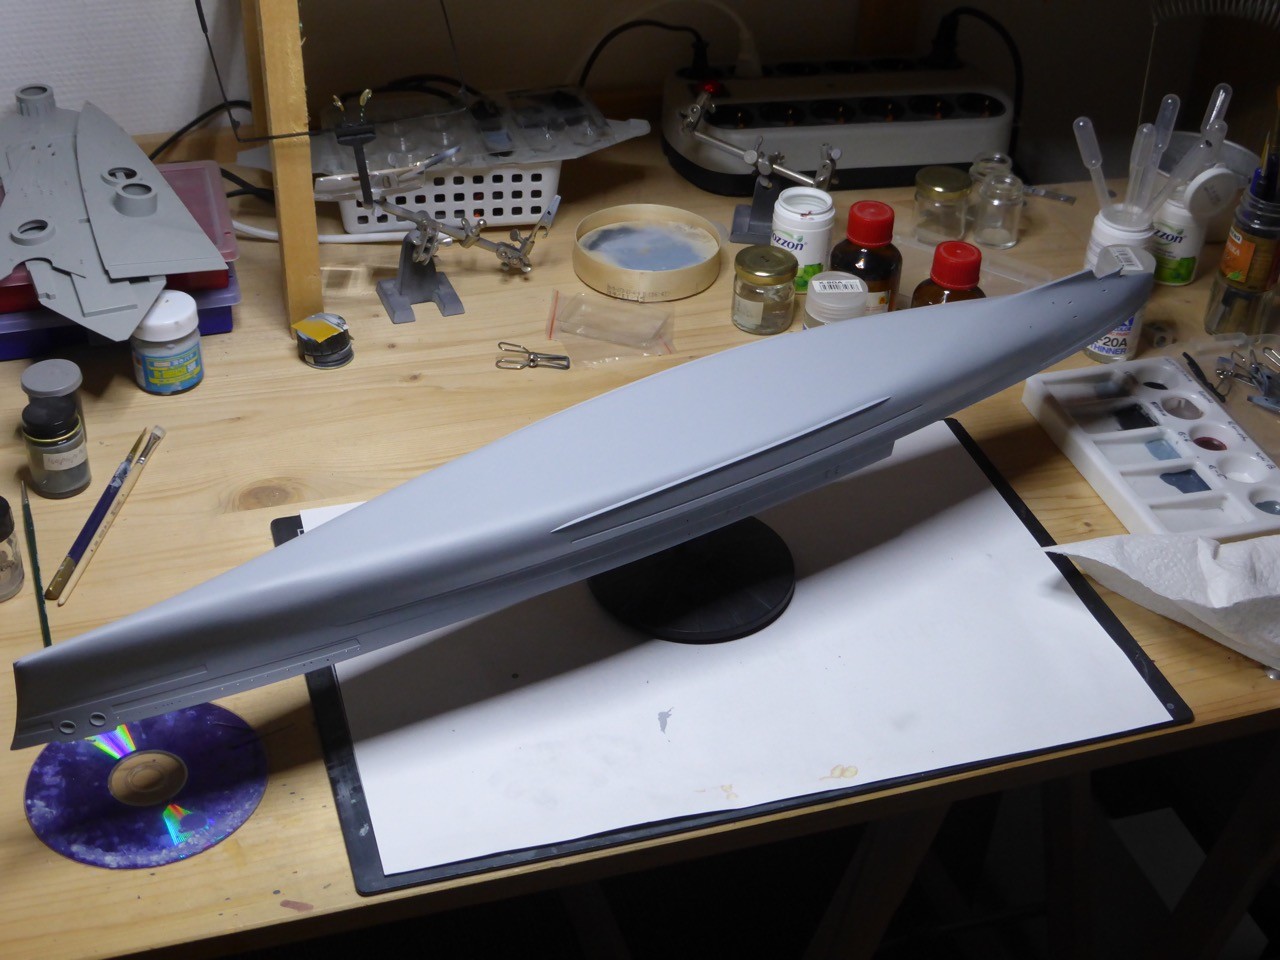
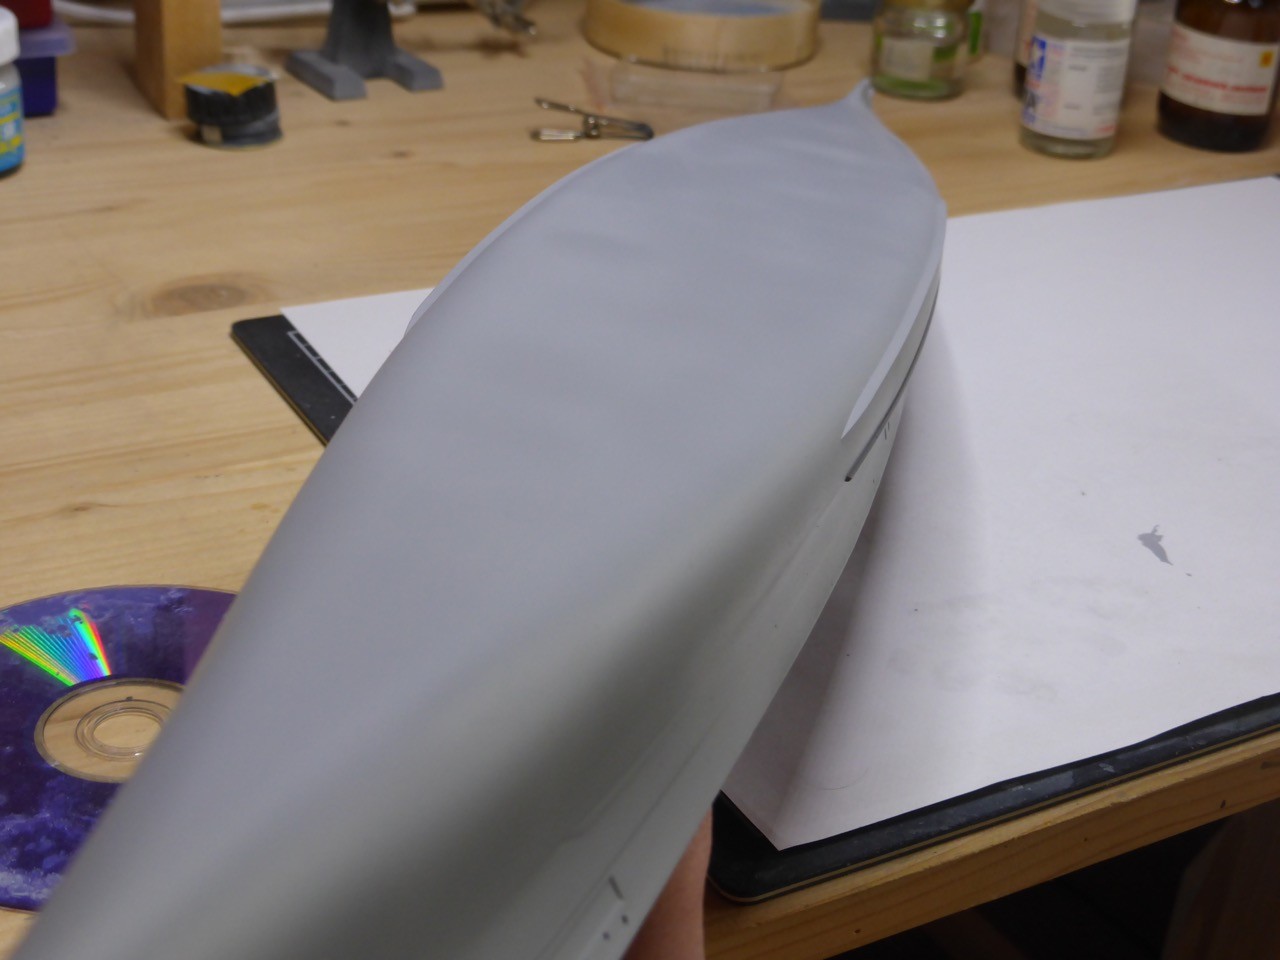
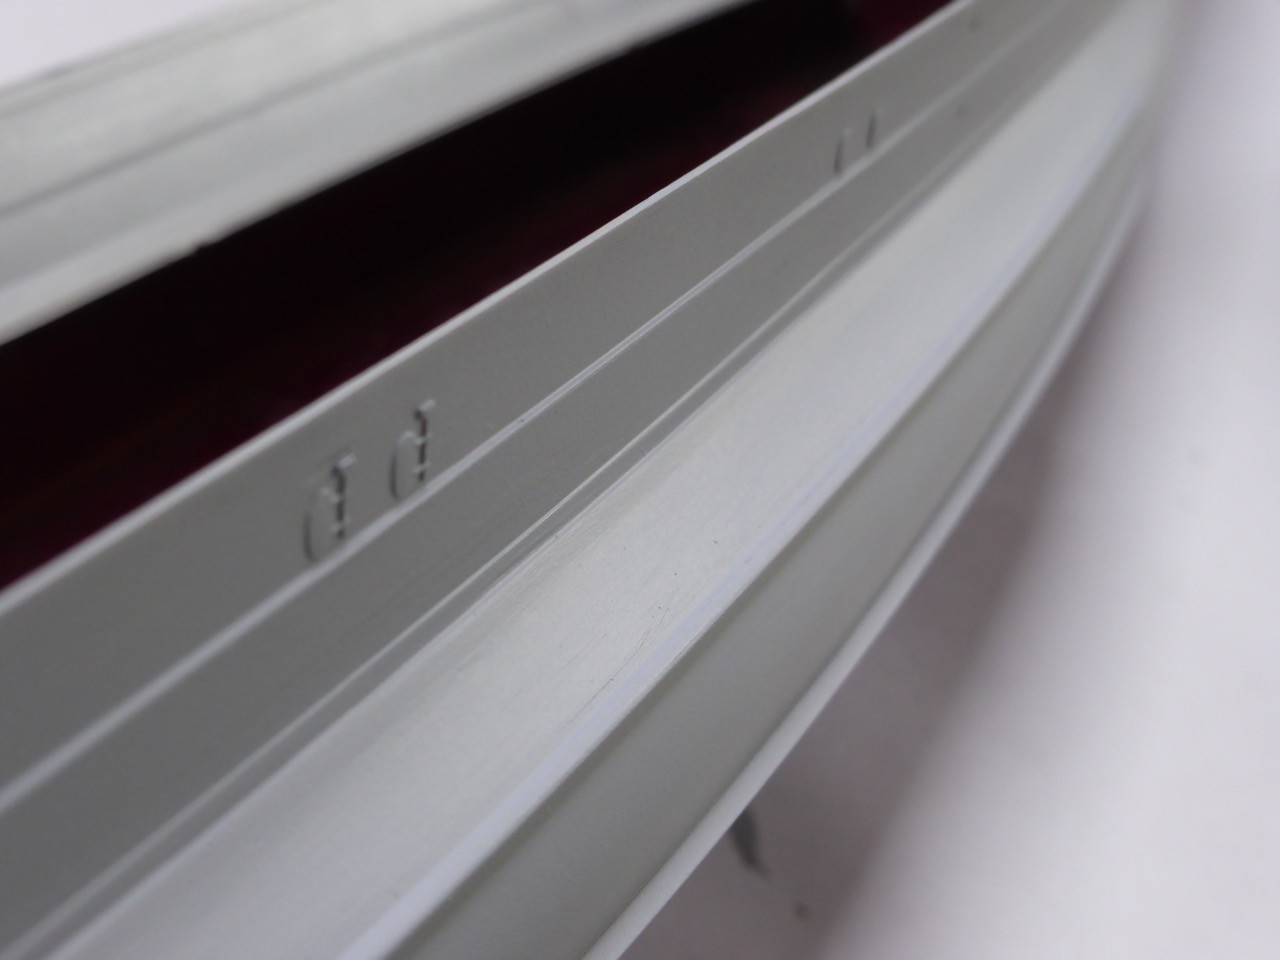
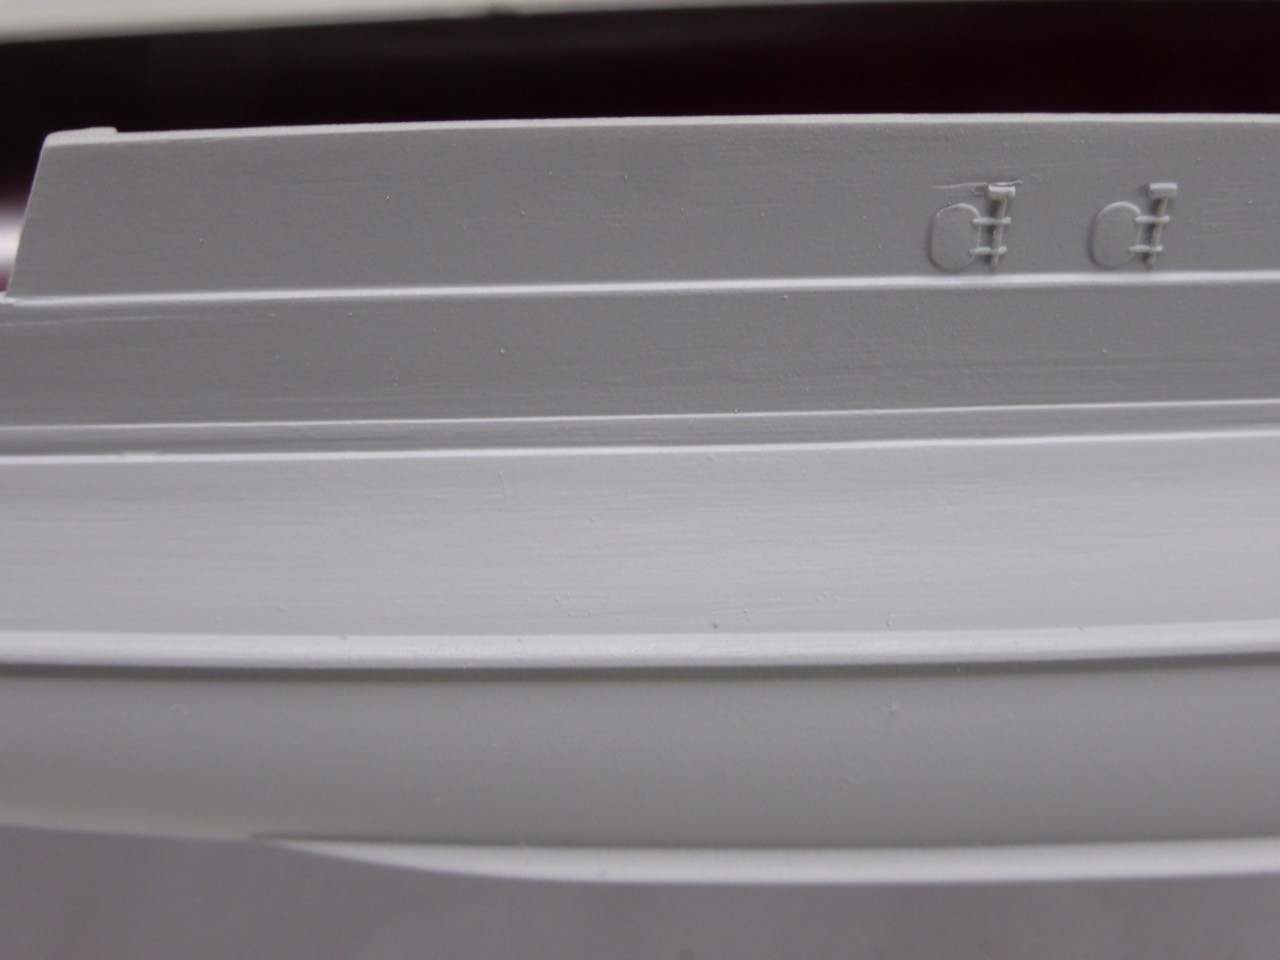
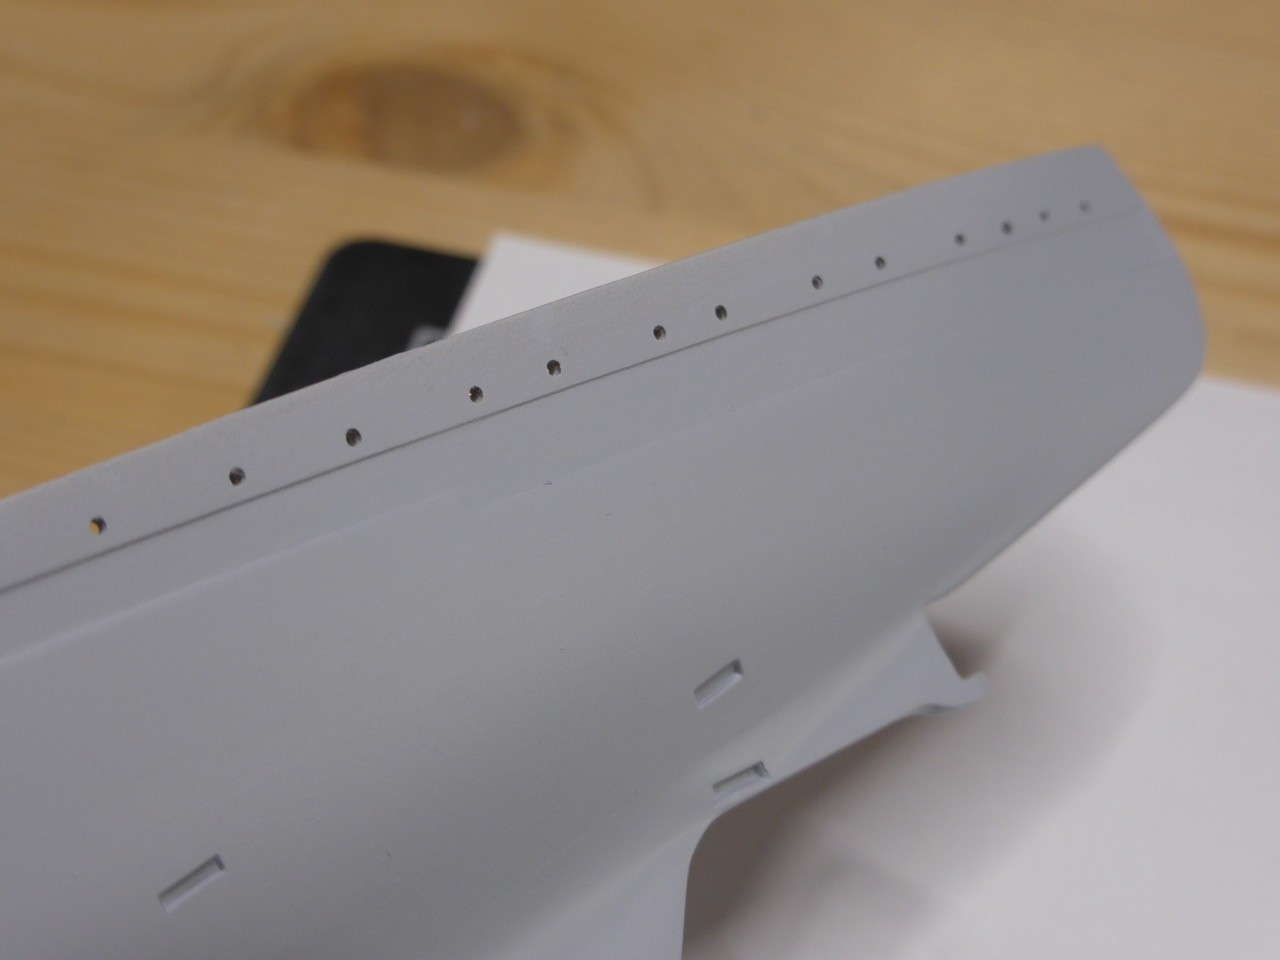
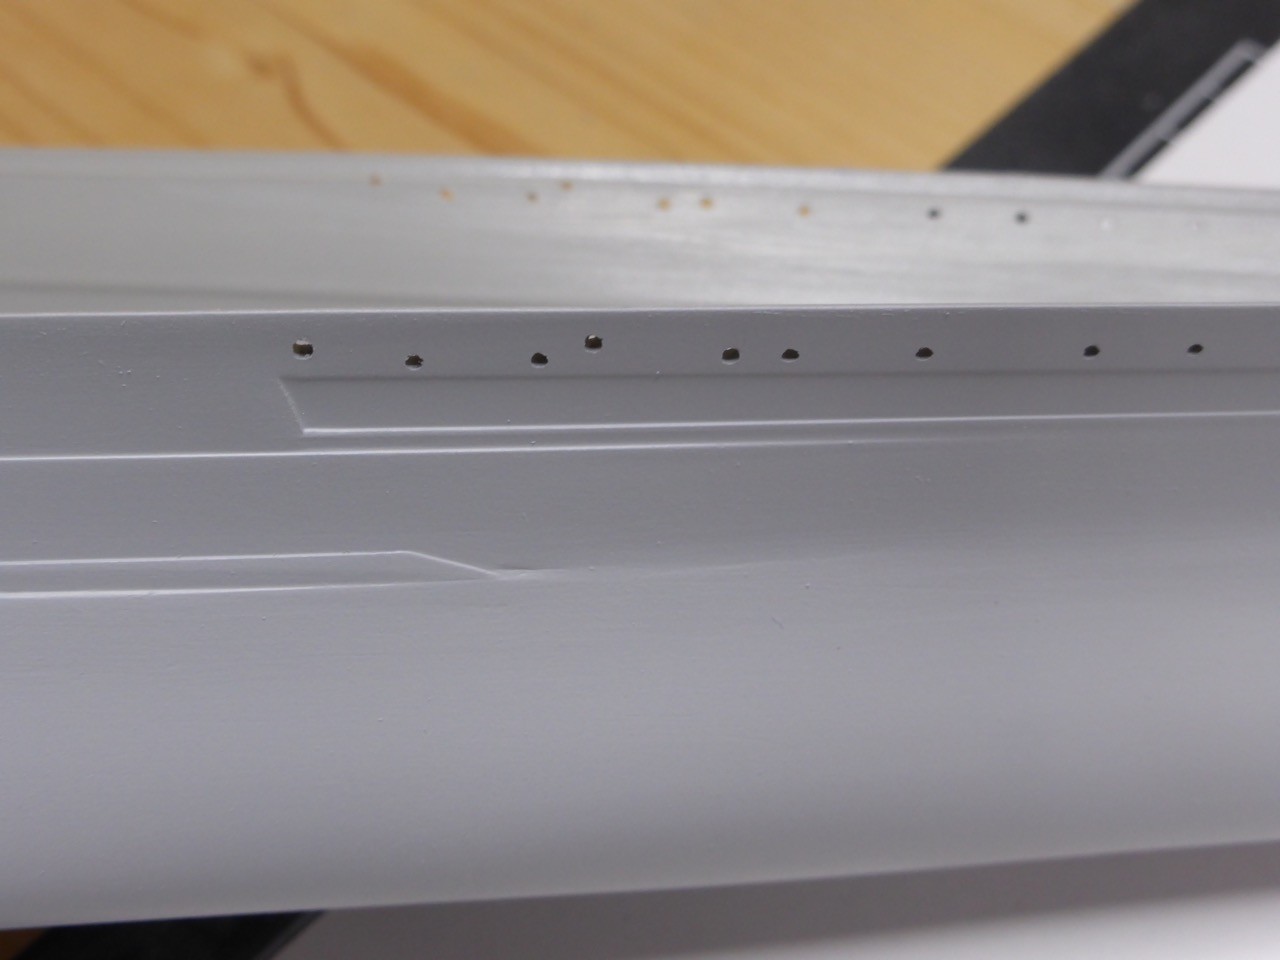
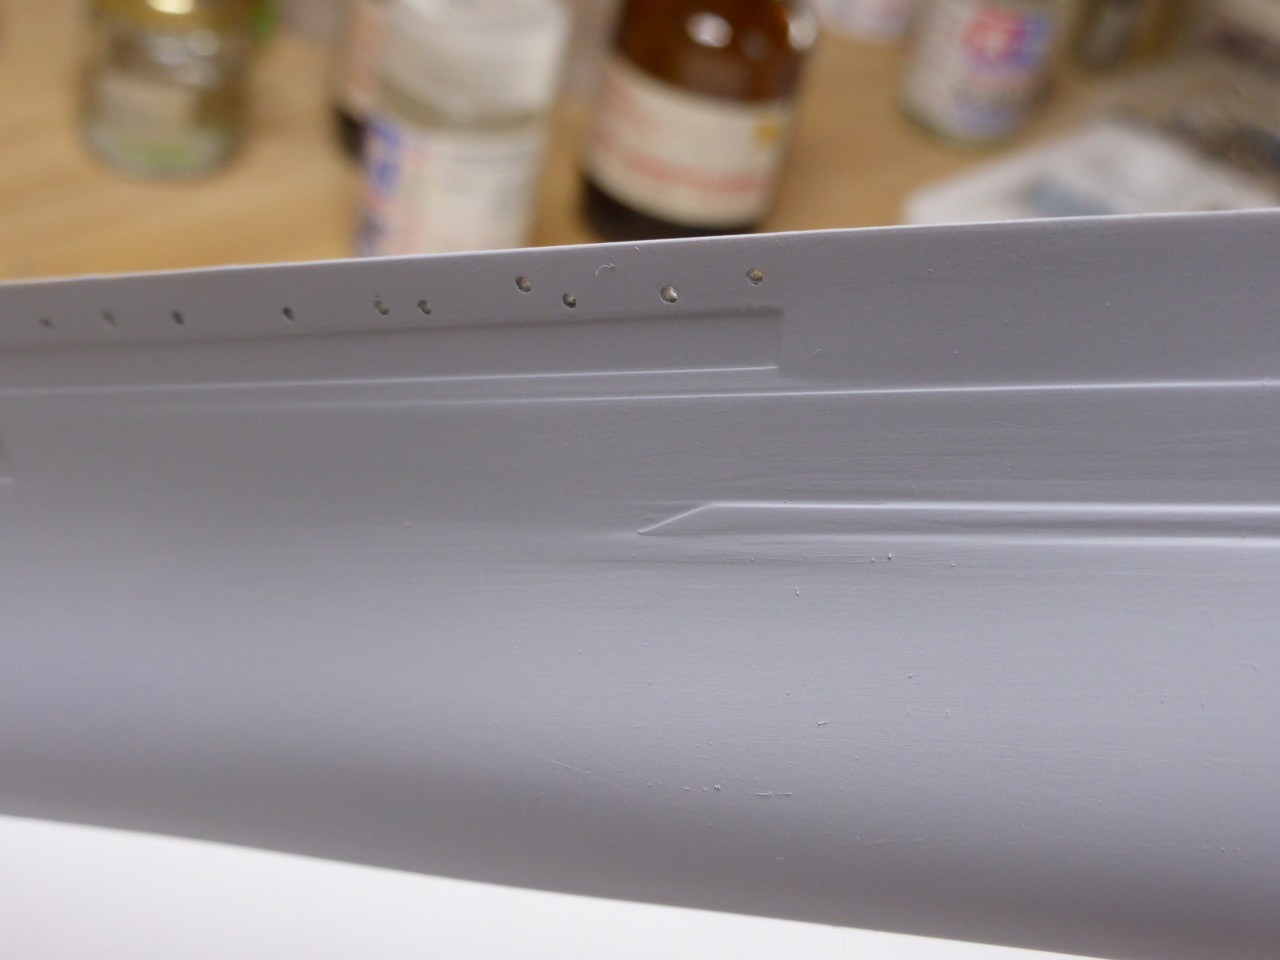
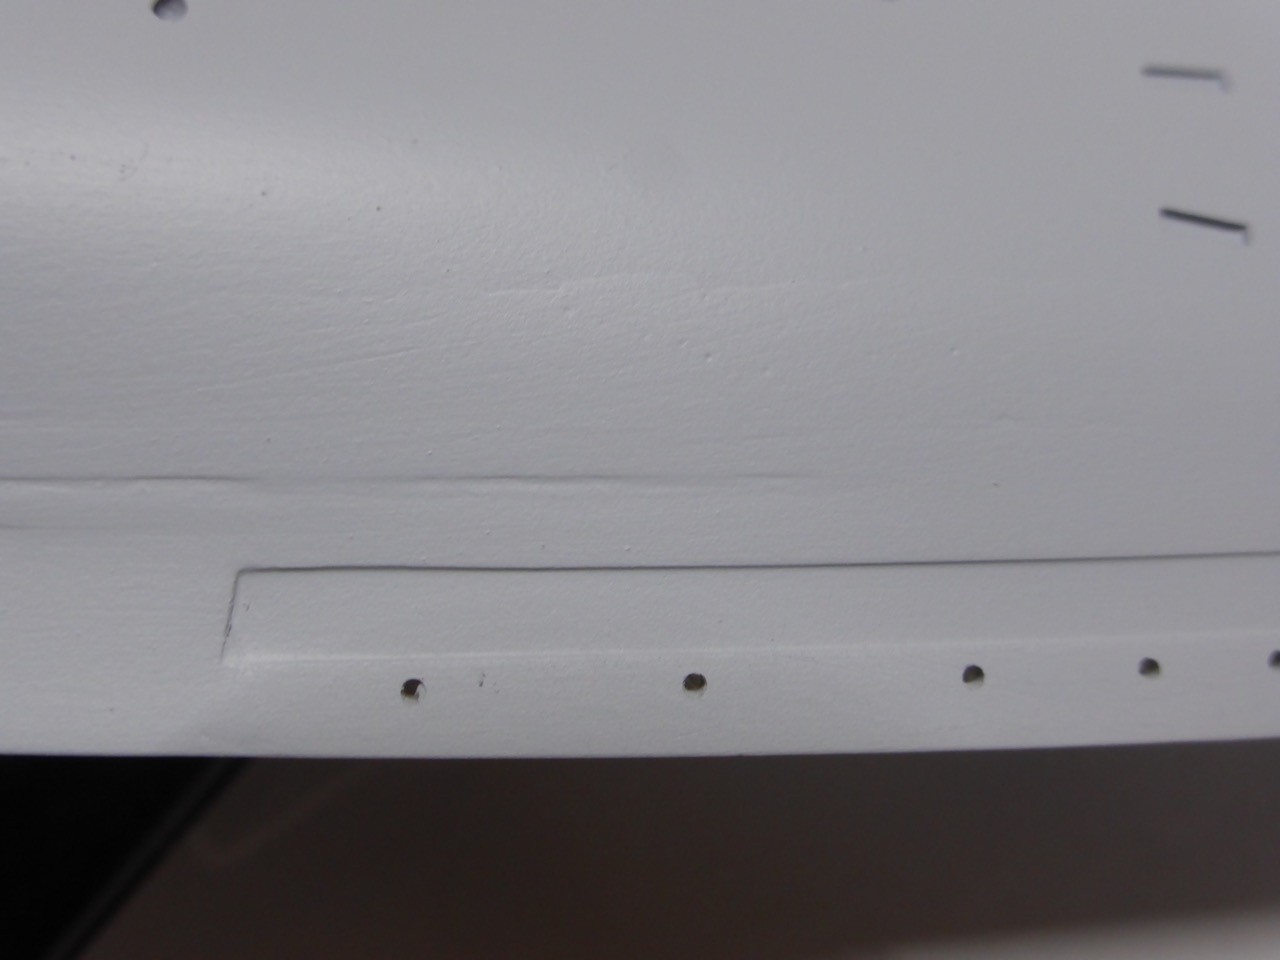
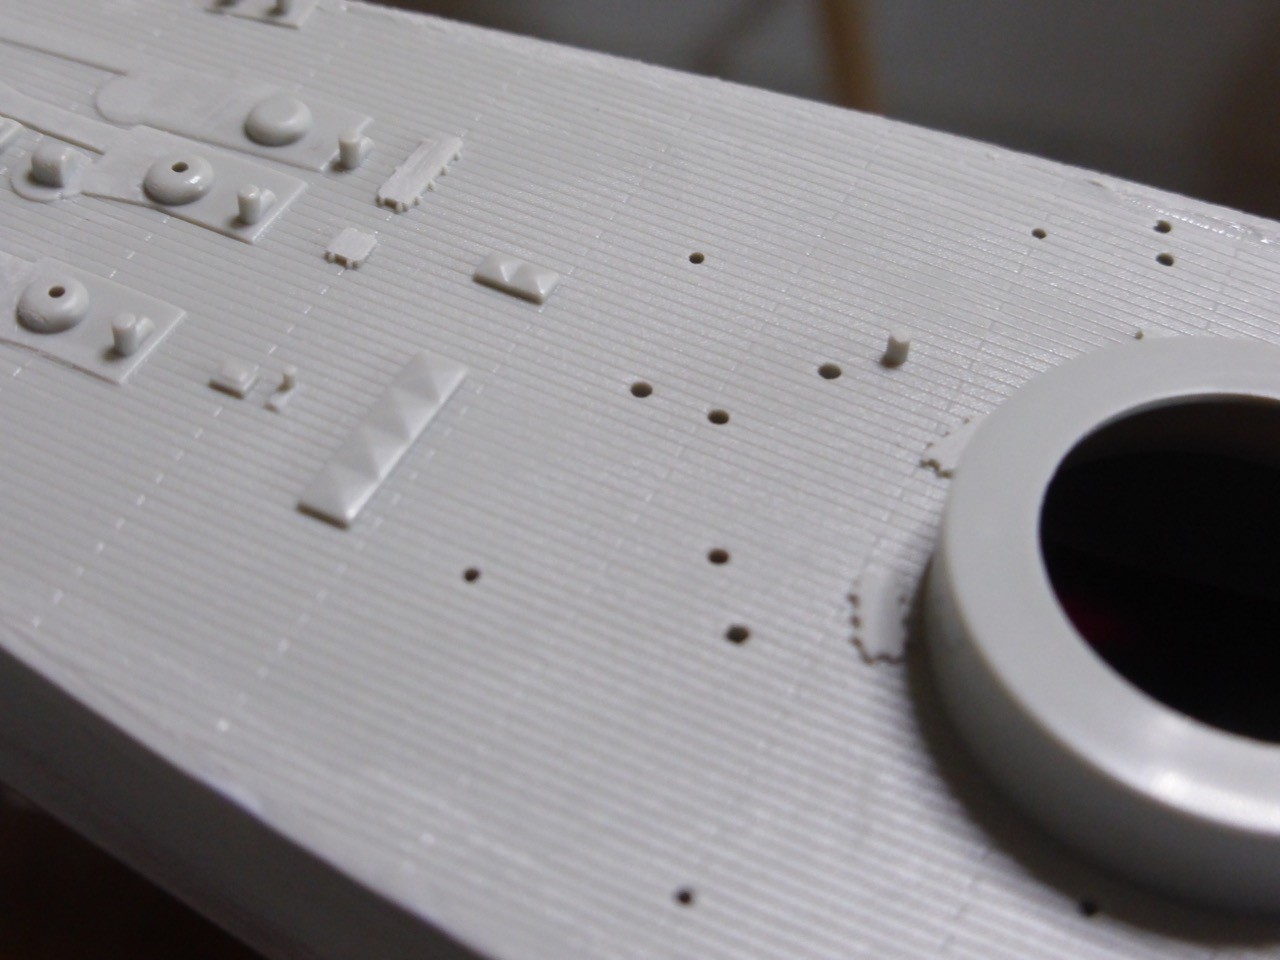
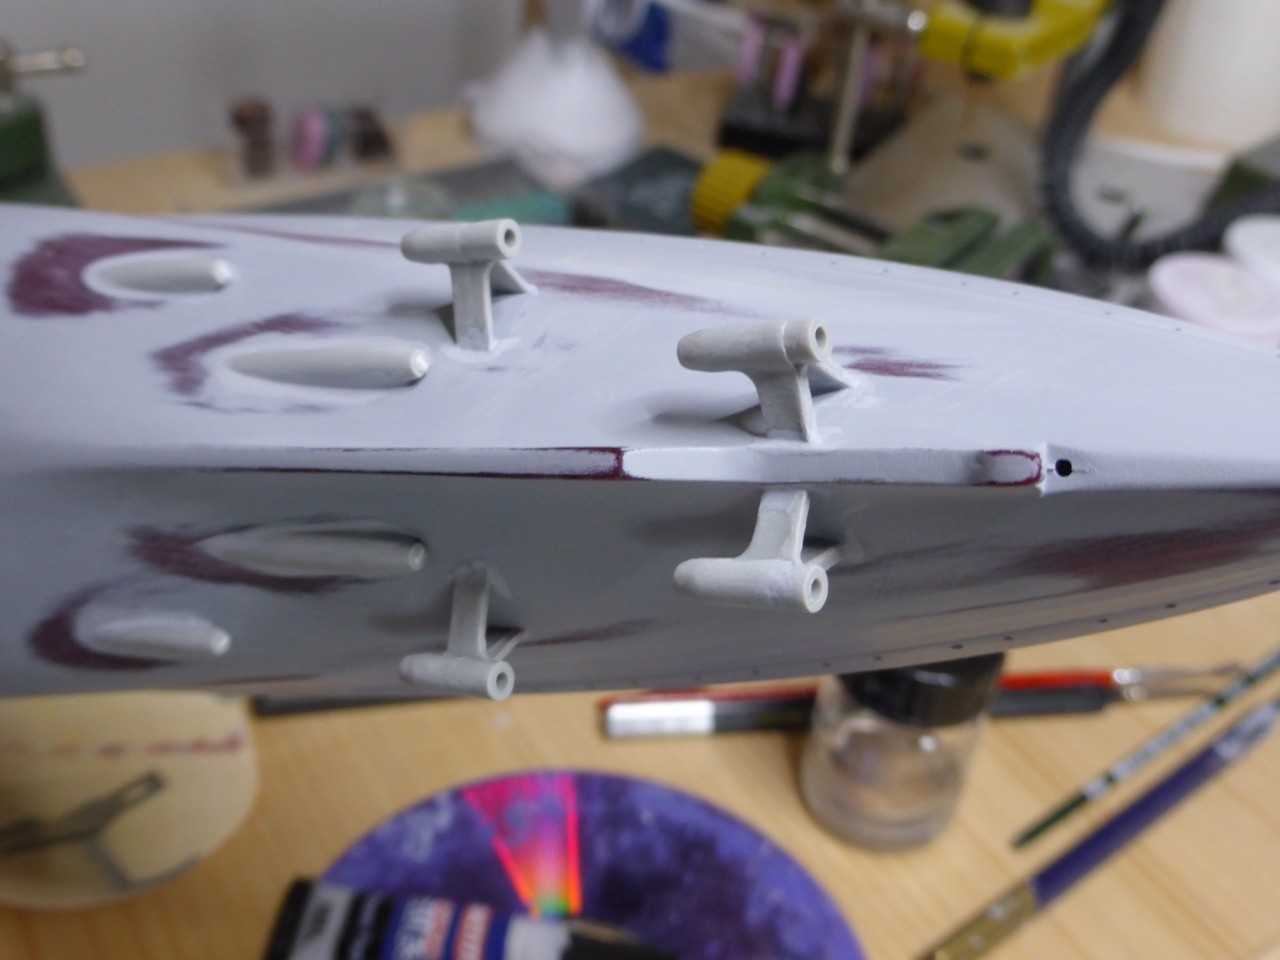
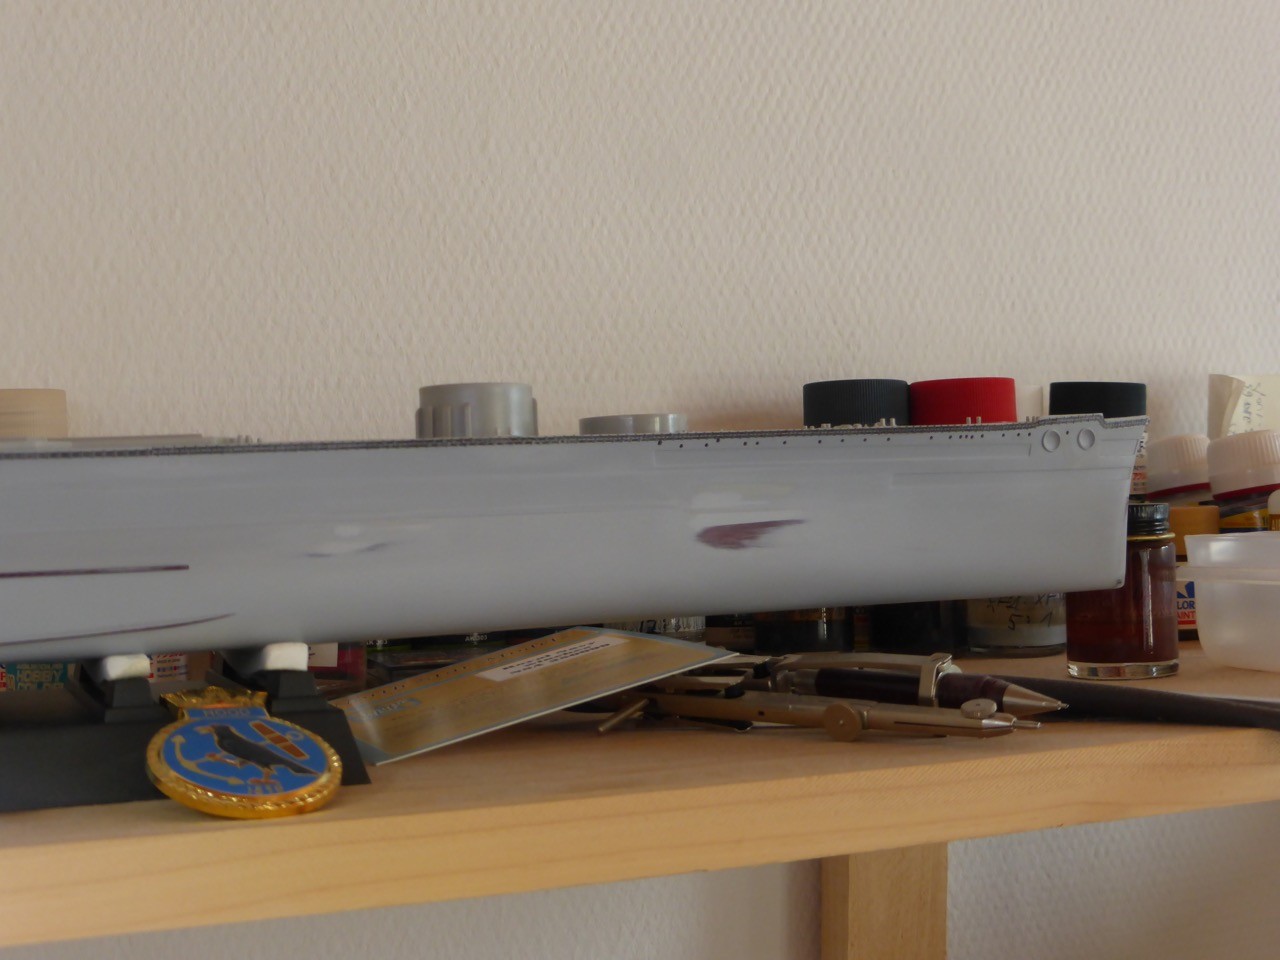
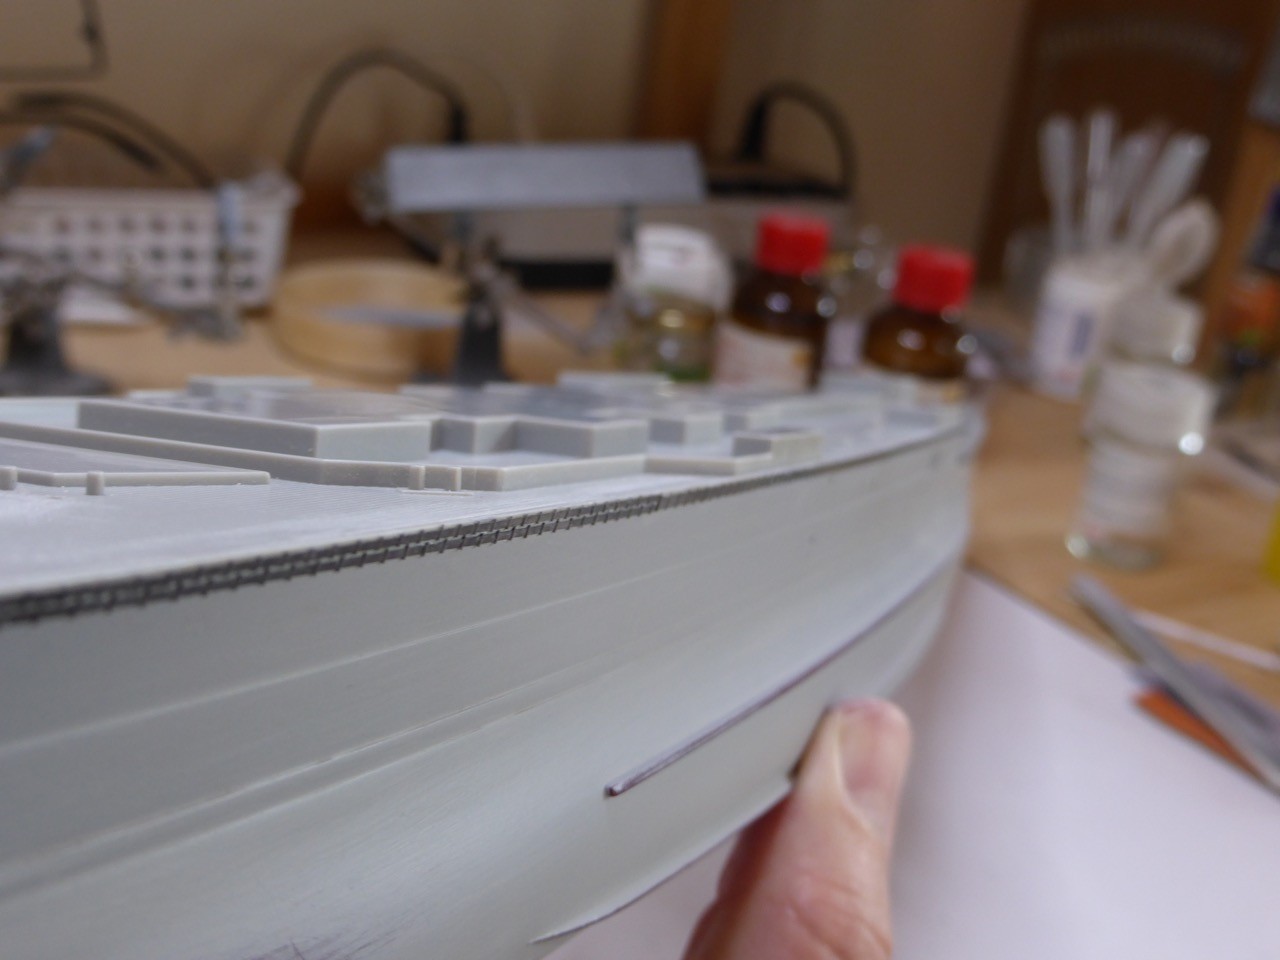
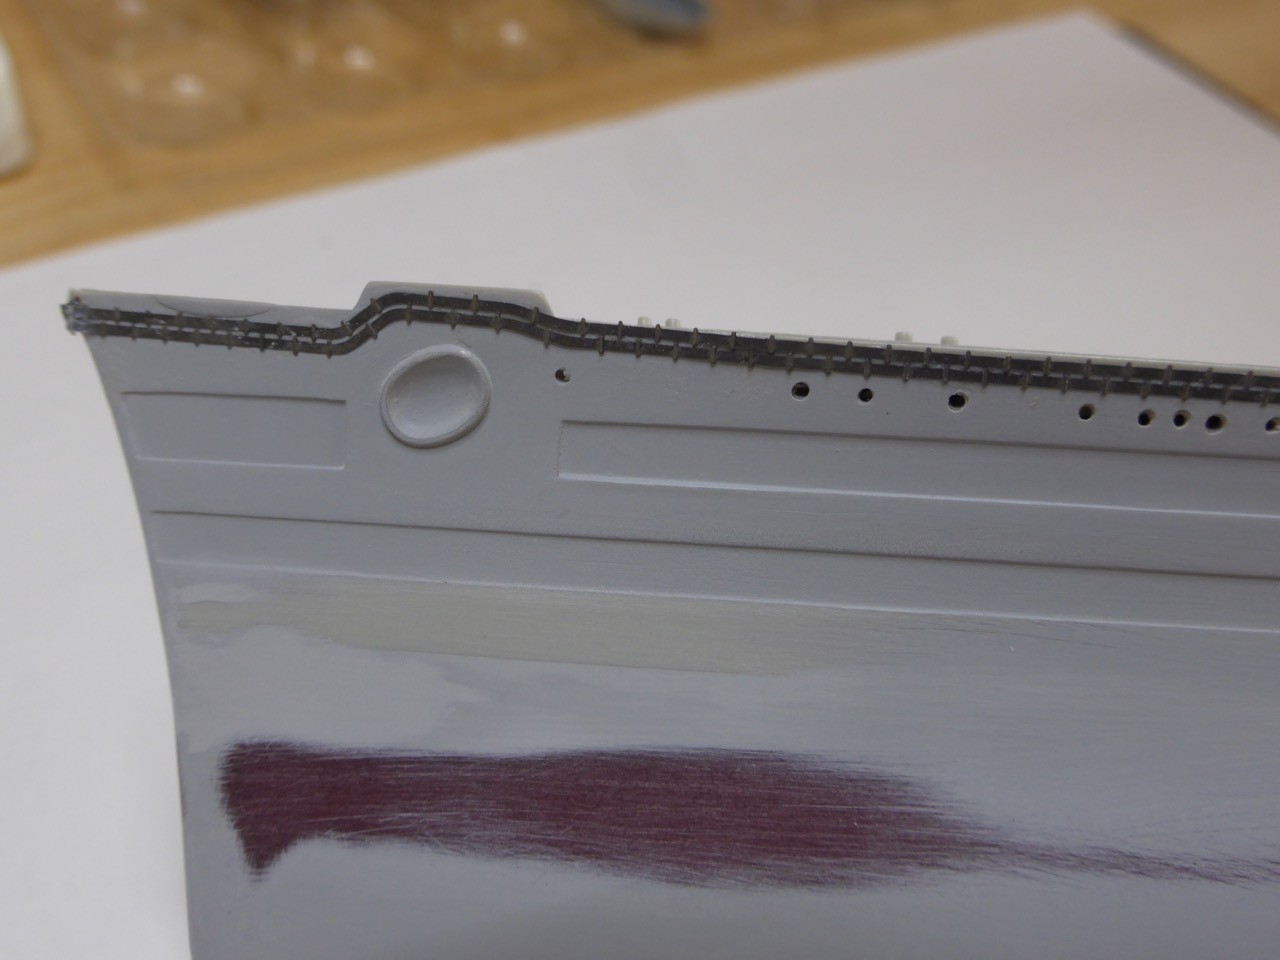
Now, before I can glue down the wooden deck, the hull has to be painted. Before that, some more small parts are needed - waiting for a set of portholes from North Star to replace all the little 'eyebrows' I sanded away. So one leads to another...
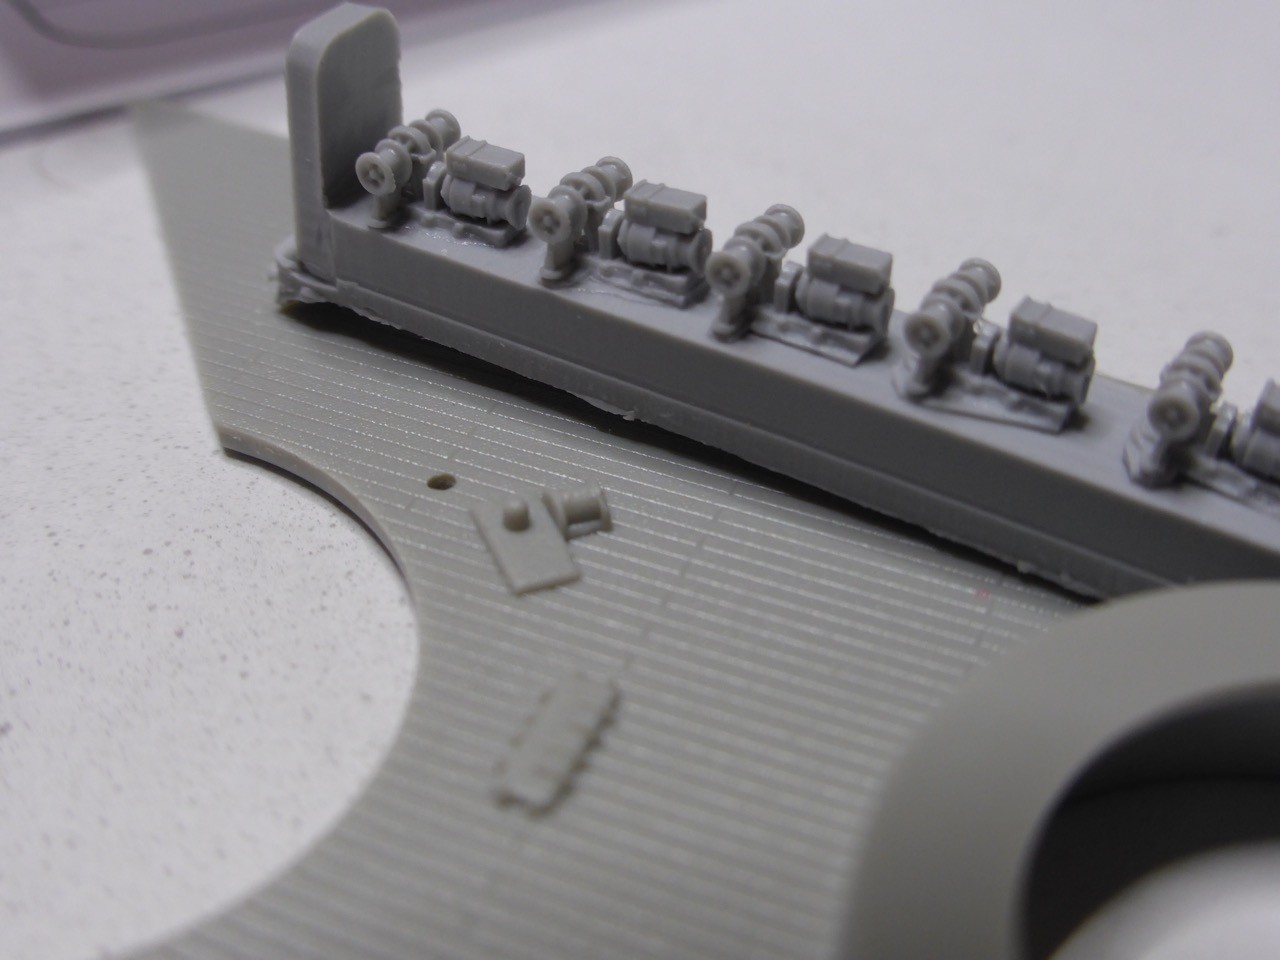
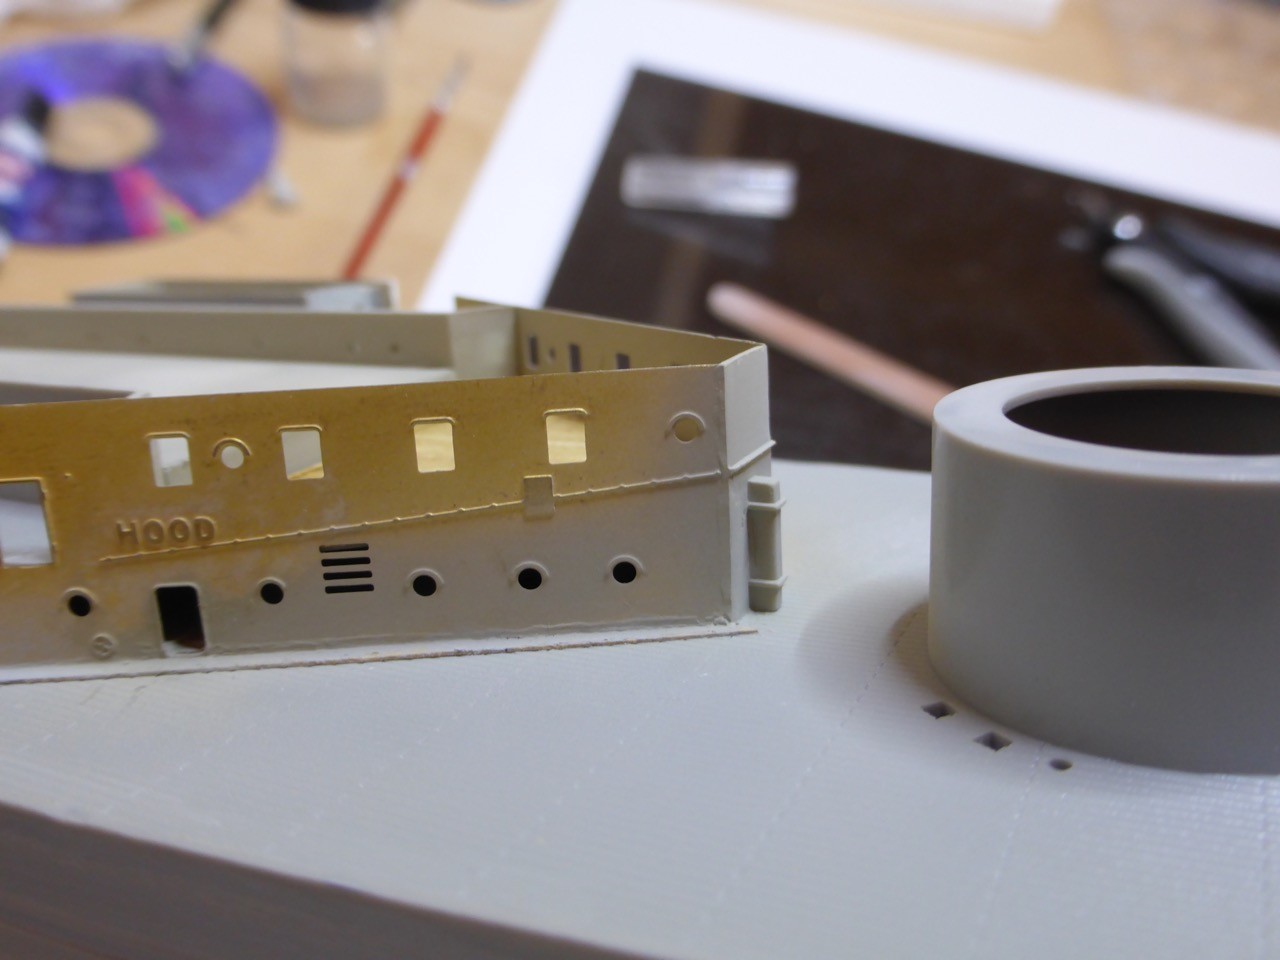
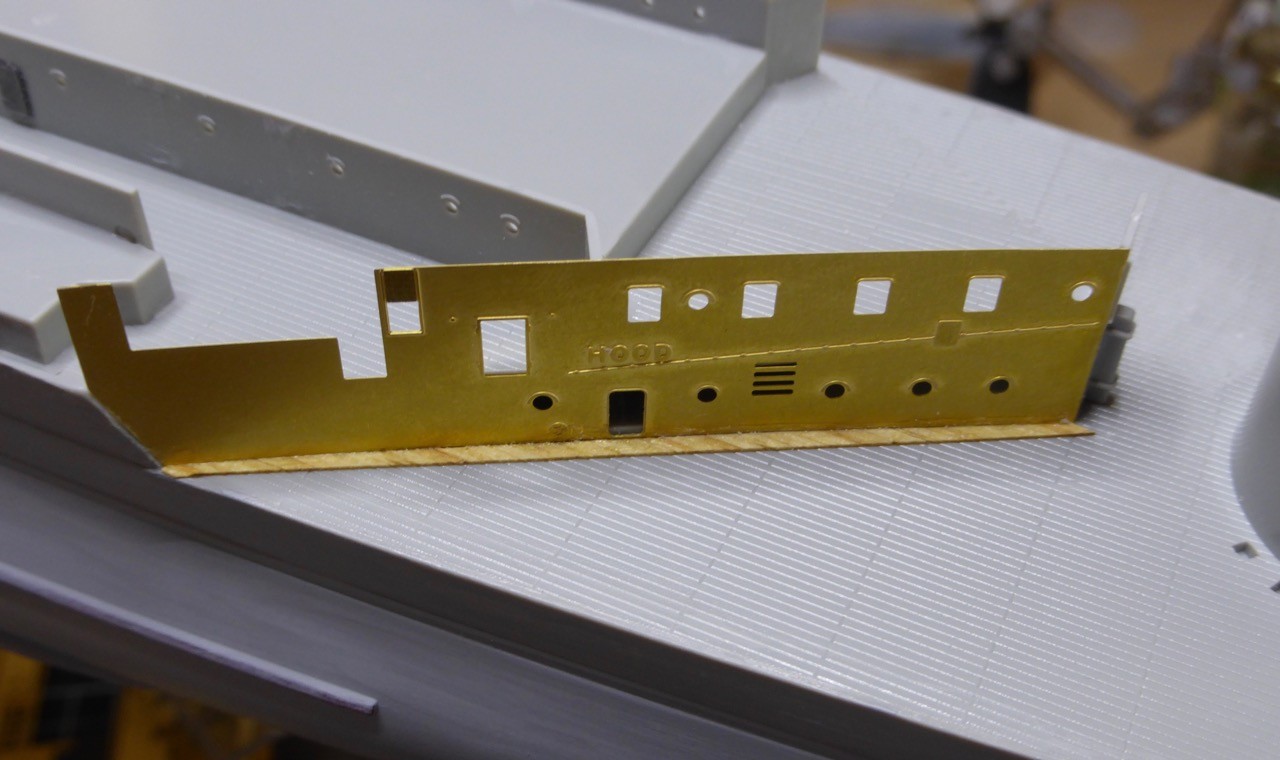
So I started with some parts of the superstructure. And this one is really complicated on HMS Hood. (though very nice...).
Ok, standard first - sanding away some details.

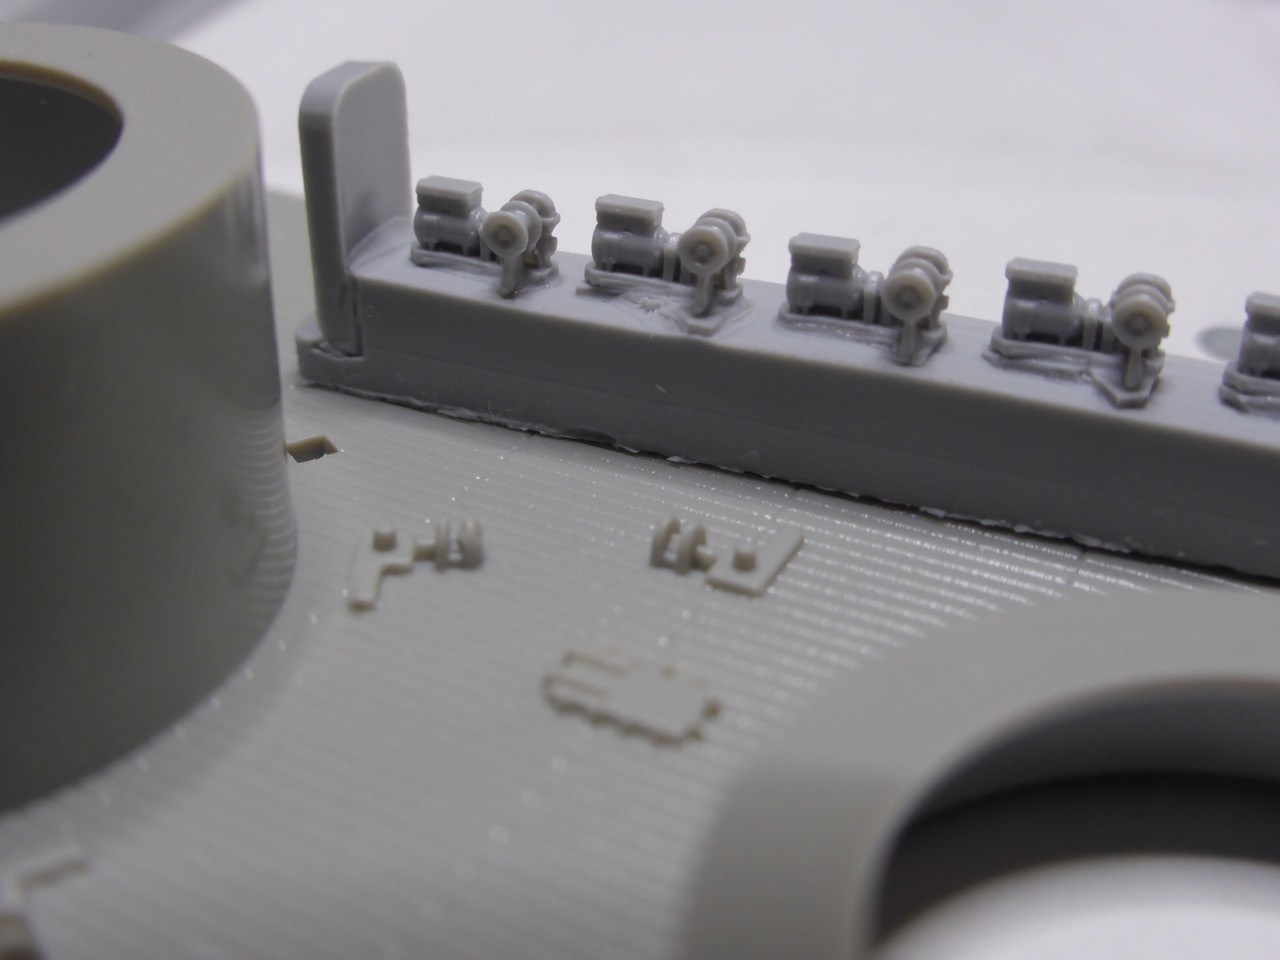
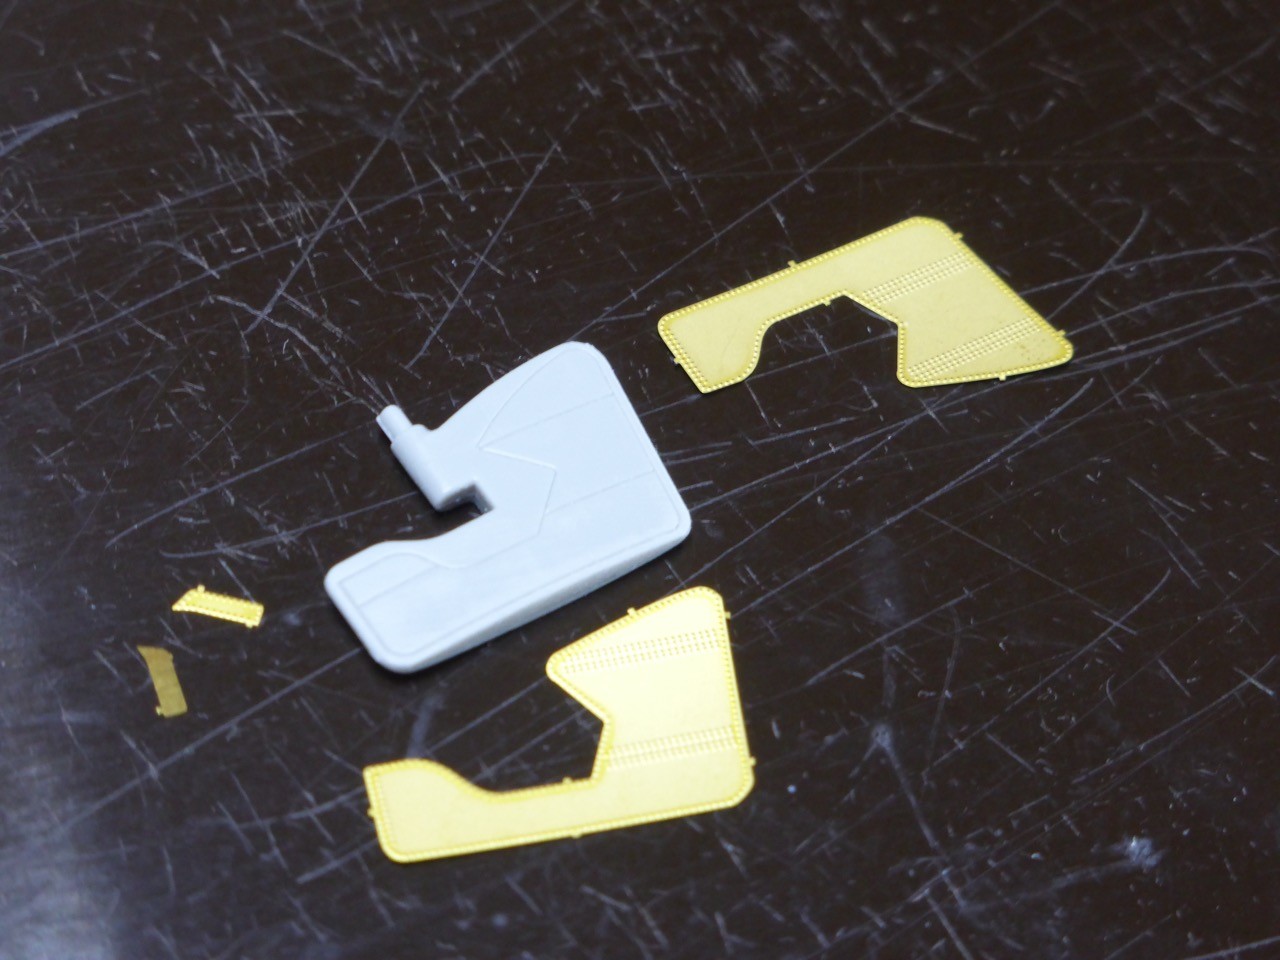
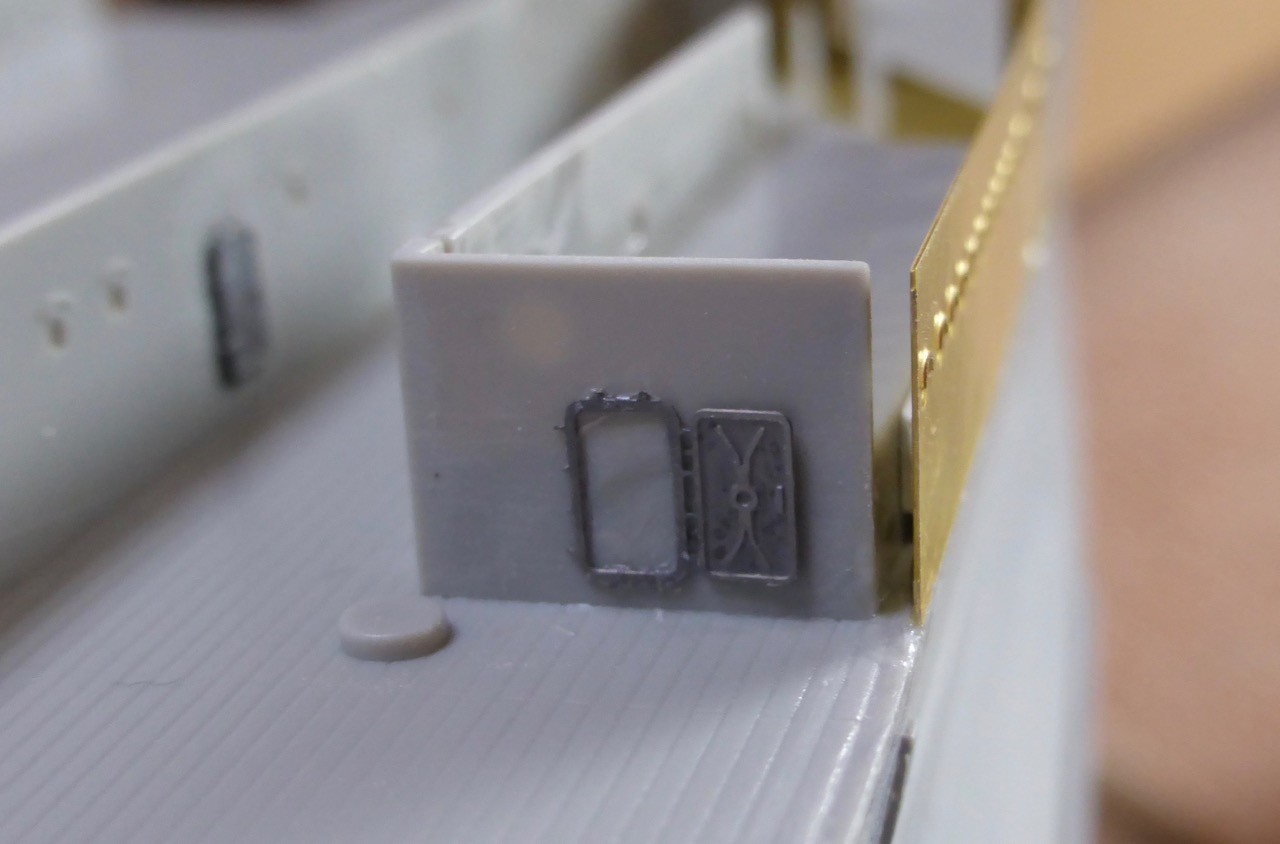
Replacing with PE, this time Eduard. Lion Roar had no doors for the internal parts. Will you really see them? Well...but it's good to try stuff, the doors and ladders from this kit look different than the ones I remembered from Eduard.
Doors open and closed here possible as well. Nice stuff.
Some first parts installed.
Even though there's nothing you can show - I spent quite some time going over the various instructions to make a strategy. This one's really complex, and of course I did the first foolish things already.
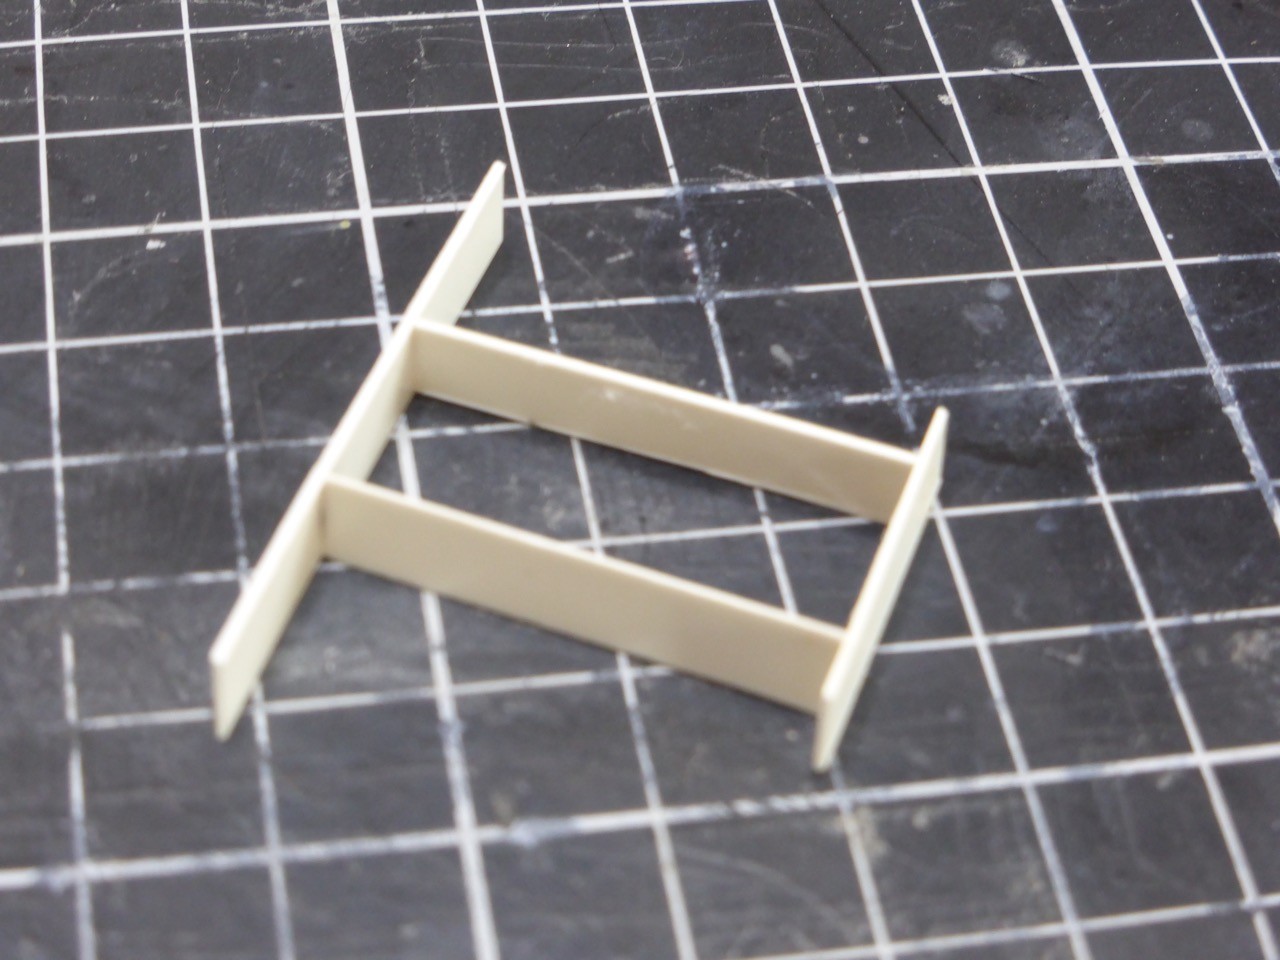
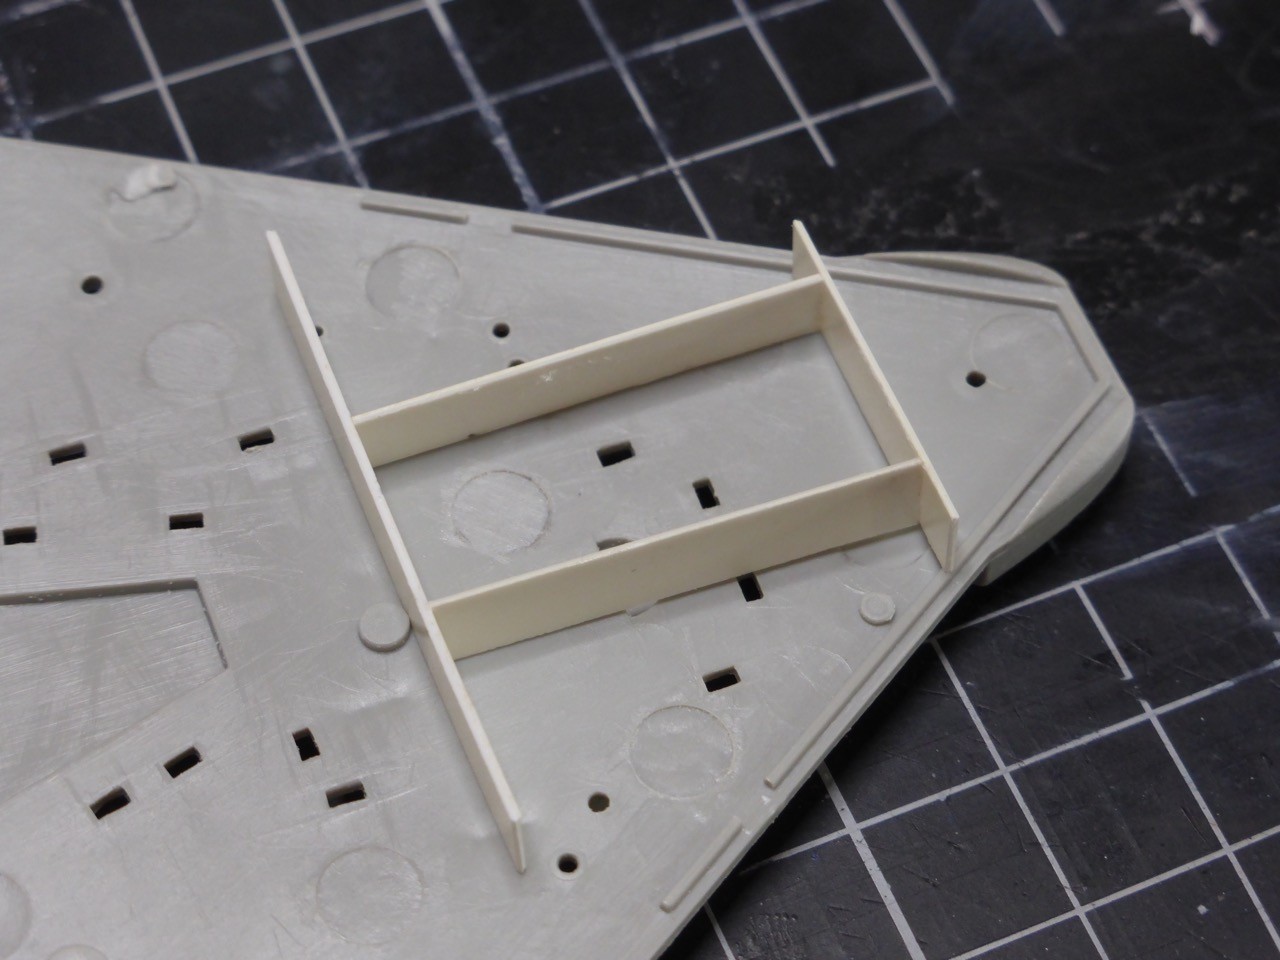
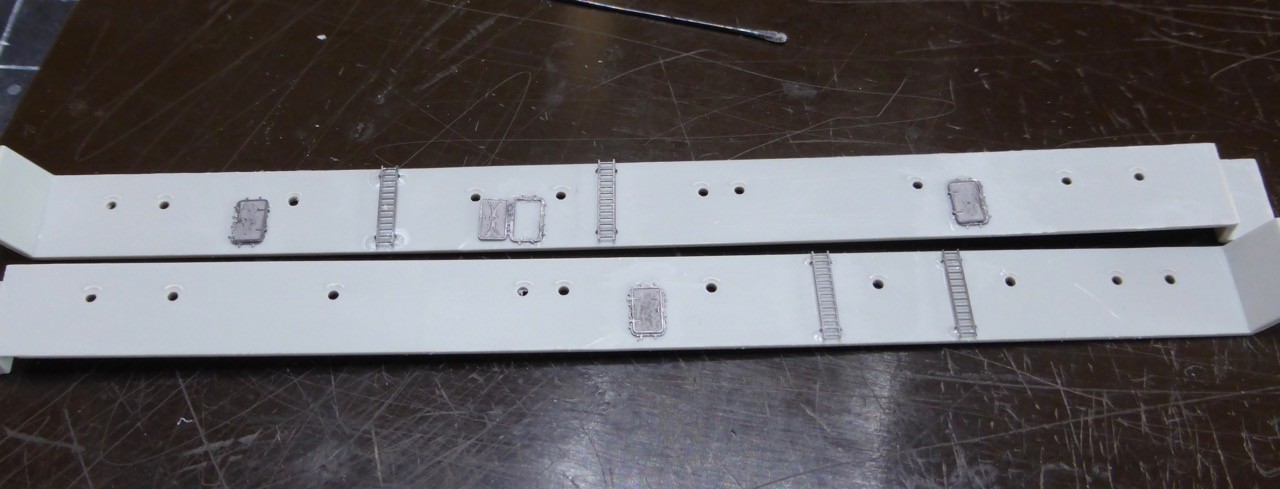
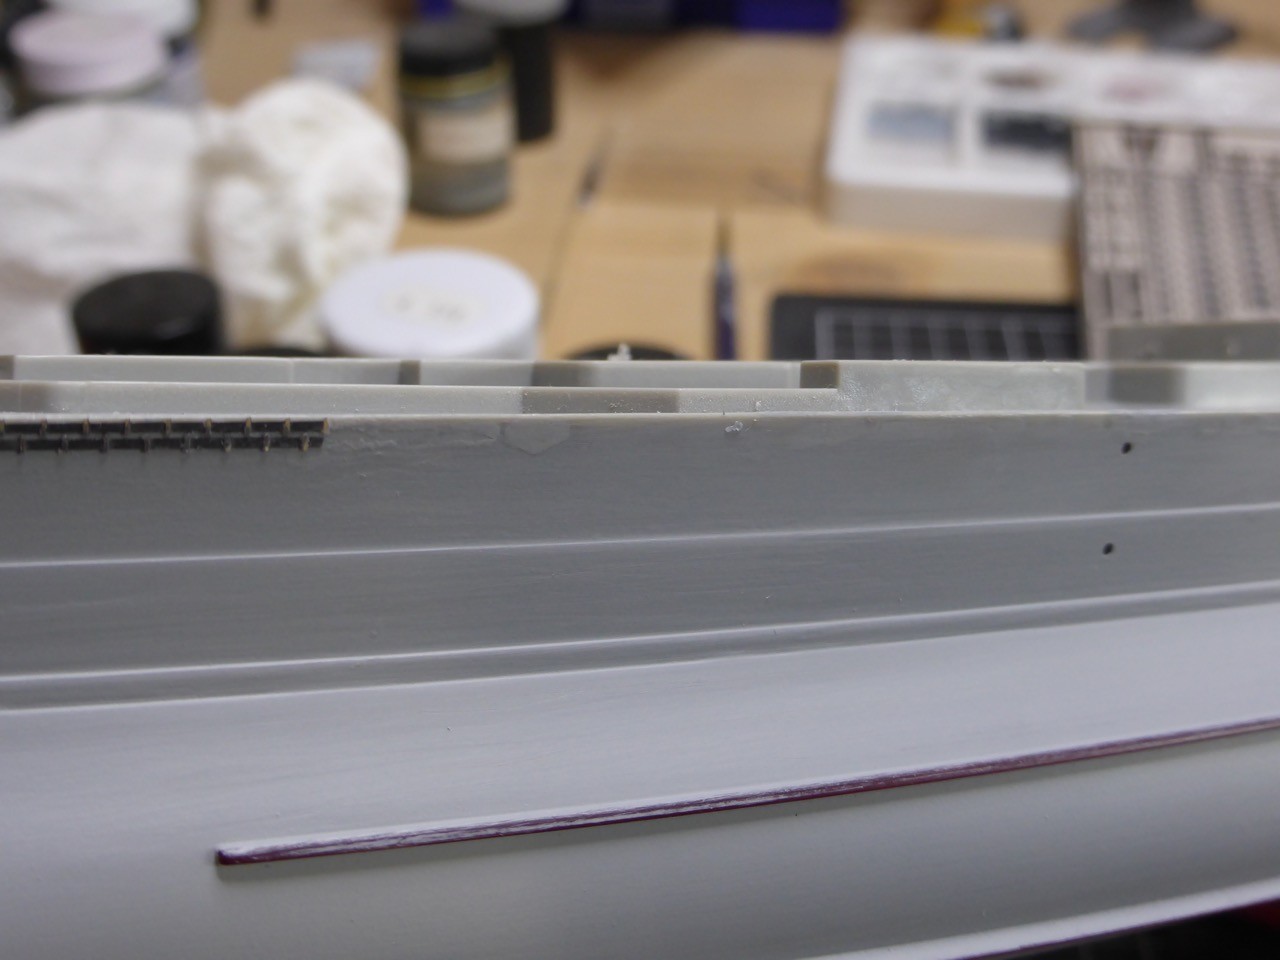
Well, the vertical ladders had no real chance - there needs a wooden deck to go between those parts of the superstructure. So took them off and put them in the hibernating box as well.
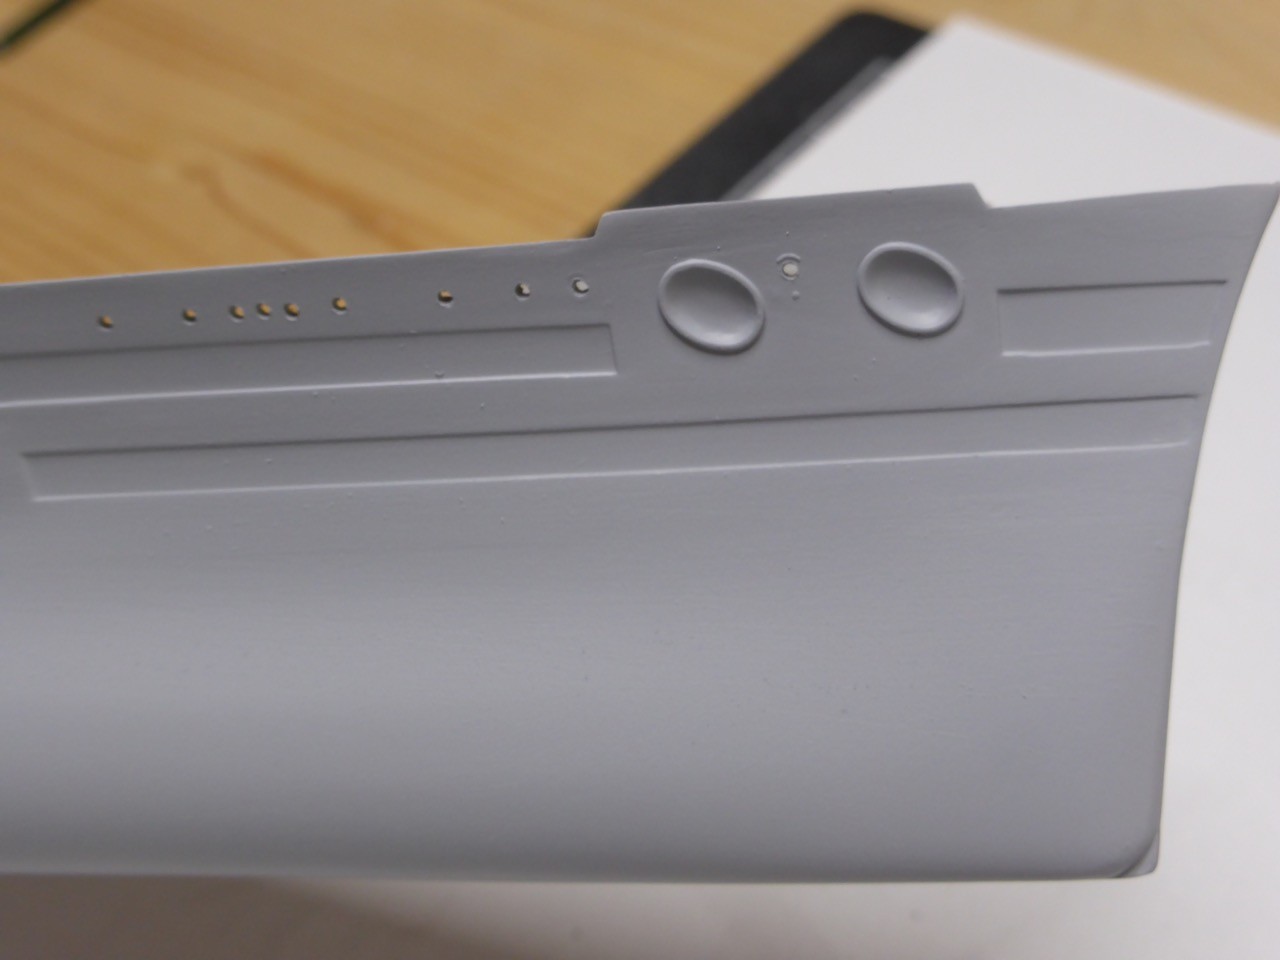
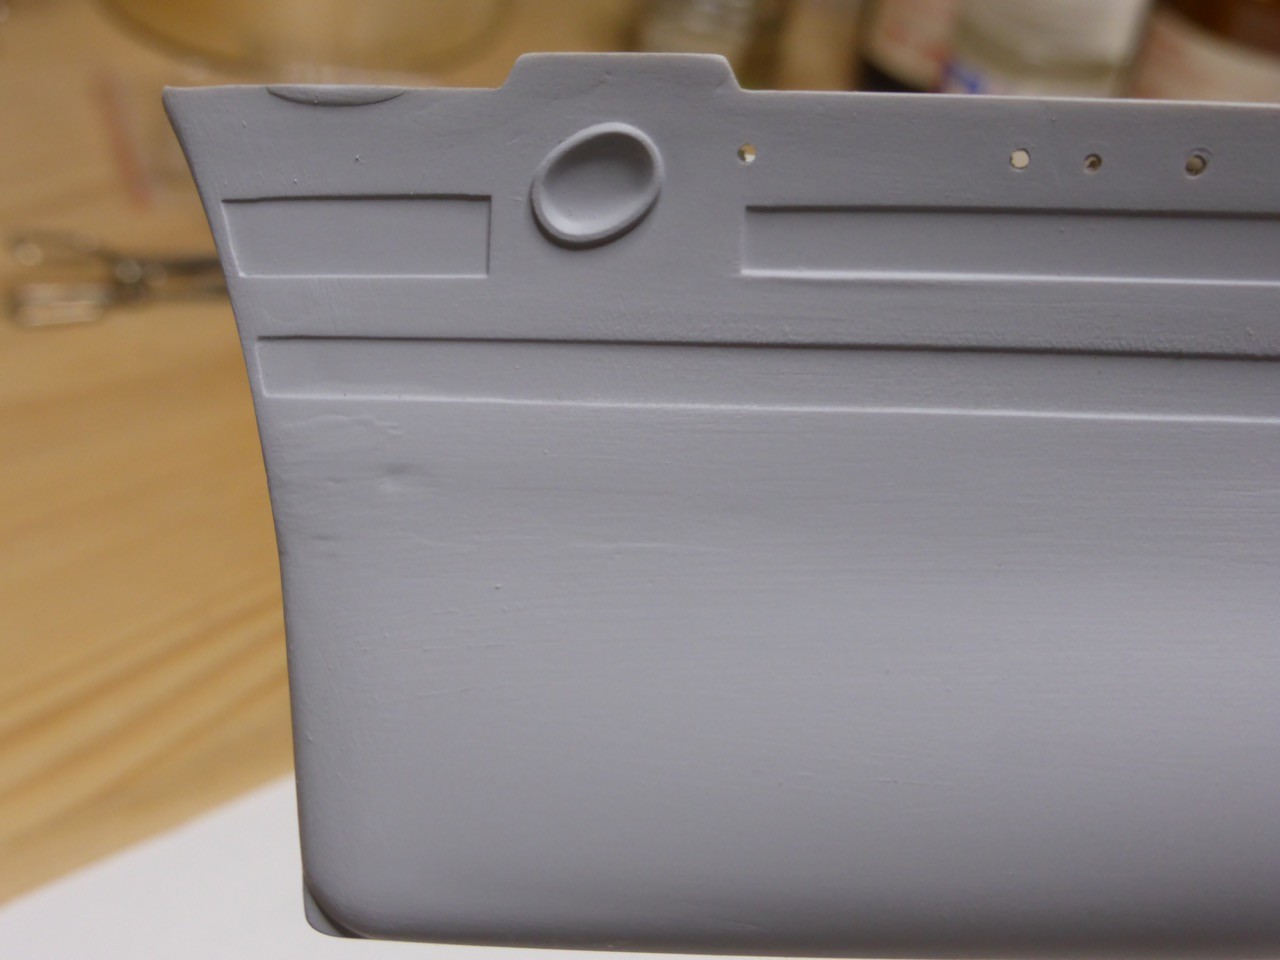
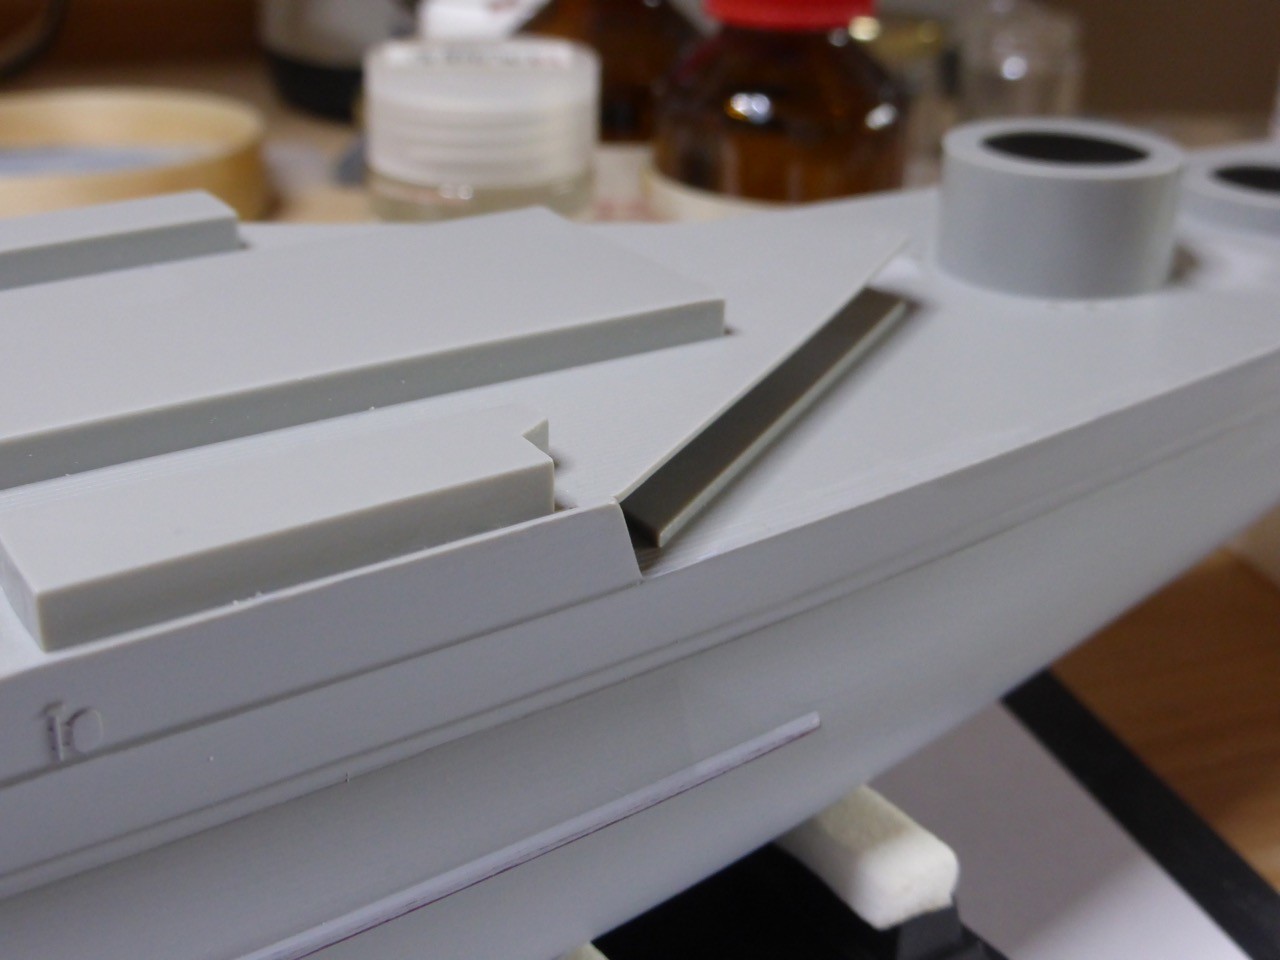
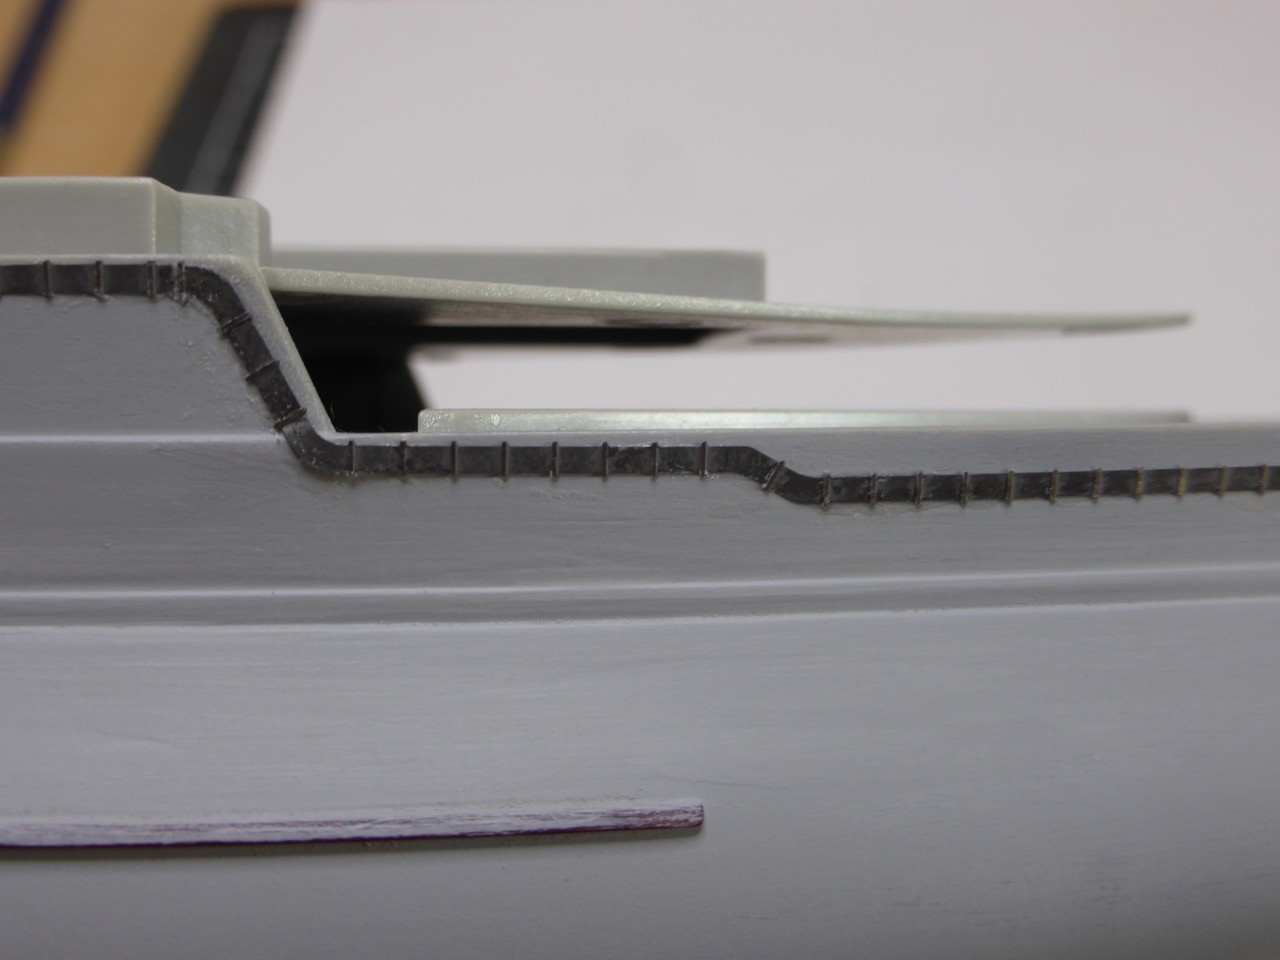
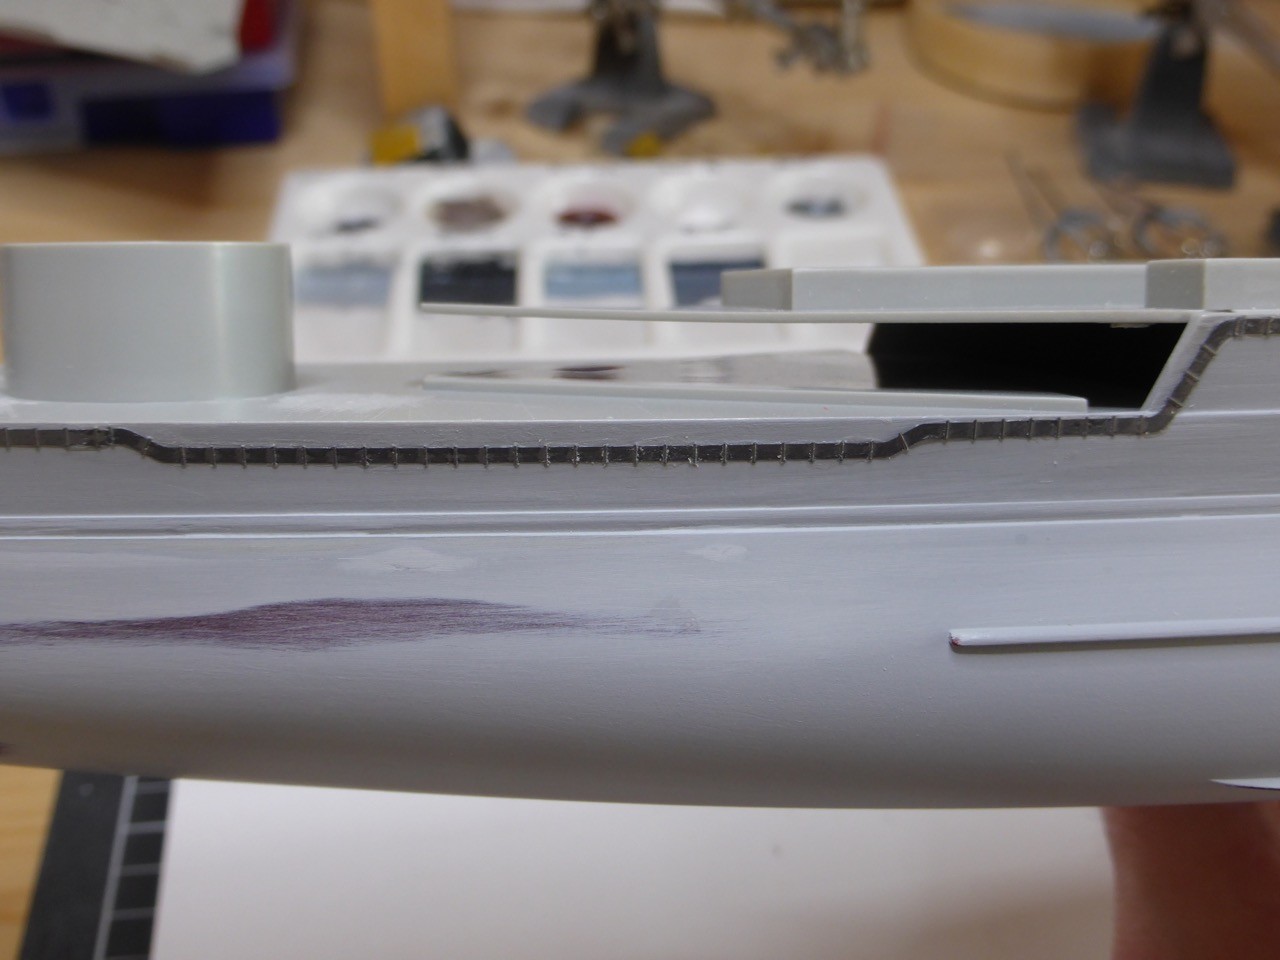
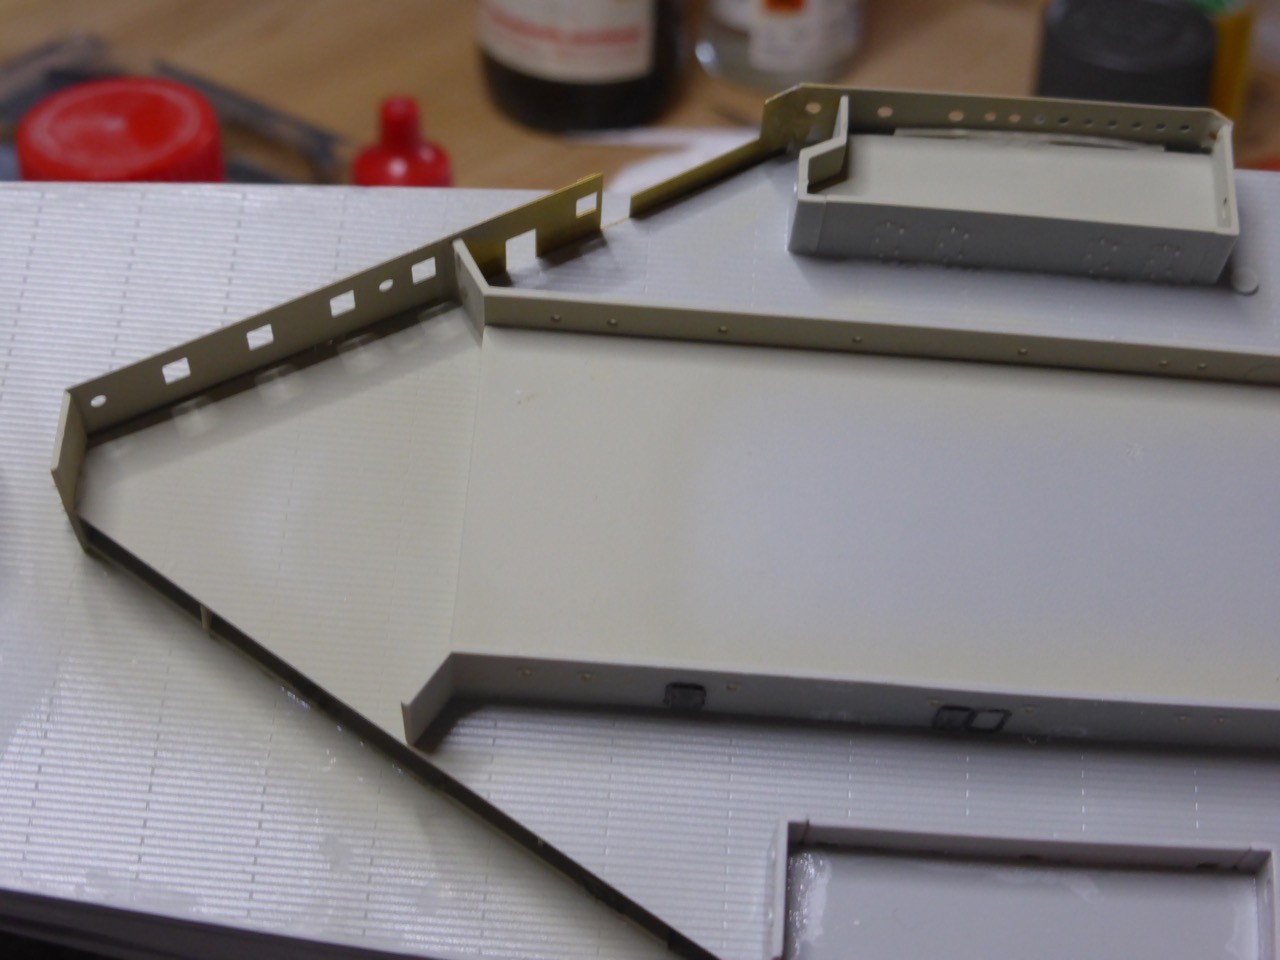
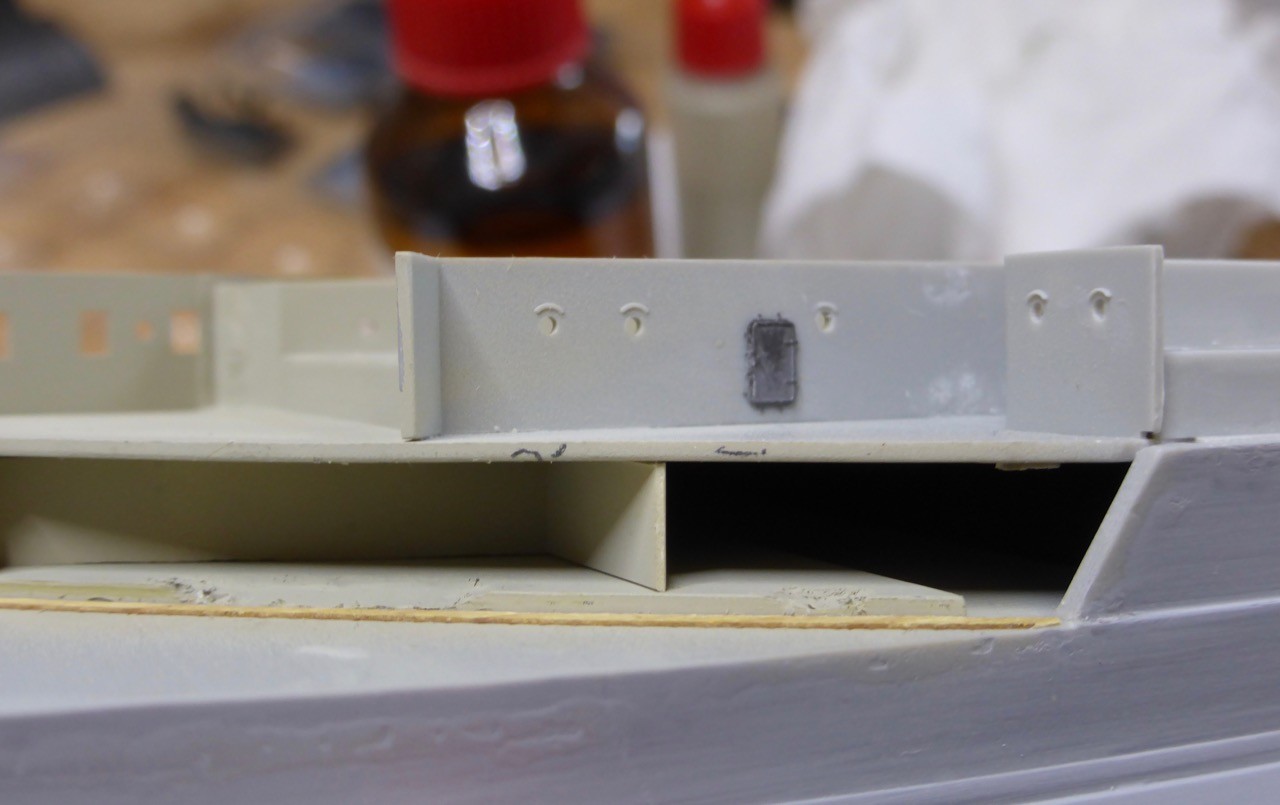
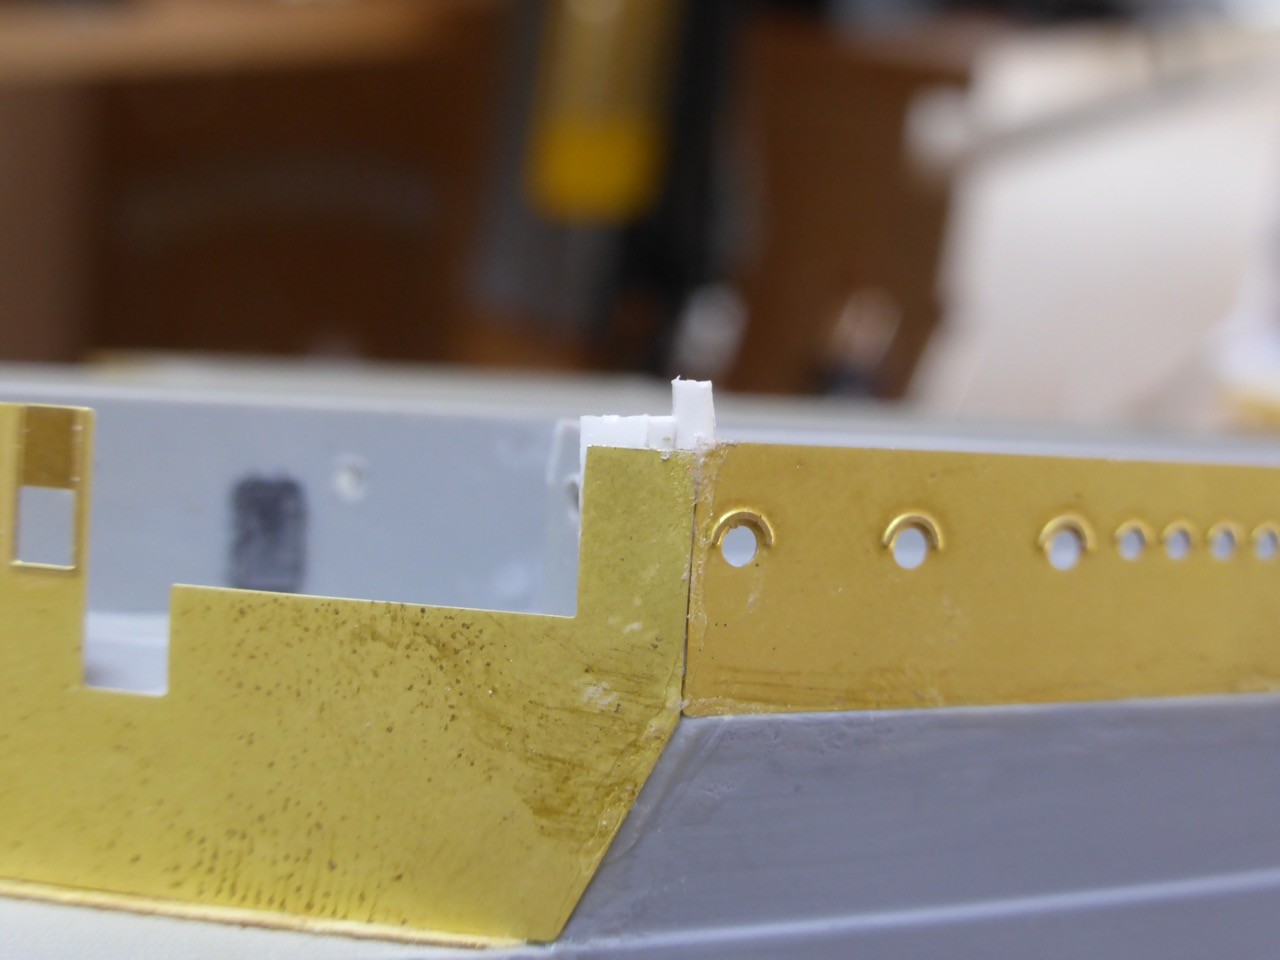
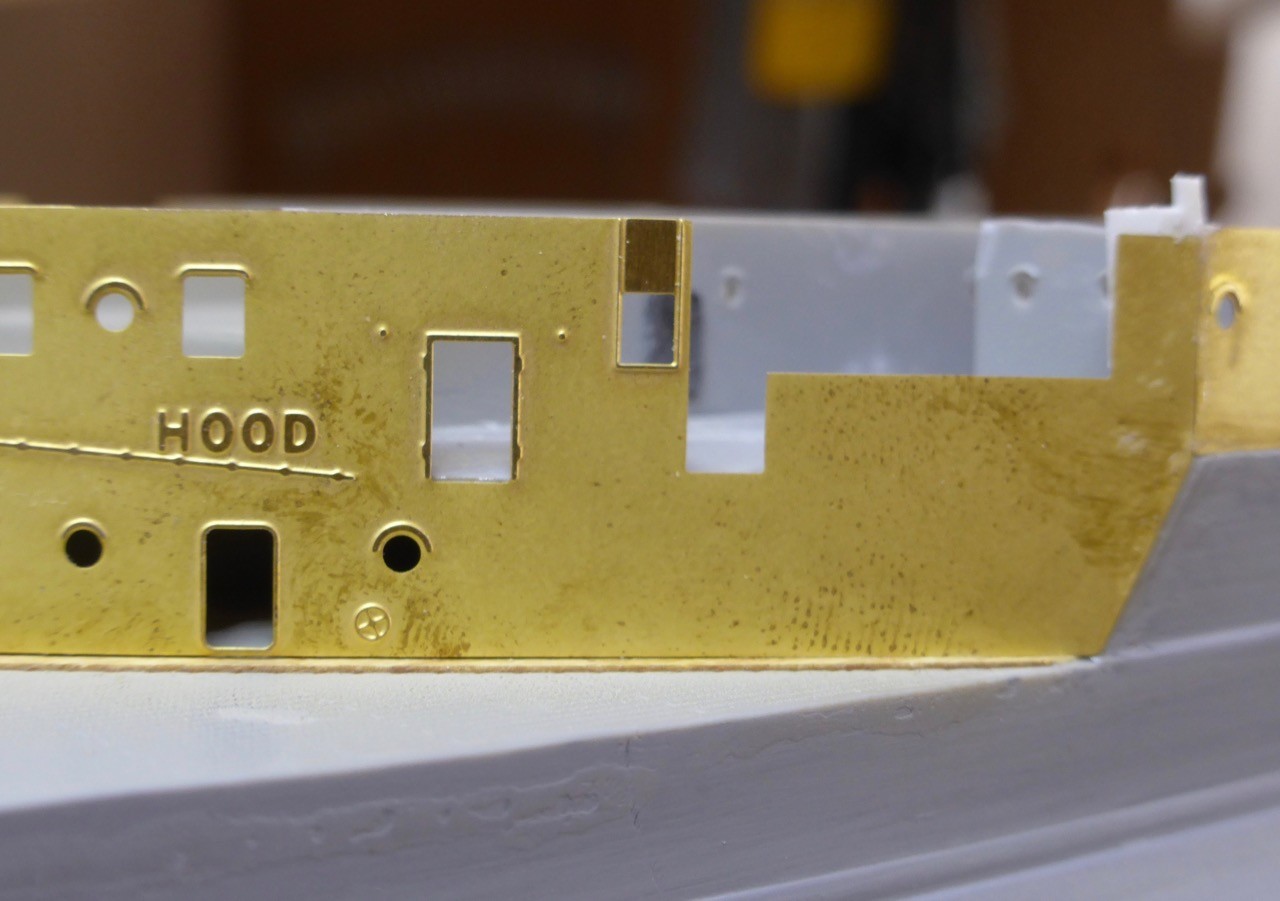
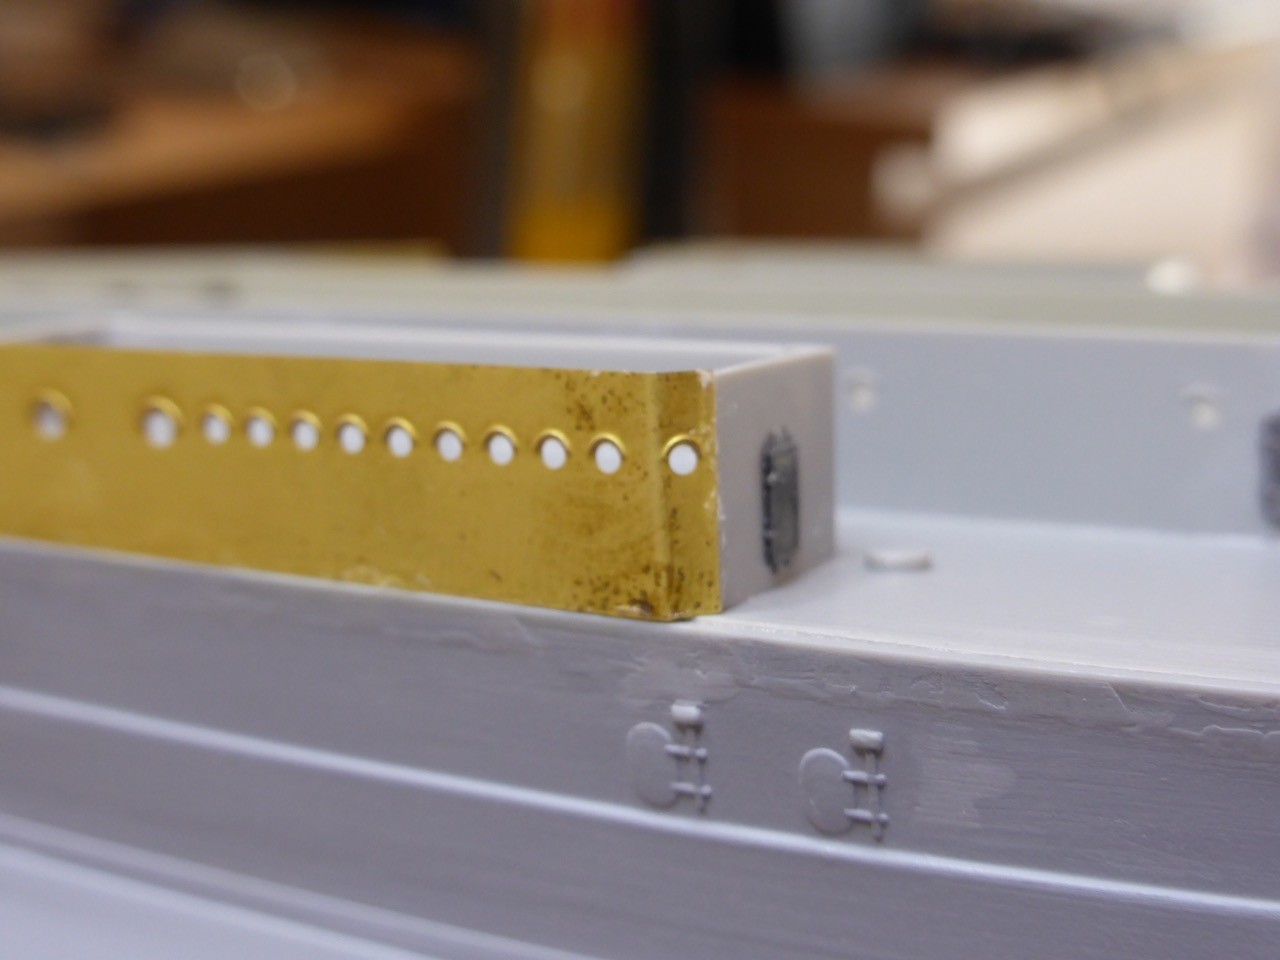
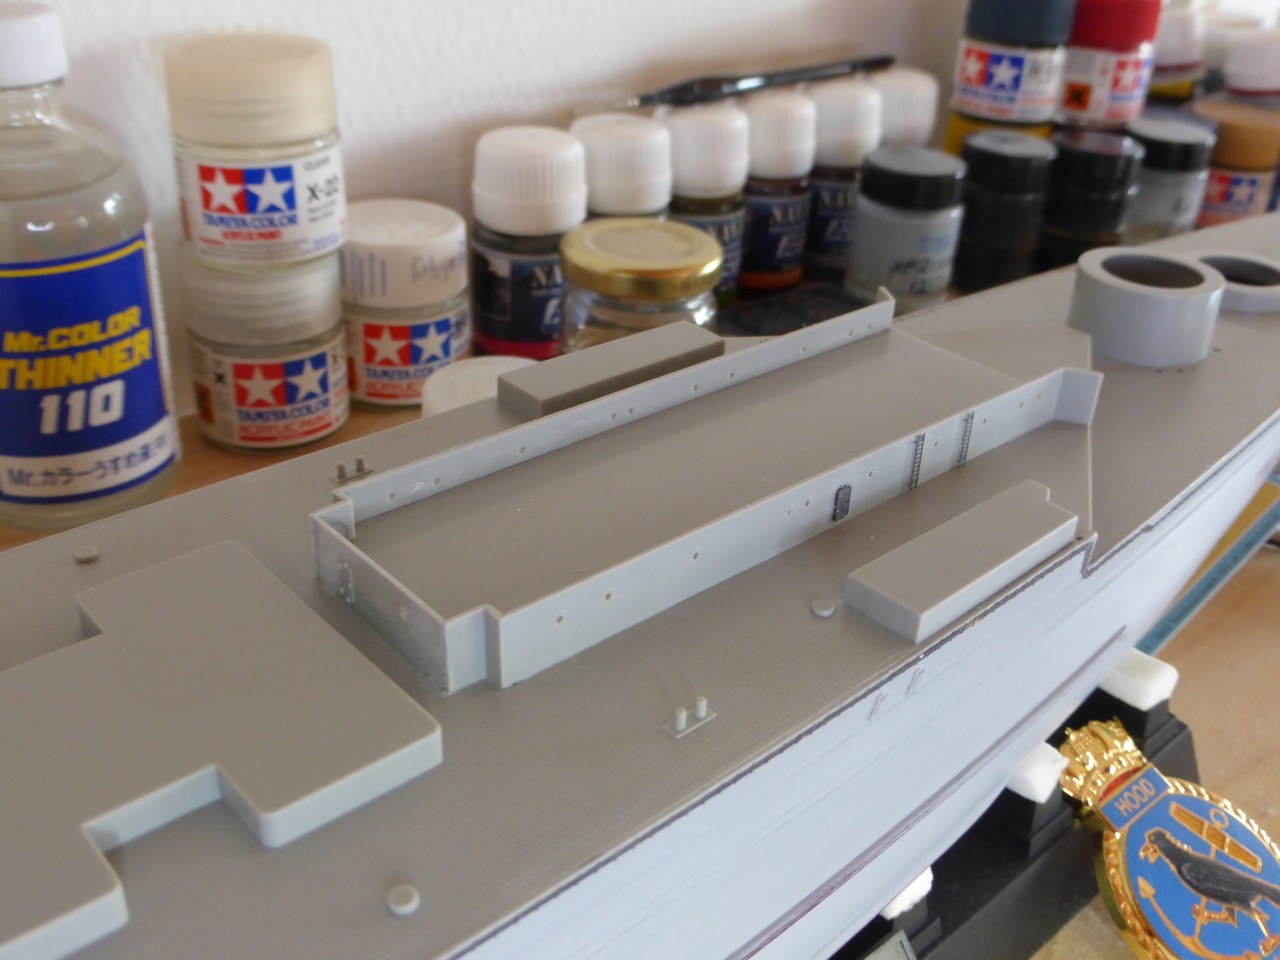
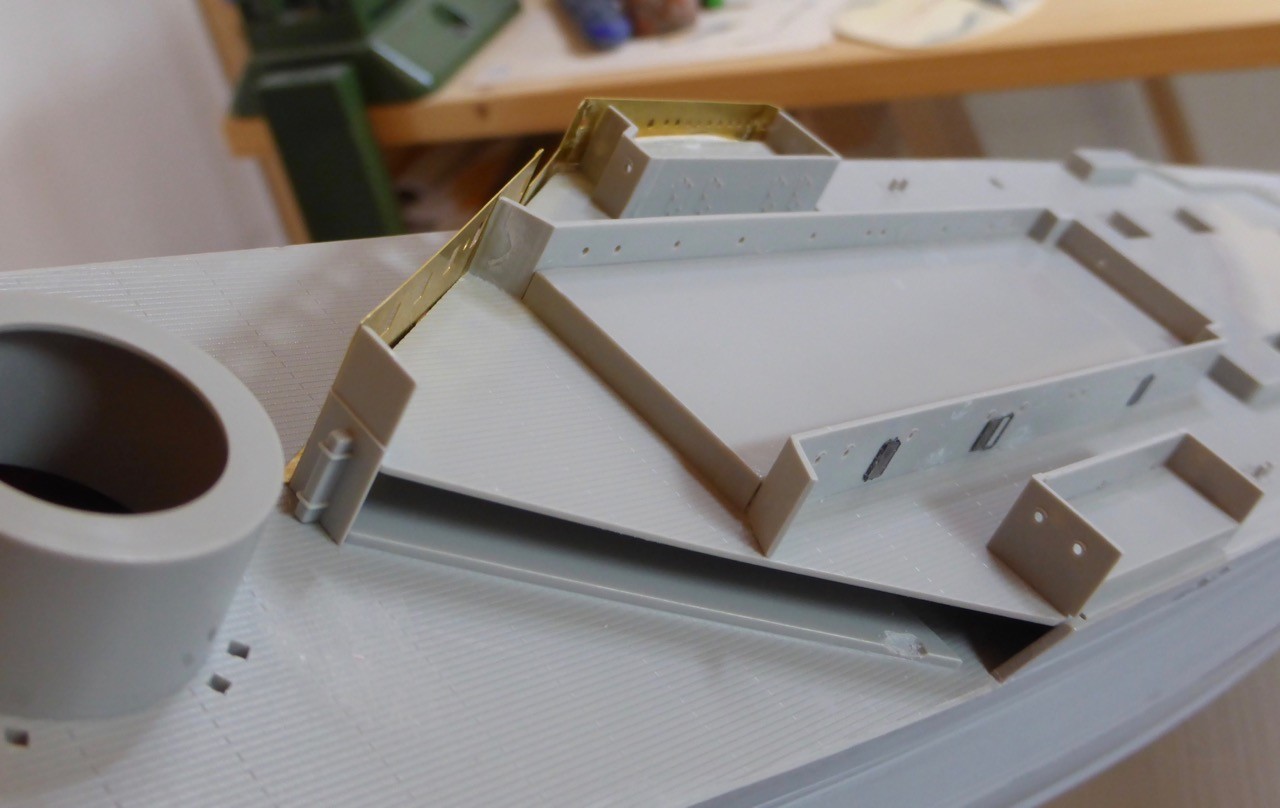
And the after part of the superstructure, all the way forward along the place where the 5.5"ers had been and a litte further on, is flush with the hull. Now, most of that will be brass parts. That means more surfacer and more sanding.
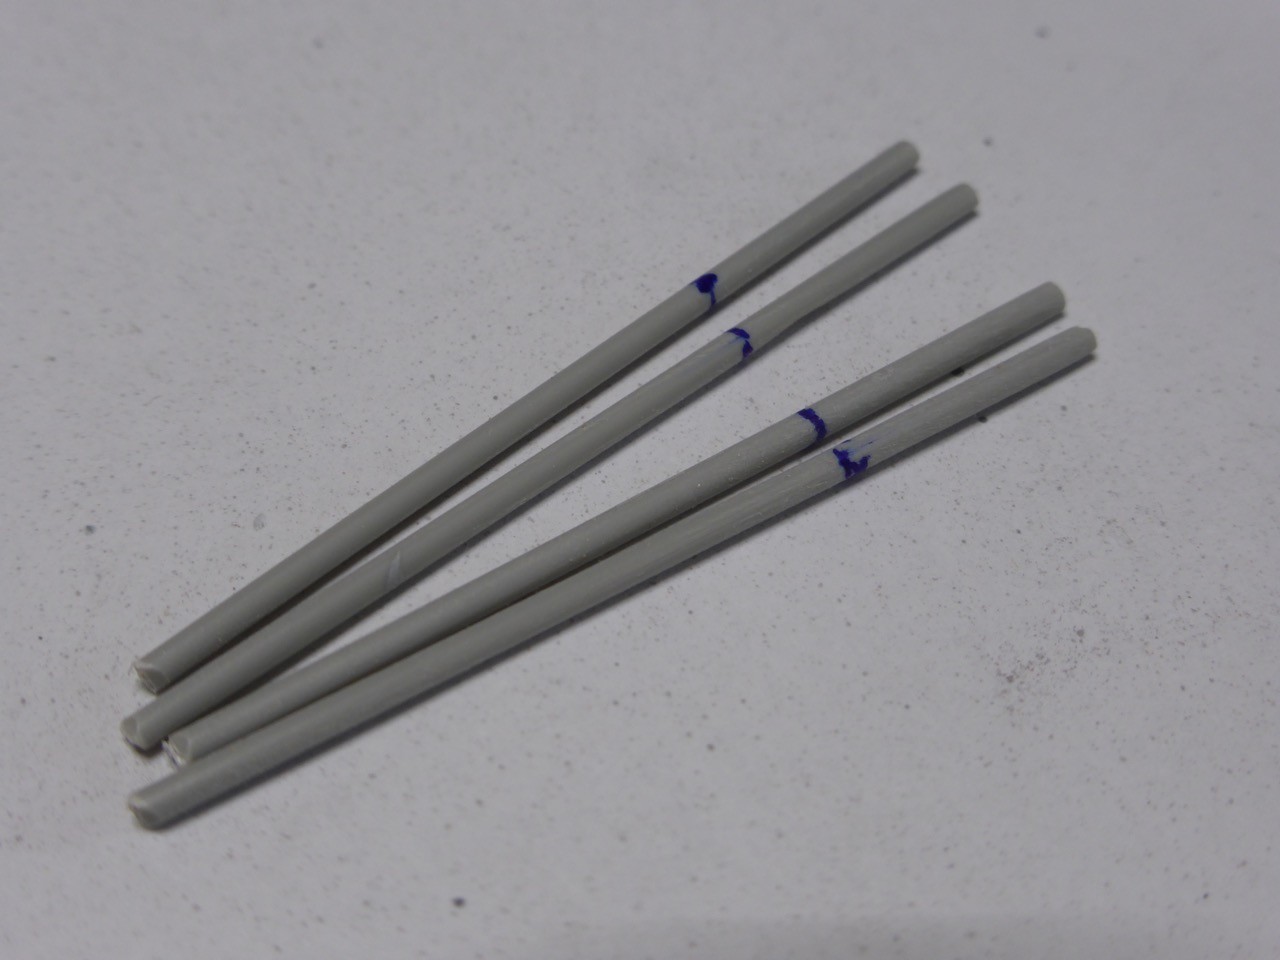
And that means - well, the degaussing cable was installed a little to early on

Gone hibernating, as well.
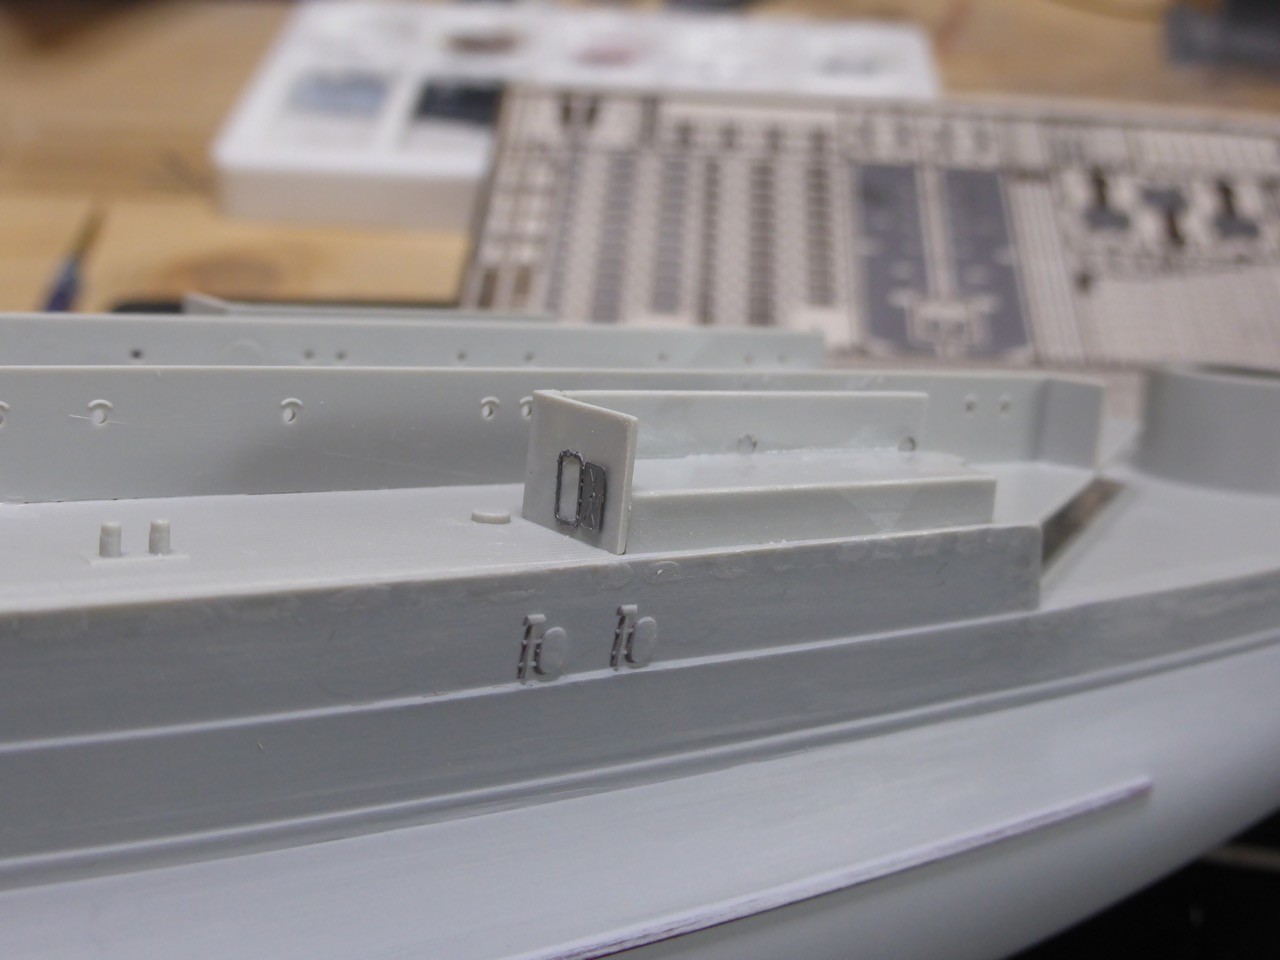
I think I managed to cut it in a way that I can re-use it. We will see; I am not really concerned here, since I'm still having the Lion Roar degaussing, which I did not use because it showed only one bigger cable. But that's correct for all the part of the ship where I had to remove the cable.
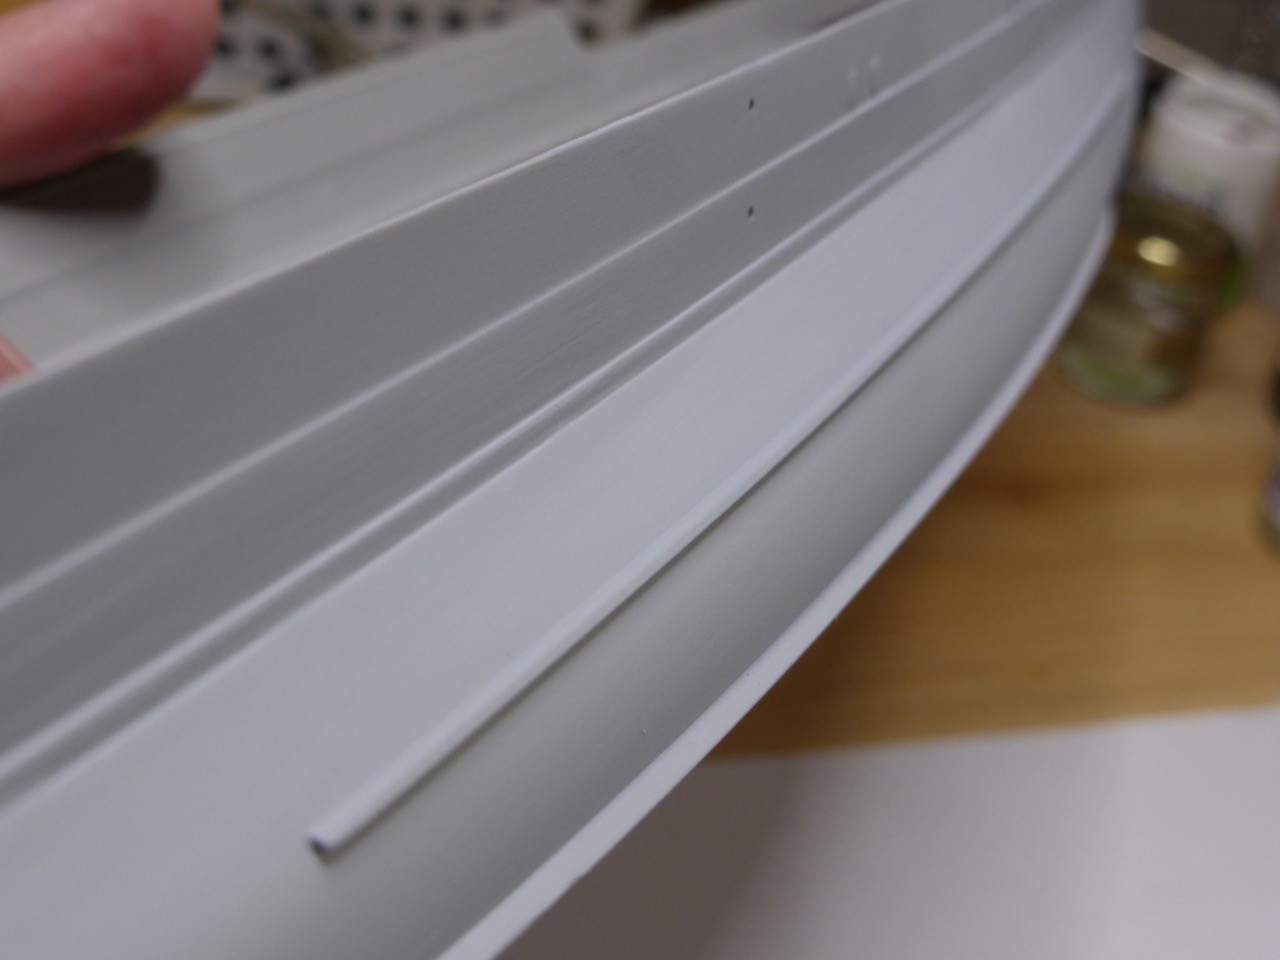
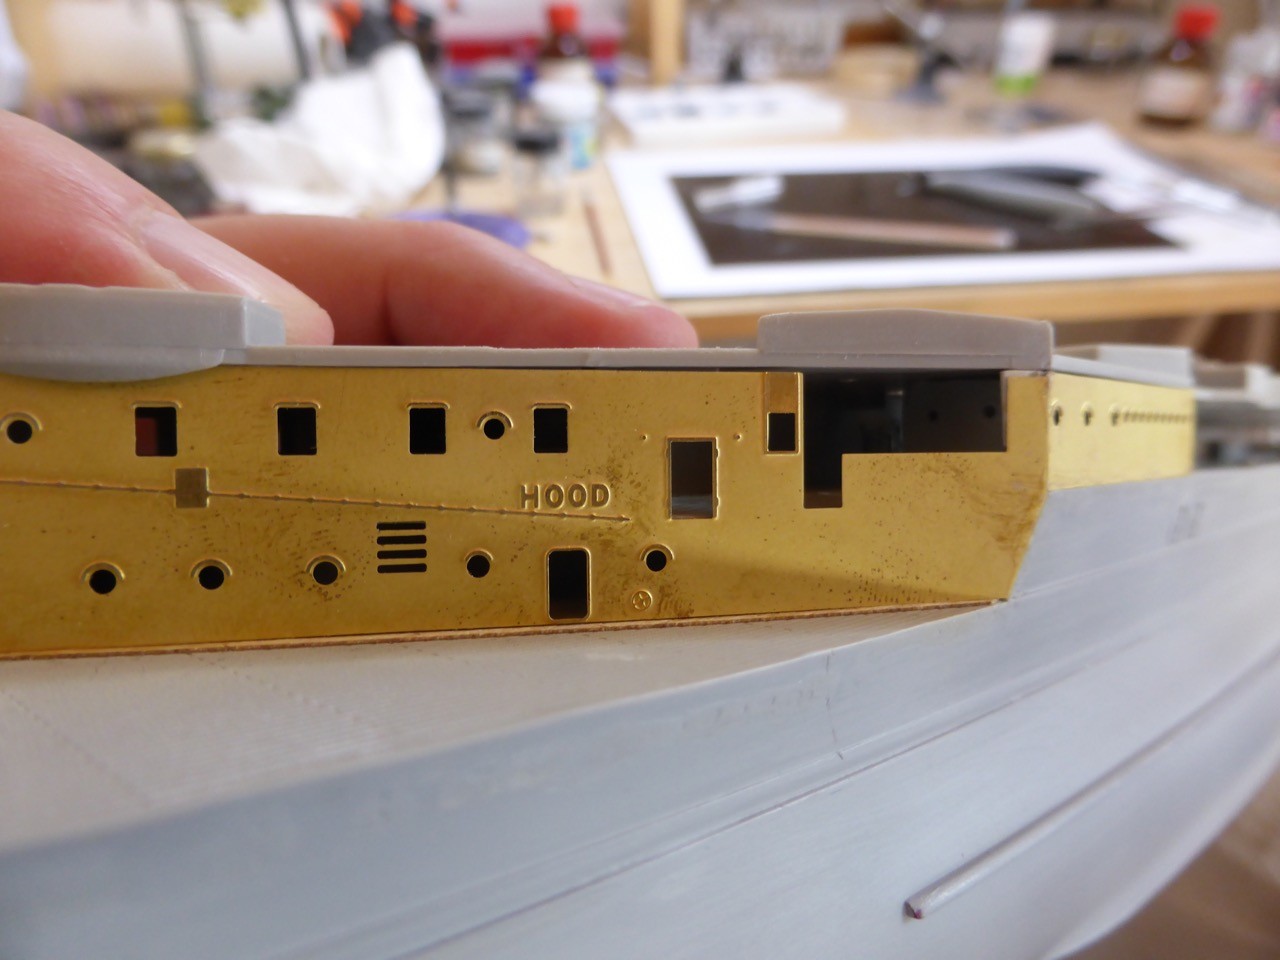
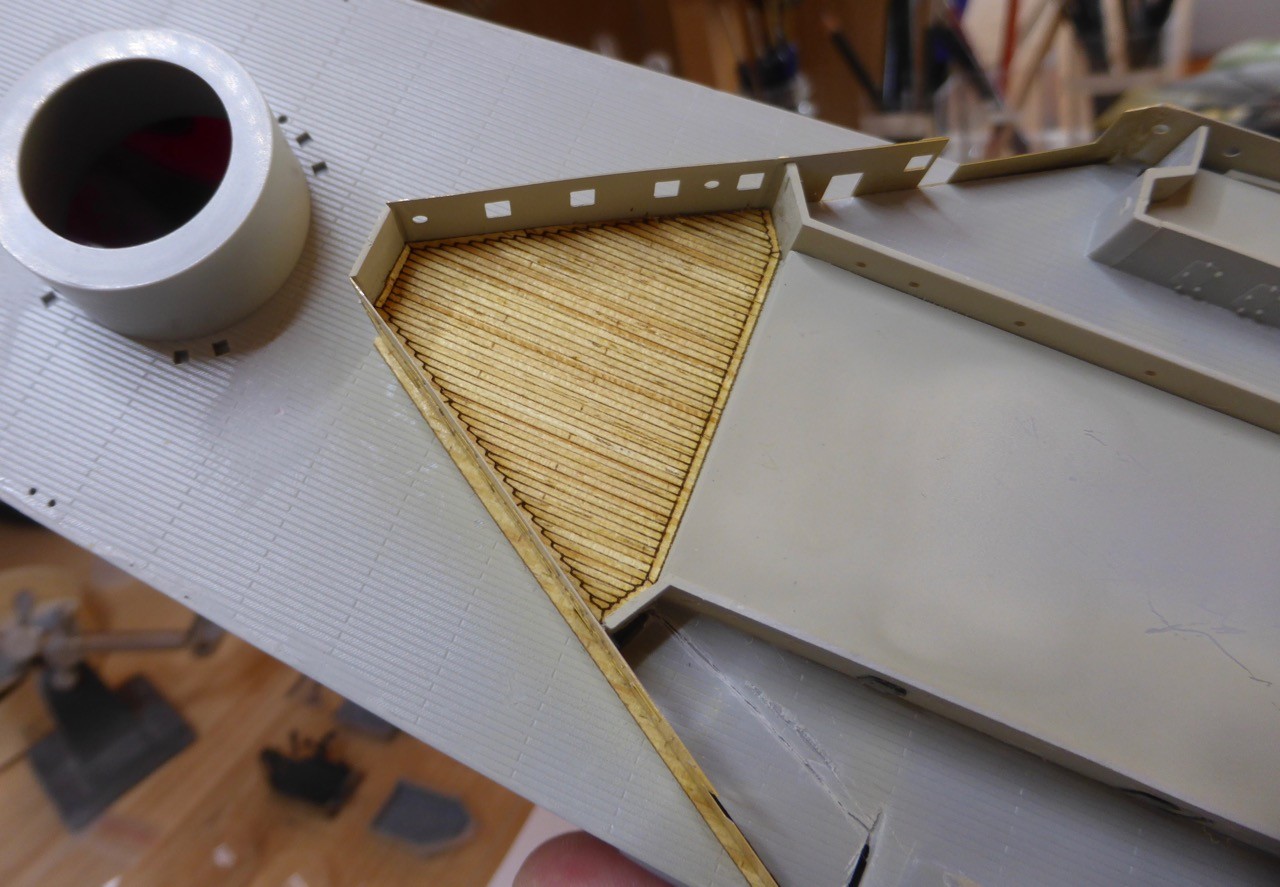
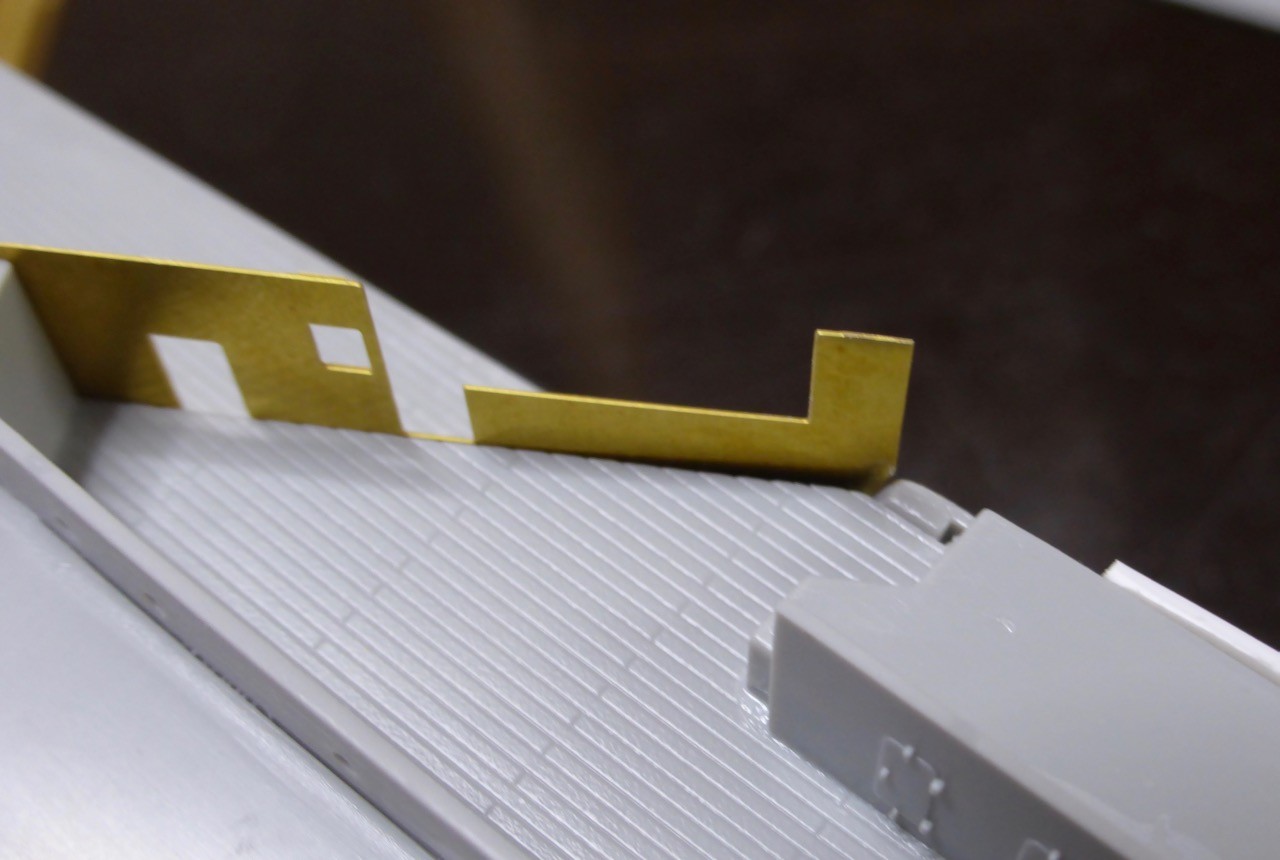
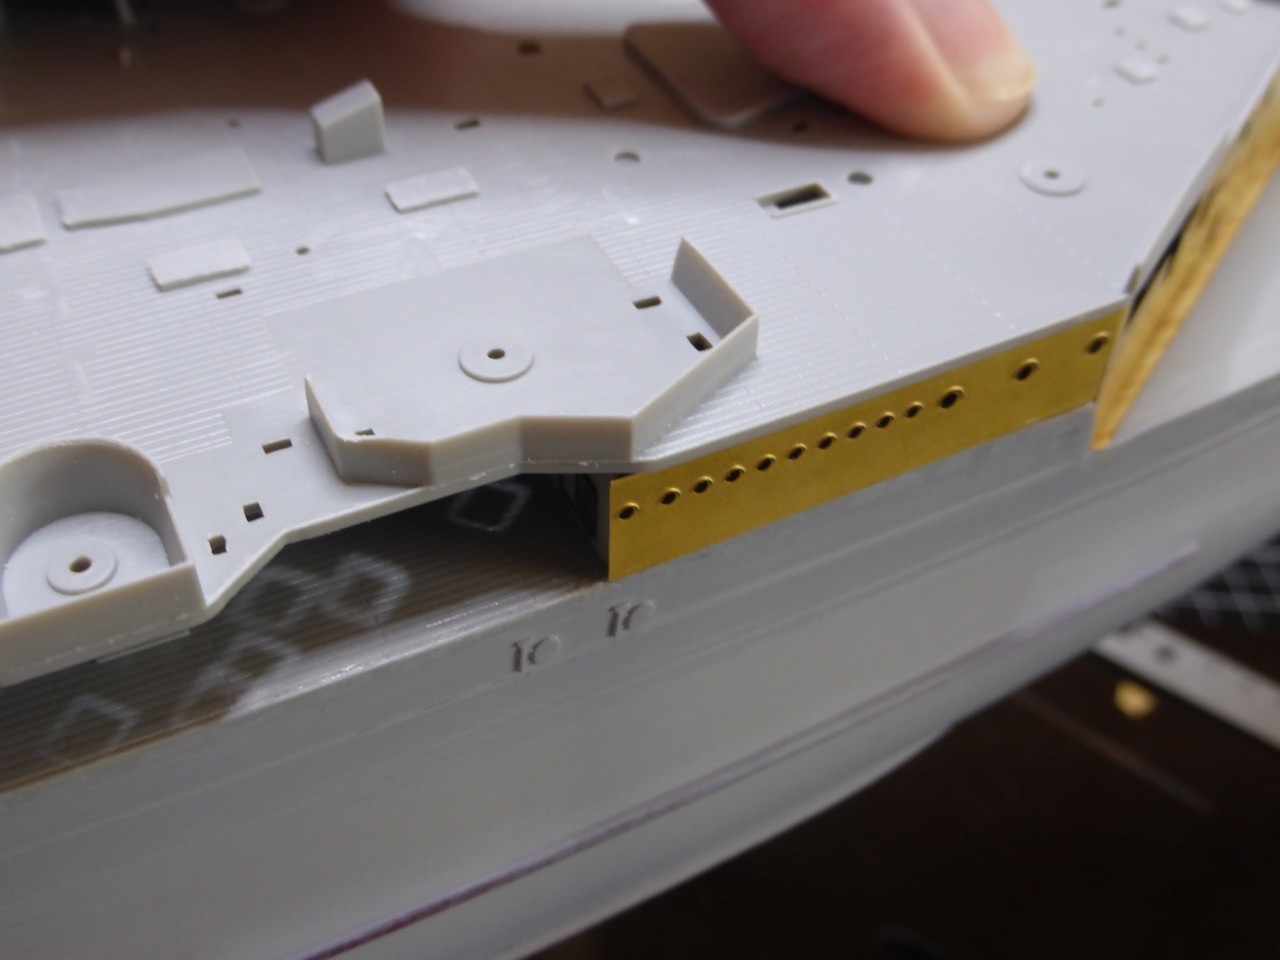
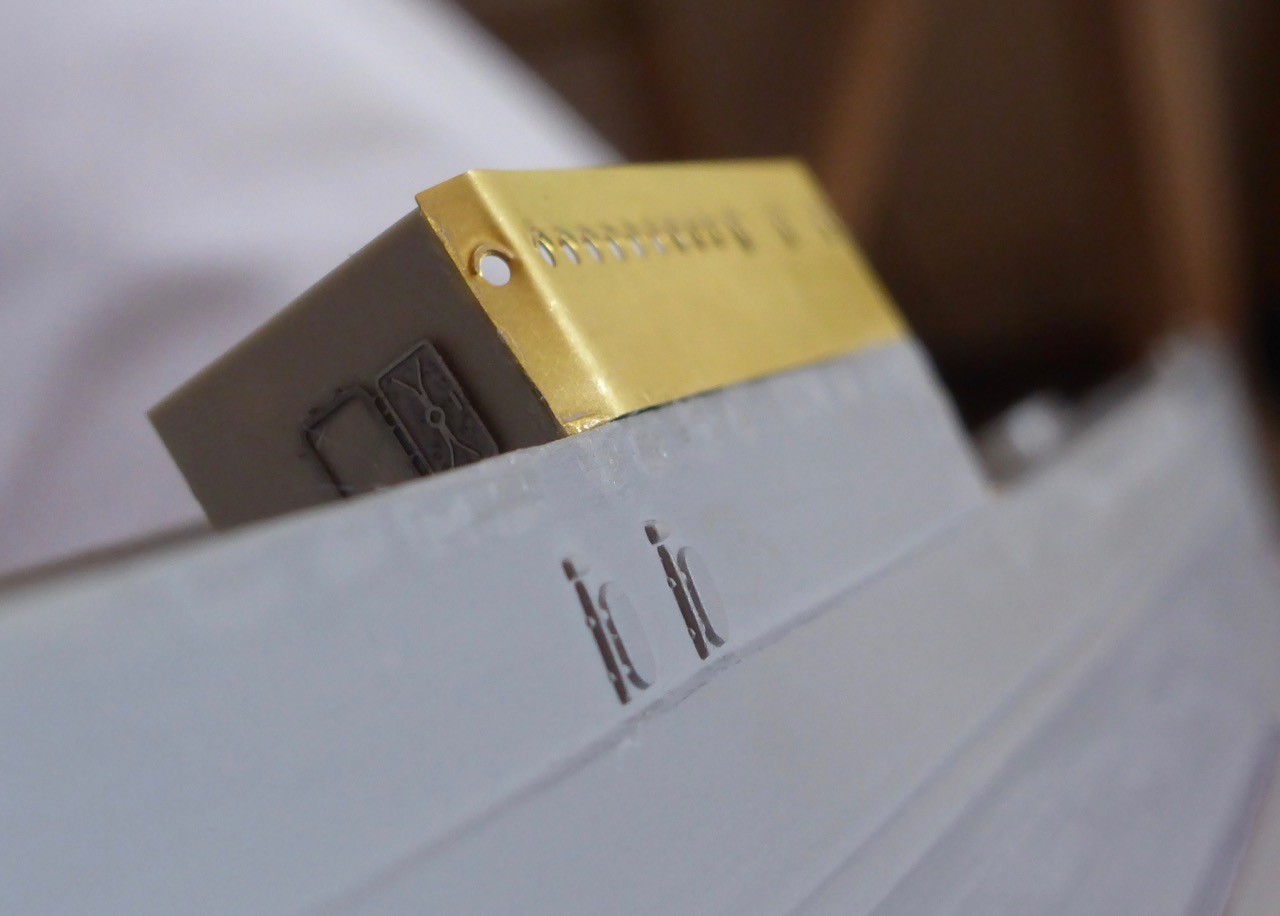
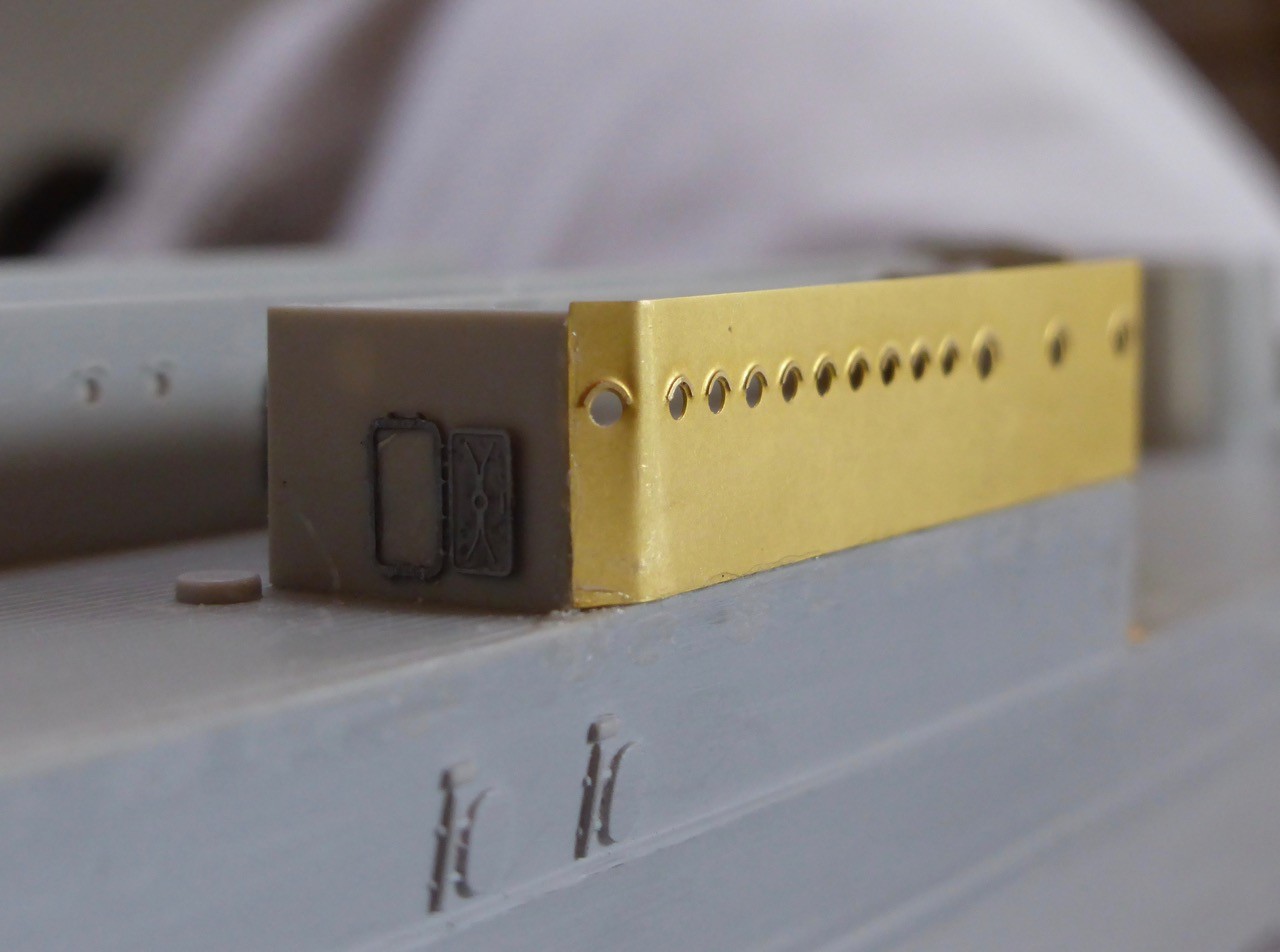
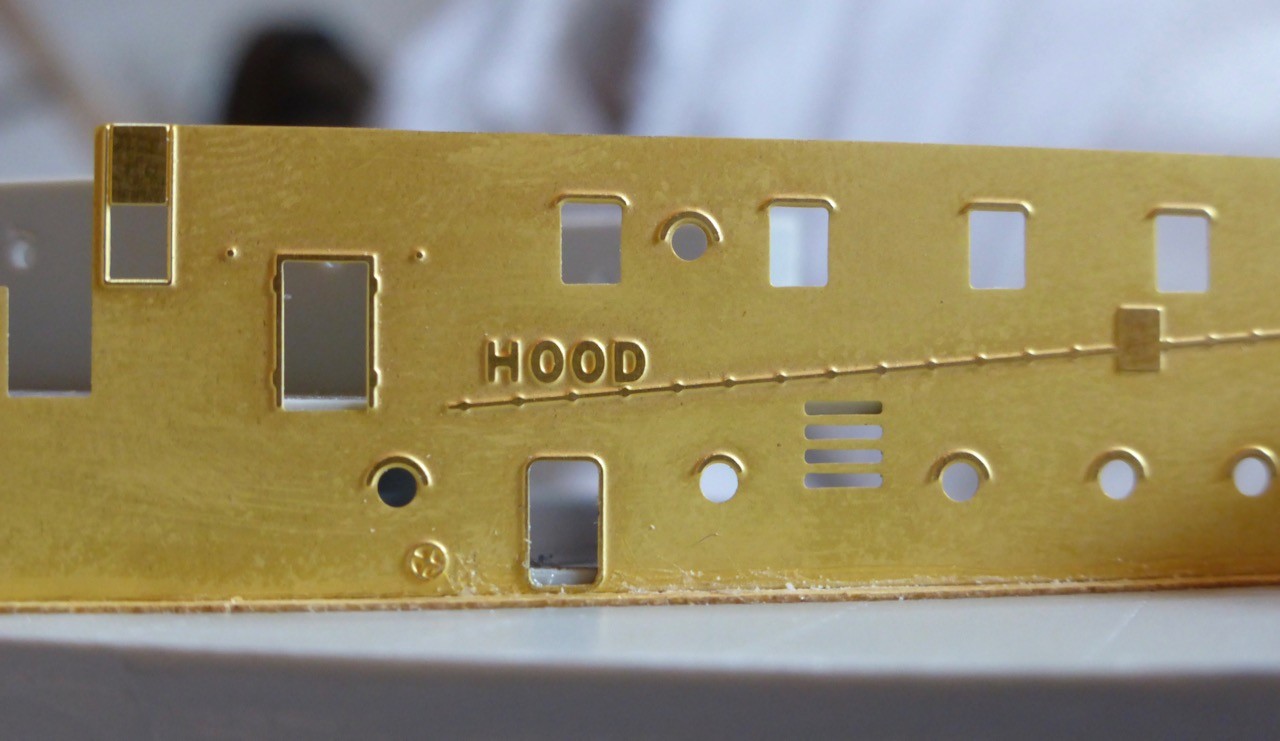
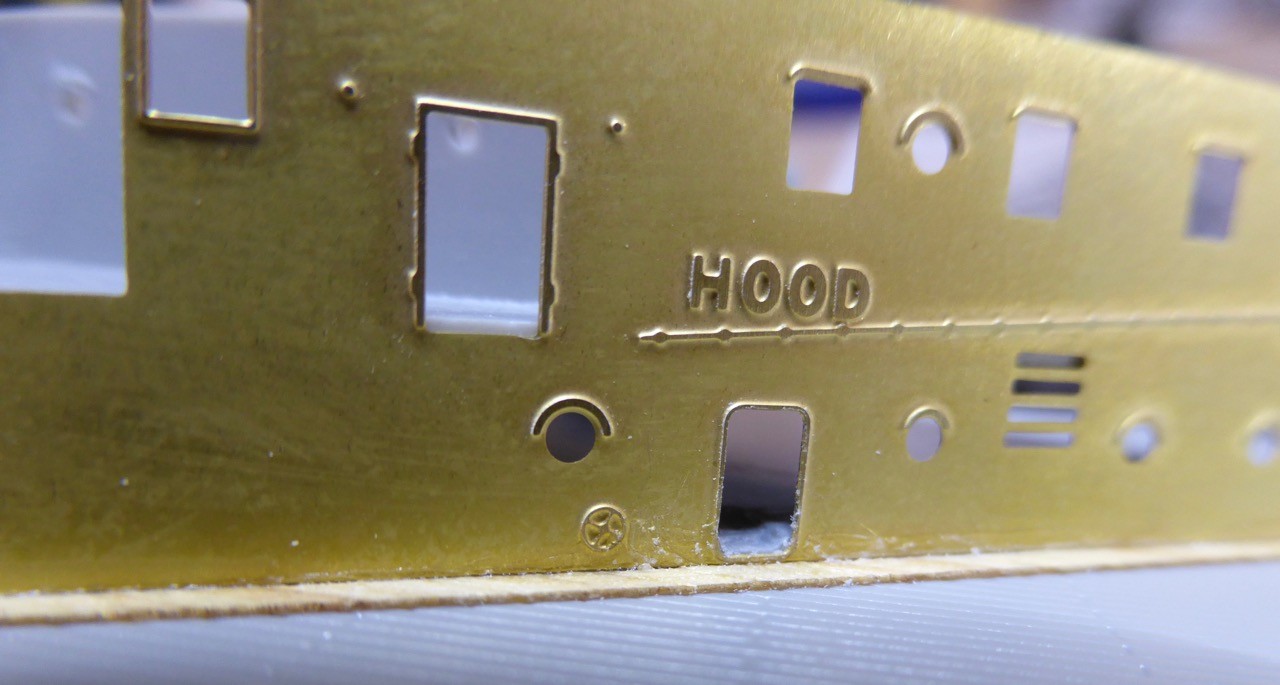
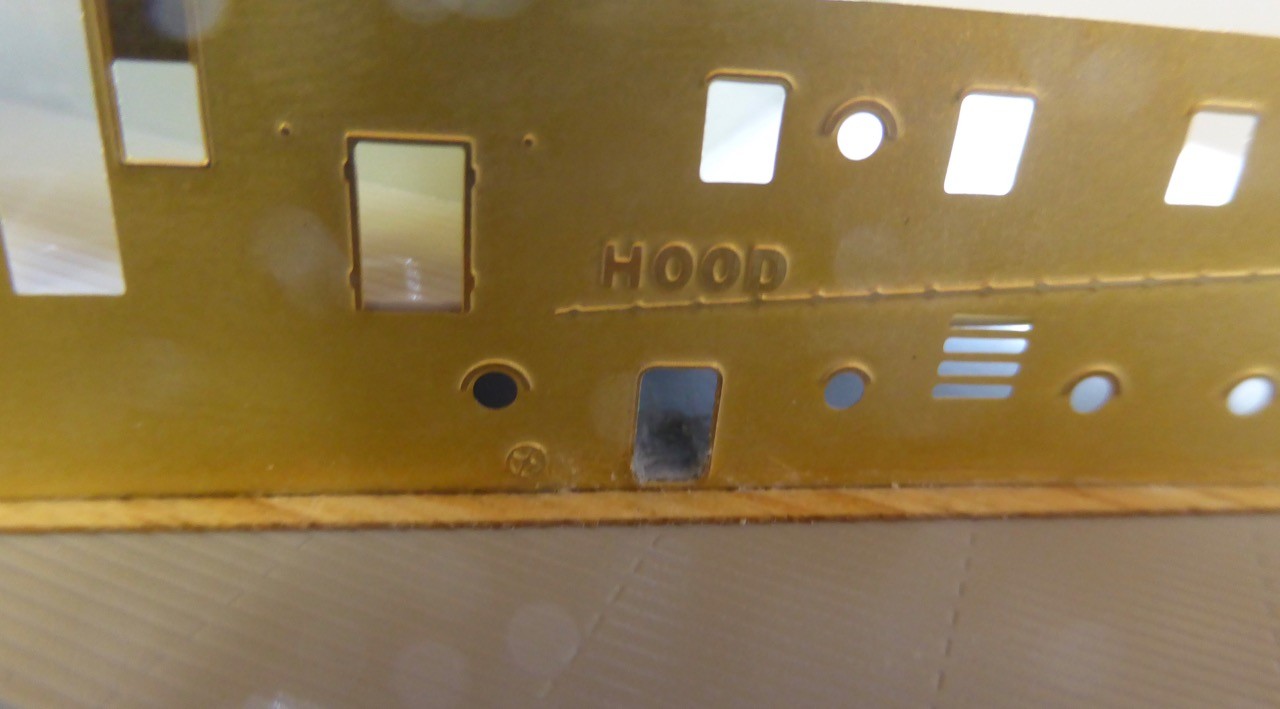
Ok, brass parts. The Lion Roar stuff comes in two strengths, one very soft and one really thick. The superstructure parts are from the thick and solid stuff, which is good. However, they are not nearly as thick as the plastic. So, to avoid some silly gap in the wooden deck, I glued down a thin stripe of wood.
The first wall comes on top of that, and whatever wood will be in the way when I put the deck in place will be cut away.
So that's actually looking not too bad, the fit of the Lion Roar parts so far seems excellent!
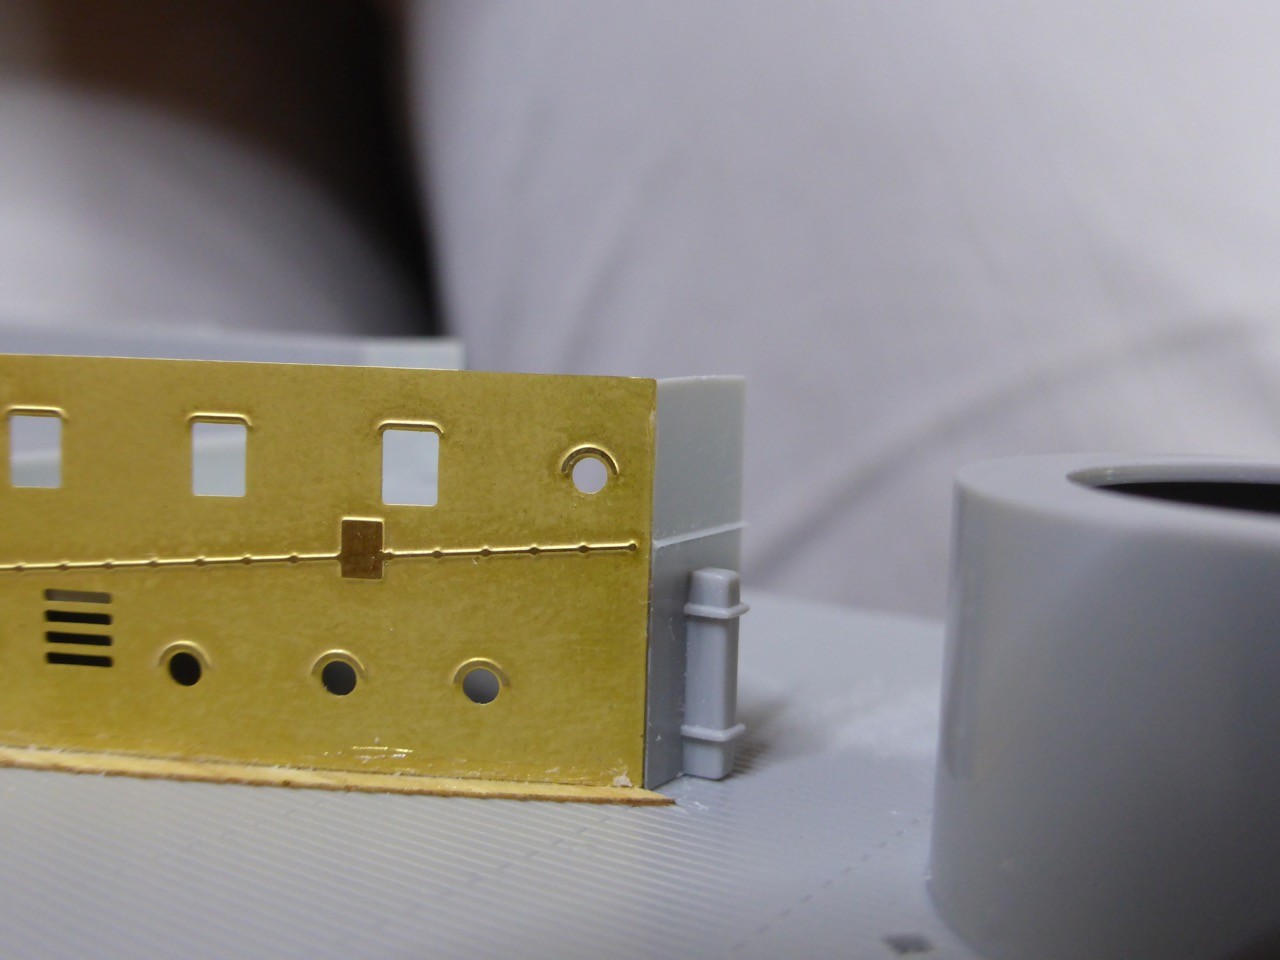
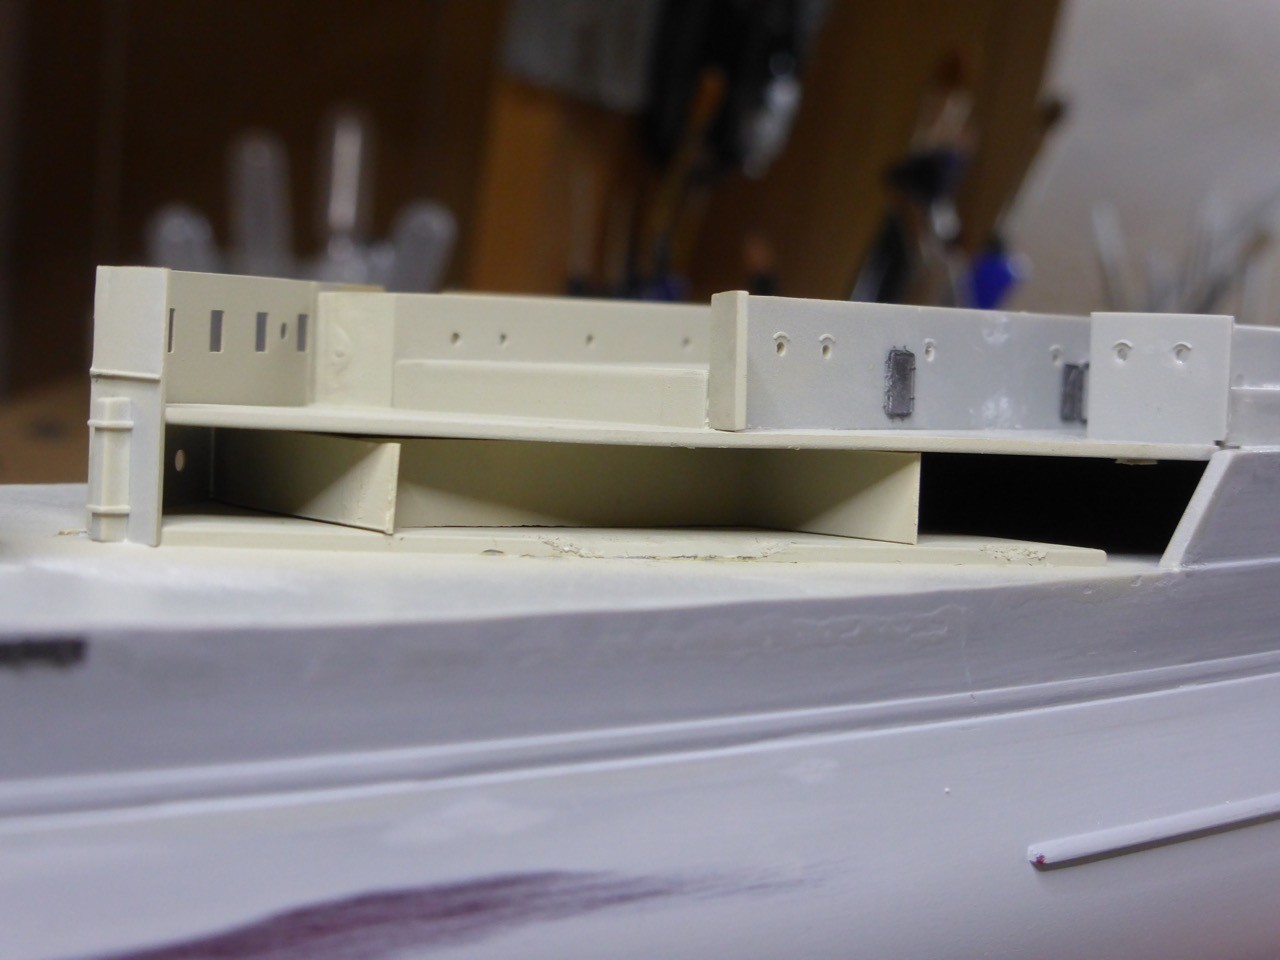
Due to the lacking material strength there are two holes on the inside, but those won't be visible.
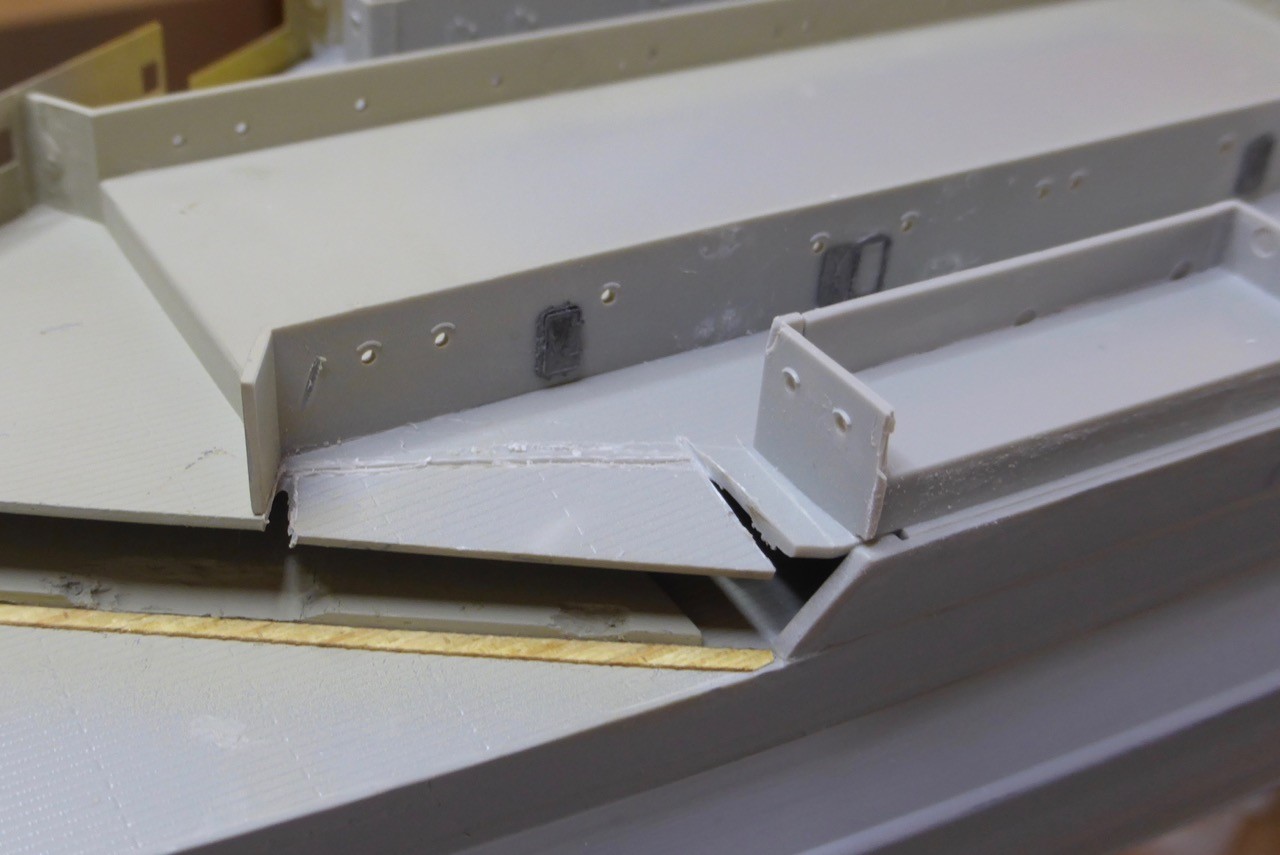
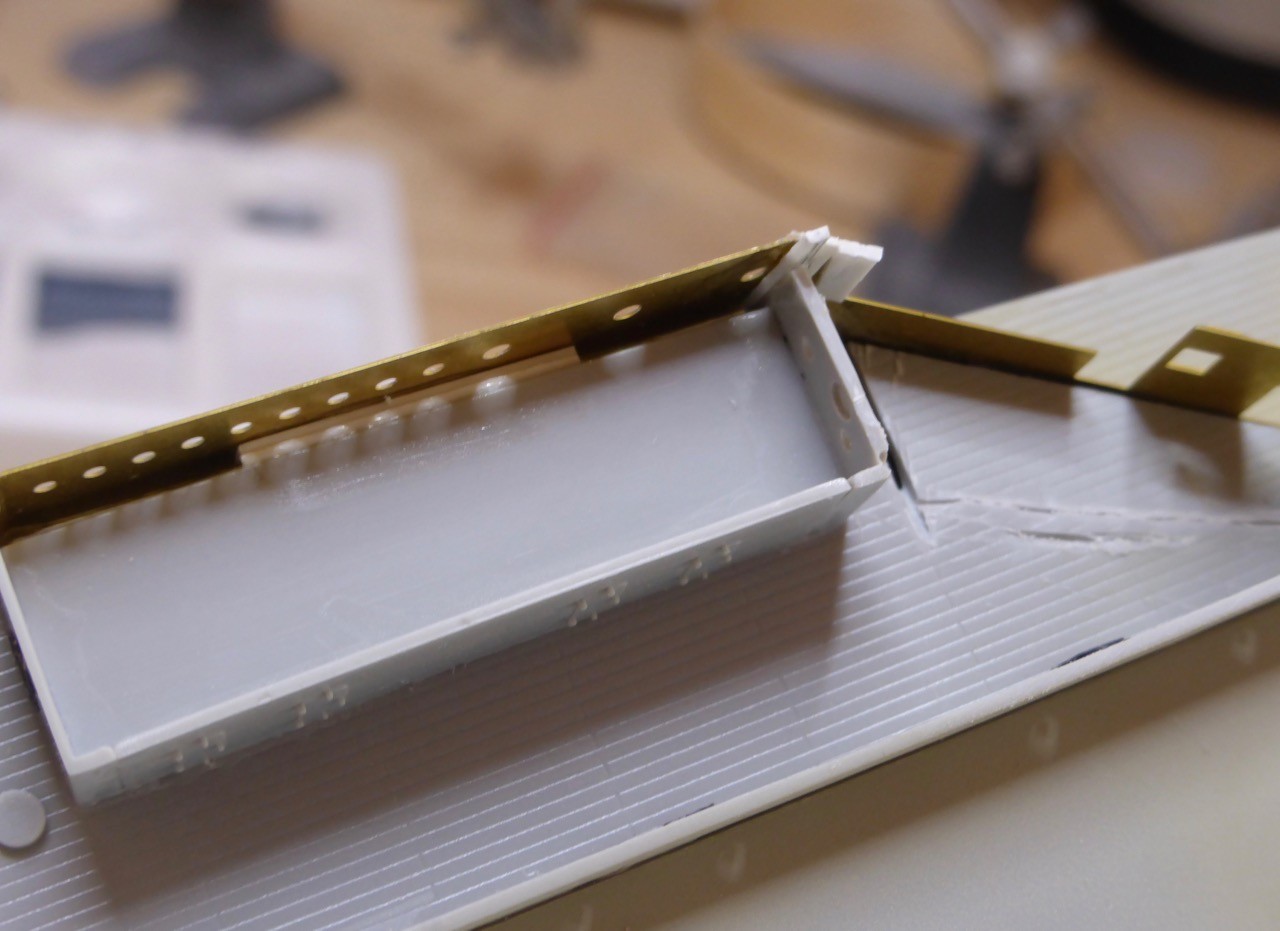
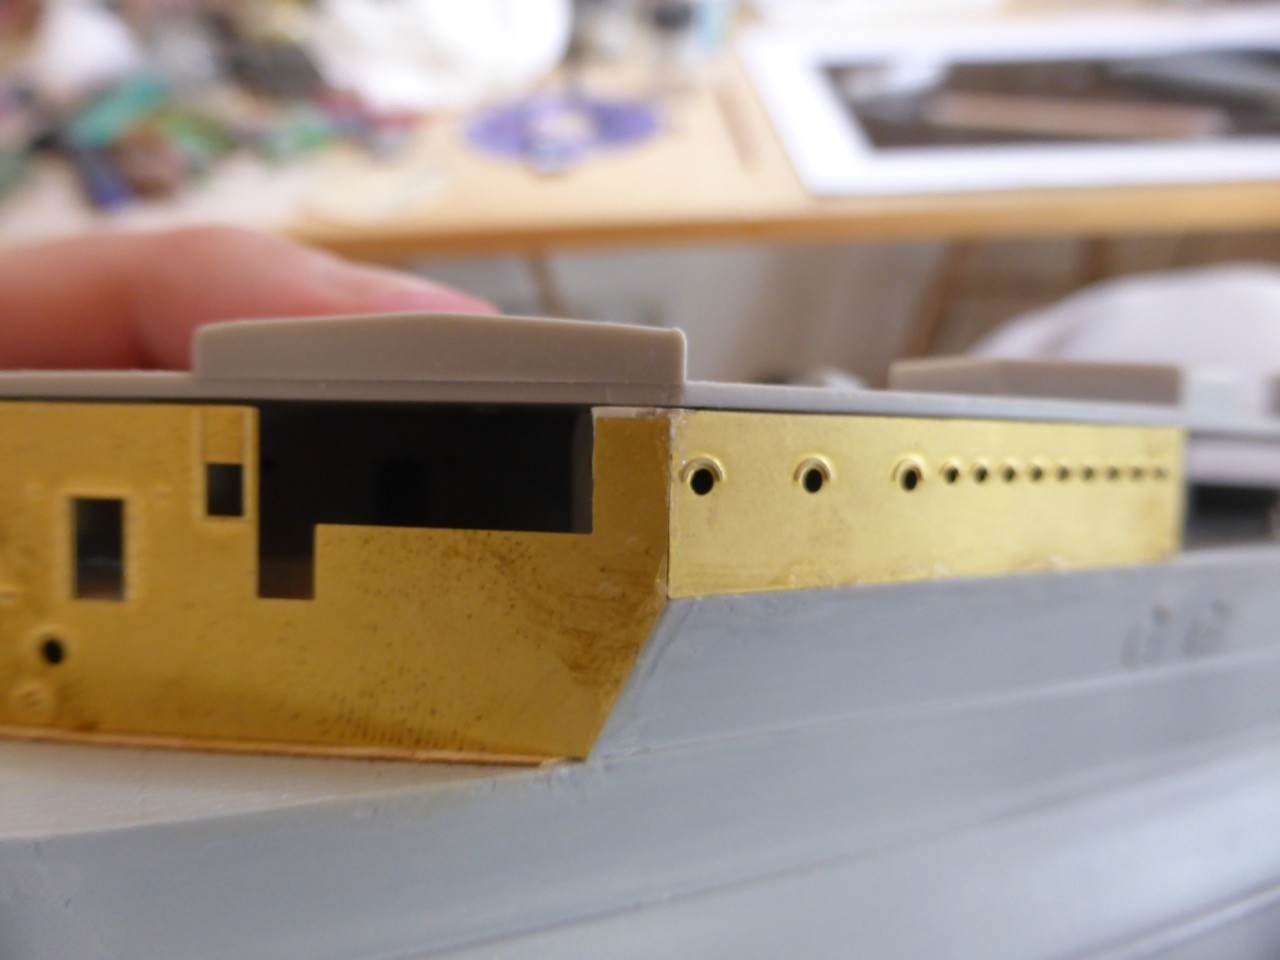
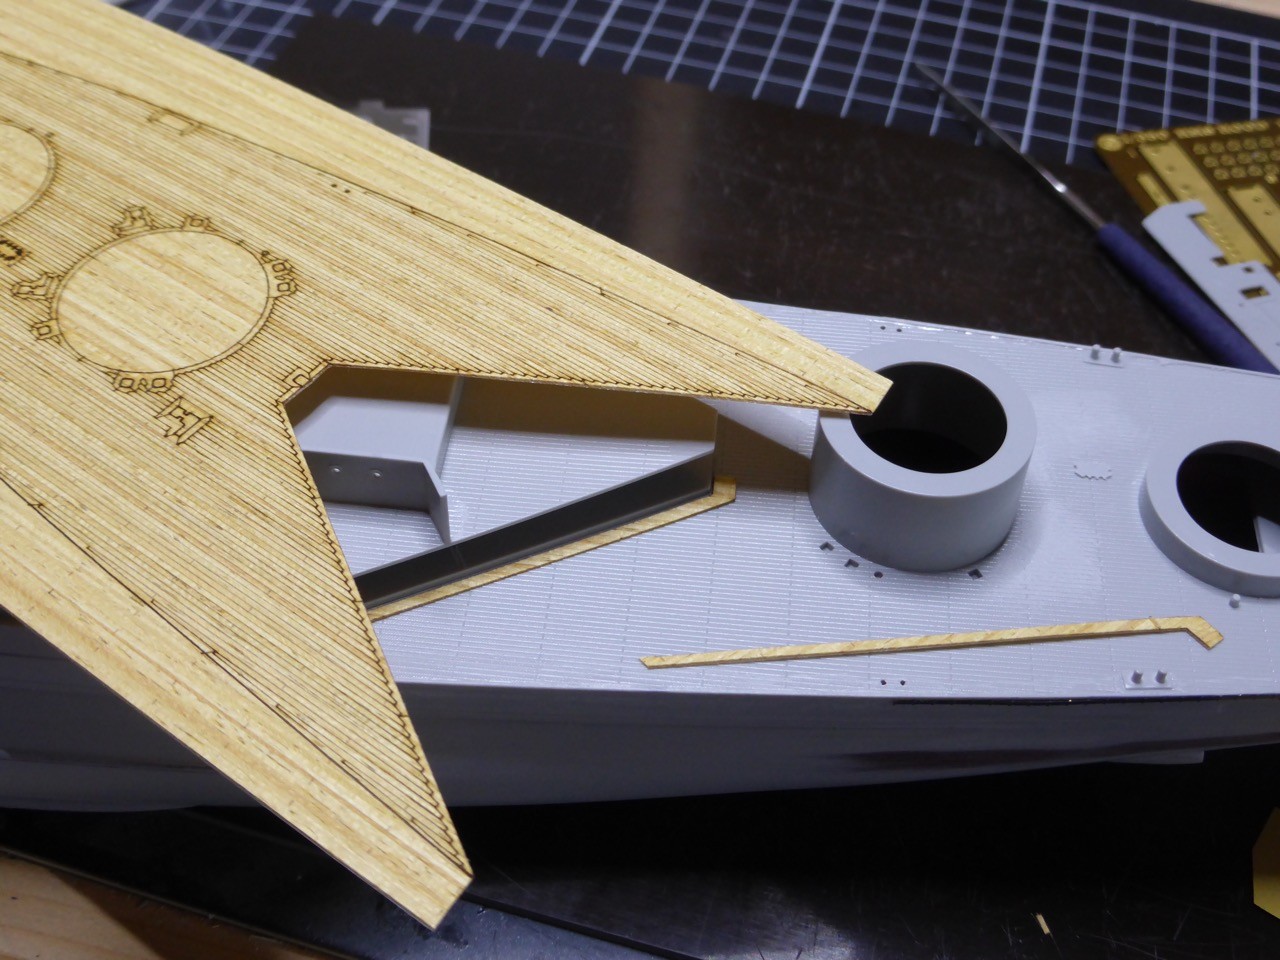
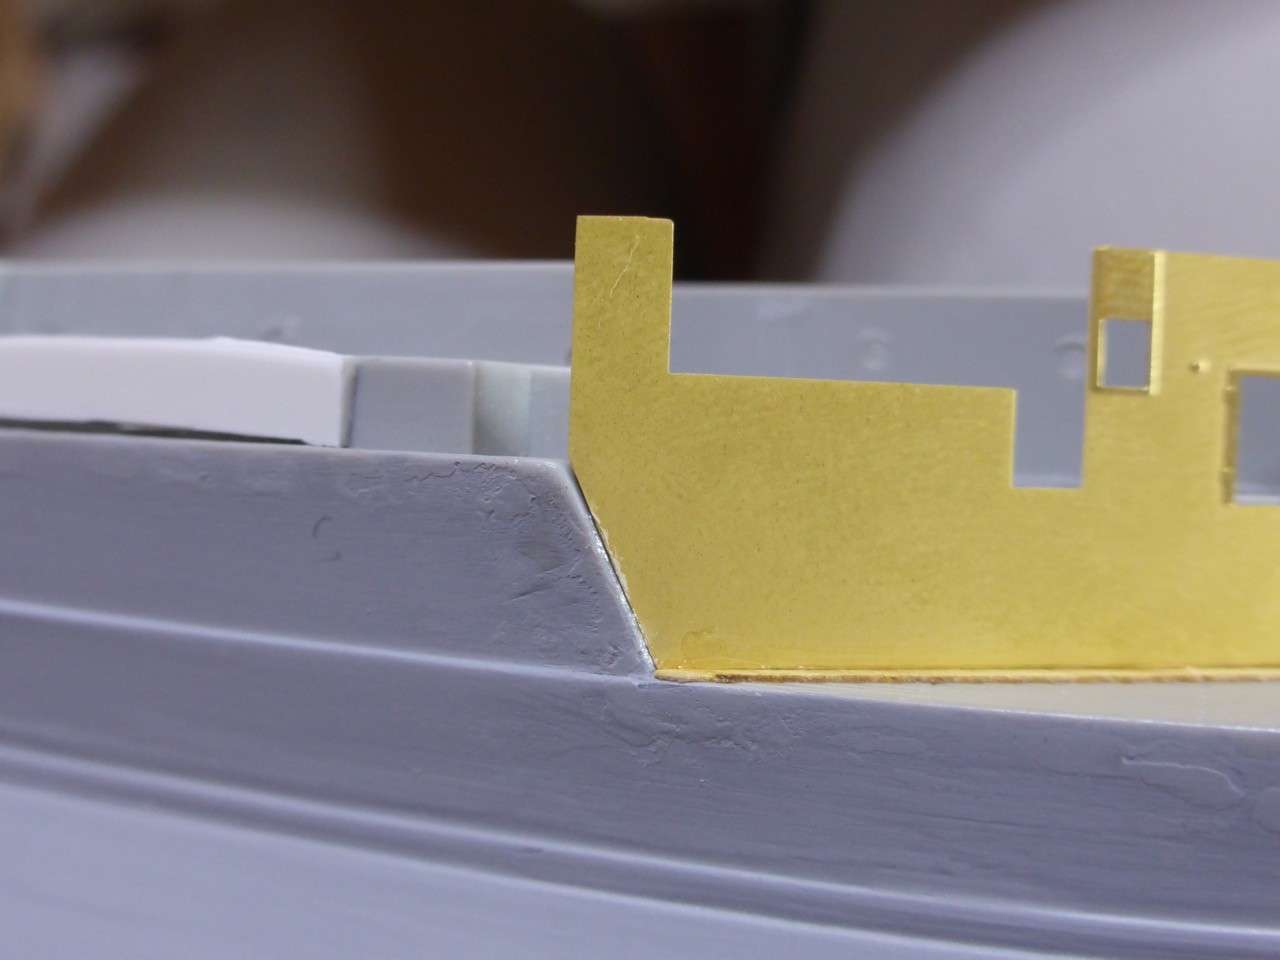
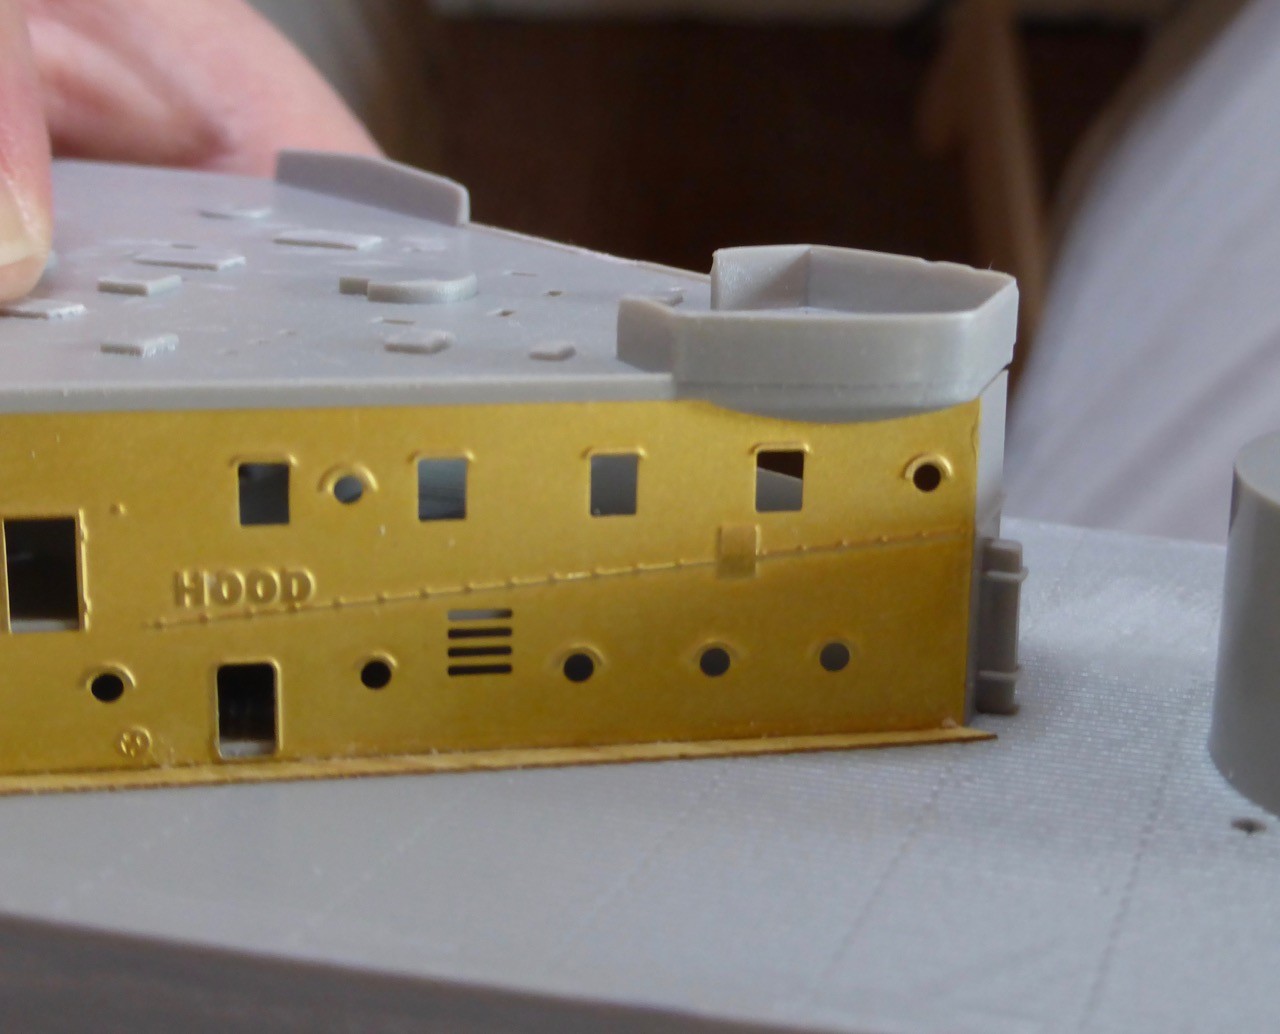
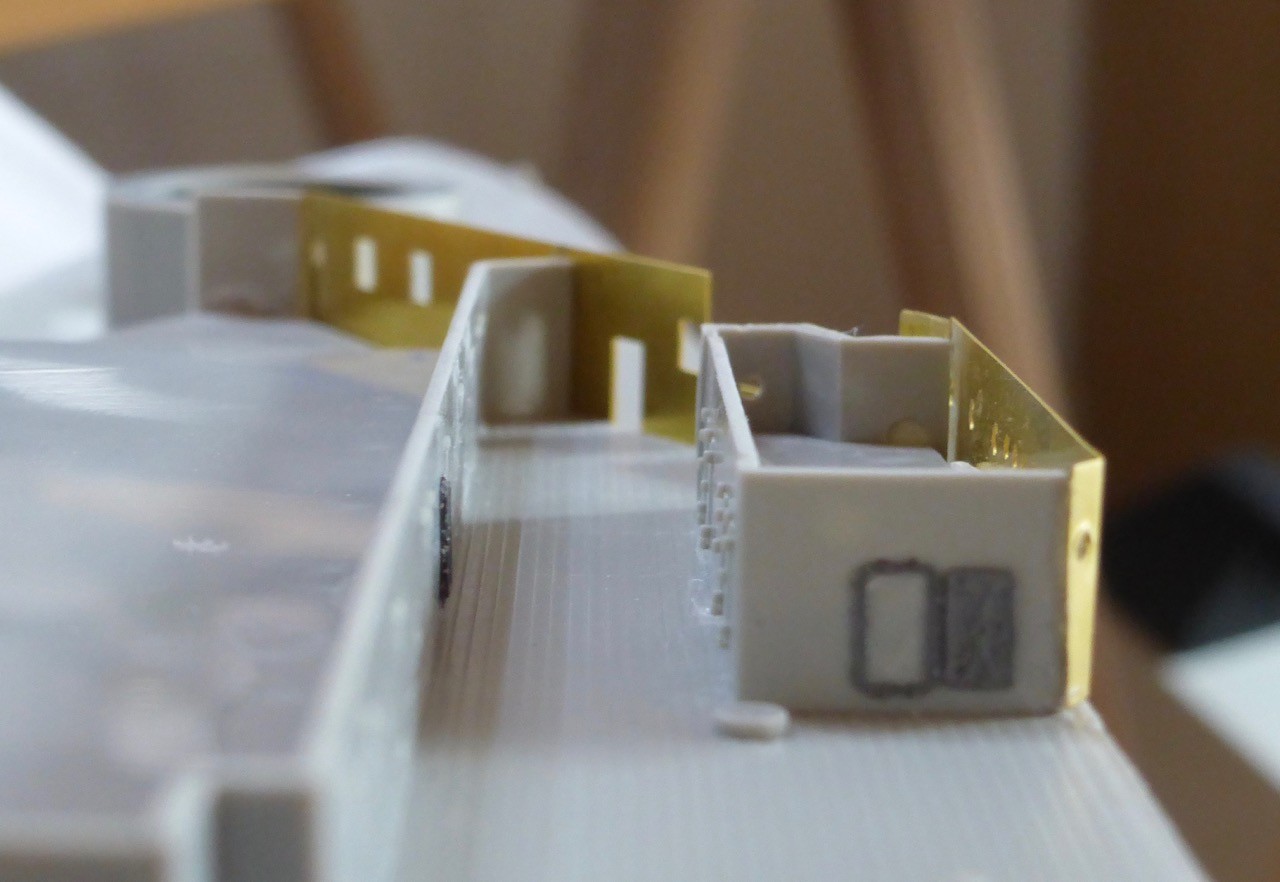
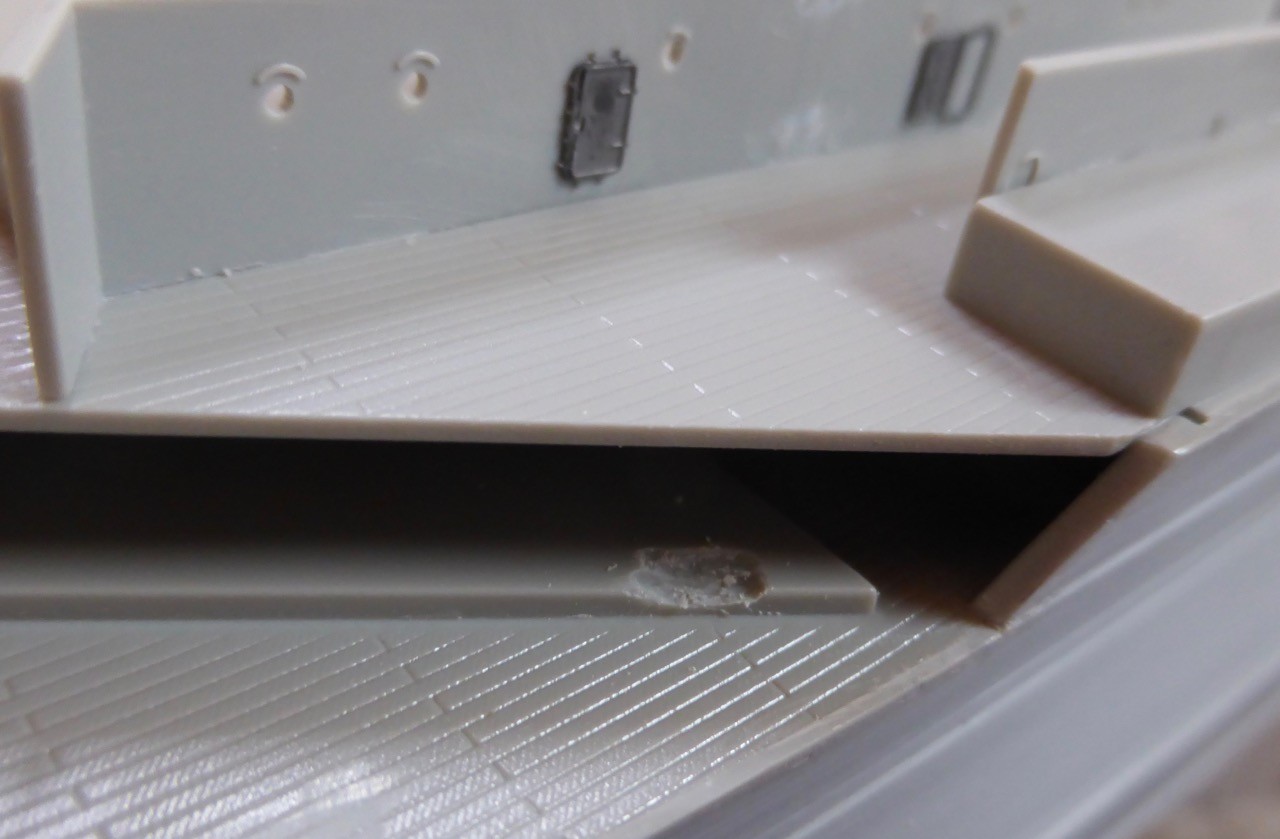
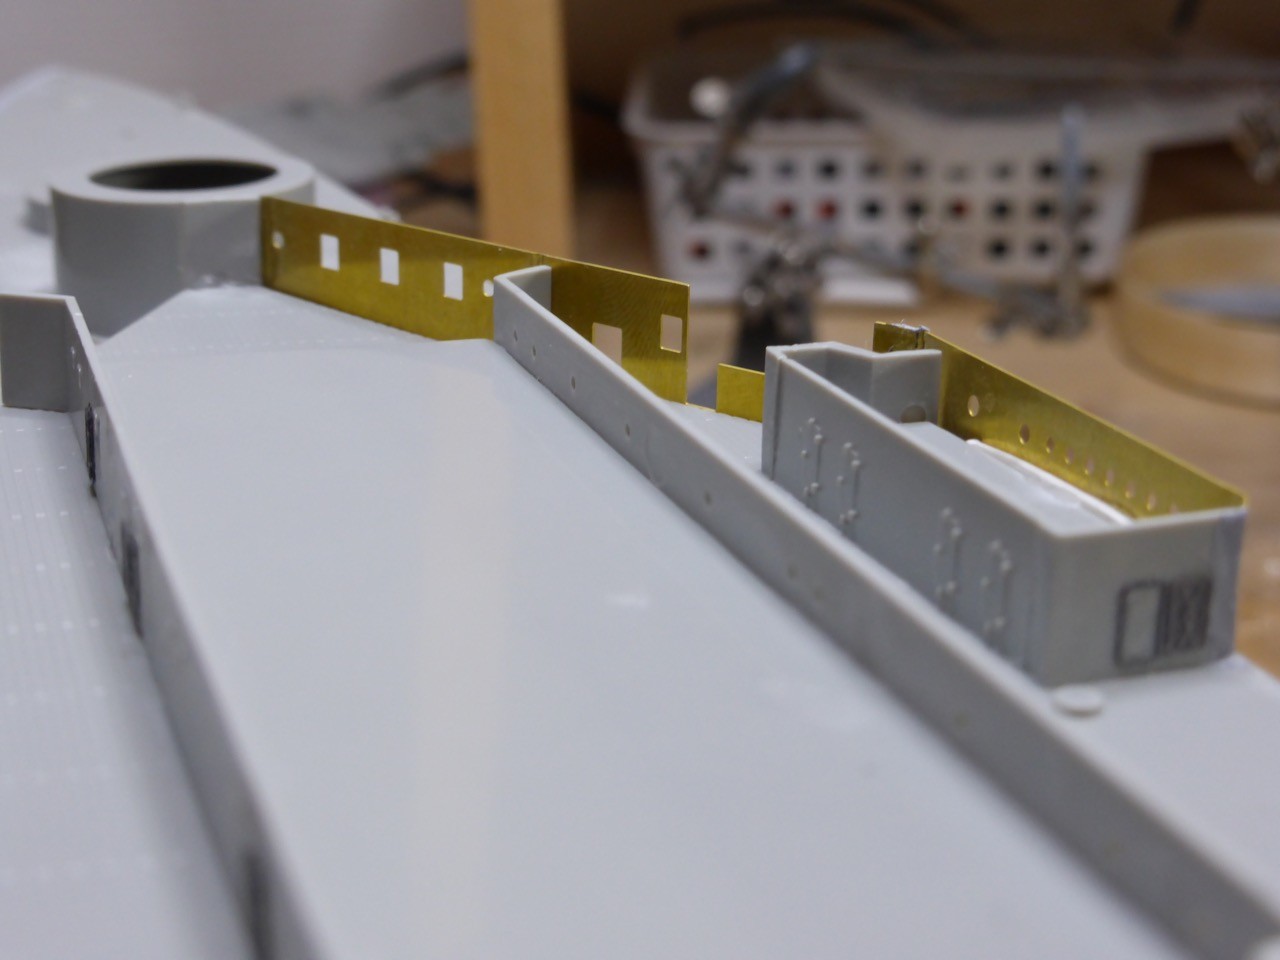
Next is the first extension part that needs to go flush with the hull. To make good for the missing material thickness, I glued a plastic stripe in place.
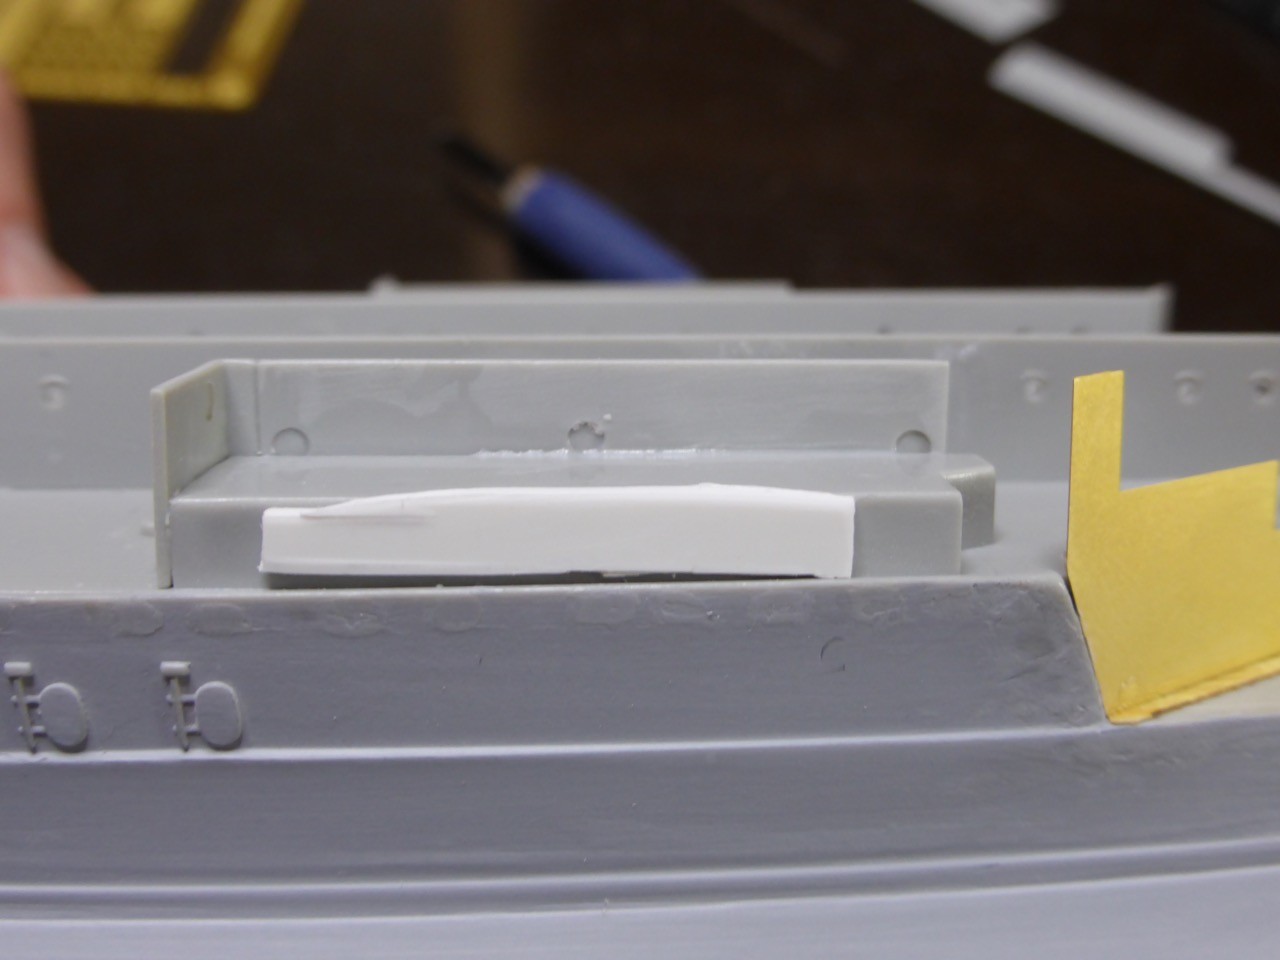
The brass part added - not too bad.
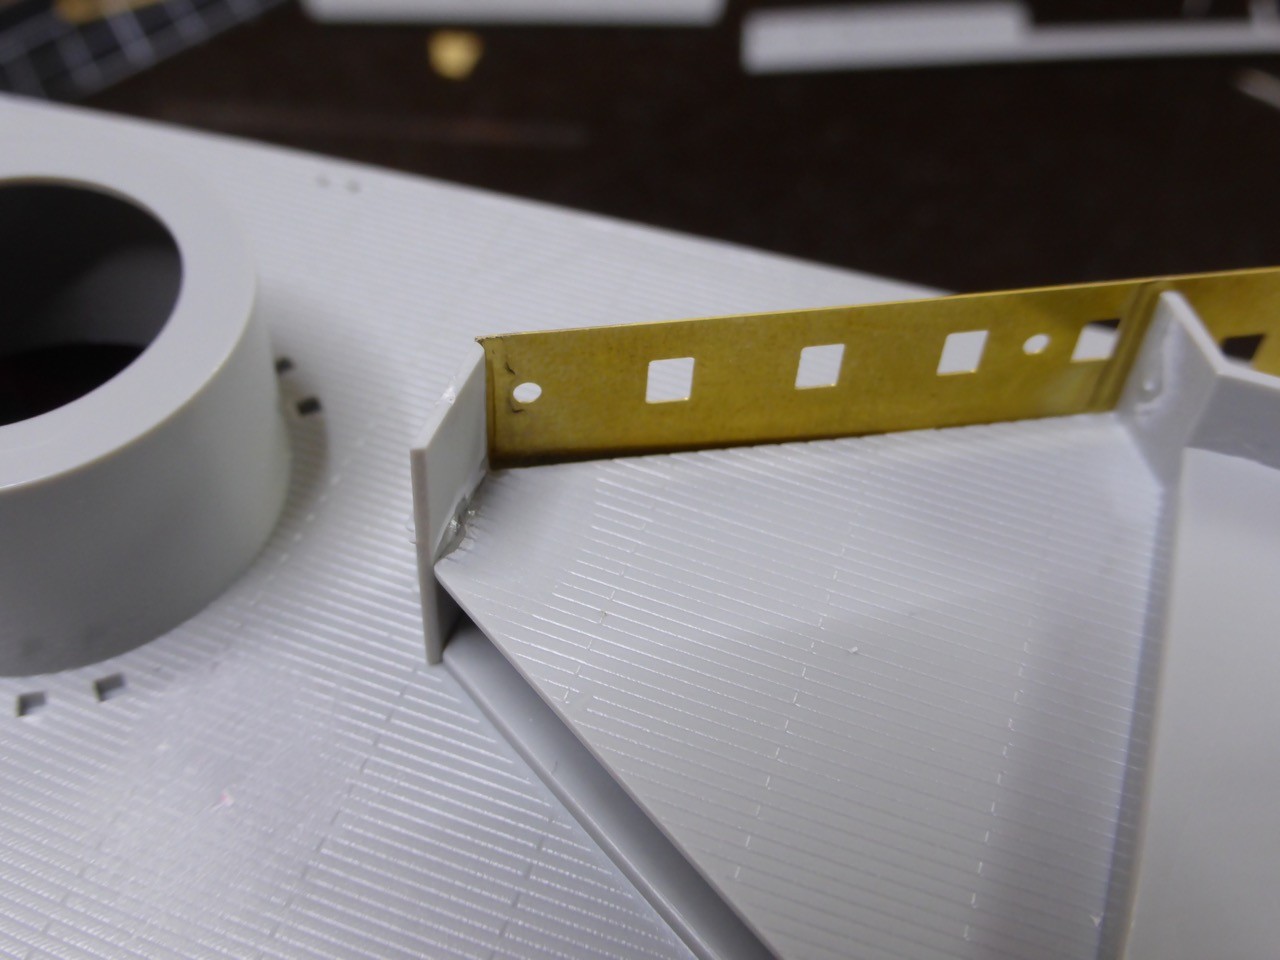
Test-fitting the deck is very encouraging!!
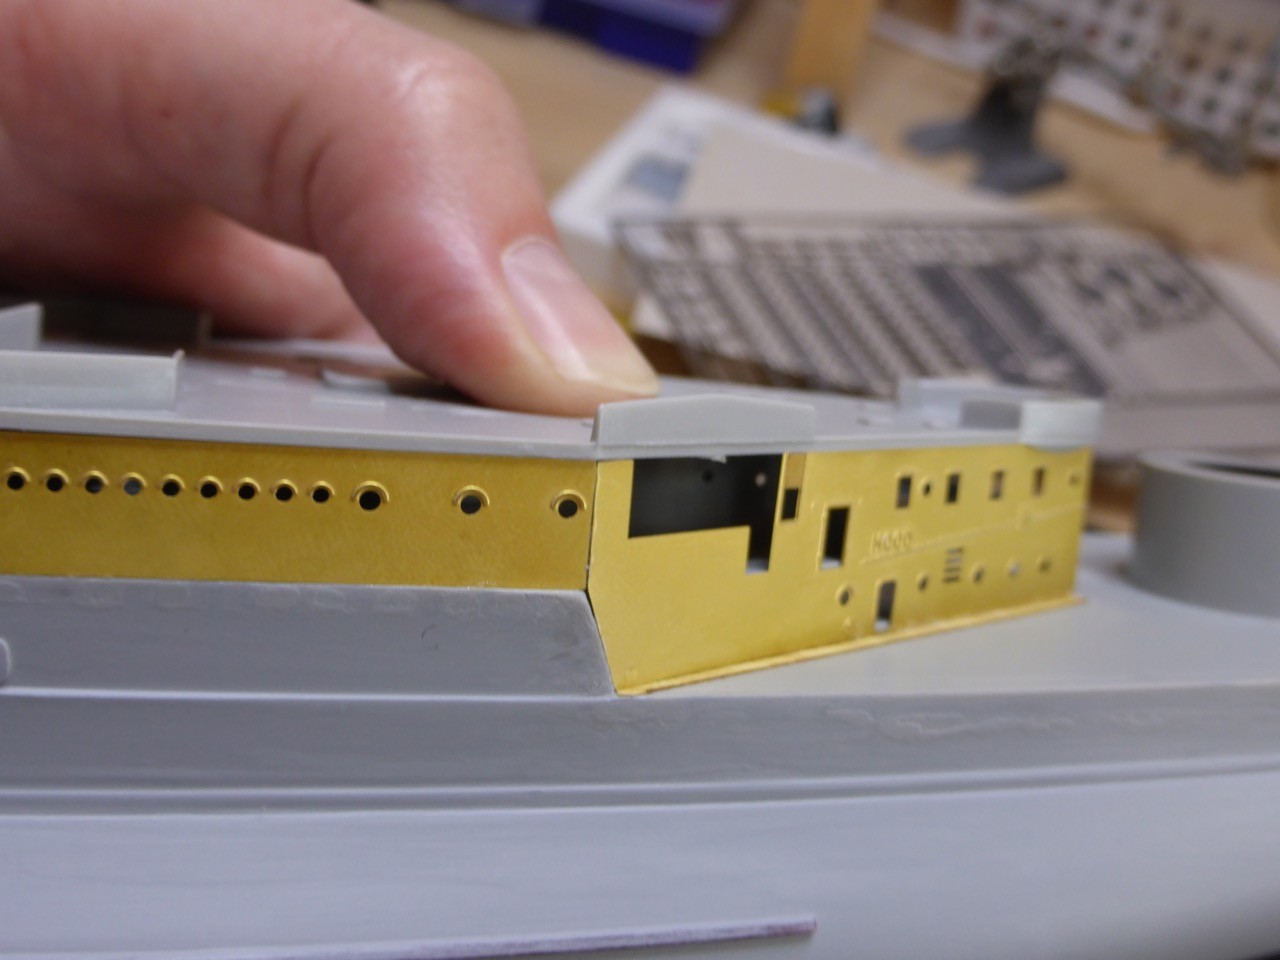
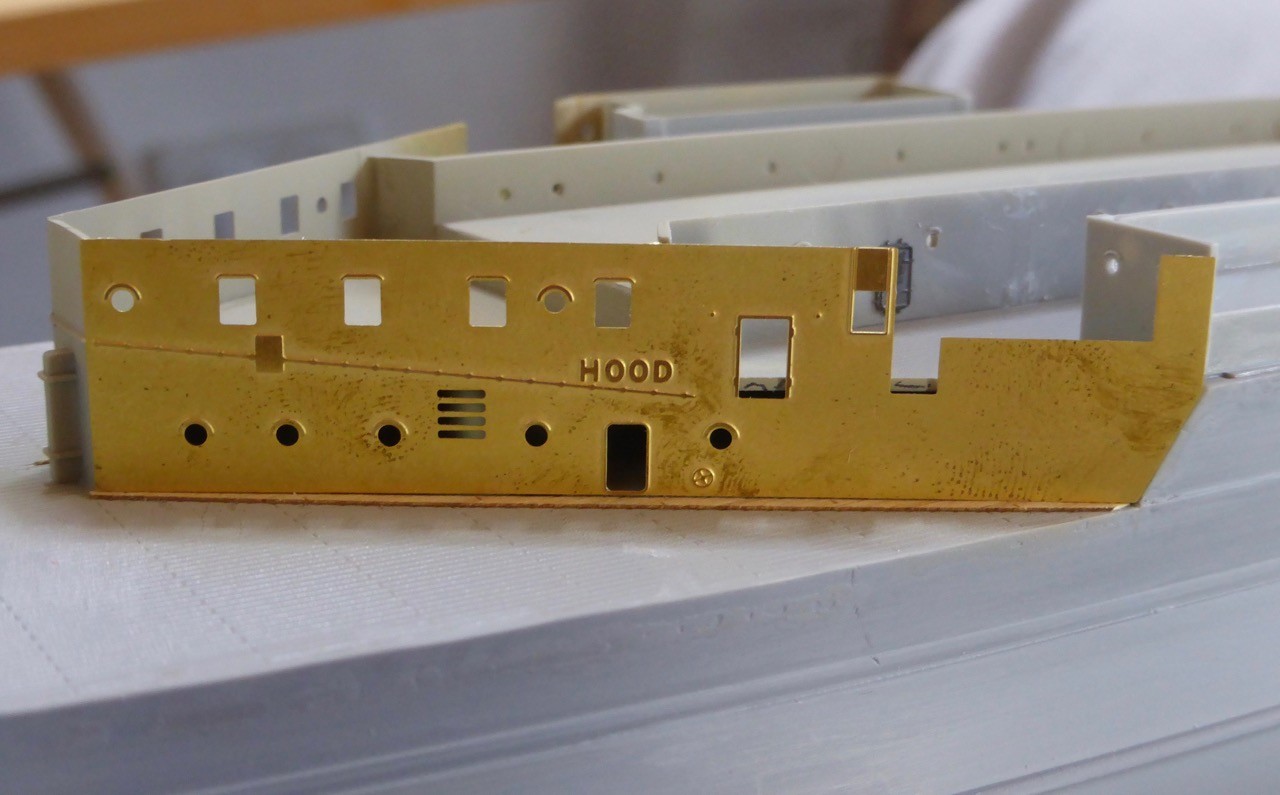
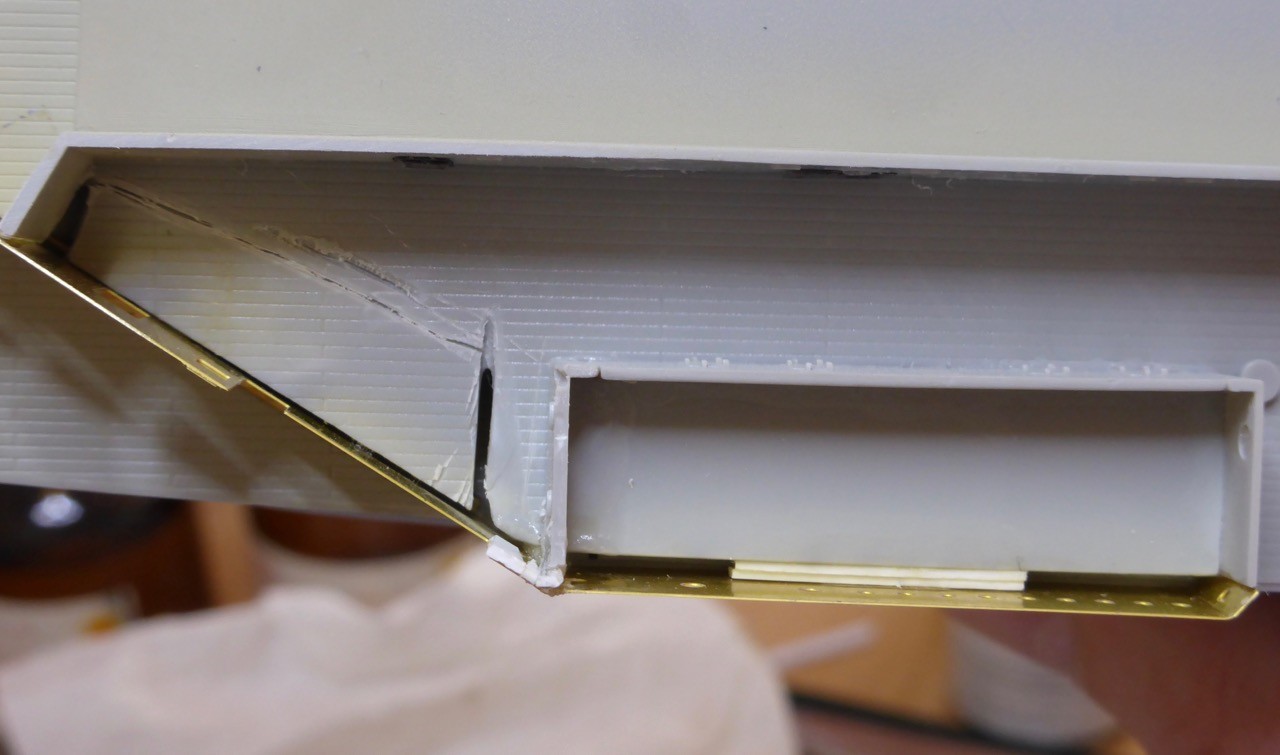
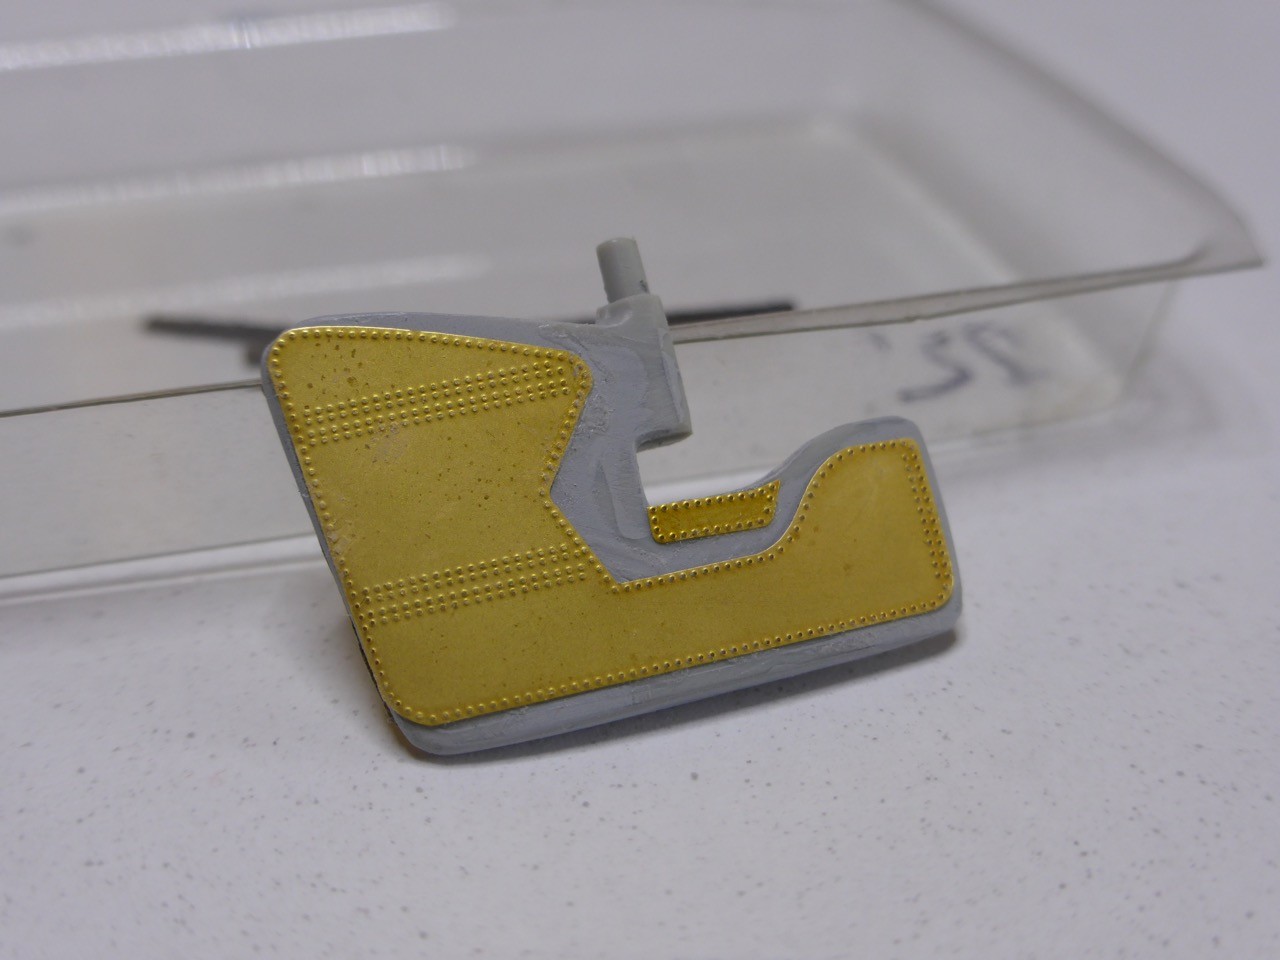
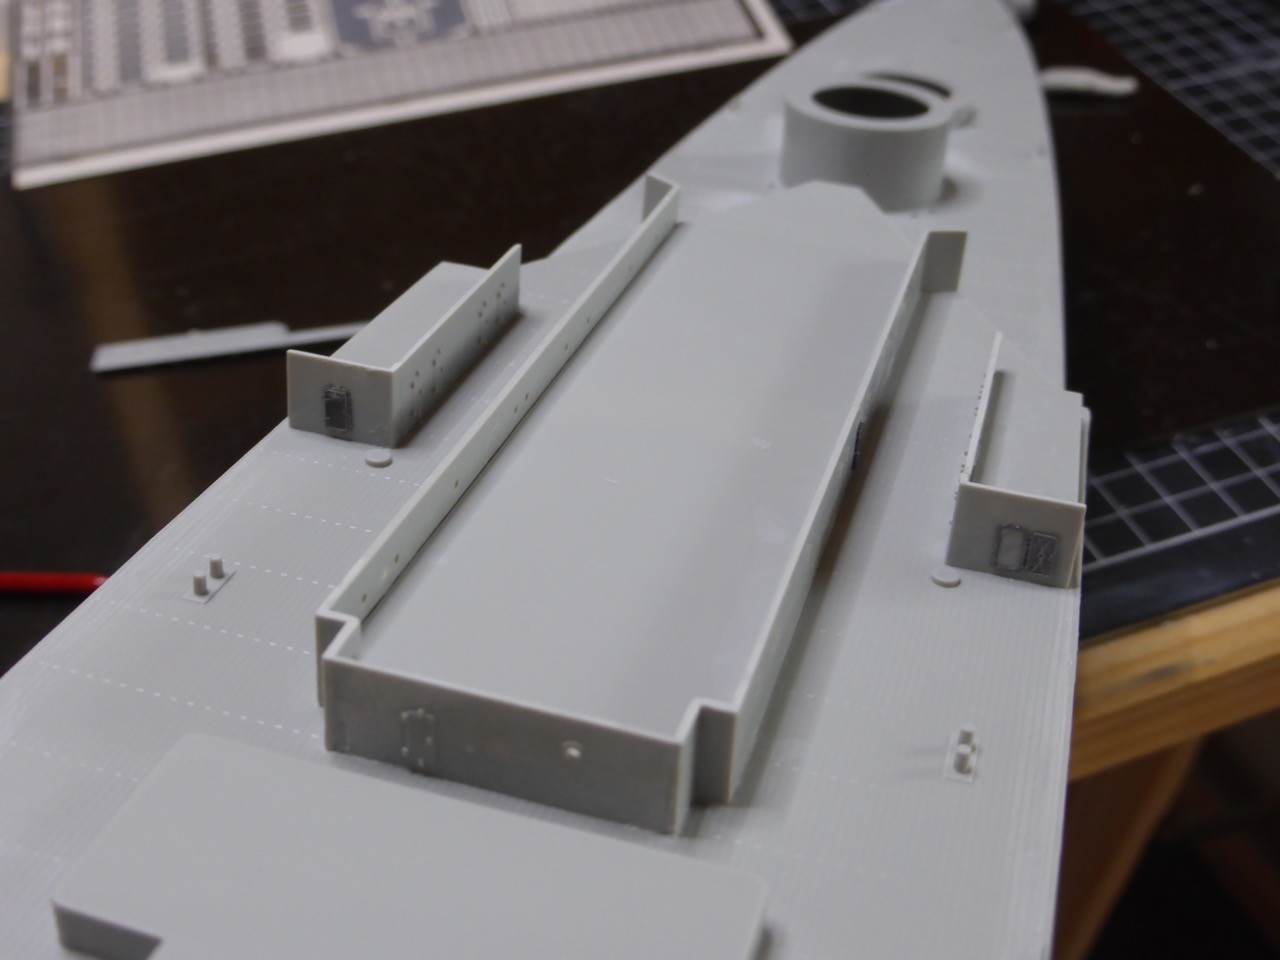
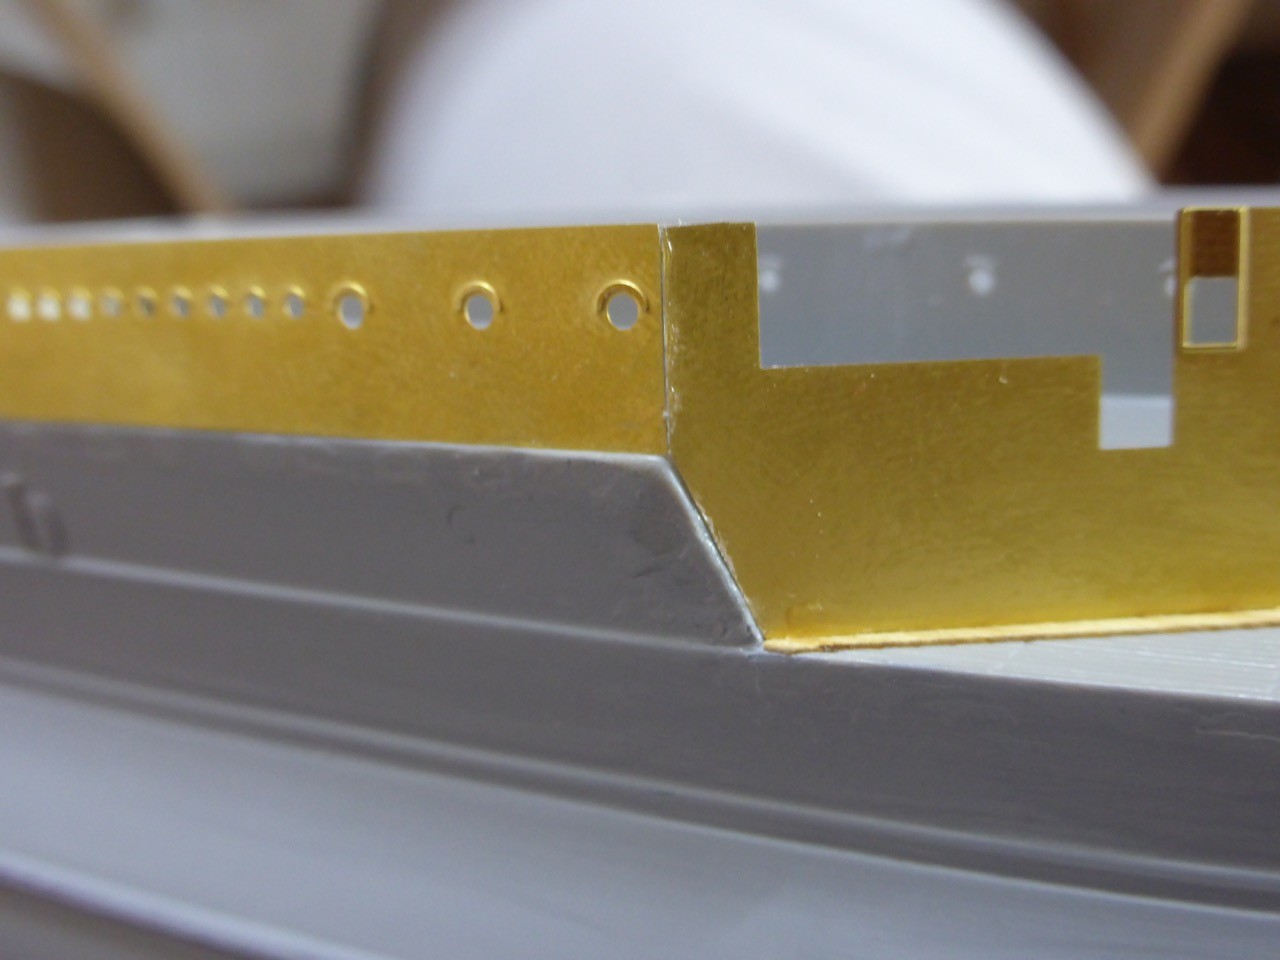
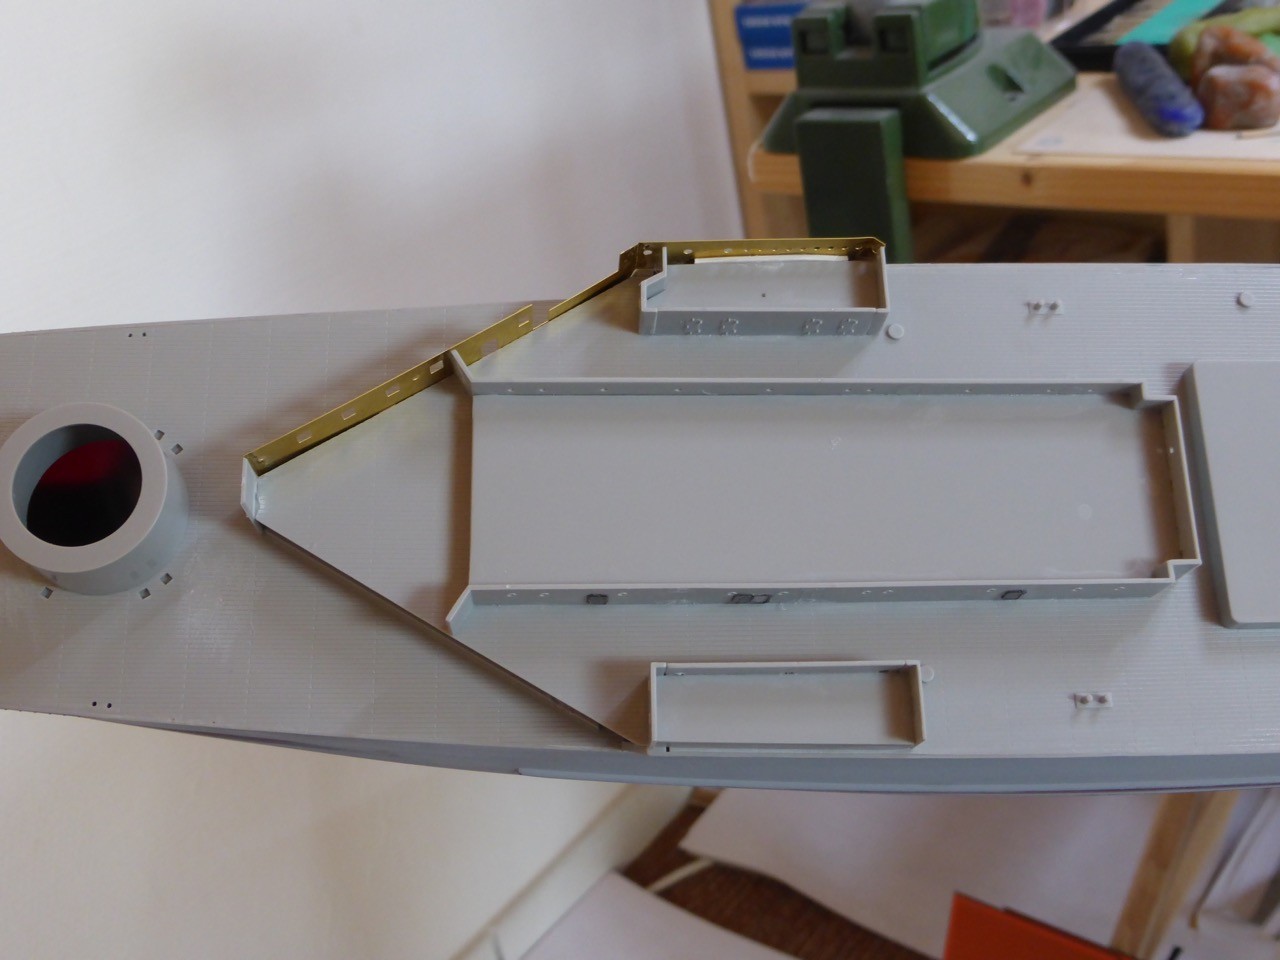
Then there is this gap - of course. My plan was to close it with another stripe of plastic. Luckily I checked all instructions once more, the parts that will link later on etc - no filling. The part needs to be bent.
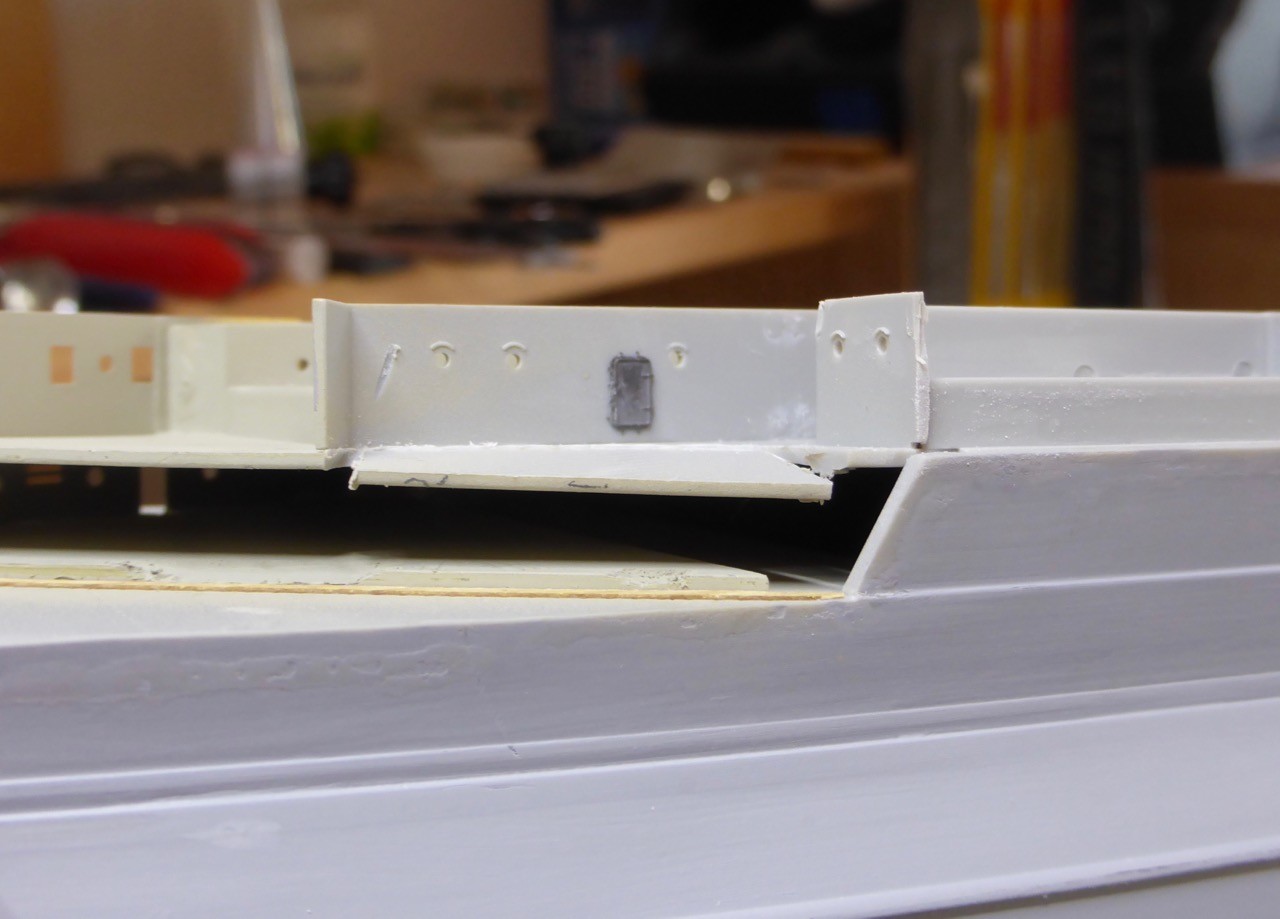
Ok, crack the glue - due to the strong material no bigger problem - and try to bend it properly. That needs a little trial and error, but worked in the end.
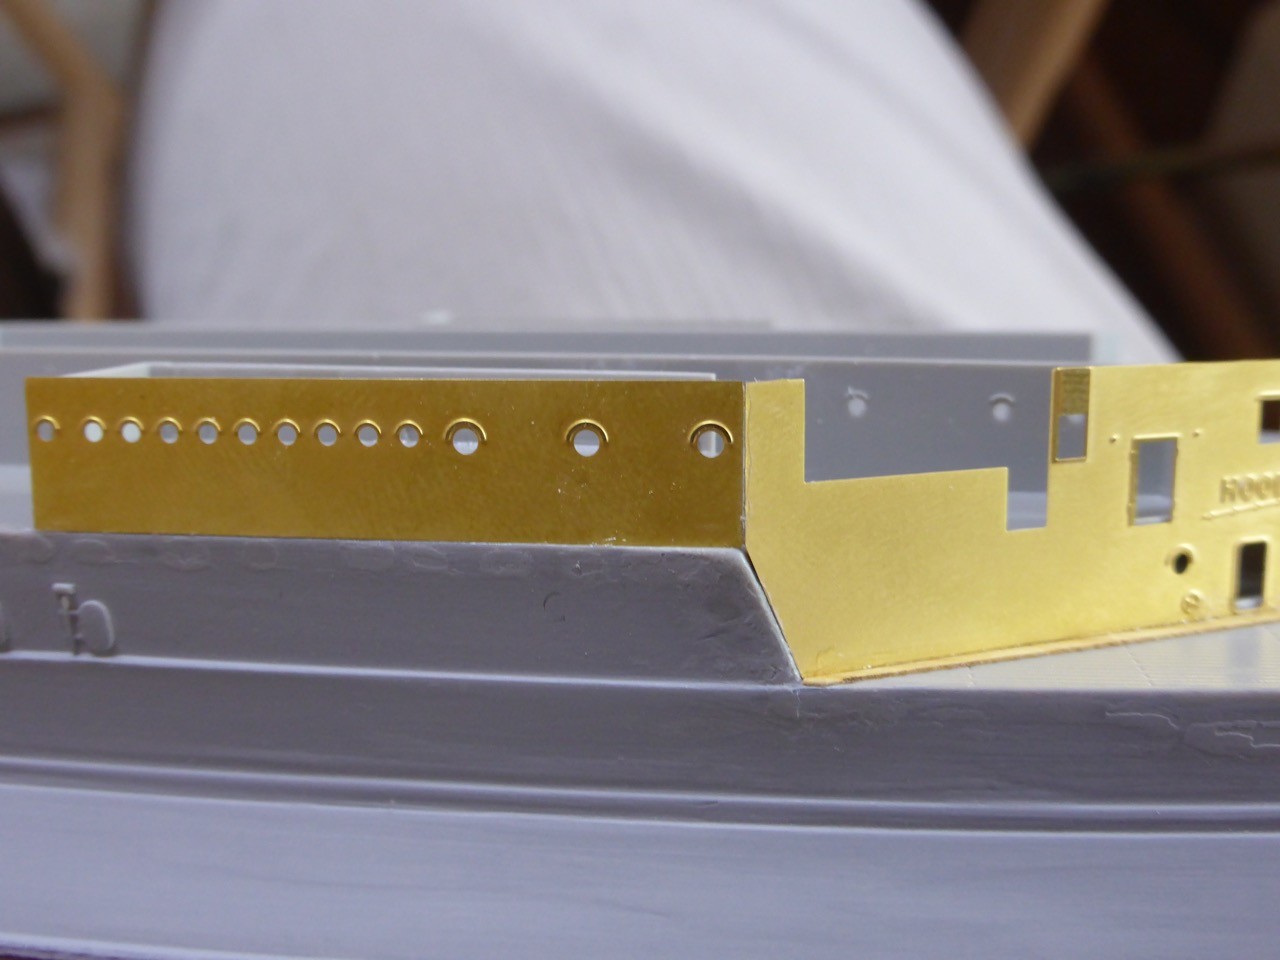
Taking shape - actually looking into what was the Captain's cabin (below) and the Admiral's cabin (one deck above).
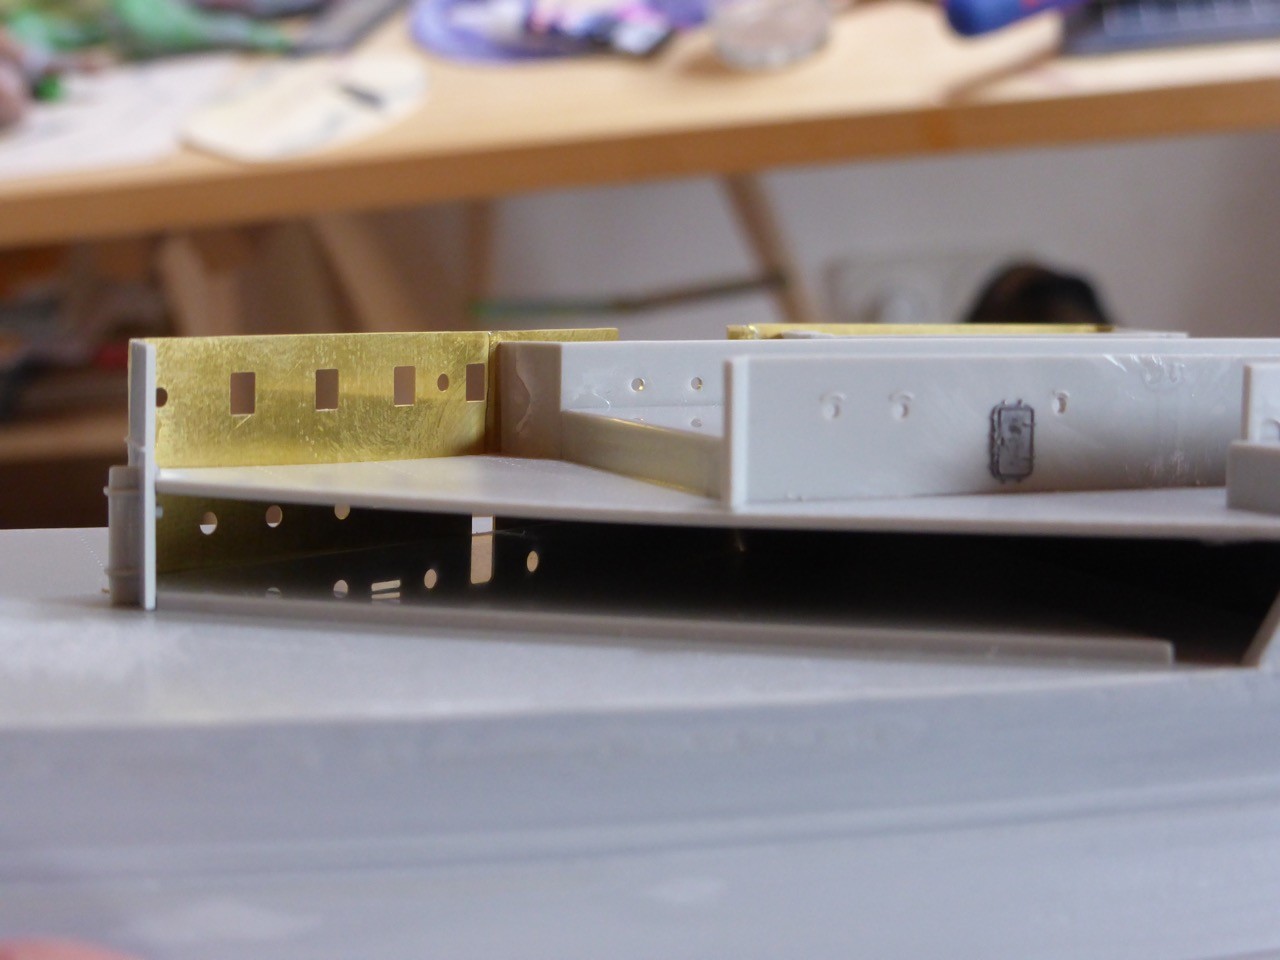
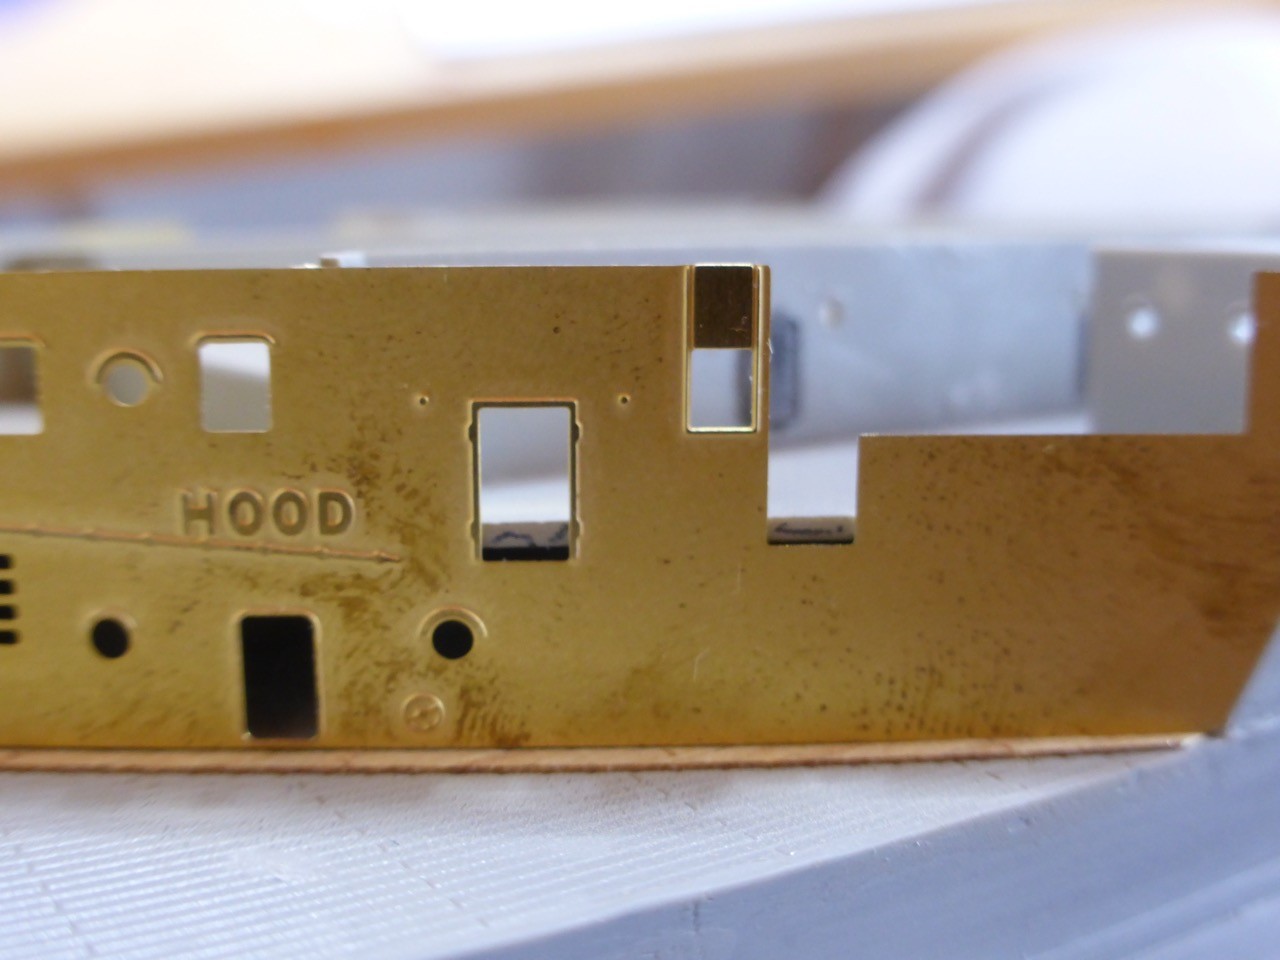
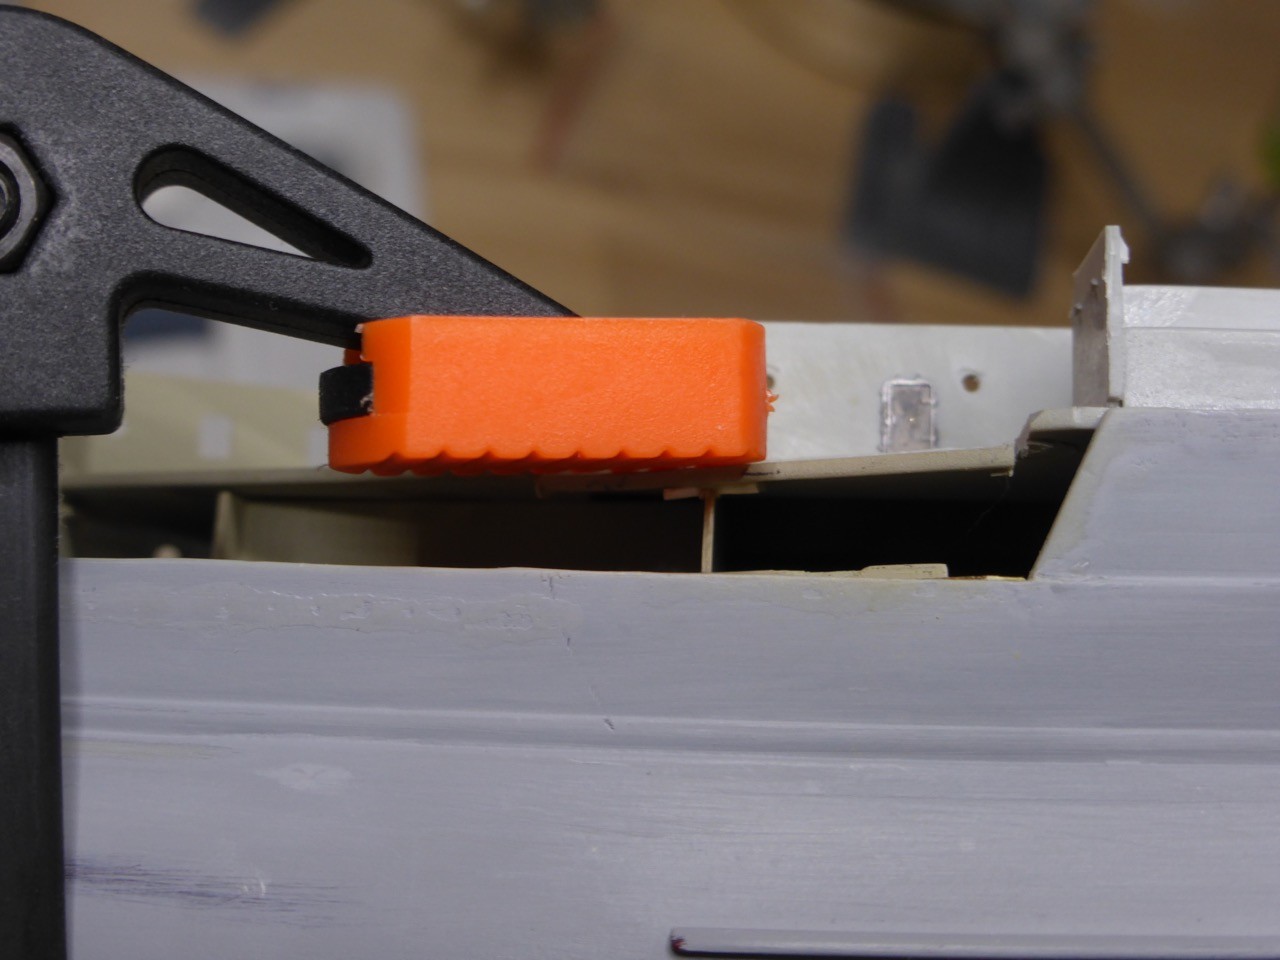
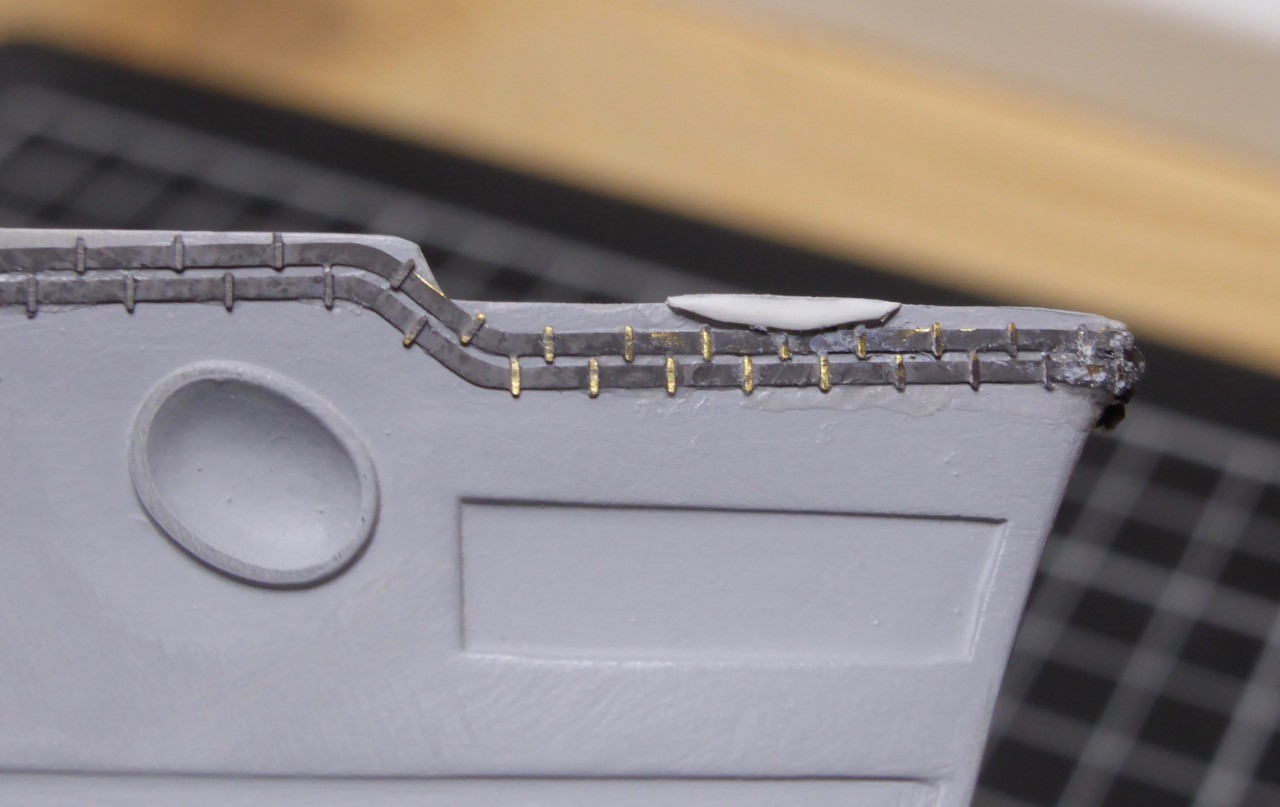
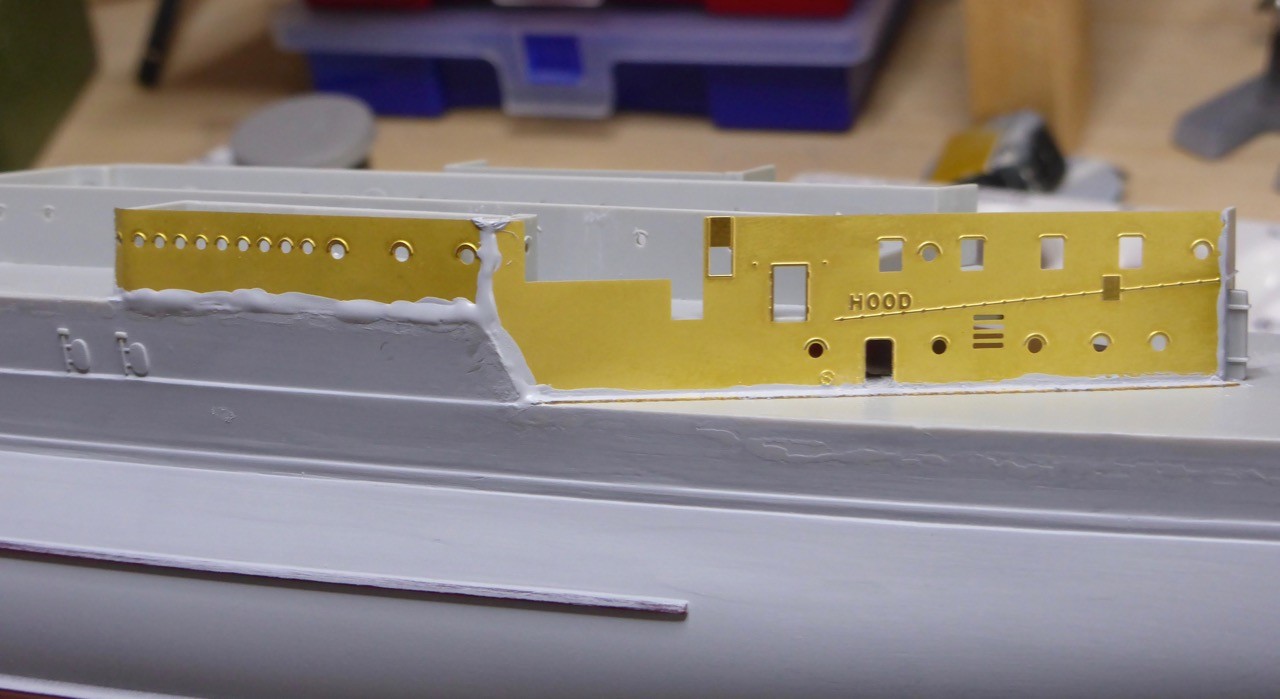
The next problem is that the parts that are molded on the deck are higher than the very nice open doors of the Lion Roar wall. That looks quite stupid...
So I tried the material strength on a hidden place, in order not to create a hole, which would look even more stupid - material is thick.
So drilled some stuff to create a kind of a slope. Not perfect, but better...
With that came the realization that because of the very nice, big open windows etc., the Captain's and Admiral's cabins will be pretty good visible. The Captain's one not so much, but here I need to install something to prevent light shining through. Once darkened, one can hardly look in through the portholes.
Different story for the Admiral's cabin with the big, square windows. There's even a wooden deck for it in the Pontos deck set. So I start thinking what to do about that. The AOTS has one or two pictures of the Admirals cabin, so I am considering to give it some kind of buff paint inside, and have a look what I could use to install a little furniture, like a bed, a big table etc... Well, that's for later.
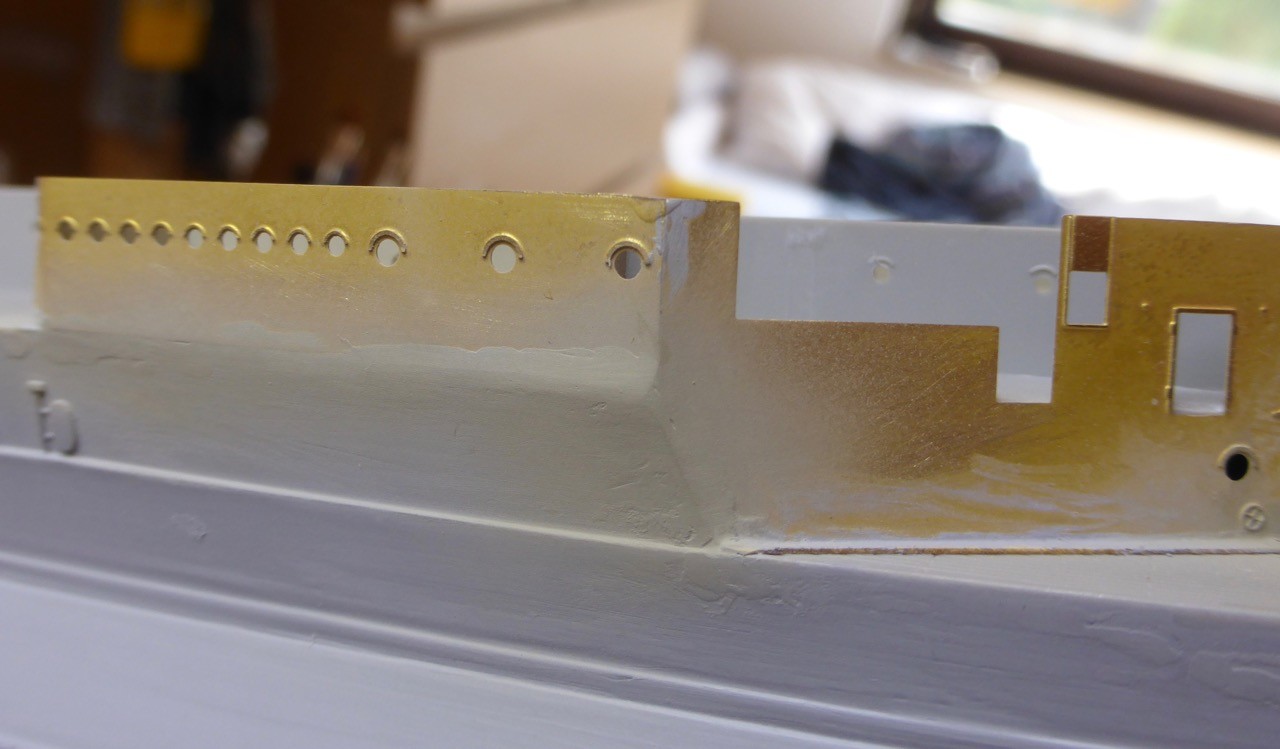
First - more surfacer. Not too bad, but no way without.

So that's it for today. I'll be away from my workbench for the next two weeks, so the next update will likely be in July. Time is flying - so much still to do, and just a little over ten months - well, considering my two-week-break anyway.

As always, thanks for looking and I hope you'll be watching when I have something more to report in a few weeks.

For now,
Cheers,
Jan