You are viewing the archived version of the site.
Go to modelshipwrights.com for the current dynamic site!
Hosted by Steve Joyce
HMS Hood 1941 - Trumpeter 1/350 + Lion Roar
Posted: Friday, May 20, 2016 - 08:28 PM UTC
HMS Hood
Next to the Bismarck probably one of the most famous warships of all times, the last and biggest battlecruiser ever built!
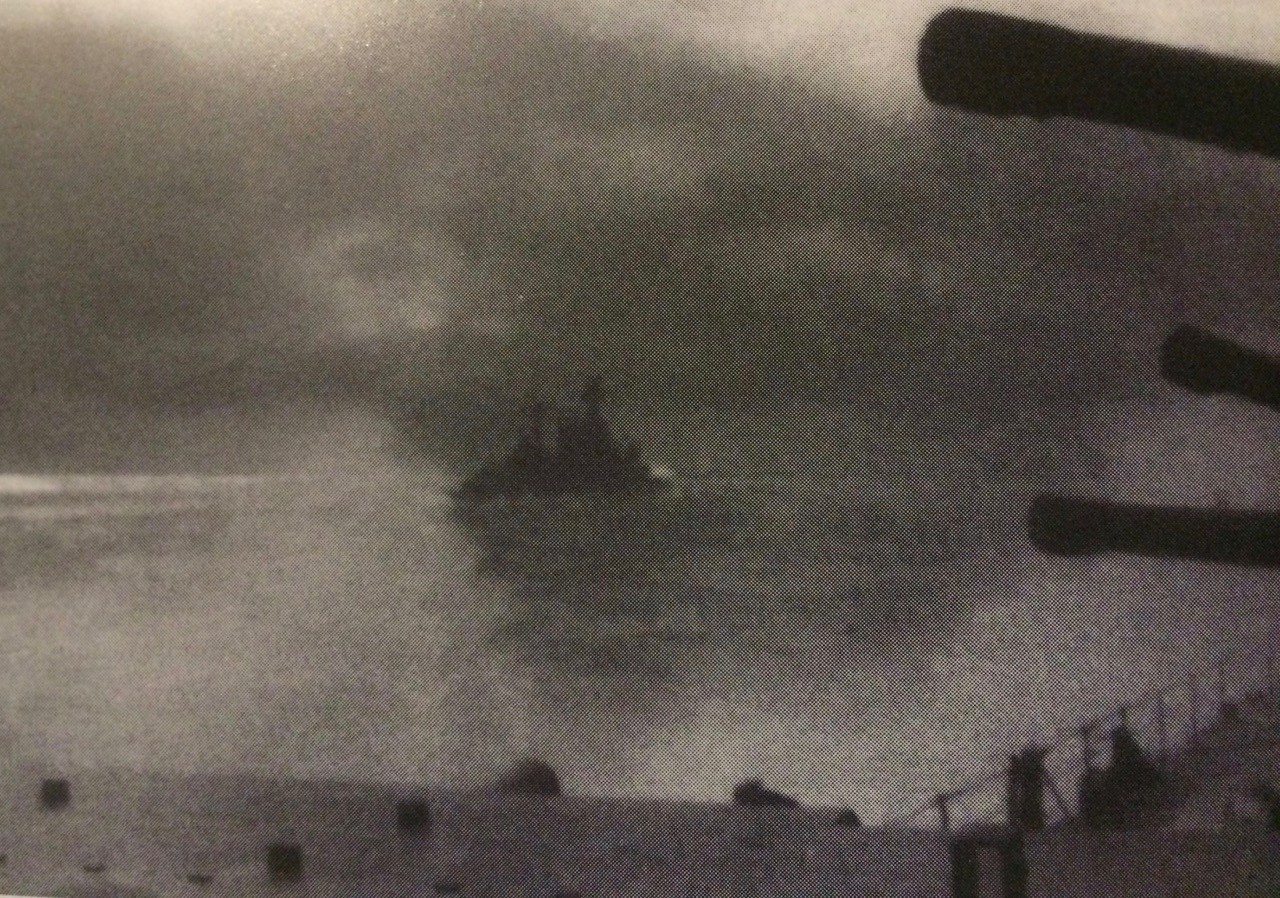
After a over twenty year long career, alternating between several lows and highs, she was finally sunk by the Bismarck on the early morning of 24 May, 1941. There are still many myths about here sinking, but it is undoubted that she was sunk by one - or possibly several - unfortunate hits from a single 38 cm salvo from the Bismarck and went down with all but three of here crew.
I'll do my best to do her justice with this build log.
This will be my entry for the Bismarck campaign, and as I did for the cruisers' campaign, I will do a more detailed separate blog here.
Again, as for the cruisers's campaign, it appears that Si and I are doing an almost accustomed work-share - Si doing the DKM build, and I the RN counterpart.
So here's what I will use, and my 'time stamp':
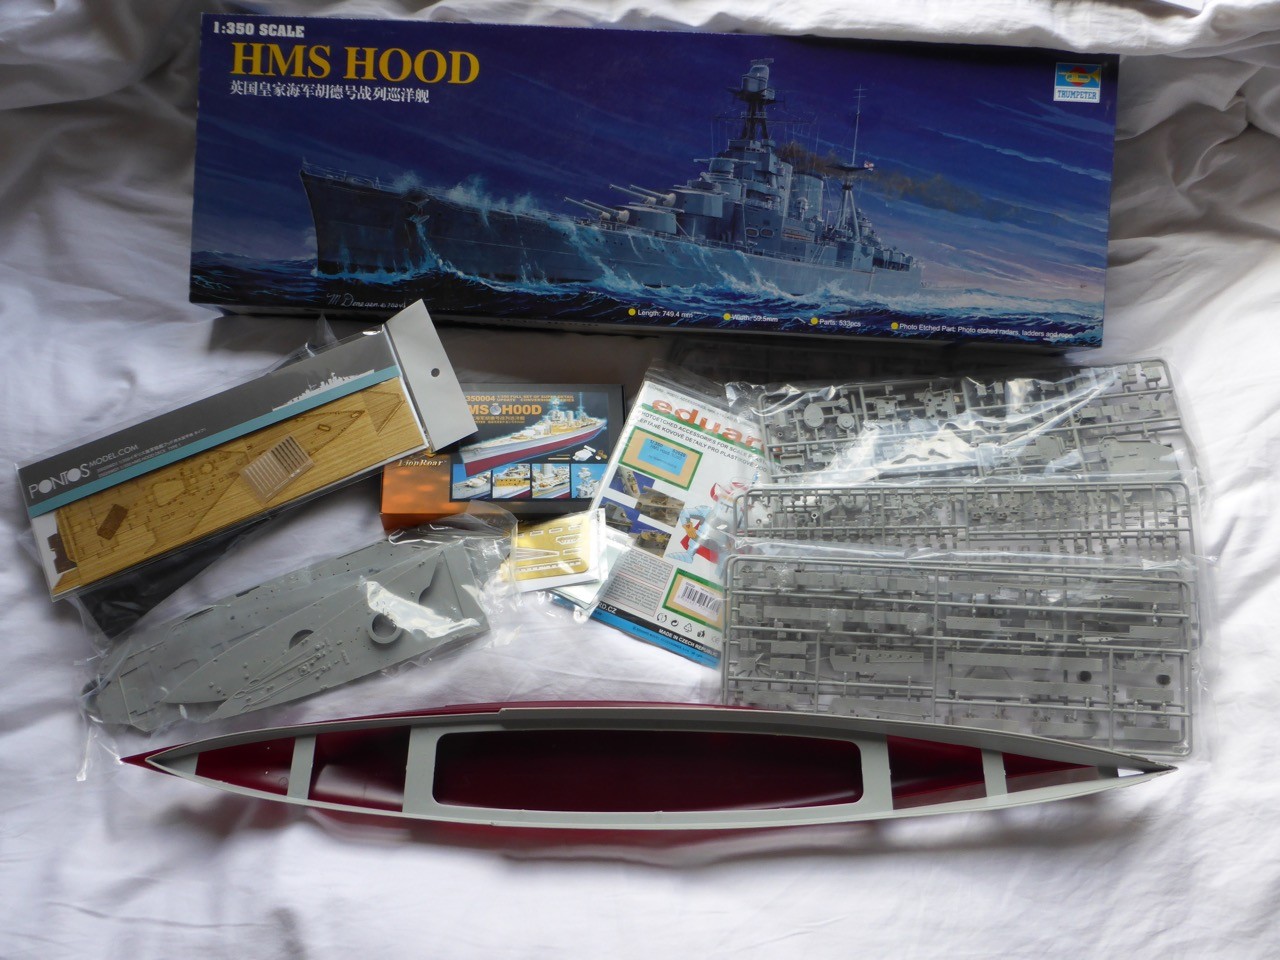
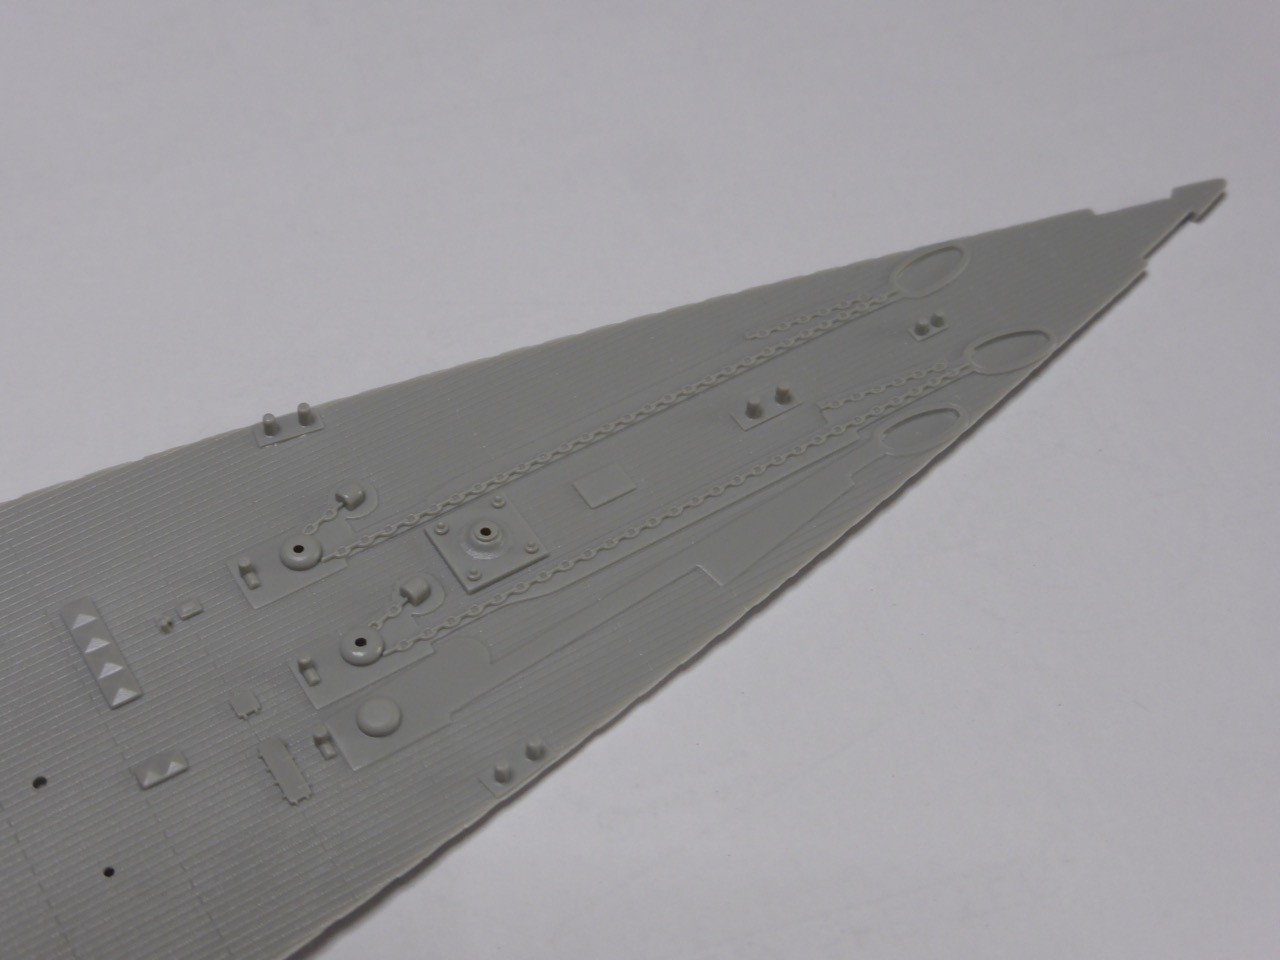
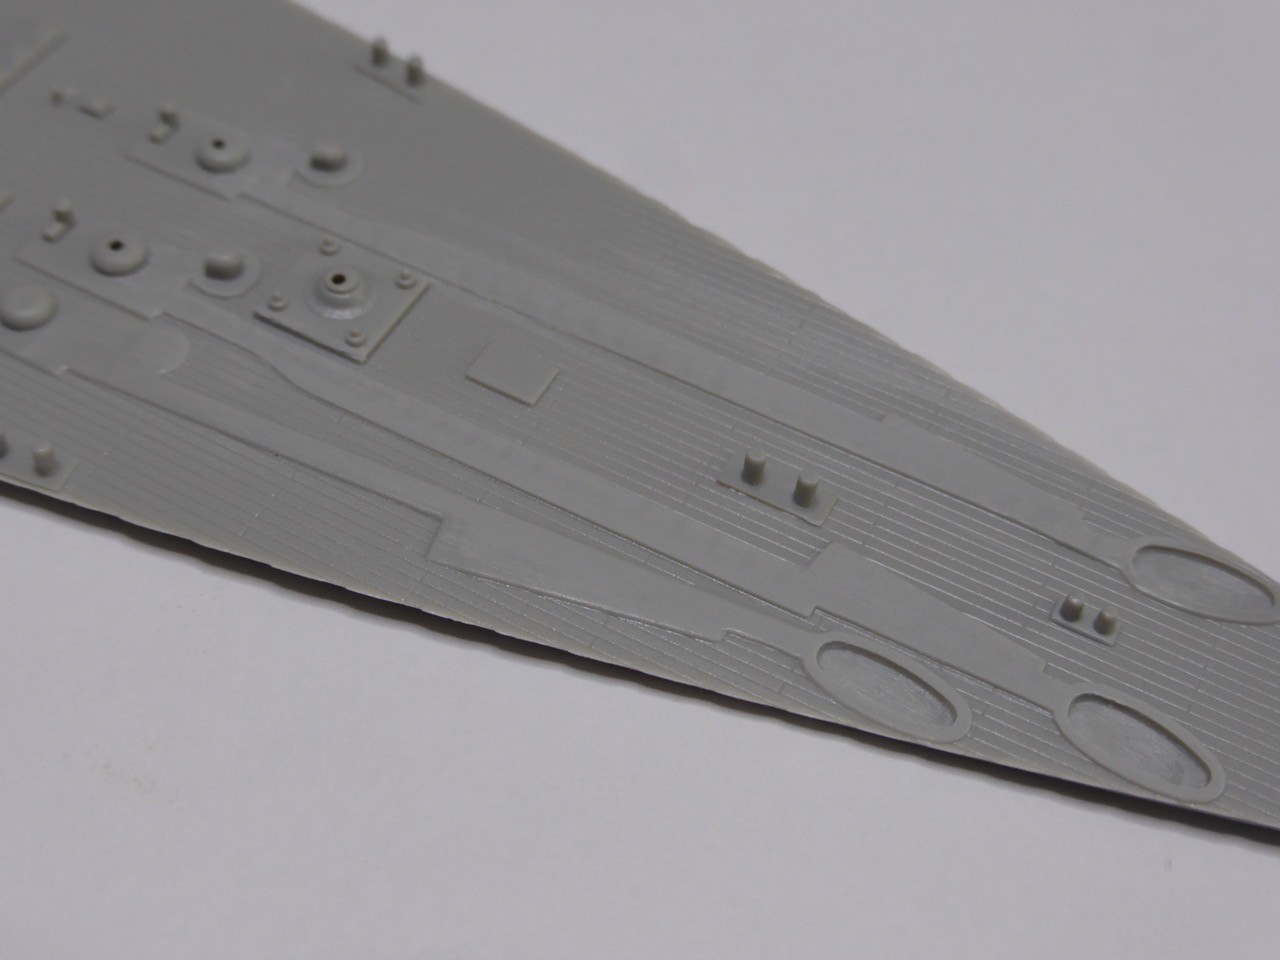
So that's of course the Trumpeter kit, and, amongst probably a myriad of other things from scratch or leftovers, those fine aftermarket parts:
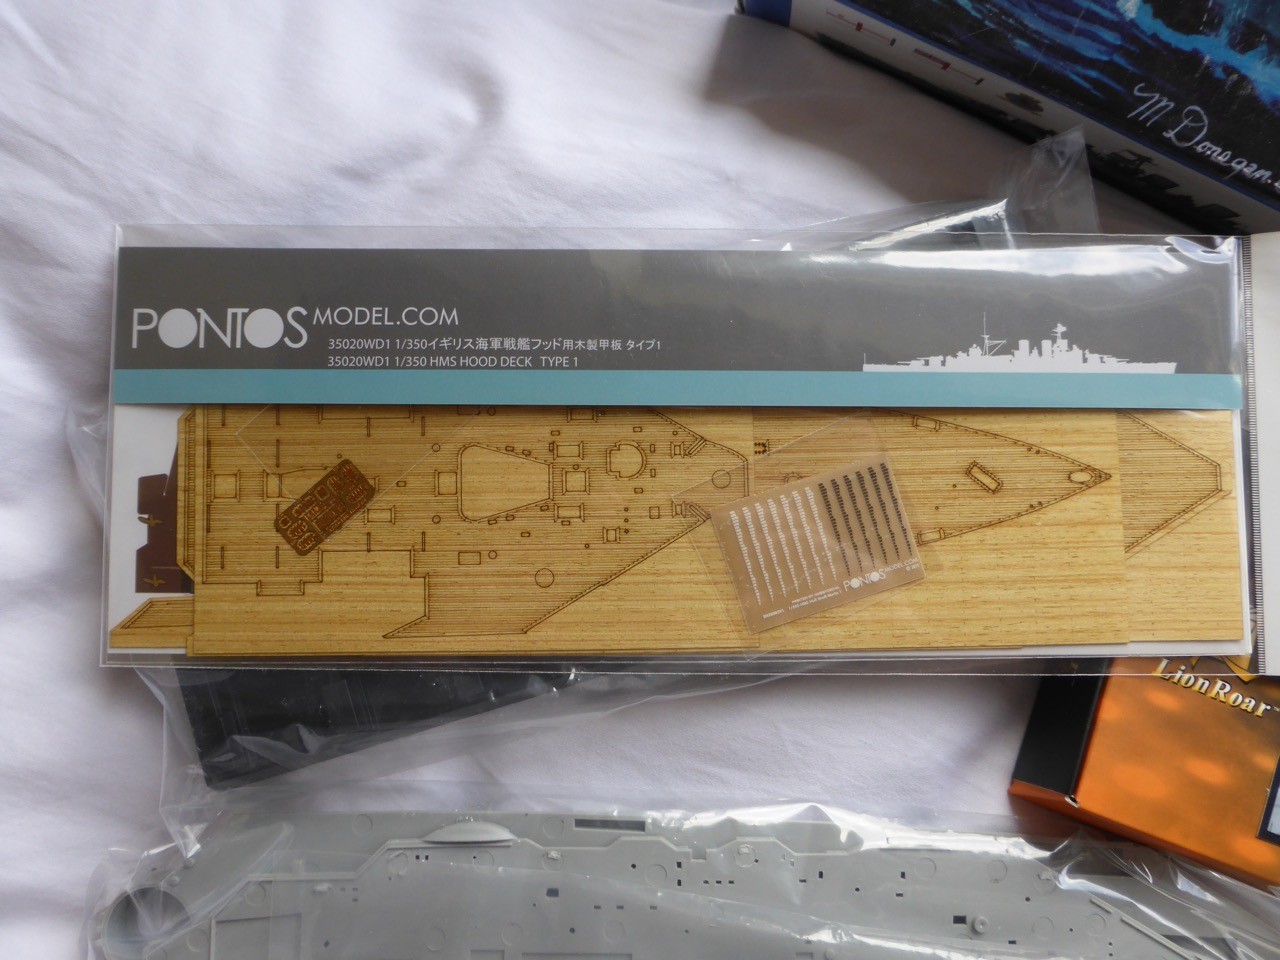
Pontos wooden deck
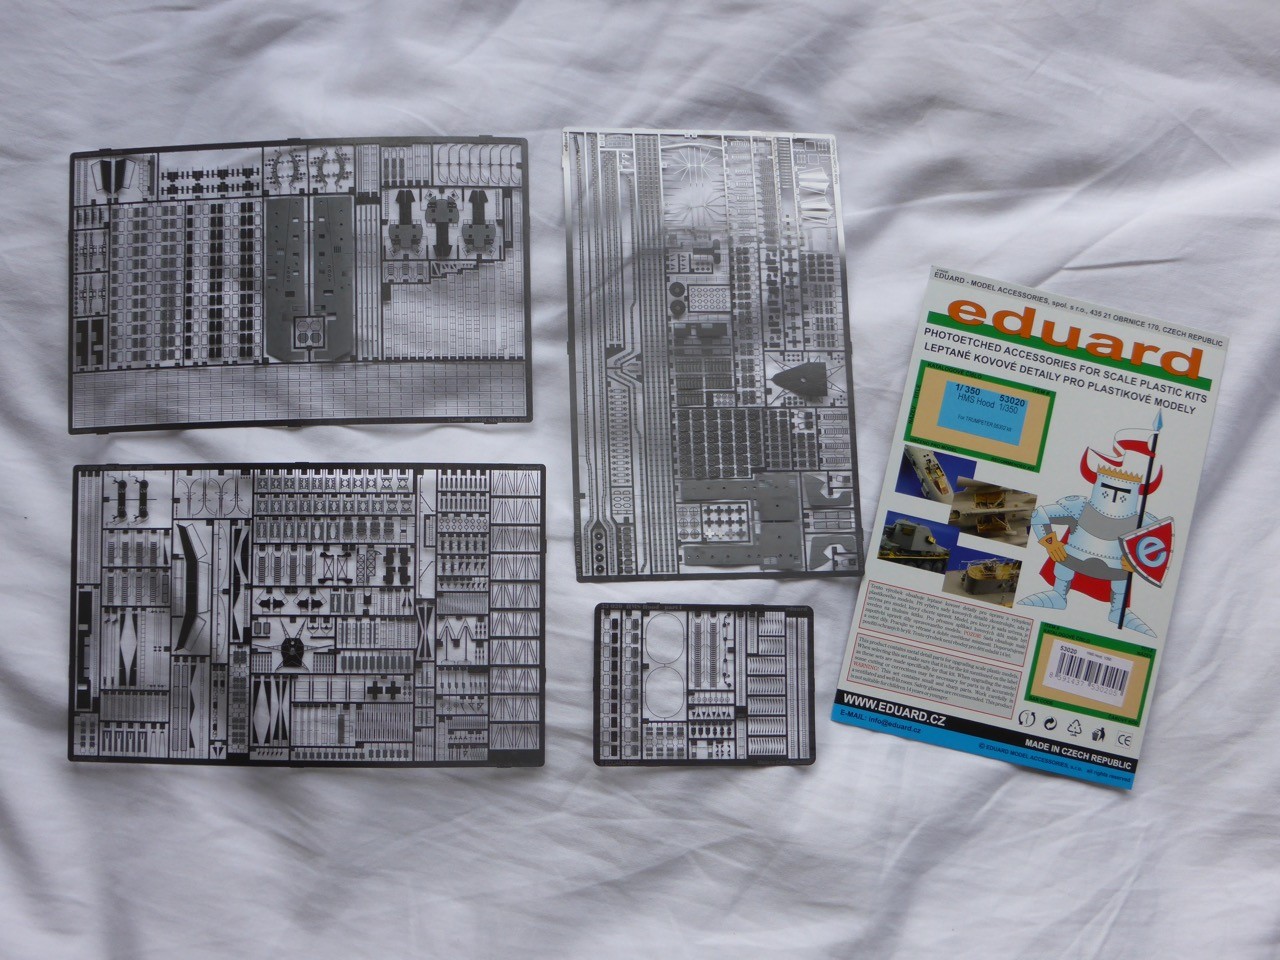
The Eduard set, that I got on a bargain somewhere already a little bit cannibalized...
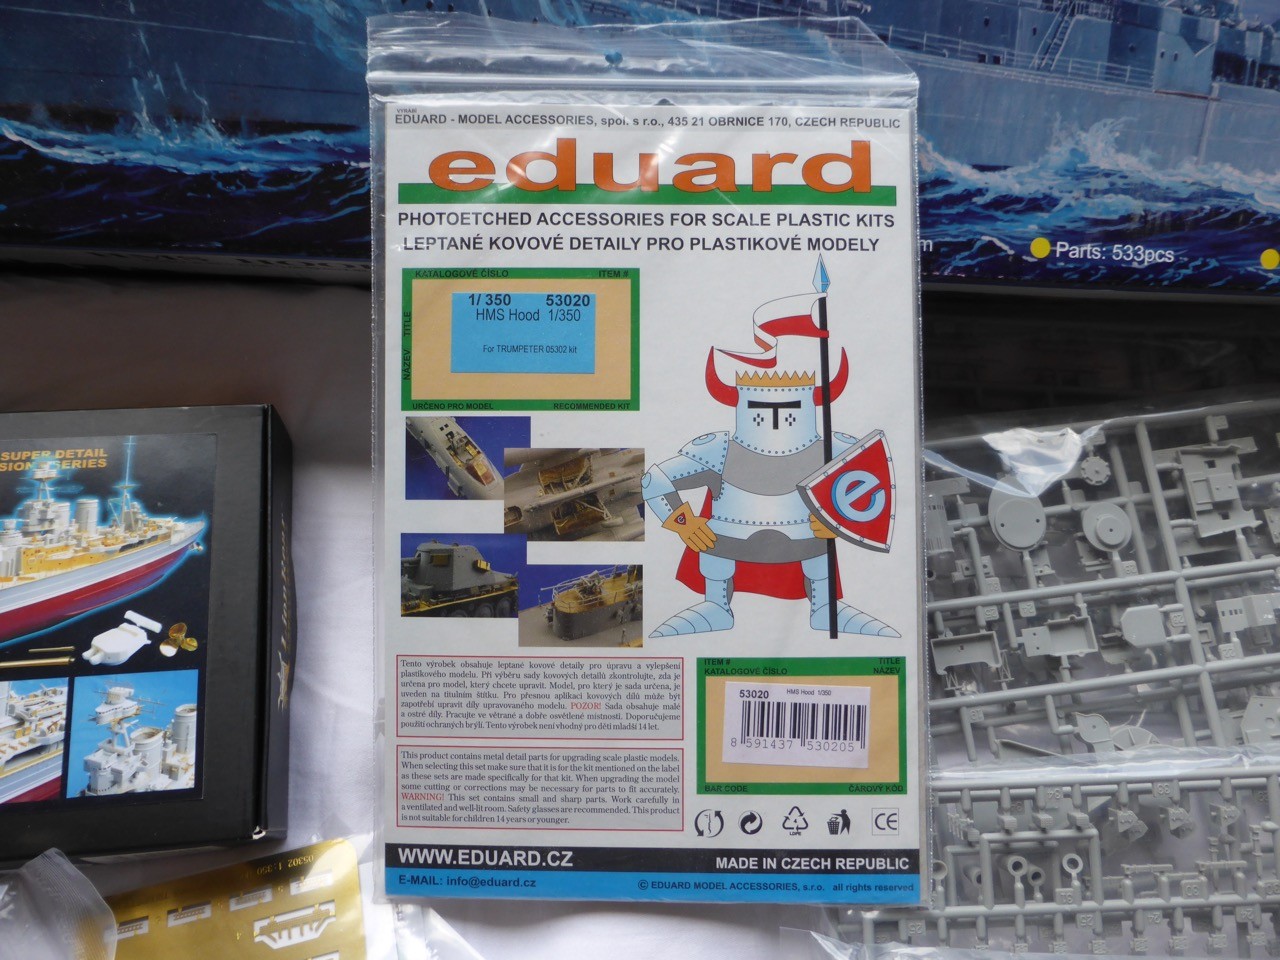
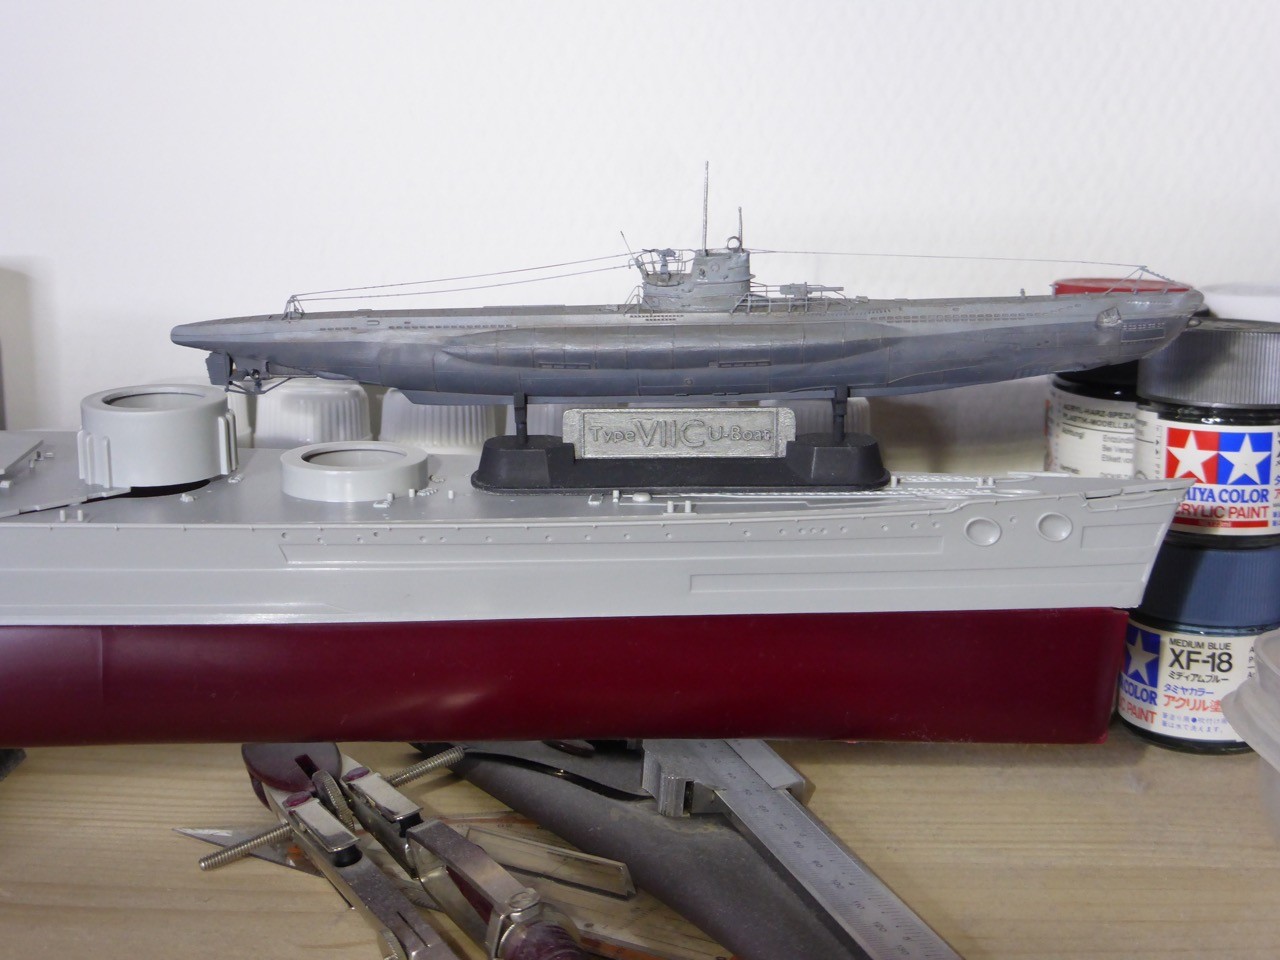
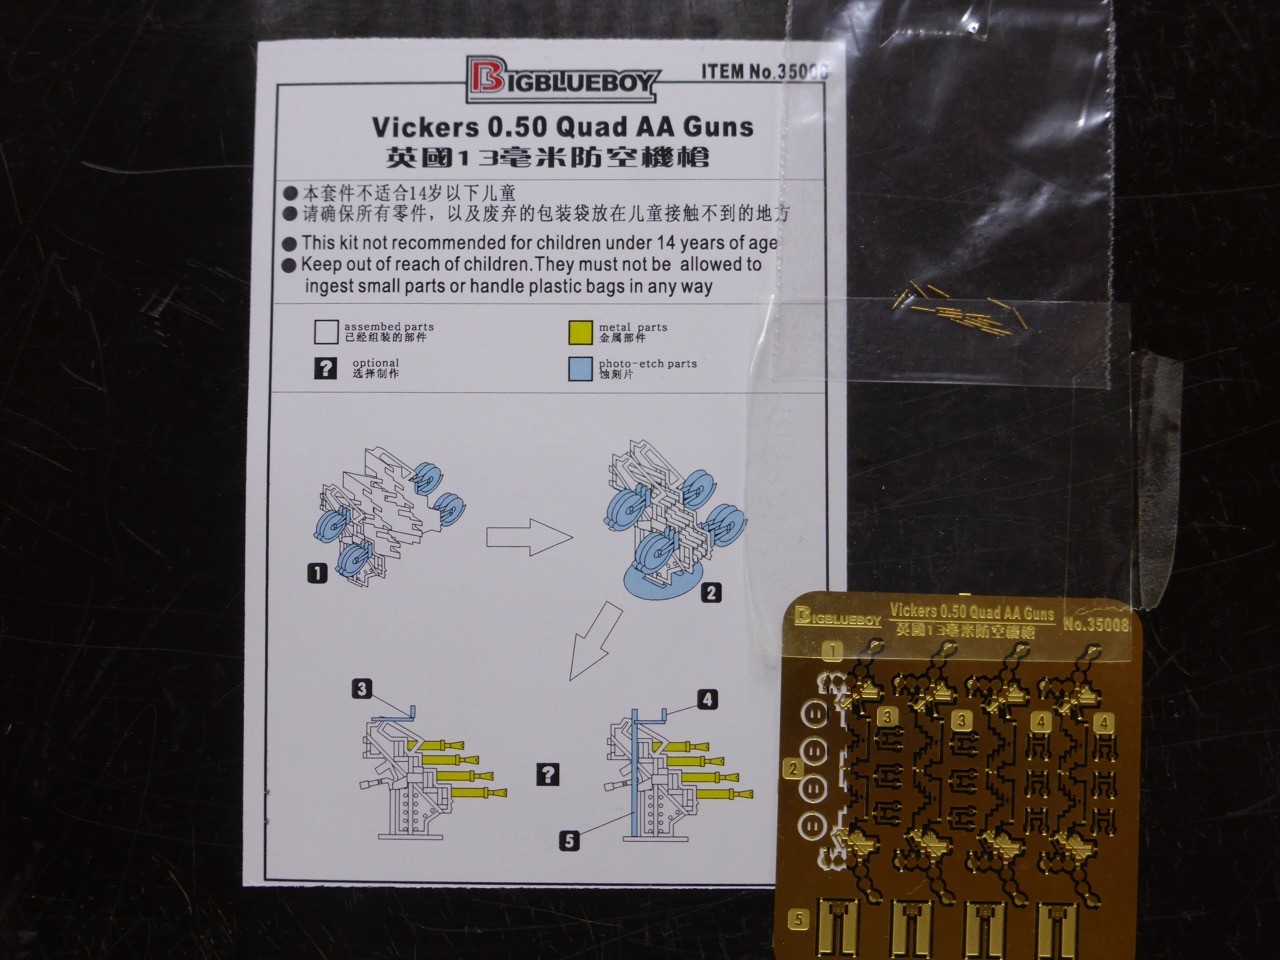
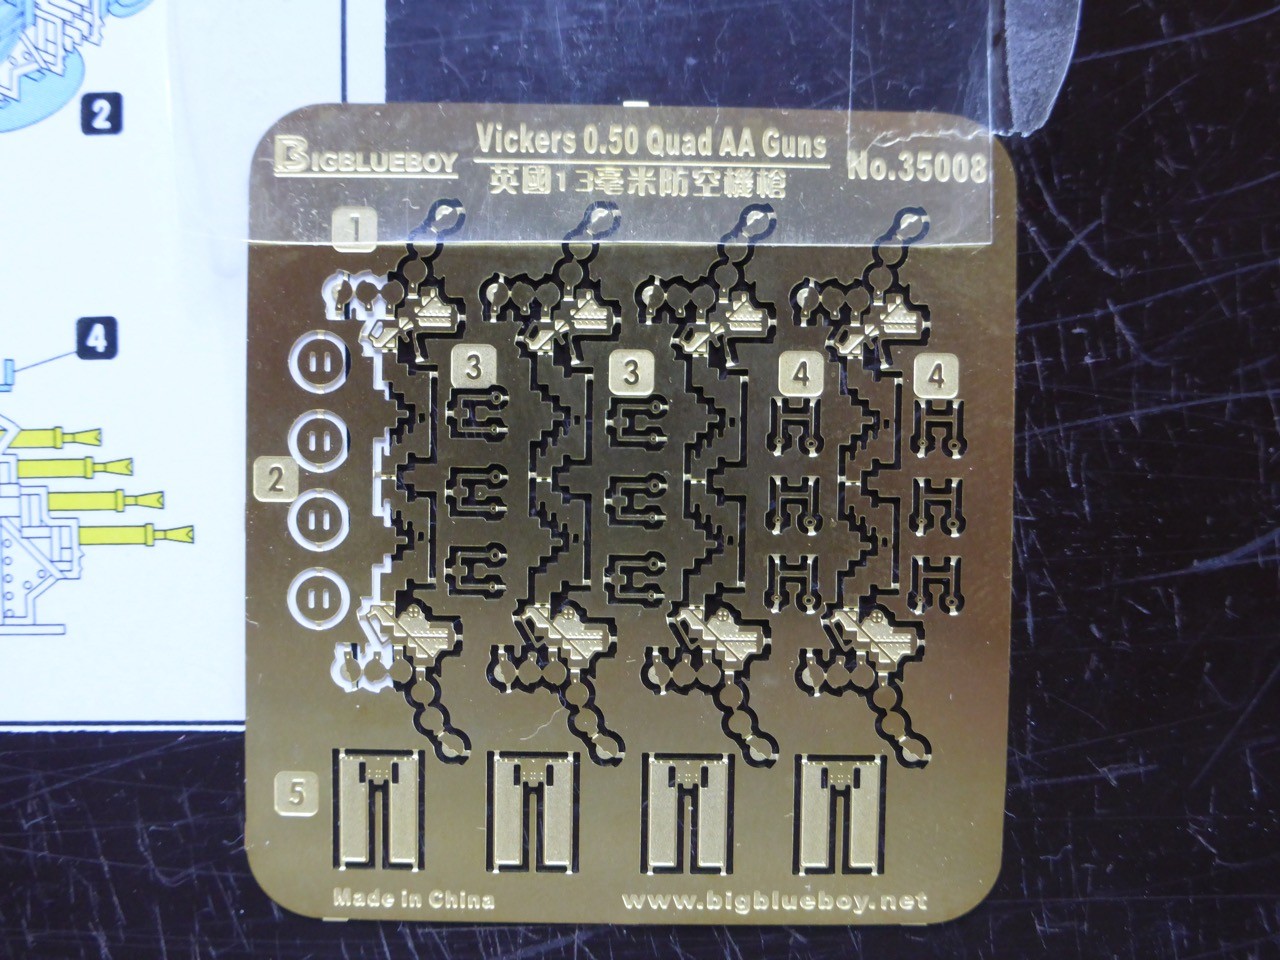
And the centerpiece, on which hold I pretty high expectations. This Lion Roar kit dates from 2009 or 2010 and was my first 'full set' ever. I saw a build log on a German site which has disappeared long since, and the modeler there was praising it highly - so I simply HAD to get it. I think it's meanwhile out of production. So there has been huge progress in the aftermarket business since 2009, so I am really curious to see if it still stands my high expectations.
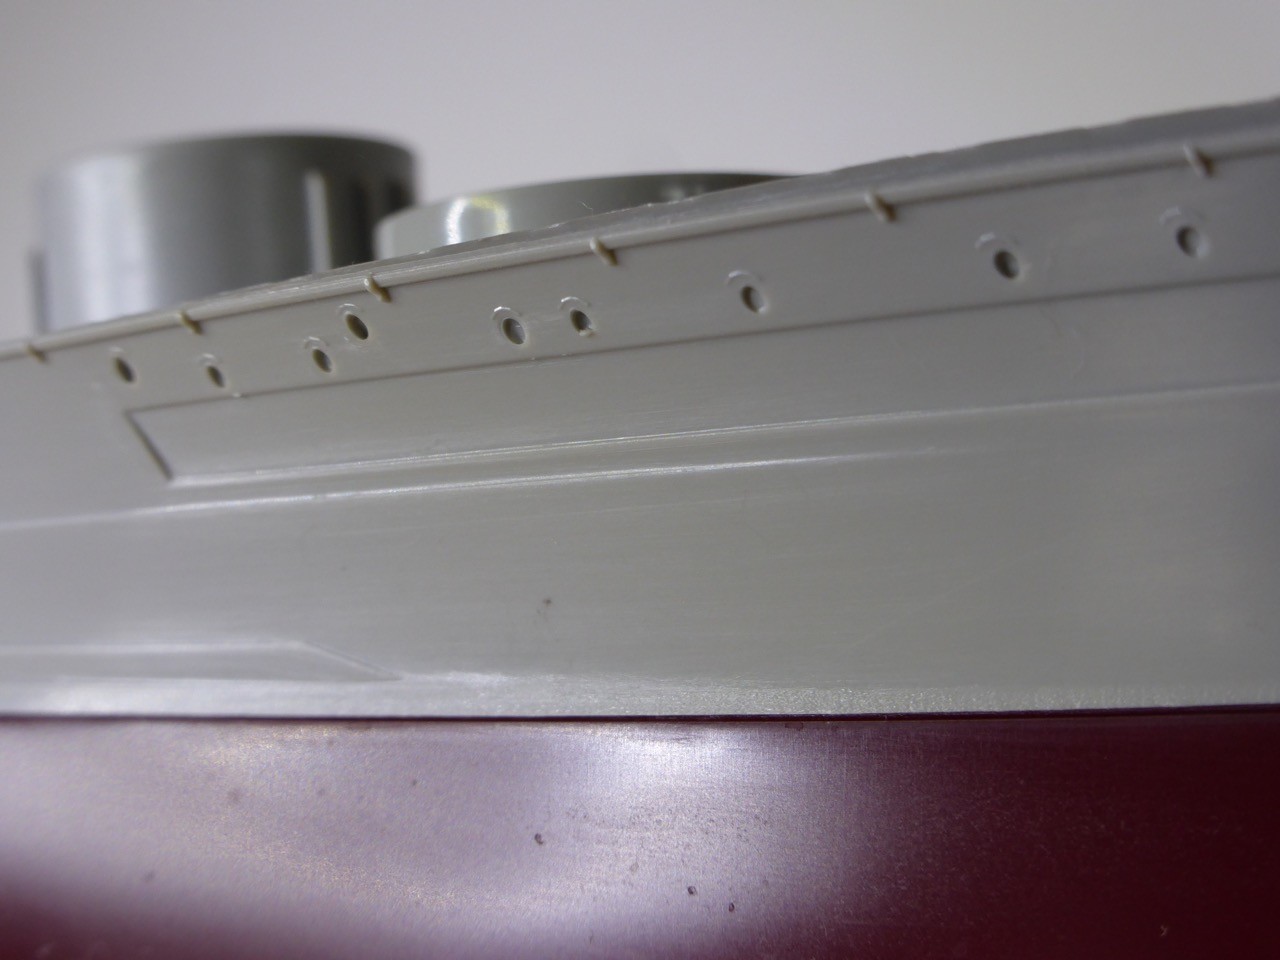
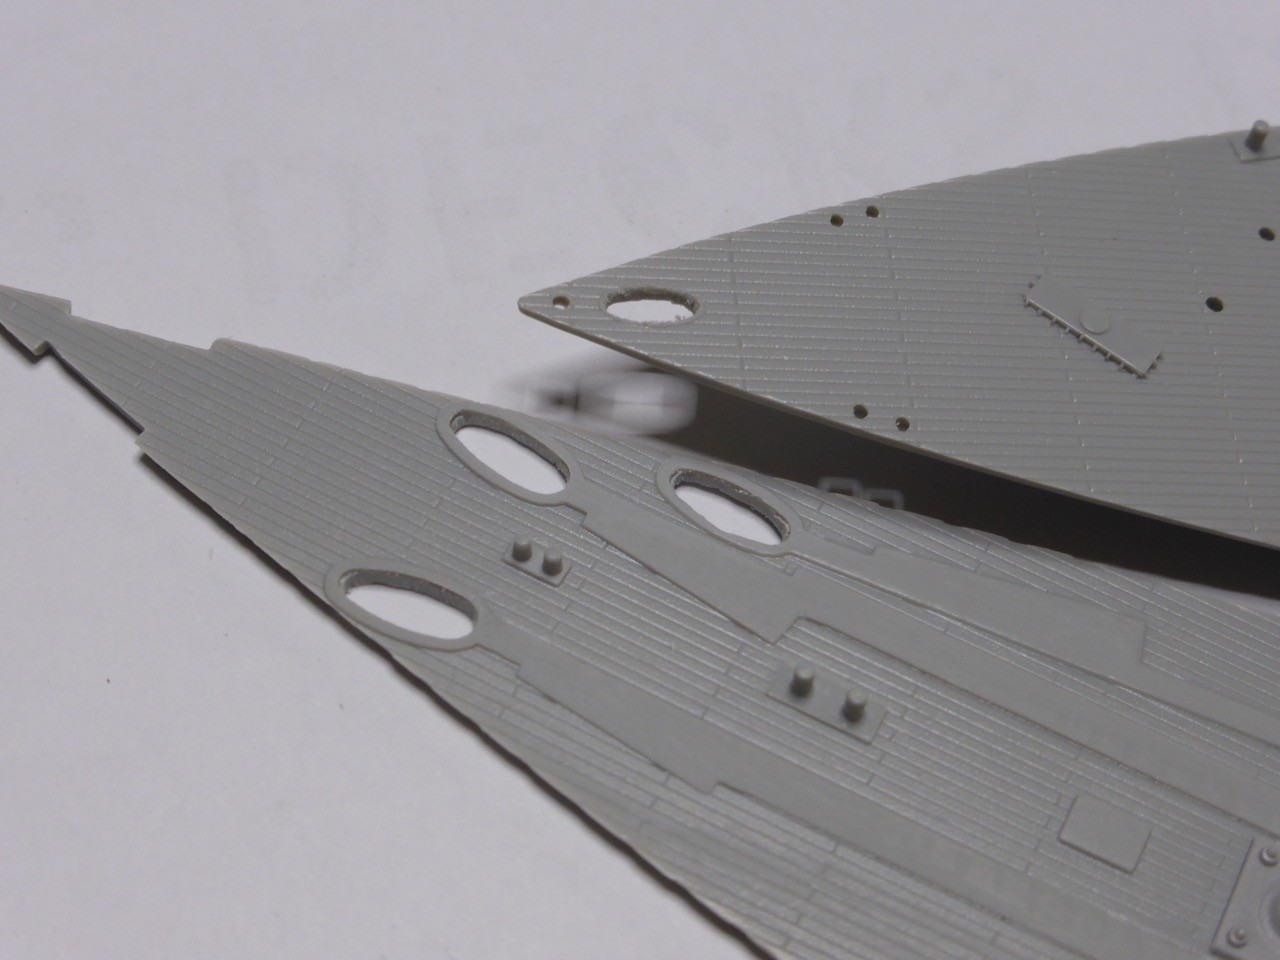
The kit and a general overview:
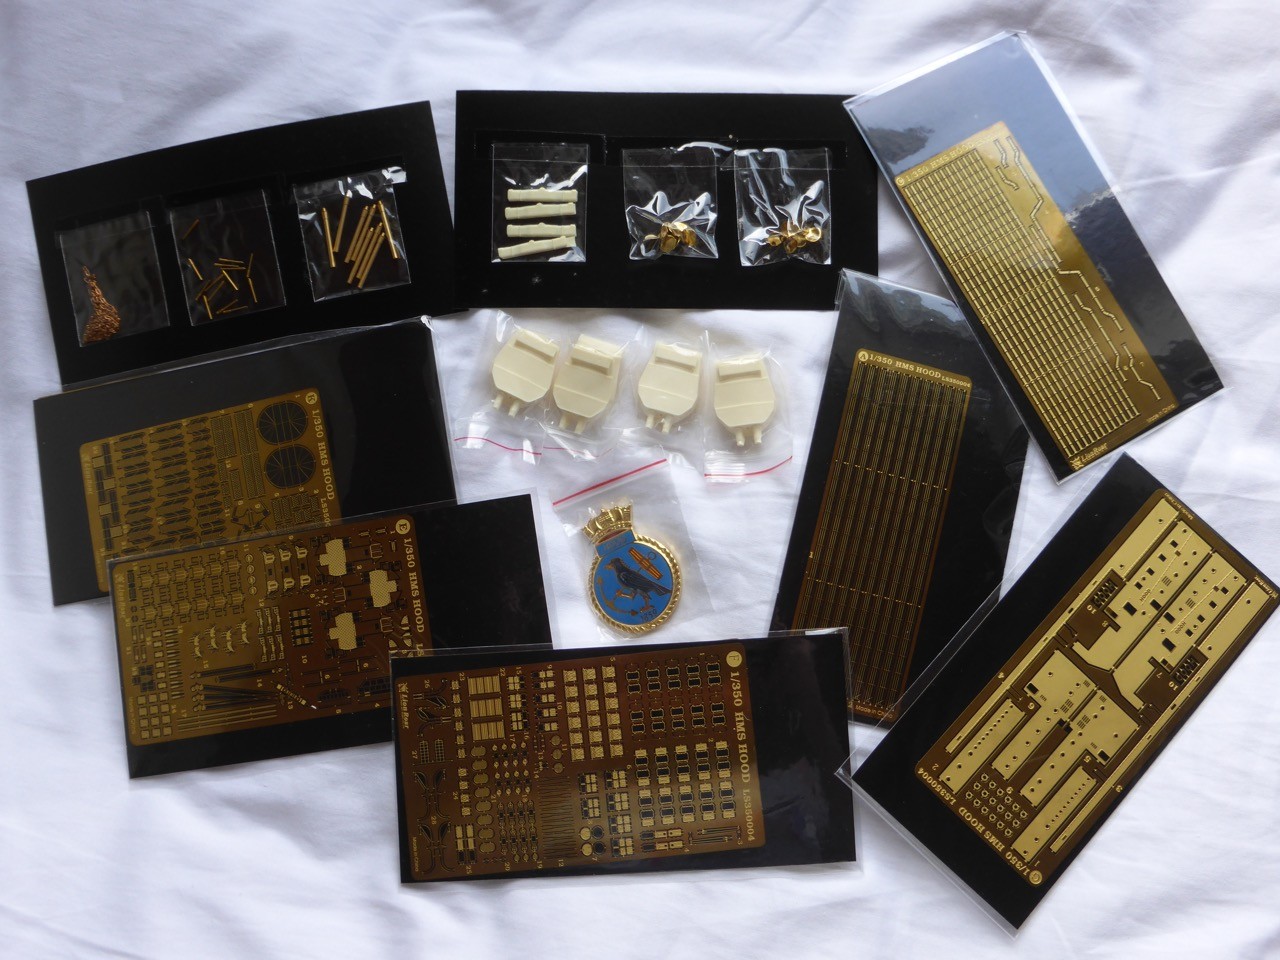
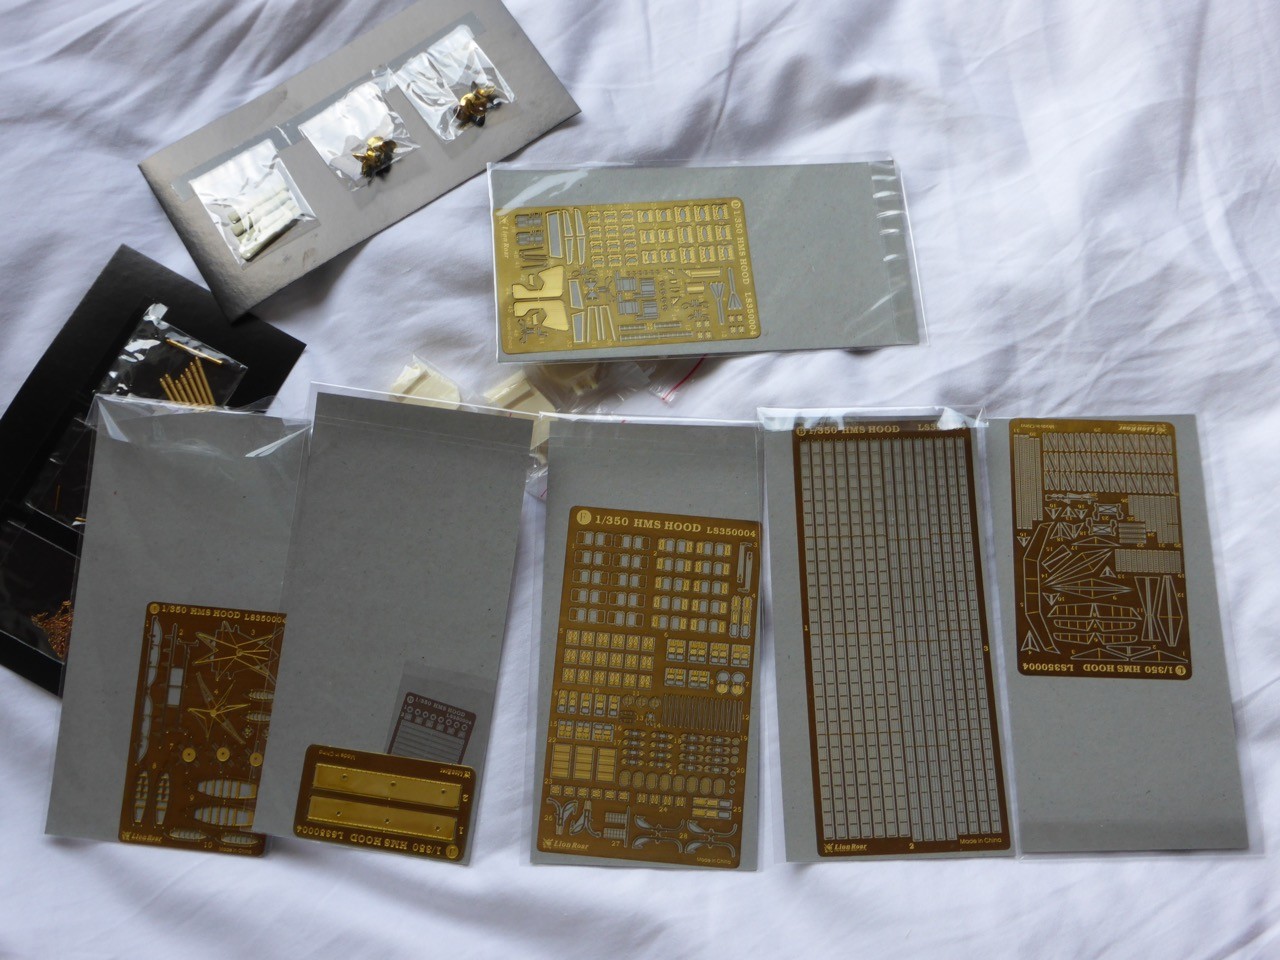
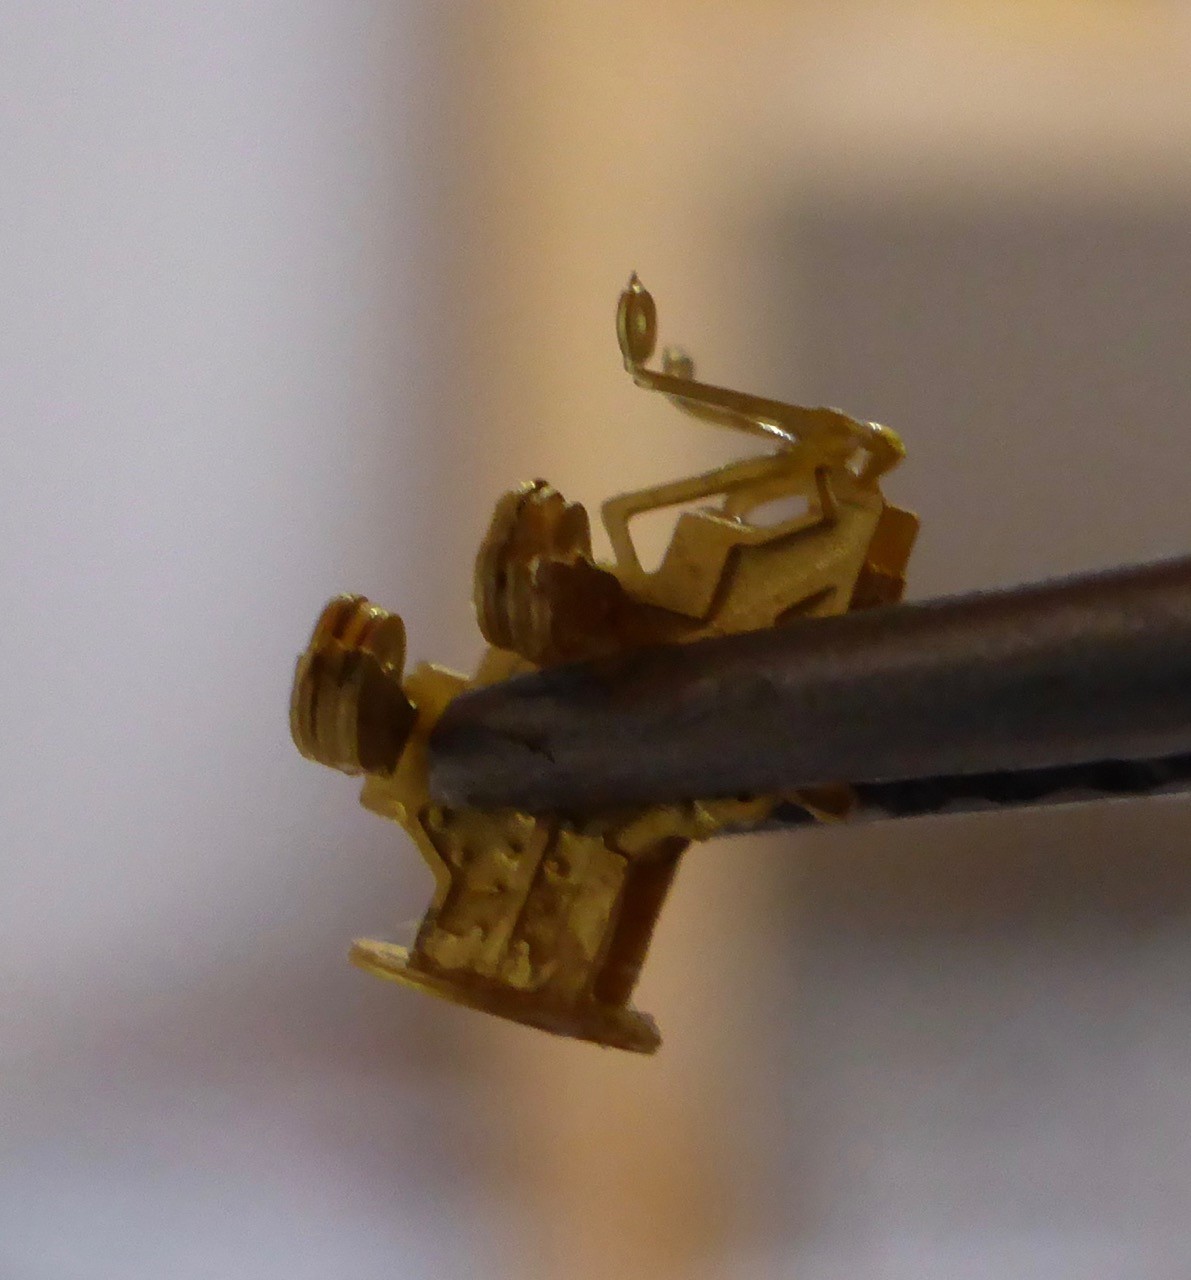
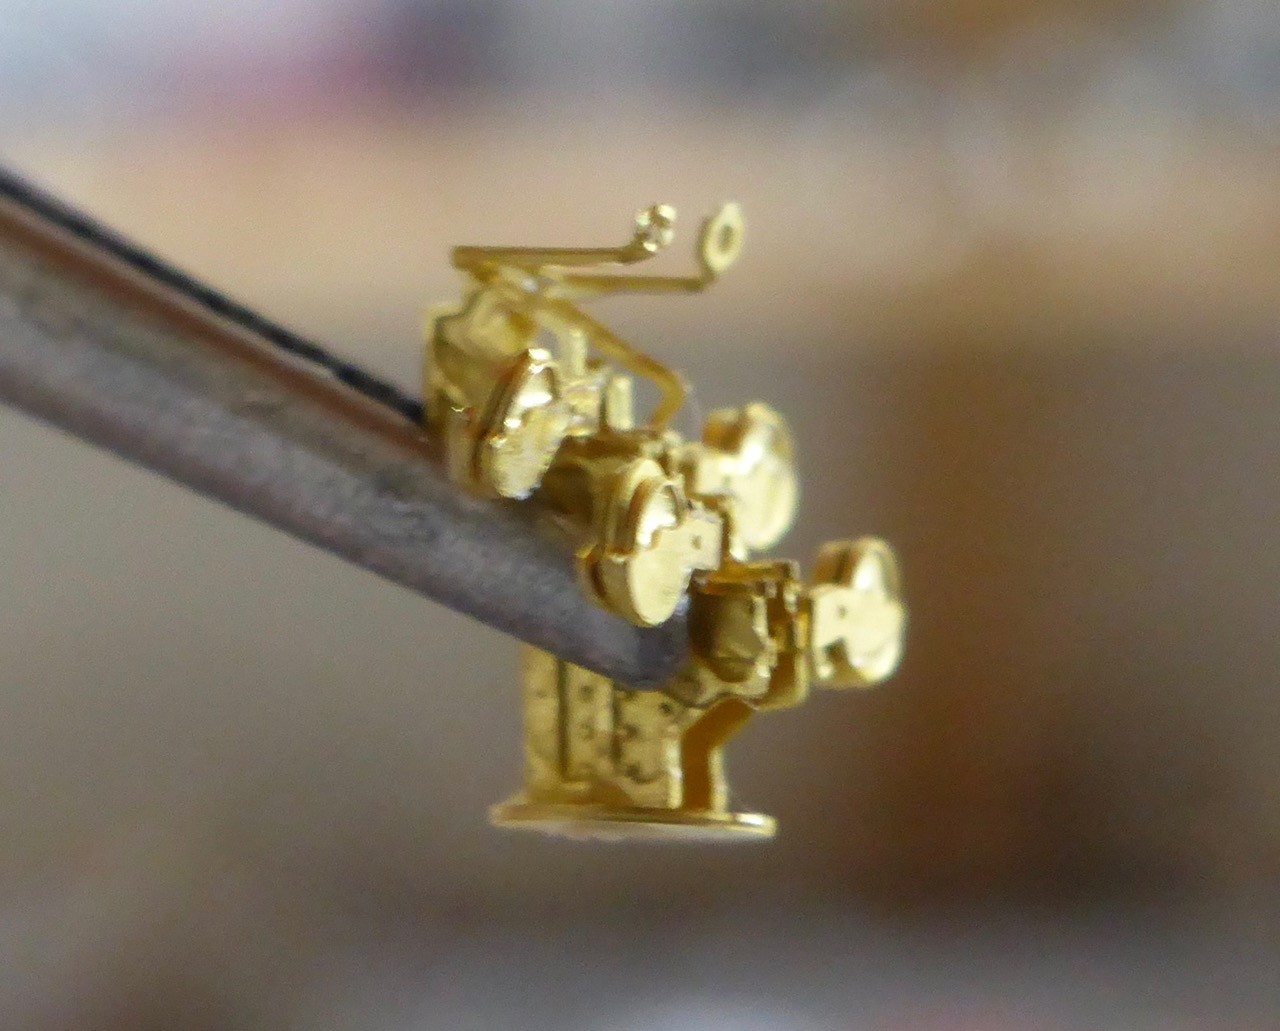
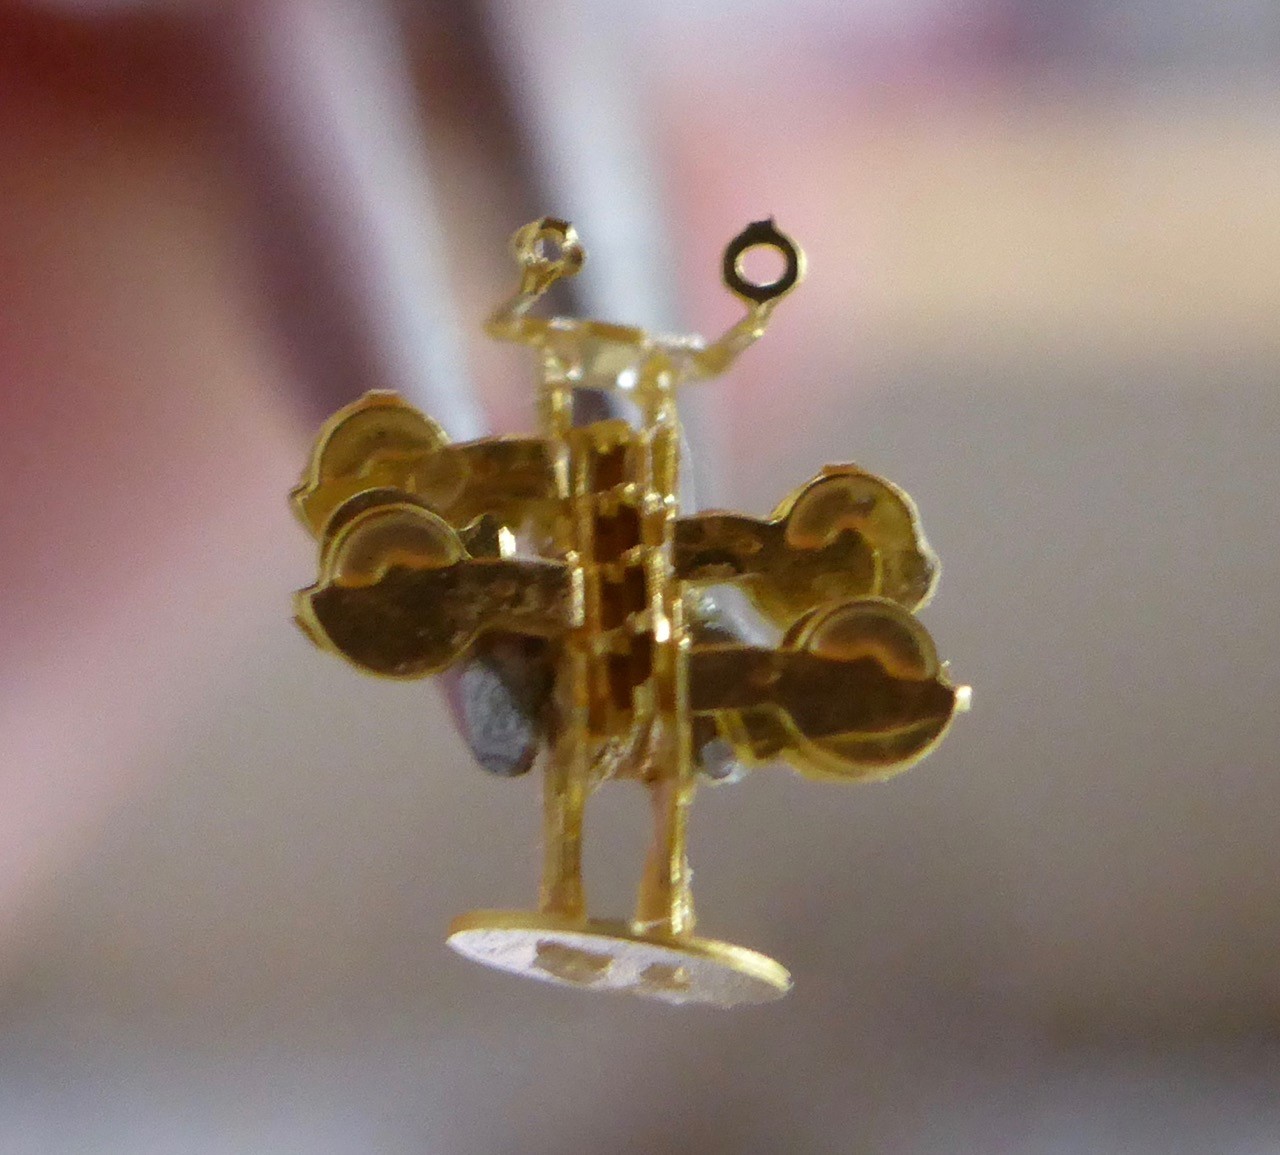
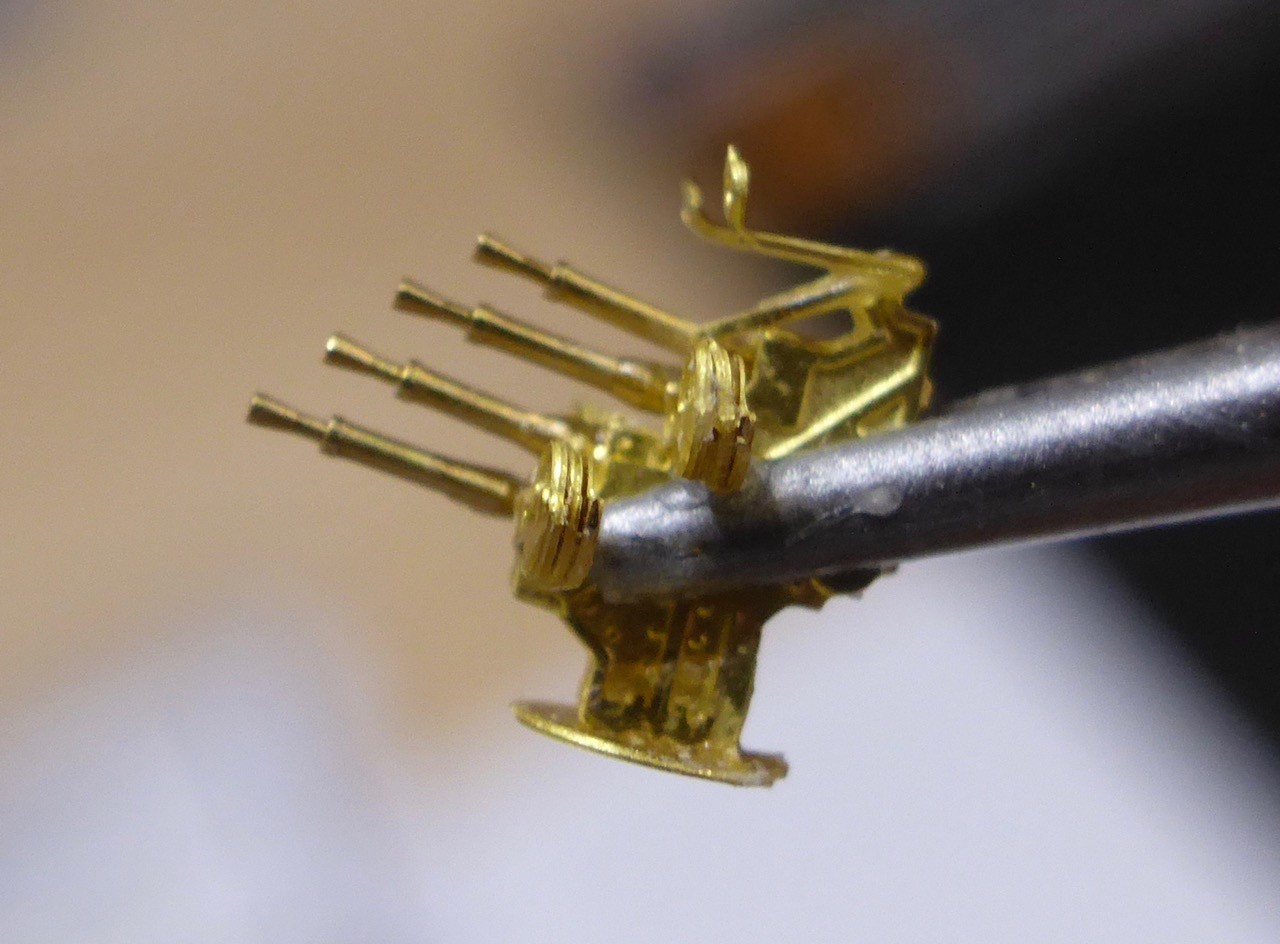
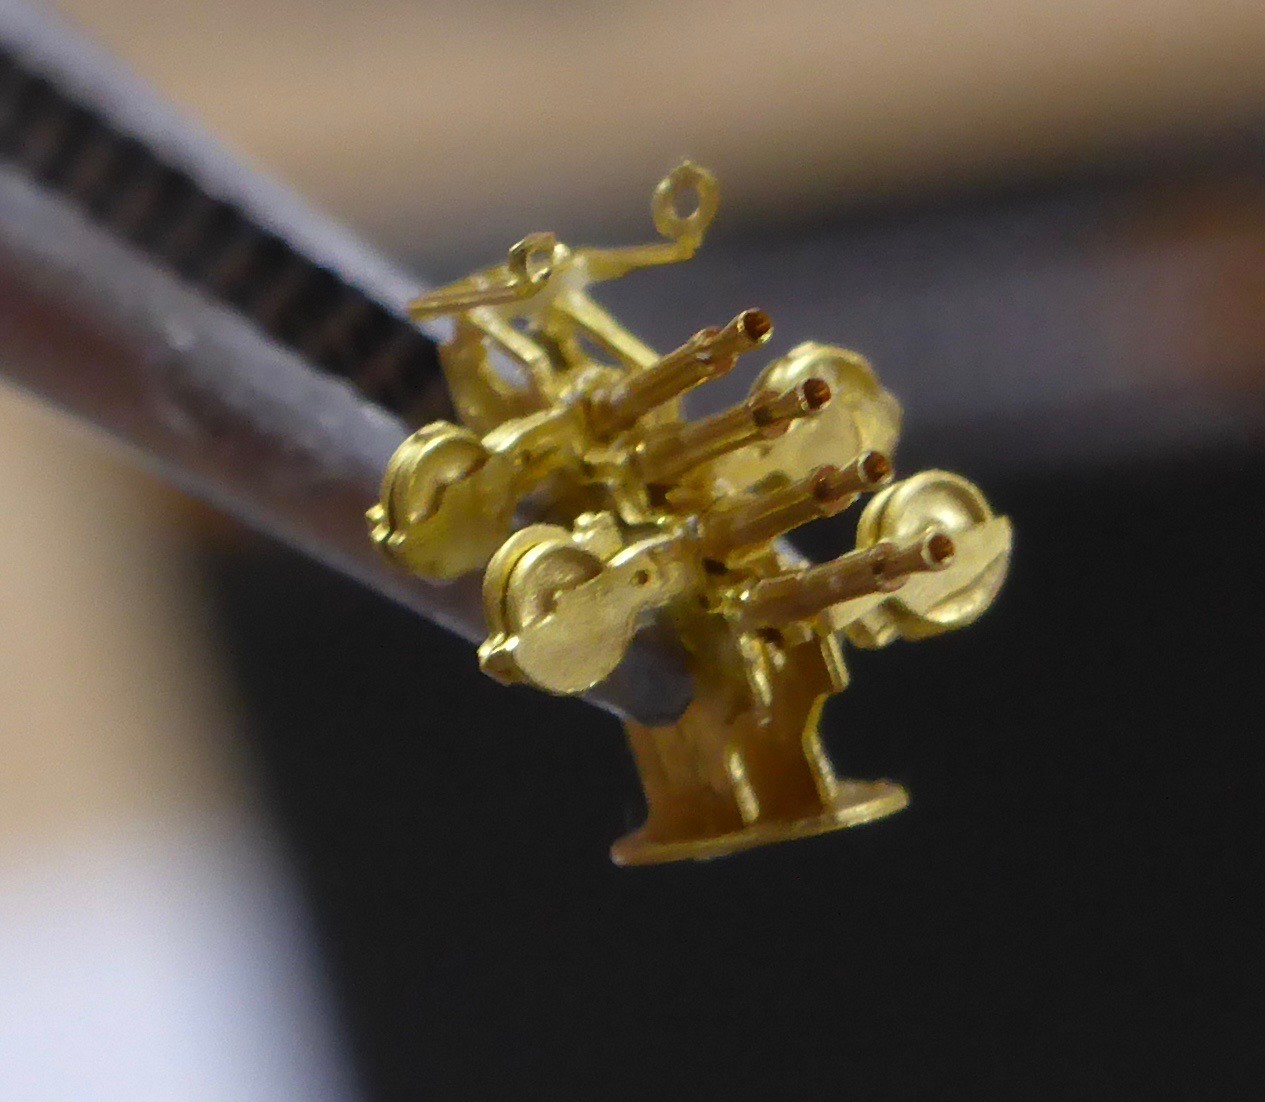
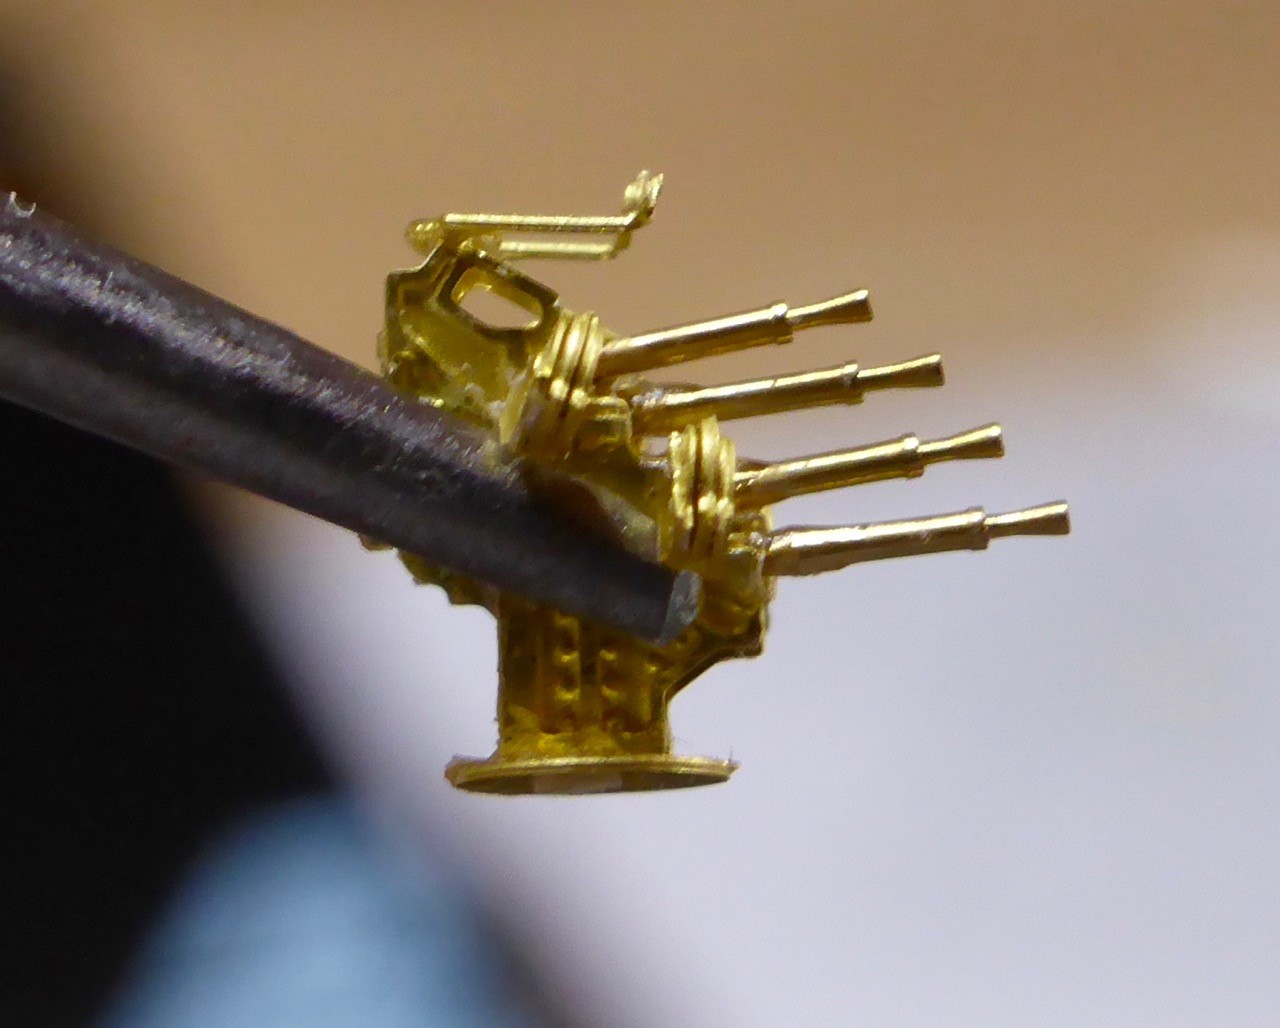
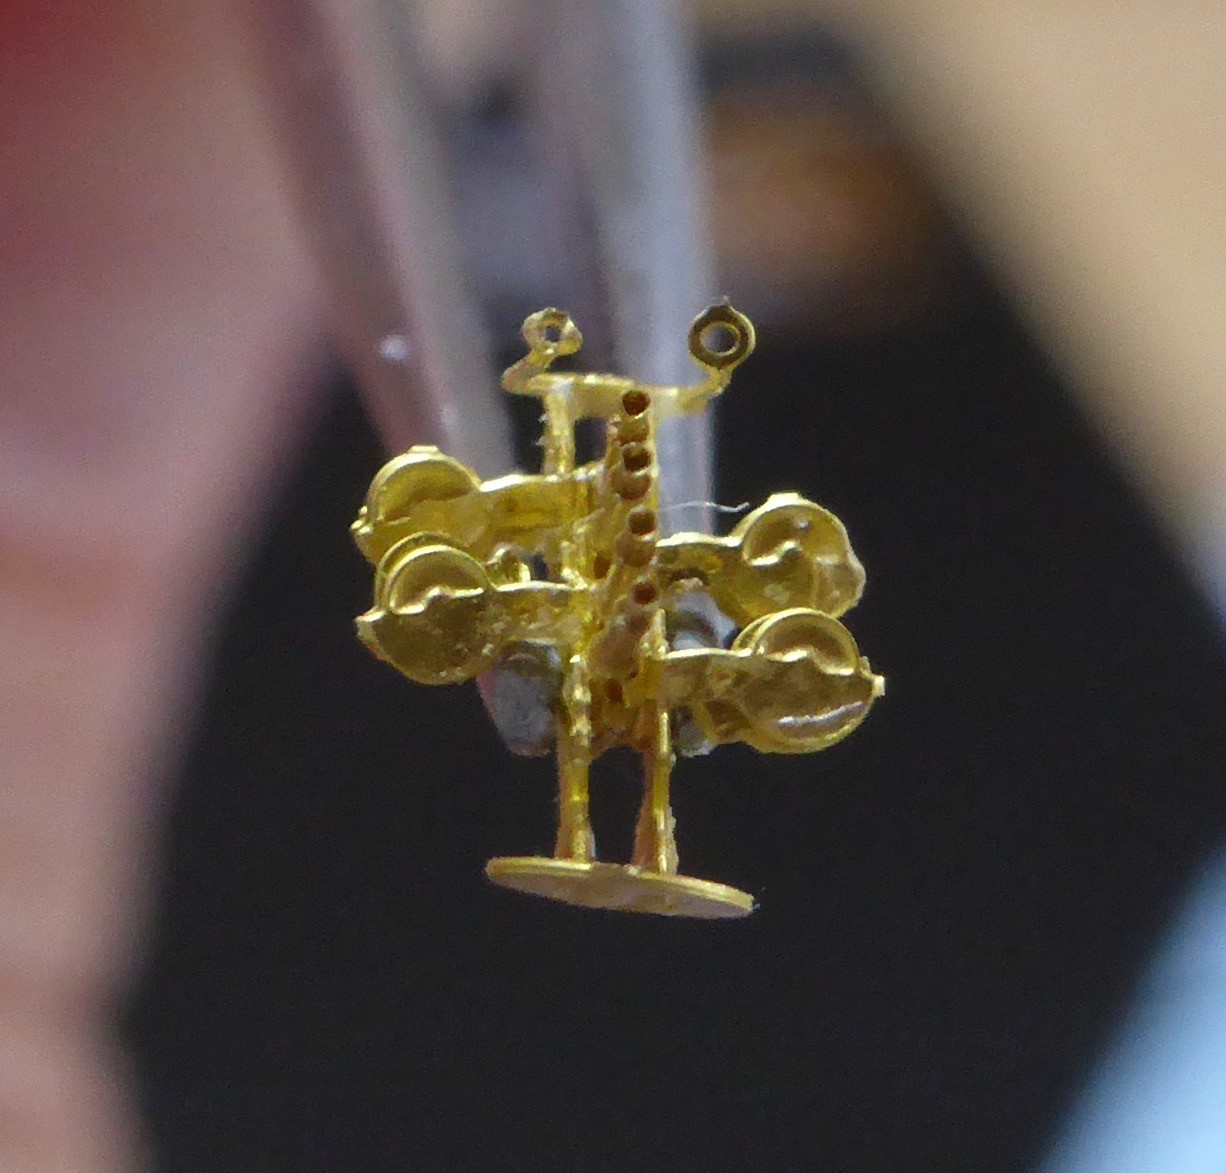
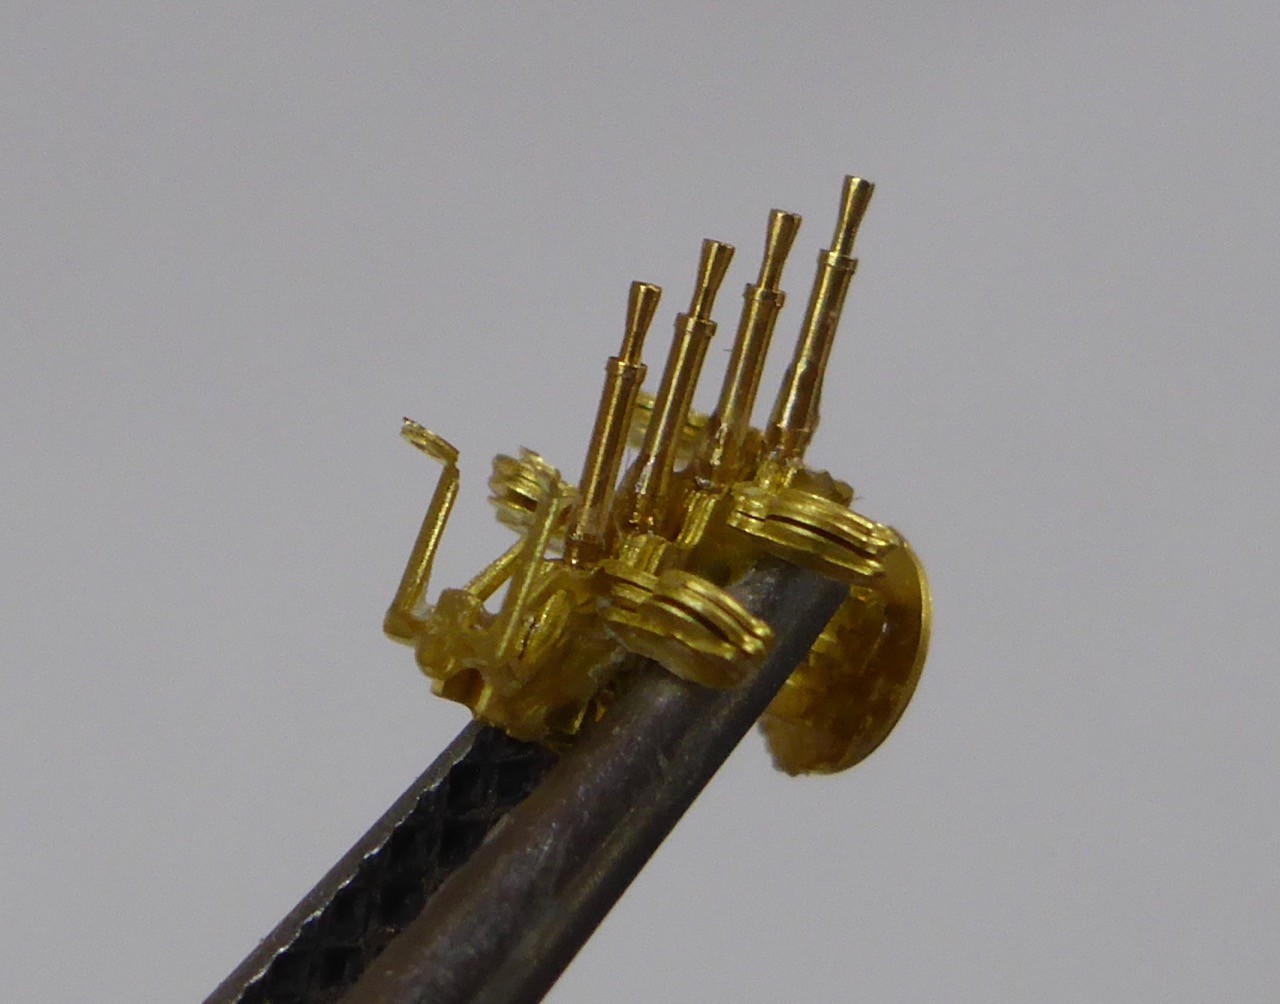
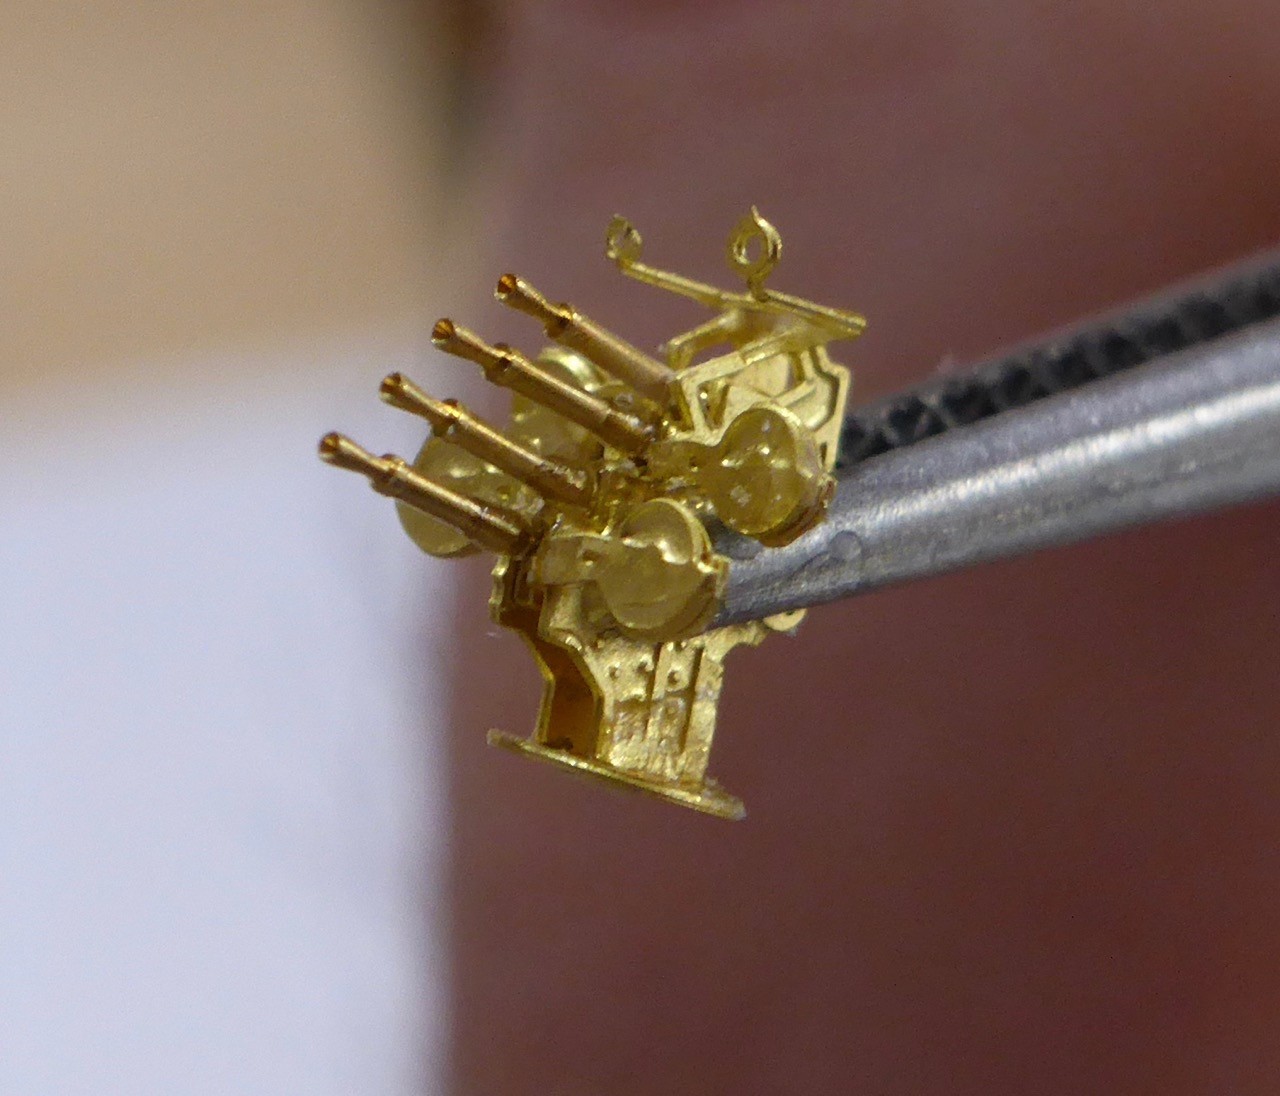
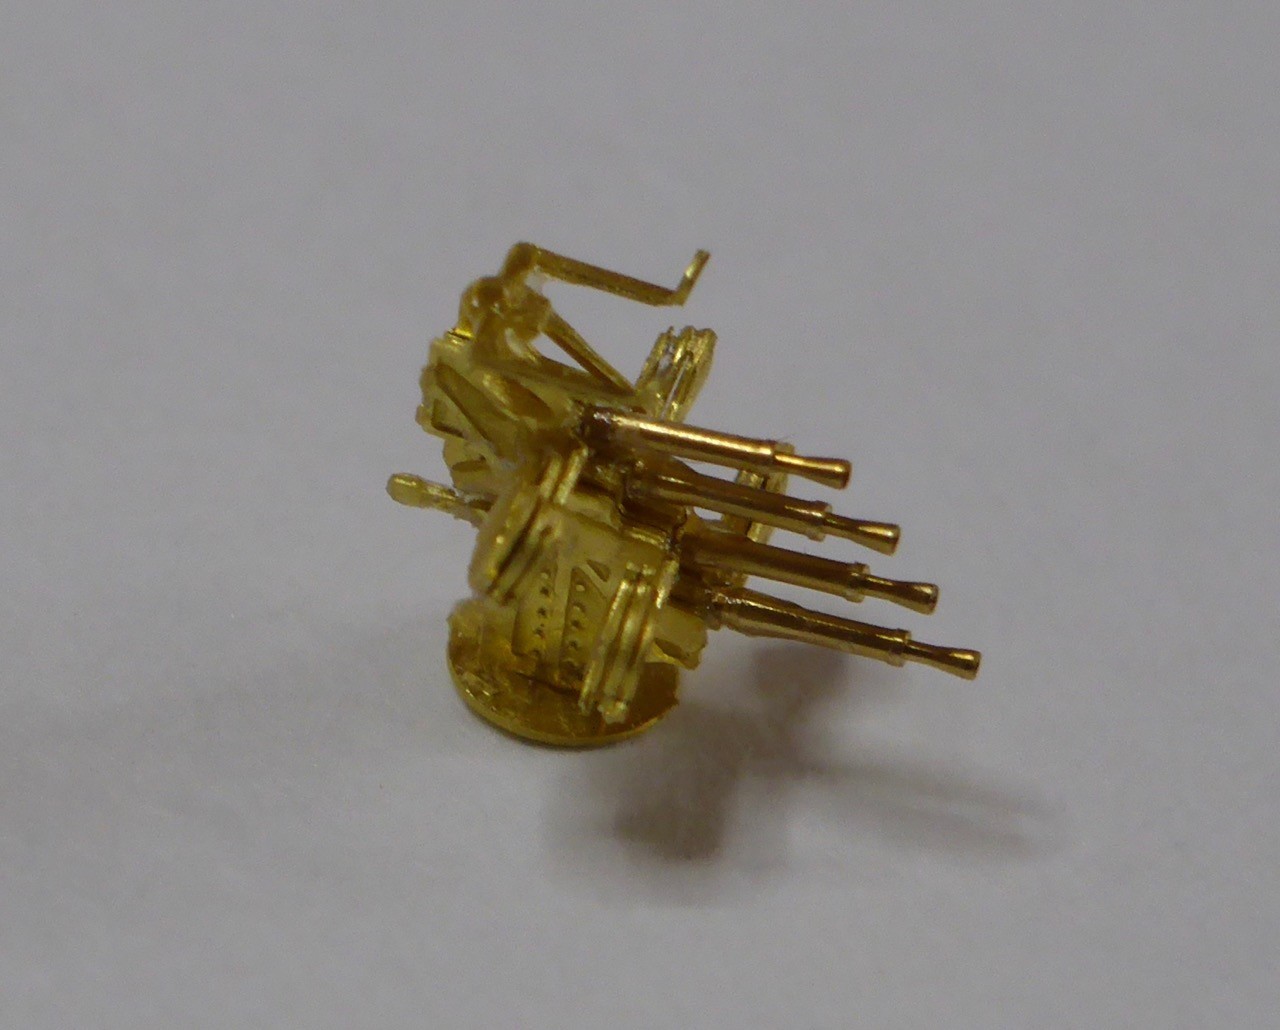
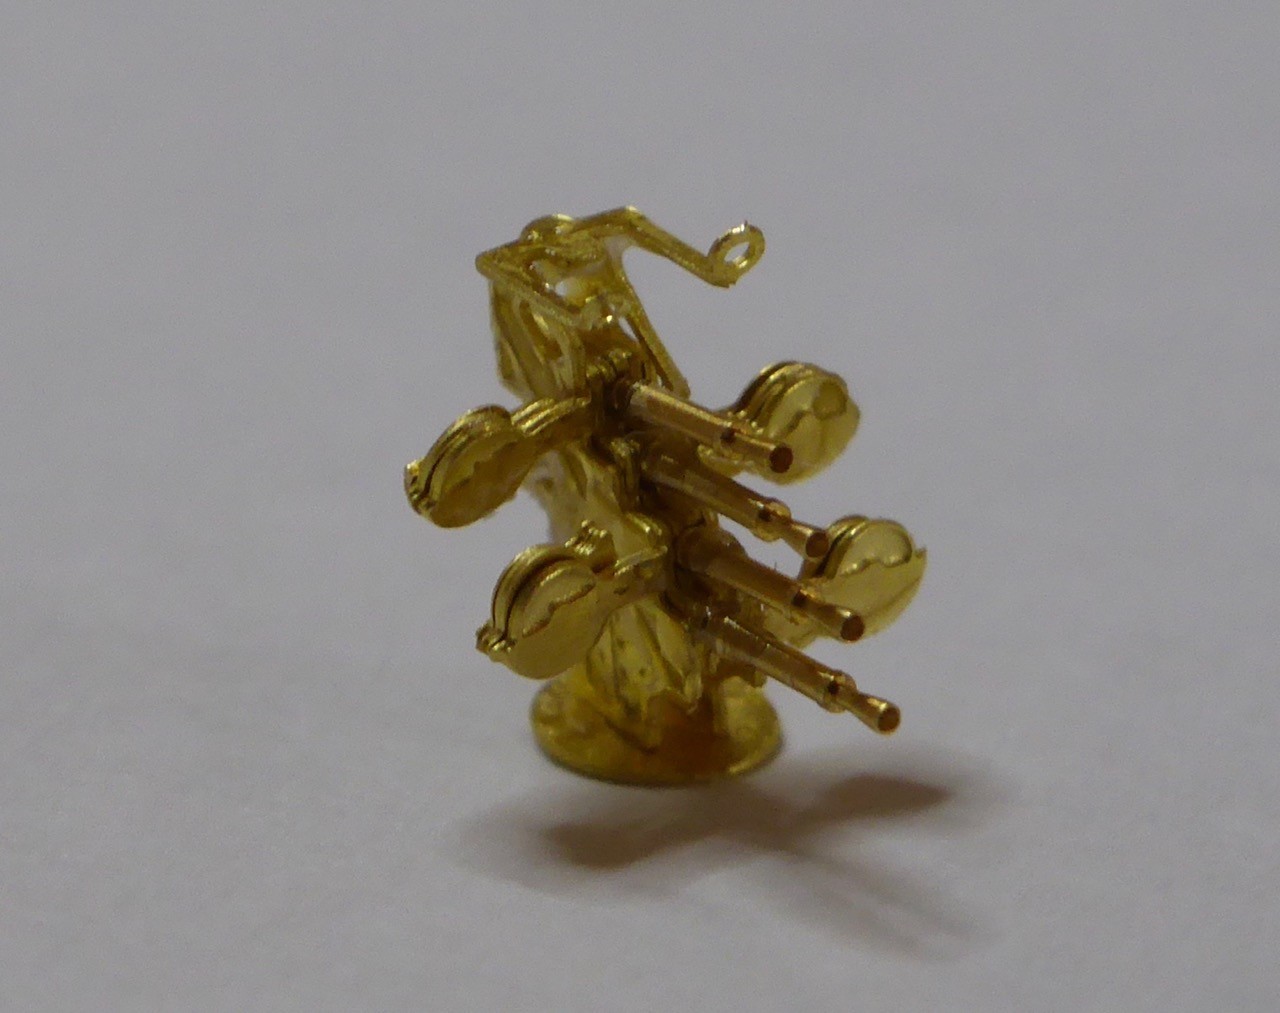
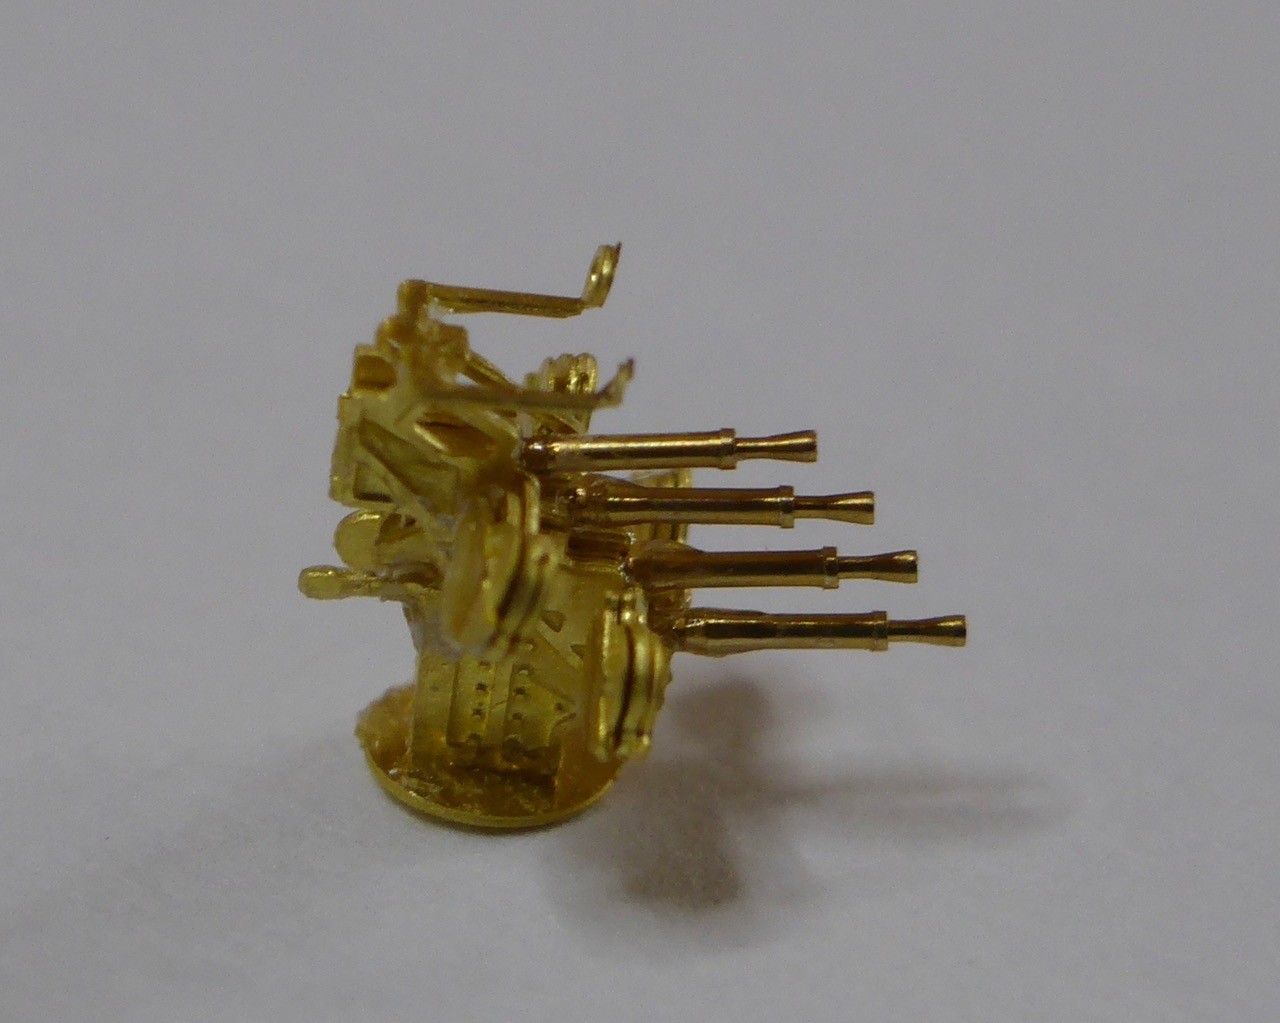
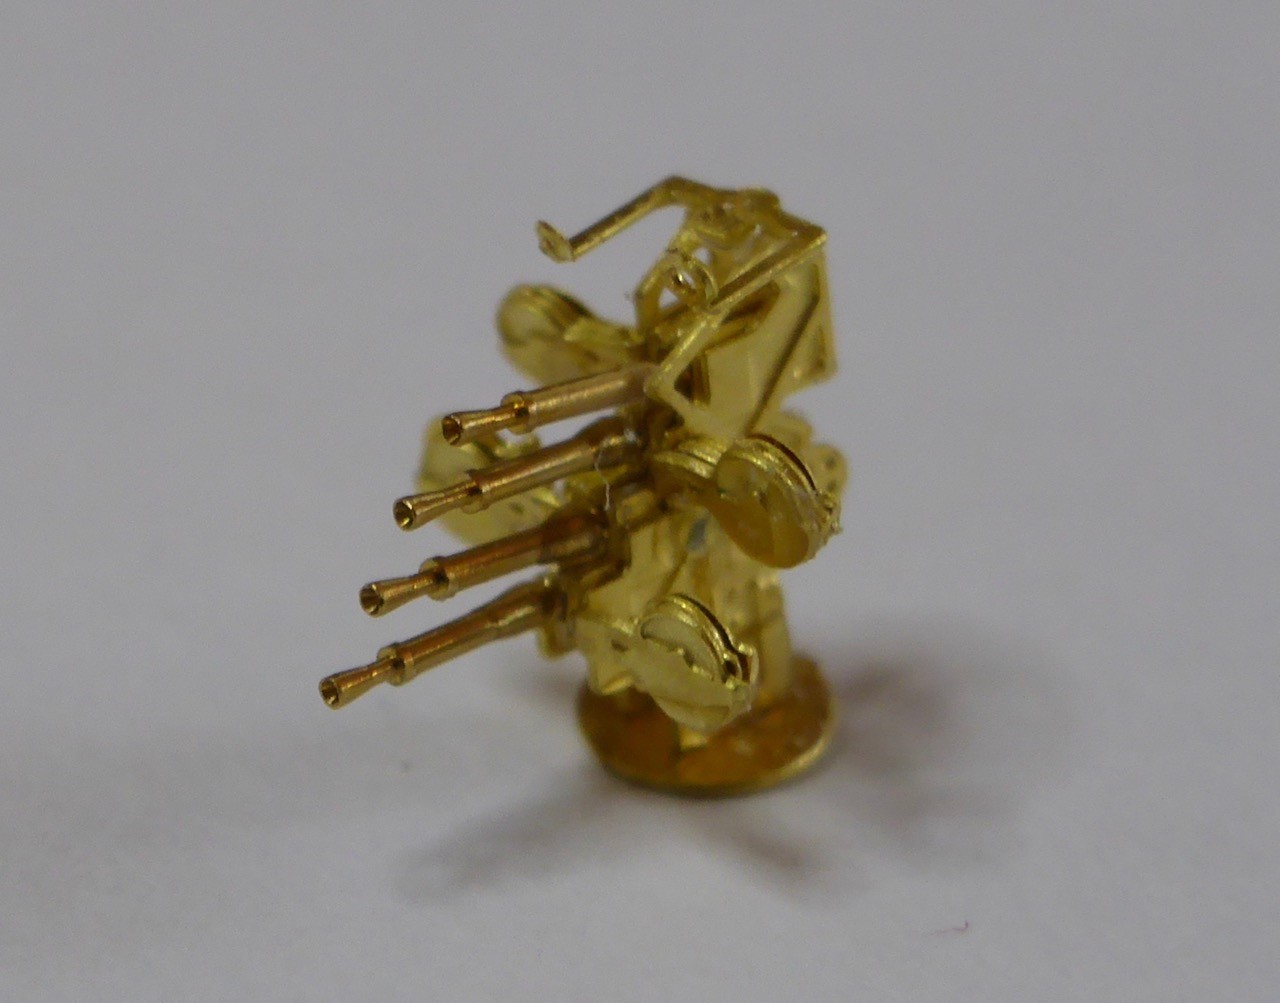
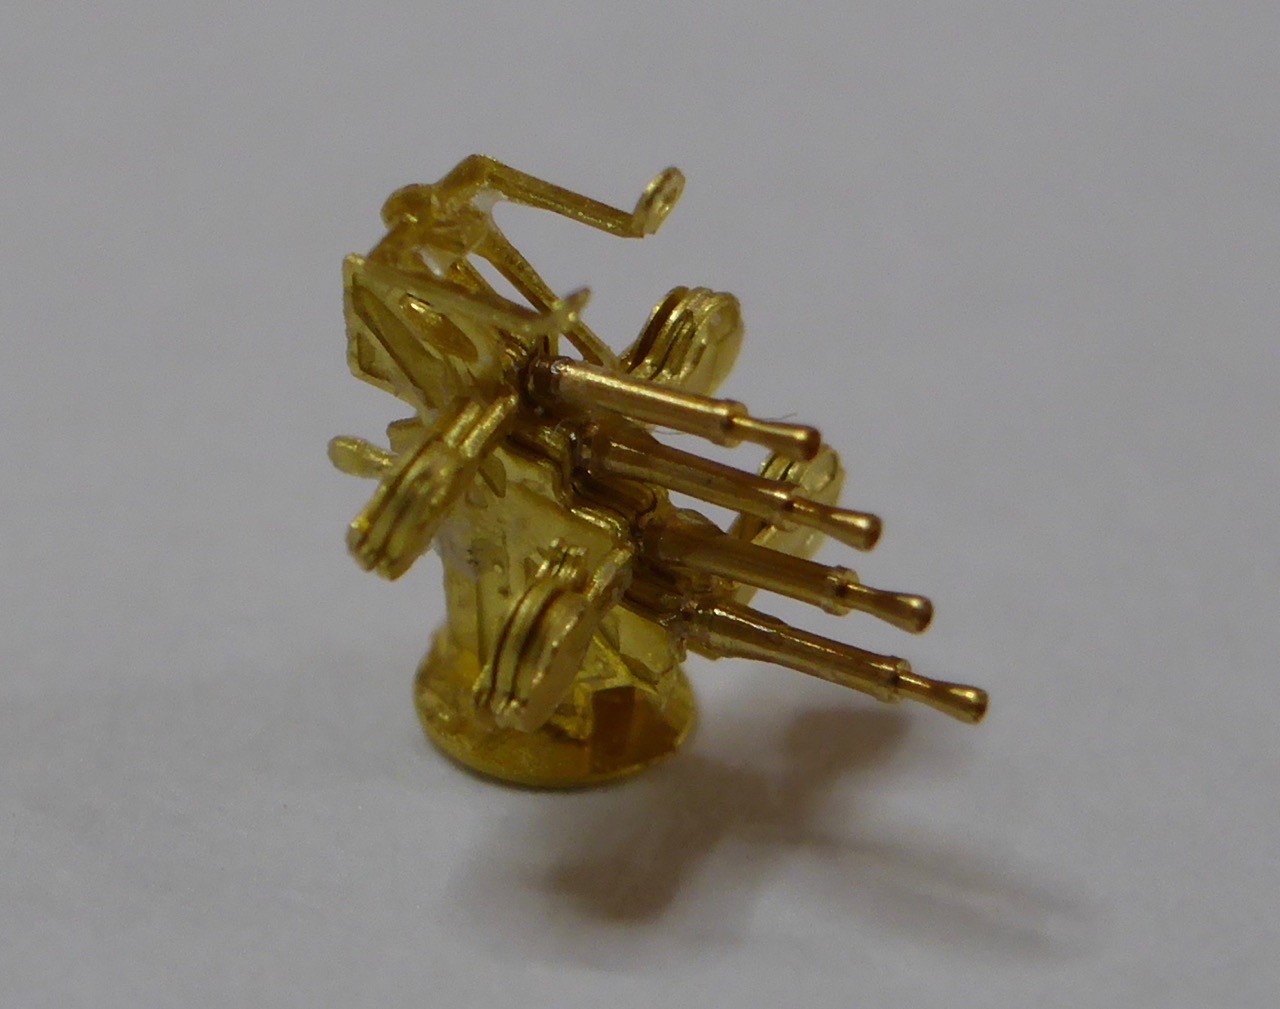
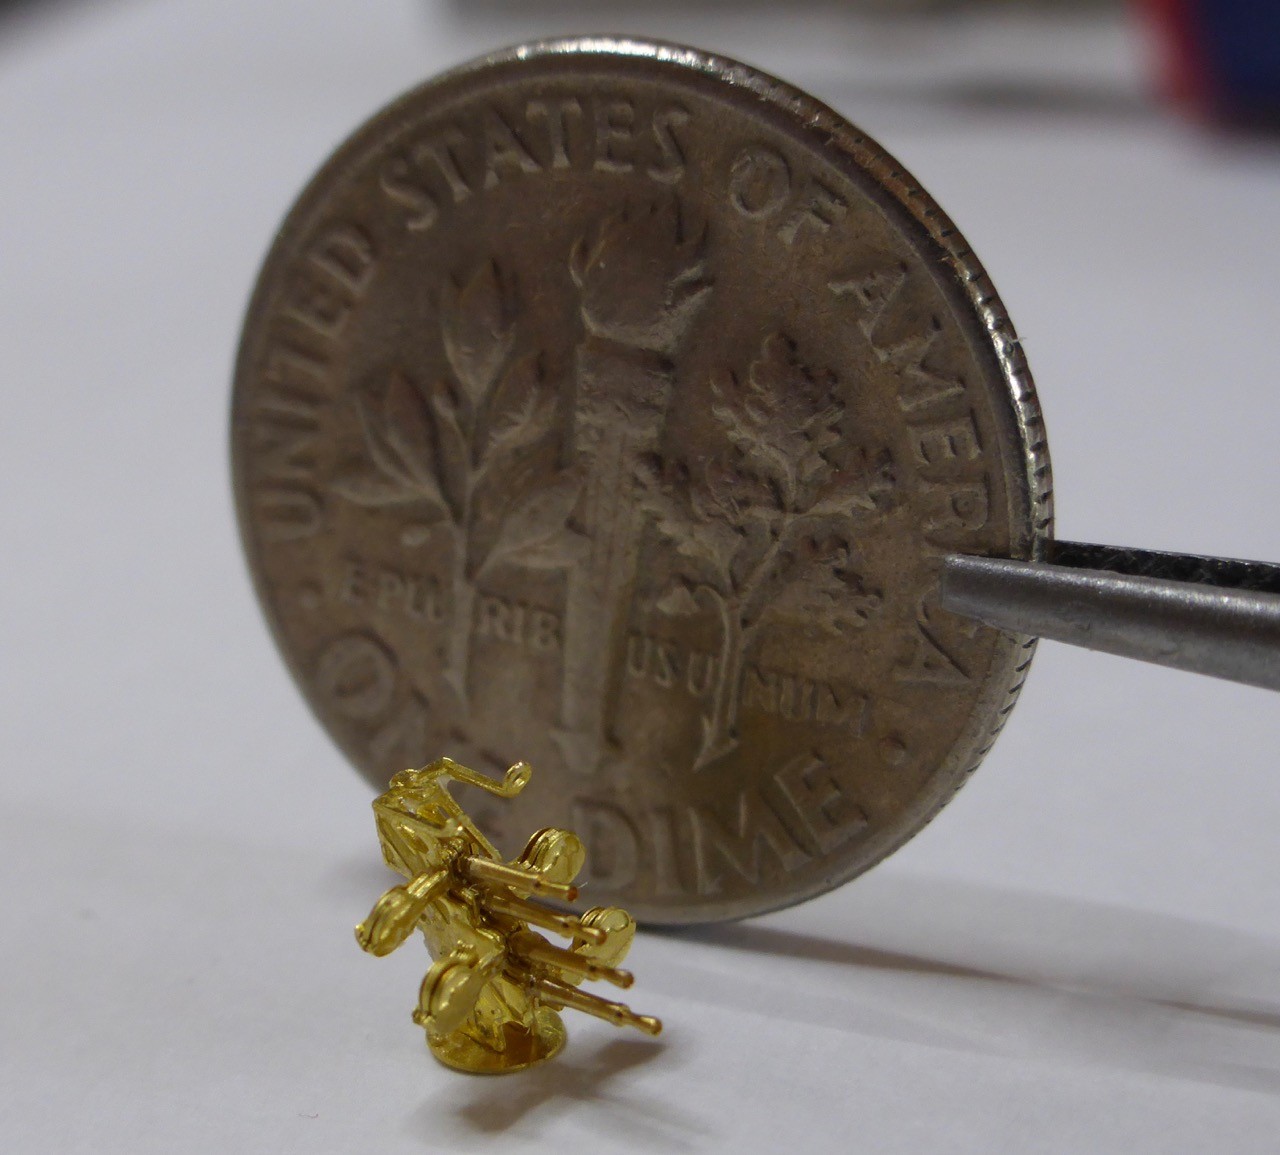
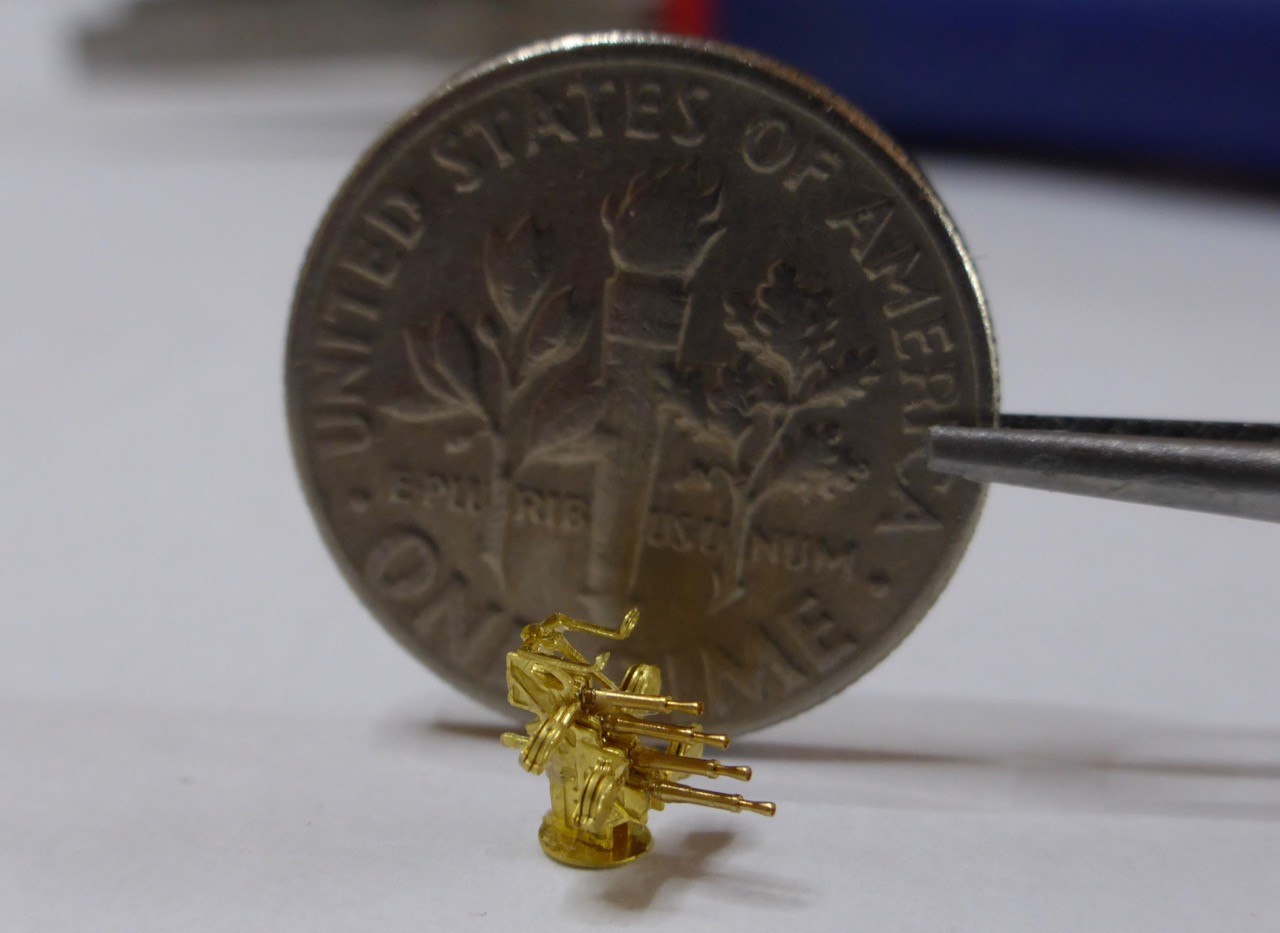
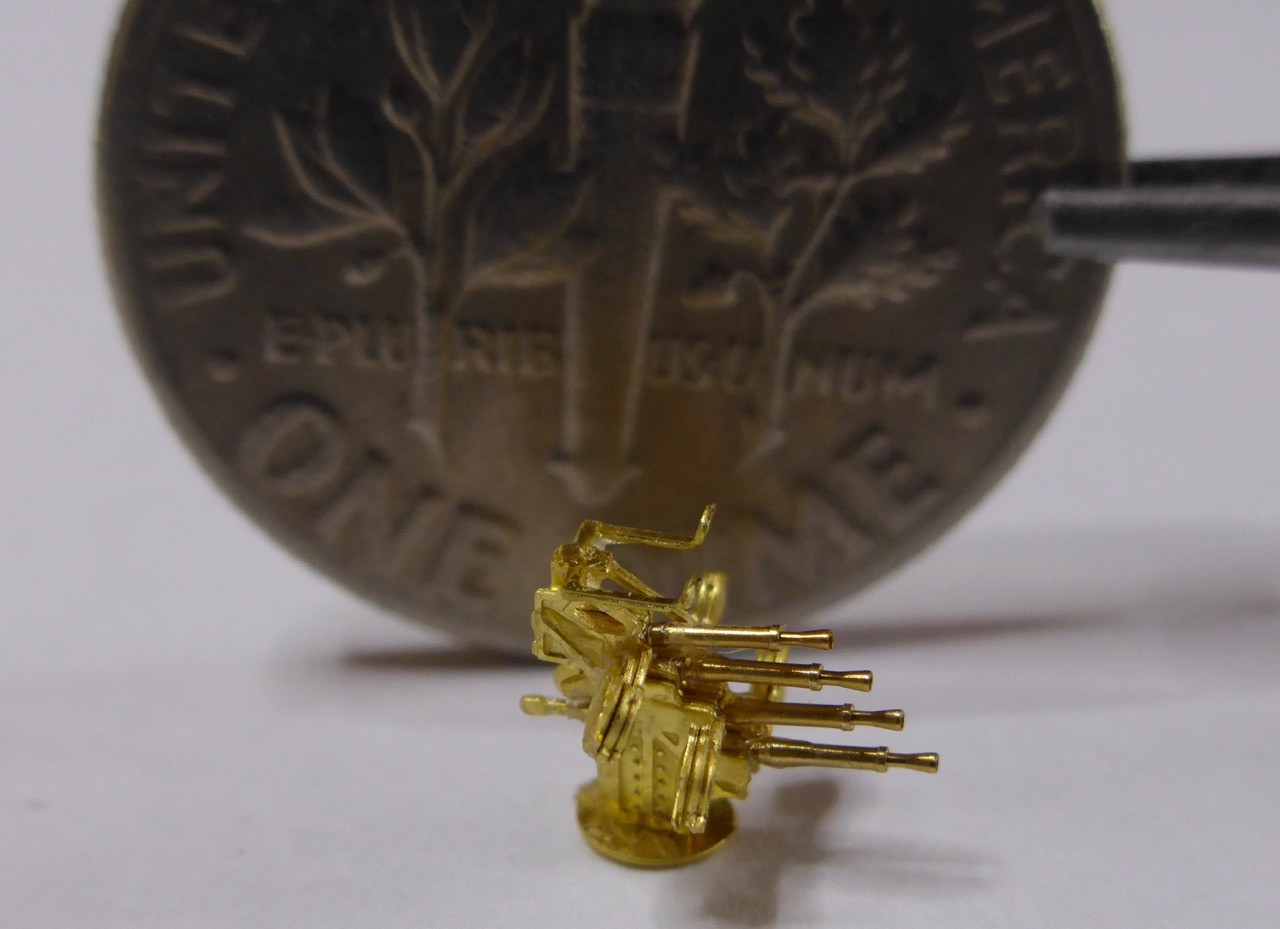
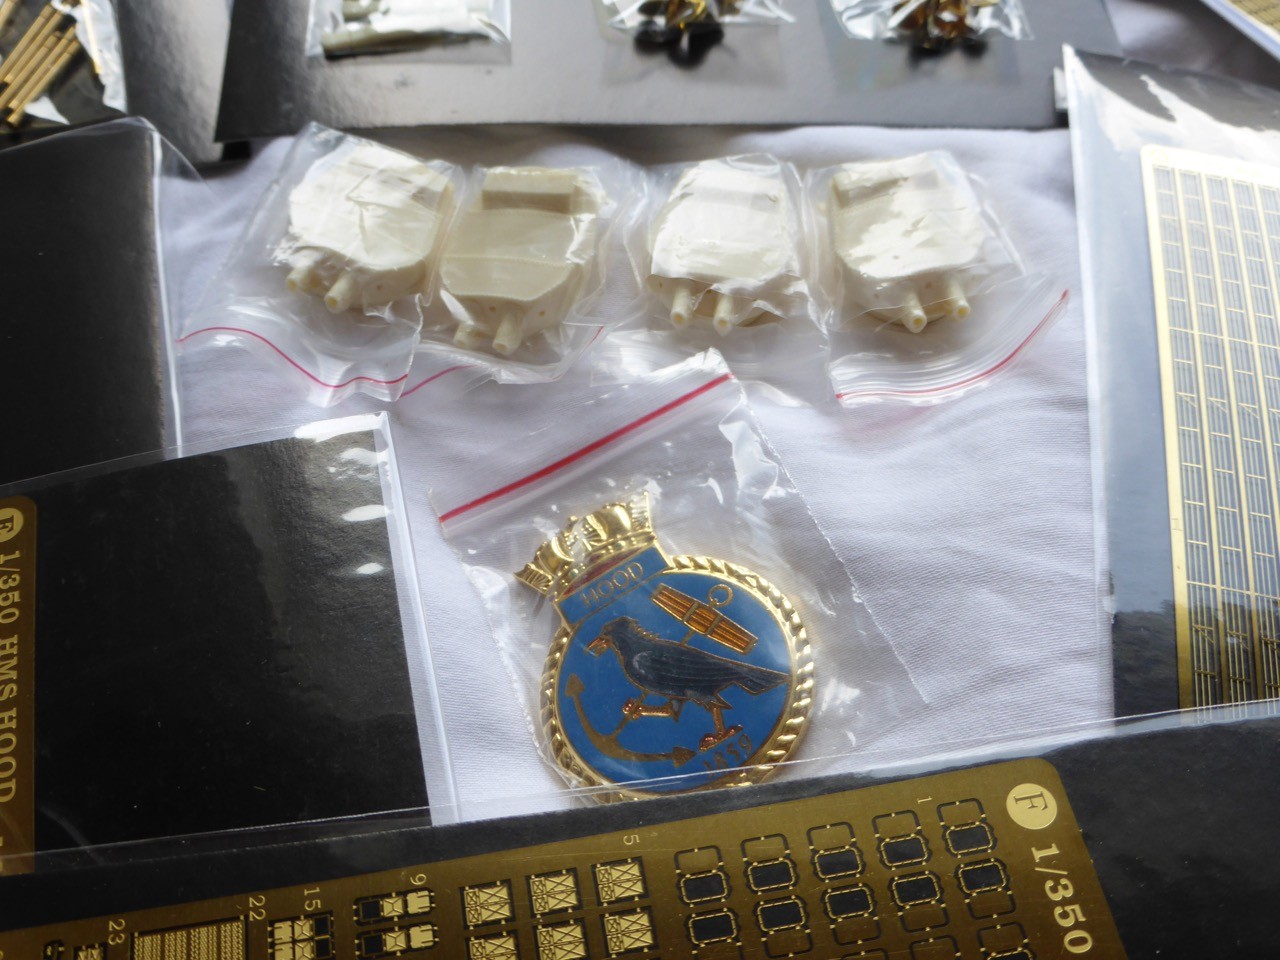
Turned brass parts
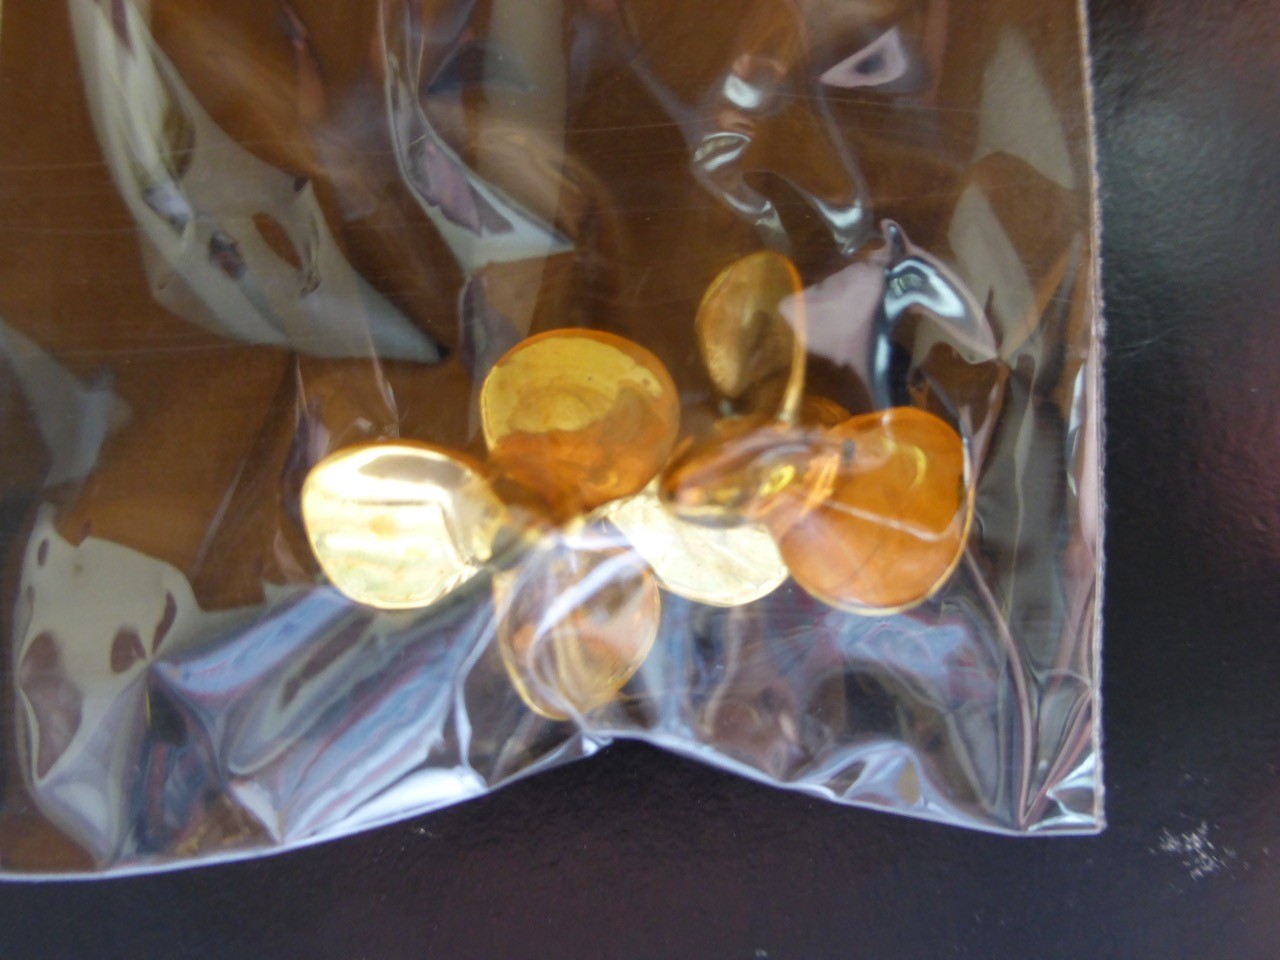
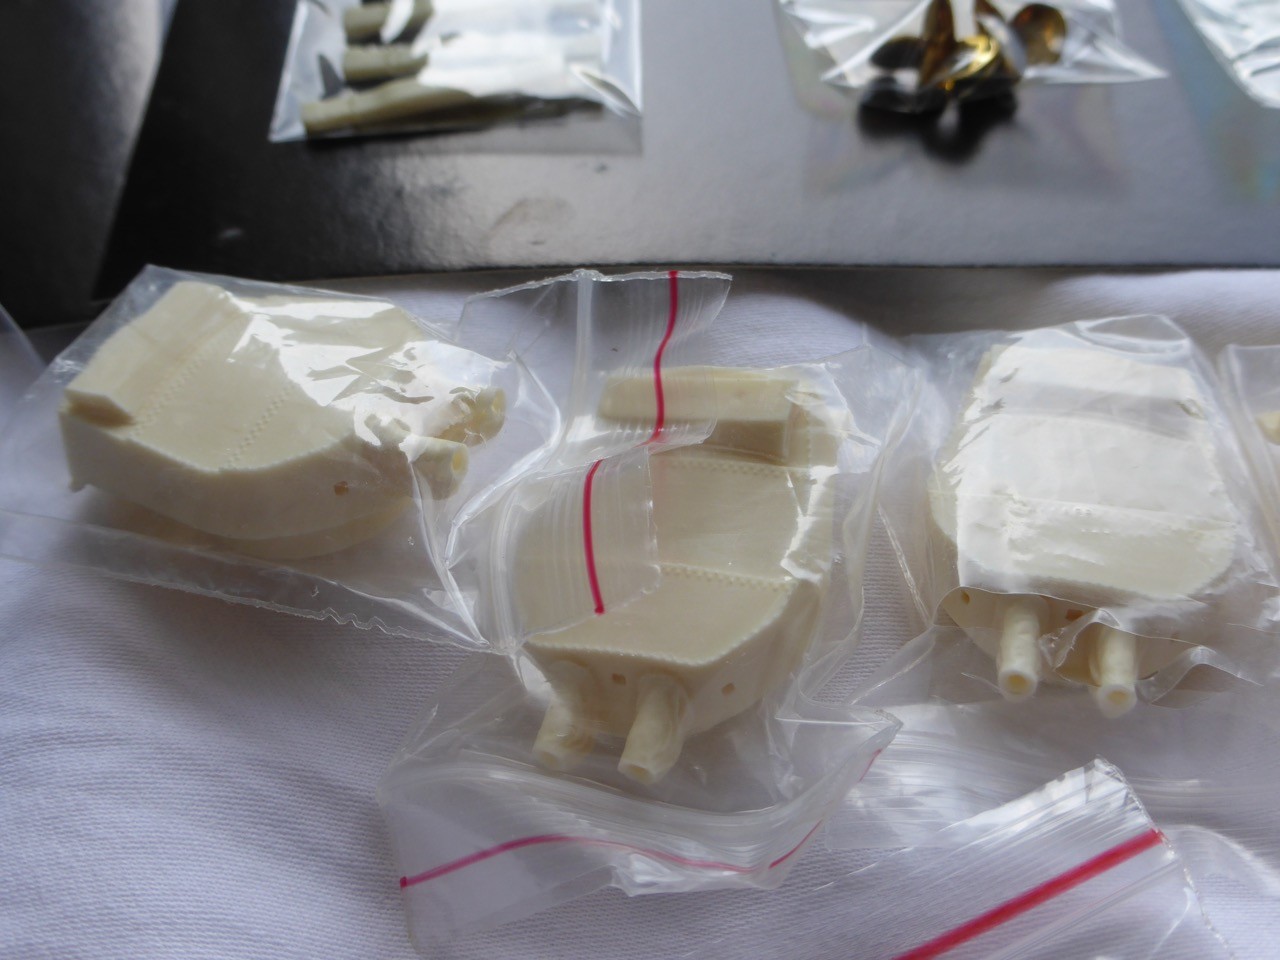
Resin parts and brass propellers
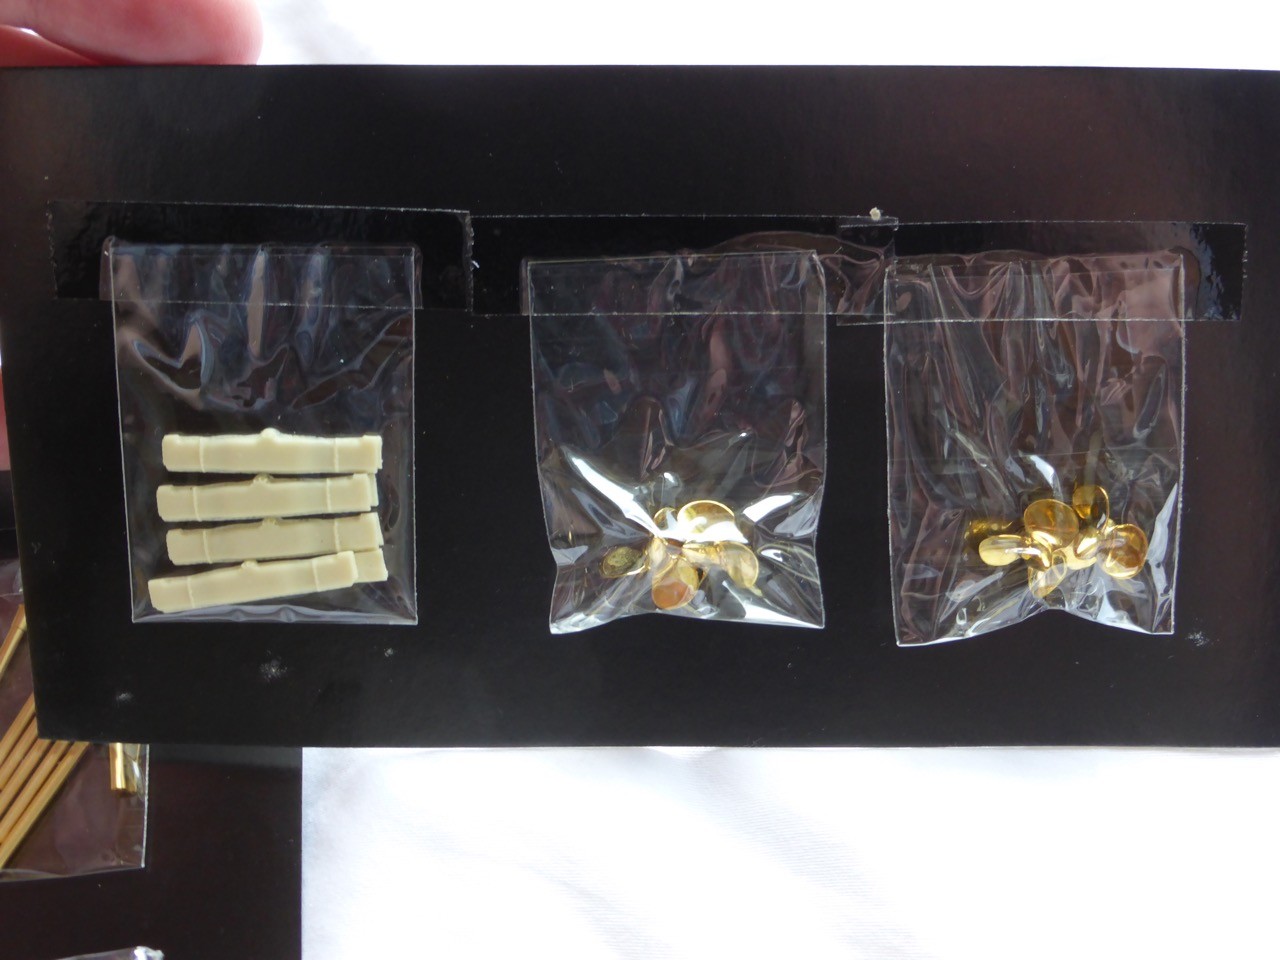
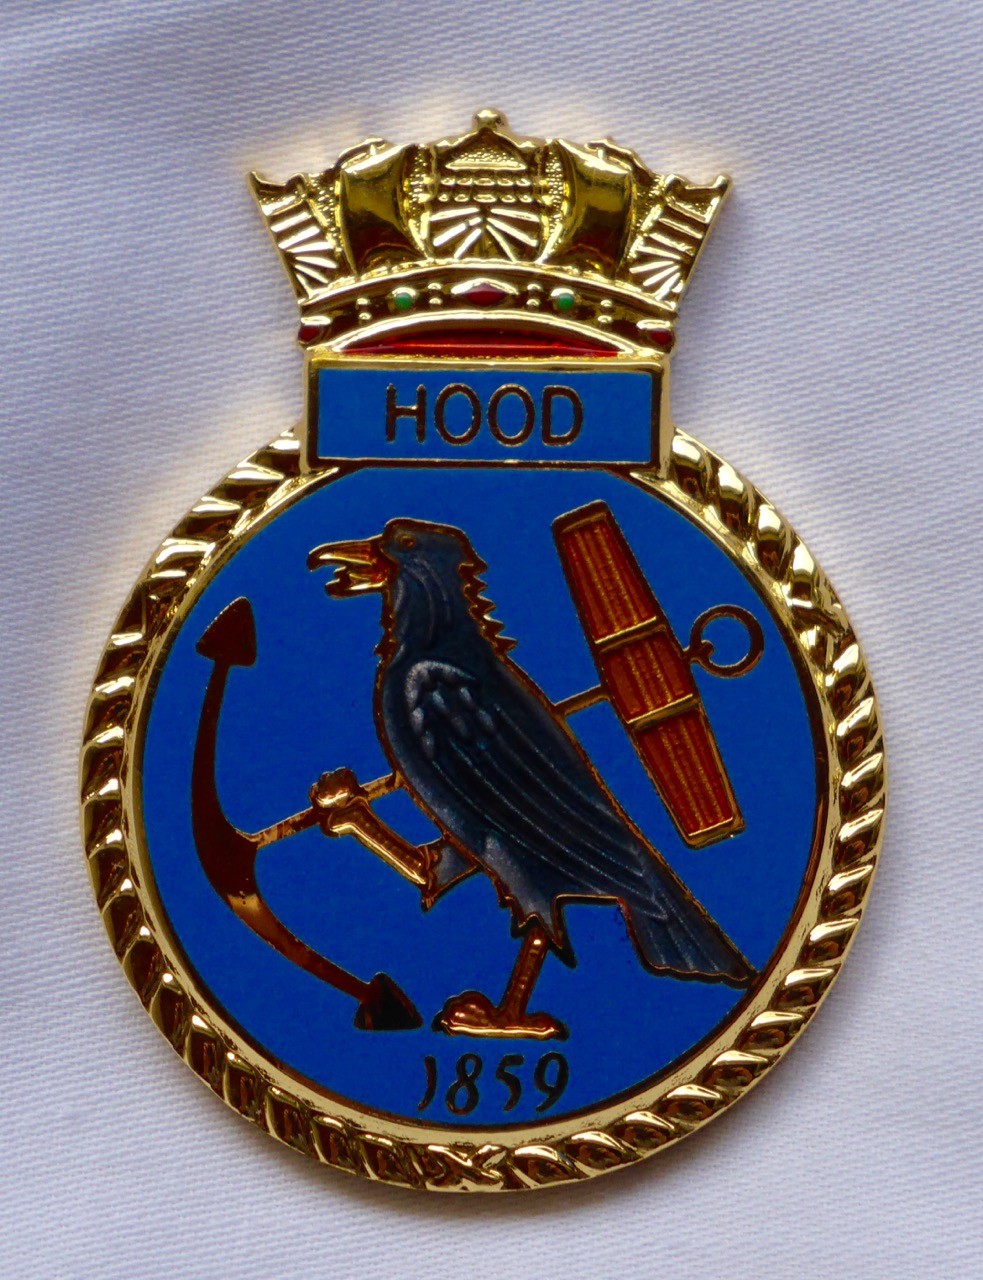
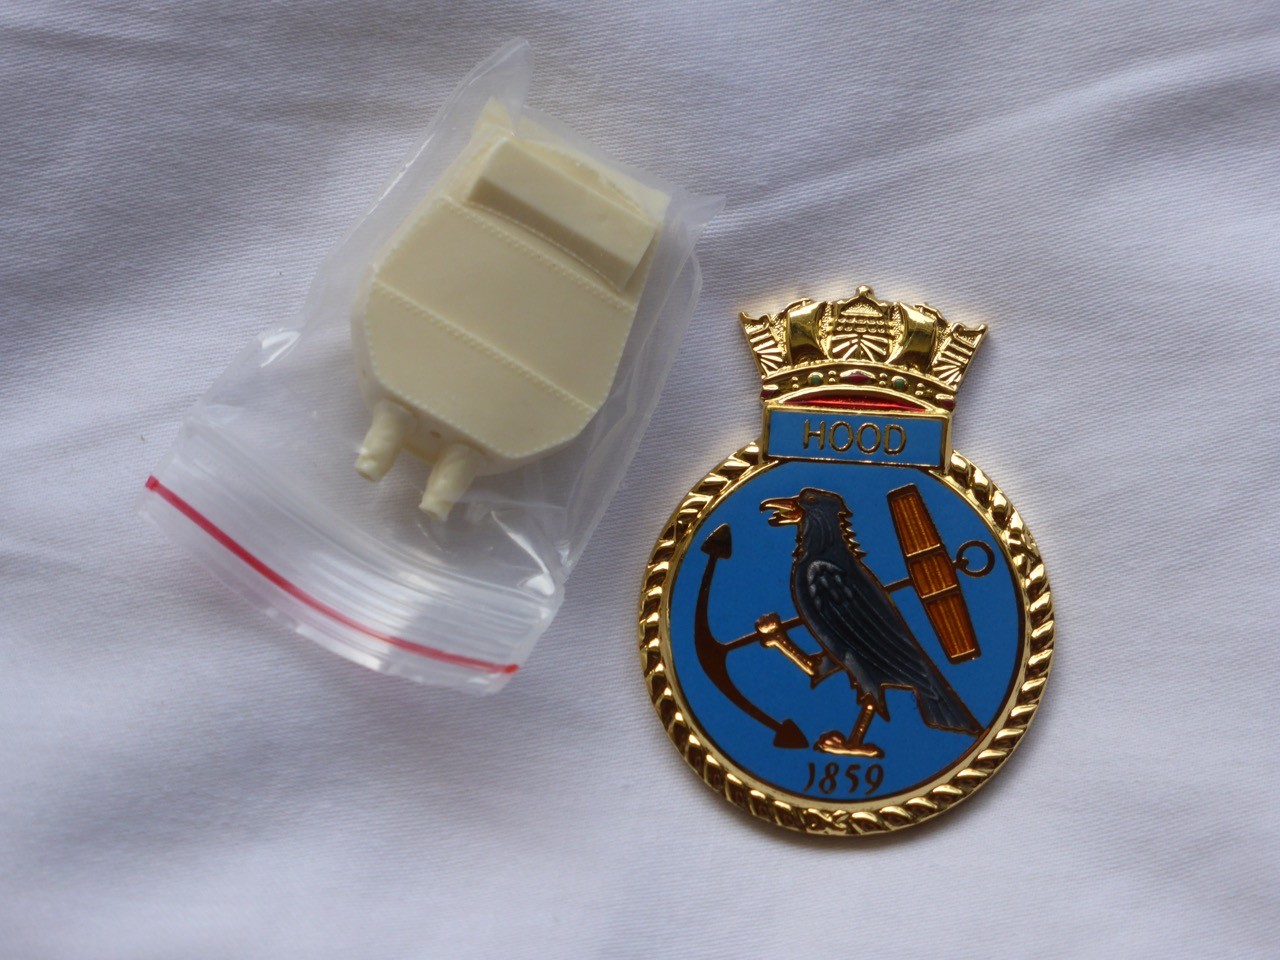
Resin turrets and this wonderful crest:
The crest, to show it's size
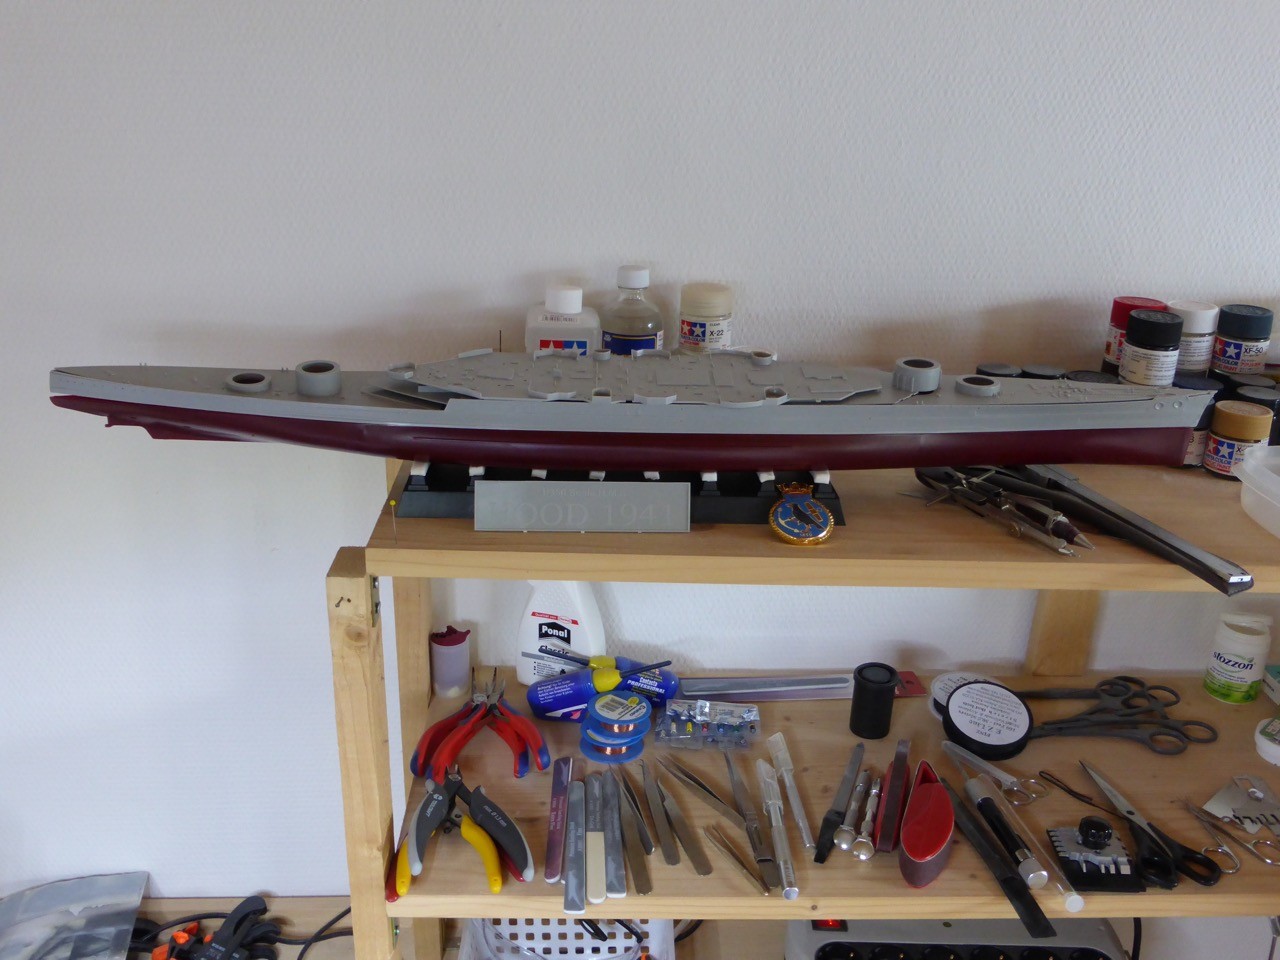
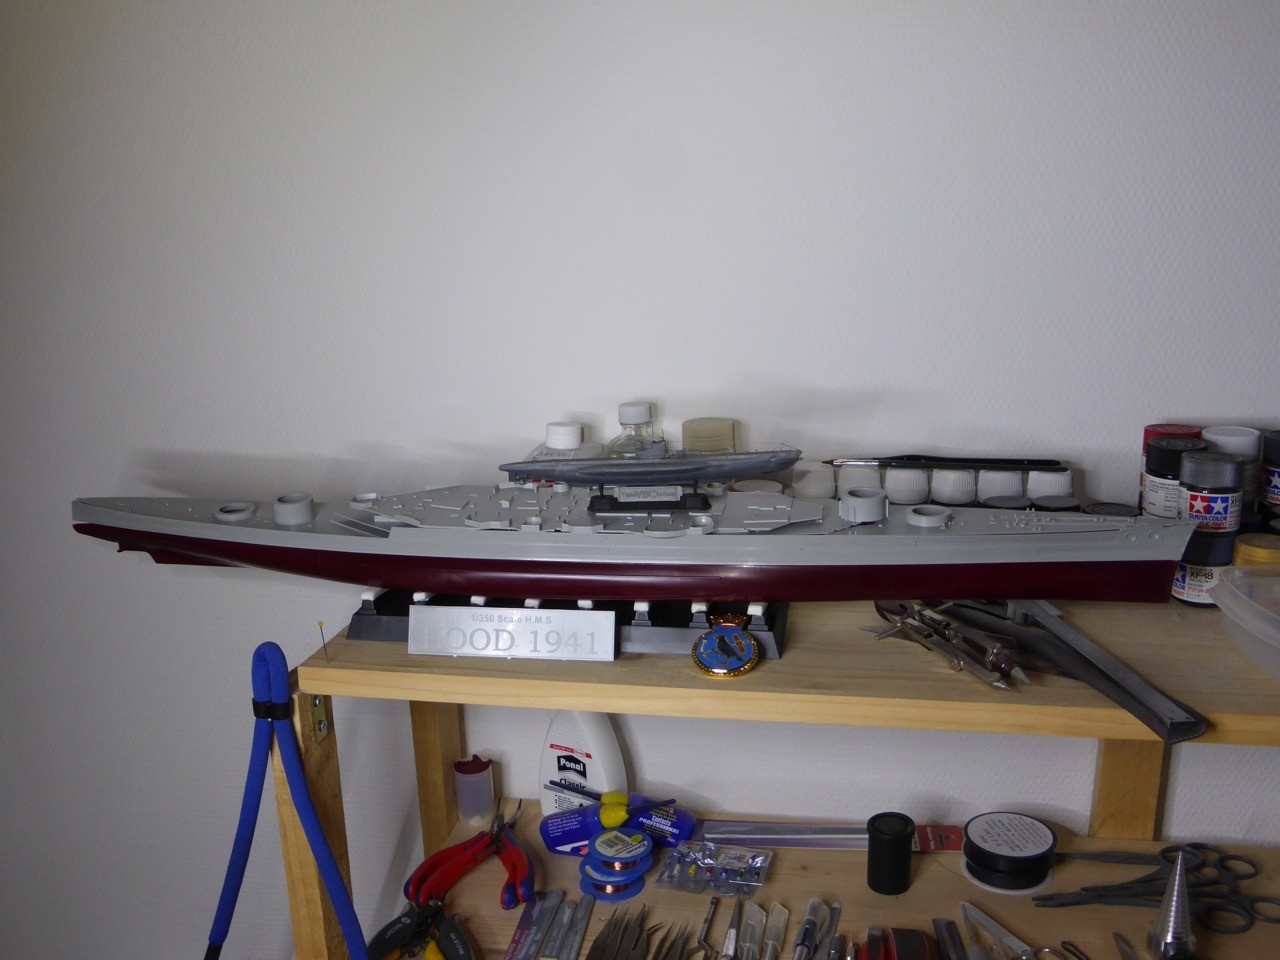
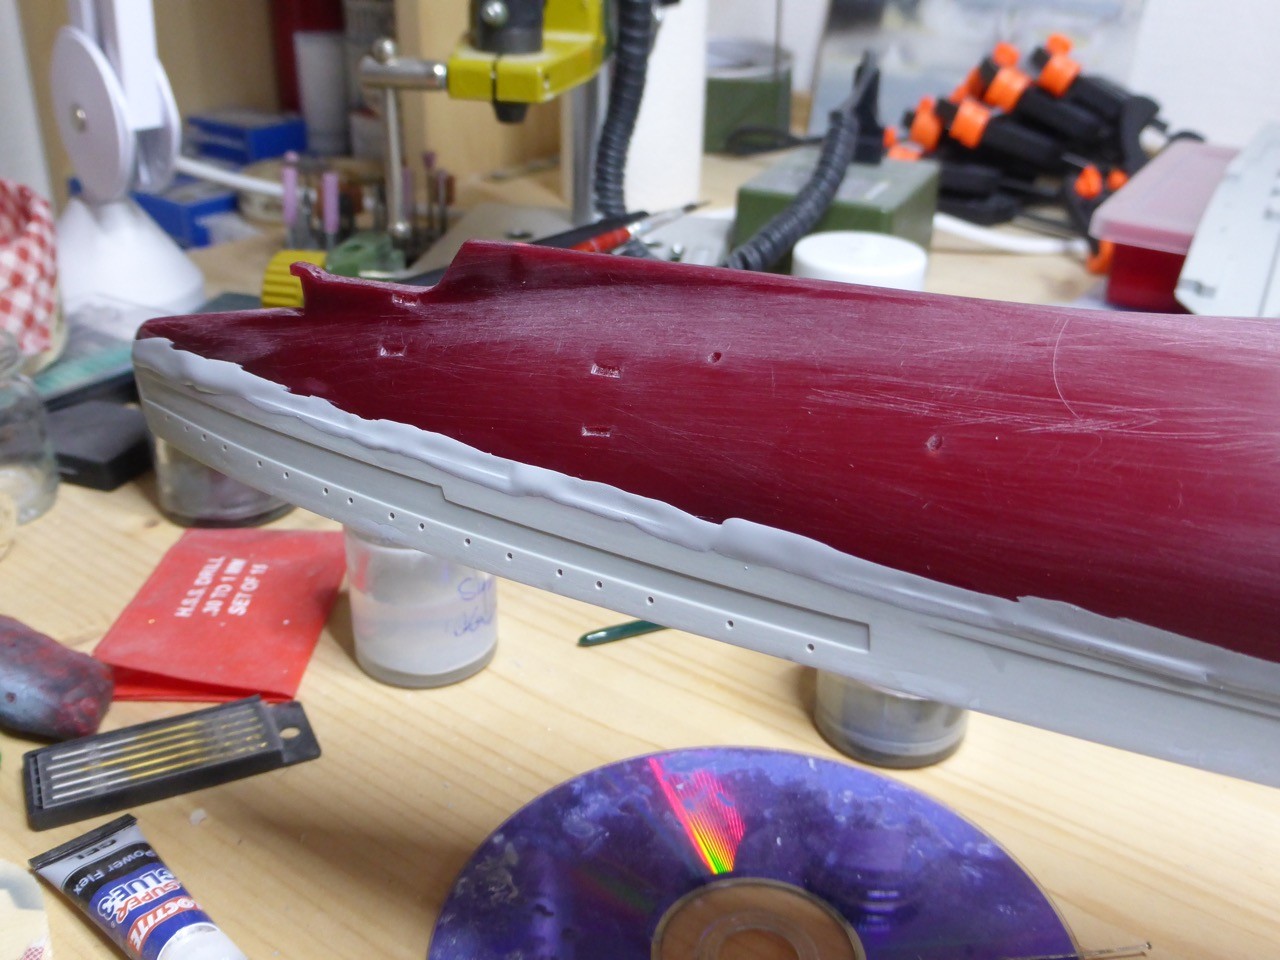
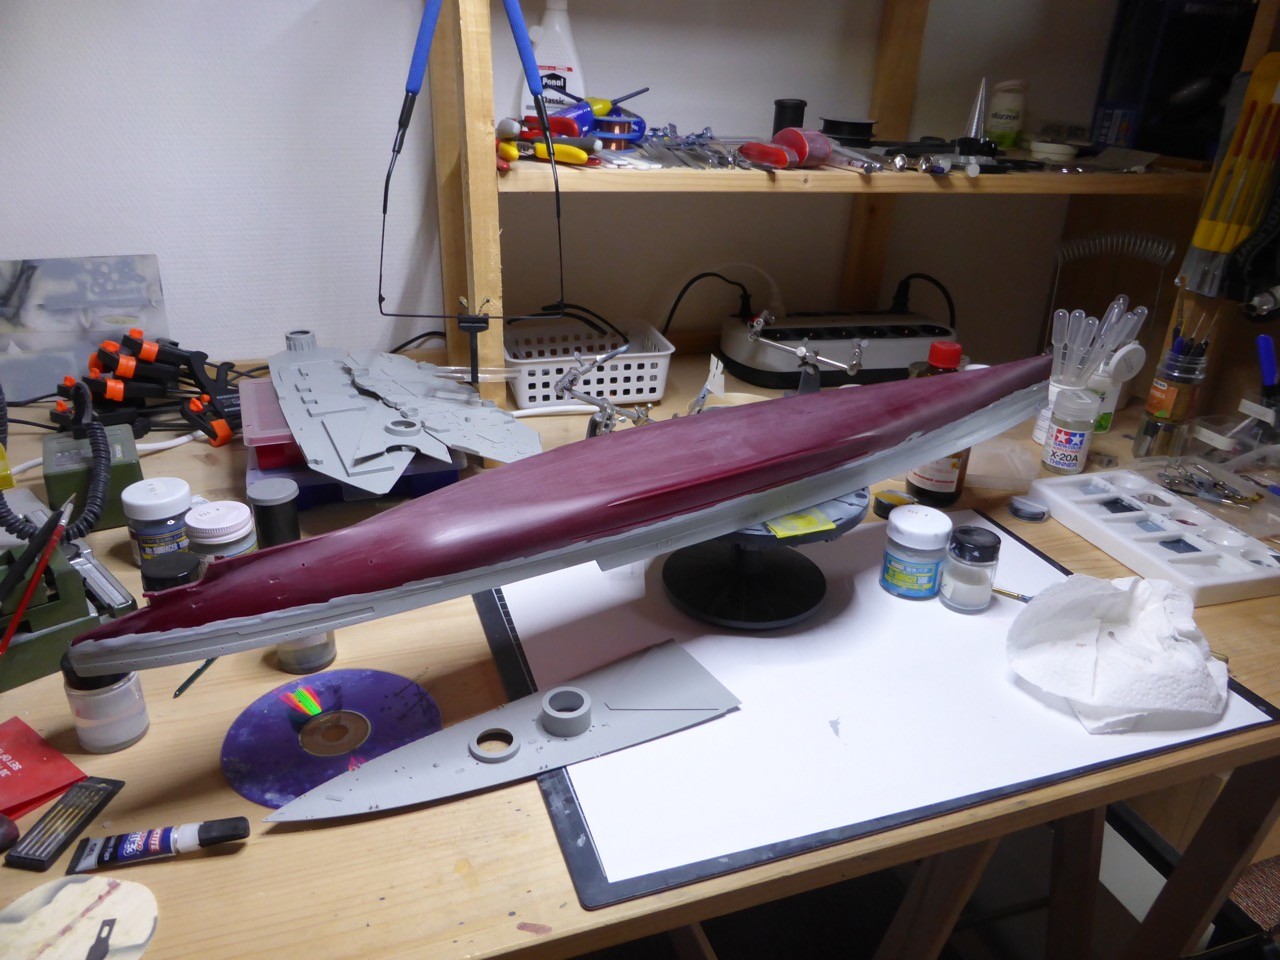
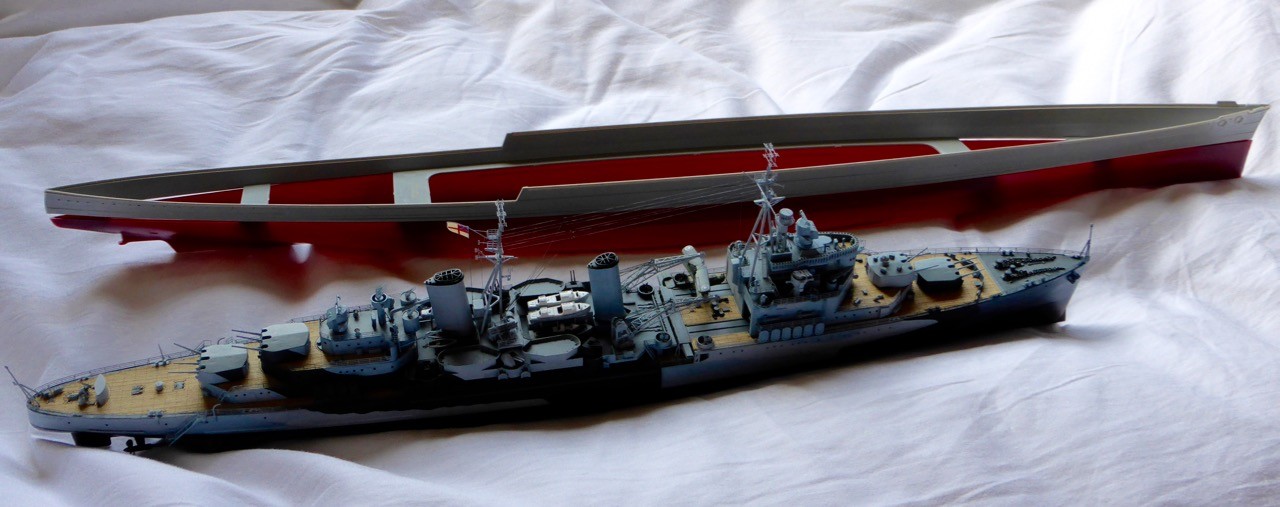
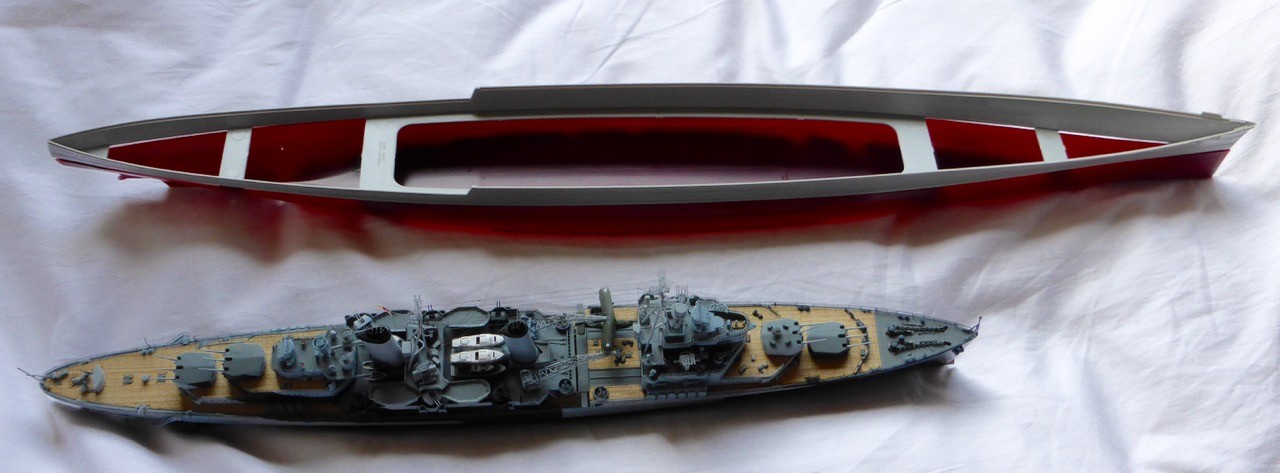
Talking about size - the Hood's hull next to my last project, the HMS Belfast:
Ande here are my main references:
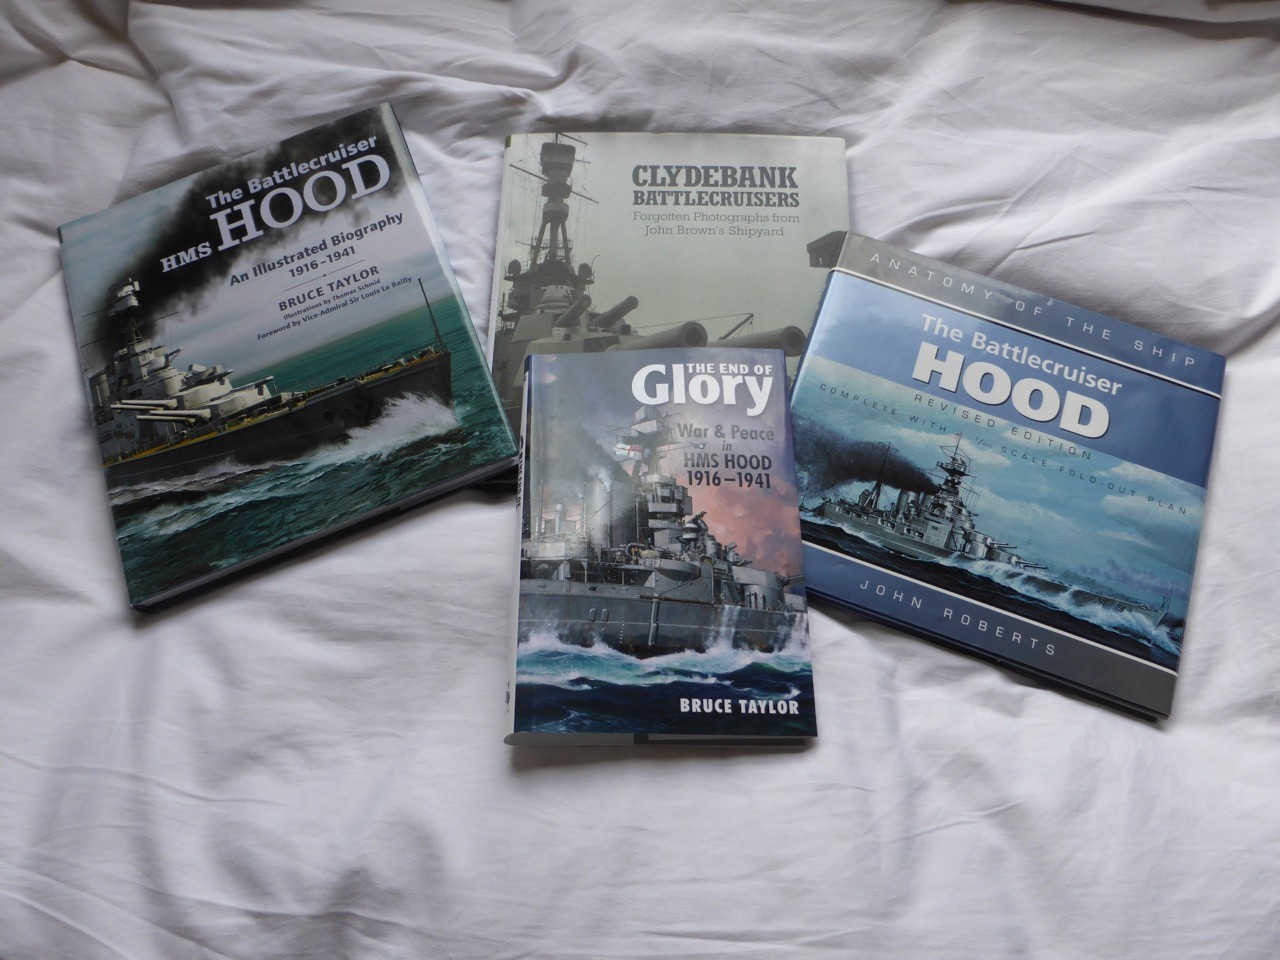
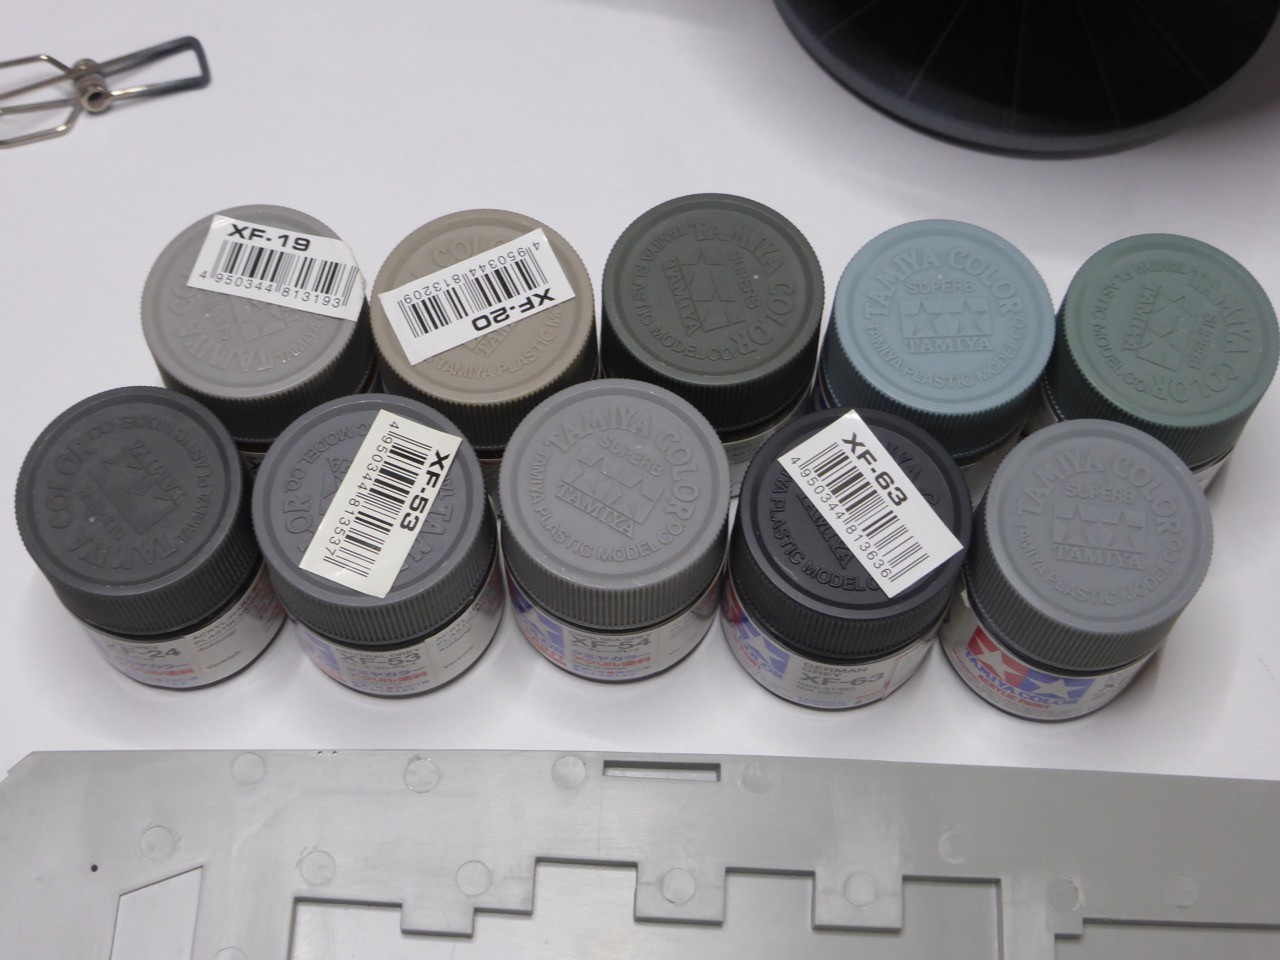
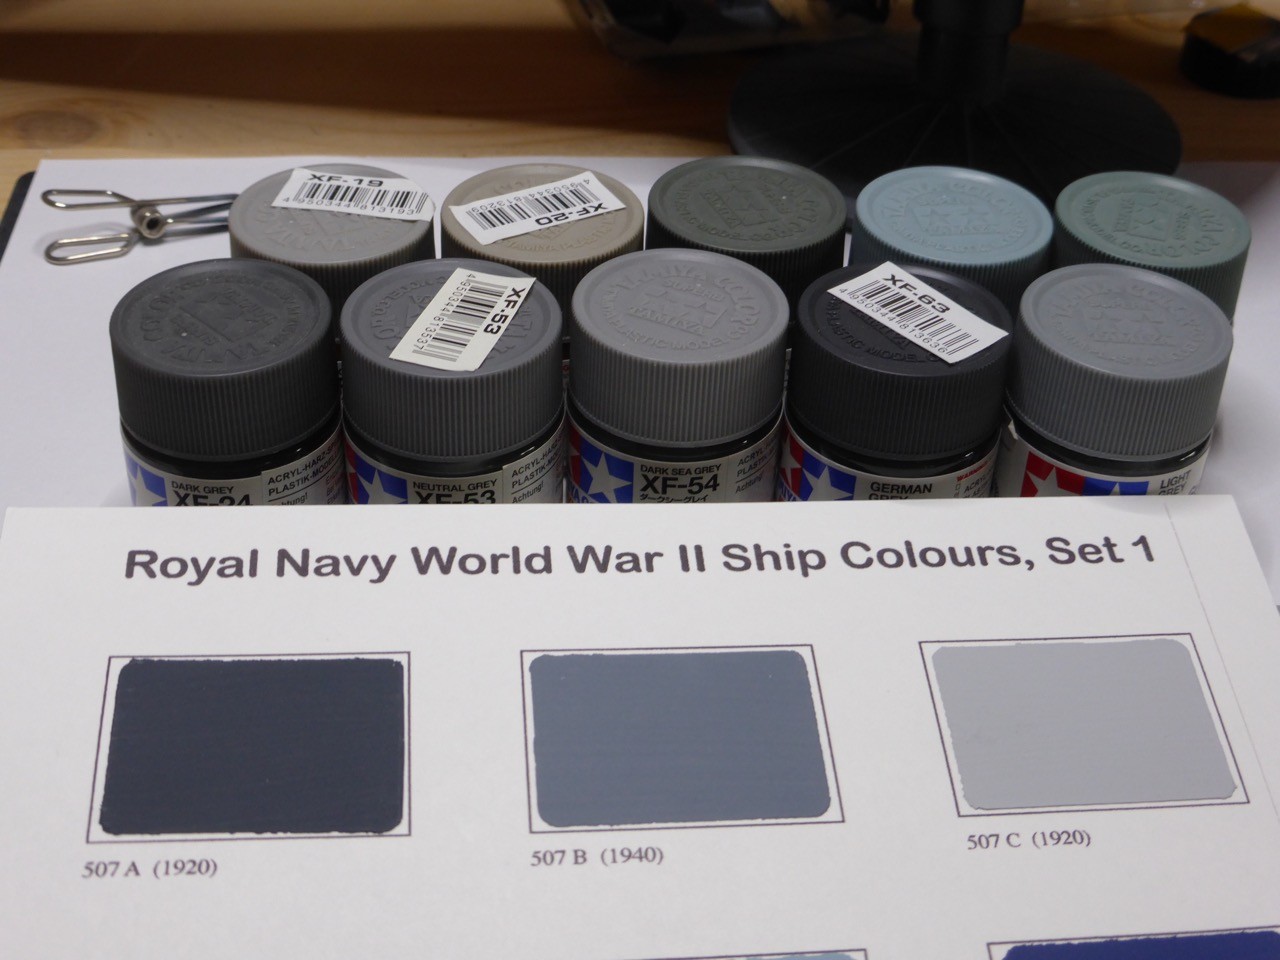
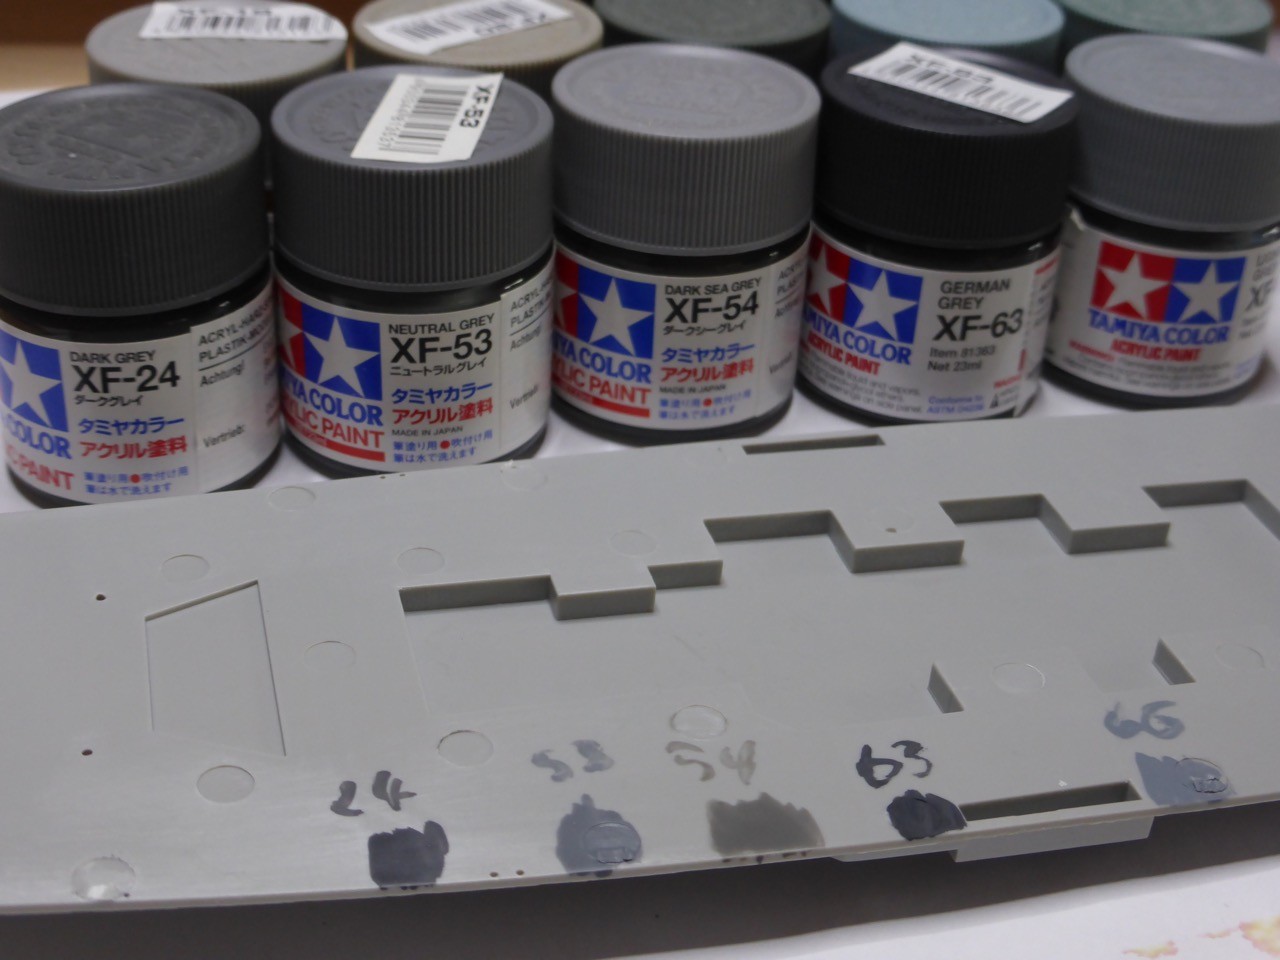
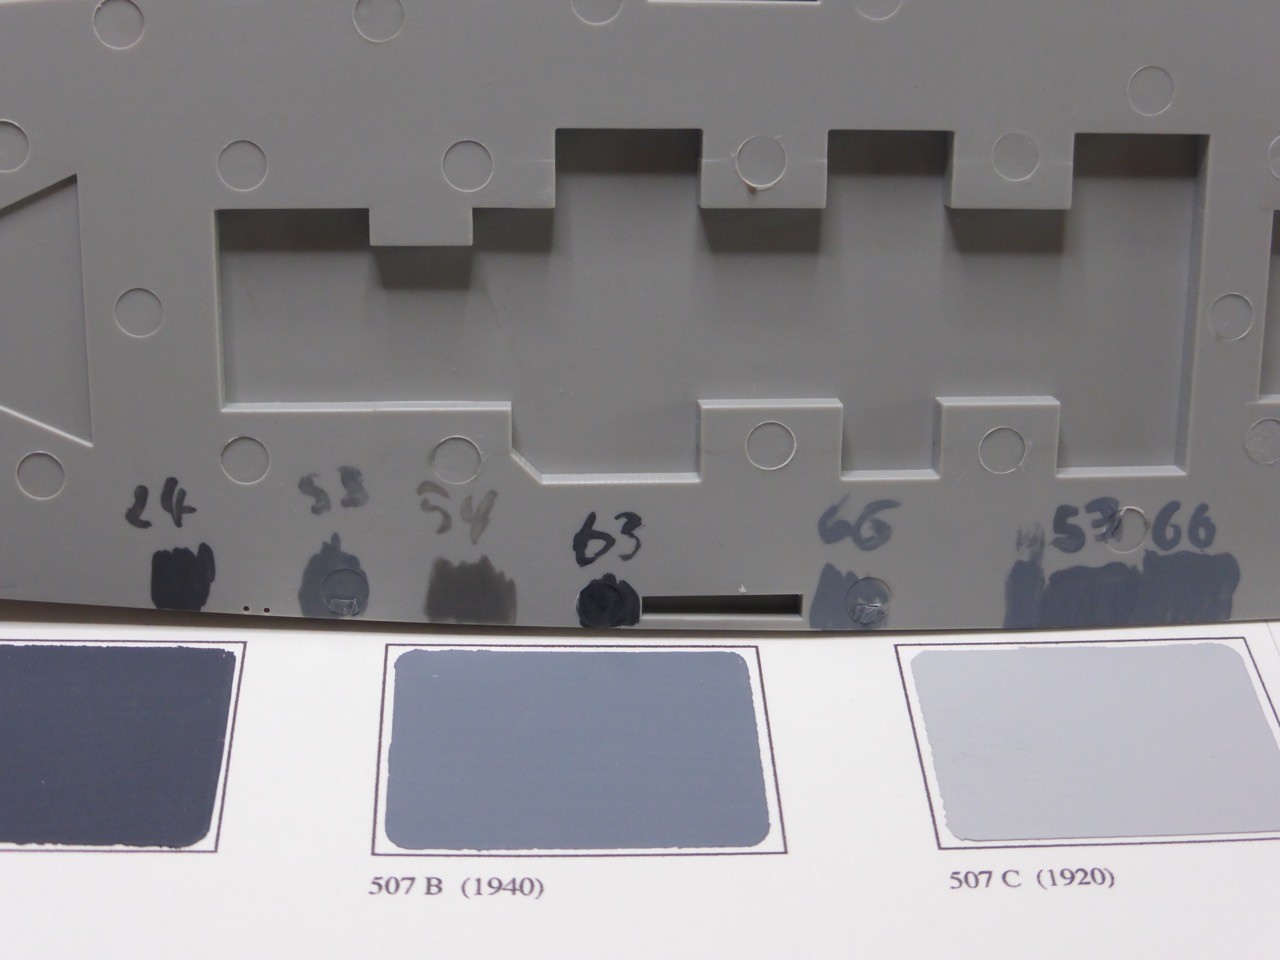
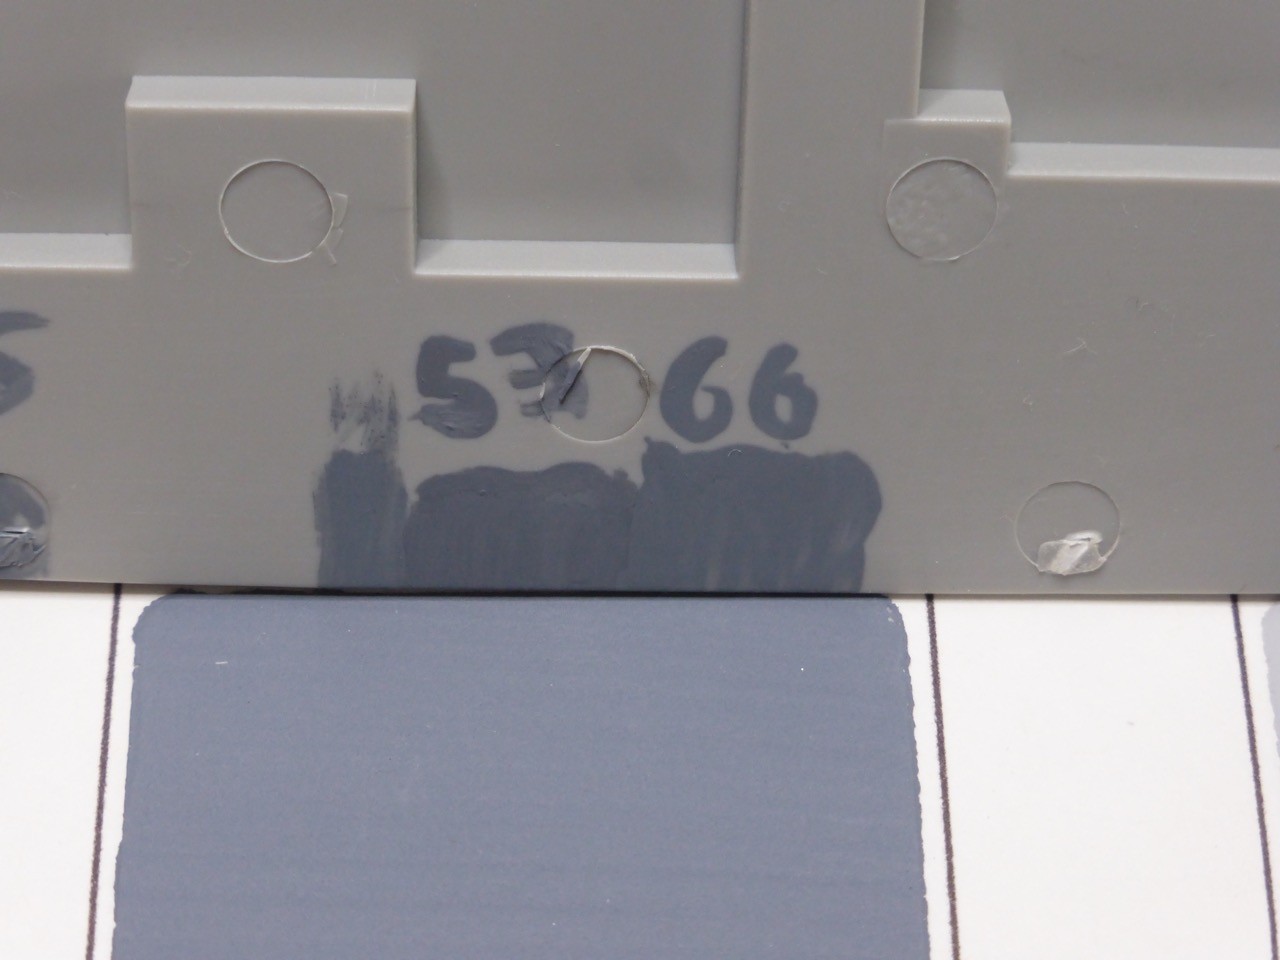
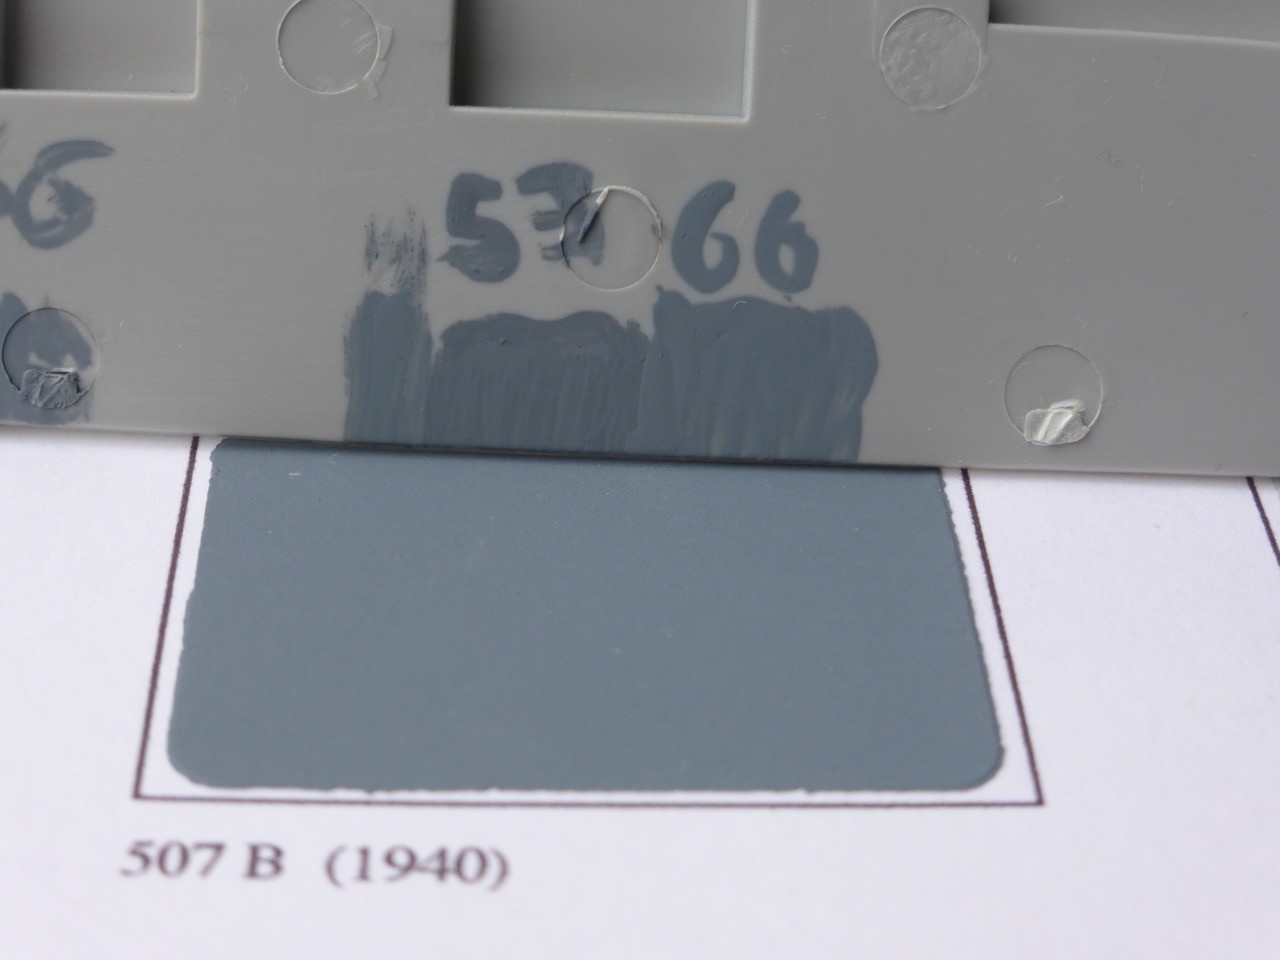
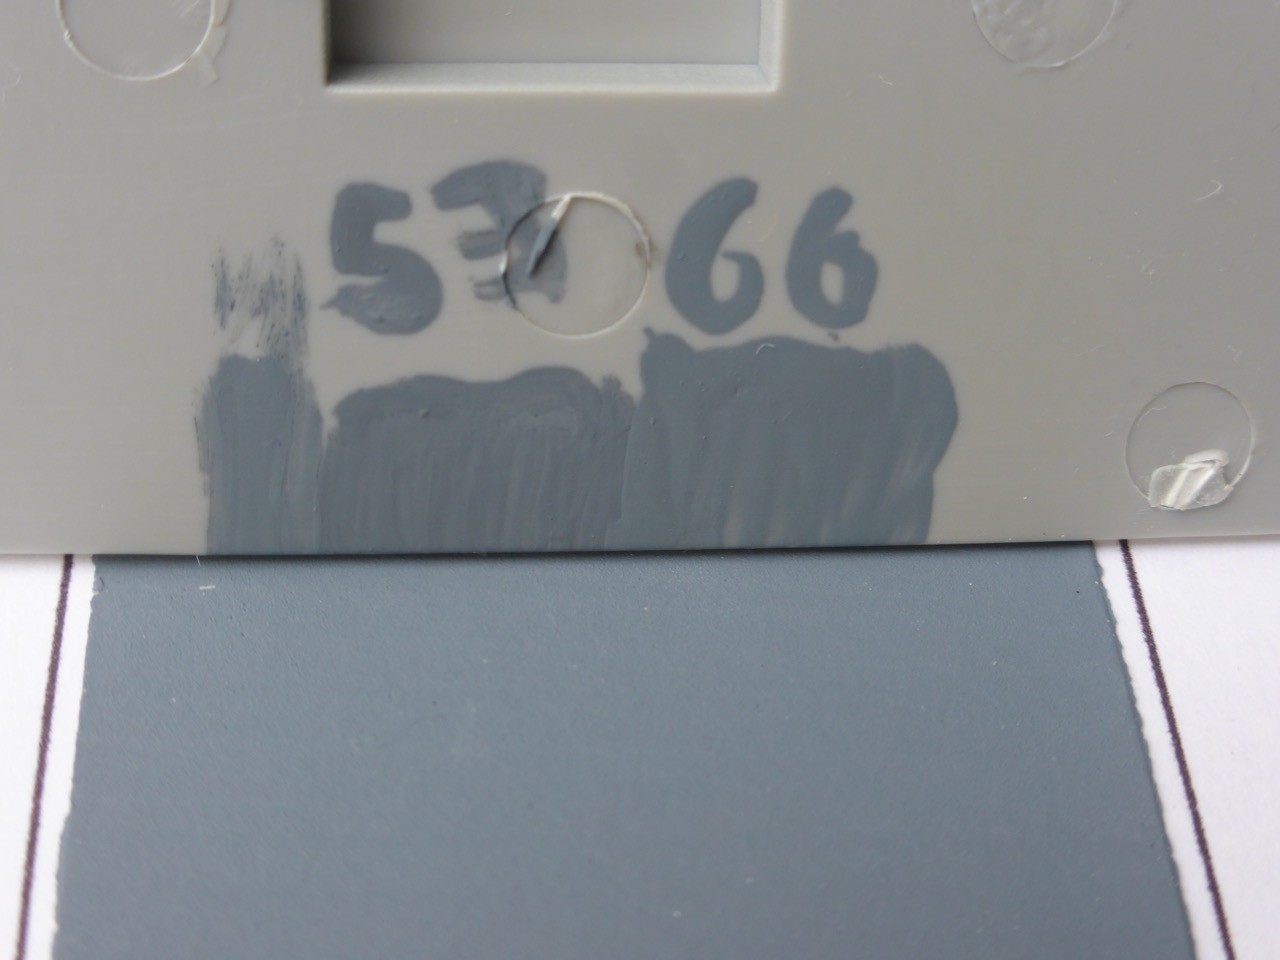
In addition, I will use the Profile Morskie plans, and of course the Raven & Roberts and my trusted paint chips for color matching.
The 'End of Glory' book is not so much a reference as a textbook that gives a real deep insight into the life of HMS Hood during here service life. I am reading it to accompany my build, actually I am about half way through the book and can highly recommend it!!
So that's my start - no plastic cut so far, now its shower and washing time, for the plastic as well as for all the brass an PE
I can't promise a 'real' update this weekend - though I will try - but I am facing the luxury of a four day weekend beginning next Thursday, so that should get things definitely started!!
I am looking forward to this build, and to the Bismarck campaign, and I would be really happy if you like to join me for the ride, as all your comments and motivation during my Belfast build were extremely helpful and appreciated!!
For now -
Cheers,
Jan
RedDuster
England - South East, United Kingdom
Joined: March 01, 2010
KitMaker: 7,078 posts
Model Shipwrights: 6,649 posts
Joined: March 01, 2010
KitMaker: 7,078 posts
Model Shipwrights: 6,649 posts
Posted: Saturday, May 21, 2016 - 12:33 AM UTC
some serious gear you have got there Jan.
As you said it will be the usual role reversal, and looking forward to it.
Enjoy your build mate.
Cheers
Si
As you said it will be the usual role reversal, and looking forward to it.
Enjoy your build mate.
Cheers
Si
warreni
South Australia, Australia
Joined: August 14, 2007
KitMaker: 5,926 posts
Model Shipwrights: 2,624 posts
Joined: August 14, 2007
KitMaker: 5,926 posts
Model Shipwrights: 2,624 posts
Posted: Saturday, May 21, 2016 - 02:08 AM UTC
Quoted Text
some serious gear you have got there Jan.
As you said it will be the usual role reversal, and looking forward to it.
Enjoy your build mate.
Cheers
Si
Ah.. a walk down memory lane.
BTW, I ordered the 1/200 Hood yesterday.
Cheers
Warren
Posted: Saturday, May 21, 2016 - 04:17 PM UTC
I'm on-board!
slug955
United Kingdom
Joined: November 10, 2013
KitMaker: 195 posts
Model Shipwrights: 7 posts
Joined: November 10, 2013
KitMaker: 195 posts
Model Shipwrights: 7 posts
Posted: Saturday, May 21, 2016 - 04:25 PM UTC
I had an uncle on Hood, not a survivor. I will watch this build, not seen any 1/200 ships in the flesh. The anniversary of her loss is 24th. May.
http://www.hmshood.com/crew/memorial/l/LaneCF.htm
Posted: Saturday, May 21, 2016 - 08:07 PM UTC
Quoted Text
I had an uncle on Hood, not a survivor. I will watch this build, not seen any 1/200 ships in the flesh. The anniversary of her loss is 24th. May.
http://www.hmshood.com/crew/memorial/l/LaneCF.htm
David, first of all - my shame pennant closed up, of course its 24 May...I don't know how that could escape me, luckily I was still able to edit my first entry. Thanks for pointing it out!!
Wow, an uncle as a shipwright on HMS Hood - well, that's something special. I hope I will be able to do you justice with my build...thanks for joining in!!
Jan
Posted: Saturday, May 21, 2016 - 08:21 PM UTC
Si, Warren and Russ,
thank you and great to have you all in!! Looking forward to a hopefully fun build - and hopefully I'll be able to finish in time... Just seeing Si sprinting along with his Bismarck...
So in order to not leave this as an empty build log for a week - first plastic is cut, literally, and first finger is cut, as well but just a slight scratch
Well, she IS big...
I'll post my commissioning of my little sub in the silent service later on - just a little comparison, all the same scale...
Starting with the hull - the degaussing cable has to go, it was a double cable and it is part of the PE kit. And there are some sink marks in the bow that need attention:
So here we go - it's a start...
That's it for today, my next - or actually first real - update should be ready in a few days.
Thanks for looking and Cheers,
Jan
slug955
United Kingdom
Joined: November 10, 2013
KitMaker: 195 posts
Model Shipwrights: 7 posts
Joined: November 10, 2013
KitMaker: 195 posts
Model Shipwrights: 7 posts
Posted: Saturday, May 21, 2016 - 09:01 PM UTC
Jan, He died before I was born. Putting a name and face to Hoods crew makes it real though.
RedDuster
England - South East, United Kingdom
Joined: March 01, 2010
KitMaker: 7,078 posts
Model Shipwrights: 6,649 posts
Joined: March 01, 2010
KitMaker: 7,078 posts
Model Shipwrights: 6,649 posts
Posted: Sunday, May 22, 2016 - 01:21 AM UTC
Hi Jan,
Great to see the keel laid.
Will raise a glass on the 24th in memory.
Cheers
Si
Great to see the keel laid.
Will raise a glass on the 24th in memory.
Cheers
Si
Posted: Sunday, May 22, 2016 - 02:46 AM UTC
I will be following this one Jan, looking forward to learning more during the process.
Cheers, D
Cheers, D
Posted: Sunday, May 22, 2016 - 04:56 AM UTC
Quoted Text
Si, Warren and Russ,
Well, she IS big...
to quote Wedge Antilles as his squadron of x-wings prepare to attack the Death Star from a certain awesome fillum: "Look at the size of that thing!!!"
Posted: Sunday, May 22, 2016 - 09:11 AM UTC
Damian, welcome on board, glad to have you in!
Russ, I can tell you, my little shipyard is quite at it's limits - must have been similar at Brown's back than, if you have a look at google and the scale... By the way, how is your millennium falcon coming along? Or am I just mixing universes?!?
Si, will have one in memory, as well - it's juts poor timing, my boss wouldn't be too happy if I do the ceremony at the correct time of the day.
And Friday already is 'your' day...
Thank you all for looking and stopping by!
Cheers,
Jan
Posted: Sunday, May 22, 2016 - 04:05 PM UTC
Quoted Text
Damian, welcome on board, glad to have you in!
Russ, I can tell you, my little shipyard is quite at it's limits - must have been similar at Brown's back than, if you have a look at google and the scale... By the way, how is your millennium falcon coming along? Or am I just mixing universes?!?
Si, will have one in memory, as well - it's juts poor timing, my boss wouldn't be too happy if I do the ceremony at the correct time of the day.
And Friday already is 'your' day...
Thank you all for looking and stopping by!
Cheers,
Jan
yep, she was a big beasty for sure, mate
The Falcon's back up and running, although there was slight mishap on the way back to the house where it resides, so I've got to take the tool box and head out for some on-site repairs
Posted: Monday, May 23, 2016 - 09:06 AM UTC
Posted: Monday, May 23, 2016 - 03:31 PM UTC
Hi Jan,
Just caught up with your new venture. Looking forward to this build and the use of your "extras".
For Hood and her crew,and Bismarck and her crew a short time later, war is cruel and nothing will change that but we will remember them.
Michael
Just caught up with your new venture. Looking forward to this build and the use of your "extras".
For Hood and her crew,and Bismarck and her crew a short time later, war is cruel and nothing will change that but we will remember them.
Michael
Posted: Tuesday, May 24, 2016 - 02:30 AM UTC
Quoted Text
24 May 1941, 06:02 in the morning; HMS Hood is lost.
Today marks the 75th anniversary of her loss.
To a great ship and her crew.
Rest in peace.
to all those who lost their lives on those fateful days 75 years ago. Lest we forget...
Mgunns
Arizona, United States
Joined: December 12, 2008
KitMaker: 1,423 posts
Model Shipwrights: 99 posts
Joined: December 12, 2008
KitMaker: 1,423 posts
Model Shipwrights: 99 posts
Posted: Wednesday, May 25, 2016 - 09:31 PM UTC
Hello Jan:
I will be watching as you go through your build process with the 1/350 Hood. I have the 1/200 Hood on order, so this build will be of interest to me. We do them honor by perpetuating their memory in these little memorials that we build to their honor and remembrance.
Posted: Saturday, May 28, 2016 - 10:15 PM UTC
Quoted Text
Hello Jan:
I will be watching as you go through your build process with the 1/350 Hood. I have the 1/200 Hood on order, so this build will be of interest to me. We do them honor by perpetuating their memory in these little memorials that we build to their honor and remembrance.
Hi Mark,
welcome on board, glad to have you along for the ride. I fully agree with you!
Posted: Saturday, May 28, 2016 - 10:59 PM UTC
And finally - it's time for the first 'real' update.
I'll keep the first part short, as I have already posted it over in the Bismarck Campaign.
So the molded on degaussing cable was removed, and along with it - not intentionally - all the details on the portholes. Oh well, need to come up with something there.
Hull halves joined
and while the fitting is quite good, it leaves me with a lot of work to do in filling and sanding...
So Mr Surfacer 500 was brushed on along the full length of the joint and sanded down. Than the procedure was repeated, sanded this morning - fine weather, so could do it on the balcony. Much more fun - no artificial light, and no worrying about the dust
So here the results after the second sanding procedure. Better, looking ok in some areas already, but a third round required.
So the third round is already brushed on, this time - encouraging - with a smaller brush, so applying it more precisely to areas of concern. I hope I will be done with this third round. If so, Mr Surfacer 1000 will be applied by airbrush and the fine sanding paper will have to take care of the somewhat rough impression caused by the rough treatment.
No work possible on the hull while it is drying. But some more destructive work done: Molded anchor chains removed and opened hawsepipes on the deck.
Now looking at the colors. Main color needed will be medium grey 507B. All the other colors required I will use for my stock.
Si sprayed his Repulse with Tamiya TS 66 as a good match, assuming it would equal Tamiya XF 75. XF 75 is (probably one of the few grays) I don't have, so I started comparing.
Here's the grey my paint locker holds, less the blue/green/something-grays that were clearly wrong.
So the second line can be excluded without further consideration
painting small stripes of five candidates on the invisible part of one deck
Rough comparison narrows it down to two:
So either XF 53 or XF 66.
Artificial light
Natural light, slightly cloudy, no bright sunlight
Now that pretty clearly makes it XF 66, and it is really a good fit, so that I don't even have to start mixing. Question here -are possibly the TS and XF numbers indicating the same colors after all?!?
But that's a quick and easy fix - main color sorted out.
Going through the instructions, it appears that the ship more or less is build up from the hull, only very few parts are clear cut sub assembly. Ok, that may become interesting...
So since I didn't feel like funnel or small boat today, I decided to start with one of the four impressive mountings that hold about the most complex and dangerous weapon system on the ship: right, I am talking about the Vicker .50 cal quadruple mounts, of course (way to early on to start with the main 15"... )
Even though there are parts provided in the Lion Roar and the Eduard set, I decided to try my hands on the BigBlueBoy kit that I got last year. The ones from the same manufacturer for the octuple pom-poms really turned to great (as you may remember from the Belfast build), so I thought these might be good as well - and I think they really are!!
If you're good at your origami, this is the prefect kit for you. That little piece here needs to be folded until it resembles a gun mount...
Put on the bottom plate and the sights added, this is what you get:
As always with a first, I made a few mistakes - glued the origami work together before putting it on the plate, so it is not really straight. Maybe it doesn't need to be glued at all, that would be a try for the next one. The origami plate even folds together in a way that little holes for the barrels are generated. Cool!
I'll see if I can use this one, it doesn't look to bad. But I'll have to order another set anyway. Four in one set, chances I lose one...and I think they will come in handy for other future projects...
Barrels added - can't help, here's a little show - I kind of like the small golden thing
Hold by my tweezers
And standing on a sheet of paper
For comparison - I always suspected that dimes are huge - they are making your purse so heavy...
All right, that's what I got accomplished this weekend. I am not sure whether I will find some time during the week, but that's more unlikely - so the next update here probably in a week from now.
Thanks for looking everybody!
For now,
cheers,
Jan
RedDuster
England - South East, United Kingdom
Joined: March 01, 2010
KitMaker: 7,078 posts
Model Shipwrights: 6,649 posts
Joined: March 01, 2010
KitMaker: 7,078 posts
Model Shipwrights: 6,649 posts
Posted: Sunday, May 29, 2016 - 03:07 AM UTC
Hi Jan,
Very nice job on the pain matching, I have been using XF75, but 66 does look better.
The Big Blue Boy 0.5" do look impressive, and fiddlier than the North star jobs.
Great work mate.
Cheers.
Si
Very nice job on the pain matching, I have been using XF75, but 66 does look better.
The Big Blue Boy 0.5" do look impressive, and fiddlier than the North star jobs.
Great work mate.
Cheers.
Si
Posted: Sunday, May 29, 2016 - 05:49 AM UTC
Nice effort on the paint match Jan. Like the different lighting options showing how much the colour changes. I did find though when I was trying for a colour match that even airbrushing vs. brush painting will show the colour differently.
Great looking quad .50 cals. I wish I had those when I built Achilles. Origami or not they look very effective.
cheers
Michael
Great looking quad .50 cals. I wish I had those when I built Achilles. Origami or not they look very effective.
cheers
Michael
TRM5150
Massachusetts, United States
Joined: January 03, 2010
KitMaker: 2,159 posts
Model Shipwrights: 1,400 posts
Joined: January 03, 2010
KitMaker: 2,159 posts
Model Shipwrights: 1,400 posts
Posted: Sunday, May 29, 2016 - 06:33 AM UTC
Some fine work on the hull Jan! Things are smoothing out very well!! Looks like you nailed the color as well! Can't wait to see that go down soon! Where did you get the oversized dime anyway? LOL!! Outstanding PE manipulation!
Posted: Sunday, May 29, 2016 - 09:41 AM UTC
Si, Michael, Todd,
thank you so much - great to have you all in and following here!!
Well, some work still to go into the hull, but I am really happy with the 507B aka XF 66 color, that makes life a lot easier.
And those dimes are huge, I can tell you
Cheers and thanks,
Jan
thank you so much - great to have you all in and following here!!
Well, some work still to go into the hull, but I am really happy with the 507B aka XF 66 color, that makes life a lot easier.
And those dimes are huge, I can tell you
Cheers and thanks,
Jan
Posted: Monday, May 30, 2016 - 08:11 AM UTC
Very nice progress here too, Jan!
All that filler on the hull brings back some bad memories, but well handled mate.
Those Quad Vickers look great-nano engineering at its best
All that filler on the hull brings back some bad memories, but well handled mate.
Those Quad Vickers look great-nano engineering at its best
Posted: Monday, May 30, 2016 - 09:33 AM UTC
Hi Russ,
thank you very much, mate!! Yep, quite some filler - - haven't started any plastic other than hull and deck yet, the deck seems a fine fit. I really hope that the hull fit isn't giving me a taste of what it's coming with the superstructure...working at the hull, I get a pretty good impression of what you are going through with your Prinz, I assume?!?
Cheers,
Jan