Ships by Class/Type: Carriers
Topics on all types of carriers from the early 20th century to today.
USS Intrepid CV11 1944 -1/350 Scale
RedDuster
Visit this Community
England - South East, United Kingdom
Joined: March 01, 2010
KitMaker: 7,078 posts
Model Shipwrights: 6,649 posts
Posted: Wednesday, May 09, 2018 - 11:04 PM UTC

Quoted Text


Quoted Text

Yorktown to Intrepid.


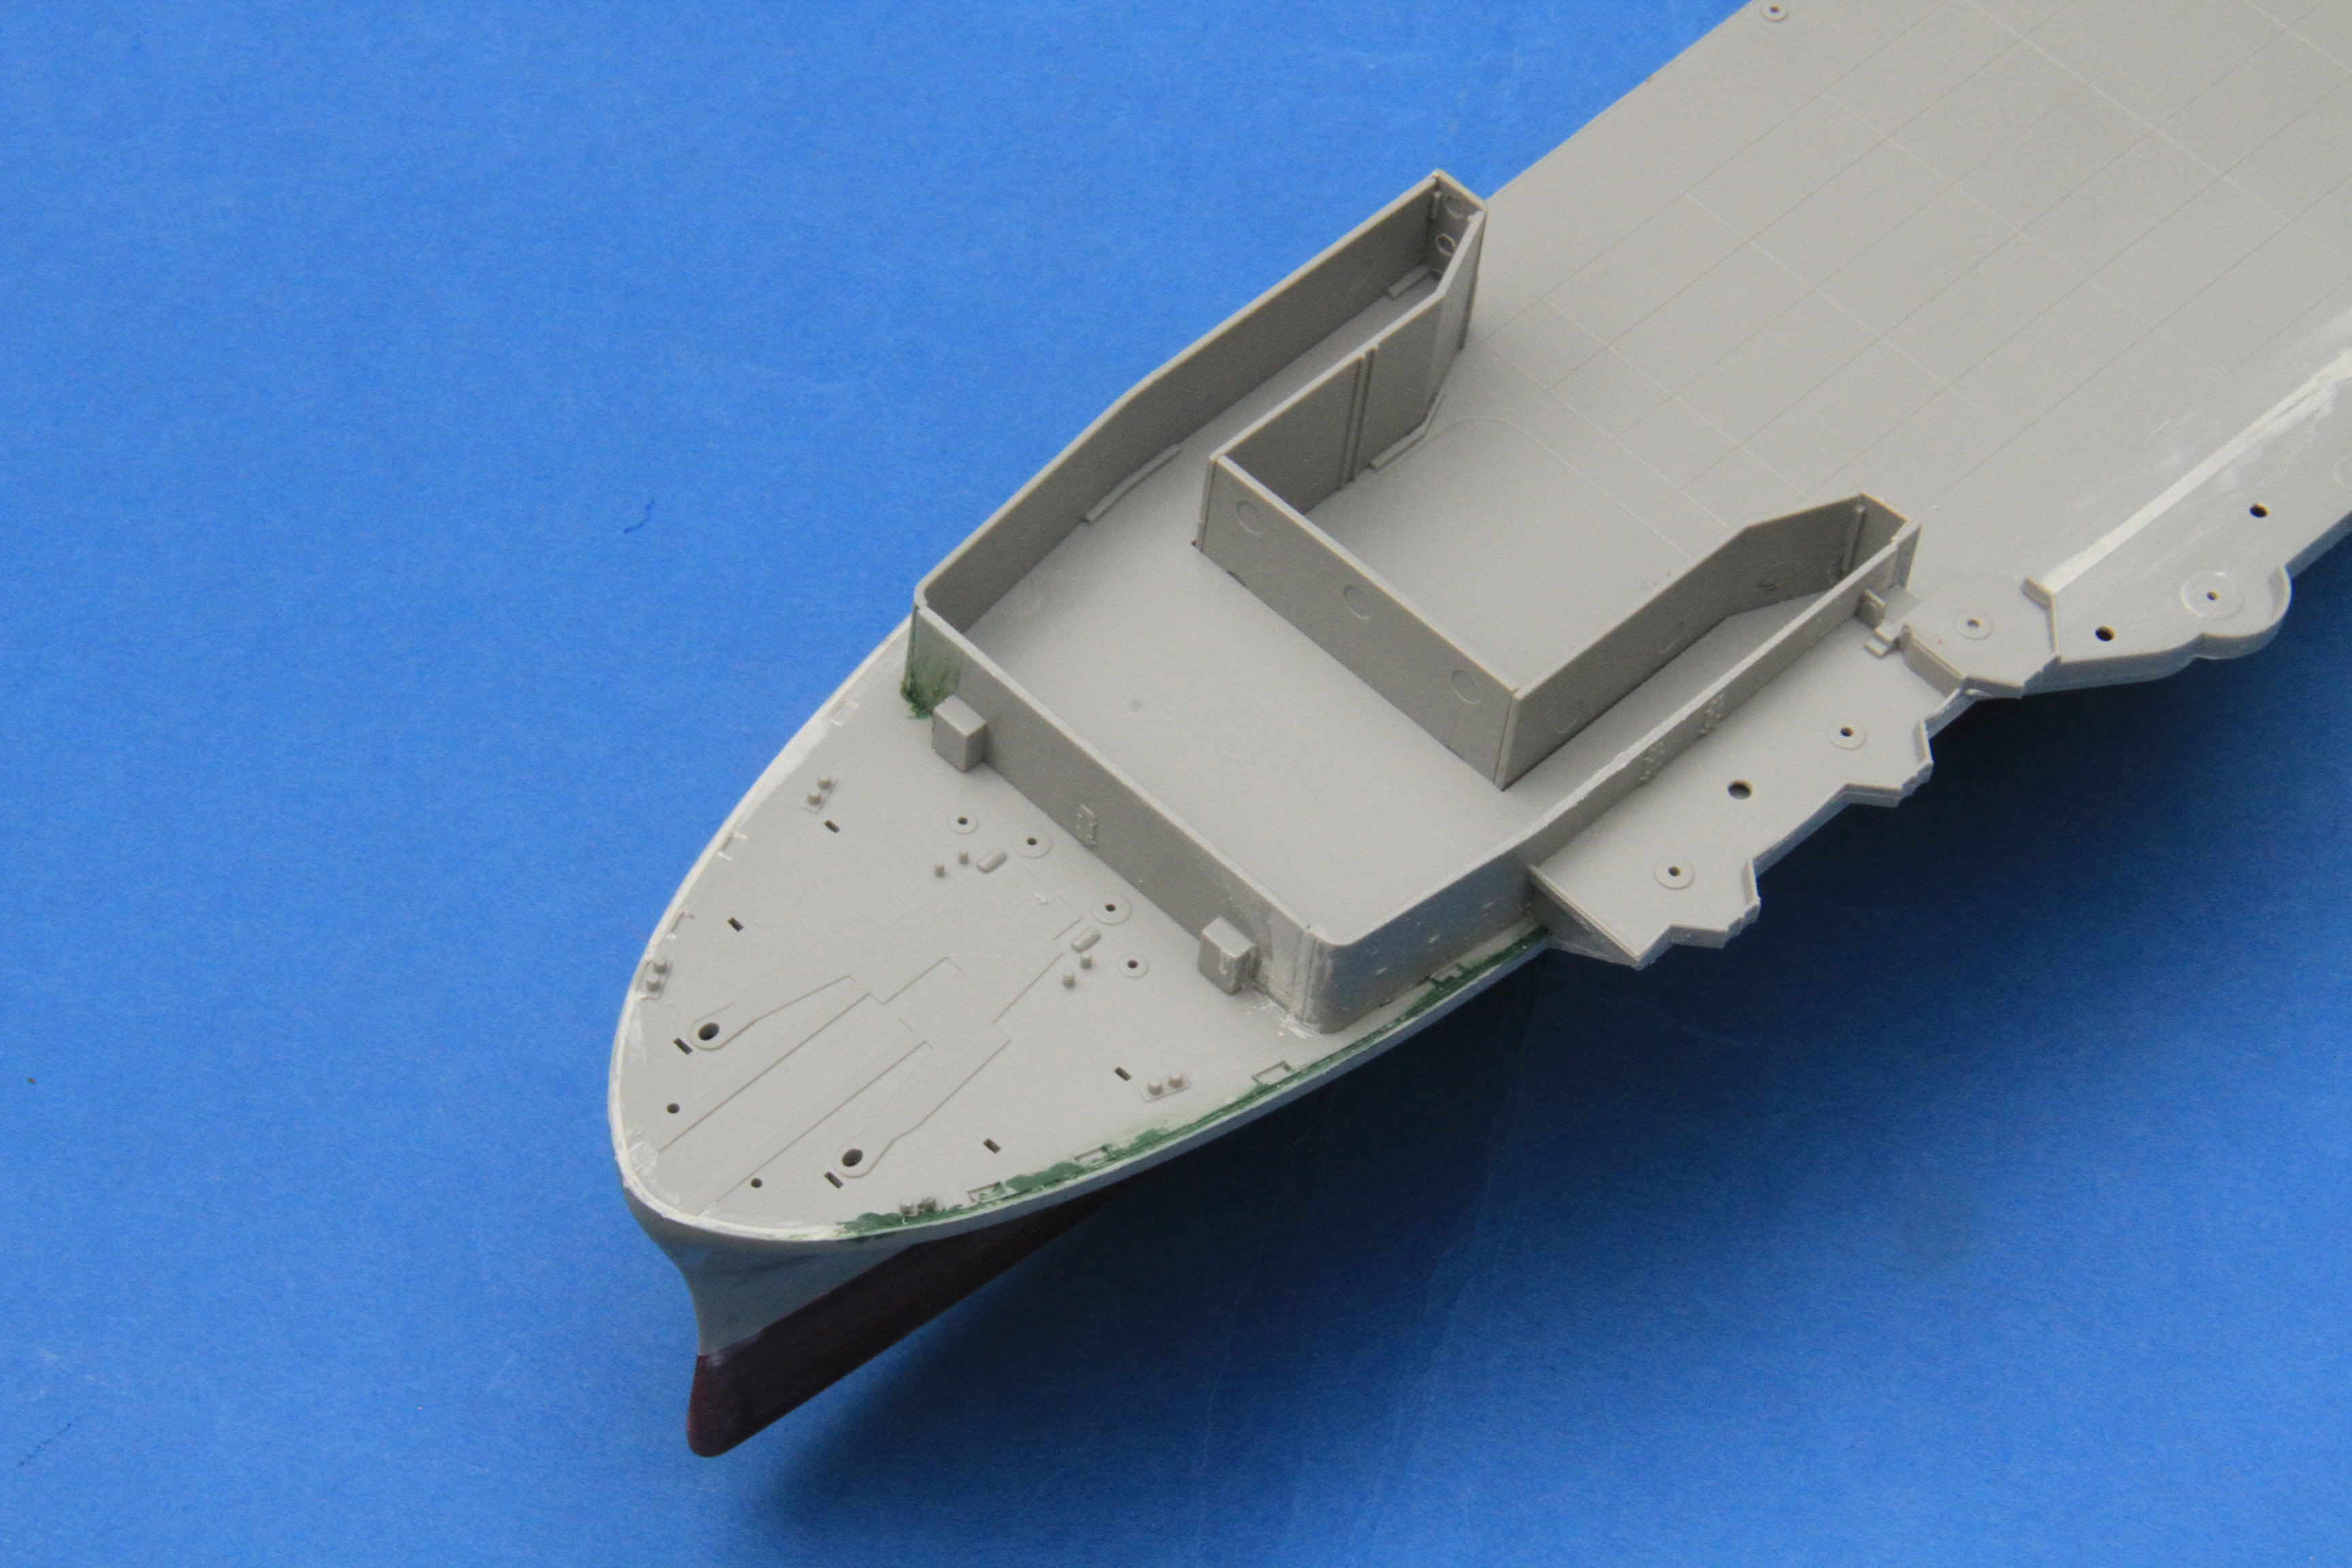
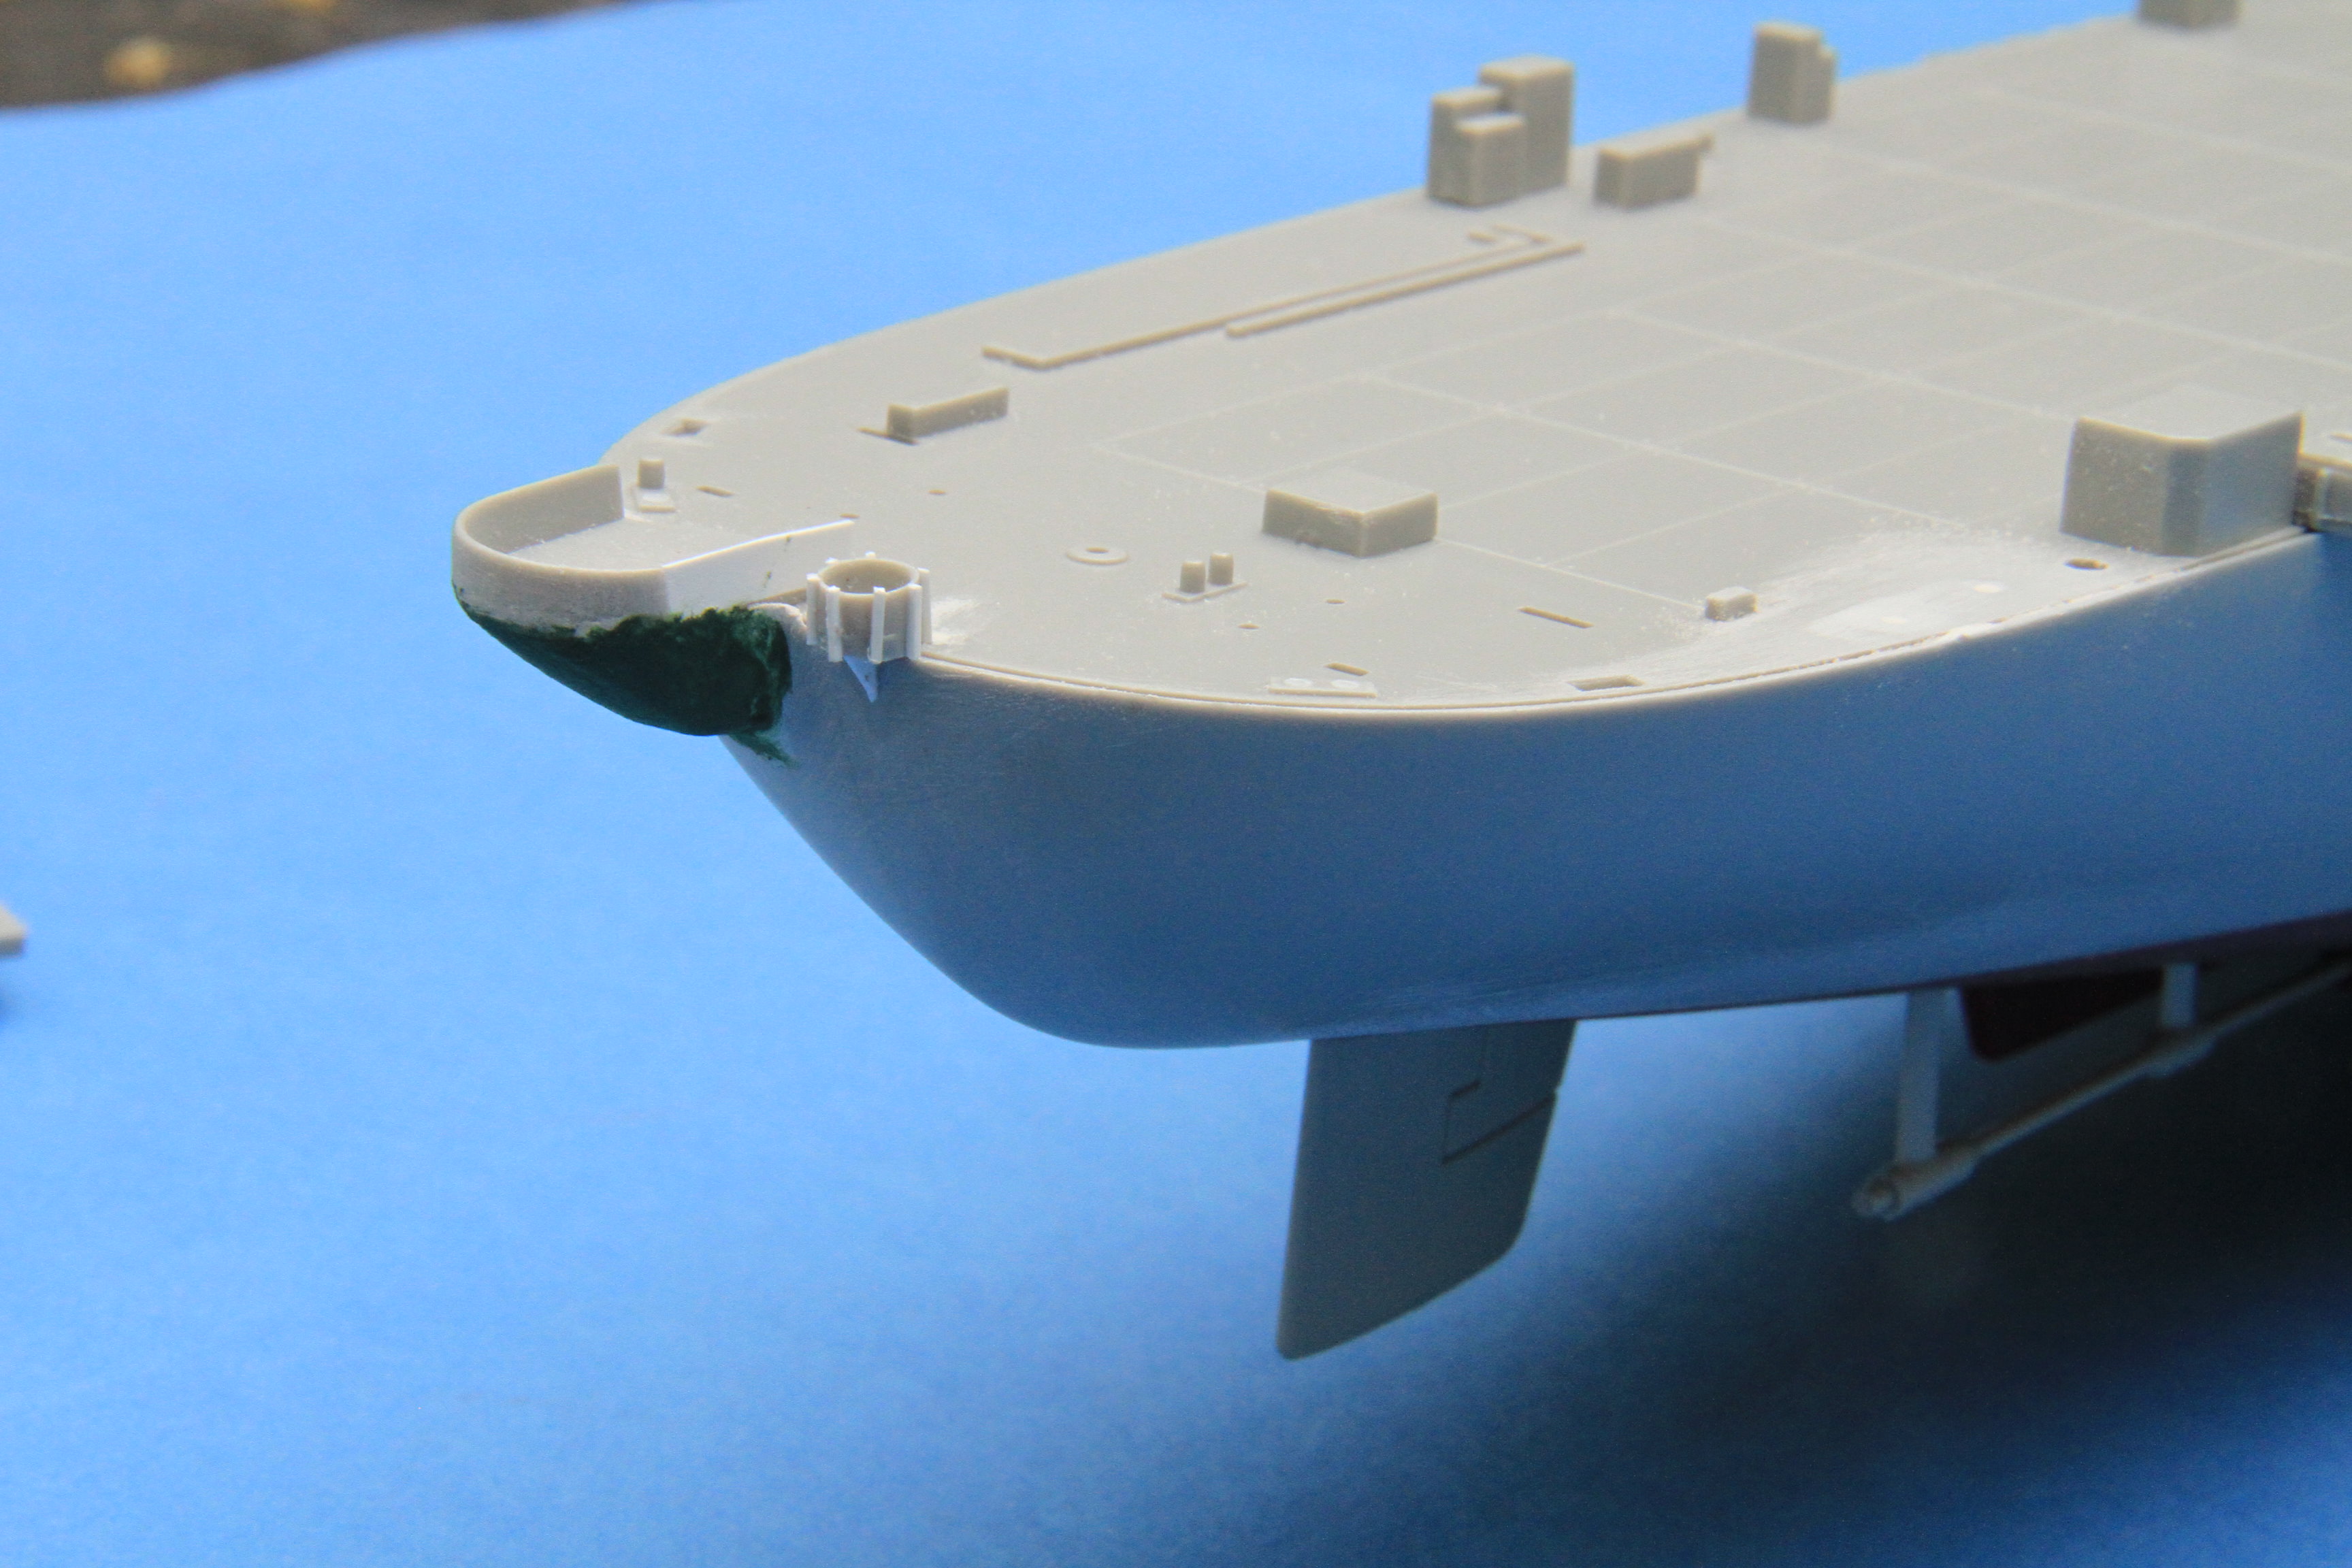
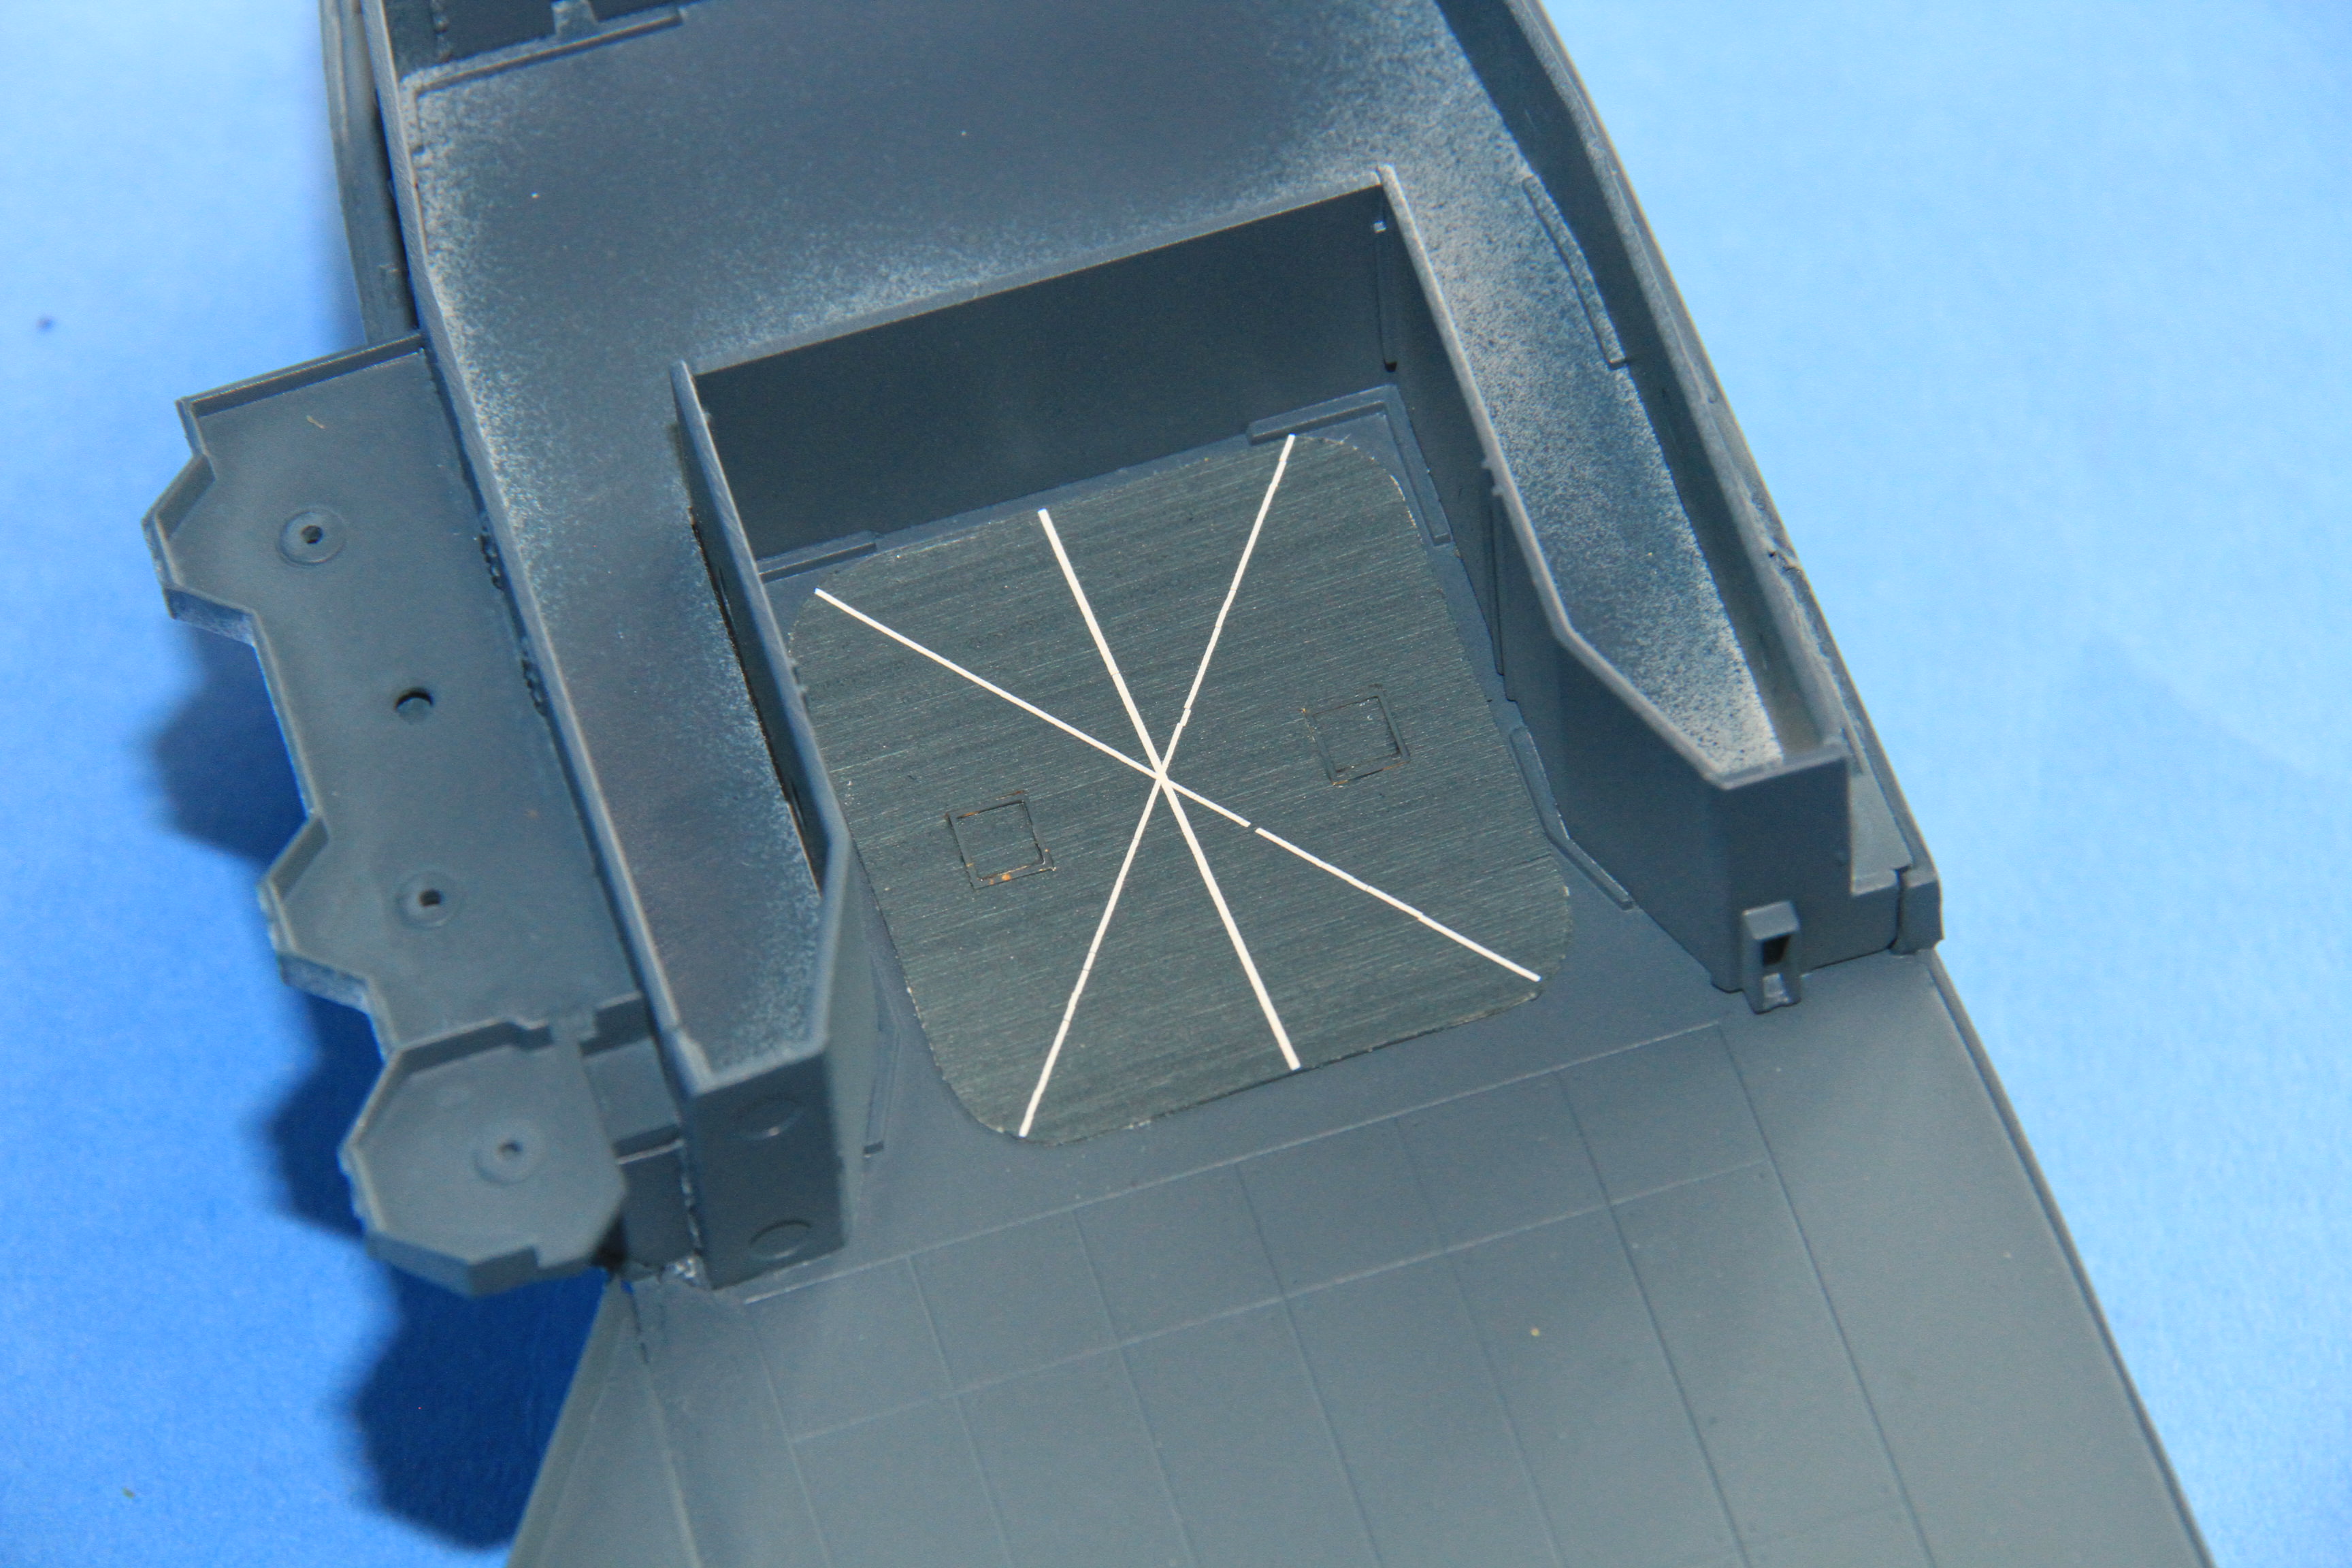
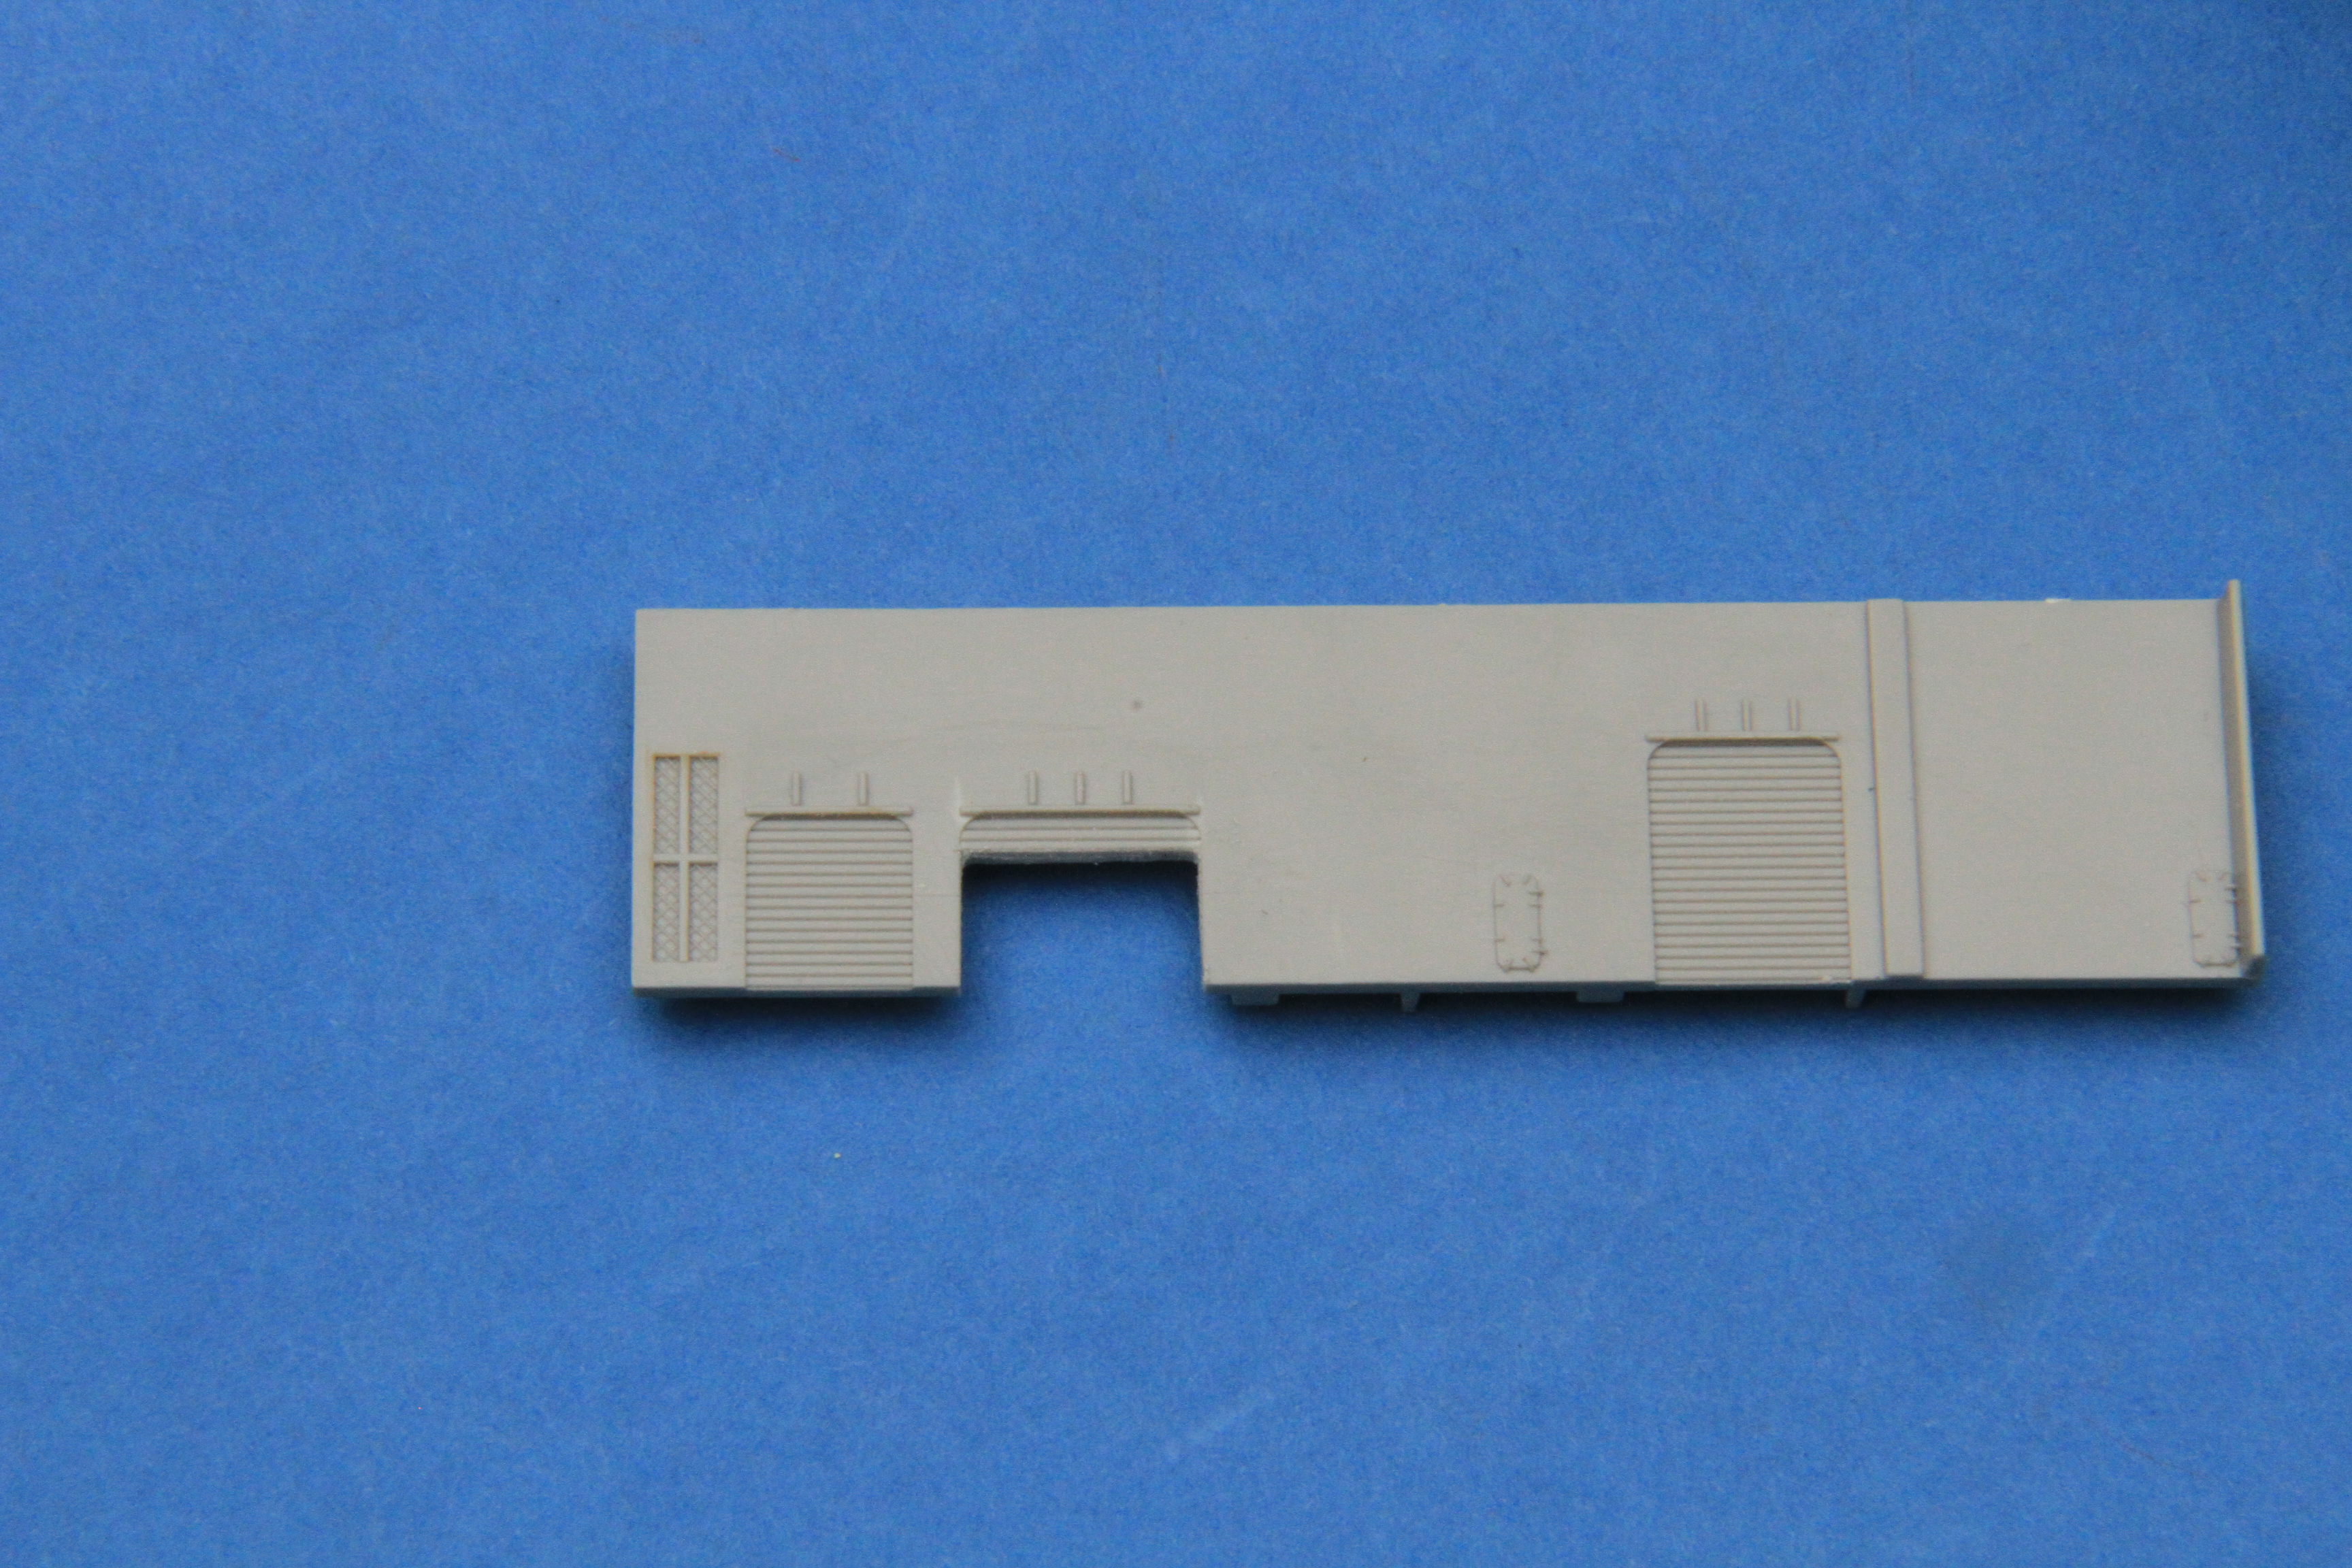
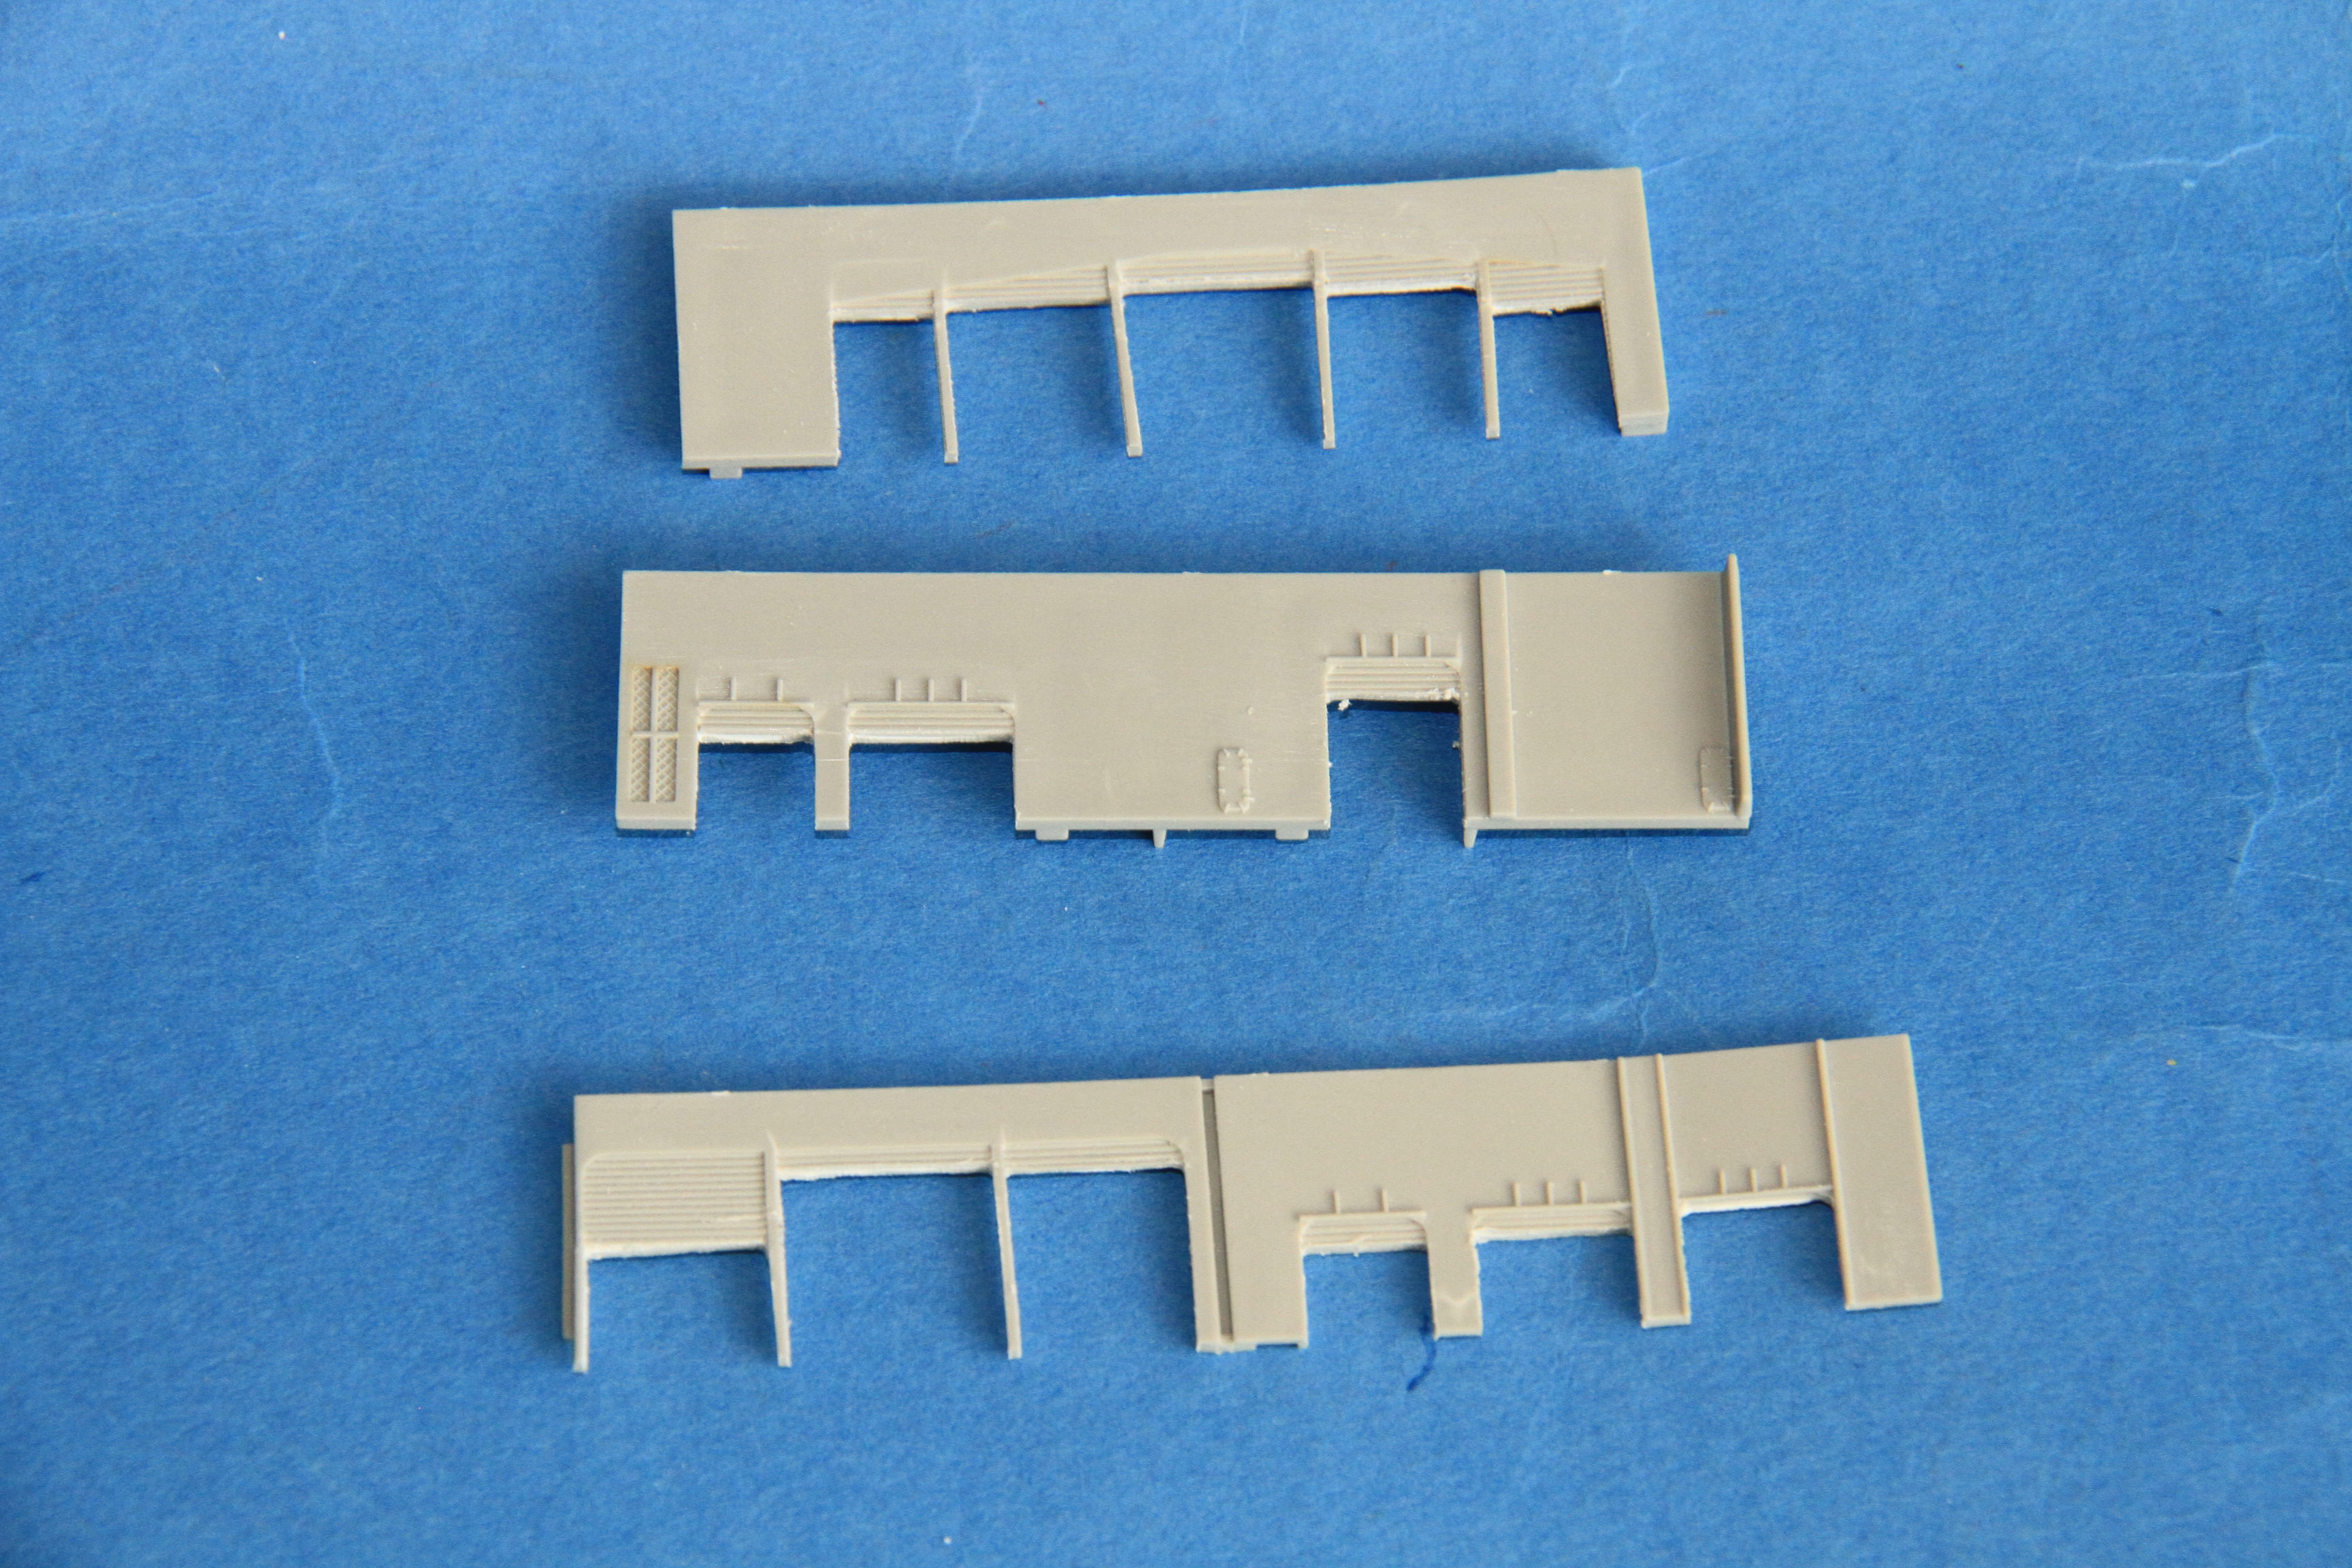
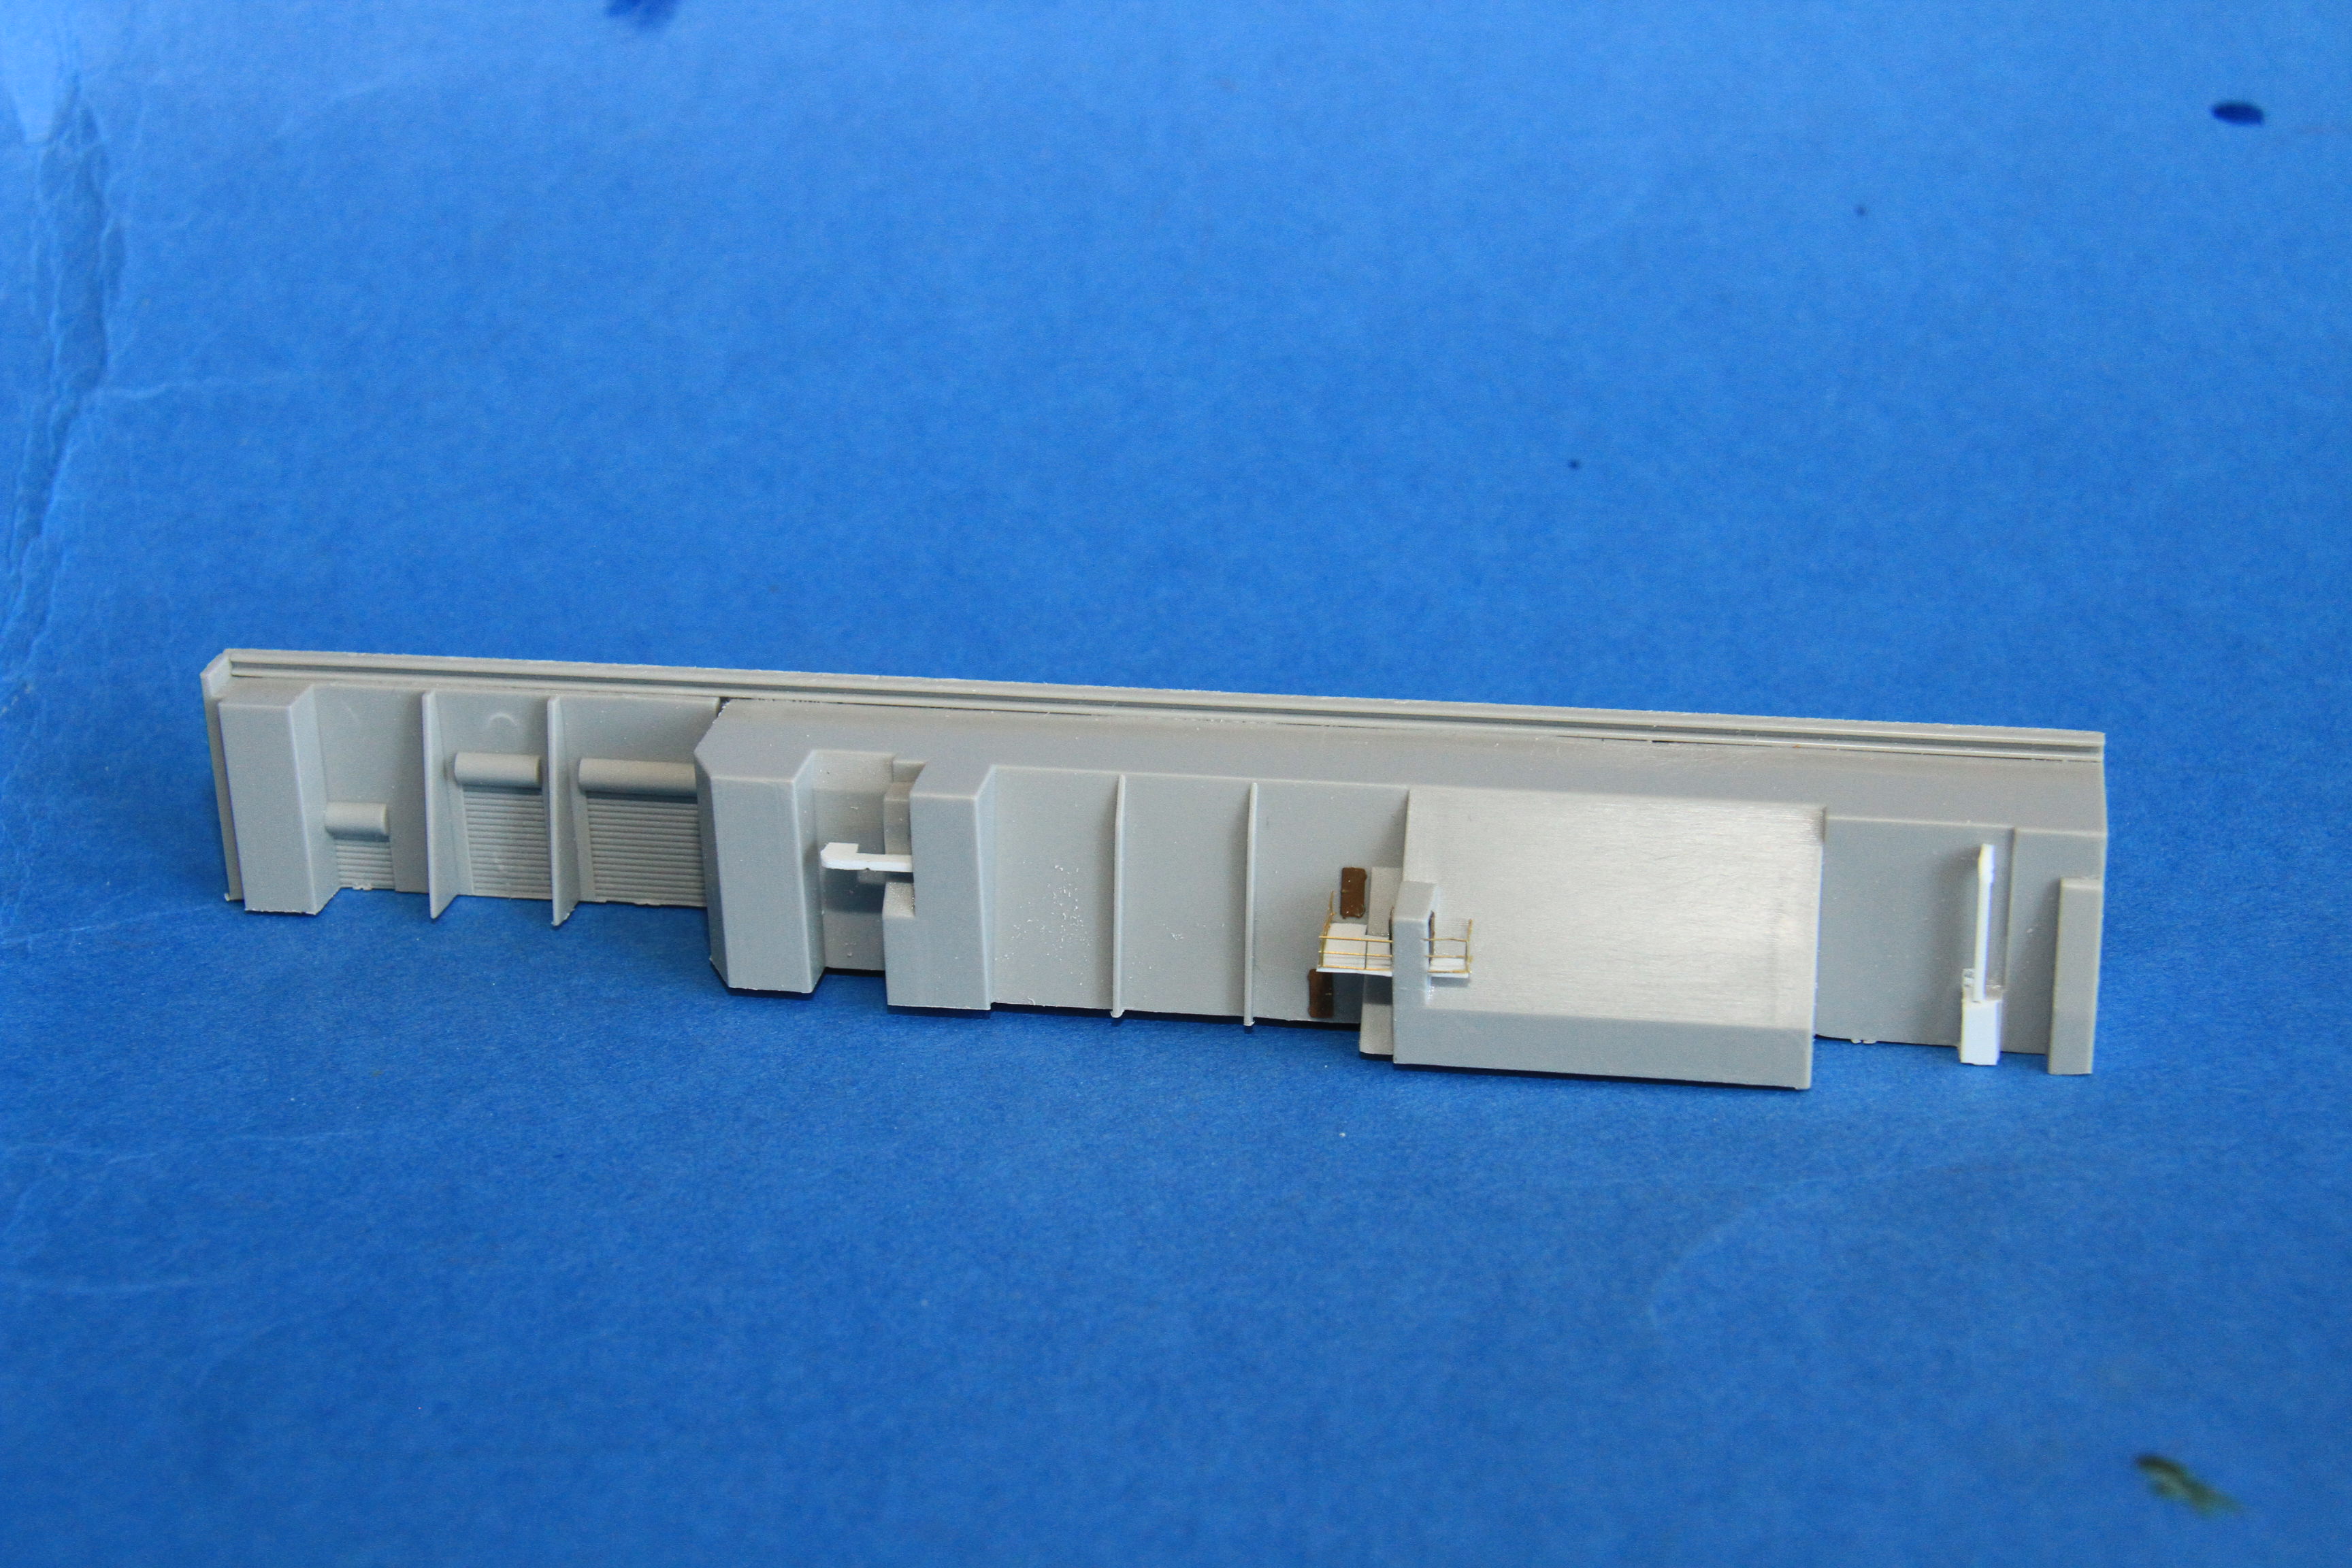
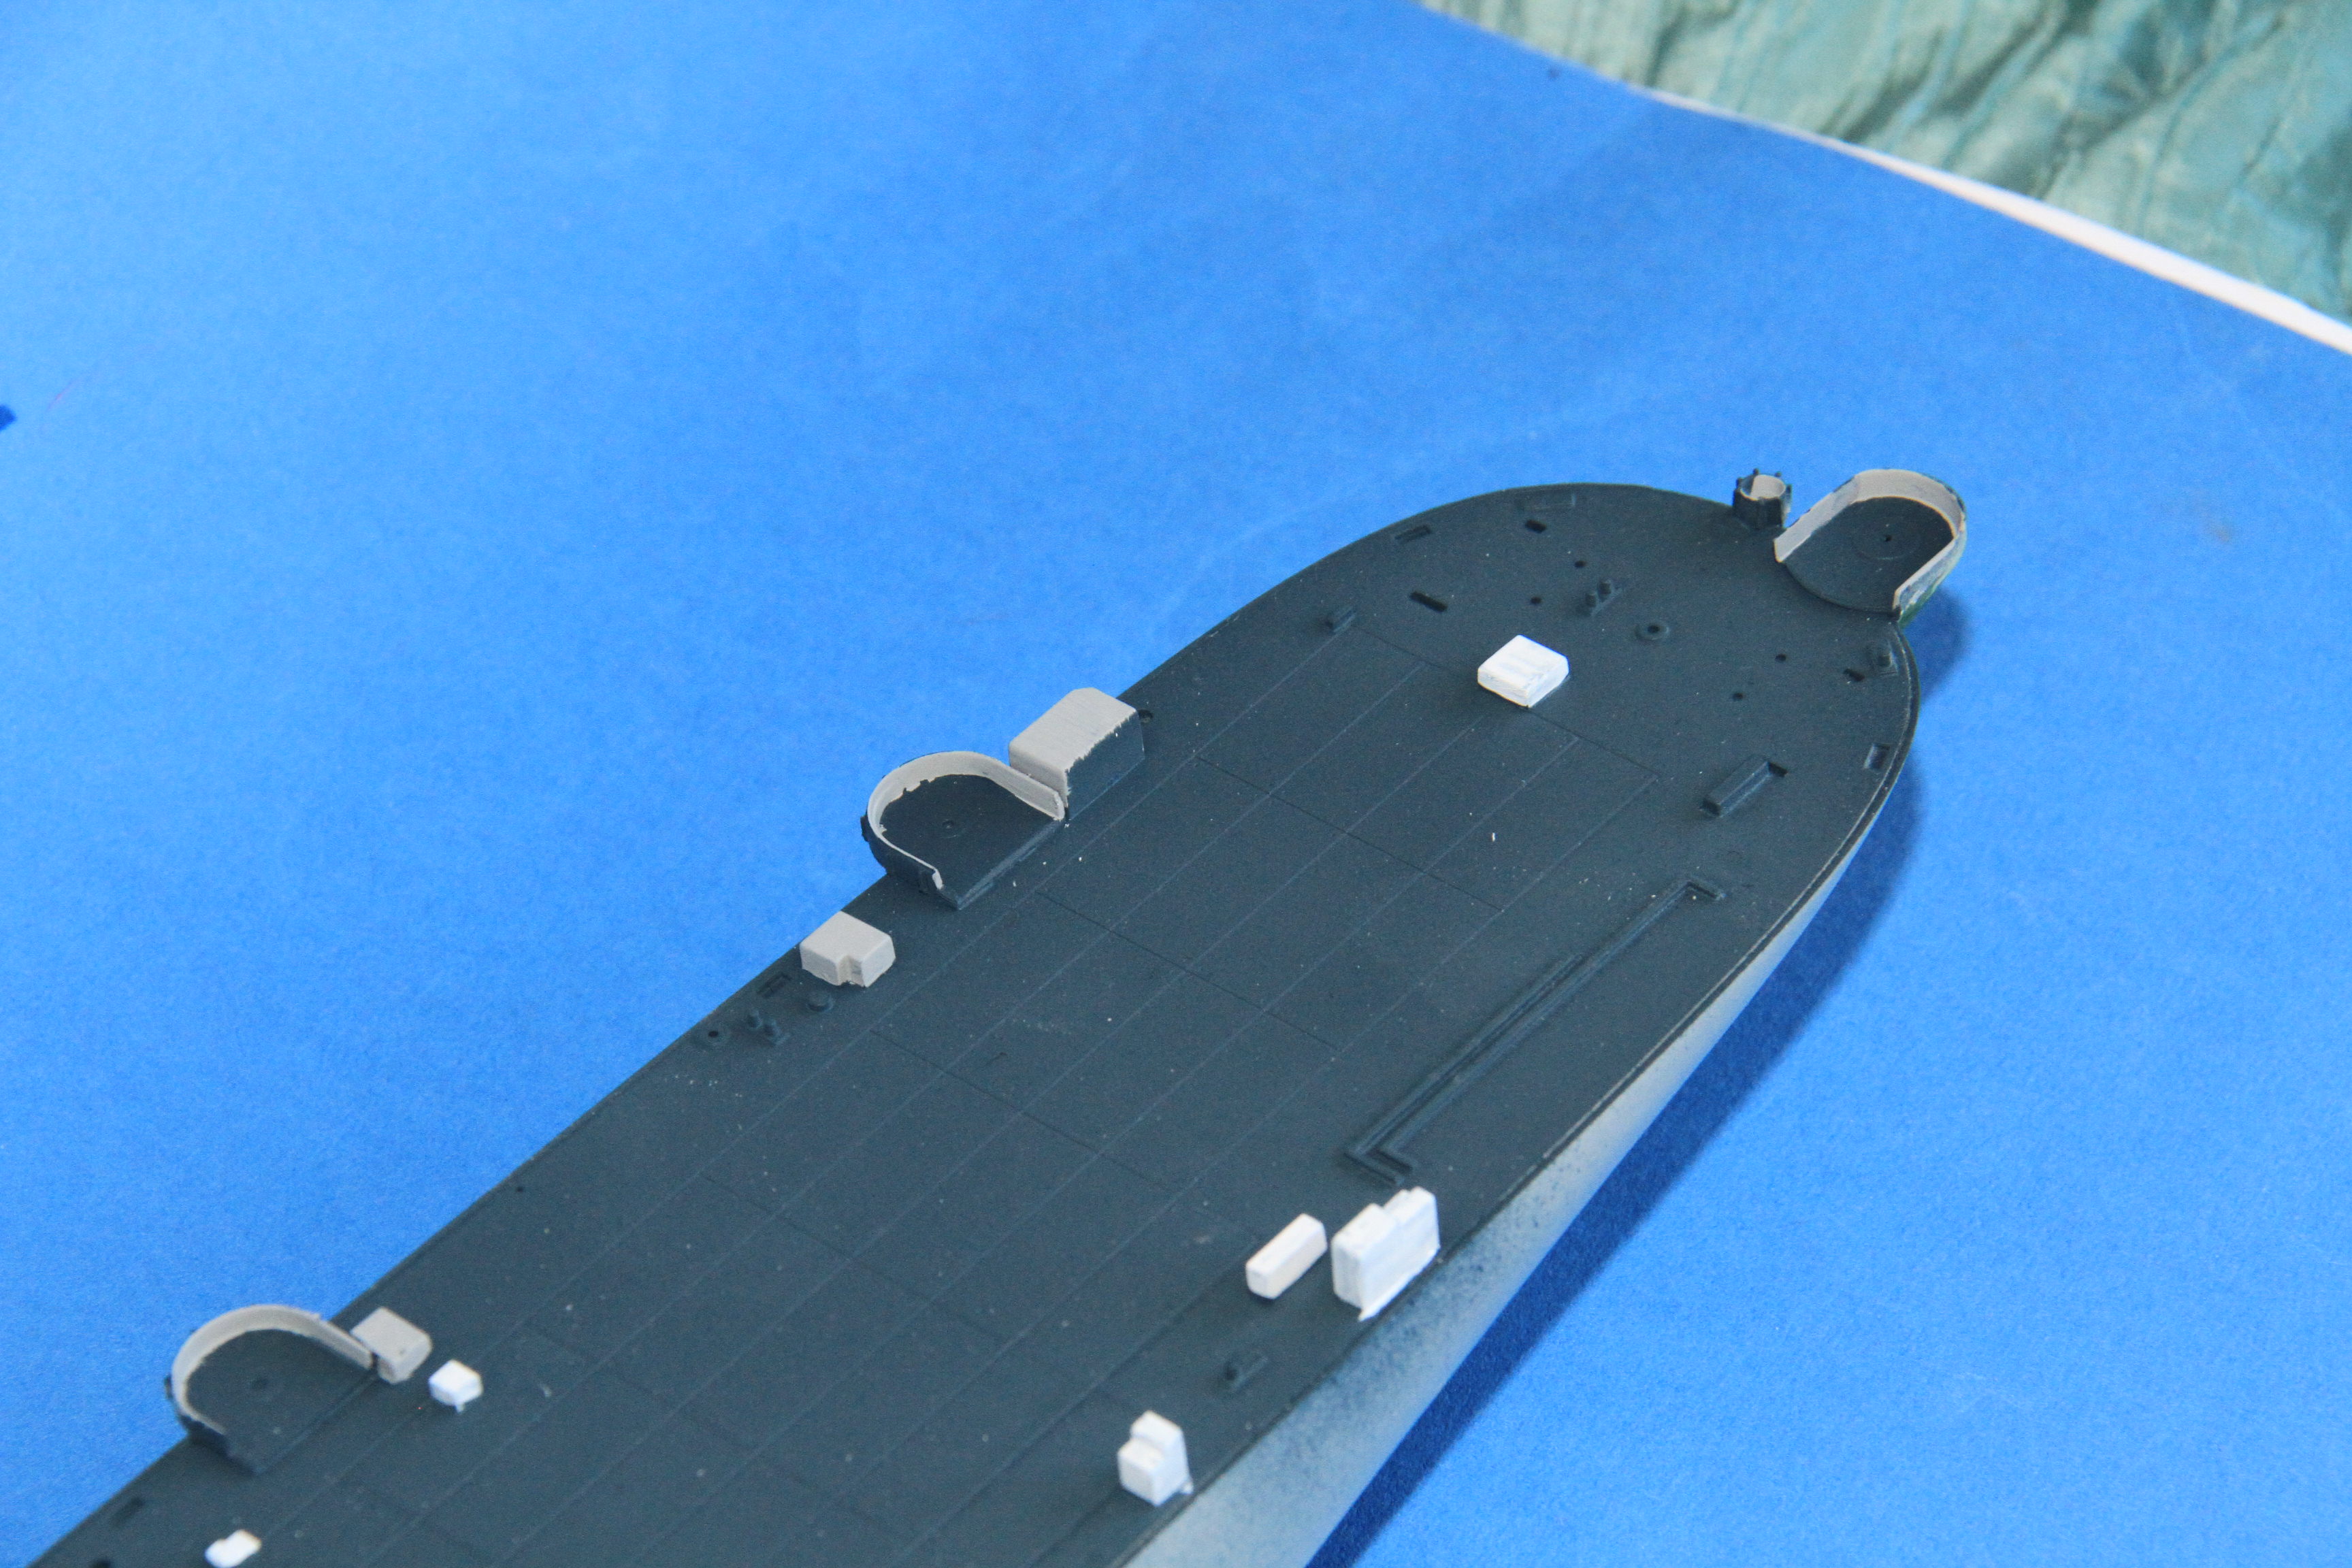
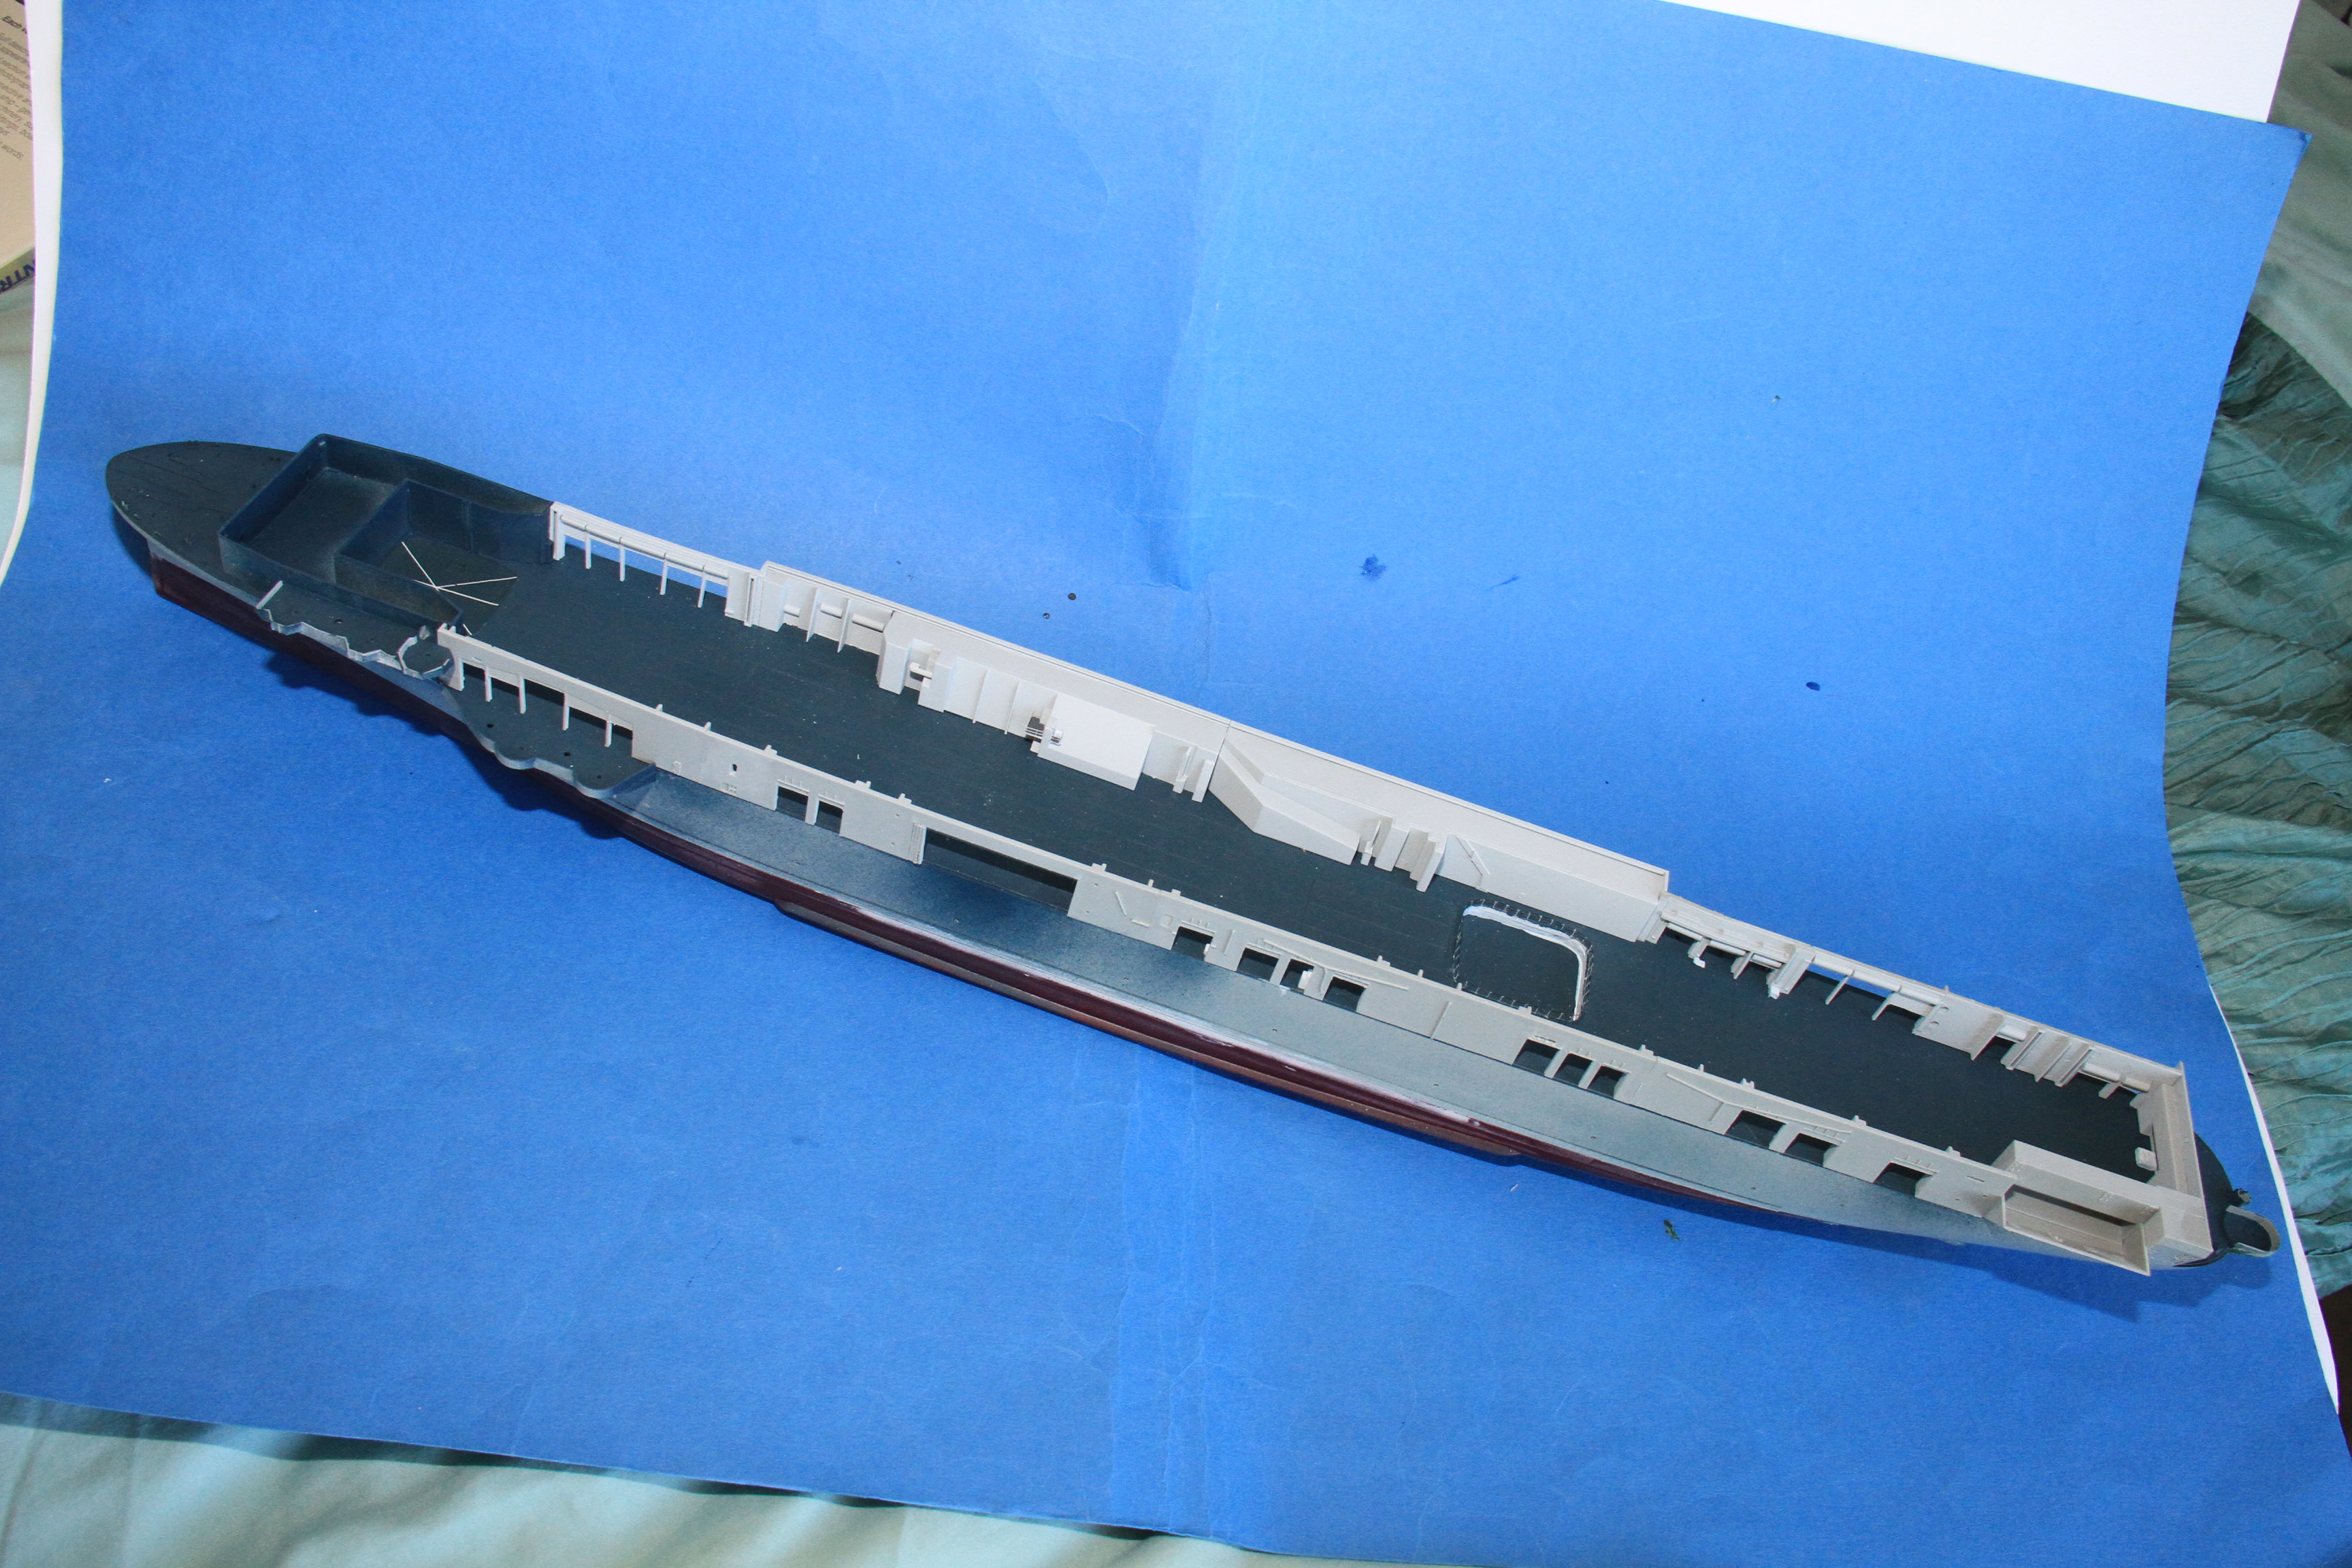
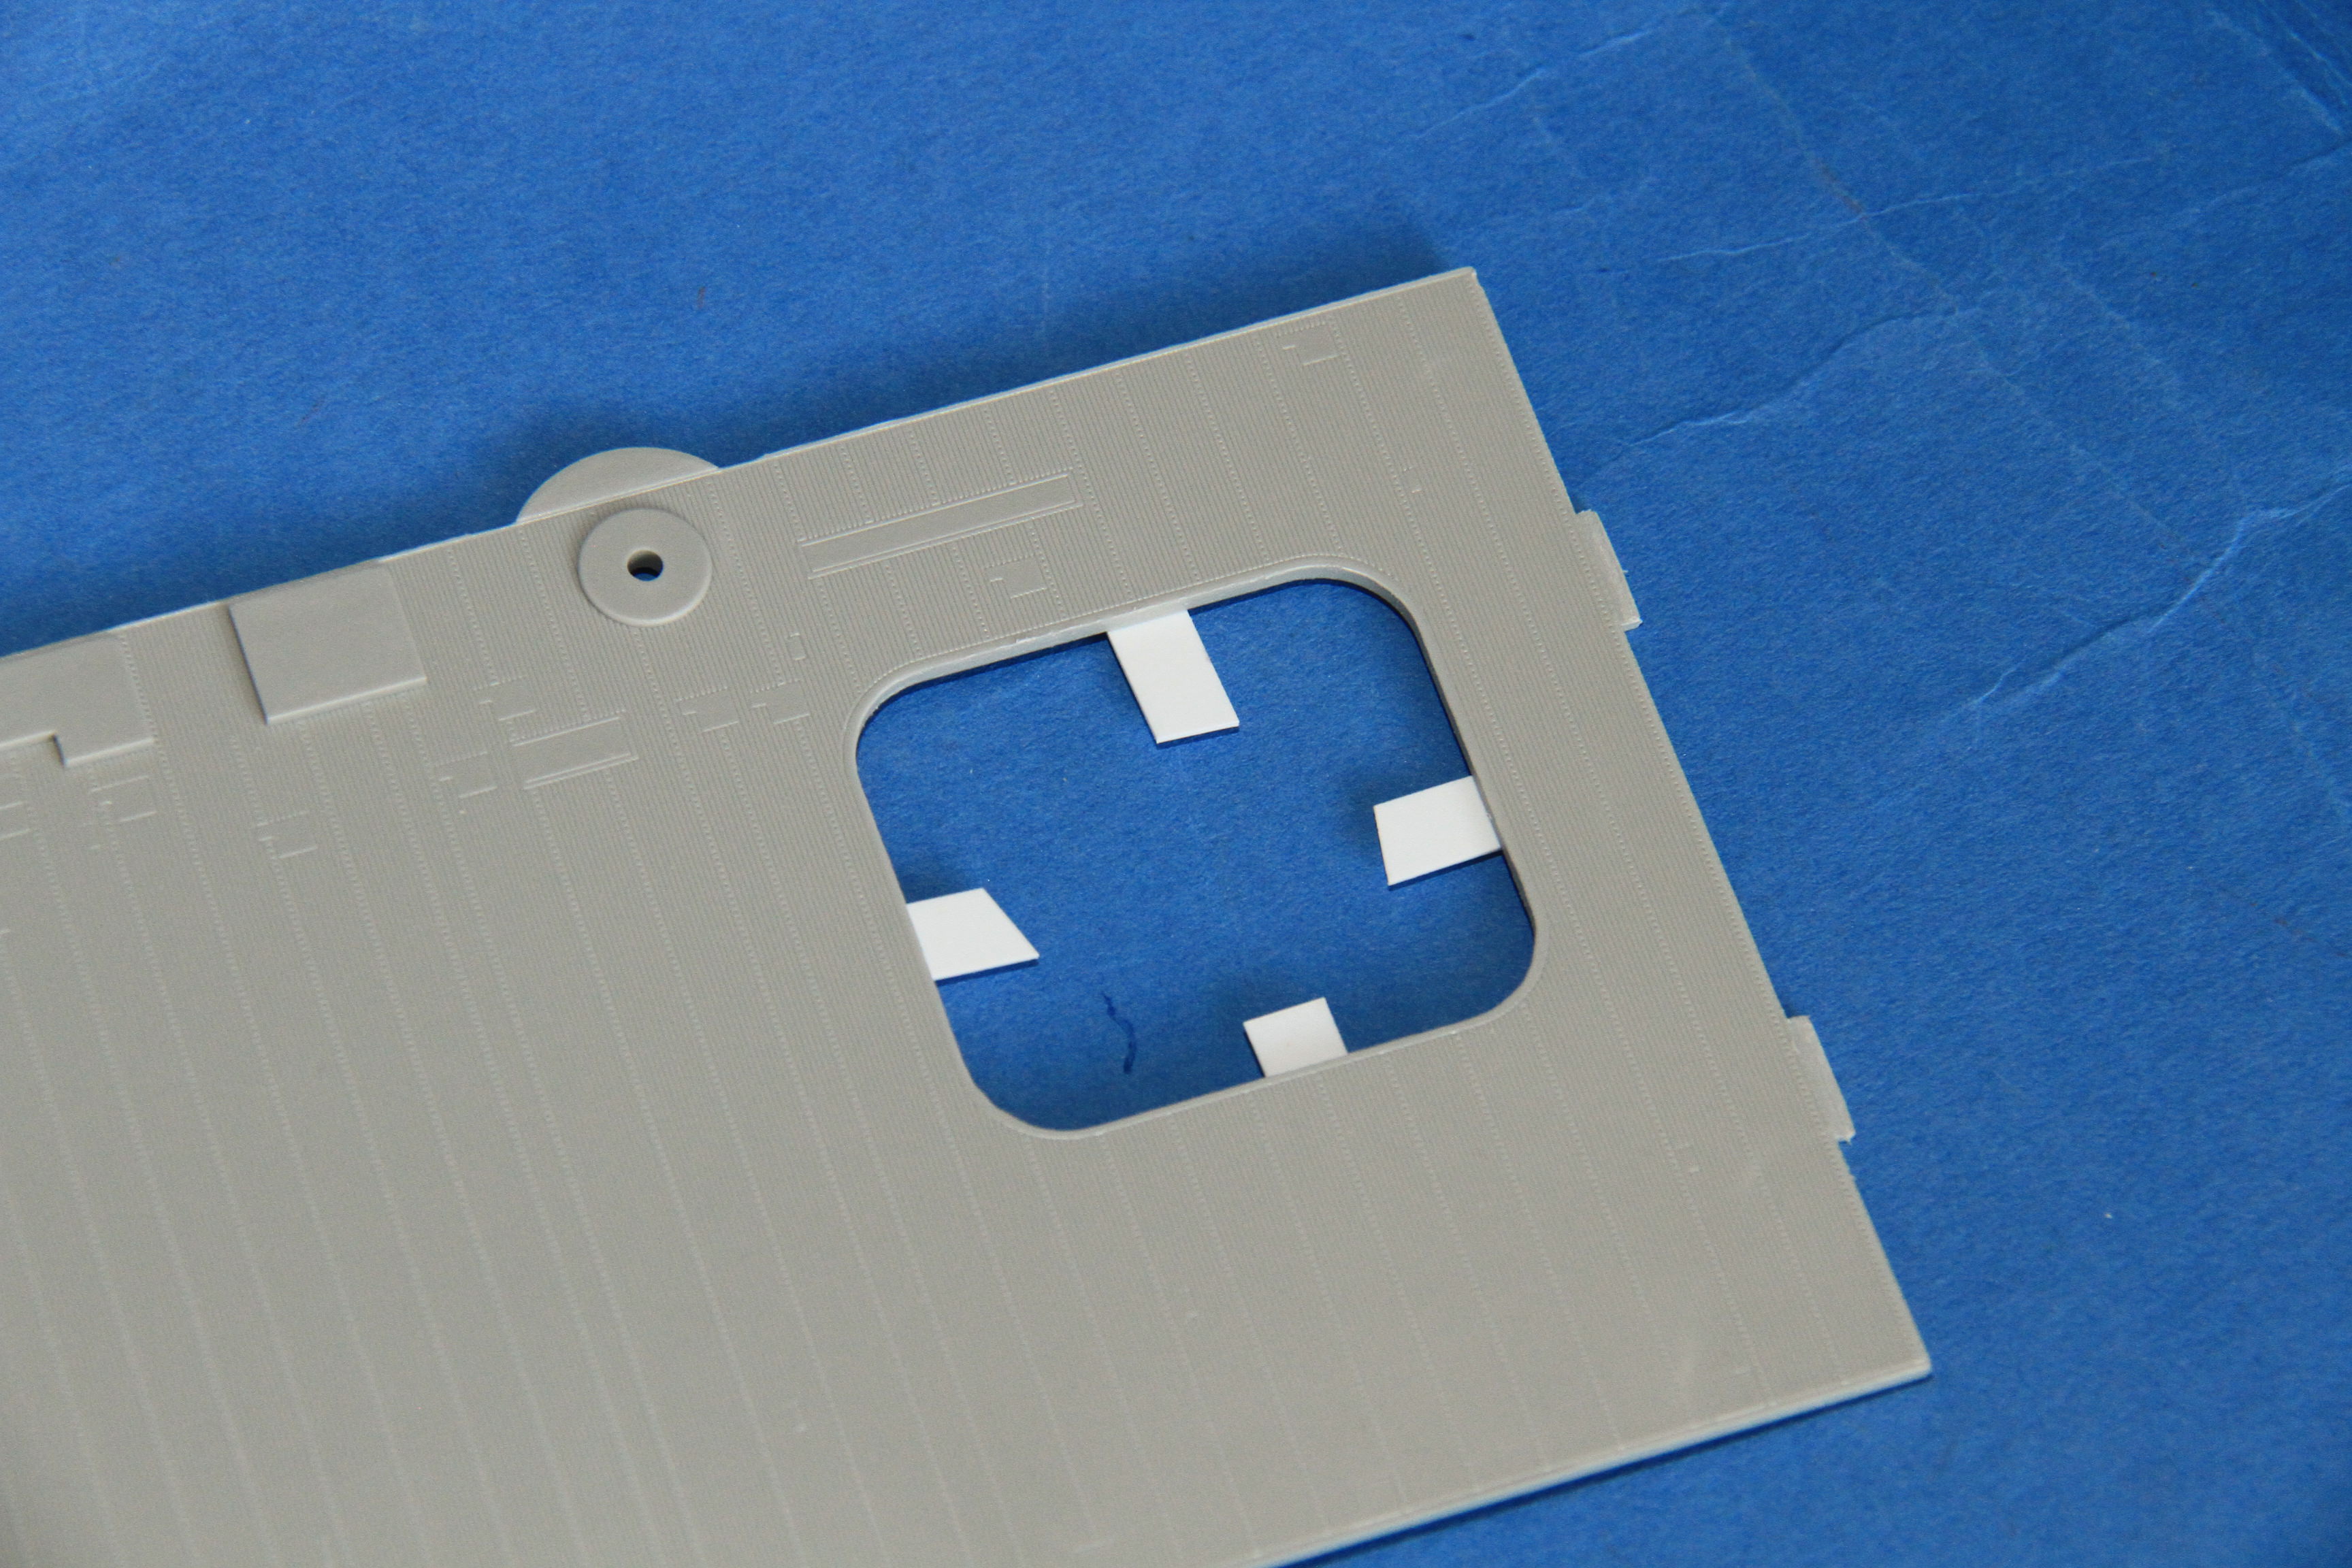
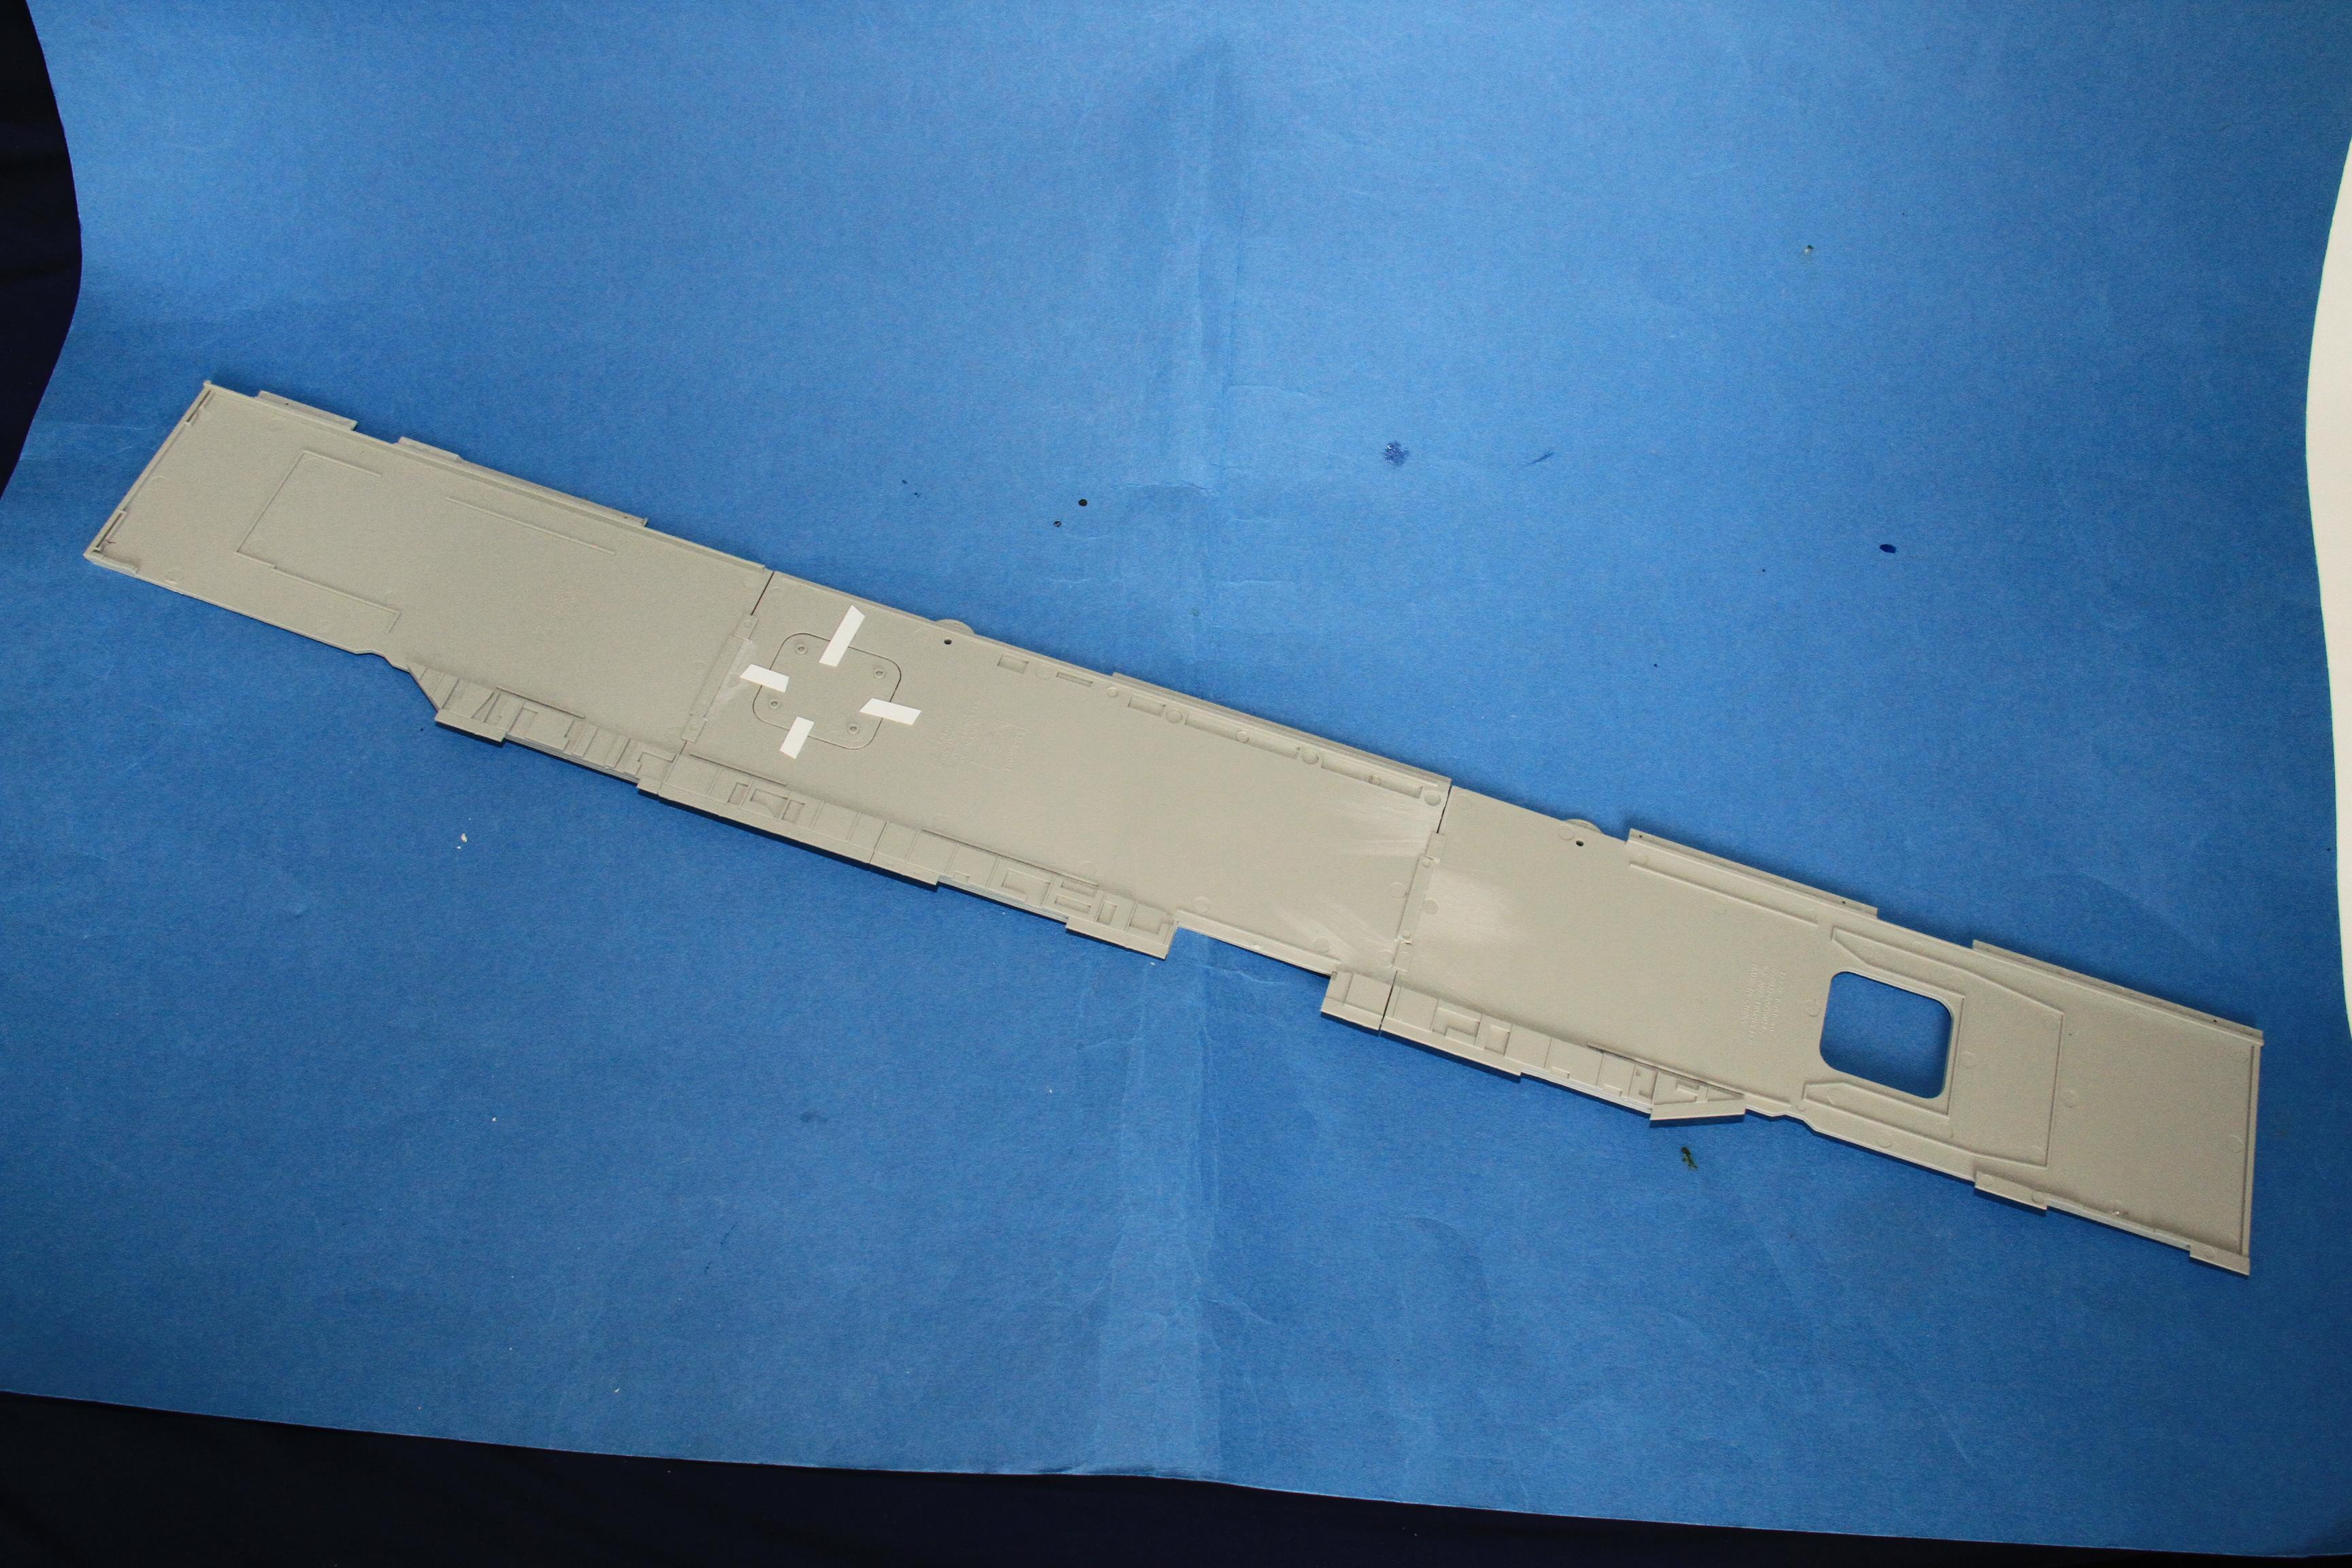
For what it's worth, this isn't a ship change as much as a time change. Both Yorktown and Intrepid had the single quad 40mm on the stern as launched and finished the war with the twin quad 40mm configuration by the end of the war. The Trumpeter CV-9 Essex kit contains the single tub pieces as it's more of an "as launched" configuration.


Thanks Tracy,

appreciate the tip, did think about using that kit and building Intrepid straight out of the yard, but I prefer the '44 camouflage.

Thanks for looking in.

Cheers

Si
RedDuster
Visit this Community
England - South East, United Kingdom
Joined: March 01, 2010
KitMaker: 7,078 posts
Model Shipwrights: 6,649 posts
Posted: Monday, May 14, 2018 - 01:47 AM UTC
This weekend's progress.

The front of the hanger superstructure fitted, a bit more filler needed.


Single mk51 director tub made by cutting down part of the twin tub, adding plastic strip ribs and a plasticard gusset plate.


The 40mm tubs under structure has been given a finishing coat of citadel liquid green stuff, this is easy to way to get a nice smooth finish.

Boxes, for want of a better name, around the hanger deck edges.


Hanger deck given a base coat of Tamiya AS8 sea blue.


and a top coat of Lifecolor 20B deck blue.


Rub down decals on the forward elevator.


The forward elevator in the lowered position.


First shutter section removed.


Starboard side done.


Port side done, except for the deck edge elevator. It would appear that the shutter divides must also be removed if the elevator is in operation, but I have not found any decent photographs of the exact configuration.


finally, there will be quite a few aircraft in the hanger, the first Helldiver part built and ready for paint.


More soon

Cheers

Si

d6mst0
#453
Visit this Community
Texas, United States
Joined: August 28, 2016
KitMaker: 1,925 posts
Model Shipwrights: 1,298 posts
Posted: Monday, May 14, 2018 - 02:51 AM UTC
Si,

Nice progress. Removing those shutters will really show off the hangers.

Having open hangers really prevented many aircraft carriers from fatal damage after a bomb hit. That is one lesson the Japanese never learned and pay dearly at Midway.

Mark
RedDuster
Visit this Community
England - South East, United Kingdom
Joined: March 01, 2010
KitMaker: 7,078 posts
Model Shipwrights: 6,649 posts
Posted: Monday, May 14, 2018 - 11:05 PM UTC

Quoted Text

Si,

Nice progress. Removing those shutters will really show off the hangers.

Having open hangers really prevented many aircraft carriers from fatal damage after a bomb hit. That is one lesson the Japanese never learned and pay dearly at Midway.

Mark


Thanks Mark,

I am surprised how well that process went.

Some of the drawings in the AOTS will allow me add a little exta detail, but a crowd of aircraft will fill most of it.

Thanks for looking in mate.

Cheers

Si
RussellE
#306
Visit this Community
Victoria, Australia
Joined: June 27, 2010
KitMaker: 3,959 posts
Model Shipwrights: 2,777 posts
Posted: Tuesday, May 15, 2018 - 02:15 AM UTC
looks like quite a lot of paint required to cover that hangar deck Si
RedDuster
Visit this Community
England - South East, United Kingdom
Joined: March 01, 2010
KitMaker: 7,078 posts
Model Shipwrights: 6,649 posts
Posted: Wednesday, May 16, 2018 - 12:59 AM UTC

Quoted Text

looks like quite a lot of paint required to cover that hangar deck Si


It was a lot of paint Russ,

worth the base coat, gave the 20B a bit more depth. There is a lot more paint to go on this lady yet, (Might be worth buying some shares in Tamiya & lifecolor )

Thanks for looking in mate.

Cheers

Si
Cadeus
Visit this Community
Indiana, United States
Joined: September 01, 2015
KitMaker: 144 posts
Model Shipwrights: 139 posts
Posted: Wednesday, May 16, 2018 - 04:06 AM UTC
I have been using modelmaster 20B deck blue 2159, good March and it’s enamel. Lays down great when thinned. Slow drying though. I also use the AK interactive naval series sets AK 5000 and AK 5020. They have just about every naval color used in WW 2. My favorite are the 20B deck blue AK 5001, flight deck blue 21 AK 5024, haze gray 5H AK 5003, and the dark gray 5D AK 5021. With the life color though it’s tough to clean up, soap and water works and isopropyl works but still takes time to get out of an airbrush, also it doesn’t dry hard like tamiya and not as scratch resistant and sometimes doesn’t like to stick to the primer, it’s finicky but lays decent and levels ok. Great for camp coats where you don’t need to attach masking tape over it, if you do, make sure it has a clear coat or you risk the paint lifting when you remove the tape. I would recommend the paint sets though even with what I’ve noted. Worth a look. Worst downside is price, I hope truecolor produces naval paint sets, I’ve heard wonderful things about them.
RedDuster
Visit this Community
England - South East, United Kingdom
Joined: March 01, 2010
KitMaker: 7,078 posts
Model Shipwrights: 6,649 posts
Posted: Wednesday, May 16, 2018 - 11:19 PM UTC

Quoted Text

I have been using modelmaster 20B deck blue 2159, good March and it’s enamel. Lays down great when thinned. Slow drying though. I also use the AK interactive naval series sets AK 5000 and AK 5020. They have just about every naval color used in WW 2. My favorite are the 20B deck blue AK 5001, flight deck blue 21 AK 5024, haze gray 5H AK 5003, and the dark gray 5D AK 5021. With the life color though it’s tough to clean up, soap and water works and isopropyl works but still takes time to get out of an airbrush, also it doesn’t dry hard like tamiya and not as scratch resistant and sometimes doesn’t like to stick to the primer, it’s finicky but lays decent and levels ok. Great for camp coats where you don’t need to attach masking tape over it, if you do, make sure it has a clear coat or you risk the paint lifting when you remove the tape. I would recommend the paint sets though even with what I’ve noted. Worth a look. Worst downside is price, I hope truecolor produces naval paint sets, I’ve heard wonderful things about them.


Hi Norman,

Wouldn't mind using model master but they are not easily available in the UK, . The lifecolor deck blue I had left over from the Independence build a few years back. The AK range I am not familiar with, might have a look for them as I will need to pick up the hull colours. I have always sprayed over a primer of basecoat, and have never had any problems masking over lifecolor paints.

Might have a look for the AK range and have a try. on the other hand I can match the light grey, ocean grey and dull black well enough with Tamiya colours.


Thanks for looking in.

Cheers

Si
Cadeus
Visit this Community
Indiana, United States
Joined: September 01, 2015
KitMaker: 144 posts
Model Shipwrights: 139 posts
Posted: Thursday, May 17, 2018 - 12:47 AM UTC
If you want international shipping from the US on paints I recommend megahobby. They shipped to me in combat zones while deployed, maybe they can ship to the UK. They have a great selection of anything model building related. You can probably source model master from them.
RedDuster
Visit this Community
England - South East, United Kingdom
Joined: March 01, 2010
KitMaker: 7,078 posts
Model Shipwrights: 6,649 posts
Posted: Thursday, May 17, 2018 - 11:30 PM UTC

Quoted Text

If you want international shipping from the US on paints I recommend megahobby. They shipped to me in combat zones while deployed, maybe they can ship to the UK. They have a great selection of anything model building related. You can probably source model master from them.


Thanks Norman

appreciate that mate, I will look into it.

Cheers

Si
RedDuster
Visit this Community
England - South East, United Kingdom
Joined: March 01, 2010
KitMaker: 7,078 posts
Model Shipwrights: 6,649 posts
Posted: Sunday, May 20, 2018 - 12:49 AM UTC
This weekend's progress, which has revolved around the external hanger bulkheads.
The funnel trunkings, and other structure on the starboard side is somewhat bland. I have added a little detail, but as I am not adding any lighting even this is likely not to be visible.

The forward section.


The after section.


Having found a photo of an Essex using the deck edge lift, I have removed all shutters, trimmed out the divides and stacked them at the forward end.


The after bulkhead and port aft section with the sponson for 5" guns


All bulkheads test fitted.


I have no actual reference for this, with the elevators working I would assume there would be safety rail around the pit, as only one is provided in the Pontos etch I am saving that to go around the forward elevator on the flight deck.


The inner walls of the 40mm tubs and the boxes moulded onto the hanger deck given a coat of paint.


Following Trumpy's instructions the big lumps went down first.


All the bulkheads in place, I don't know whether it is me or the kit, but I am getting another tube of filler when I go the LHS on Saturday.


A few more aircraft ready for paint.


The forward section of the flight decks test fitted, a helldiver on the elevator.


I have test fitted the all three sections, but still have a little fettling to do on those.

More soon.

Cheers

Si


d6mst0
#453
Visit this Community
Texas, United States
Joined: August 28, 2016
KitMaker: 1,925 posts
Model Shipwrights: 1,298 posts
Posted: Sunday, May 20, 2018 - 06:42 AM UTC

Wow Si you are really making progress with the hanger and adding the little details.

It not you but the kit needing more putty. I go through a lot when dealing with ship kits. There is always a gap where the deck meets the hull let along having all of the superstructures sitting flush on the deck...In my dreams.

Anyway nice work, enjoying your posts.

Mark
Cosimodo
#335
Visit this Community
Auckland, New Zealand
Joined: September 03, 2013
KitMaker: 1,808 posts
Model Shipwrights: 871 posts
Posted: Sunday, May 20, 2018 - 11:58 AM UTC
Amazing progress Si and nice touches on the interior. I like the way you removed most of the doors but then you have plenty of planes to show off. I think when I get started I will have to be more judicious in that area.
I am interested, did your photo etch ste have any details for the interior because I note that mine has none. Given some of the detail they go to it seems an area overlooked for carriers.
Keep up the good work.

cheers
Michael
RedDuster
Visit this Community
England - South East, United Kingdom
Joined: March 01, 2010
KitMaker: 7,078 posts
Model Shipwrights: 6,649 posts
Posted: Sunday, May 20, 2018 - 11:30 PM UTC

Quoted Text


Wow Si you are really making progress with the hanger and adding the little details.

It not you but the kit needing more putty. I go through a lot when dealing with ship kits. There is always a gap where the deck meets the hull let along having all of the superstructures sitting flush on the deck...In my dreams.

Anyway nice work, enjoying your posts.

Mark


Thanks Mark,

I do wonder sometimes, but the design of this kit with all those butt joins around the side of the hull is asking for trouble on the filling and filing front. On the other hand I cannot see how they could give that open hanger.

I do hope some of the added detail shows when the hanger is loaded with aircraft and the flight deck fixed down.

thanks for looking in.

Cheers

Si

RedDuster
Visit this Community
England - South East, United Kingdom
Joined: March 01, 2010
KitMaker: 7,078 posts
Model Shipwrights: 6,649 posts
Posted: Sunday, May 20, 2018 - 11:37 PM UTC

Quoted Text

Amazing progress Si and nice touches on the interior. I like the way you removed most of the doors but then you have plenty of planes to show off. I think when I get started I will have to be more judicious in that area.
I am interested, did your photo etch ste have any details for the interior because I note that mine has none. Given some of the detail they go to it seems an area overlooked for carriers.
Keep up the good work.

cheers
Michael


Hi Michael,

My upgrade has nothing for the hanger either, which is slightly disappointing, but opening it was too tempting, I am banking on the aircraft drawing the eye from any lack of detail.

Meantime looking forward to your kick off mate.

Cheers

Si
RedDuster
Visit this Community
England - South East, United Kingdom
Joined: March 01, 2010
KitMaker: 7,078 posts
Model Shipwrights: 6,649 posts
Posted: Sunday, May 27, 2018 - 02:16 AM UTC
Small update.

Recent trip to the LHS, picked up another 12 Corsairs and these Starfighter decals, the generic late war USN sheet(s)


Aircraft for the hanger, a bit of a production line.


With these projects a do jump around a bit, the paravane gear on the front end, the brass to reshape the front end of the hanger.


Fitted in place.


The structure for the paravane towing rails.


I haven't worked how they fit … yet, the instructions aren't clear.


The kit details down on the fo'c's'le head, neither the kit, not the upgrade makes any allowance for anchor cables, I know there is a lot of structure around the area, but I am not convinced the lack of cable will be unnoticeable.

More soon.

Si


RussellE
#306
Visit this Community
Victoria, Australia
Joined: June 27, 2010
KitMaker: 3,959 posts
Model Shipwrights: 2,777 posts
Posted: Sunday, May 27, 2018 - 04:37 AM UTC
Ah the joys of aircraft carriers: repetition. And those decal sheets are no exception
Cosimodo
#335
Visit this Community
Auckland, New Zealand
Joined: September 03, 2013
KitMaker: 1,808 posts
Model Shipwrights: 871 posts
Posted: Sunday, May 27, 2018 - 11:57 AM UTC
Hi Simon,
Looking good. Why did you need to re-shape the hangar end? Is that a kit flaw or a 1944 mod for Intrepid?

cheers
Michael
RedDuster
Visit this Community
England - South East, United Kingdom
Joined: March 01, 2010
KitMaker: 7,078 posts
Model Shipwrights: 6,649 posts
Posted: Sunday, May 27, 2018 - 01:04 PM UTC

Quoted Text

Ah the joys of aircraft carriers: repetition. And those decal sheets are no exception


You said it Mate, and decaling is not my favourite sport, but with these little aircraft it is really worth the effort.

I do bring this on myself.

Thnaks for looking in

Cheers

Si
RedDuster
Visit this Community
England - South East, United Kingdom
Joined: March 01, 2010
KitMaker: 7,078 posts
Model Shipwrights: 6,649 posts
Posted: Sunday, May 27, 2018 - 01:22 PM UTC

Quoted Text

Hi Simon,
Looking good. Why did you need to re-shape the hangar end? Is that a kit flaw or a 1944 mod for Intrepid?

cheers
Michael


Hi Micheal

The reshaping is to take rails for towing paravanes, it seems to be a refit made to a number of Essex class carriers. It is not included in the kit, but it is clear in the drawings in the AOTS on Intrepid.

I would guess, as the original release of this kit was the Essex straight out of the yard, unlikely she would have had the paravane gear. Just never got added to the kit.

To be fair a lot of this will be lost in the structure under the forward end of the flight deck.

Cheers

Si
RedDuster
Visit this Community
England - South East, United Kingdom
Joined: March 01, 2010
KitMaker: 7,078 posts
Model Shipwrights: 6,649 posts
Posted: Tuesday, May 29, 2018 - 12:55 AM UTC
A bit of progress yesterday.

Port and starboard sections of the paravane gear in place, I an going to leave those alone to ensure they are solid before fitting the centre section.


On with filling on the hanger sides.


With the shutters open, I cannot use the supports in the kit for the after elevator, so some support at flight deck level is required.


And the elevator in place with some of the under deck parts.


More soon.

Si
RussellE
#306
Visit this Community
Victoria, Australia
Joined: June 27, 2010
KitMaker: 3,959 posts
Model Shipwrights: 2,777 posts
Posted: Tuesday, May 29, 2018 - 02:47 AM UTC
Looking good Si.

The paravane gear looks very delicate.
JJ1973
#345
Visit this Community
Niedersachsen, Germany
Joined: August 22, 2011
KitMaker: 1,835 posts
Model Shipwrights: 1,832 posts
Posted: Tuesday, May 29, 2018 - 02:30 PM UTC
On here and following as well, Si! Or better, catching up with your work so far!

Very nice work as usual, and she looks excellent, with you corrections, the open hangar doors and the lowered elevator!

Cheers,
Jan
RedDuster
Visit this Community
England - South East, United Kingdom
Joined: March 01, 2010
KitMaker: 7,078 posts
Model Shipwrights: 6,649 posts
Posted: Thursday, May 31, 2018 - 07:19 AM UTC

Quoted Text

Looking good Si.

The paravane gear looks very delicate.


Very delicate, unlike my language when I was trying to get it fitted straight.

Cheers

Si
RedDuster
Visit this Community
England - South East, United Kingdom
Joined: March 01, 2010
KitMaker: 7,078 posts
Model Shipwrights: 6,649 posts
Posted: Thursday, May 31, 2018 - 07:22 AM UTC

Quoted Text

On here and following as well, Si! Or better, catching up with your work so far!

Very nice work as usual, and she looks excellent, with you corrections, the open hangar doors and the lowered elevator!

Cheers,
Jan


Thanks Jan,

Always liked to Essex class with the hanger shutters open. The side elevator will be in the lowered position with another aircraft on it.

always glad to have you along mate.

Cheers

Si