

Looking good Si! If the rear elevator is in the up position, and the shutters are open, do you have to build any support (like guide rails and /or the lowering mechanism)?


Go to modelshipwrights.com for the current dynamic site!
Hosted by Jim Starkweather
USS Intrepid CV11 1944 -1/350 Scale

trahe

Joined: April 03, 2006
KitMaker: 1,158 posts
Model Shipwrights: 117 posts

Posted: Friday, June 01, 2018 - 01:57 PM UTC

RedDuster

Joined: March 01, 2010
KitMaker: 7,078 posts
Model Shipwrights: 6,649 posts

Posted: Friday, June 01, 2018 - 08:31 PM UTC
Quoted Text
Looking good Si! If the rear elevator is in the up position, and the shutters are open, do you have to build any support (like guide rails and /or the lowering mechanism)?
Hi Thomas,
I will indeed, I have some etch guides and mechanism left over from my CVL22 build which it is plan to use as a basis.
It may take a little fettling, but it should work. (I hope)
Cheers
Si

Cosimodo

#335

Joined: September 03, 2013
KitMaker: 1,808 posts
Model Shipwrights: 871 posts

Posted: Saturday, June 02, 2018 - 10:57 AM UTC
Looking good Simon.
Watching closely to see your work on the hangars. It's giving me plenty of food for thought about how to approach E when I get that far.
cheers
Michael
Watching closely to see your work on the hangars. It's giving me plenty of food for thought about how to approach E when I get that far.
cheers
Michael
RedDuster
Joined: March 01, 2010
KitMaker: 7,078 posts
Model Shipwrights: 6,649 posts
Posted: Sunday, June 03, 2018 - 08:28 AM UTC
Quoted Text
Looking good Simon.
Watching closely to see your work on the hangars. It's giving me plenty of food for thought about how to approach E when I get that far.
cheers
Michael
Thanks Michael,
I am making this up as I go along, so I would equally be grateful for tips and ideas.
Cheers
Si
RedDuster
Joined: March 01, 2010
KitMaker: 7,078 posts
Model Shipwrights: 6,649 posts
Posted: Monday, June 04, 2018 - 08:31 AM UTC
Sanding on the hanger sides done.

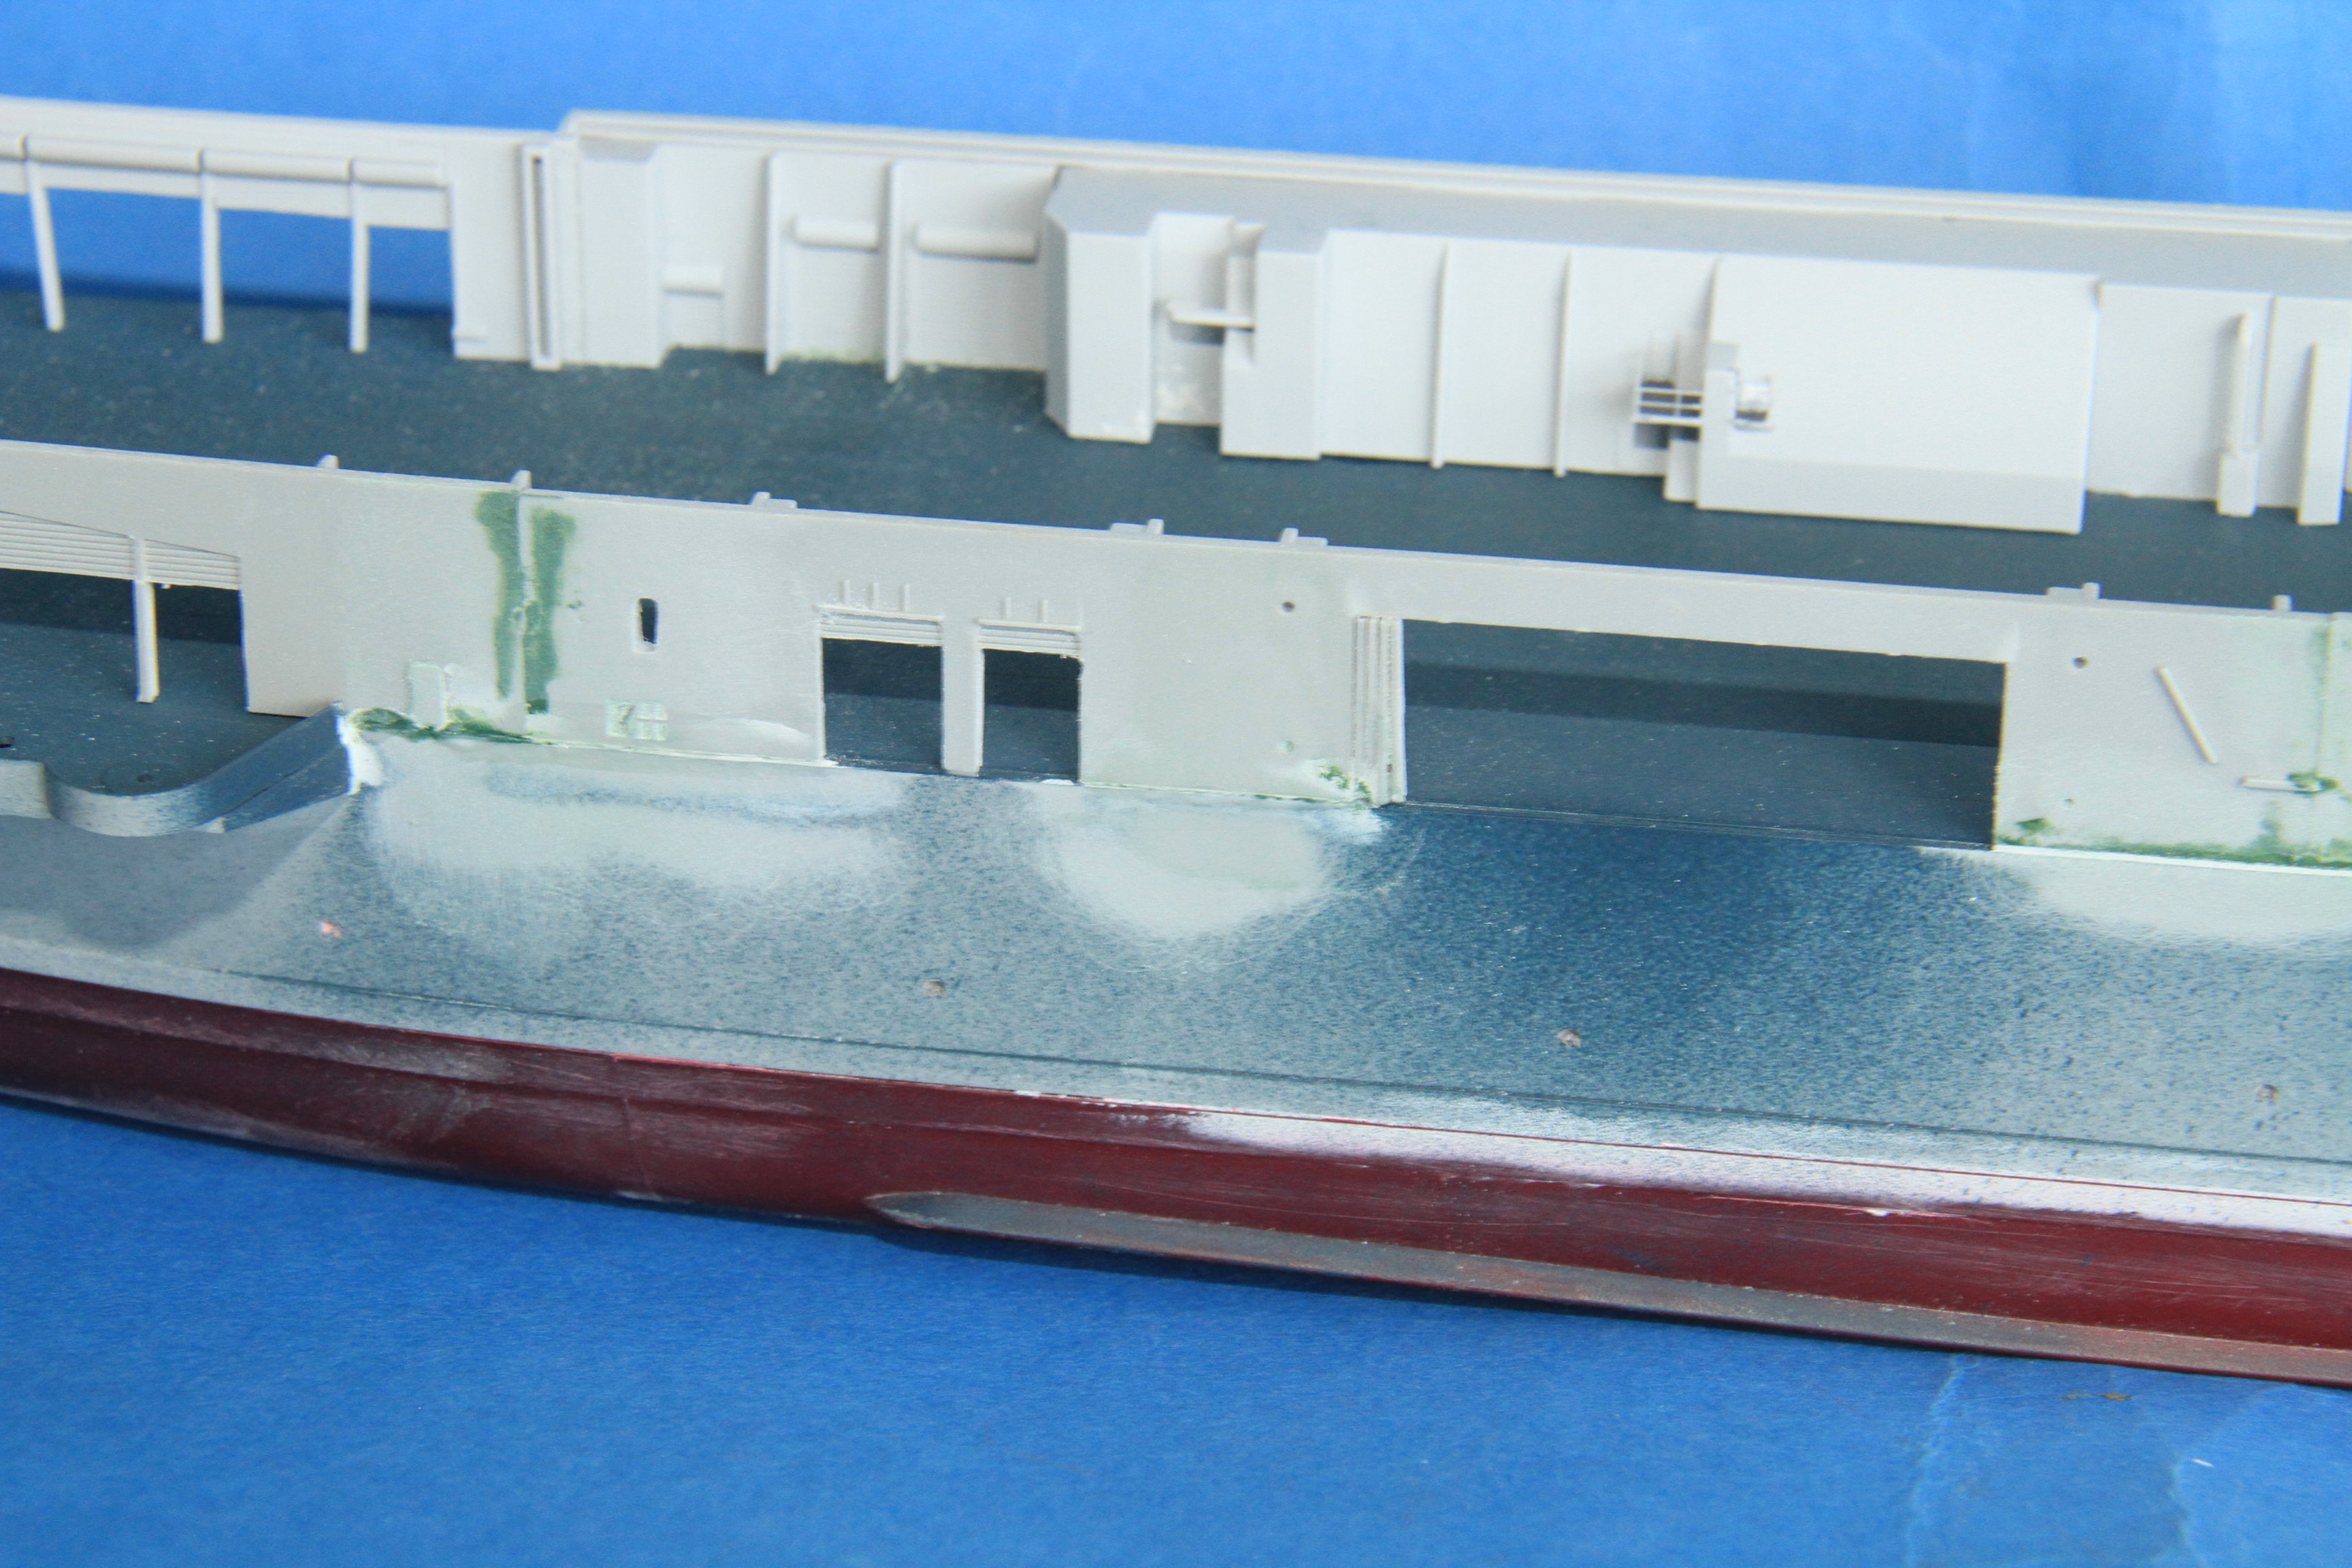

Next job, removing the moulded on flightdeck catwalks. the forward section under way.
All done
Brass cladding on the forward section.
A few more aircraft ready for paint.

More soon.
Si
Next job, removing the moulded on flightdeck catwalks. the forward section under way.
All done
Brass cladding on the forward section.
A few more aircraft ready for paint.
More soon.
Si

RussellE
#306

Joined: June 27, 2010
KitMaker: 3,959 posts
Model Shipwrights: 2,777 posts

Posted: Tuesday, June 05, 2018 - 09:39 AM UTC
Taking shape nicely Si 

RedDuster
Joined: March 01, 2010
KitMaker: 7,078 posts
Model Shipwrights: 6,649 posts
Posted: Wednesday, June 06, 2018 - 07:32 AM UTC
Thanks Russ,
Slowly but surely mate, lots to do before the flight deck goes down.
Cheers
Si
Slowly but surely mate, lots to do before the flight deck goes down.
Cheers
Si
RedDuster
Joined: March 01, 2010
KitMaker: 7,078 posts
Model Shipwrights: 6,649 posts
Posted: Monday, June 11, 2018 - 06:07 AM UTC
Yesterday's progress.
The missing struts on the propeller shafts added from plastic strip.
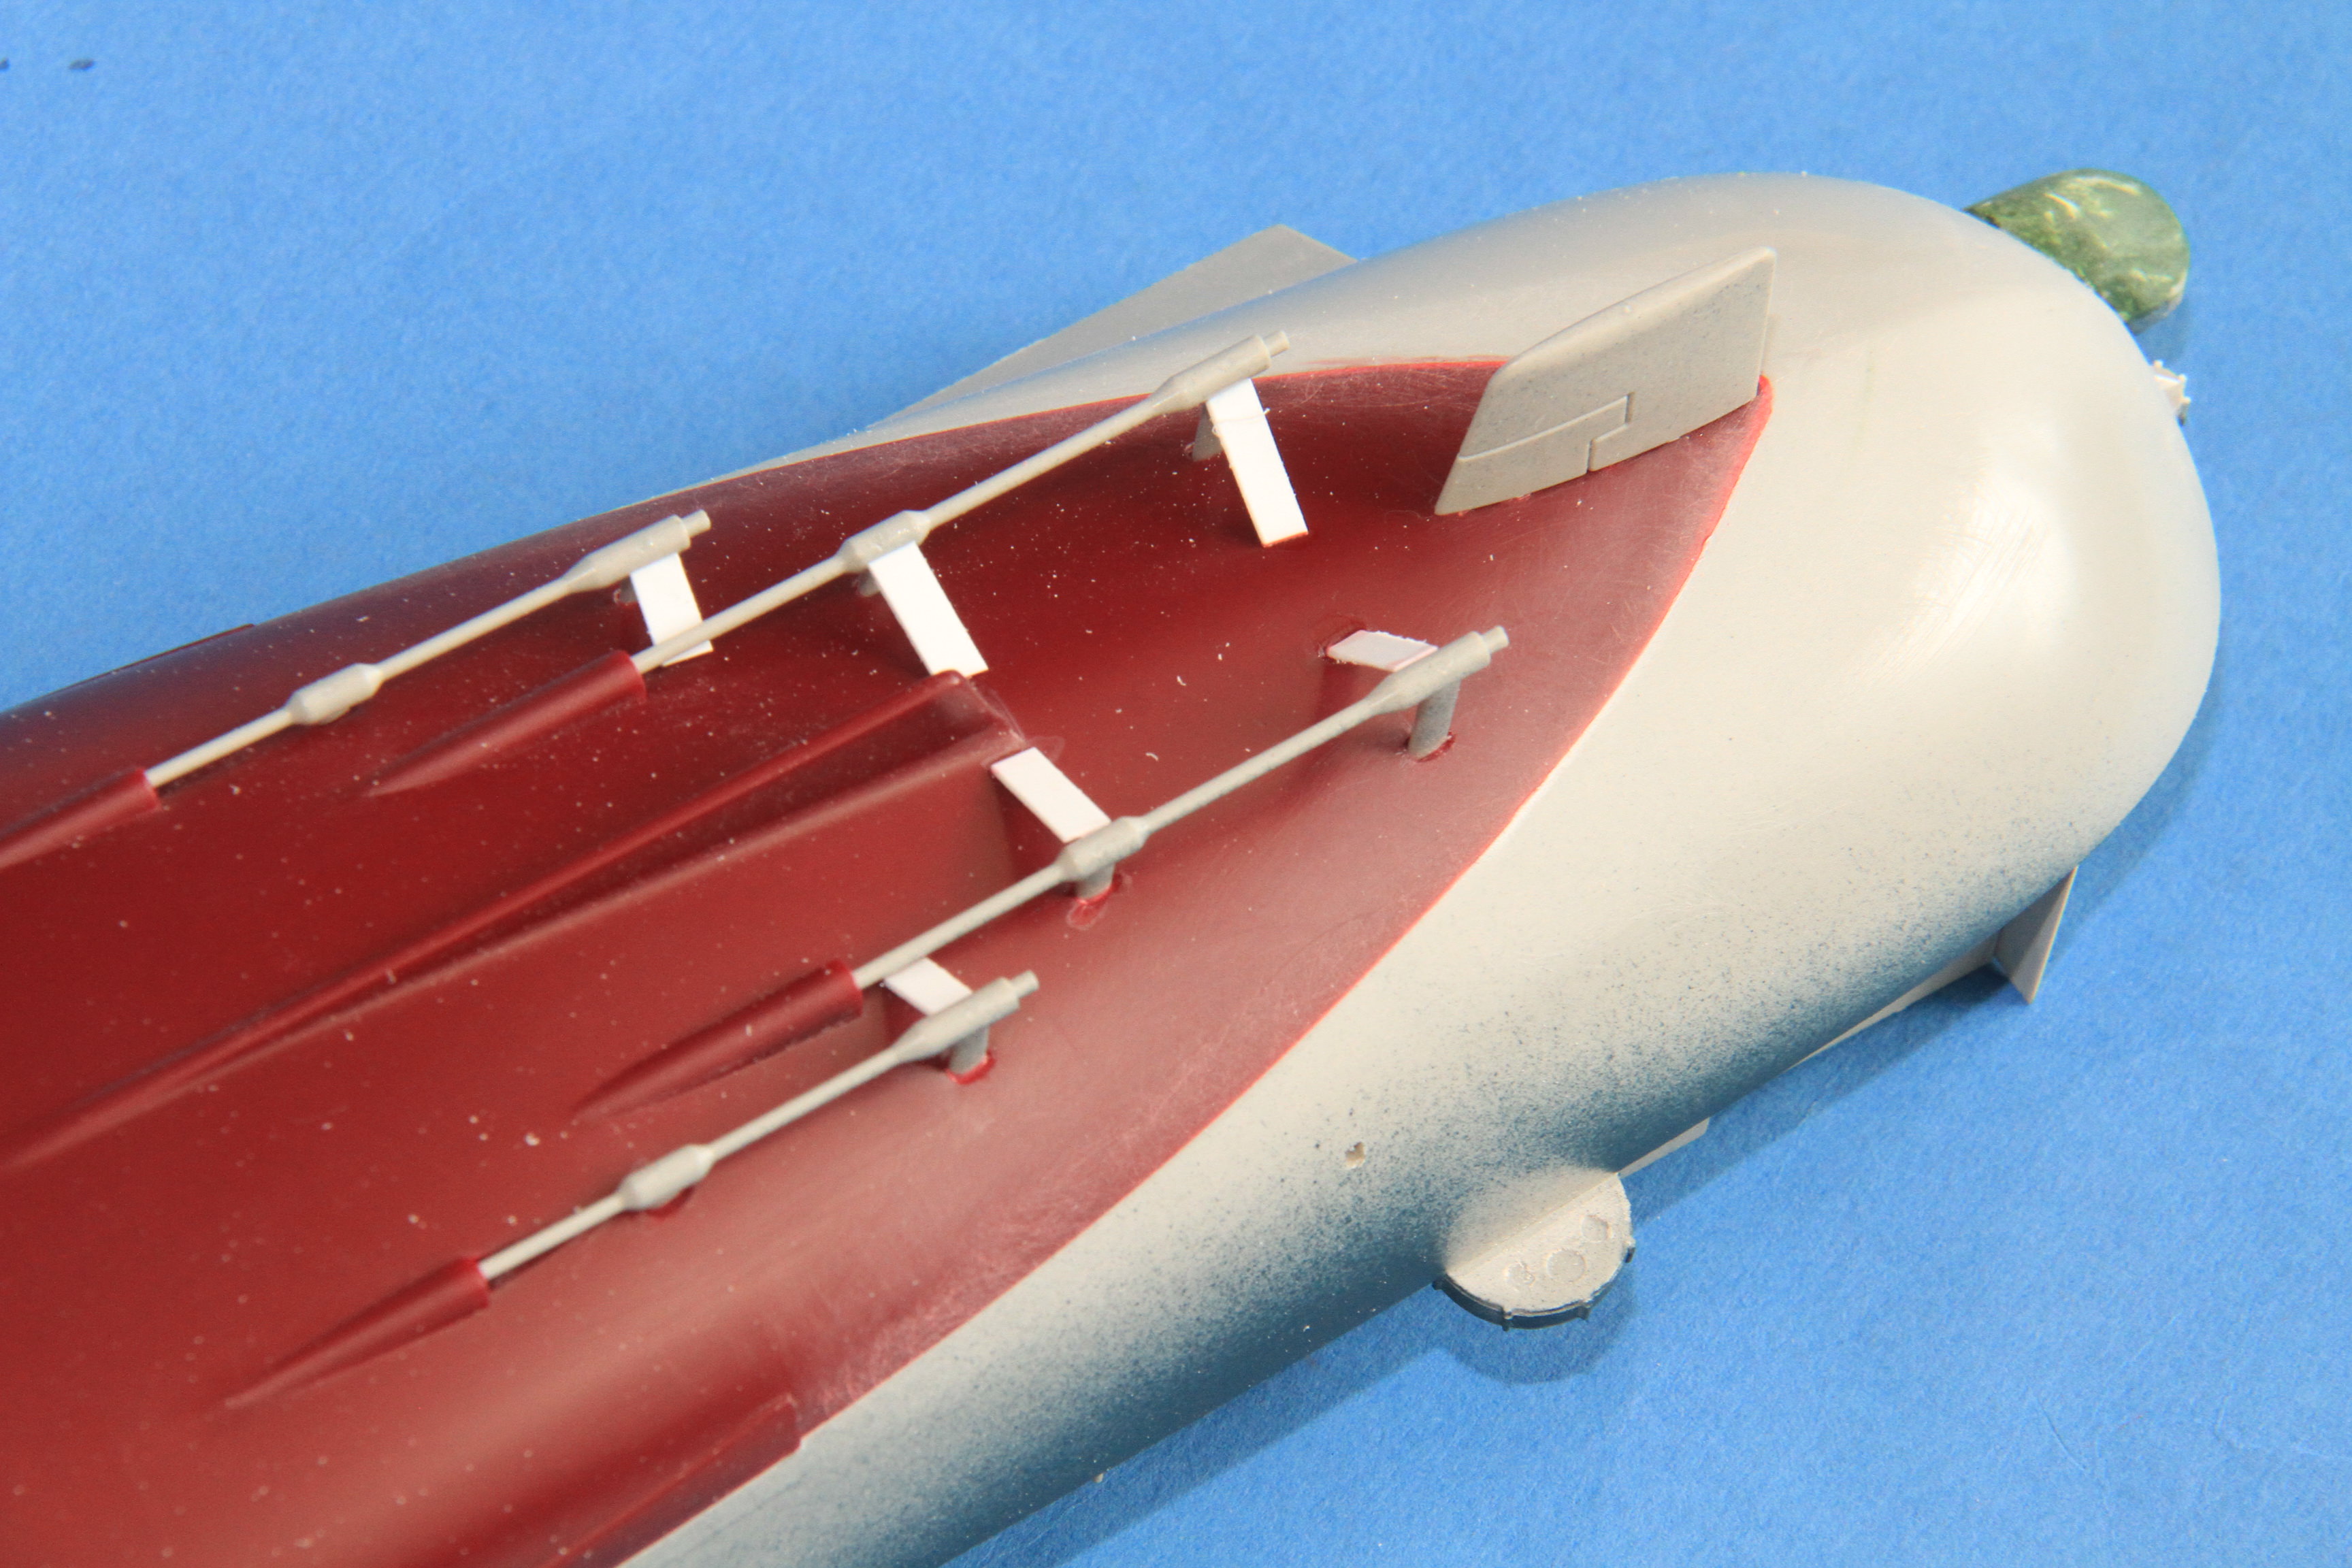
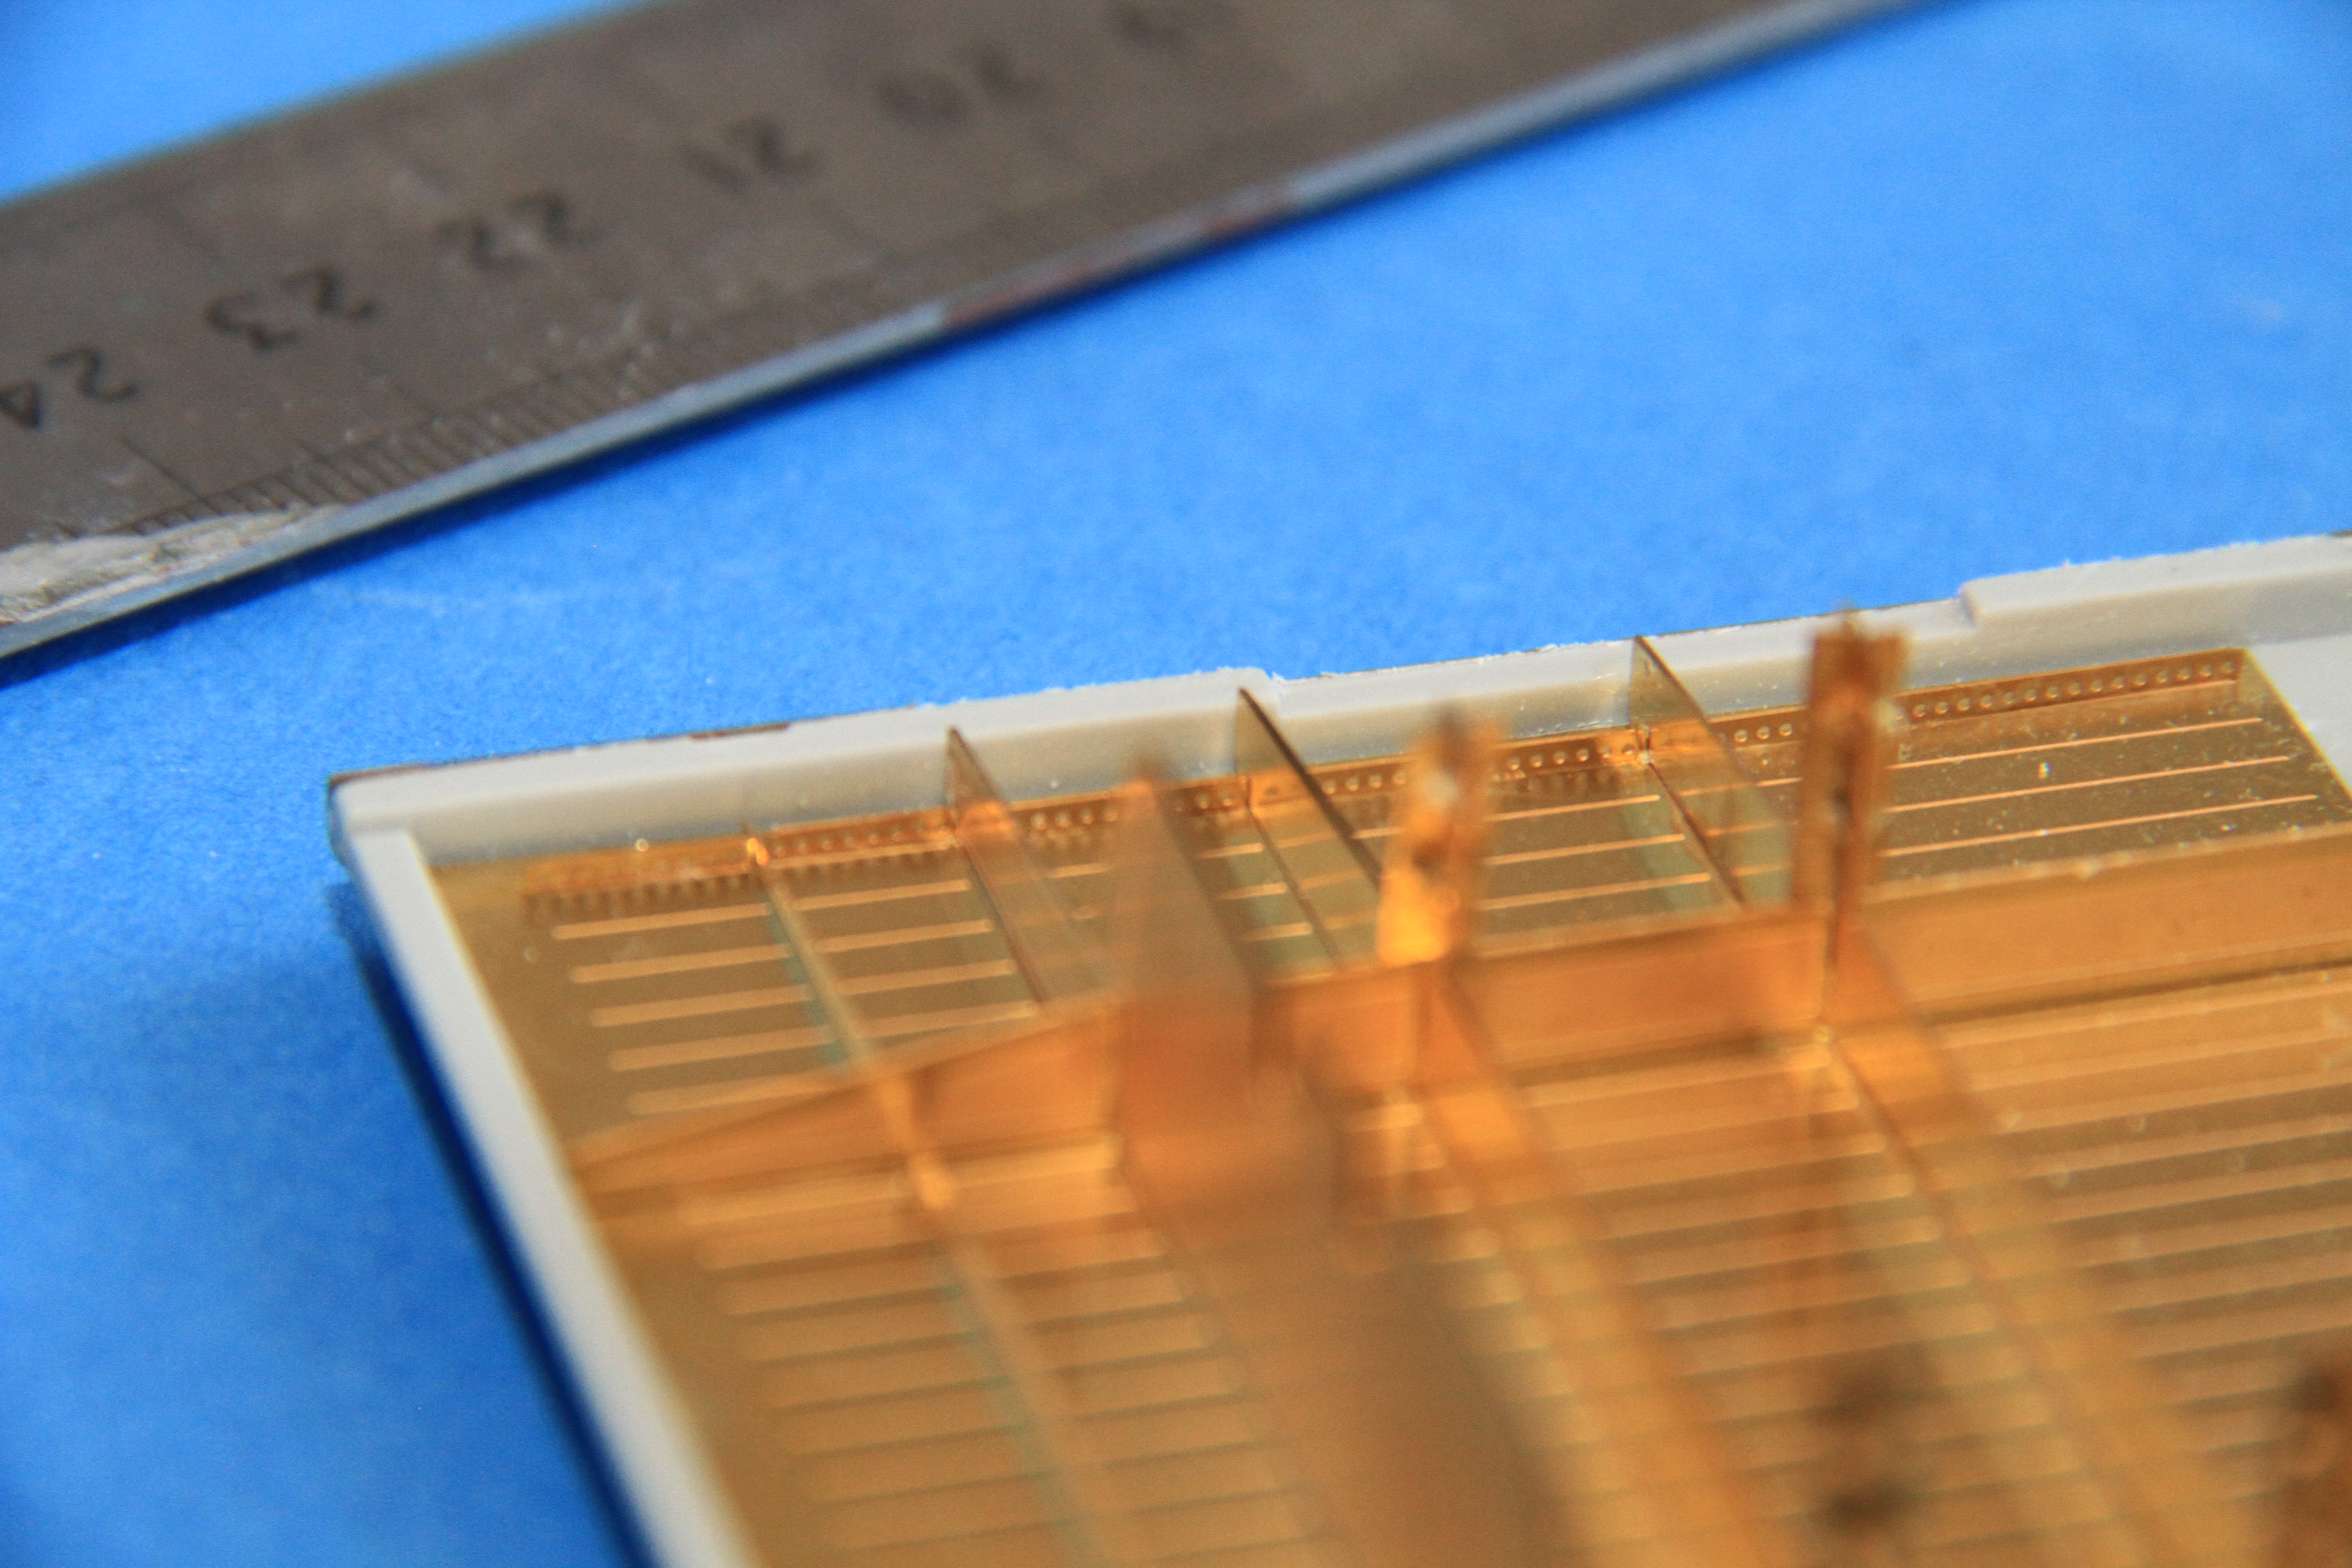
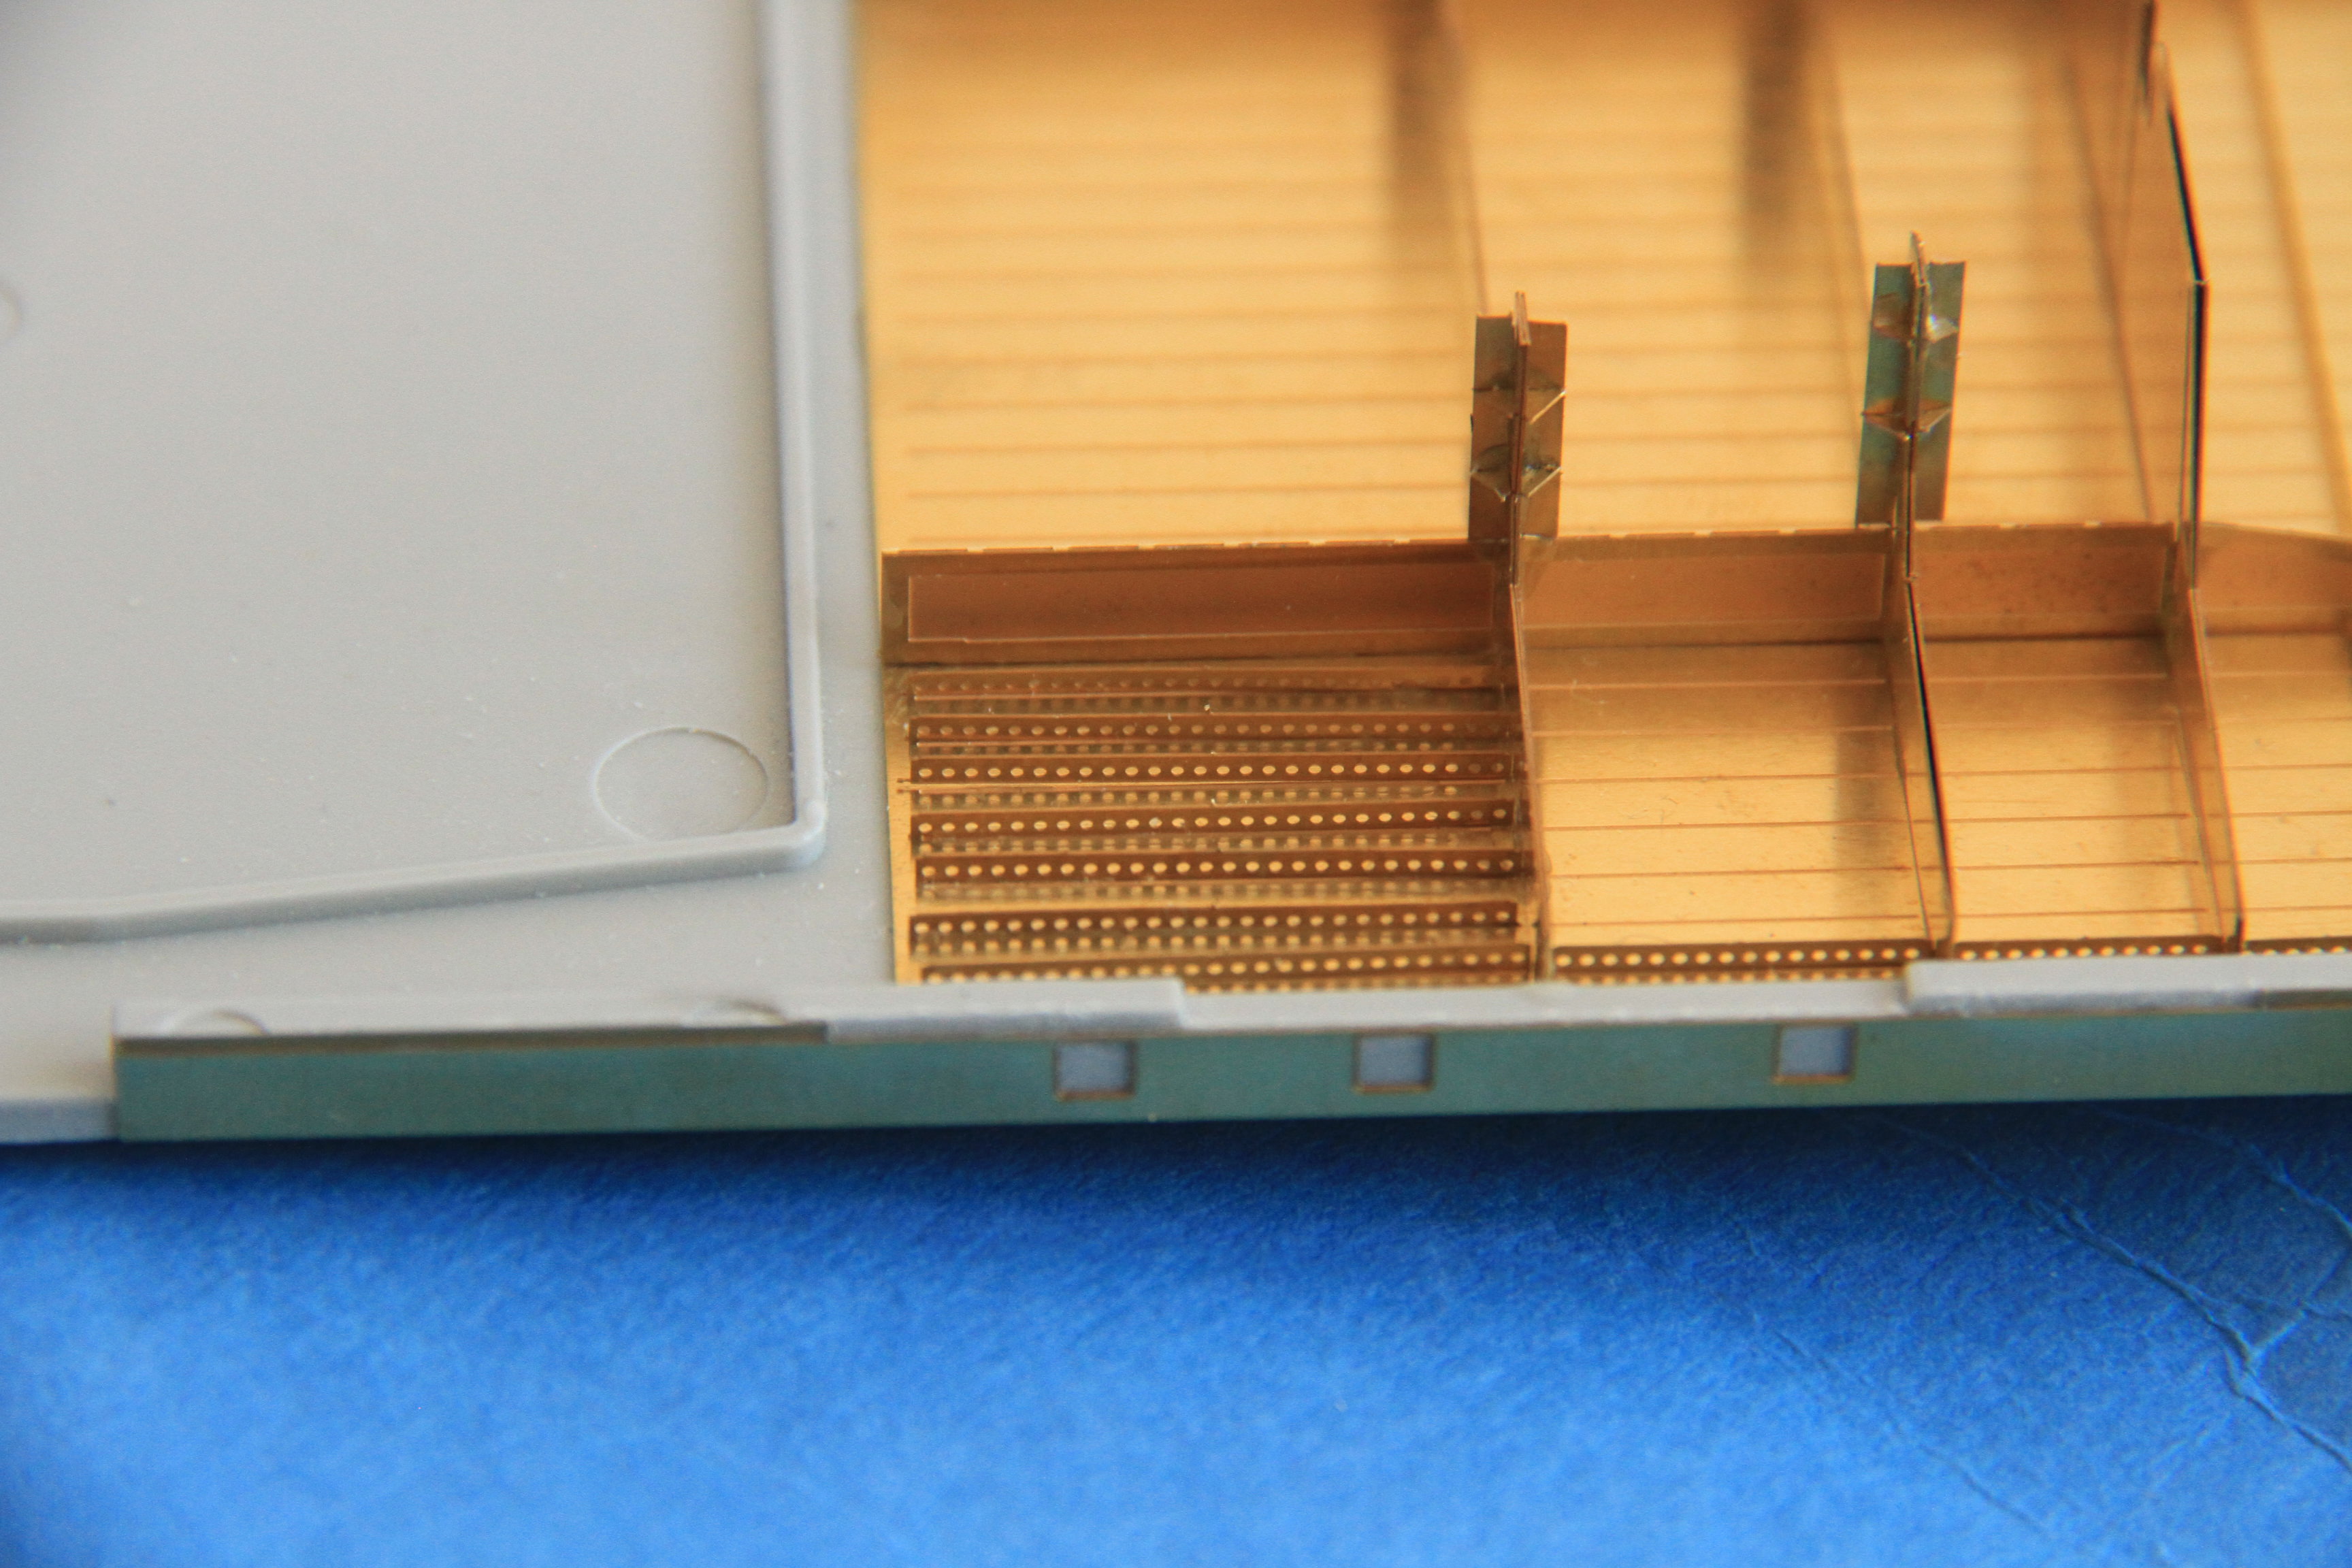
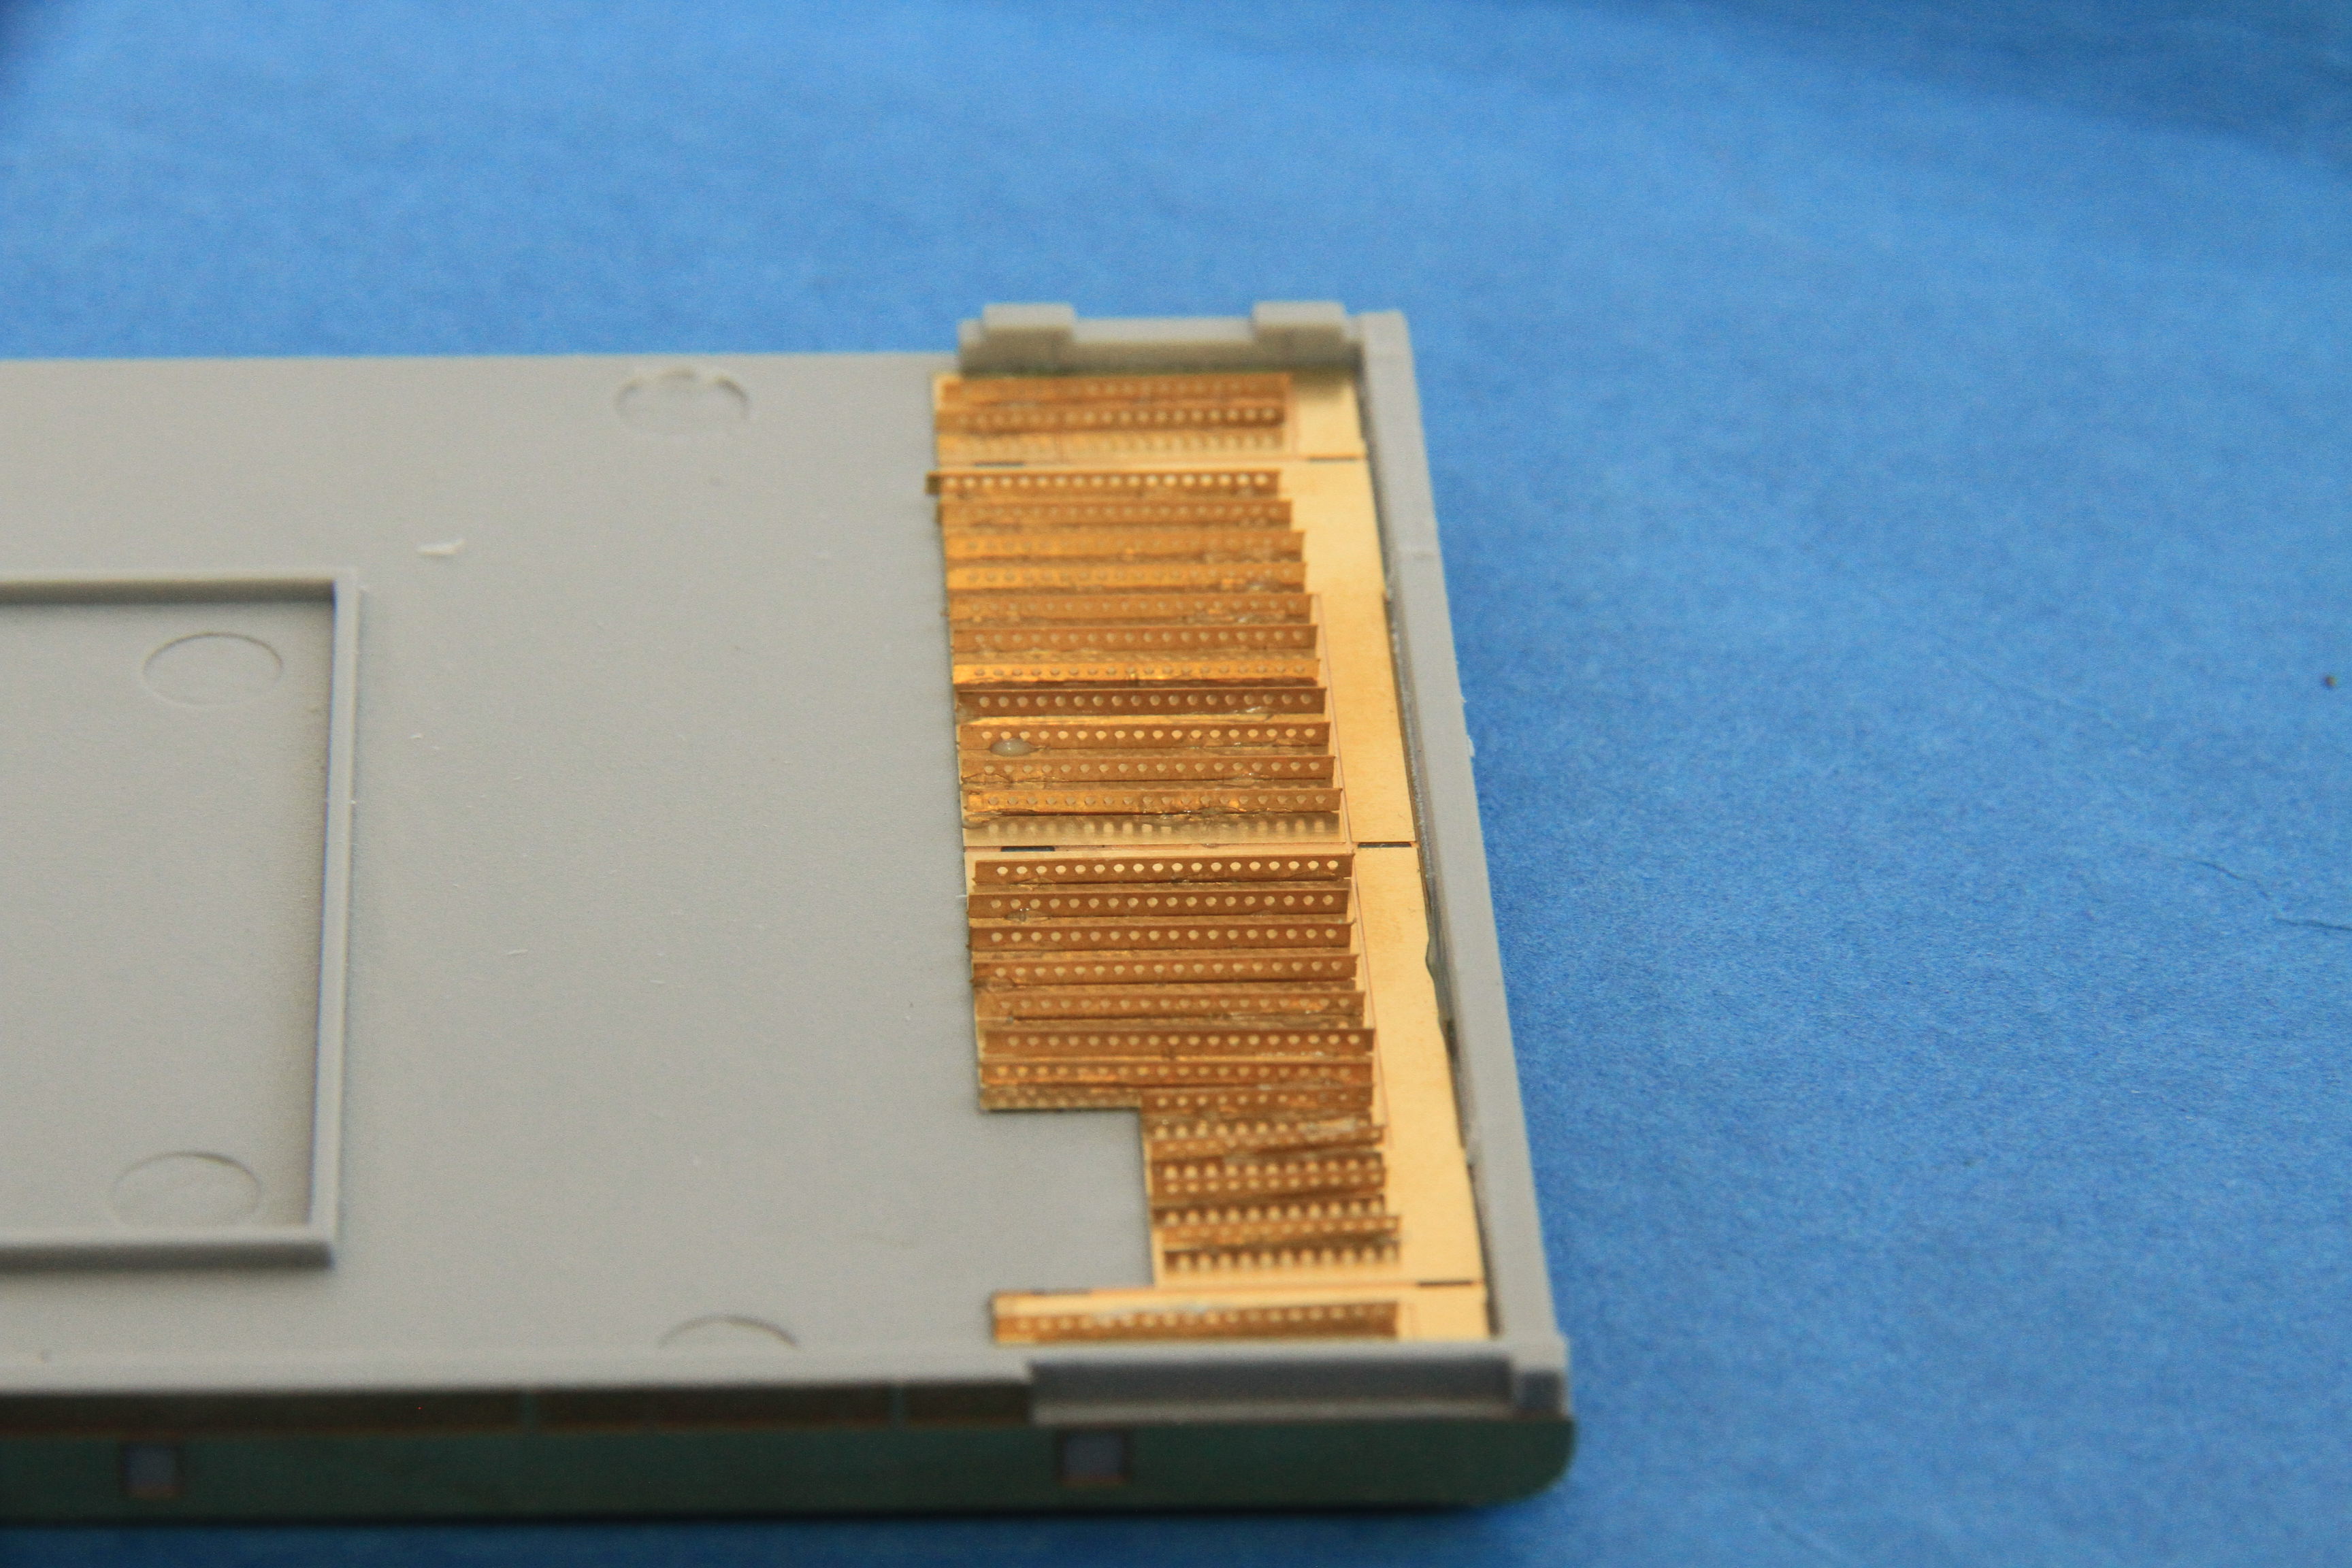
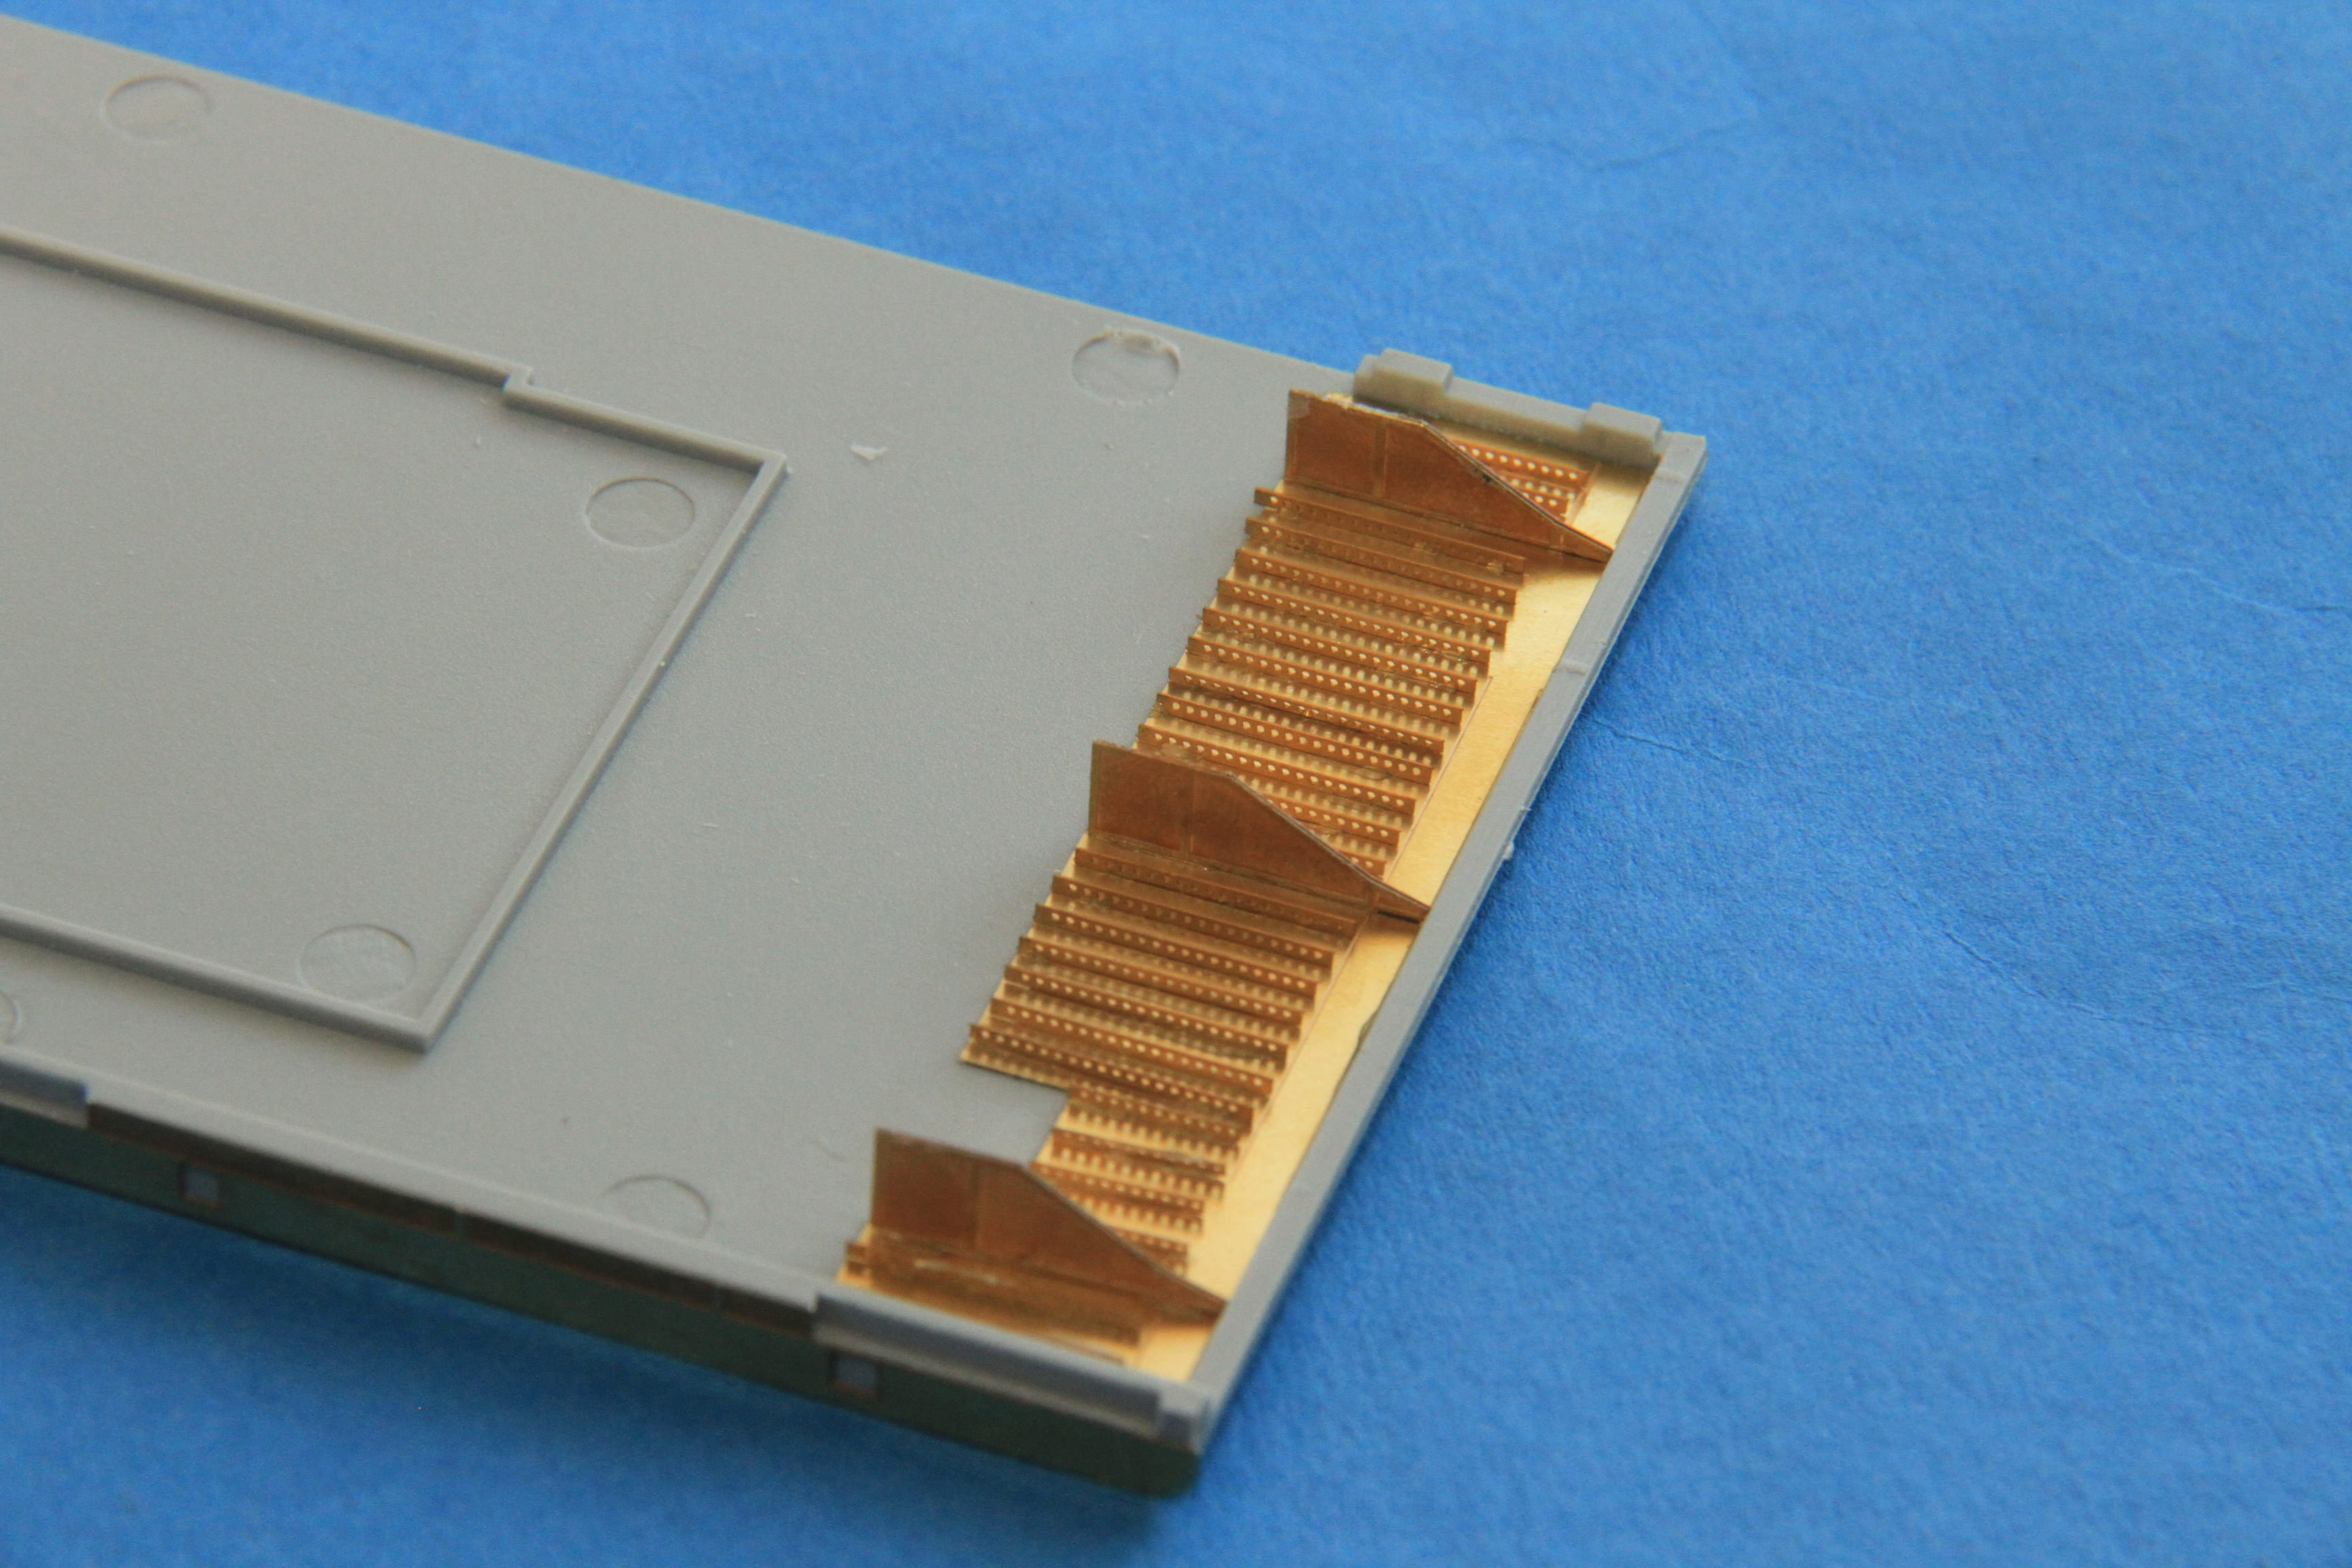
etched detail strips / catwalk mounts fitted to the rest of the flight deck.
Port aft

stbd aft.

port midships

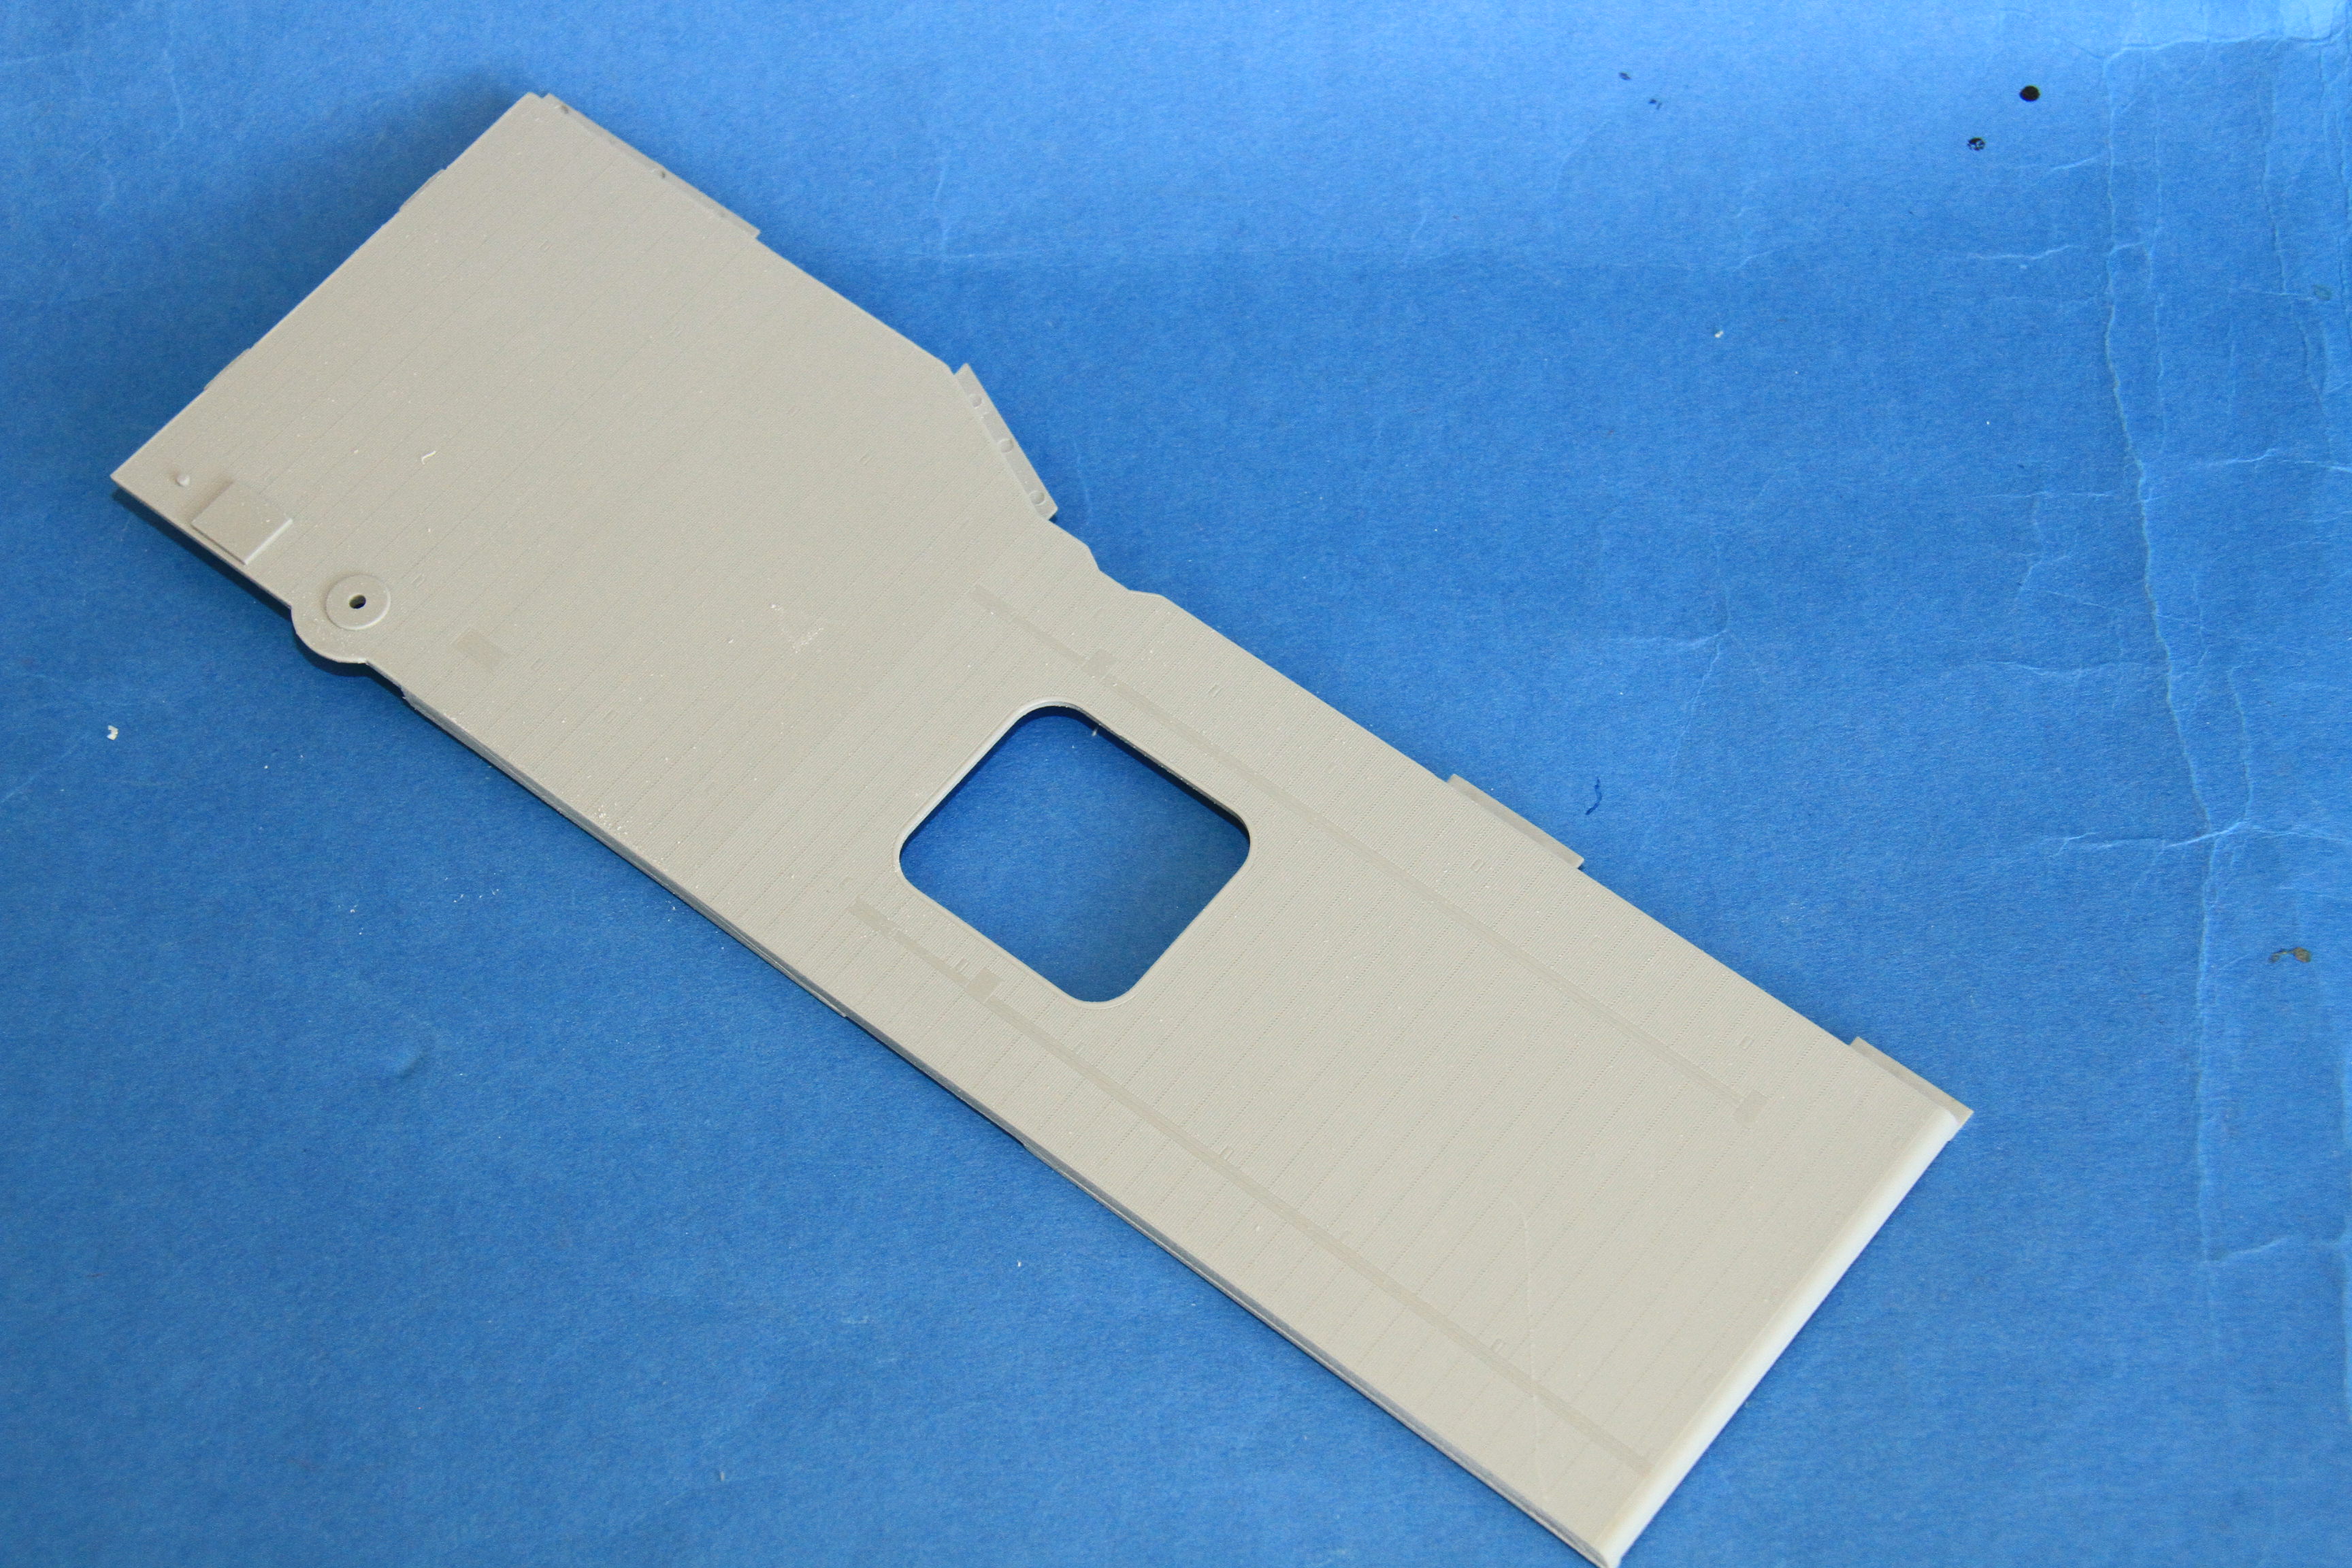
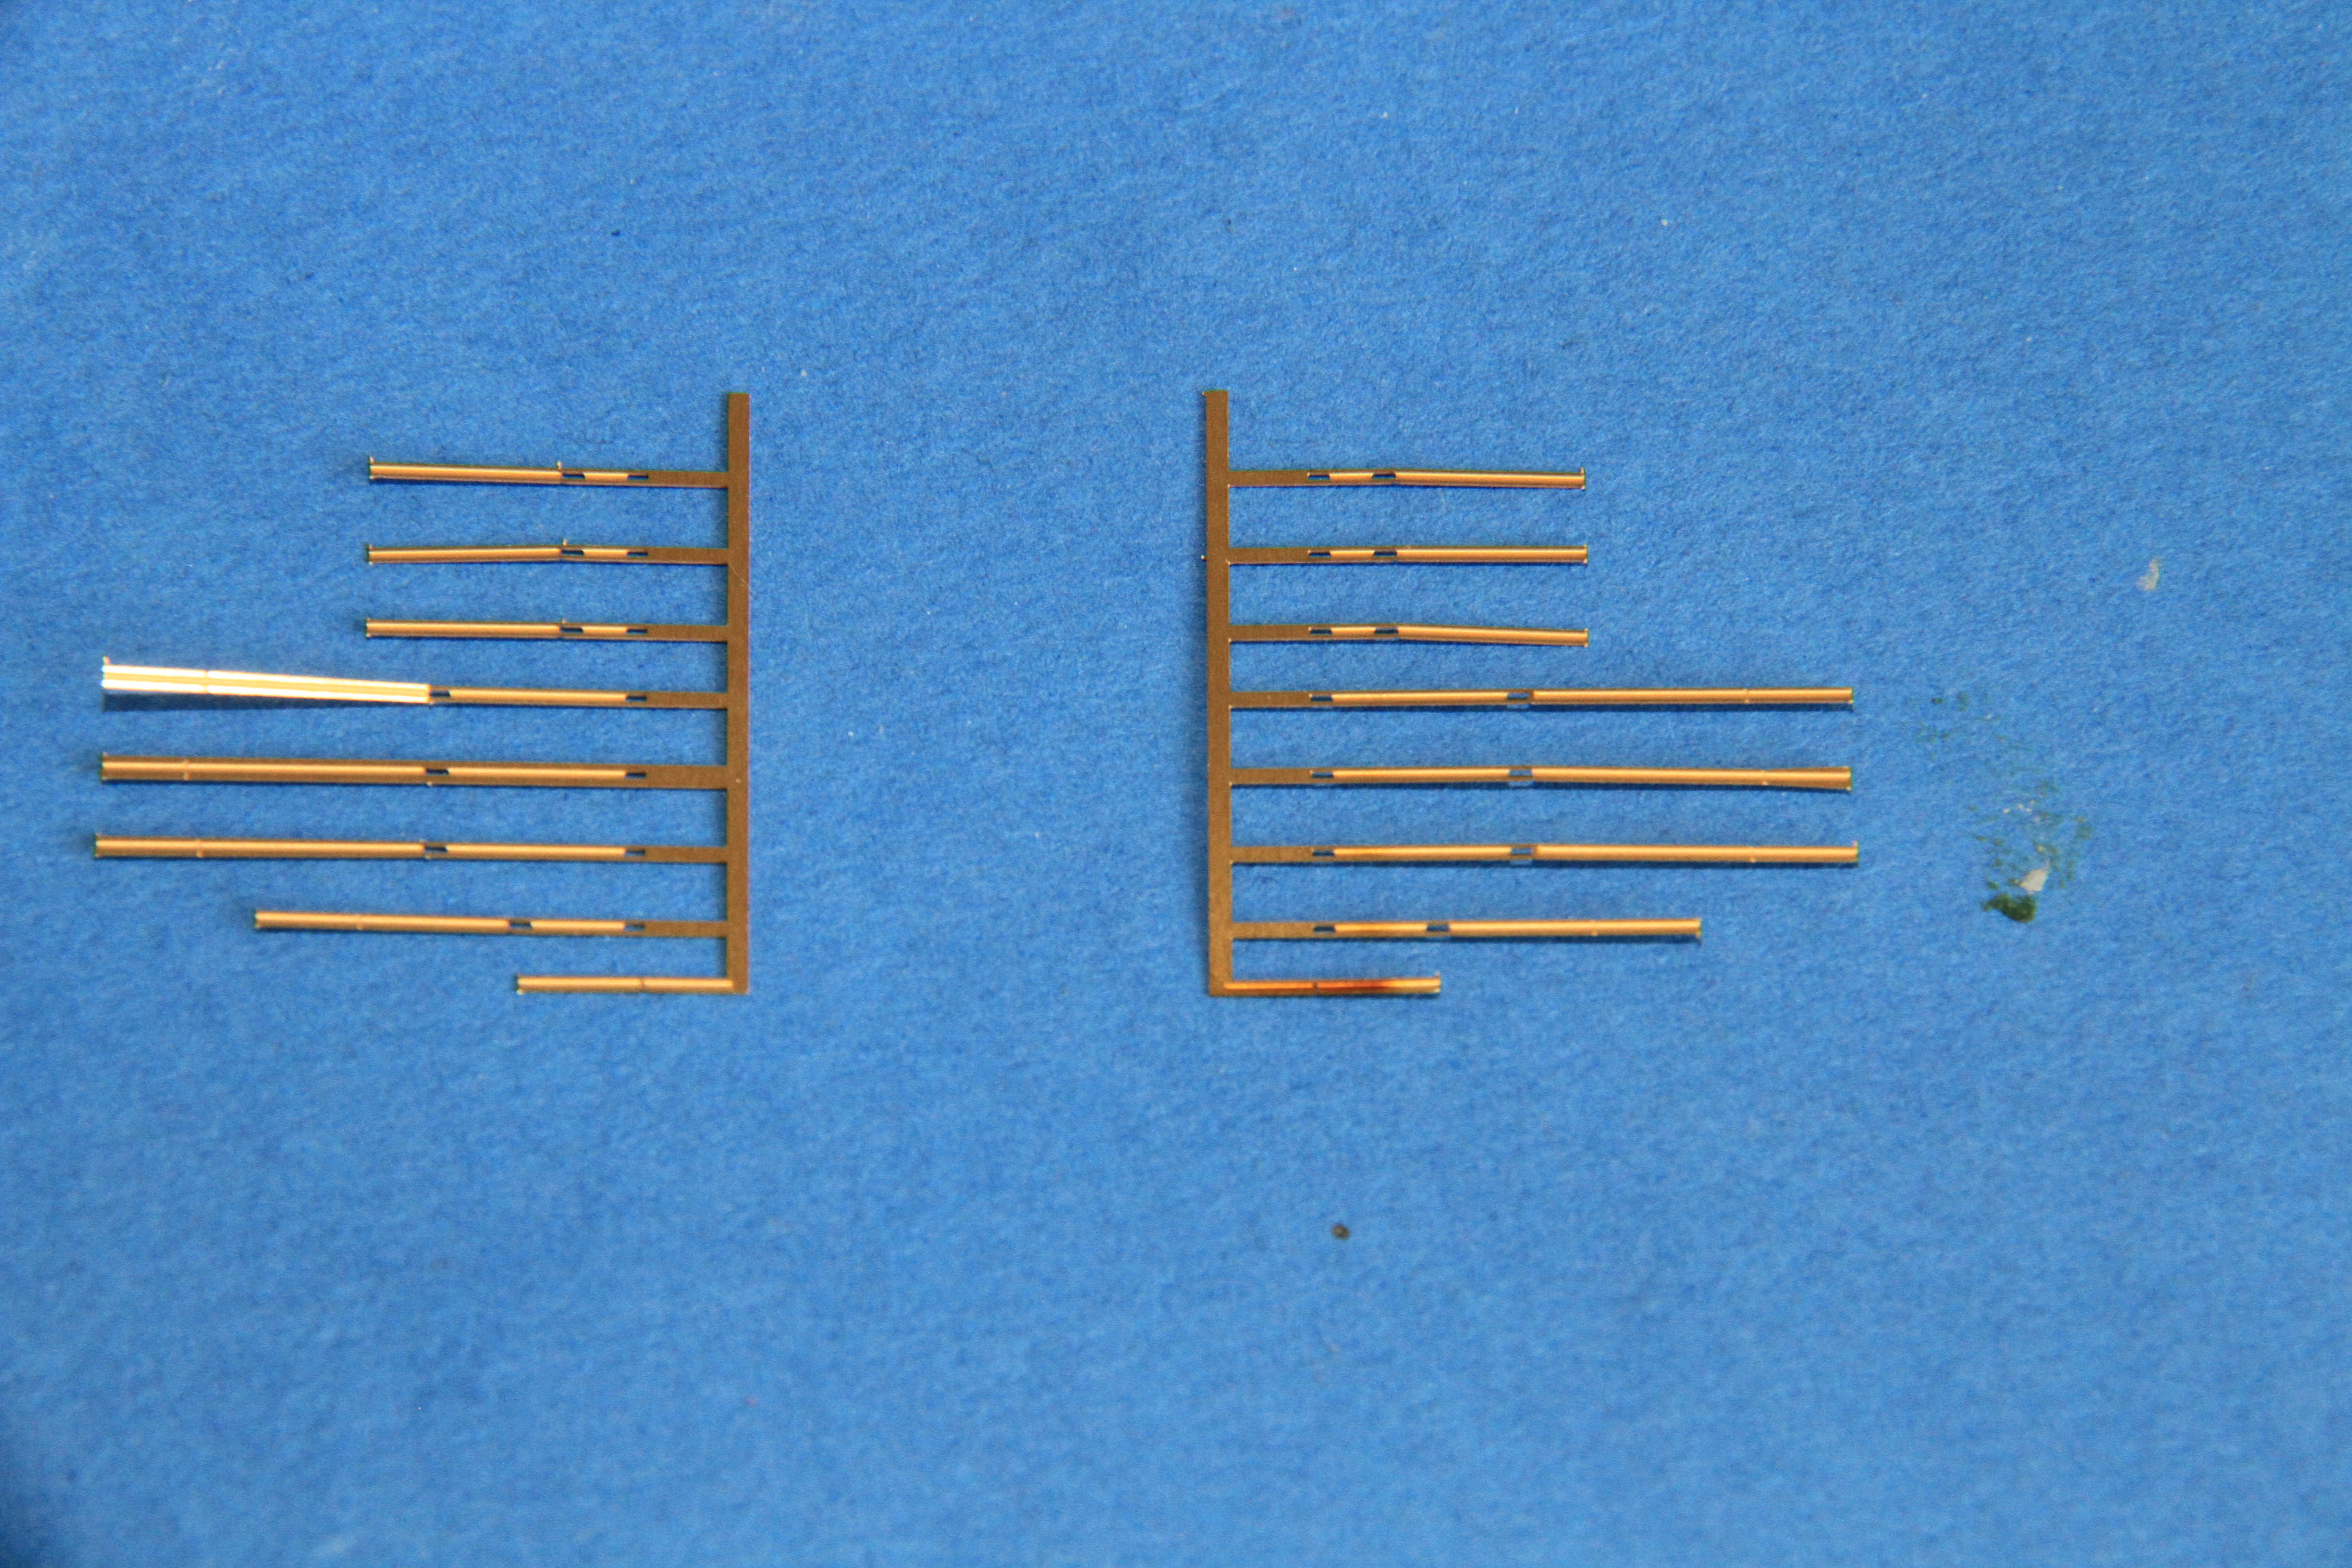
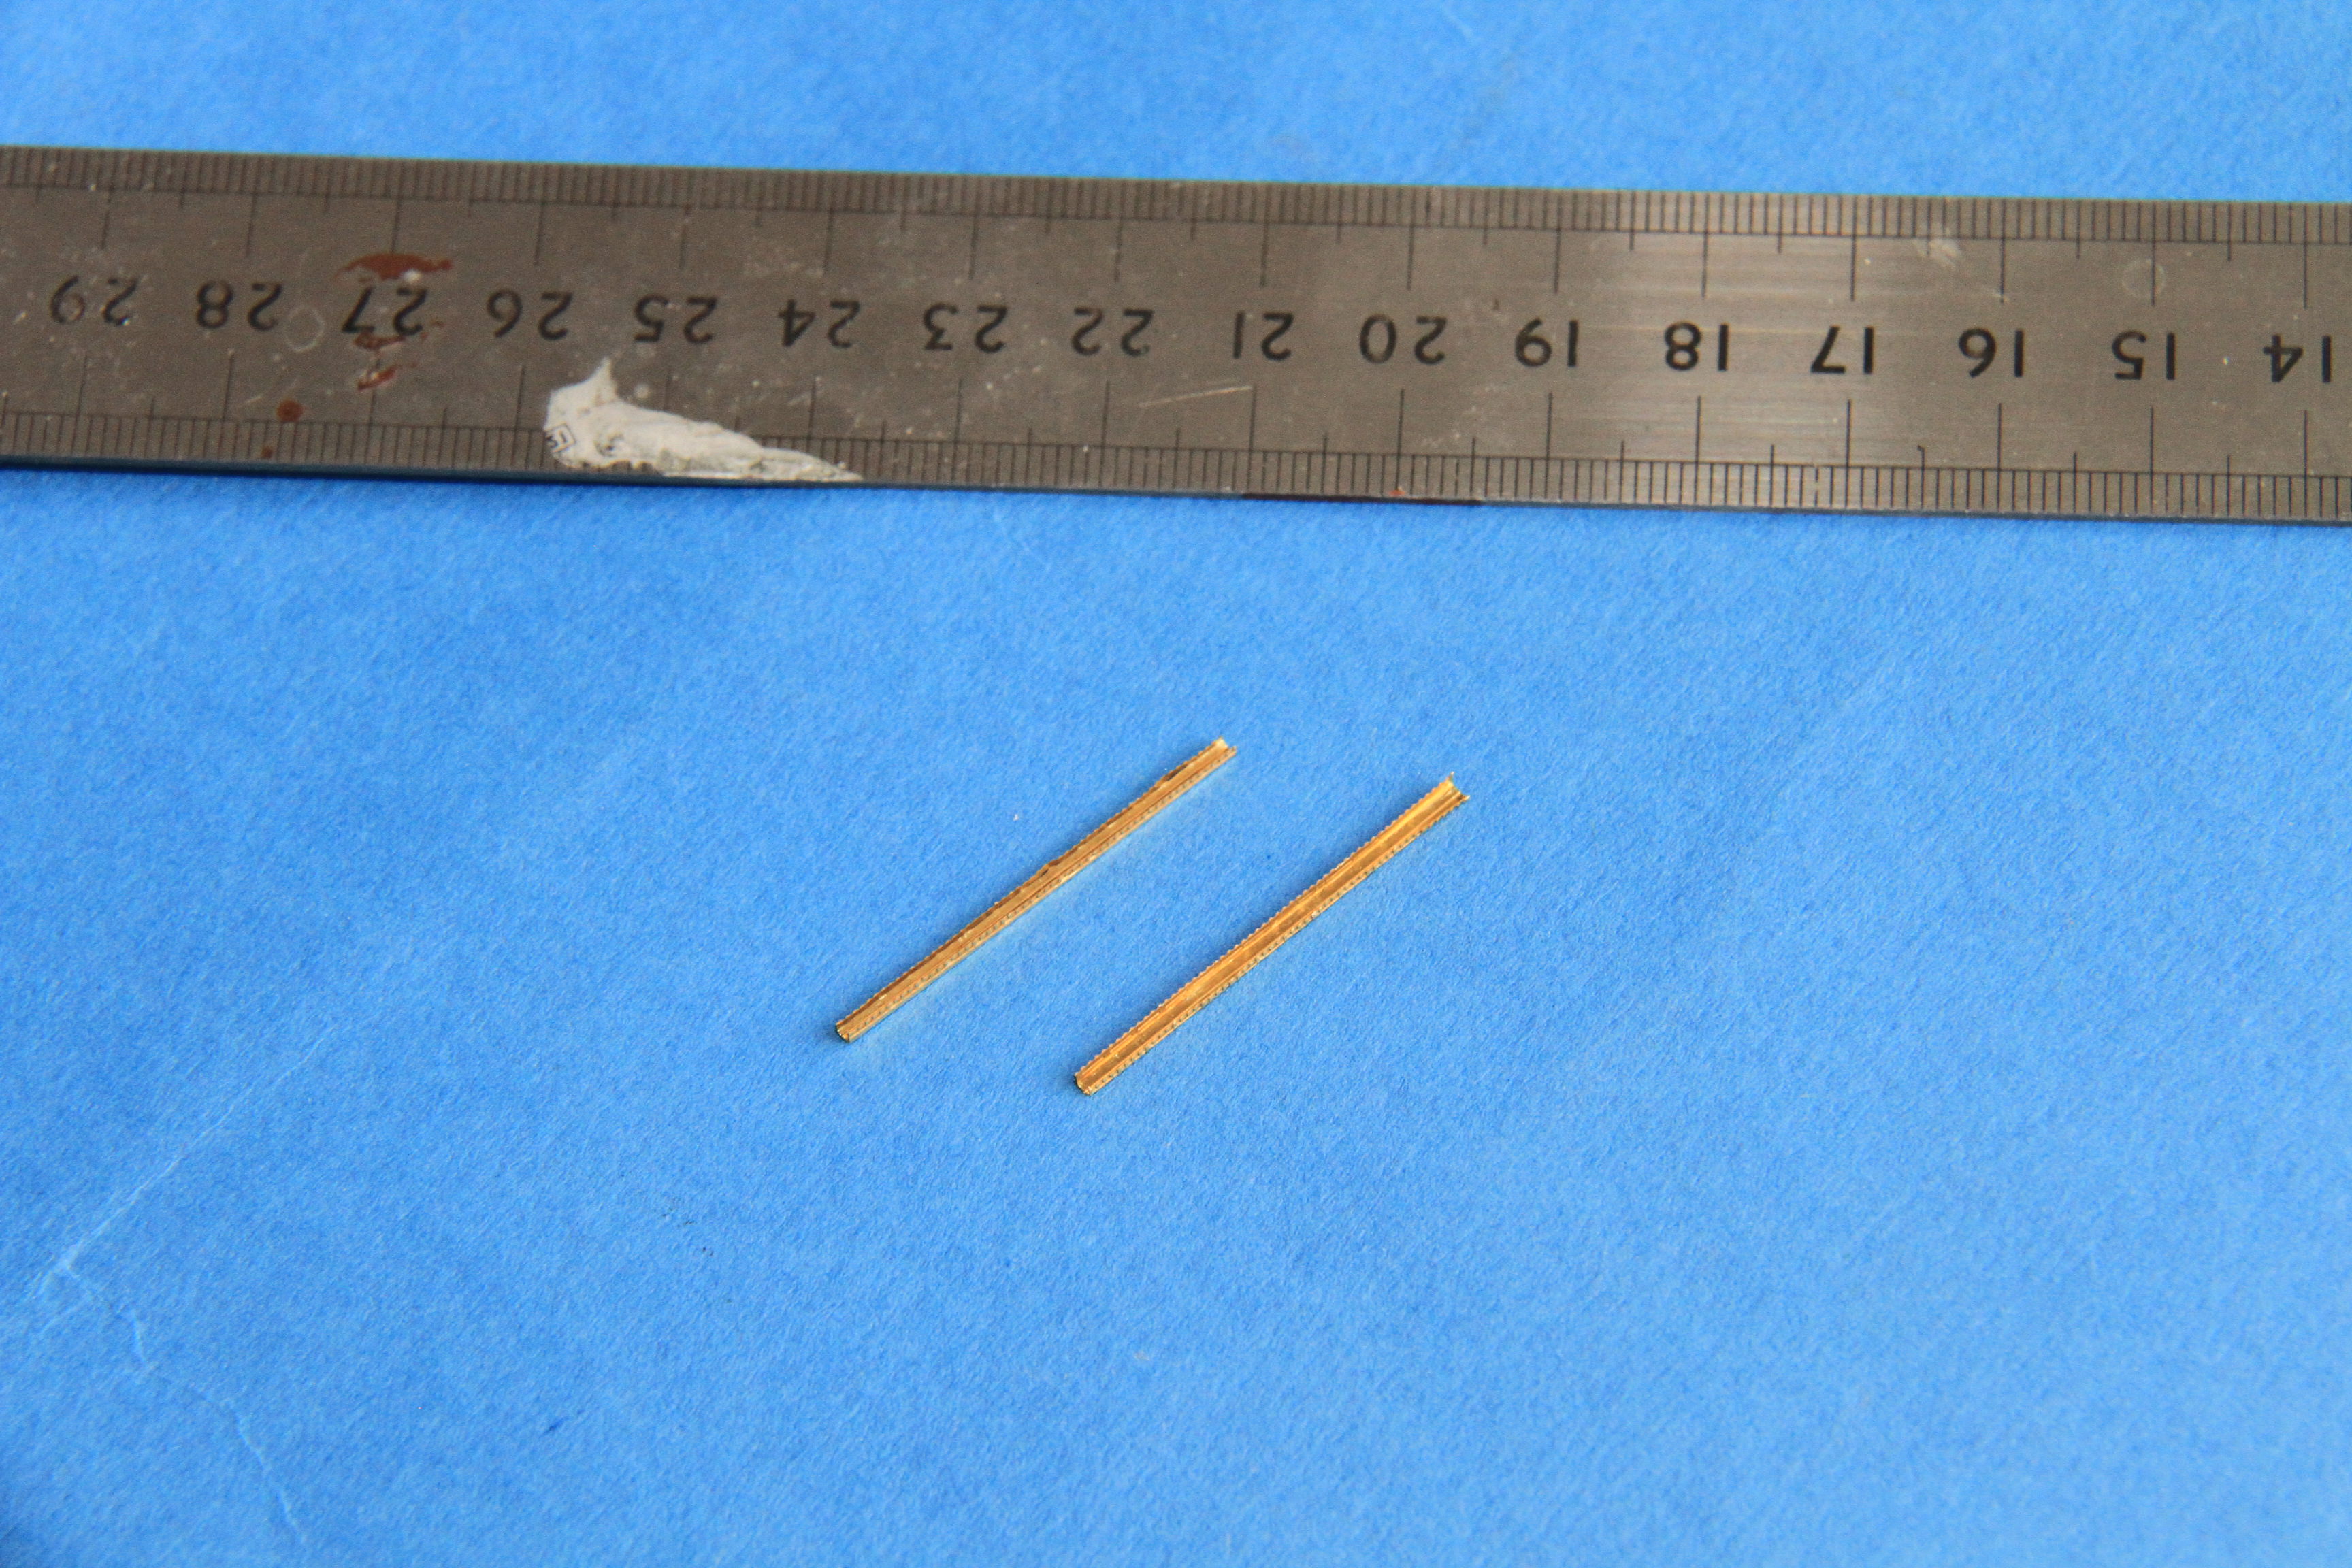
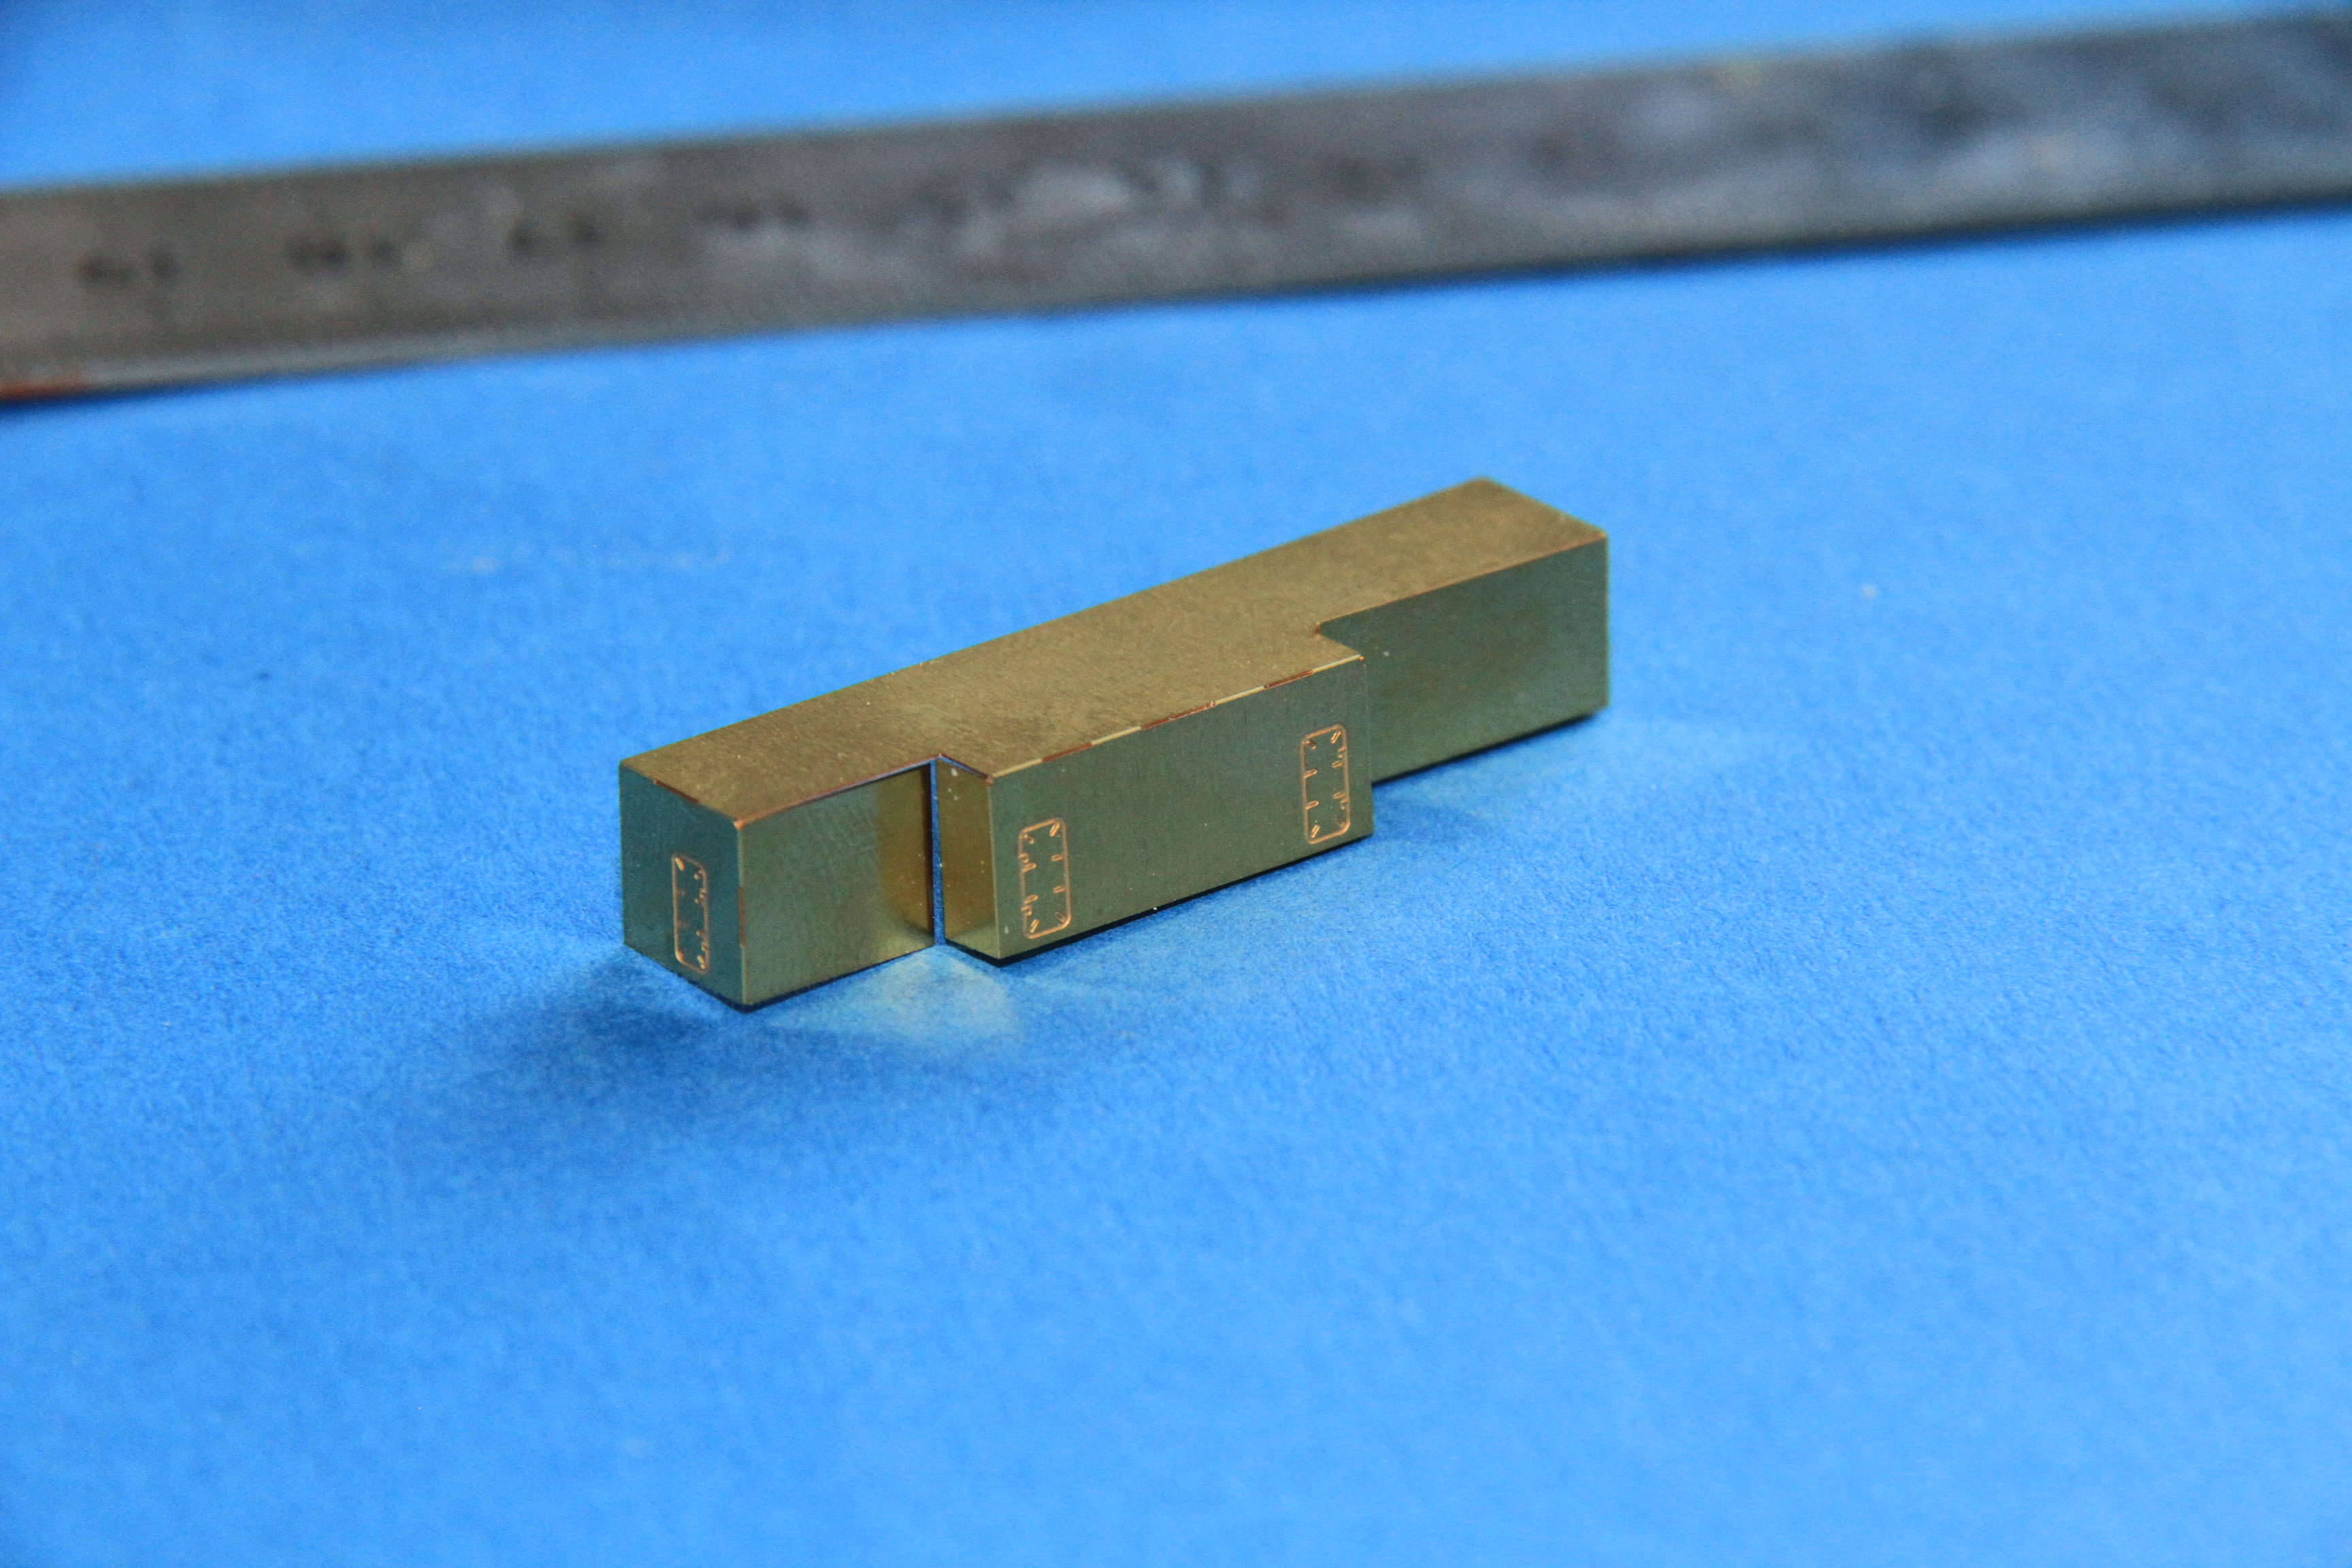
Parts for the side elevator guides, on the fret.
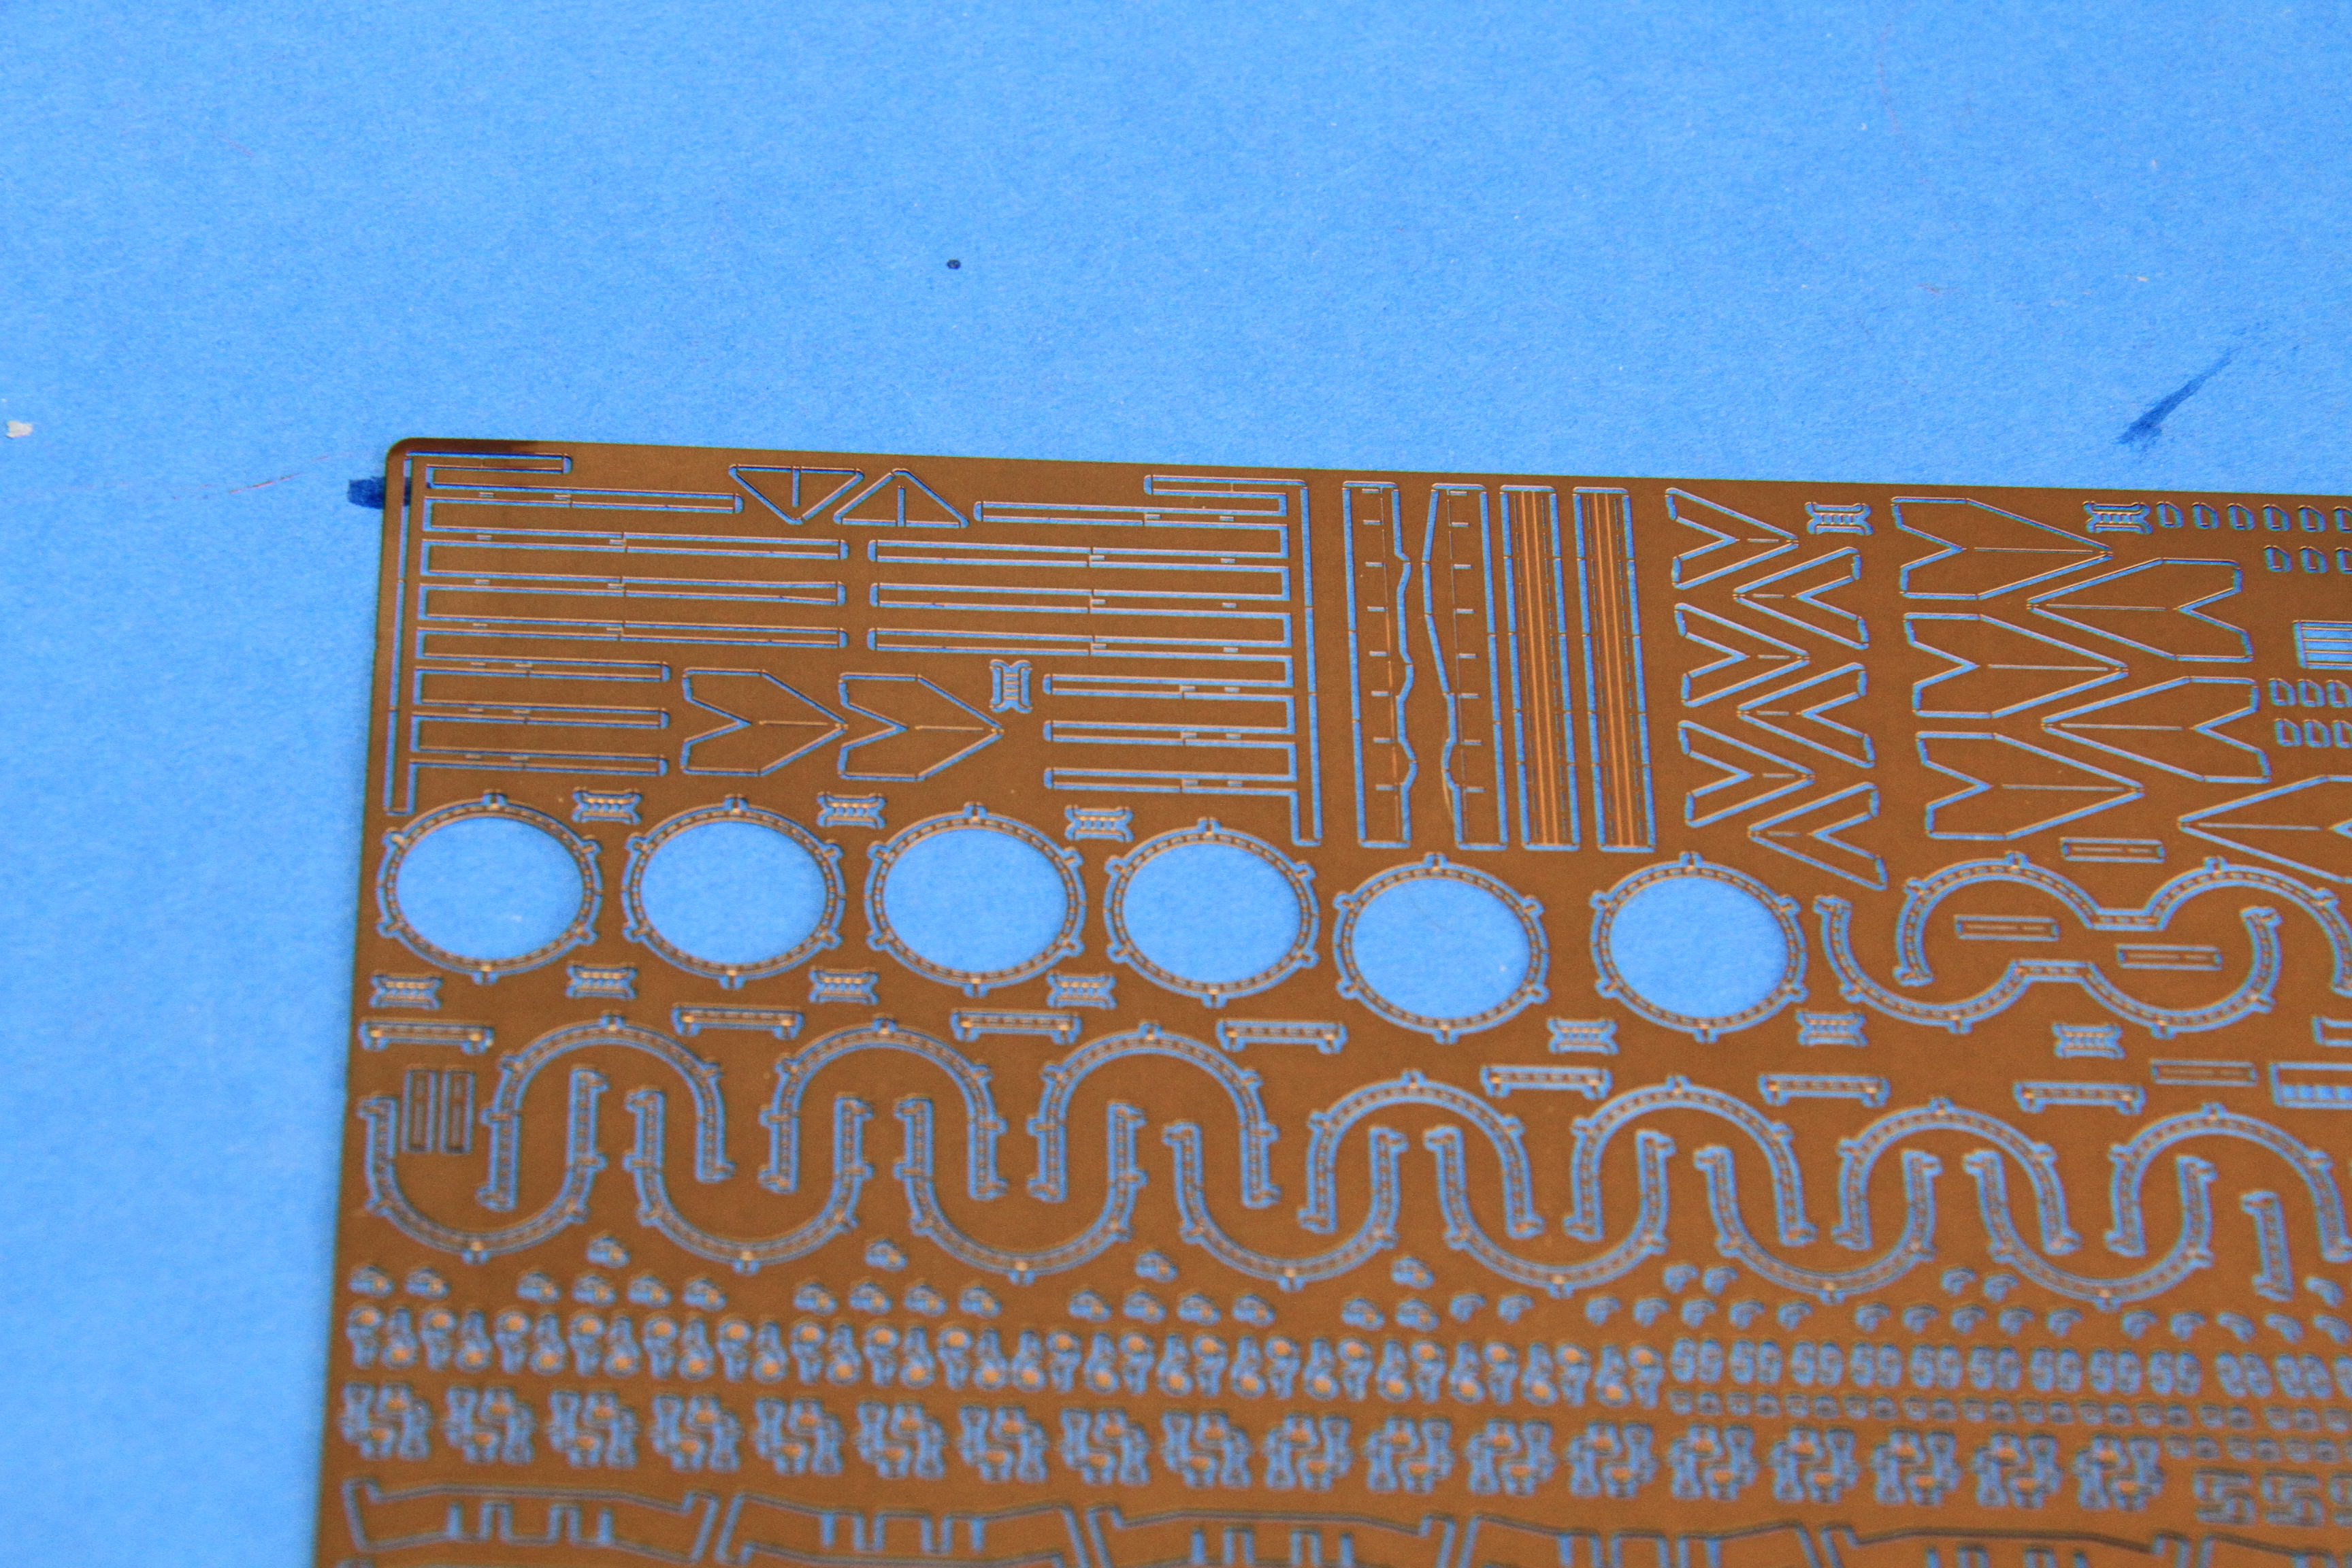
The "base" plates removed.
construction of the first one under way.
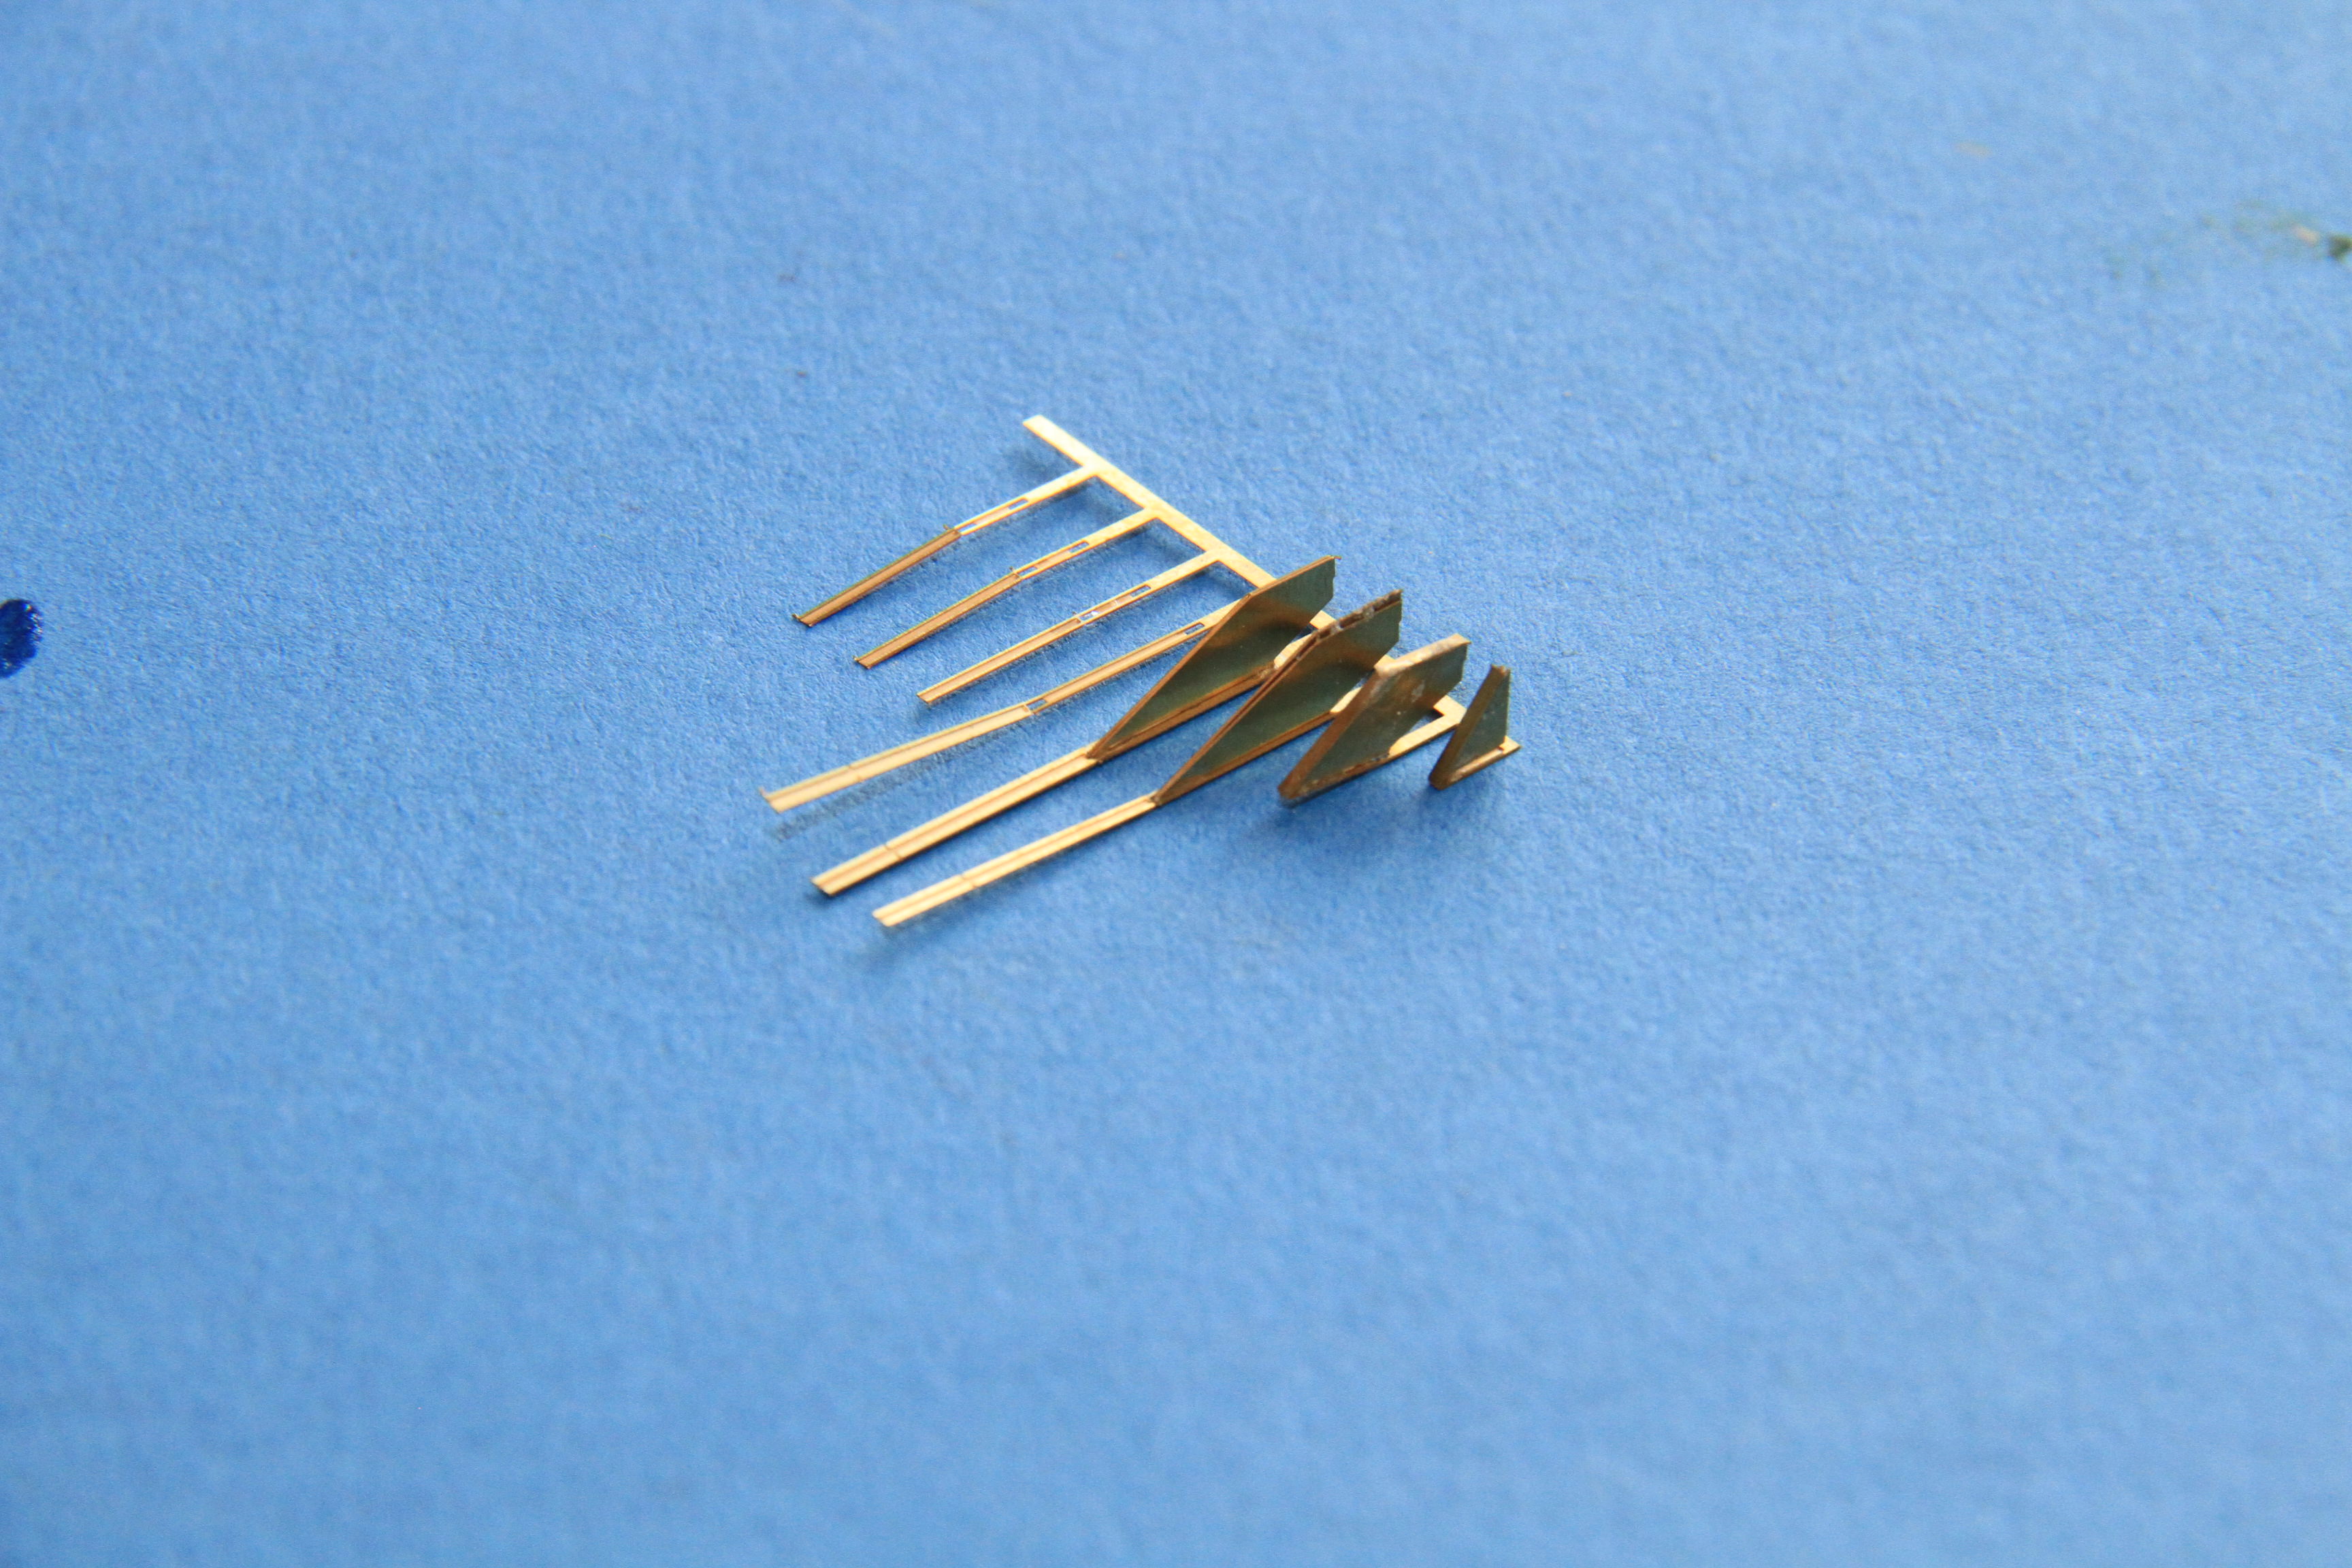
A bit further.
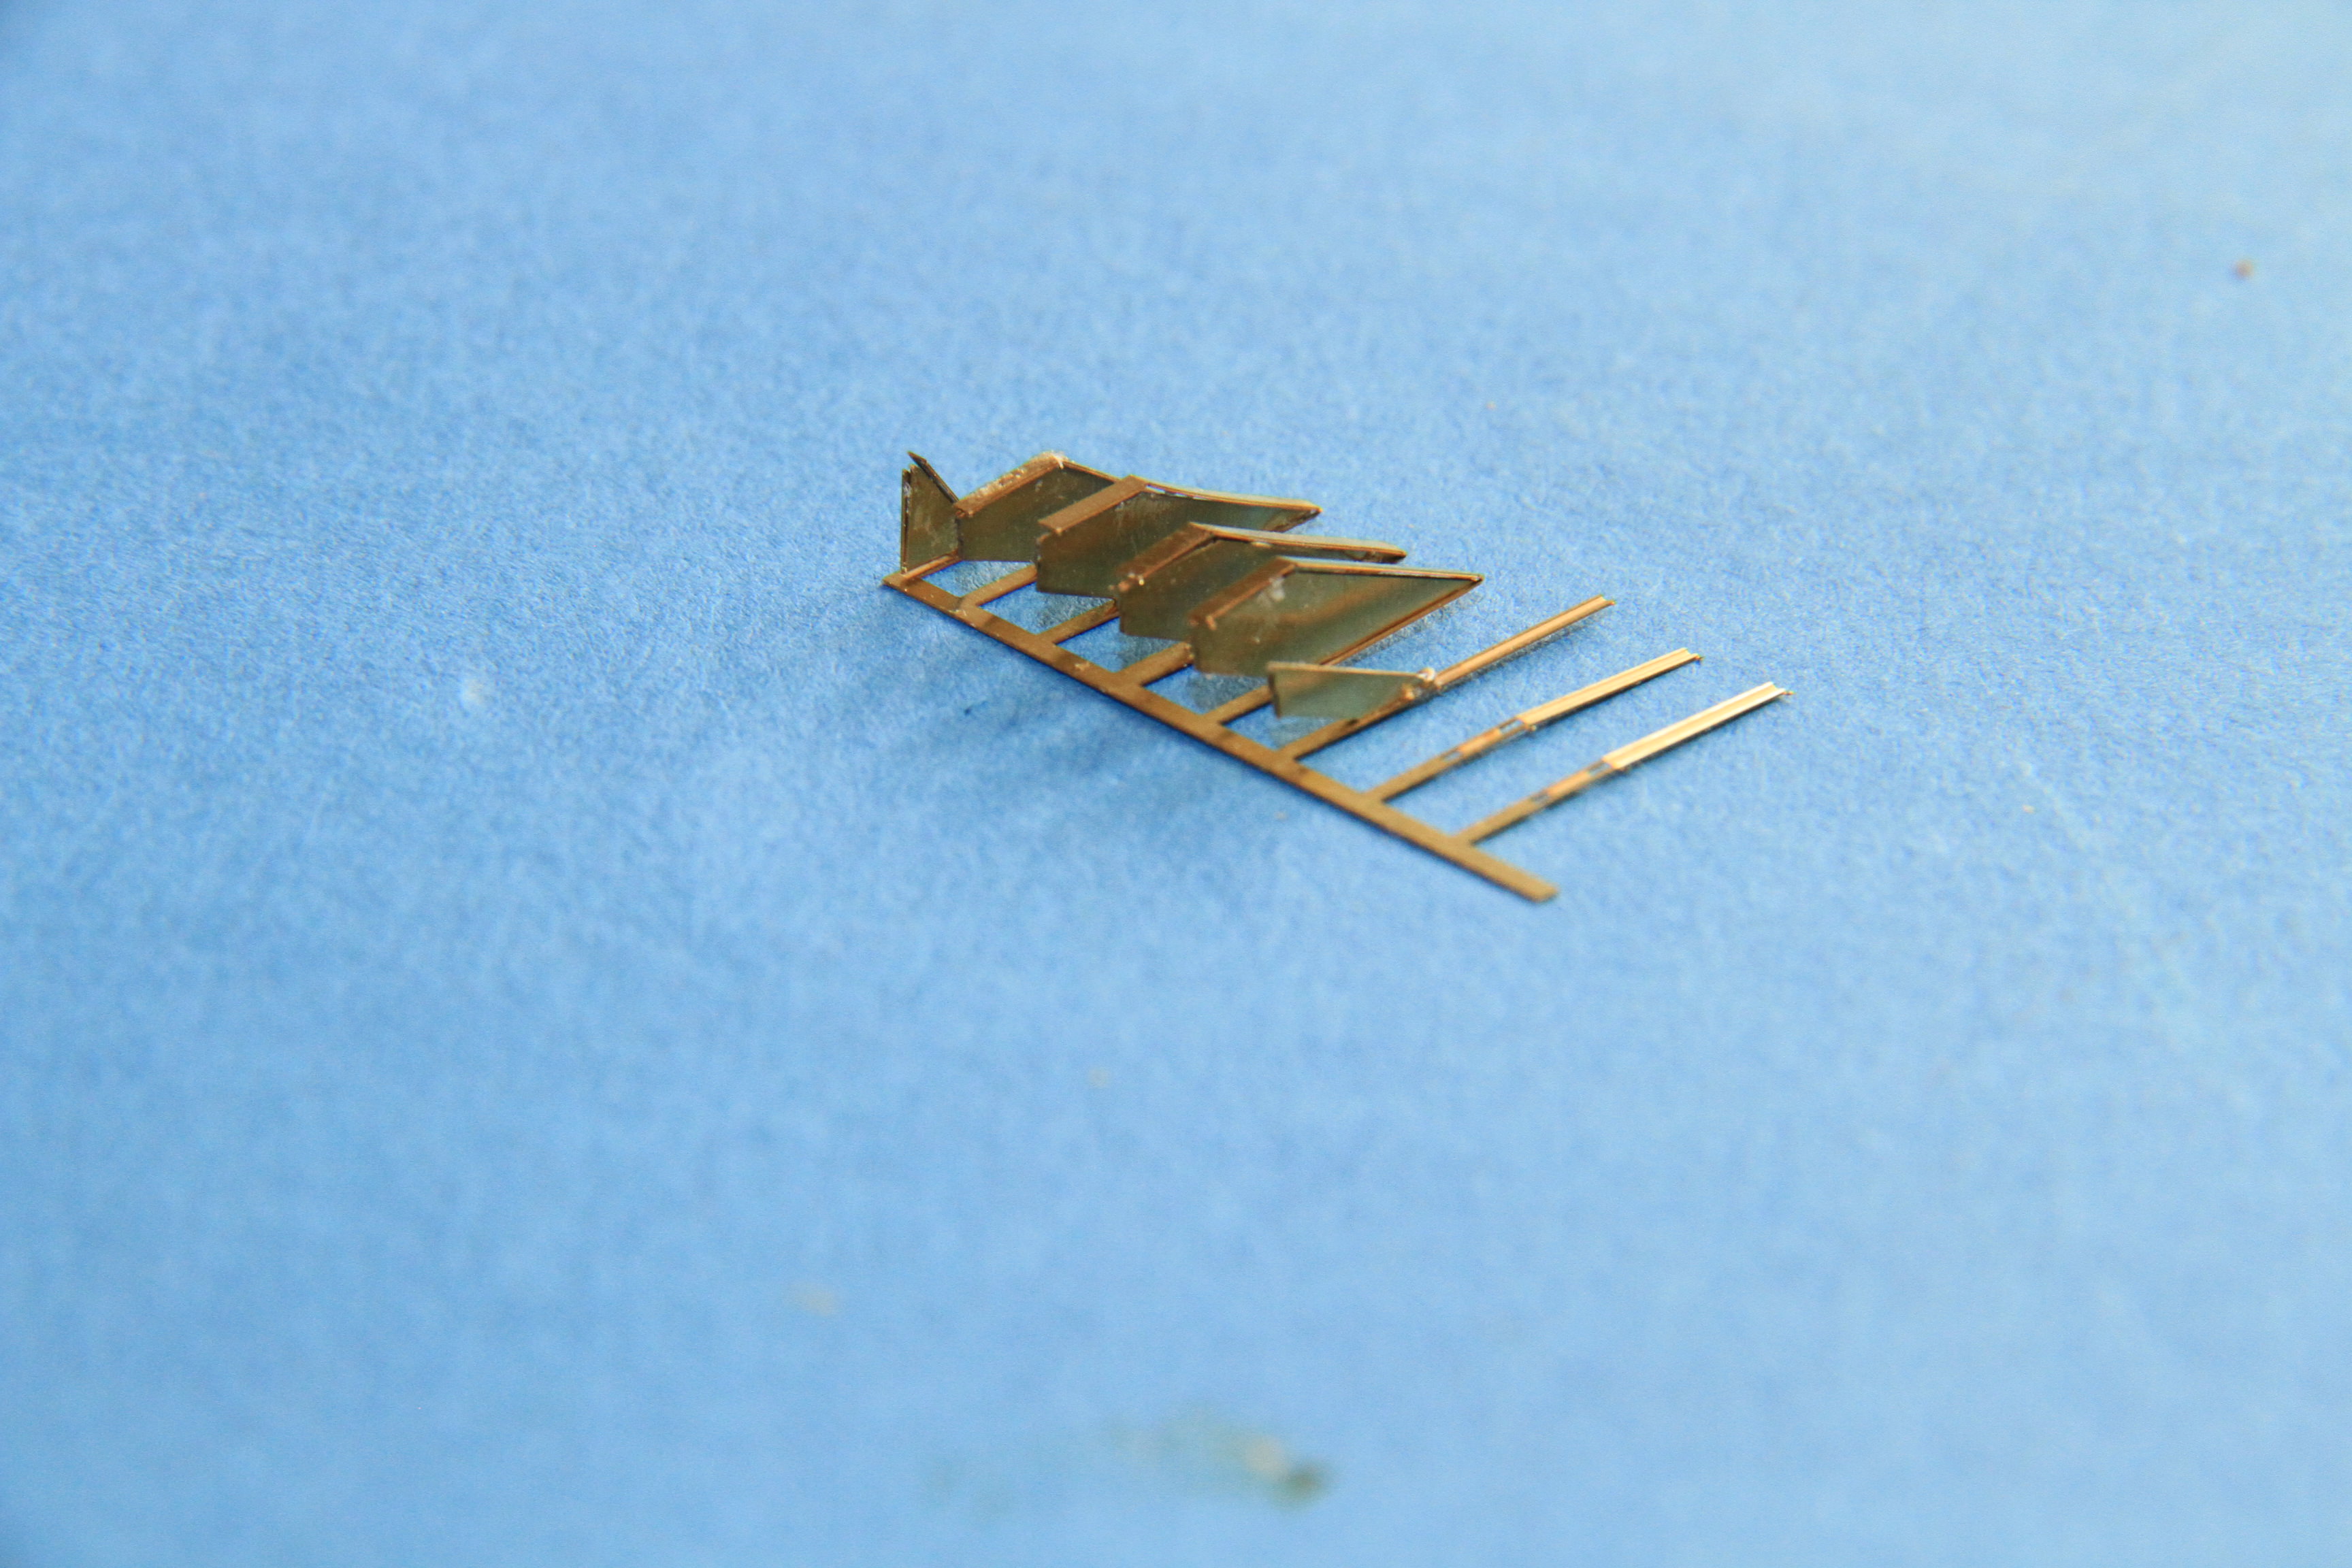
and done.
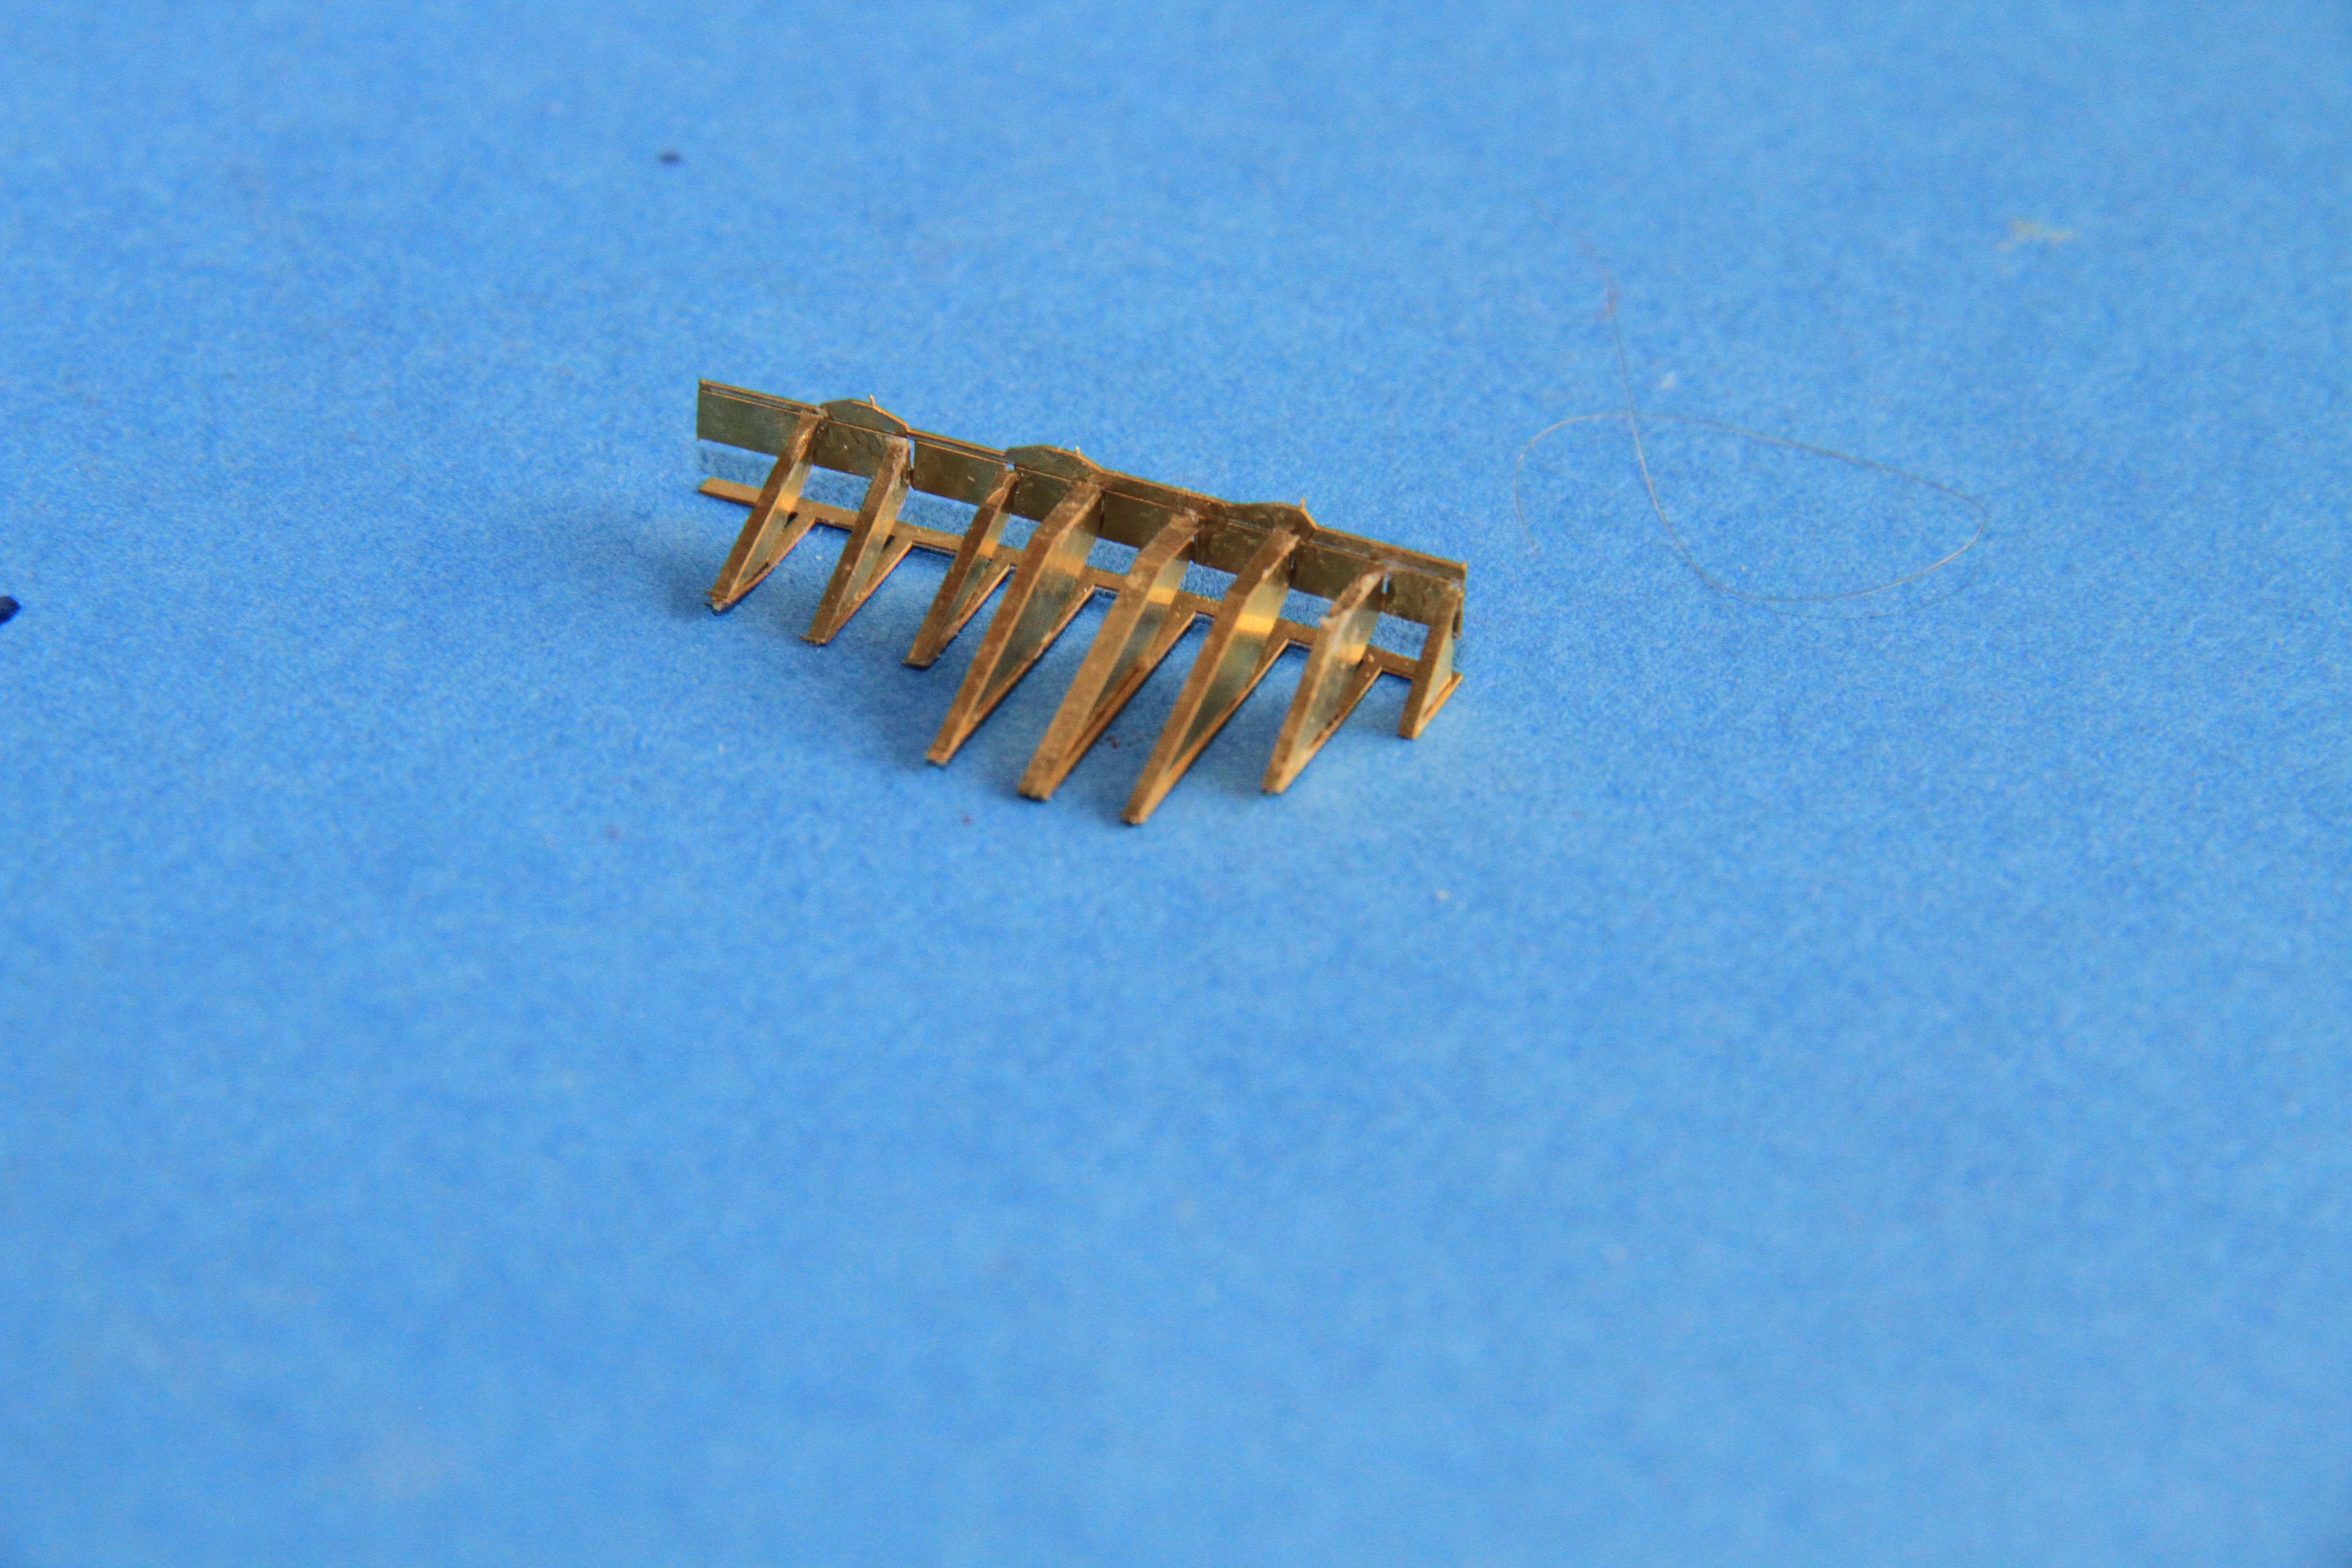
The instructions for these are not the clearest, but so far so good.
More soon.
Cheers
Si
The missing struts on the propeller shafts added from plastic strip.
etched detail strips / catwalk mounts fitted to the rest of the flight deck.
Port aft
stbd aft.
port midships
Parts for the side elevator guides, on the fret.
The "base" plates removed.
construction of the first one under way.
A bit further.
and done.
The instructions for these are not the clearest, but so far so good.
More soon.
Cheers
Si
RedDuster
Joined: March 01, 2010
KitMaker: 7,078 posts
Model Shipwrights: 6,649 posts
Posted: Monday, June 18, 2018 - 08:21 AM UTC
Yesterday's progress.
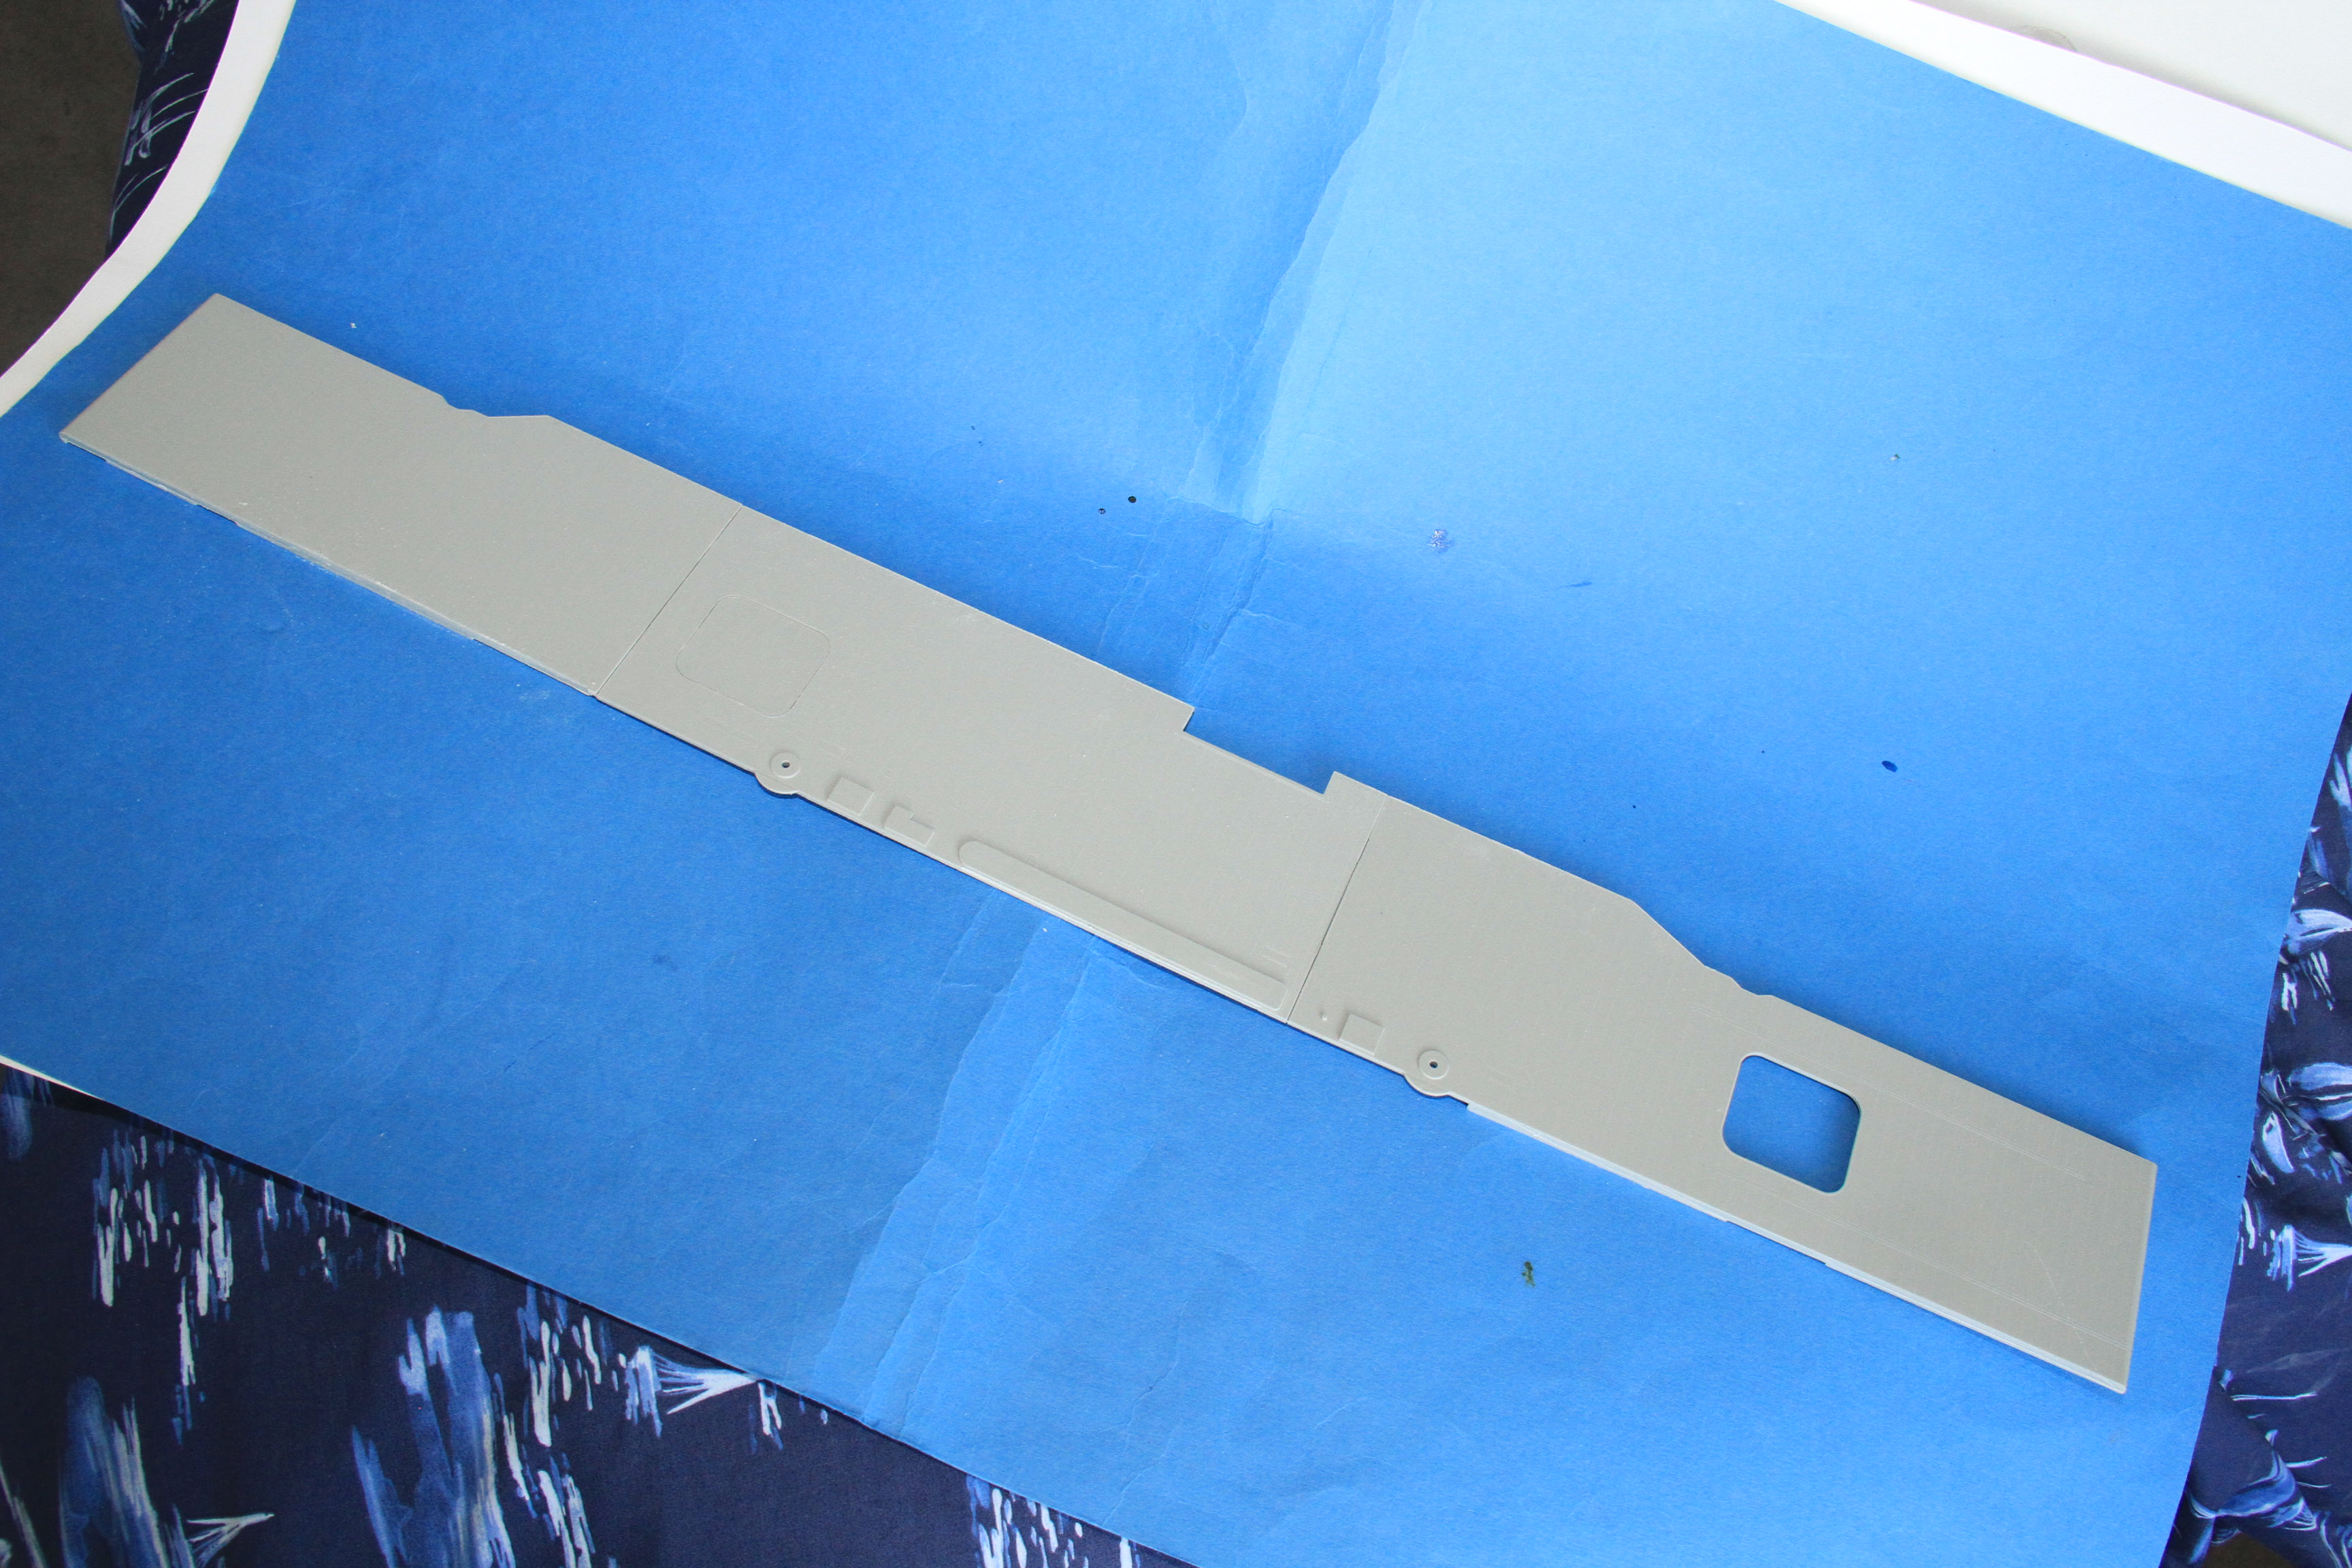
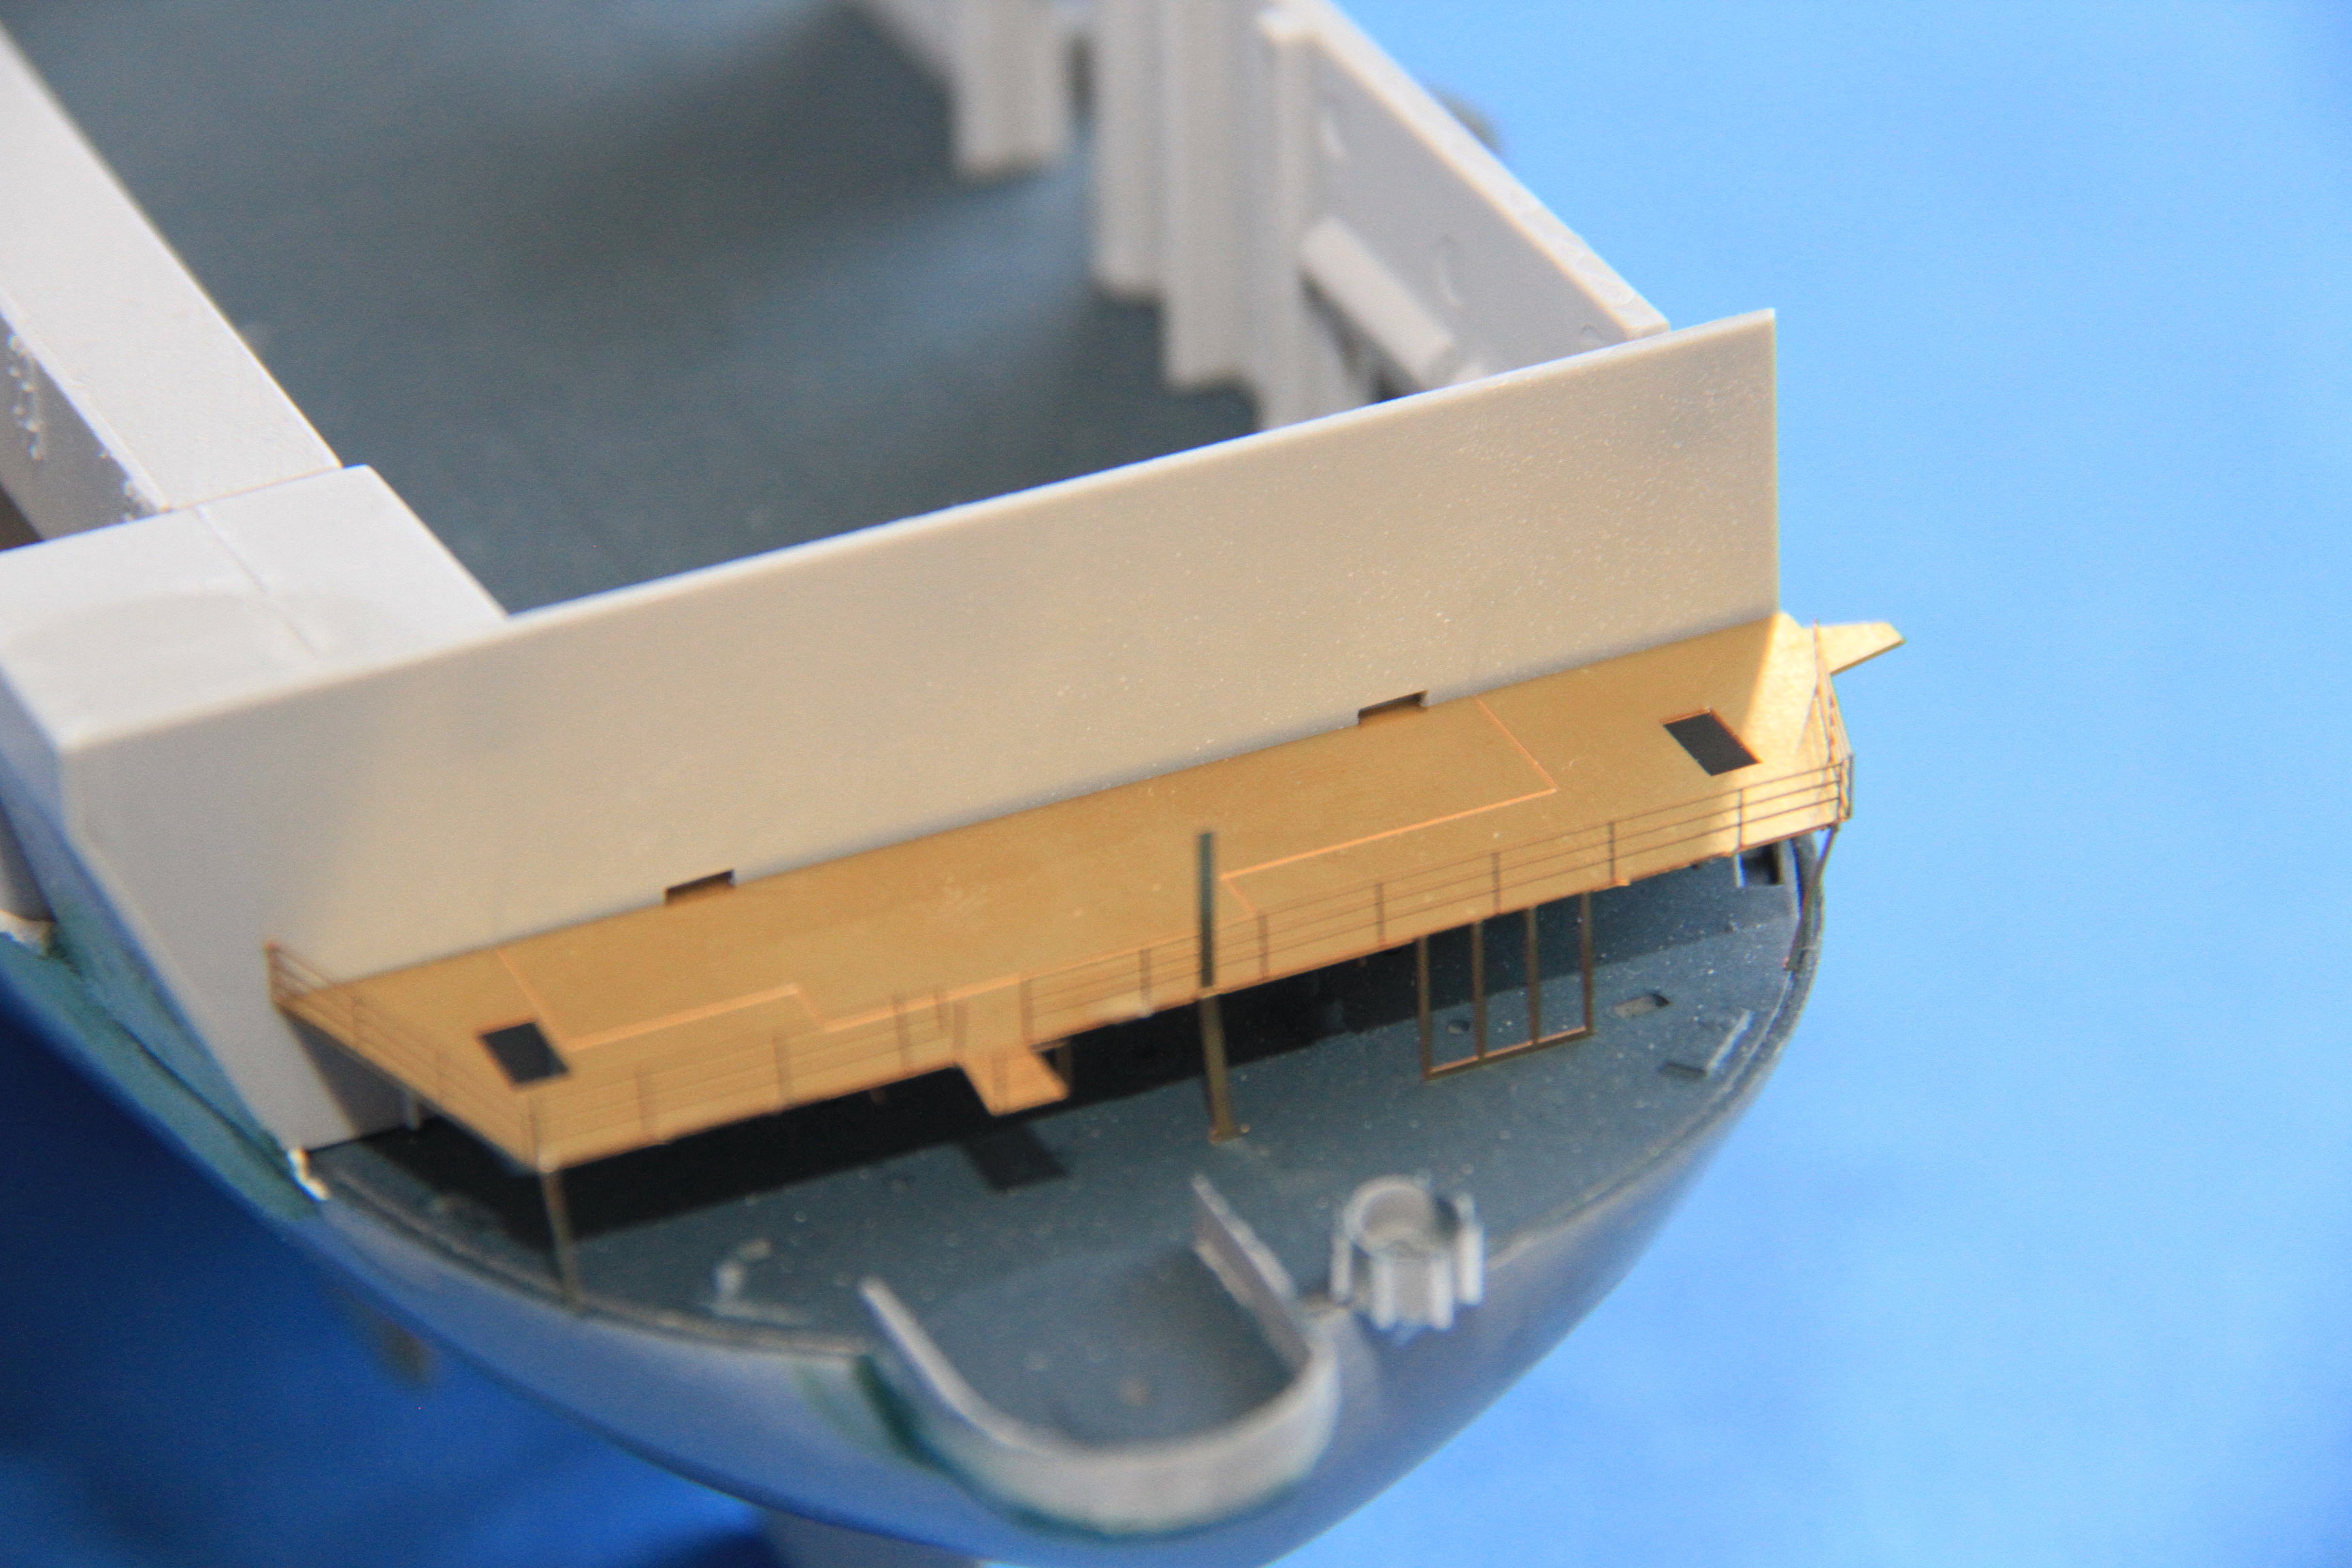
The structure under the forward end of the flight deck.
The to fore and aft frames and the forward support test fitted together.

The 2nd and third supports have some structure on them, the production line under way, eight of these parts required.

the fitting to the second support under way.
Beginnings of fitting the parts down.
The big bits all done, just lots of little bits to do.
Test fitted in place.

More soon.
Cheers
Si
The structure under the forward end of the flight deck.
The to fore and aft frames and the forward support test fitted together.
The 2nd and third supports have some structure on them, the production line under way, eight of these parts required.
the fitting to the second support under way.
Beginnings of fitting the parts down.
The big bits all done, just lots of little bits to do.
Test fitted in place.
More soon.
Cheers
Si
RussellE
#306
Joined: June 27, 2010
KitMaker: 3,959 posts
Model Shipwrights: 2,777 posts
Posted: Monday, June 18, 2018 - 09:39 AM UTC
that's a whole lotta metal, Si! 
Do you have access to paint it?
Do you have access to paint it?
RedDuster
Joined: March 01, 2010
KitMaker: 7,078 posts
Model Shipwrights: 6,649 posts
Posted: Tuesday, June 19, 2018 - 07:41 AM UTC
Quoted Text
that's a whole lotta metal, Si!
Do you have access to paint it?
Hi Russ,
You aren't wrong, but it's not all there yet.
Sure do, not fixed down yet. I think I will put some anchor cable in as well, the lack will be visible from some angles.
Cheers
Si
Cosimodo
#335
Joined: September 03, 2013
KitMaker: 1,808 posts
Model Shipwrights: 871 posts
Posted: Tuesday, June 19, 2018 - 12:07 PM UTC
Nice to see a start on the serious metal work. As Russ said, a whole lot of brass goes into the flight deck support, fore and aft. I think the challenge will be in painting it all.
cheers
Michael
cheers
Michael

TracyWhite
Joined: January 18, 2005
KitMaker: 527 posts
Model Shipwrights: 464 posts

Posted: Tuesday, June 19, 2018 - 03:48 PM UTC
Quoted Text
I will indeed, I have some etch guides and mechanism left over from my CVL22 build which it is plan to use as a basis.
For what it's worth, the CVs and CVLs used totally different elevator mechanisms. The CVLs didn't have the space for the hydraulic rams below the elevators that the Essex class did and used cables and pulleys to lift the platform. The Essex class had two pistons fore and aft on the elevator's centerline with a vertical track ahead and behind of them that was designed to hold the elevator flat (so any unbalance would not be transferred to the pistons with their need for tight tolerances and seals). You can see these in "The Fighting Lady" on Youtube about 5:30 in. The pistons are the bright shiny things and the track is the dark column next to them.
*Generally* when the elevator was raised a secondary, auxiliary elevator rose up out of the pit to cover part of the opening to make moving aircraft fore and aft around the elevator easier. They show up in plans such as this one but I don't know of any web resources that have photos or video showing this clearly.
Be aware that the post-war modifications to the Essexes changed the elevators out to handle the heavier and larger aircraft, so they're not good references to use.
RedDuster
Joined: March 01, 2010
KitMaker: 7,078 posts
Model Shipwrights: 6,649 posts
Posted: Wednesday, June 20, 2018 - 07:24 AM UTC
Quoted Text
Quoted TextI will indeed, I have some etch guides and mechanism left over from my CVL22 build which it is plan to use as a basis.
For what it's worth, the CVs and CVLs used totally different elevator mechanisms. The CVLs didn't have the space for the hydraulic rams below the elevators that the Essex class did and used cables and pulleys to lift the platform. The Essex class had two pistons fore and aft on the elevator's centerline with a vertical track ahead and behind of them that was designed to hold the elevator flat (so any unbalance would not be transferred to the pistons with their need for tight tolerances and seals). You can see these in "The Fighting Lady" on Youtube about 5:30 in. The pistons are the bright shiny things and the track is the dark column next to them.
*Generally* when the elevator was raised a secondary, auxiliary elevator rose up out of the pit to cover part of the opening to make moving aircraft fore and aft around the elevator easier. They show up in plans such as this one but I don't know of any web resources that have photos or video showing this clearly.
Be aware that the post-war modifications to the Essexes changed the elevators out to handle the heavier and larger aircraft, so they're not good references to use.
Thank you for the advice Tracy,
New plans then, The guides are shown in the AOTS book on the Intrepid, and the secondary elevator, but not the rams. have a decent selection of tube & rod, so I will give some impression of the actual mechanism.
Missing out the secondary elevator is deliberate, to show the pit, and I apologise if I am incorrect, but would it be deployed every time the elevator goes up, even if it is coming straight back down again. The will be an aircraft, wings folded on the elevator, and another waiting to come up.
Appreciate the advise and information Tracy,
Thanks for looking in.
Cheers
Si
RedDuster
Joined: March 01, 2010
KitMaker: 7,078 posts
Model Shipwrights: 6,649 posts
Posted: Friday, July 13, 2018 - 11:09 PM UTC
A bit more progress, update delayed from last weekend. It has been a very in tense week at work. (But in a good way).
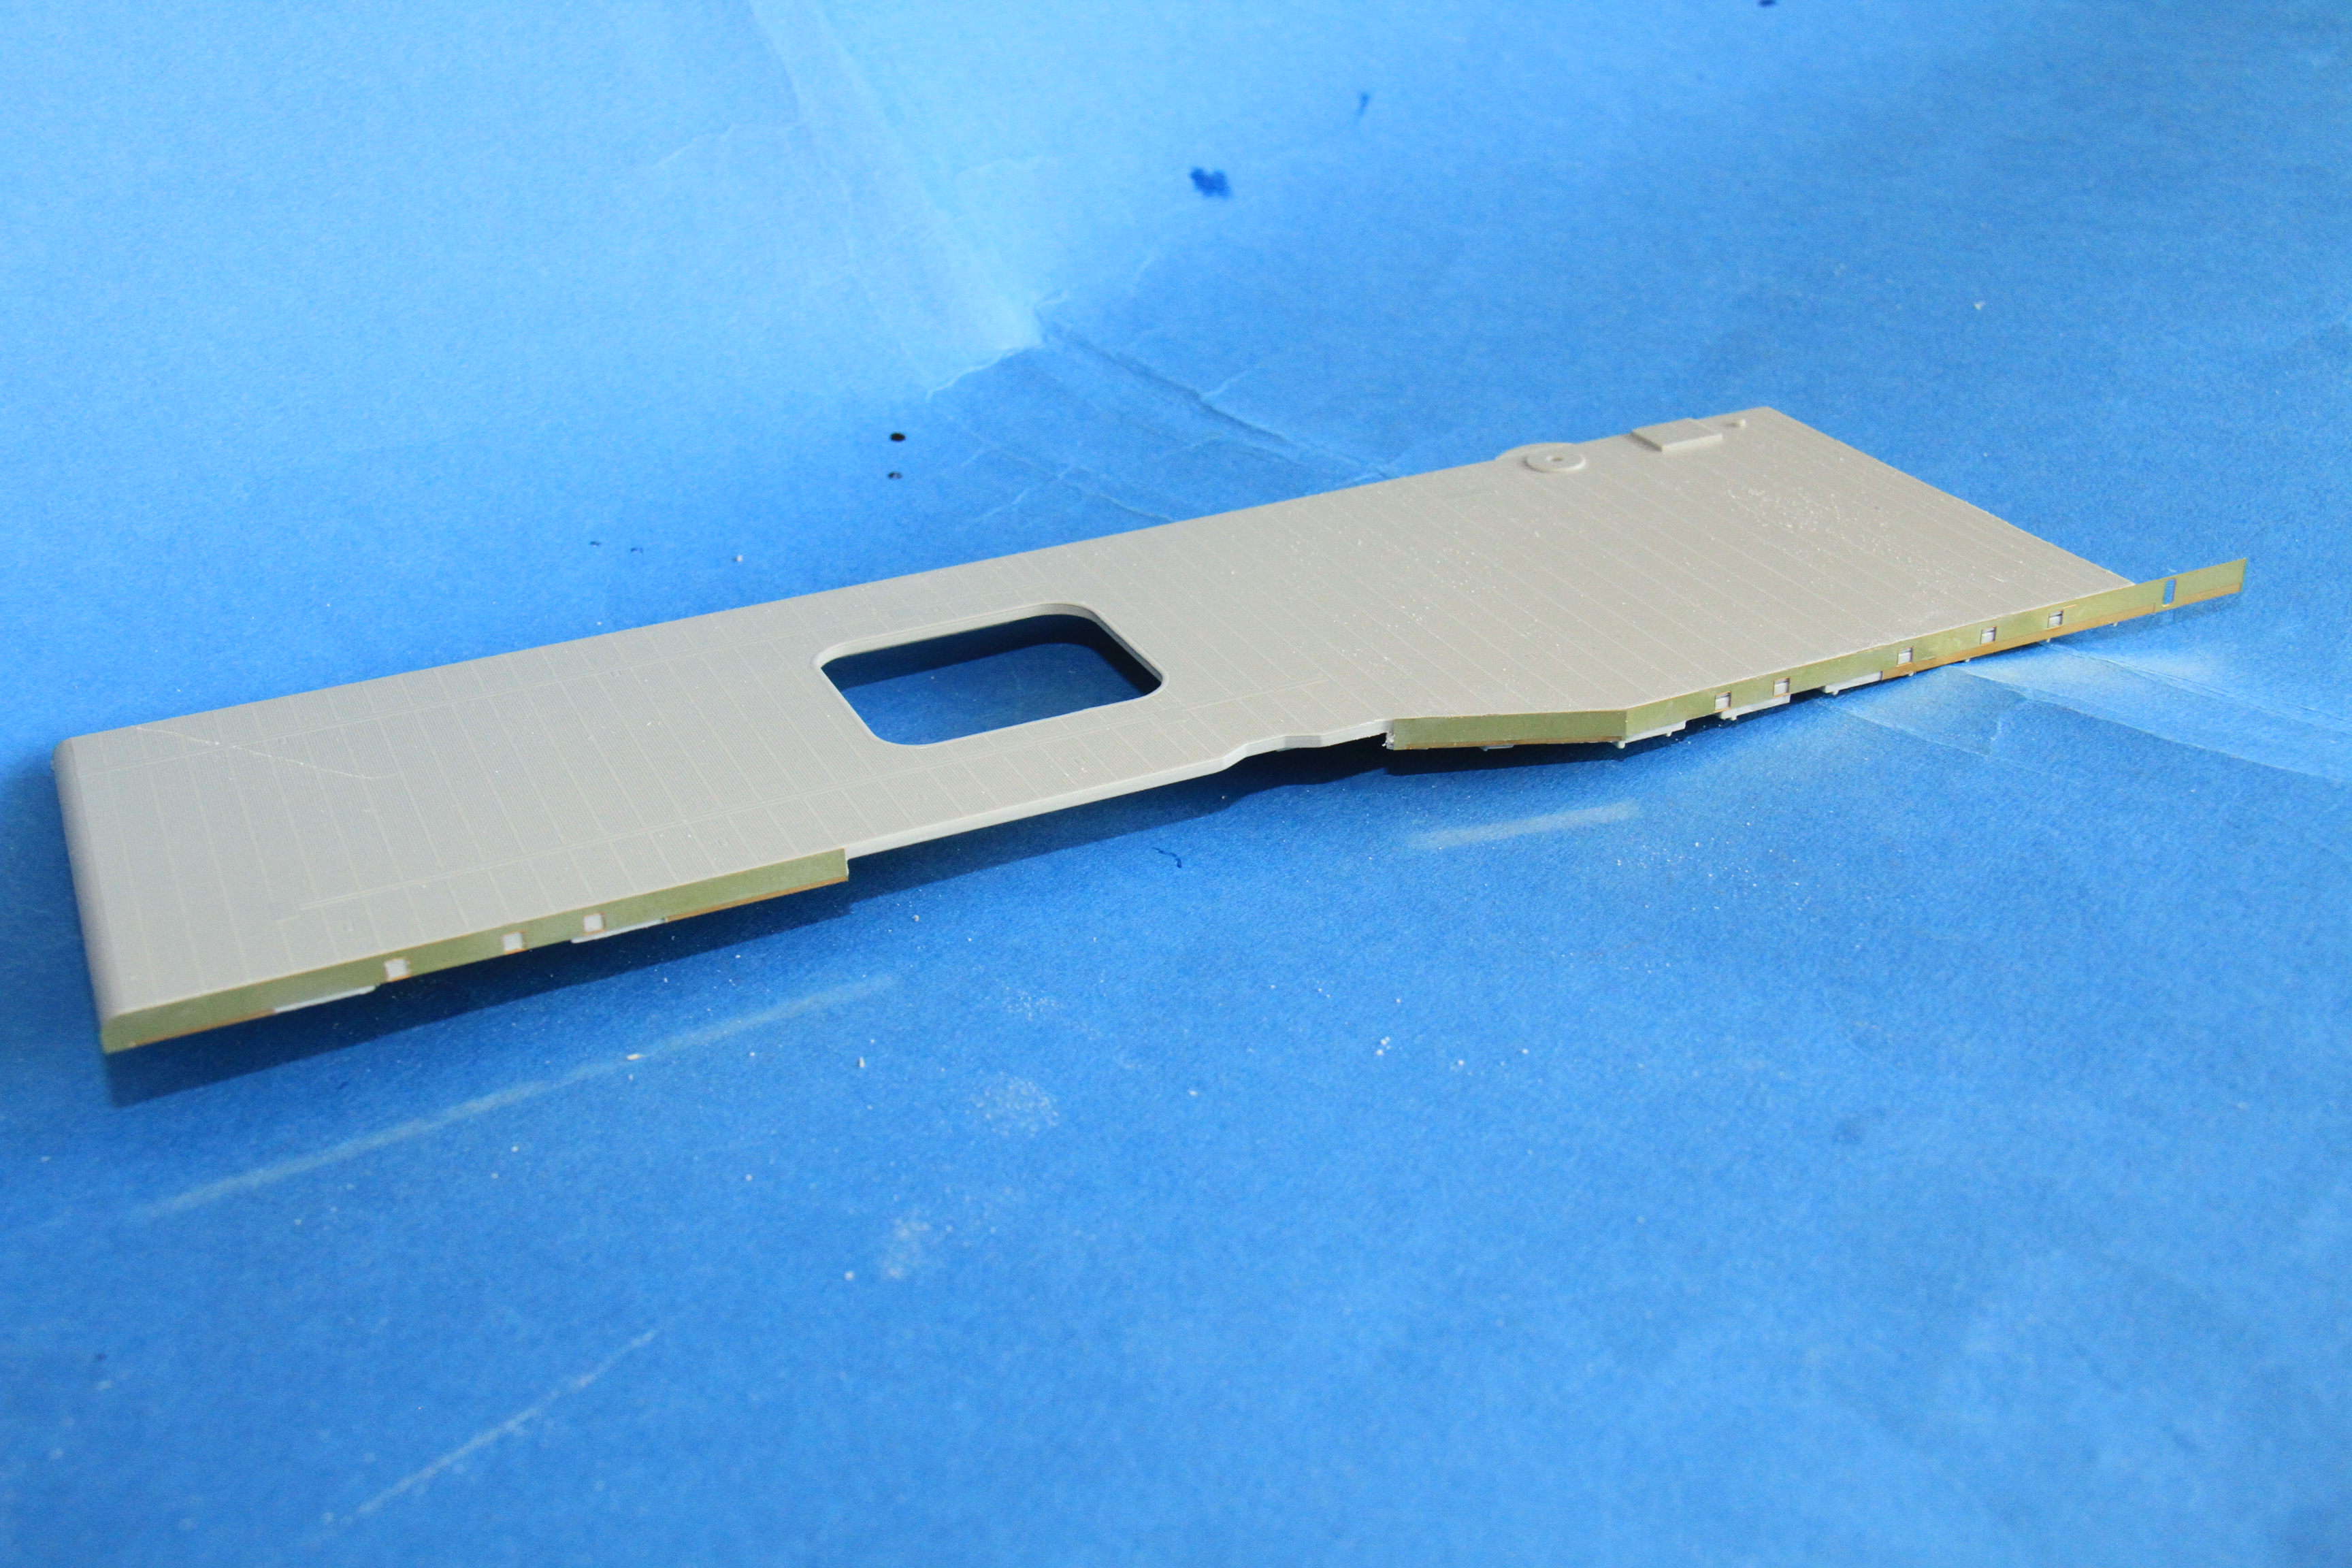
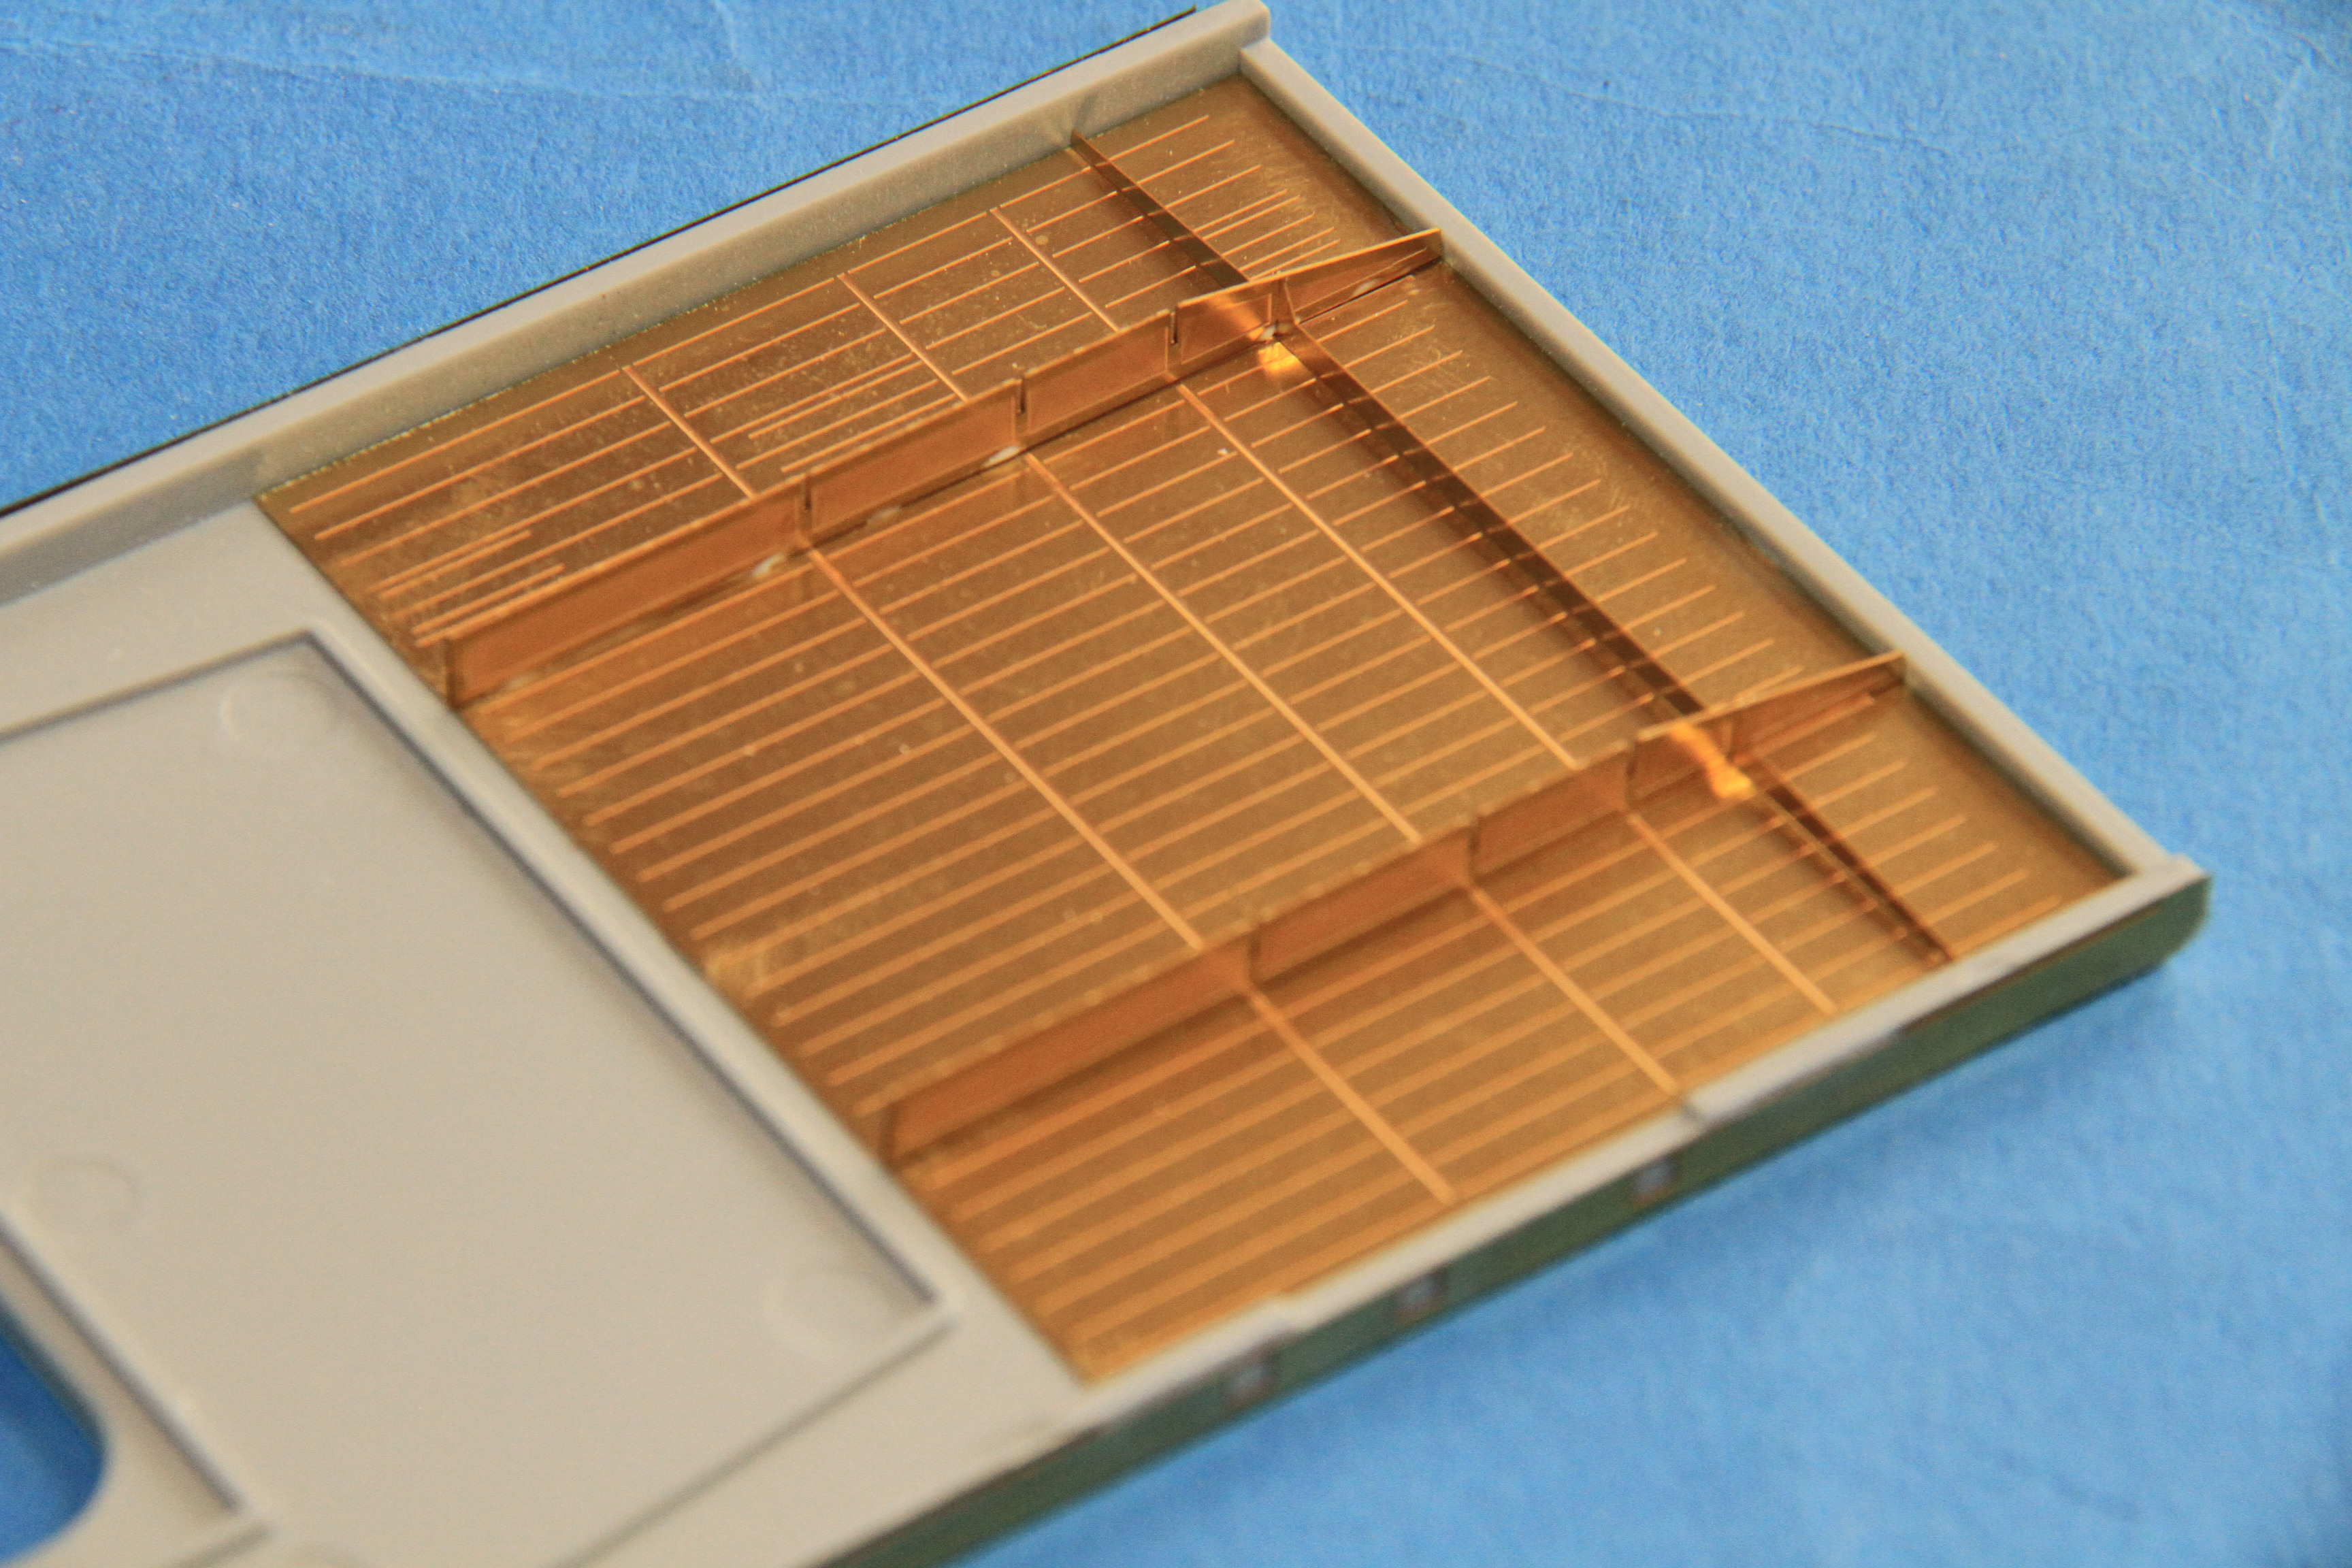
The side elevator out of the box.

There is some etch for it in the box. but not all of this.


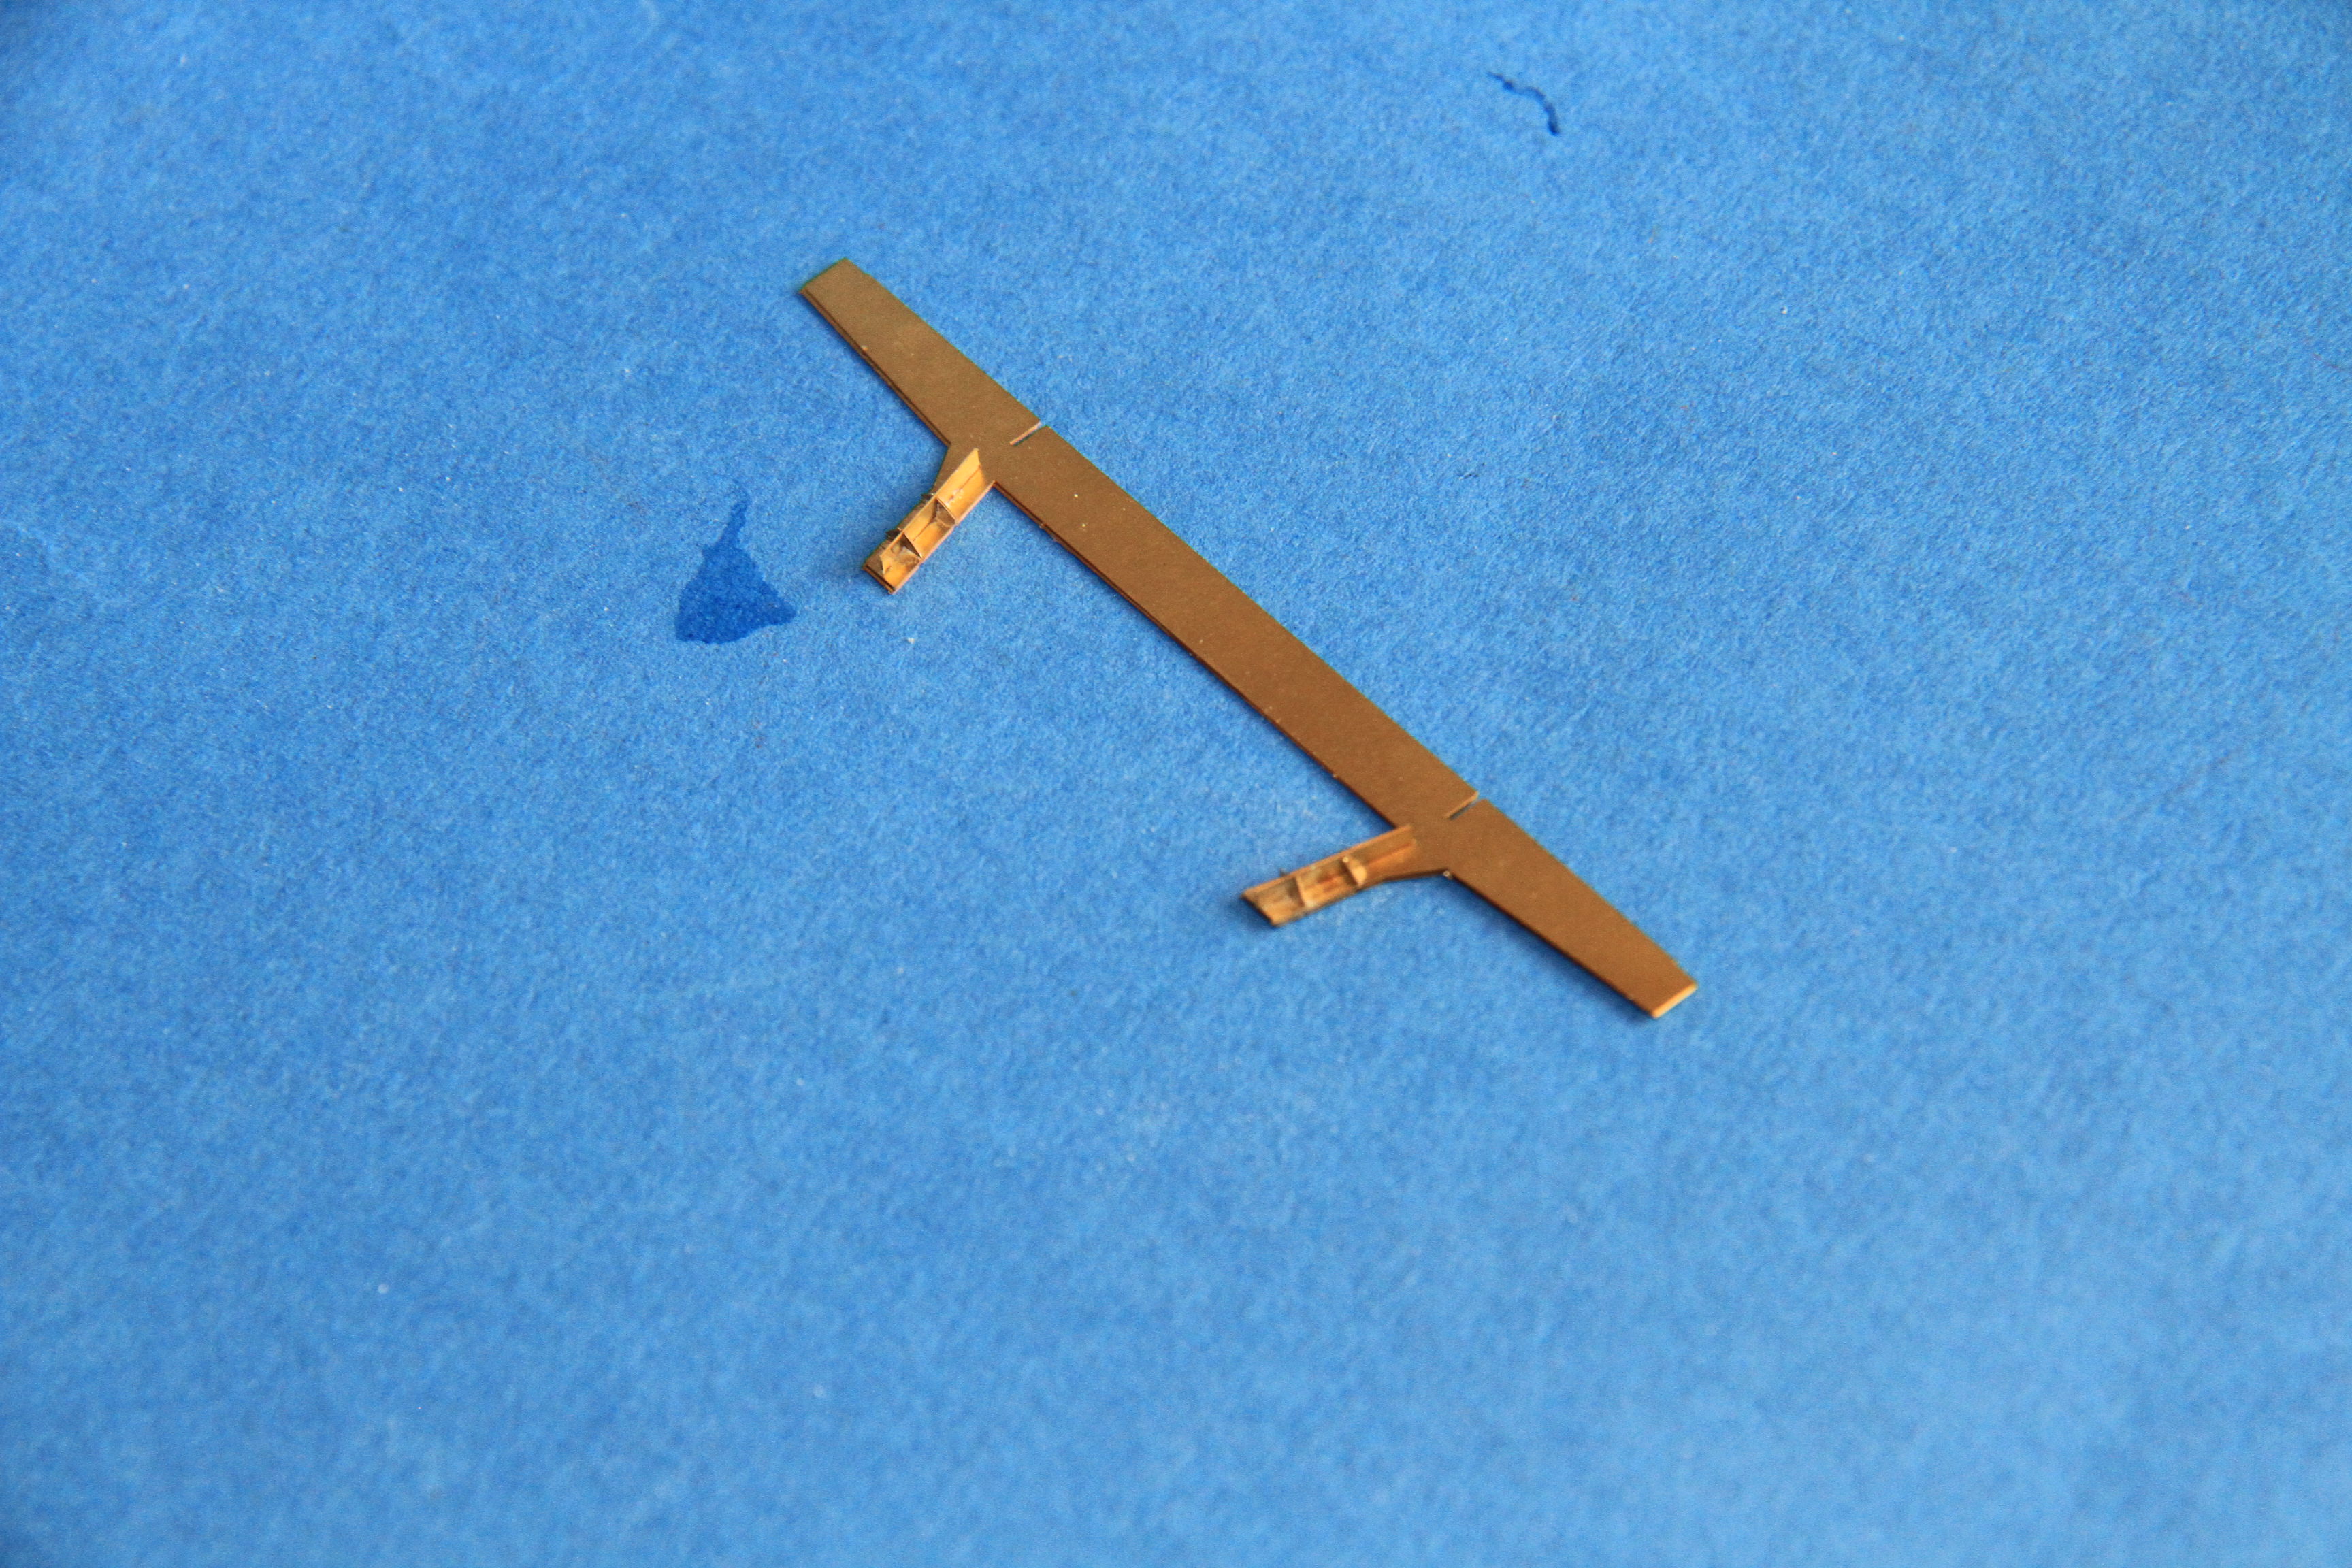
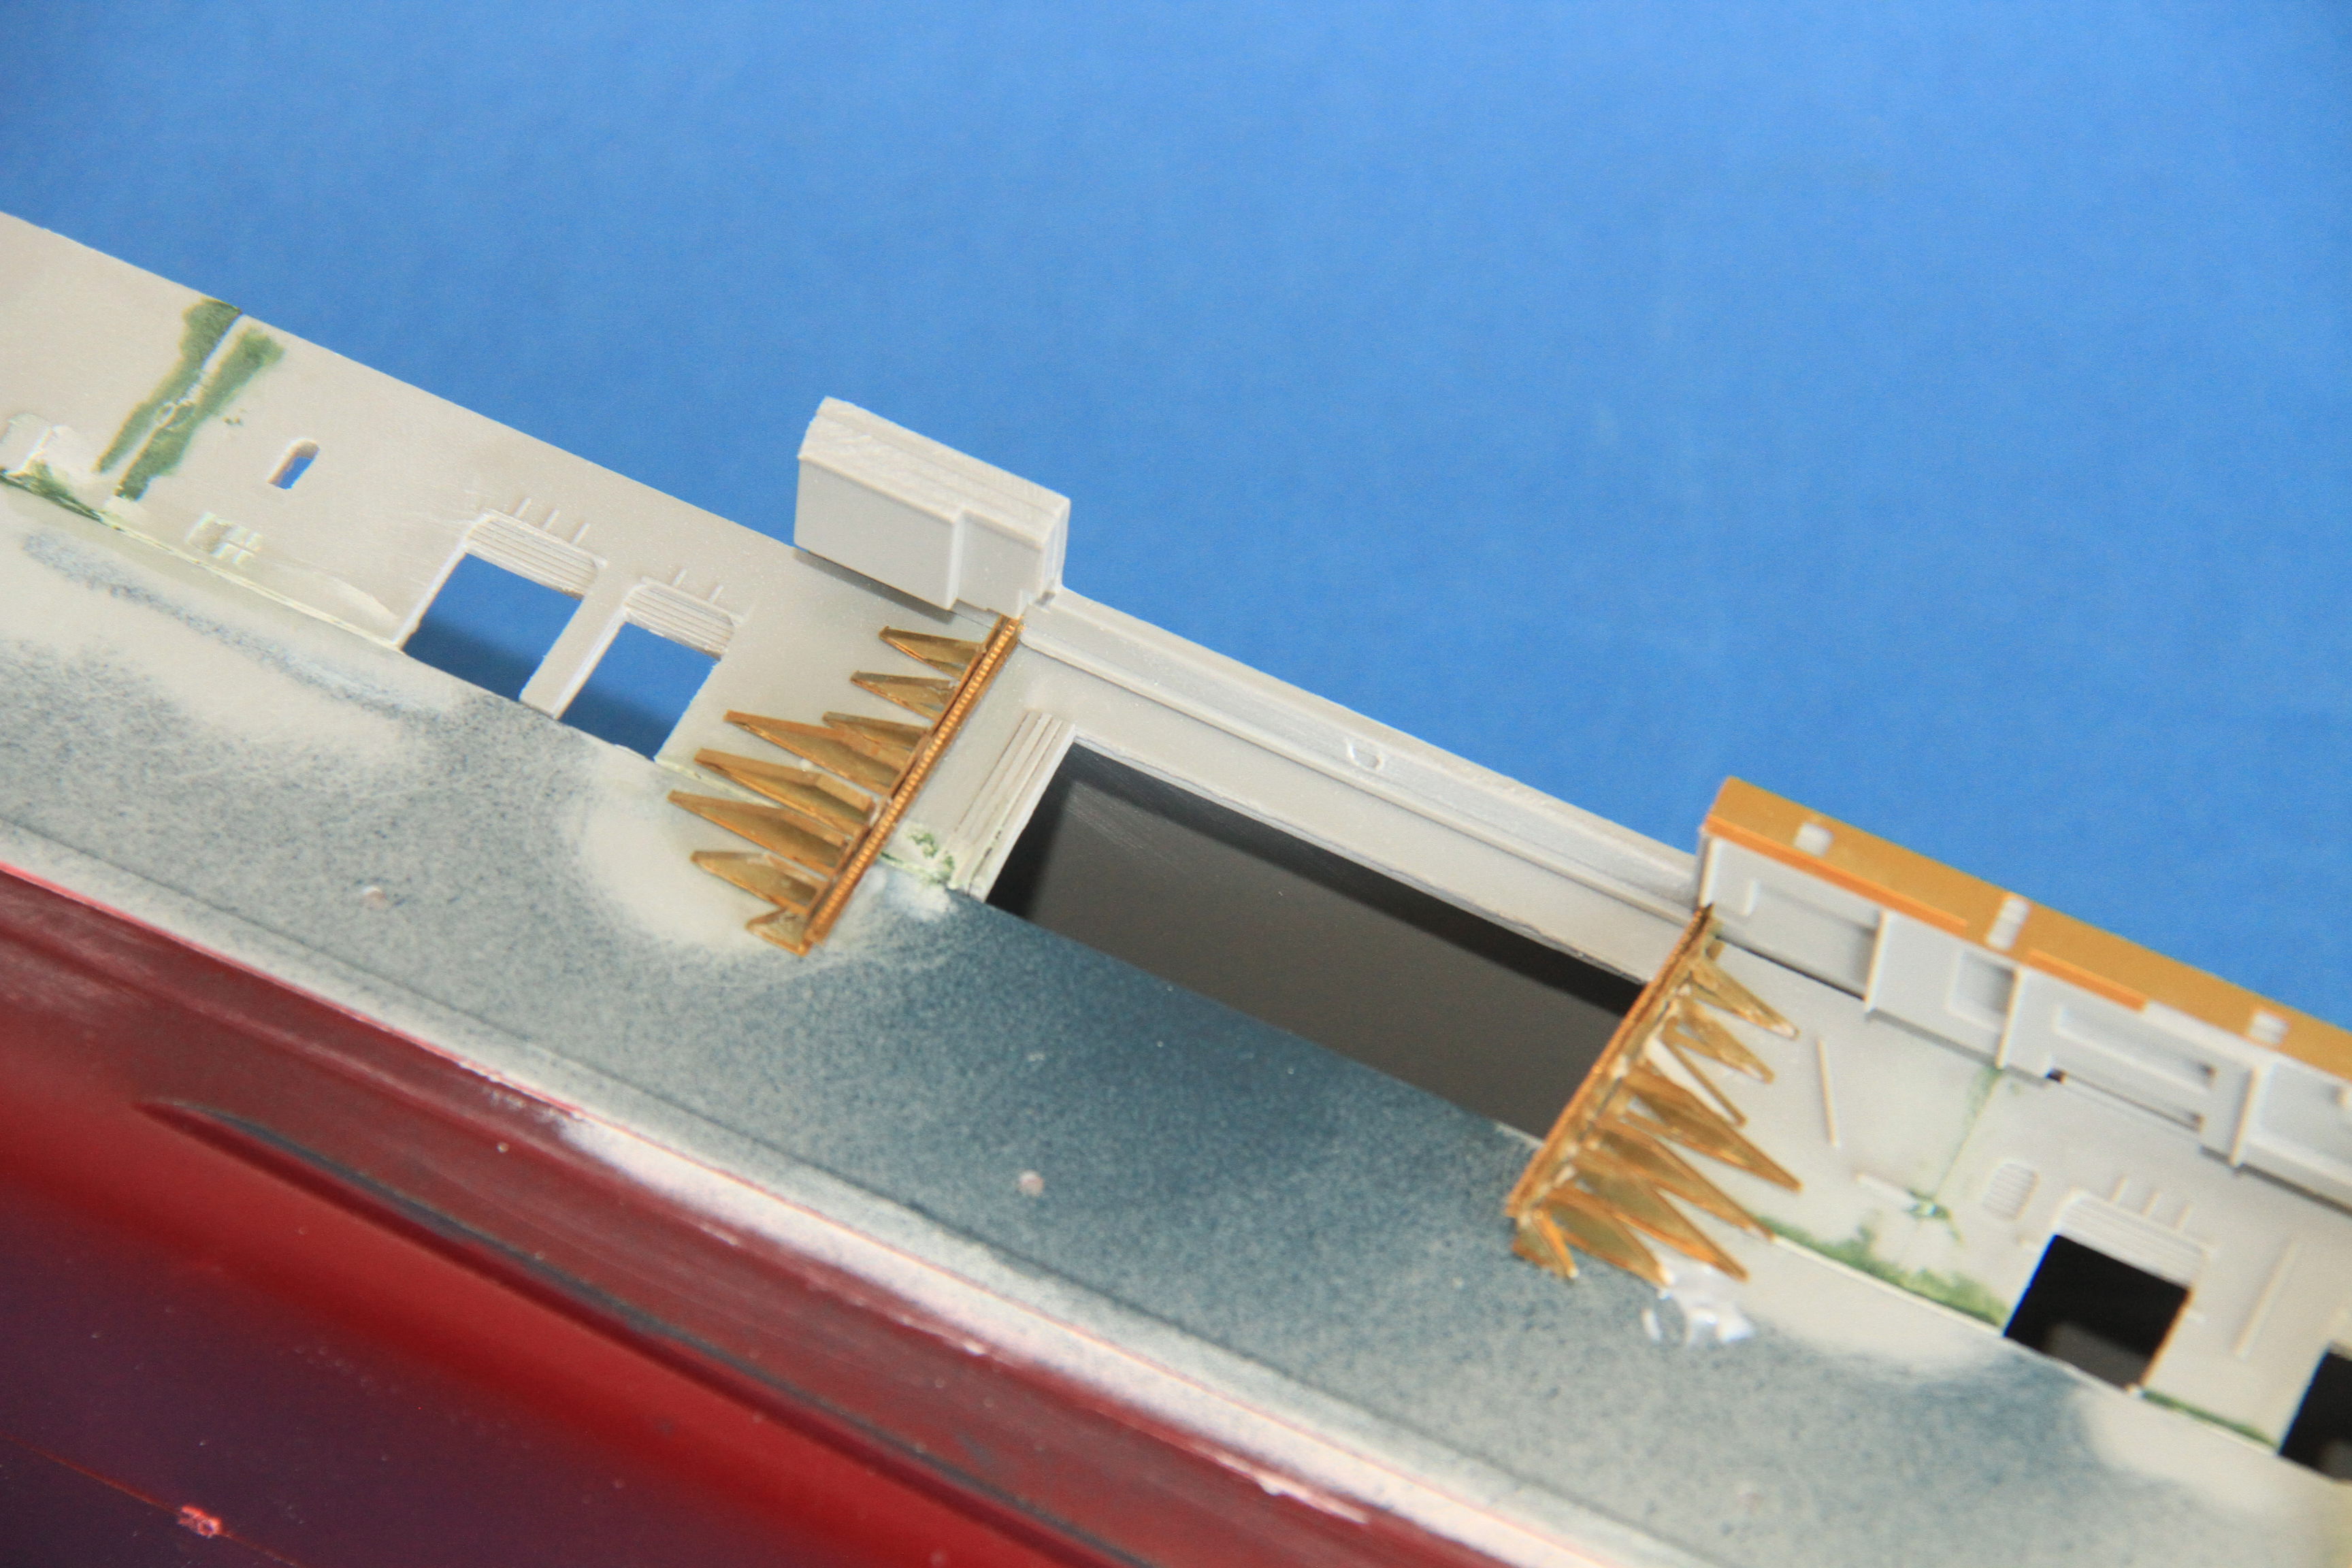
The guide rails for the side structure folded
The elevator & its structure built.

The side structure fitted.
More soon.
Cheers
Si
The side elevator out of the box.
There is some etch for it in the box. but not all of this.
The guide rails for the side structure folded
The elevator & its structure built.
The side structure fitted.
More soon.
Cheers
Si
RussellE
#306
Joined: June 27, 2010
KitMaker: 3,959 posts
Model Shipwrights: 2,777 posts
Posted: Sunday, July 15, 2018 - 09:45 AM UTC
Holey Moley!
That elevator looks fragile!
That elevator looks fragile!
RedDuster
Joined: March 01, 2010
KitMaker: 7,078 posts
Model Shipwrights: 6,649 posts
Posted: Monday, July 16, 2018 - 07:41 AM UTC
Hi Russ
Building it so it could be handled for paining and fitting did concern me, but I found running extra thin Gator glue along the joins and folds made it fairly rigid.
I am not going to test that rigidity though, well not intentionally anyway.
Cheers
Si
Building it so it could be handled for paining and fitting did concern me, but I found running extra thin Gator glue along the joins and folds made it fairly rigid.
I am not going to test that rigidity though, well not intentionally anyway.
Cheers
Si

JJ1973
#345

Joined: August 22, 2011
KitMaker: 1,835 posts
Model Shipwrights: 1,832 posts
Posted: Tuesday, July 17, 2018 - 04:18 PM UTC
Si,
very nice work on your Intrepid, too! As Russ said, the elevator really does look fragile! Good to hear that you have some confidence in it, would be a shame if it gets damaged in the process!
Cheers,
Jan
very nice work on your Intrepid, too! As Russ said, the elevator really does look fragile! Good to hear that you have some confidence in it, would be a shame if it gets damaged in the process!
Cheers,
Jan
RedDuster
Joined: March 01, 2010
KitMaker: 7,078 posts
Model Shipwrights: 6,649 posts
Posted: Wednesday, July 18, 2018 - 06:14 AM UTC
Quoted Text
Si,
very nice work on your Intrepid, too! As Russ said, the elevator really does look fragile! Good to hear that you have some confidence in it, would be a shame if it gets damaged in the process!
Cheers,
Jan
Thanks Jan,
I do like the extra thin gator glue, it takes a while to grip, but the grip is strong and is slightly flexible, which is why I tend to tack parts with superglue. The give means the joins are less susceptible to shock damage, and springing apart under the slightest pressure.
The really tricky bit for handling will be the safety netting around the edges. I may well leave those parts off till it is place.
Thanks for looking in mate.
Cheers
Si
RedDuster
Joined: March 01, 2010
KitMaker: 7,078 posts
Model Shipwrights: 6,649 posts
Posted: Wednesday, July 18, 2018 - 06:30 AM UTC
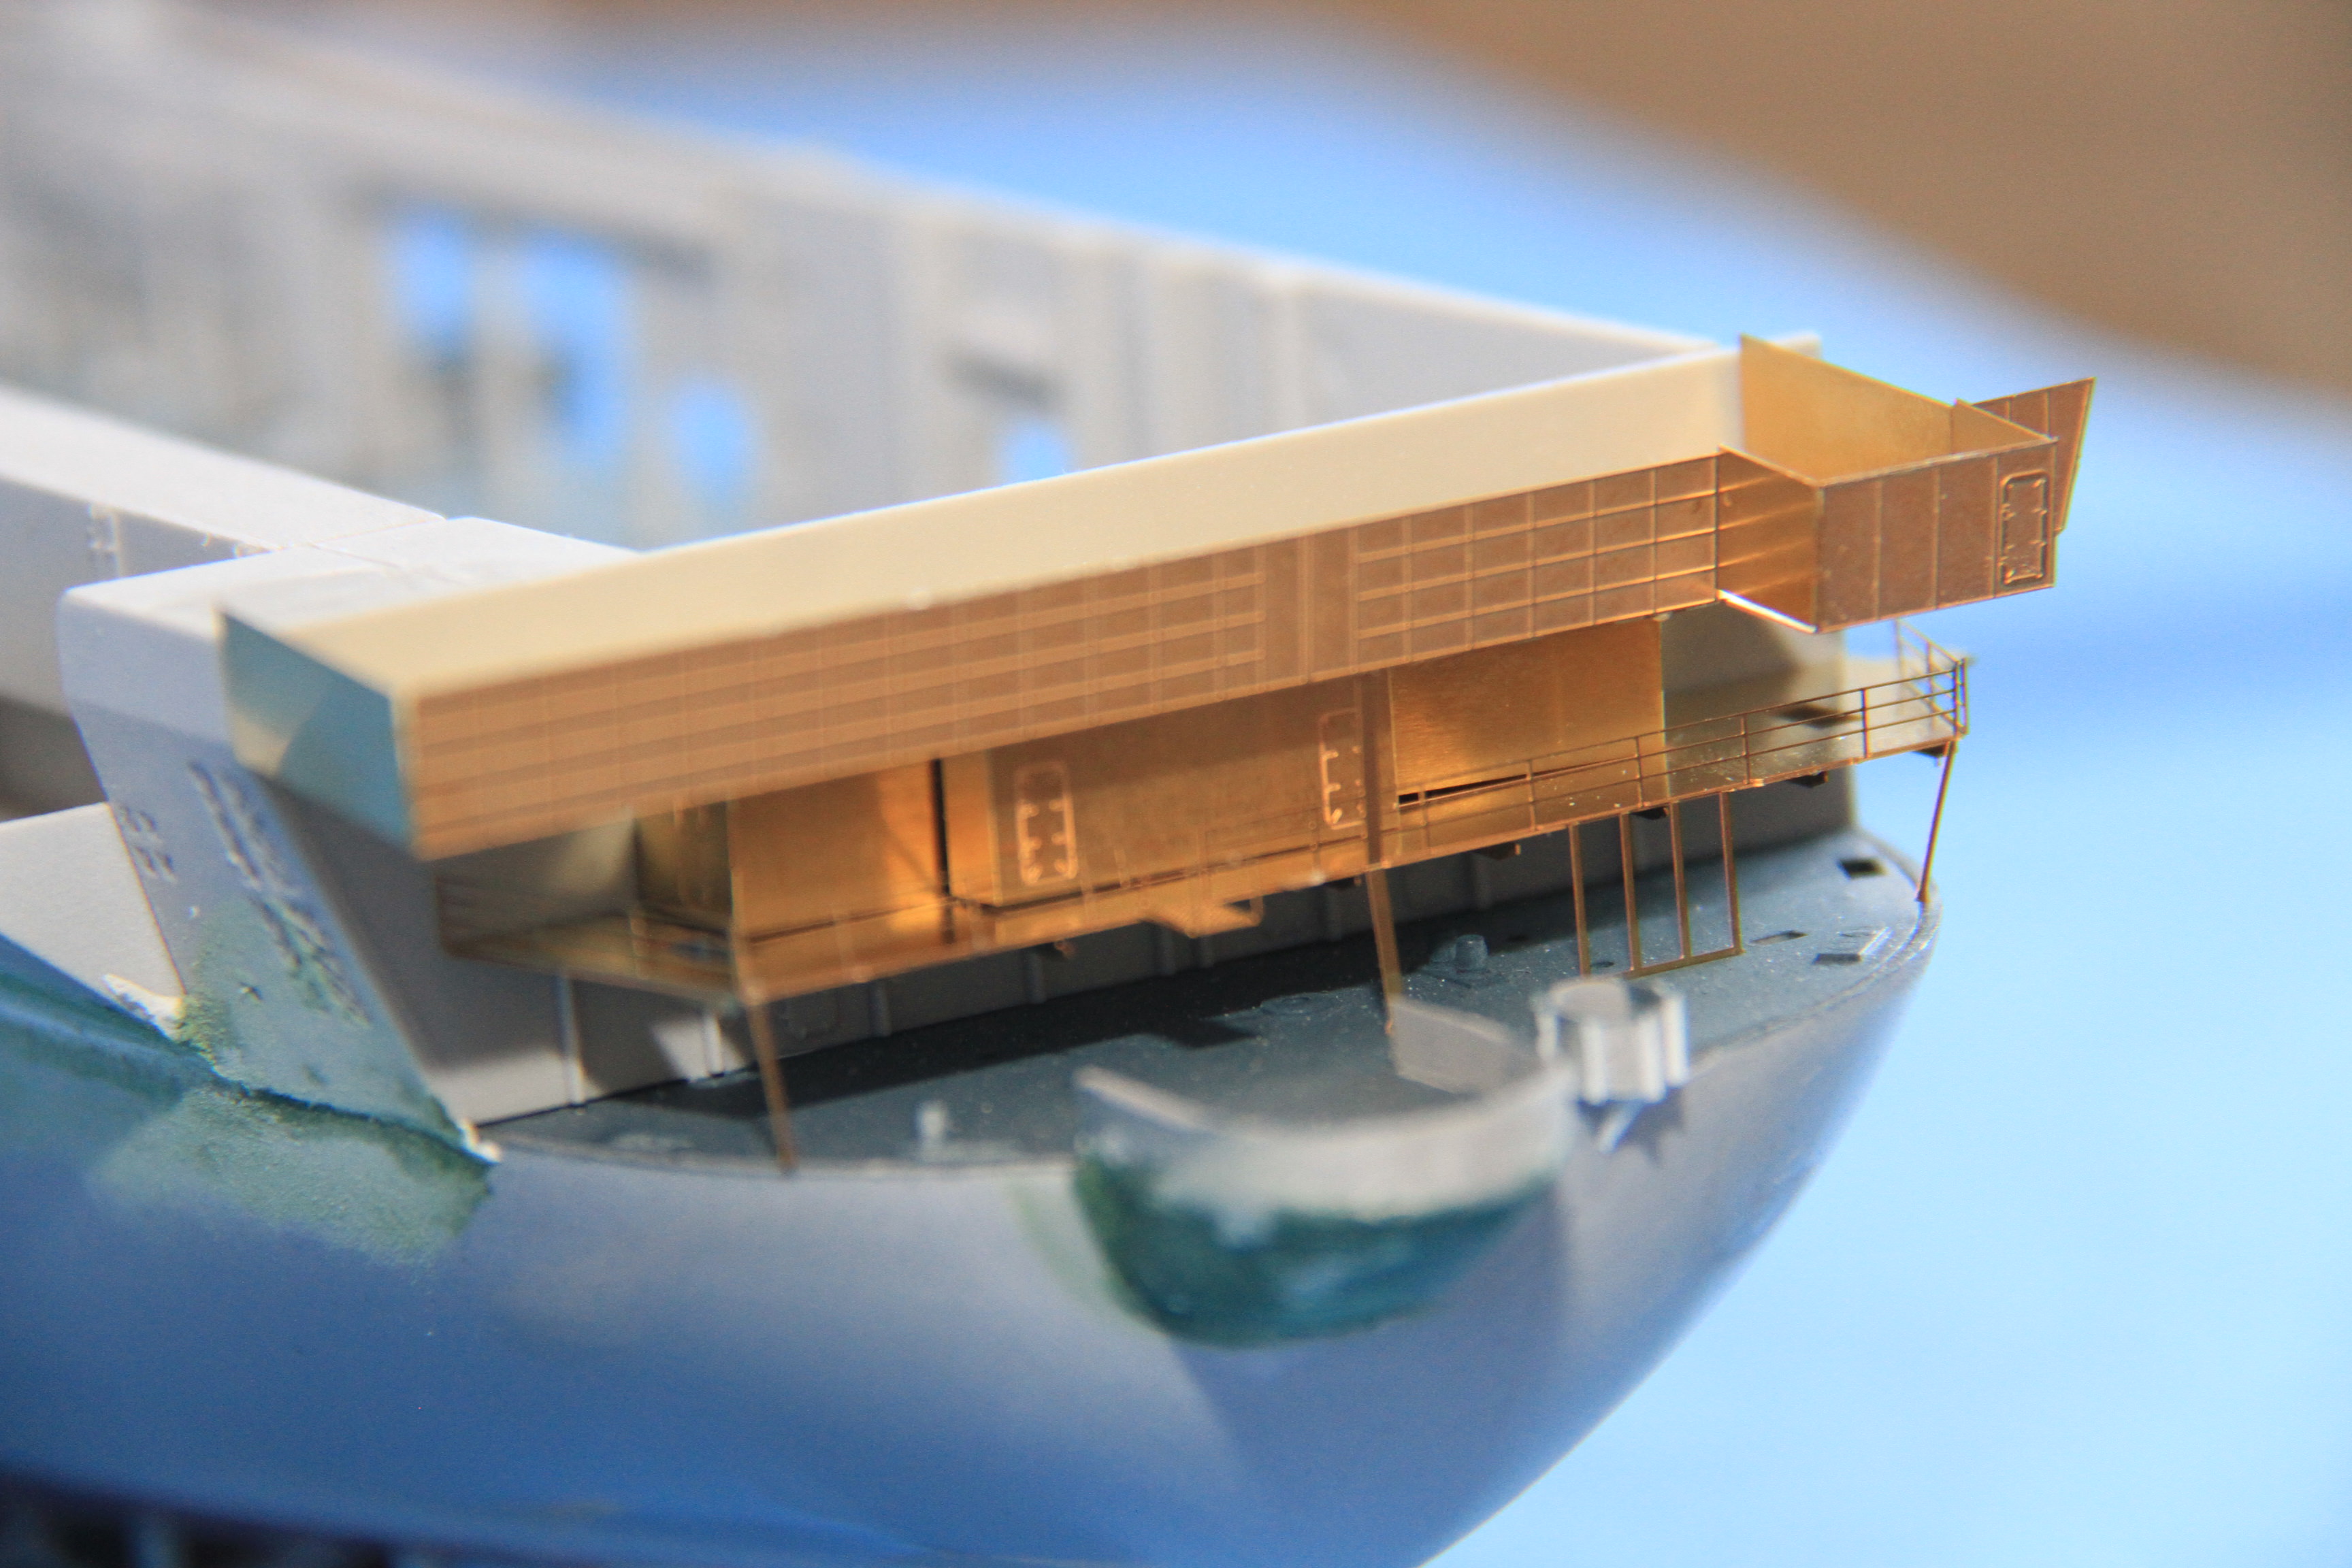
Sunday's progress.
starting on the beam sections under the forward end of the flight deck.
One section done.
Some moulded structure under the aft end of the flight deck, although not shown in the Pontos instructions, this needs removing.

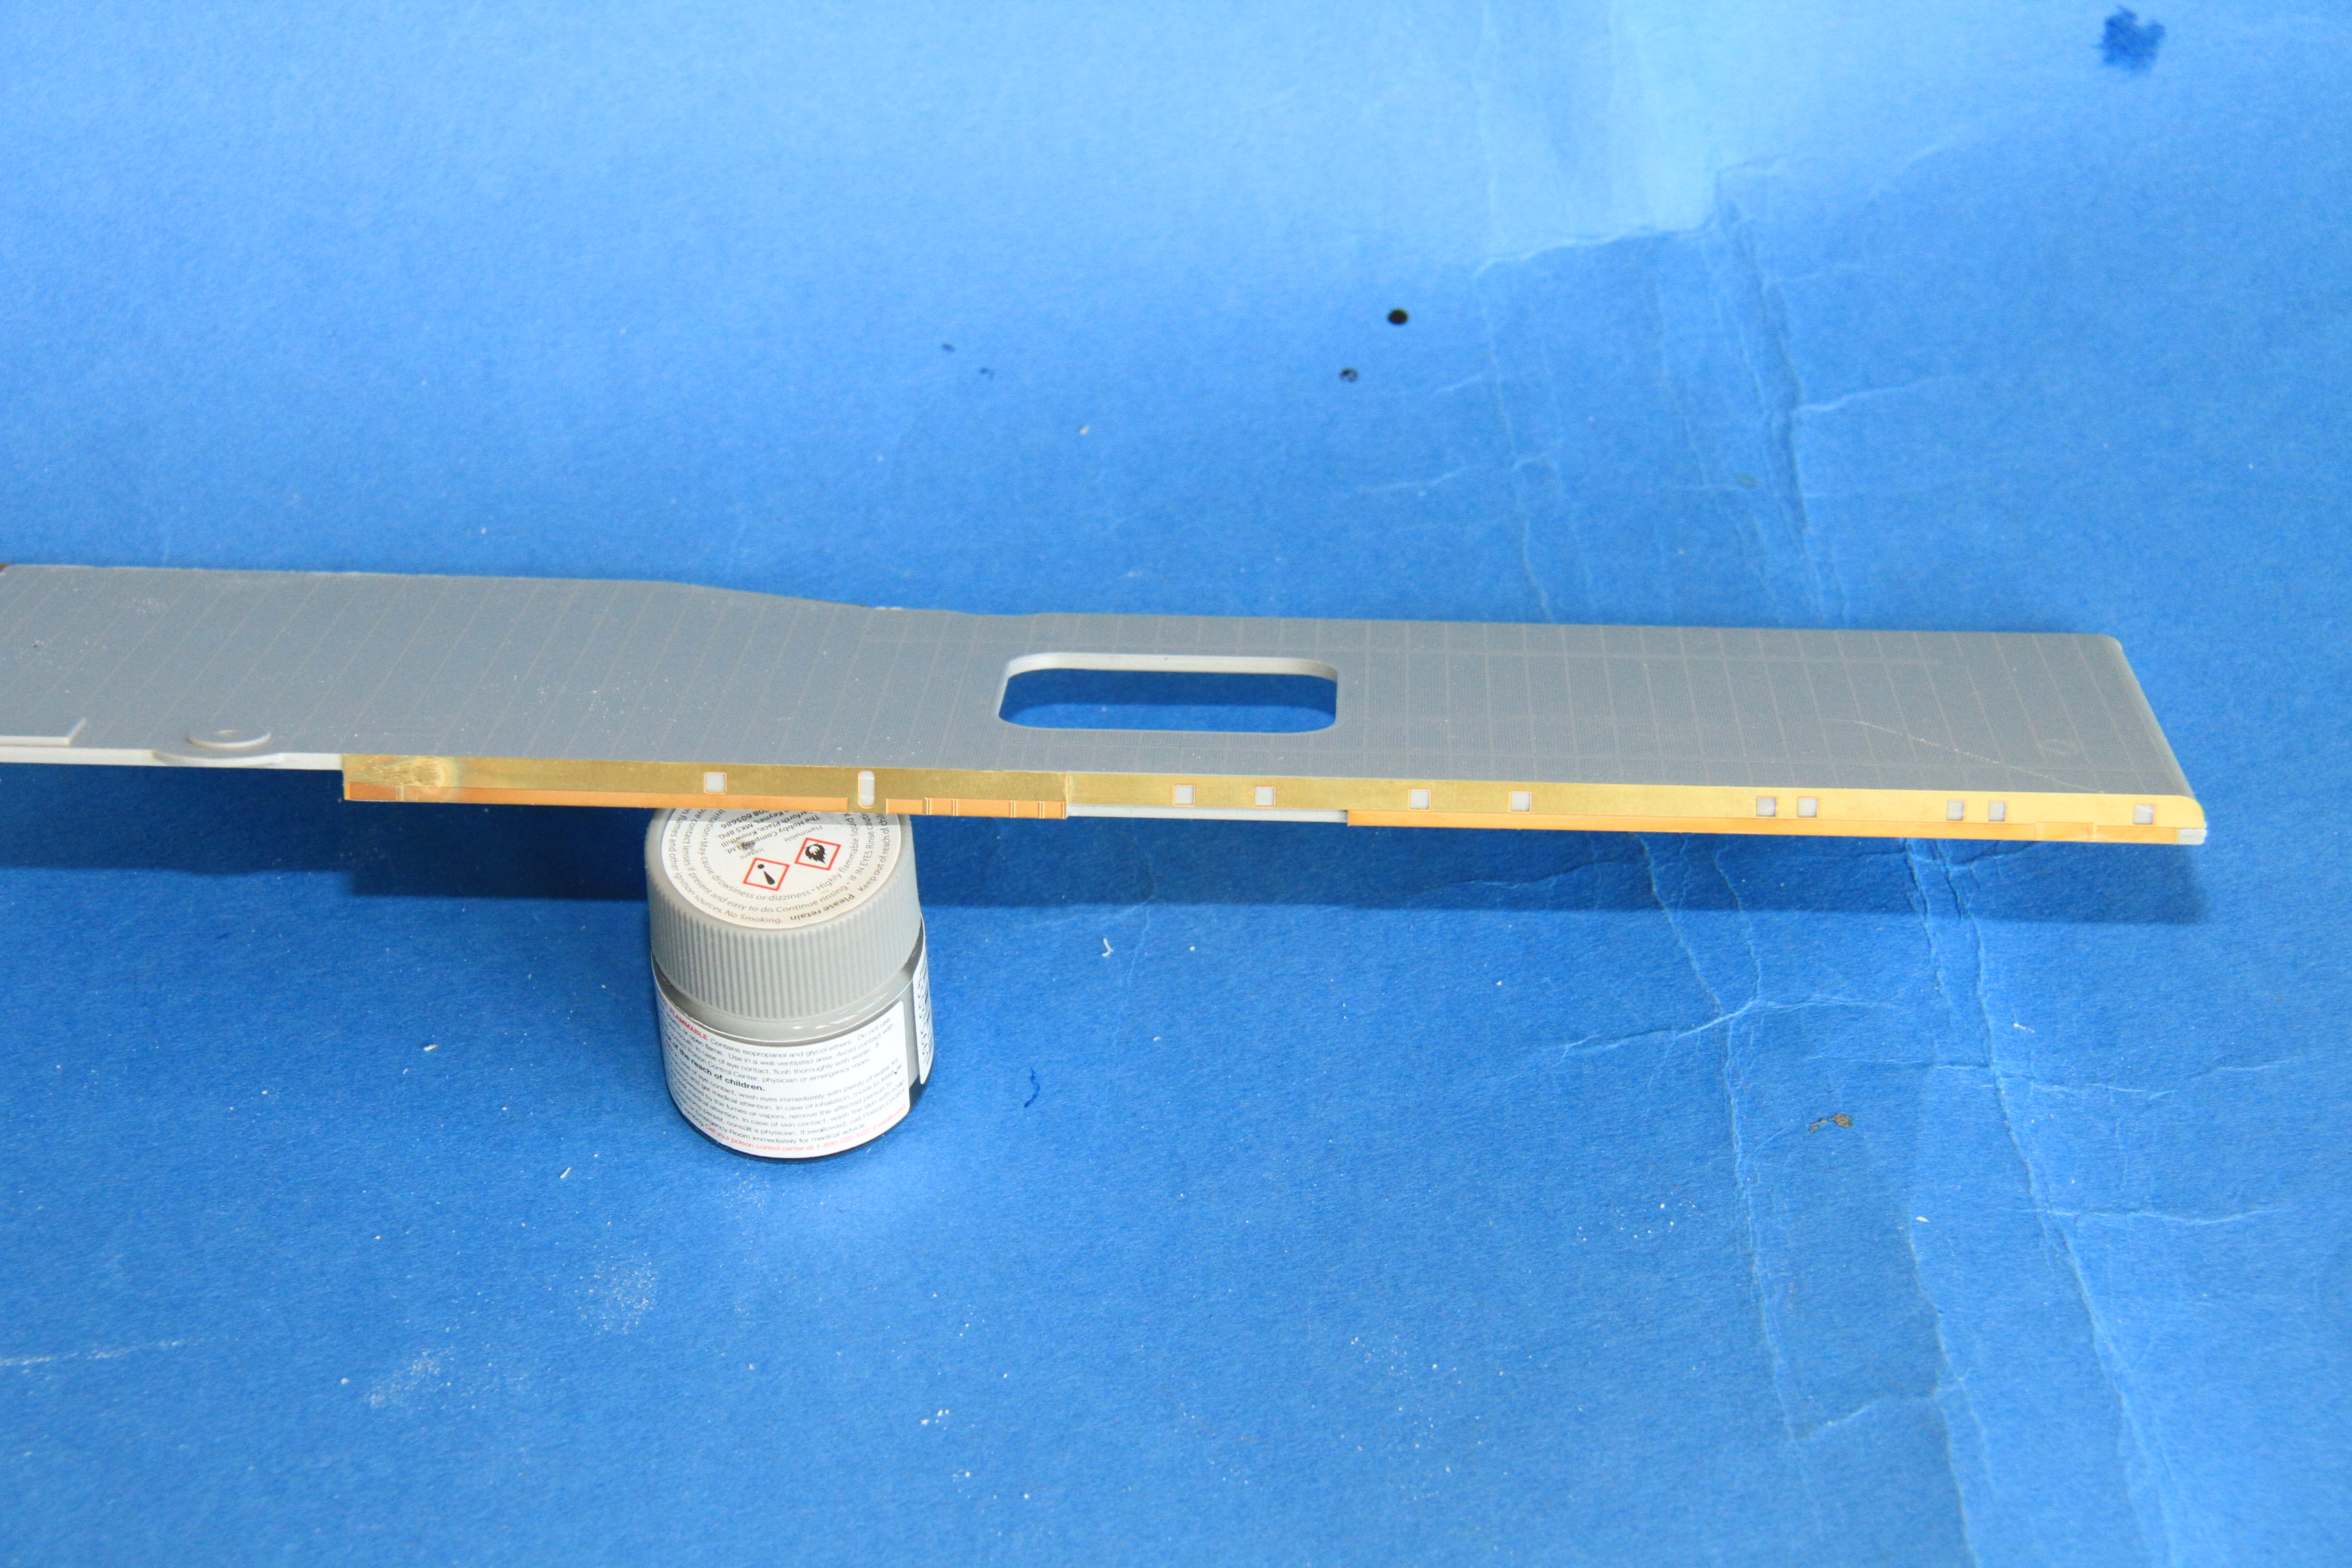
Etch going down.

1st platform above the hanger deck. stiffeners fitted to the underside.

Test fitted in place.
deckhouse folded.
Upper level folded.

All test fitted.
More soon.
Cheers
Si
starting on the beam sections under the forward end of the flight deck.
One section done.
Some moulded structure under the aft end of the flight deck, although not shown in the Pontos instructions, this needs removing.
Etch going down.
1st platform above the hanger deck. stiffeners fitted to the underside.
Test fitted in place.
deckhouse folded.
Upper level folded.
All test fitted.
More soon.
Cheers
Si
trahe
Joined: April 03, 2006
KitMaker: 1,158 posts
Model Shipwrights: 117 posts
Posted: Wednesday, July 18, 2018 - 01:11 PM UTC
Wow Si! Amazing work! Almost a shame to have to cover all that brass work with paint later! Keep up the good work!
JJ1973
#345
Joined: August 22, 2011
KitMaker: 1,835 posts
Model Shipwrights: 1,832 posts
Posted: Wednesday, July 18, 2018 - 04:25 PM UTC
Hi Si,
indeed amazing etch work, really impressive!! Very nice progress and steady as usual!
Cheers,
Jan
indeed amazing etch work, really impressive!! Very nice progress and steady as usual!
Cheers,
Jan
RussellE
#306
Joined: June 27, 2010
KitMaker: 3,959 posts
Model Shipwrights: 2,777 posts
Posted: Thursday, July 19, 2018 - 12:24 AM UTC
Just keeps getting better and better Si!
Your PE origami skills are superb!
Your PE origami skills are superb!
RedDuster
Joined: March 01, 2010
KitMaker: 7,078 posts
Model Shipwrights: 6,649 posts
Posted: Thursday, July 19, 2018 - 06:22 AM UTC
Quoted Text
Wow Si! Amazing work! Almost a shame to have to cover all that brass work with paint later! Keep up the good work!
Thank you Thomas,
I know what you mean, is quite a brass structure. It is going to be real fun, as the camouflage goes across it.
Cheers
Si
RedDuster
Joined: March 01, 2010
KitMaker: 7,078 posts
Model Shipwrights: 6,649 posts
Posted: Thursday, July 19, 2018 - 06:29 AM UTC
Quoted Text
Hi Si,
indeed amazing etch work, really impressive!! Very nice progress and steady as usual!
Cheers,
Jan
Thank you Jan,
That is very kind of you to say, but the quality and design of the etch is a great help.
Cheers
Si
 |

WEB HOSTING BY


Copyright ©2021 Model Shipwrights and Kitmaker Network, a subsidiary of Silver Star Enterprises
All Rights Reserved. Please read our Conditions of Use and Privacy Policy.
All Rights Reserved. Please read our Conditions of Use and Privacy Policy.