Ships by Class/Type: Destroyers
This forum covers all types of destroyers from all eras.
1/200 Nichimo Hatsuzuki build
TimReynaga
Staff MemberAssociate Editor
MODEL SHIPWRIGHTS
Visit this Community
California, United States
Joined: May 03, 2006
KitMaker: 2,500 posts
Model Shipwrights: 1,830 posts
Posted: Thursday, July 30, 2020 - 01:39 AM UTC
Hatsuzuki was originally built with two type 94 (4.5 meter) fire directors for laying her eight 100mm (4 inch)/65 cal Type 98 main guns. Later, the aft director was replaced with a 25mm triple gun mount for additional anti-aircraft protection; the 1944 Hatsuzuki I’m depicting carried only the one director forward.

Anyway, the kit part is accurate but rather plain, so I dressed it up a bit. The handgrabs were made from Plastruct .3mm (.010”) styrene rod (90850) inserted into holes drilled with my trusty No. 80 bit, and canvas “bloomers” for the optical arms were molded from Milliput. Lens hoods on the arms are .058” discs punched from .020” plastic sheet. Finally, those tiny white specks in the picture represent hinges for the numerous doors that could be opened up. I cut these from miniscule strips of .005” sheet plastic.


bwiber
Visit this Community
Washington, United States
Joined: August 03, 2008
KitMaker: 436 posts
Model Shipwrights: 31 posts
Posted: Thursday, July 30, 2020 - 04:55 AM UTC
Tim,

I like how all the little touches, such as the hinges, bring the parts to life and give them a feel of actually being there for some purpose. A lot of plain parts kind of feel like an art instillation rather than a functional piece of machinery...

Carry on, am enjoying this one a lot...

Bob
TimReynaga
Staff MemberAssociate Editor
MODEL SHIPWRIGHTS
Visit this Community
California, United States
Joined: May 03, 2006
KitMaker: 2,500 posts
Model Shipwrights: 1,830 posts
Posted: Thursday, July 30, 2020 - 08:19 AM UTC
Thanks, Bob. Sometimes I wonder whether my compulsively adding almost invisible details such as these is even worthwhile... so I appreciate your comment!
JJ1973
#345
Visit this Community
Niedersachsen, Germany
Joined: August 22, 2011
KitMaker: 1,835 posts
Model Shipwrights: 1,832 posts
Posted: Thursday, July 30, 2020 - 08:32 AM UTC
Tim,

just catching up here after long absence - marvelous work for sure! Your attention and love for detail is unparalleled and definitely not in vain, it really brings your model to life. I just love it!

Cheers
Jan
RedDuster
Visit this Community
England - South East, United Kingdom
Joined: March 01, 2010
KitMaker: 7,078 posts
Model Shipwrights: 6,649 posts
Posted: Saturday, August 01, 2020 - 10:02 AM UTC

Quoted Text

Thanks, Bob. Sometimes I wonder whether my compulsively adding almost invisible details such as these is even worthwhile... so I appreciate your comment!


Hi Tim,

Agree with Bob, all these little details add depth. The casual observer may not notice each individual tiny part you have added, but they will notice the overall effect, which will be impressive

great job.

Cheers

Si.
rdt1953
Visit this Community
New Jersey, United States
Joined: February 06, 2015
KitMaker: 1,098 posts
Model Shipwrights: 34 posts
Posted: Saturday, August 01, 2020 - 02:19 PM UTC
Agree with the rest Tim - It is all these seemingly inane details that add up - the sum is greater than the individual items . Just keep going like you have been .
I think you may recognize that a project like this is more about the journey than the destination. That being said , I can’t wait to see the finished product !
Cheers - RT
TimReynaga
Staff MemberAssociate Editor
MODEL SHIPWRIGHTS
Visit this Community
California, United States
Joined: May 03, 2006
KitMaker: 2,500 posts
Model Shipwrights: 1,830 posts
Posted: Sunday, August 02, 2020 - 02:00 AM UTC
Bob, Jan, Si, and Richard, thank you guys for the encouragement! I actually am enjoying exploring the little detail challenges as they occur – the larger the scale, the more there are...


The standard medium range visual observation equipment aboard Imperial Navy warships was the 12cm binocular which came in open and hooded varieties. Nichimo’s kit provides both types, but the parts are uninspiring.


The 3D printed 12cm binoculars by ModelshipJP I had used for the navigation bridge interior are good alternatives, but they need a little work to be ready for use on the weather decks. Aside from cleanup, the mounts have to be reduced about 1mm in height so they will sight properly over the bridge bulwarks.


Also, I added a tiny seat from a .058” disc cut from .010” thick plastic to my test piece. A semicircular notch cut with a round file helped the seat fit on to the cylindrical pedestal.


After adding a quick coat of paint, I attached the seat and added a new .081” disc (in .010” thick plastic) base – both made with the ever-useful Waldron Model Products Sub-Miniature punch and die set.


Test fitted in place on the upper air defense station, the little binocular mount looks the part. Eight more of these to go!

d6mst0
#453
Visit this Community
Texas, United States
Joined: August 28, 2016
KitMaker: 1,925 posts
Model Shipwrights: 1,298 posts
Posted: Sunday, August 02, 2020 - 04:07 AM UTC
Tim,

Those 3D binoculars are the way to go. Great idea adding the seat, I wonder how hard it would be to do in 350th scale. Will give it a try on my next build.

Mark
TimReynaga
Staff MemberAssociate Editor
MODEL SHIPWRIGHTS
Visit this Community
California, United States
Joined: May 03, 2006
KitMaker: 2,500 posts
Model Shipwrights: 1,830 posts
Posted: Monday, August 03, 2020 - 02:37 AM UTC

Quoted Text

Tim,

Those 3D binoculars are the way to go. Great idea adding the seat, I wonder how hard it would be to do in 350th scale. Will give it a try on my next build.

Mark


I agree, those 3D parts are wonderfully detailed... but I must say, adding those miniscule 1/200 seats was harder than you might think. As for doing the same in 1/350... I wish you well!
RedDuster
Visit this Community
England - South East, United Kingdom
Joined: March 01, 2010
KitMaker: 7,078 posts
Model Shipwrights: 6,649 posts
Posted: Monday, August 03, 2020 - 05:56 AM UTC
The Binocular mounts look very smart cleaned up, and with the seat.

Cheers

Si
RussellE
#306
Visit this Community
Victoria, Australia
Joined: June 27, 2010
KitMaker: 3,959 posts
Model Shipwrights: 2,777 posts
Posted: Monday, August 03, 2020 - 02:40 PM UTC
such good eye candy, Tim!
TimReynaga
Staff MemberAssociate Editor
MODEL SHIPWRIGHTS
Visit this Community
California, United States
Joined: May 03, 2006
KitMaker: 2,500 posts
Model Shipwrights: 1,830 posts
Posted: Tuesday, August 04, 2020 - 12:11 PM UTC

ModelShipJP (Shingo Nakamura, through Shapeways) produces 3D printed replacement IJN 12cm binocular parts that are well designed and wonderfully detailed. There are even the two distinct types (horizontal and high angle) represented.


Unfortunately, they are also fragile and awkward to work with. Polishing off the unrealistic “frost” printing residue from the tiny parts is the first task, and it must be done with great care as the material is extremely brittle – I broke several while cleaning them!


I broke a couple more while shortening the mounts to the correct heights for these positions, and getting the new bases correctly aligned on the clear plastic pedestals was a challenge. In the end, though, the finished fittings are worth the effort.


Here they are test fitted on the port bridge wing.
GazzaS
#424
Visit this Community
Queensland, Australia
Joined: April 23, 2015
KitMaker: 4,648 posts
Model Shipwrights: 249 posts
Posted: Tuesday, August 04, 2020 - 08:32 PM UTC
Love it, Tim!!
d6mst0
#453
Visit this Community
Texas, United States
Joined: August 28, 2016
KitMaker: 1,925 posts
Model Shipwrights: 1,298 posts
Posted: Tuesday, August 04, 2020 - 11:17 PM UTC
Tim,

Cleaning those binoculars wasn't any fun at 350 scale either, but I agree it was worth the effort compared to kit supplied parts.

Mark
RedDuster
Visit this Community
England - South East, United Kingdom
Joined: March 01, 2010
KitMaker: 7,078 posts
Model Shipwrights: 6,649 posts
Posted: Wednesday, August 05, 2020 - 06:11 AM UTC
Hi Tim,

The binocular mounts look the part in place. The bridge is really coming to life.

Cheers

Si
timmyp
Visit this Community
Virginia, United States
Joined: May 18, 2008
KitMaker: 496 posts
Model Shipwrights: 404 posts
Posted: Wednesday, August 05, 2020 - 07:35 AM UTC
So, what's the technique to clean off the frosted look?//Tim
TimReynaga
Staff MemberAssociate Editor
MODEL SHIPWRIGHTS
Visit this Community
California, United States
Joined: May 03, 2006
KitMaker: 2,500 posts
Model Shipwrights: 1,830 posts
Posted: Wednesday, August 05, 2020 - 02:04 PM UTC
Gary, Mark, and Si, thanks!


Quoted Text

So, what's the technique to clean off the frosted look?//Tim


Hi Tim,

Perhaps mine isn’t the best technique for 3D printed parts clean-up since I keep breaking the &%^$# things...


–but here’s what I do.

First, when the new parts arrive in the mail I immediately put them out in my back yard to fully cure them with exposure to the ultraviolet in sunlight (sometimes they are a little soft because they aren’t completely chemically cured, but ultraviolet light fixes this). As for the cleaning, I start by taking an individual parts and do whatever light scraping I can get done with the X-acto – although this isn’t usually much. Most of the effort is with fine (grade #0000) steel wool. Rolling a little piece into a tiny ball, I go over the part gently and smooth it as well as I can. These parts come in a semi-clear material which is hard to see, so I brush on a thinned coat of gray acrylic (NOT enamel, as it will melt the part!) and, if necessary, go over it again. Rubbing away the paint assures that the part is truly smooth. It is tedious, really. I have found that a preparatory shot of Jack Daniel’s Tennessee sour mash eases the process considerably.
d6mst0
#453
Visit this Community
Texas, United States
Joined: August 28, 2016
KitMaker: 1,925 posts
Model Shipwrights: 1,298 posts
Posted: Wednesday, August 05, 2020 - 11:33 PM UTC
Tim,

I haven't tried steel wool, been using 4000-6000 git sand paper very, very lightly.

What I didn't realize when I purchase my first replacement 3D turrets for the HMS Zulu from Model monkey and Black Cat was the layering of the material. They looked like clam shells which required very careful sanding to remove the layering without removing the detail. There is still a slight bit of layering to be seen in spots but I didn't want to remove the detail, which was the reason I purchase the turrets. The gun assemblies that came with the turrets were amazing, such great detail. They were worth the money to me.

Mark
SpeedyJ
Visit this Community
Bangkok, Thailand / ไทย
Joined: September 17, 2013
KitMaker: 1,617 posts
Model Shipwrights: 44 posts
Posted: Thursday, August 06, 2020 - 01:03 AM UTC
Hi. I bought my first kit, totally 3D printed in 2012. Shapeways of course, they were the commercial founders I guess. After receiving the little kit, it was a Tram in H0, I cleaned it in handwarm soupy water. Let dry and started to remove the waxes with a little brush. Not trying to shave or grind / touching anything. I read about a spray filler to solve the rough an stepped detail. Did that and it was ok for that scale. I still have an original 3D print of it, will make a picture of it. So diluting a very fine filler should solve a lot of trouble. In fact Tim did that.
More to follow.
SpeedyJ
Visit this Community
Bangkok, Thailand / ไทย
Joined: September 17, 2013
KitMaker: 1,617 posts
Model Shipwrights: 44 posts
Posted: Thursday, August 06, 2020 - 01:43 AM UTC
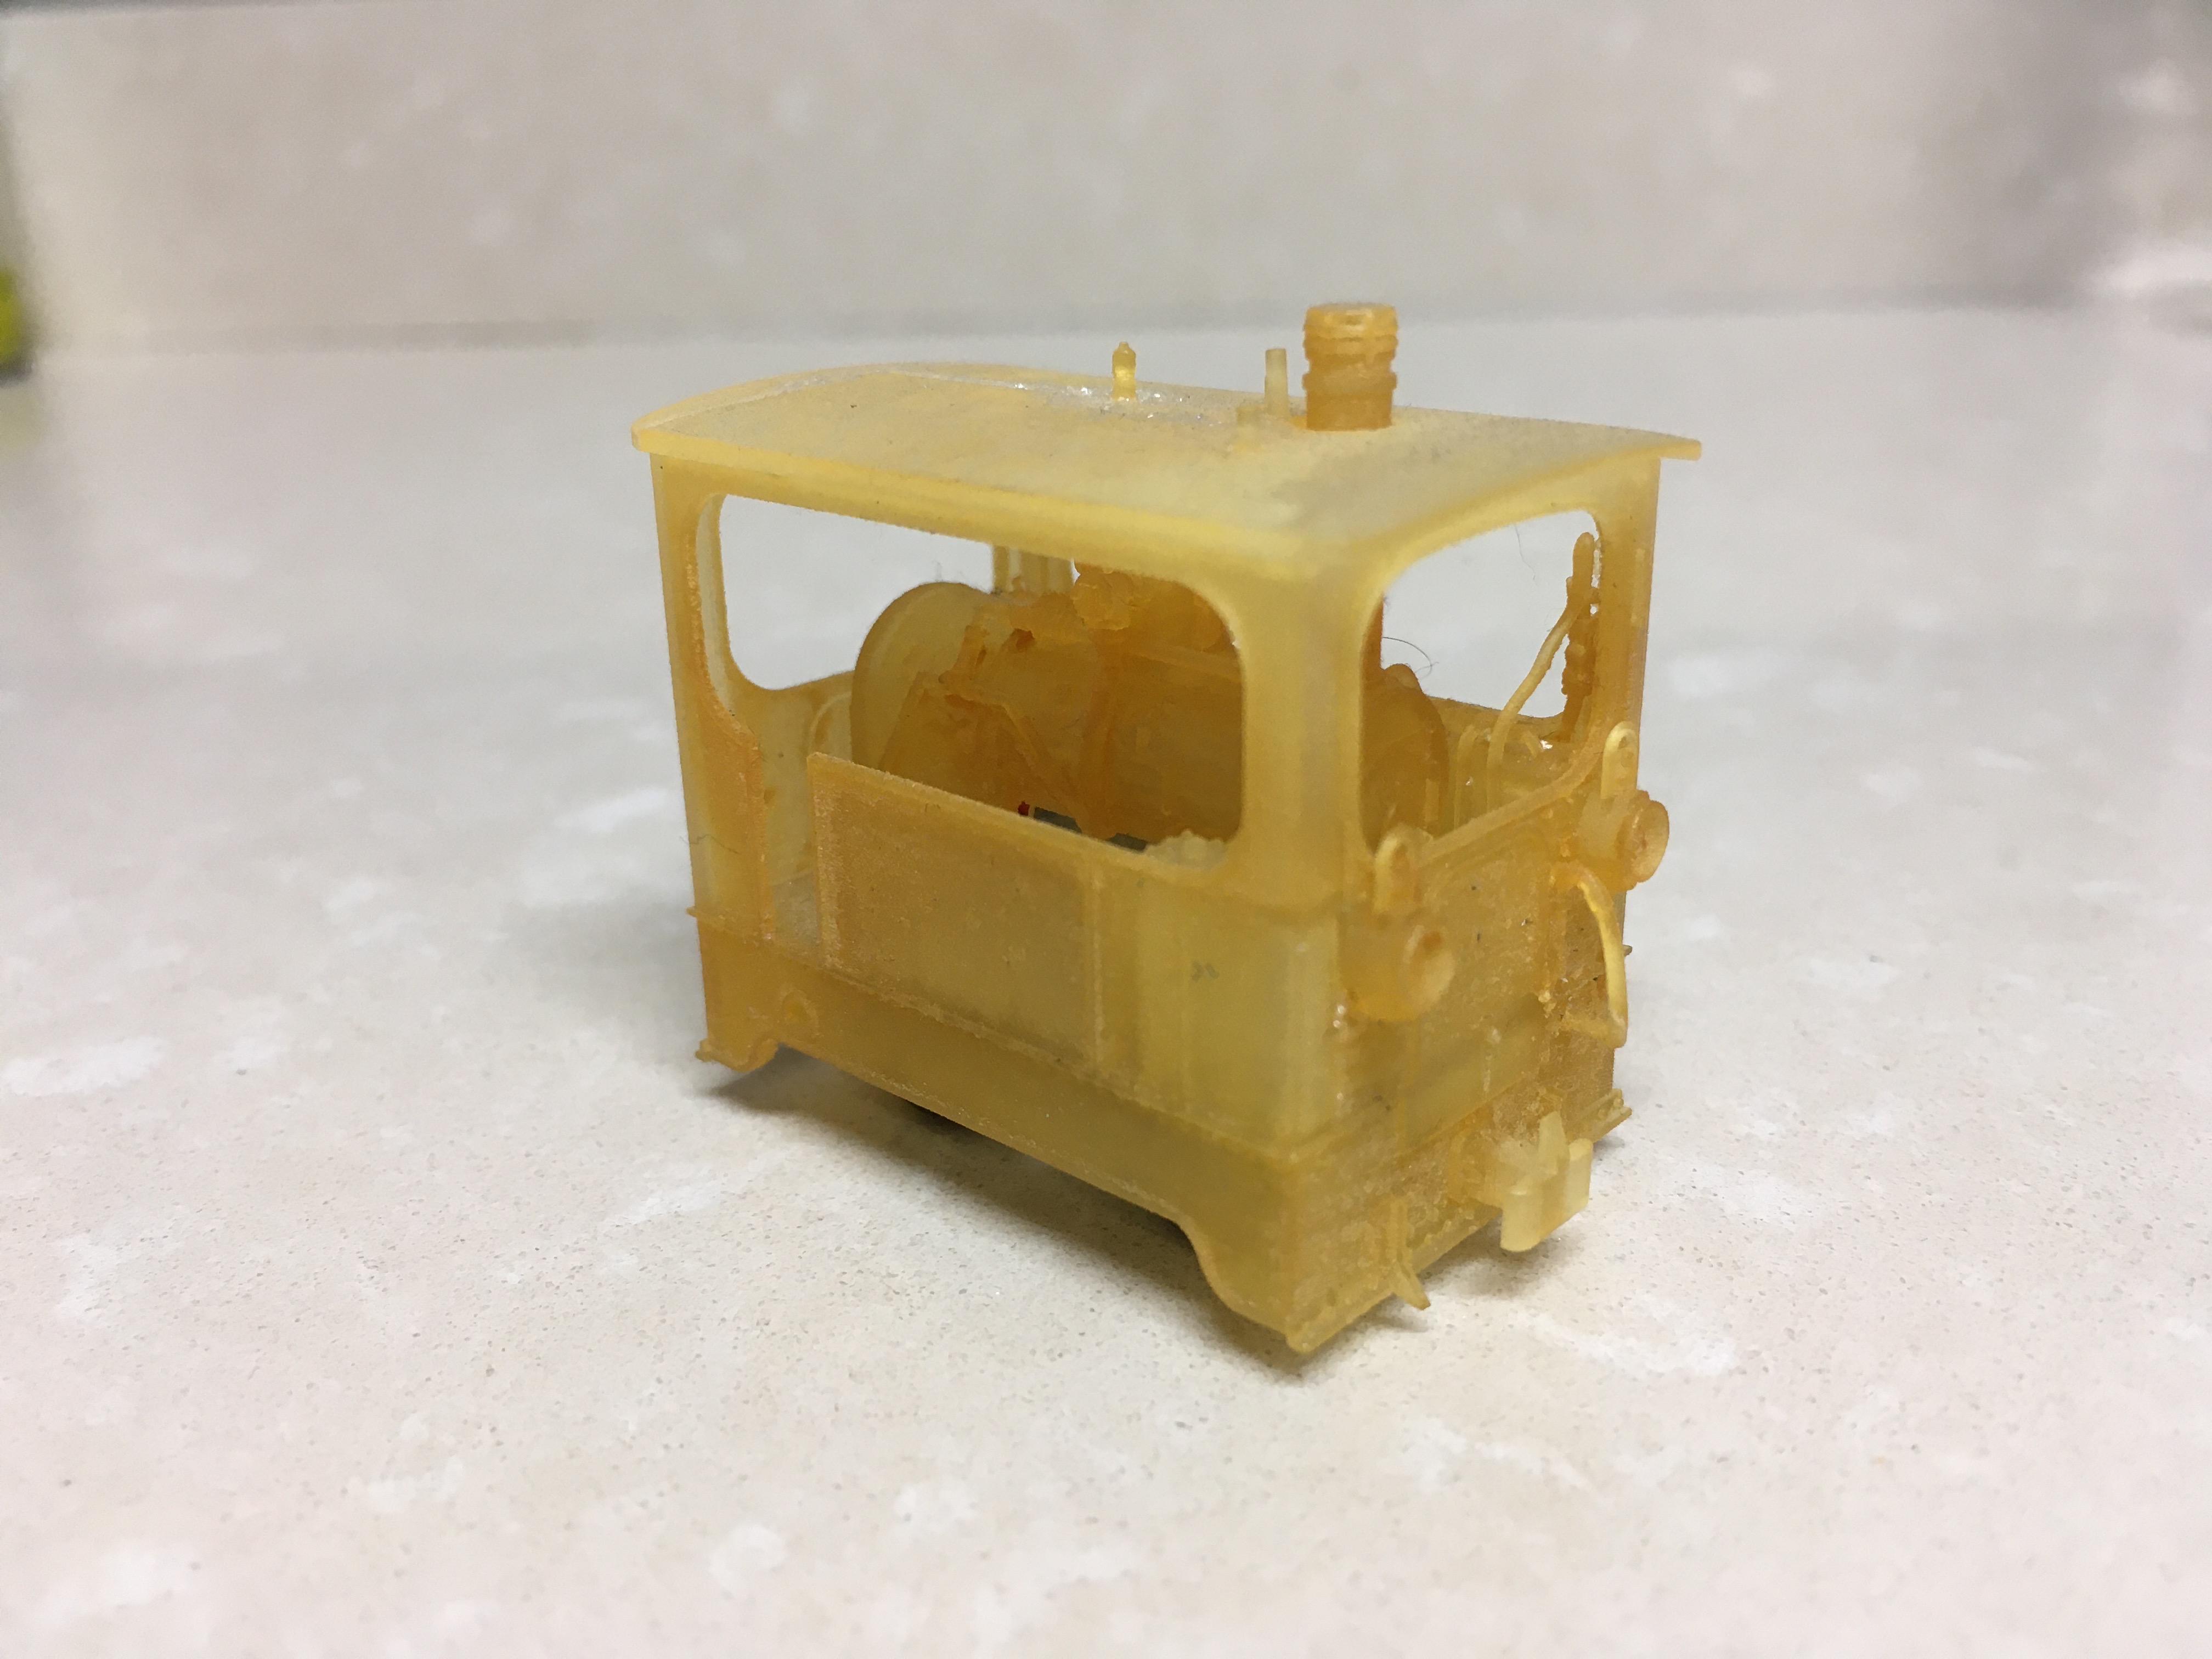
This is, I think Noº I bought from Sven. He worked more than 2 years on the initial Tram. By that time in 2012 it was quite unique having such a little tram with outstanding detail. Provided with a micro motor and later a decoder for sound and realistic moving on the rail track. All detail on the tank is there. Inside of the 'Kasten Loc' 100% ok.

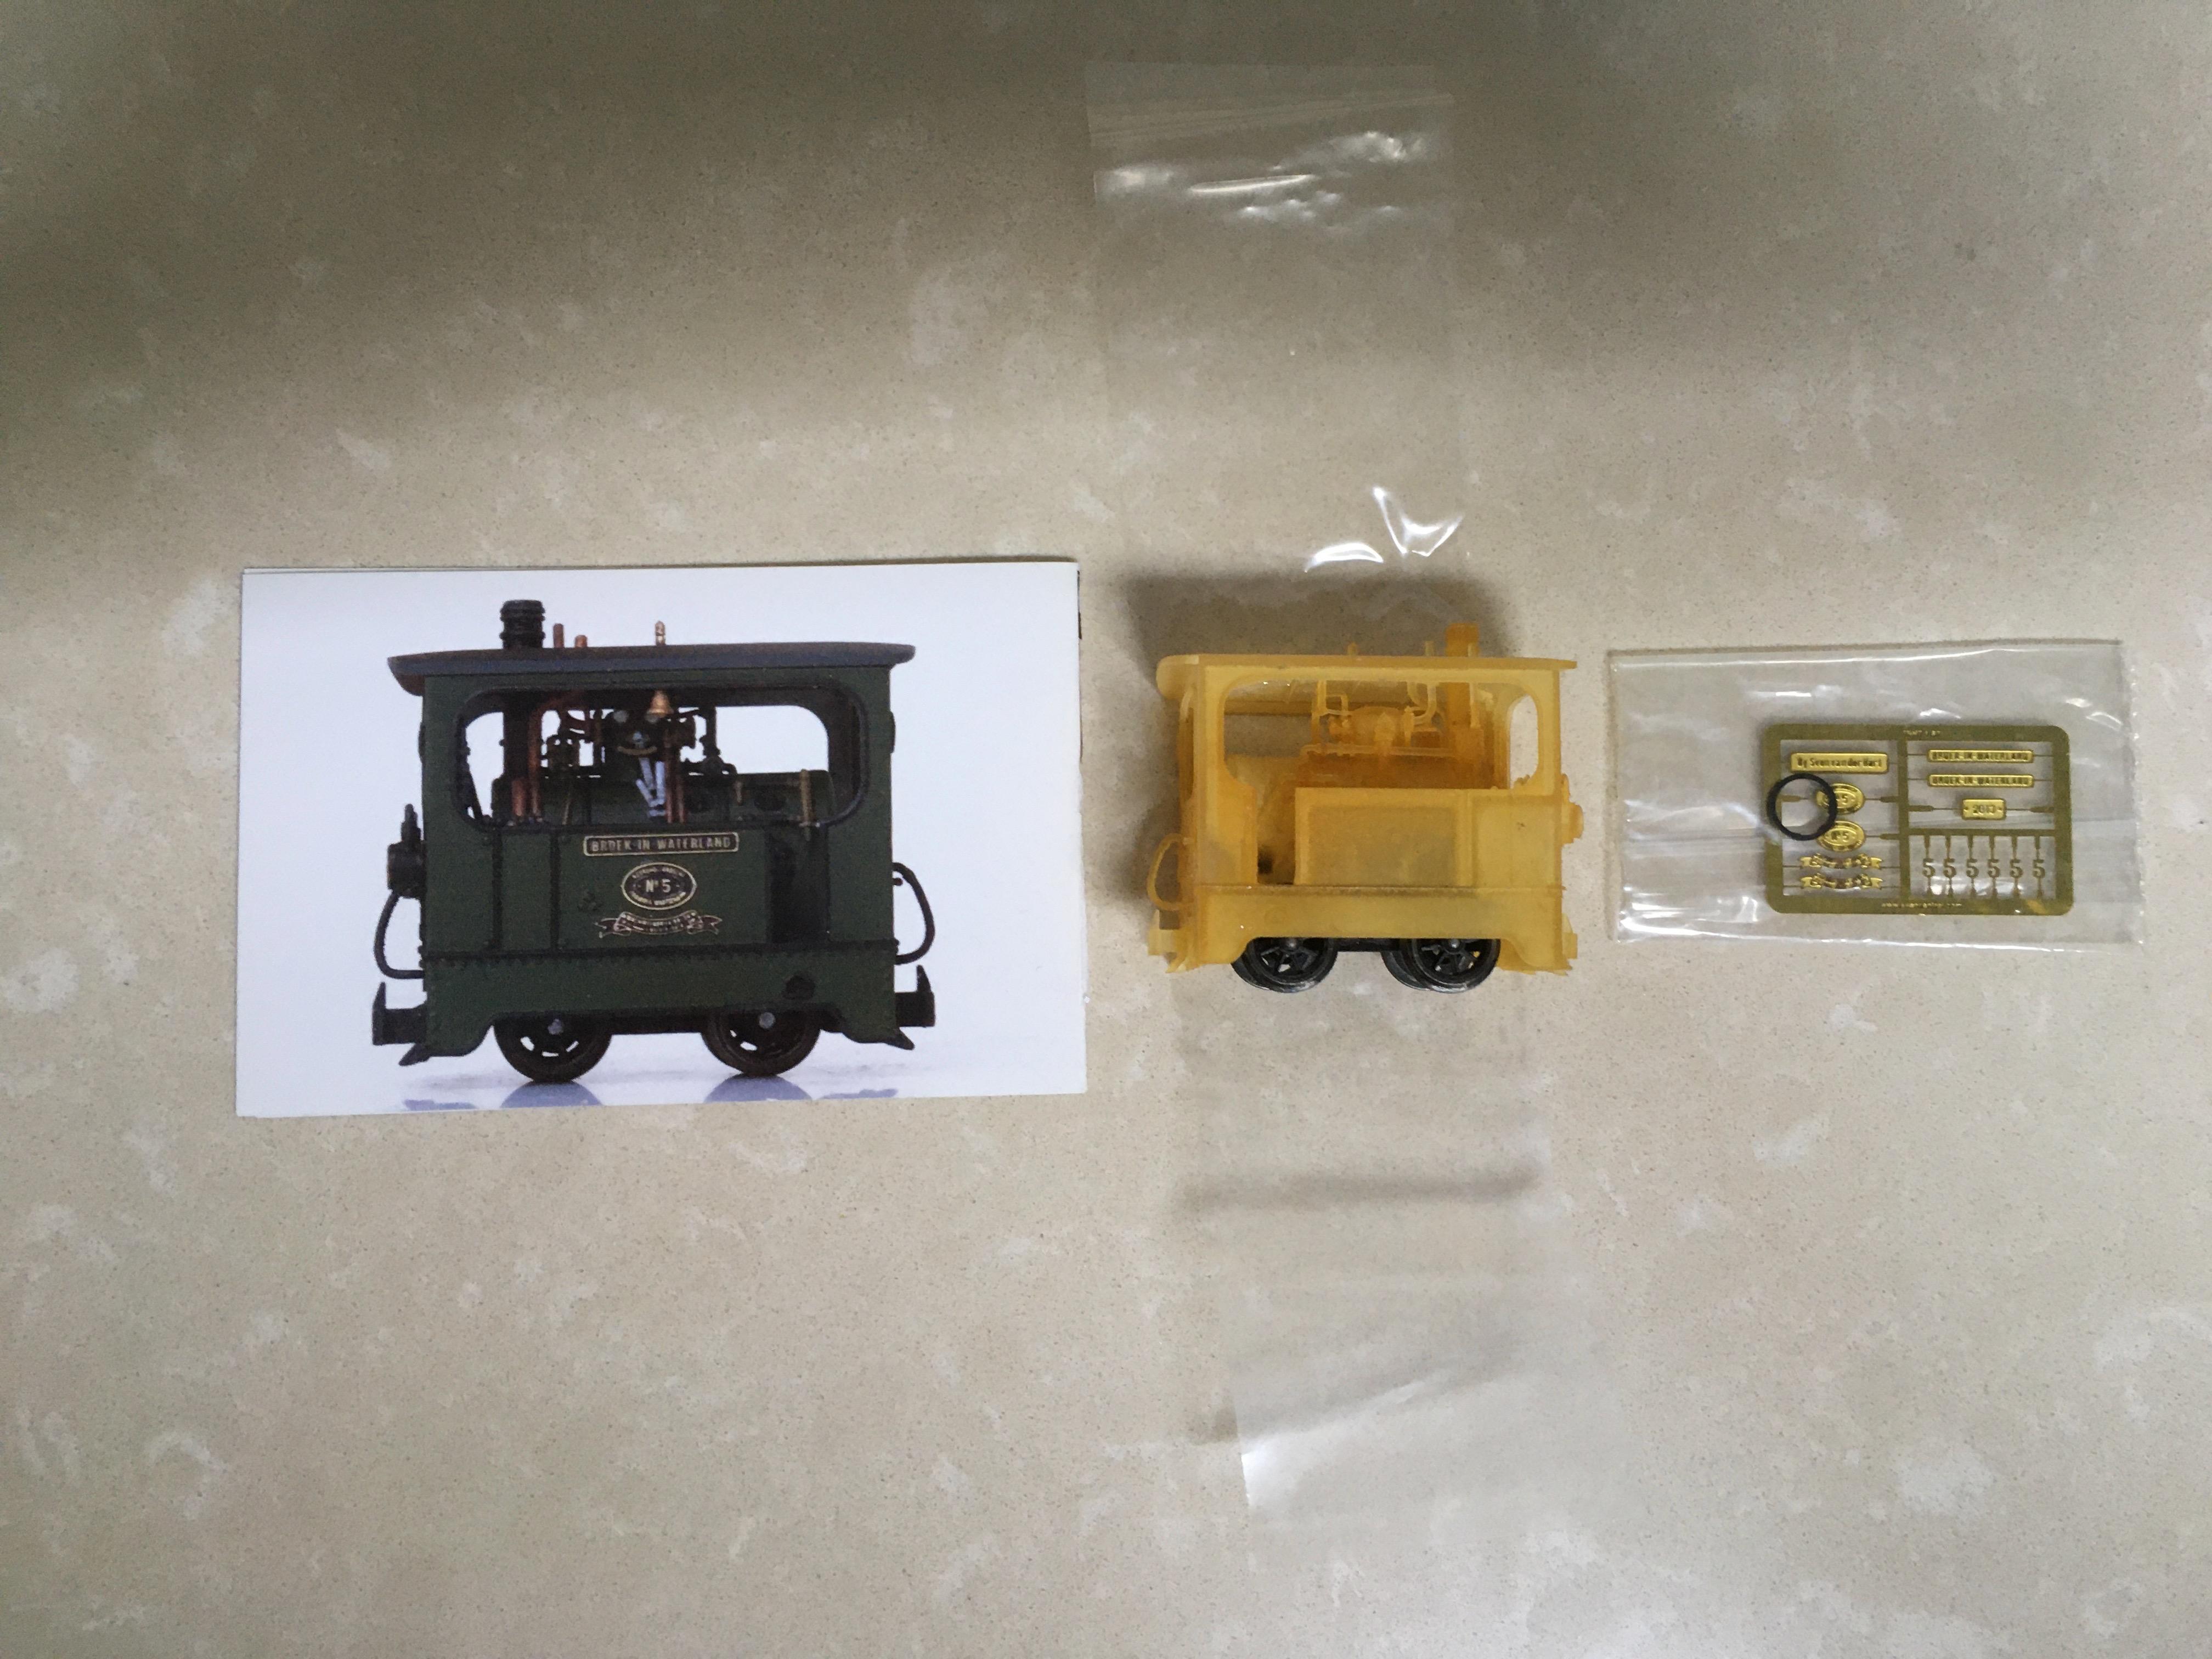
It came in a little 'soap box'

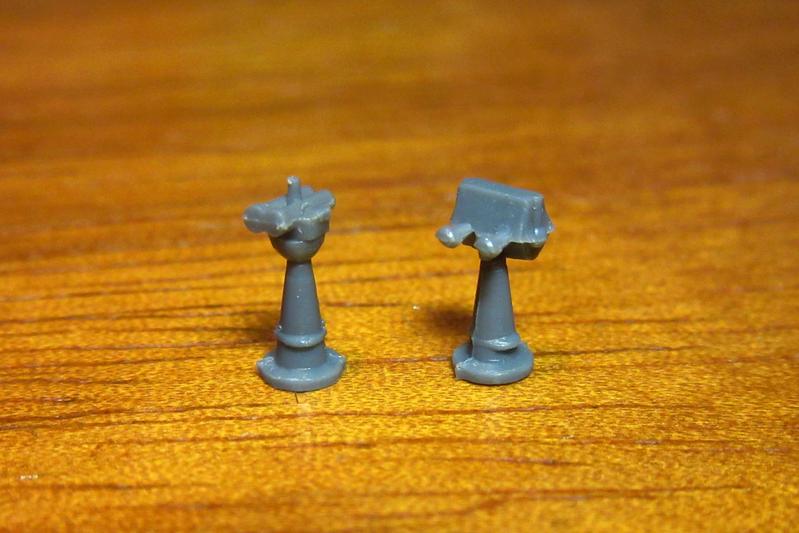
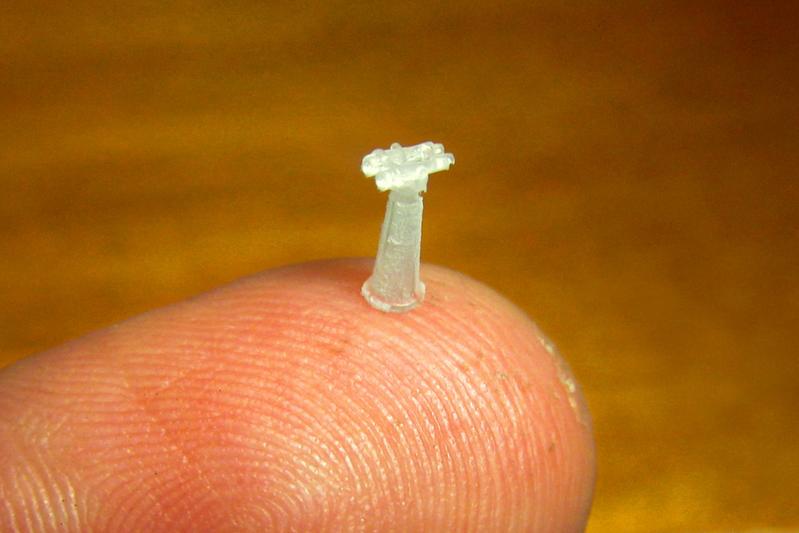
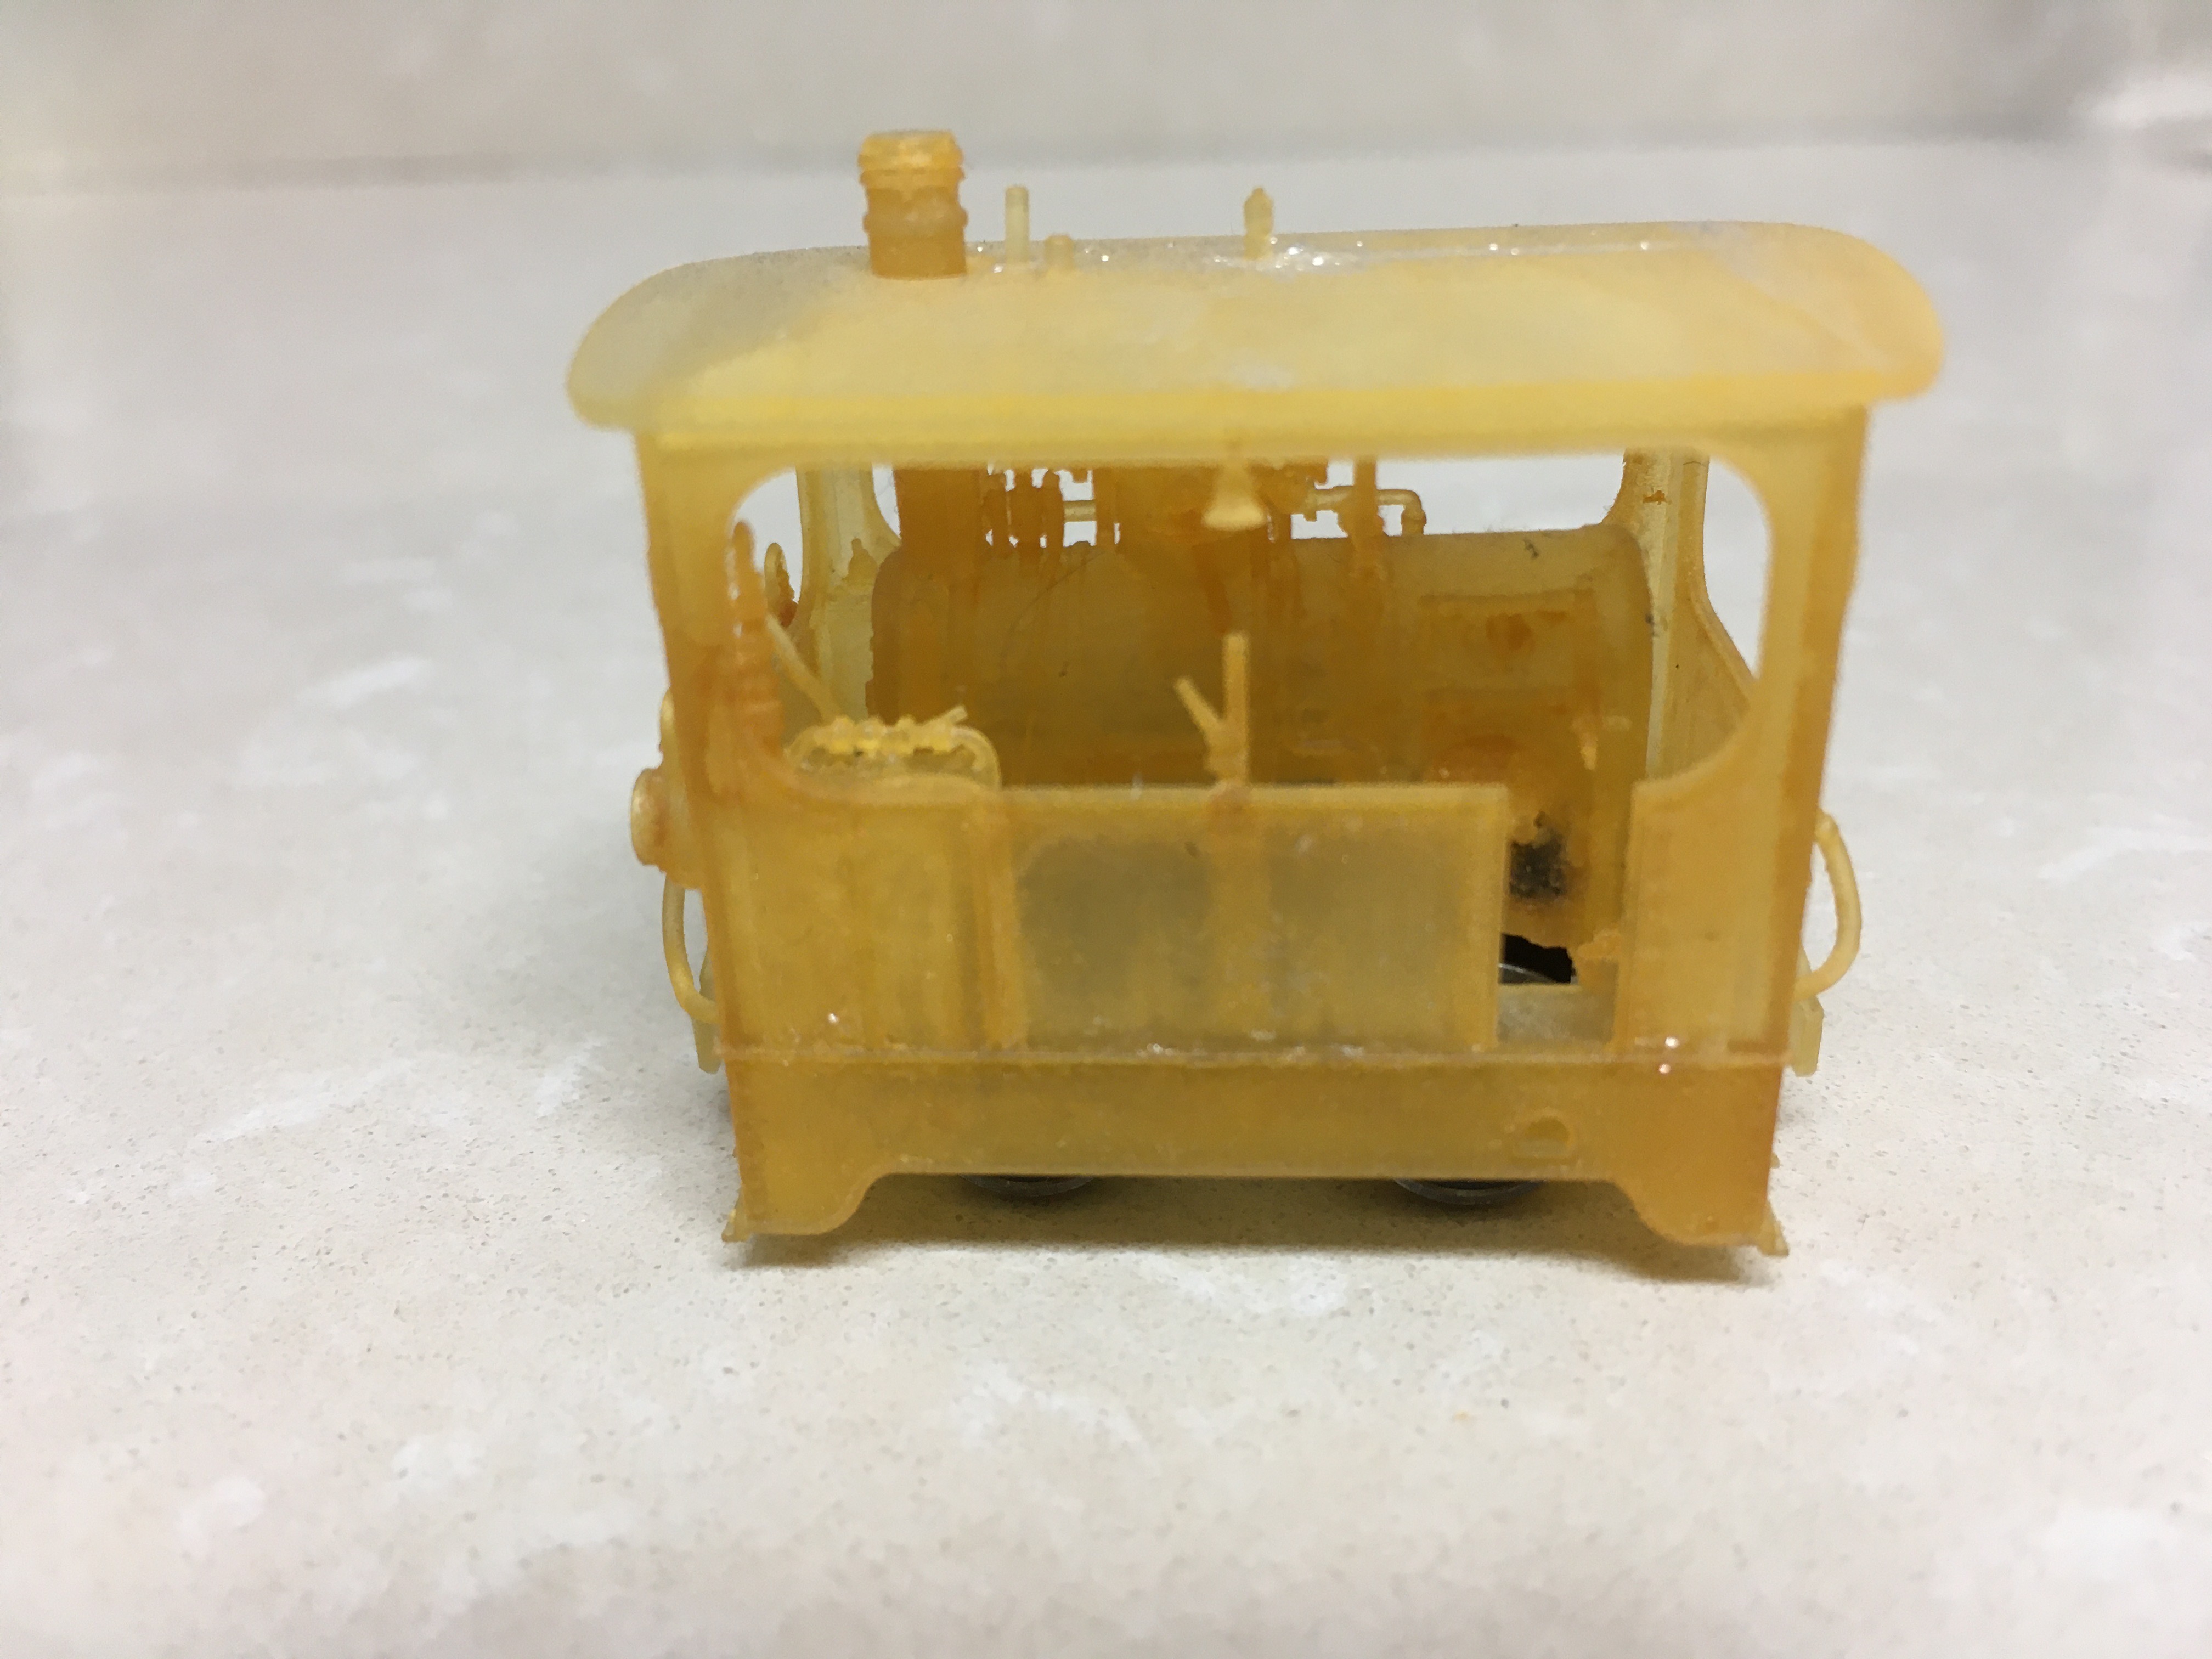
He managed to make the roof a separate part

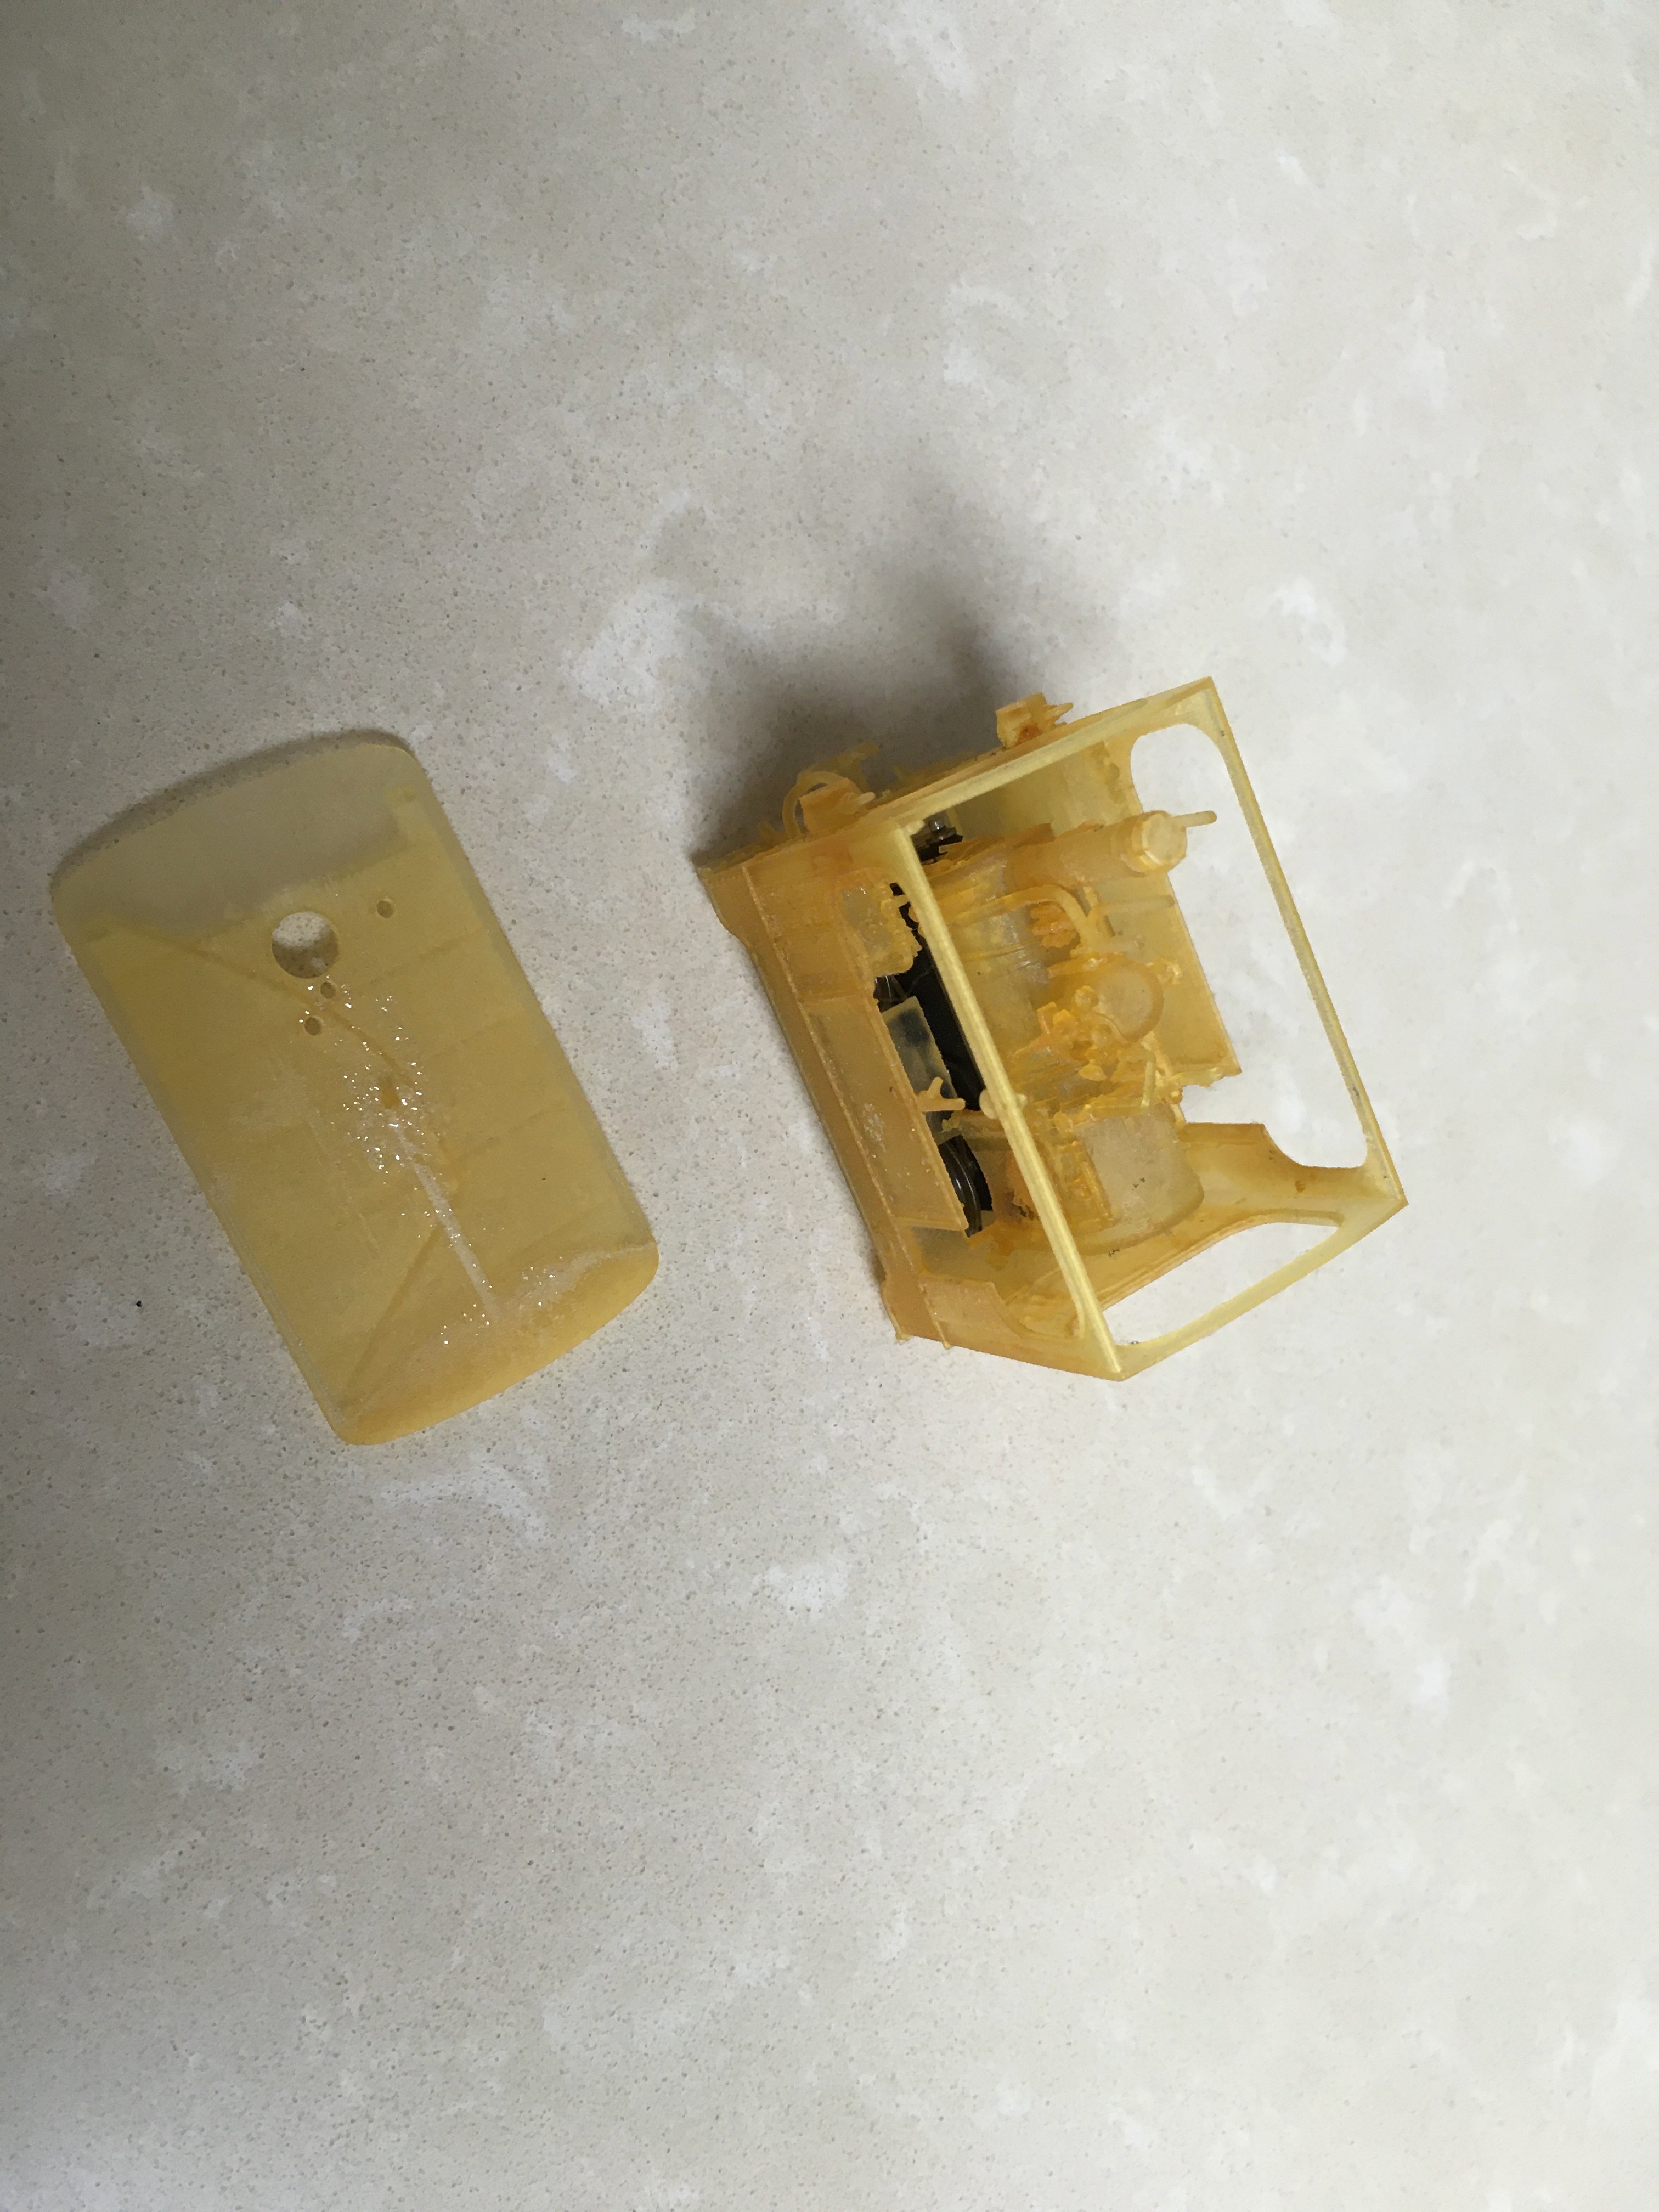
All is there, the brake, fittings on the kettle, the bell and flute on the roof.

He wrote a review for this piece of art and one day he asked me to edit in comparison with my experiences on the painting.
Well this little dinosaur never got one, get one. Its my time marking modeling was to change a lot.
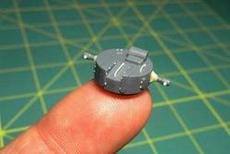
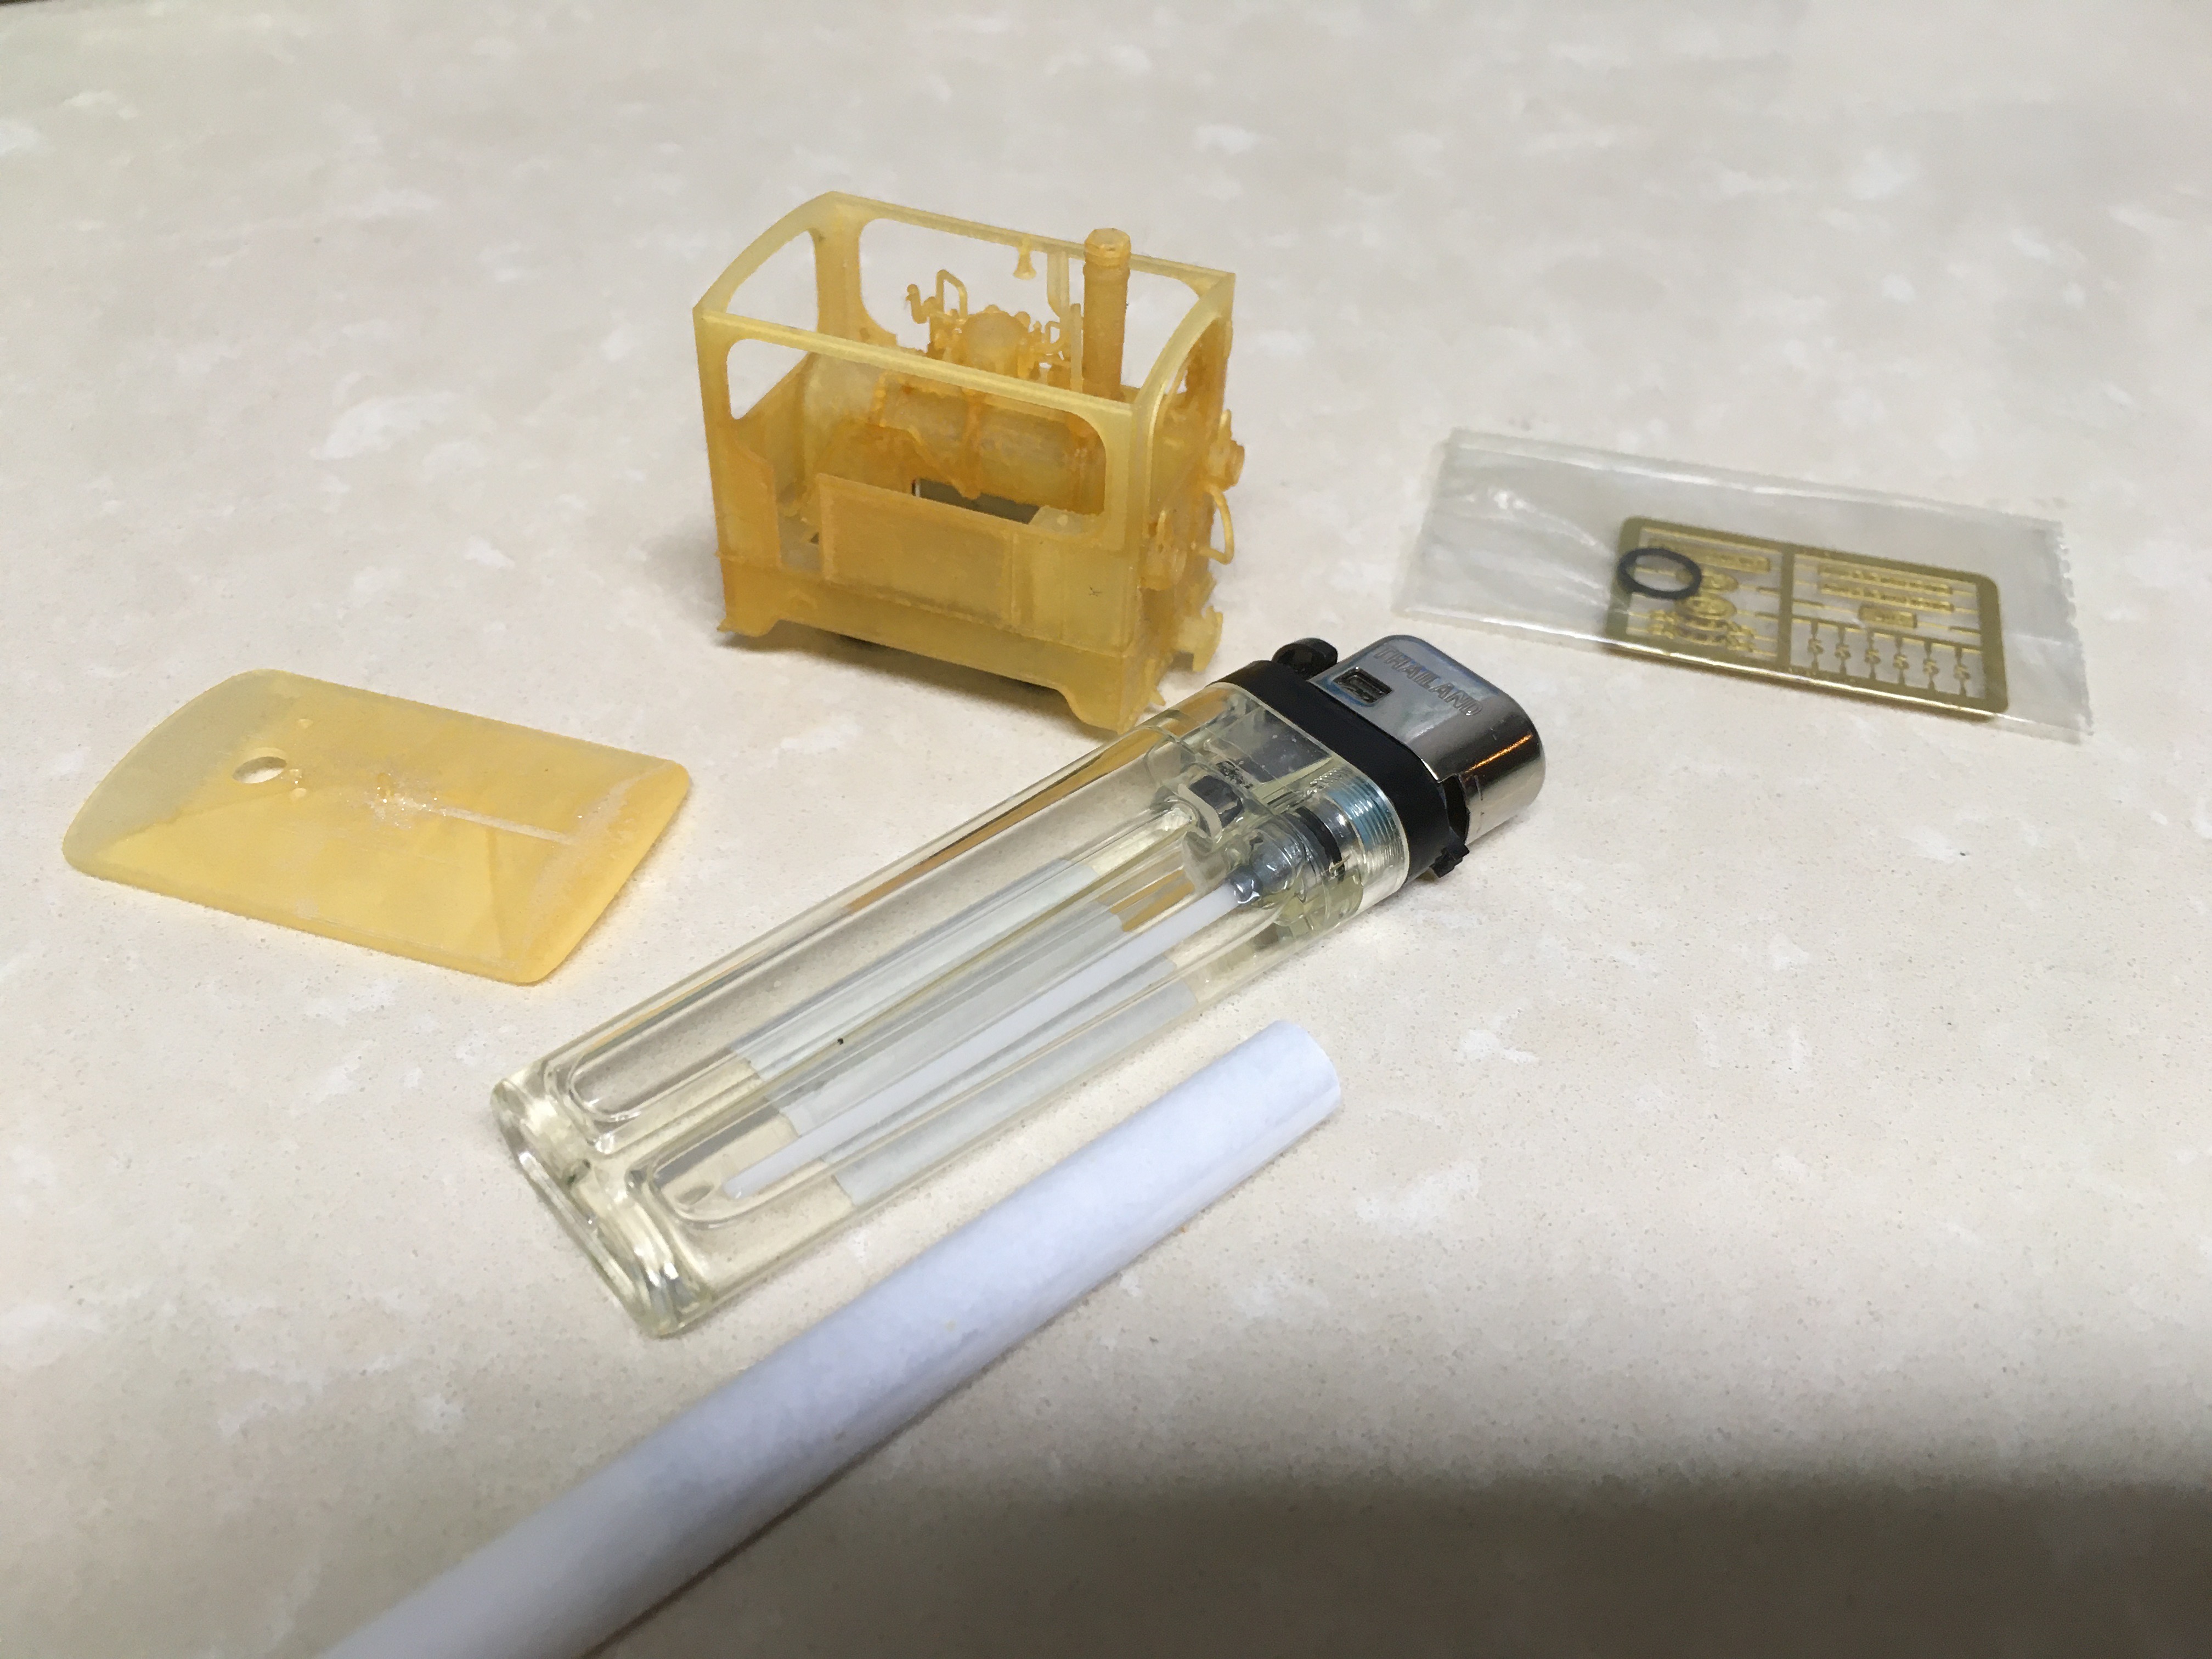
You want to see how little this one is. Well this big.

It's very tempting to spray some paint on it, but I will not as I stated above.
For that time, some 8 years ago, it still has the quality, somewhat yellowing now, but undamaged.
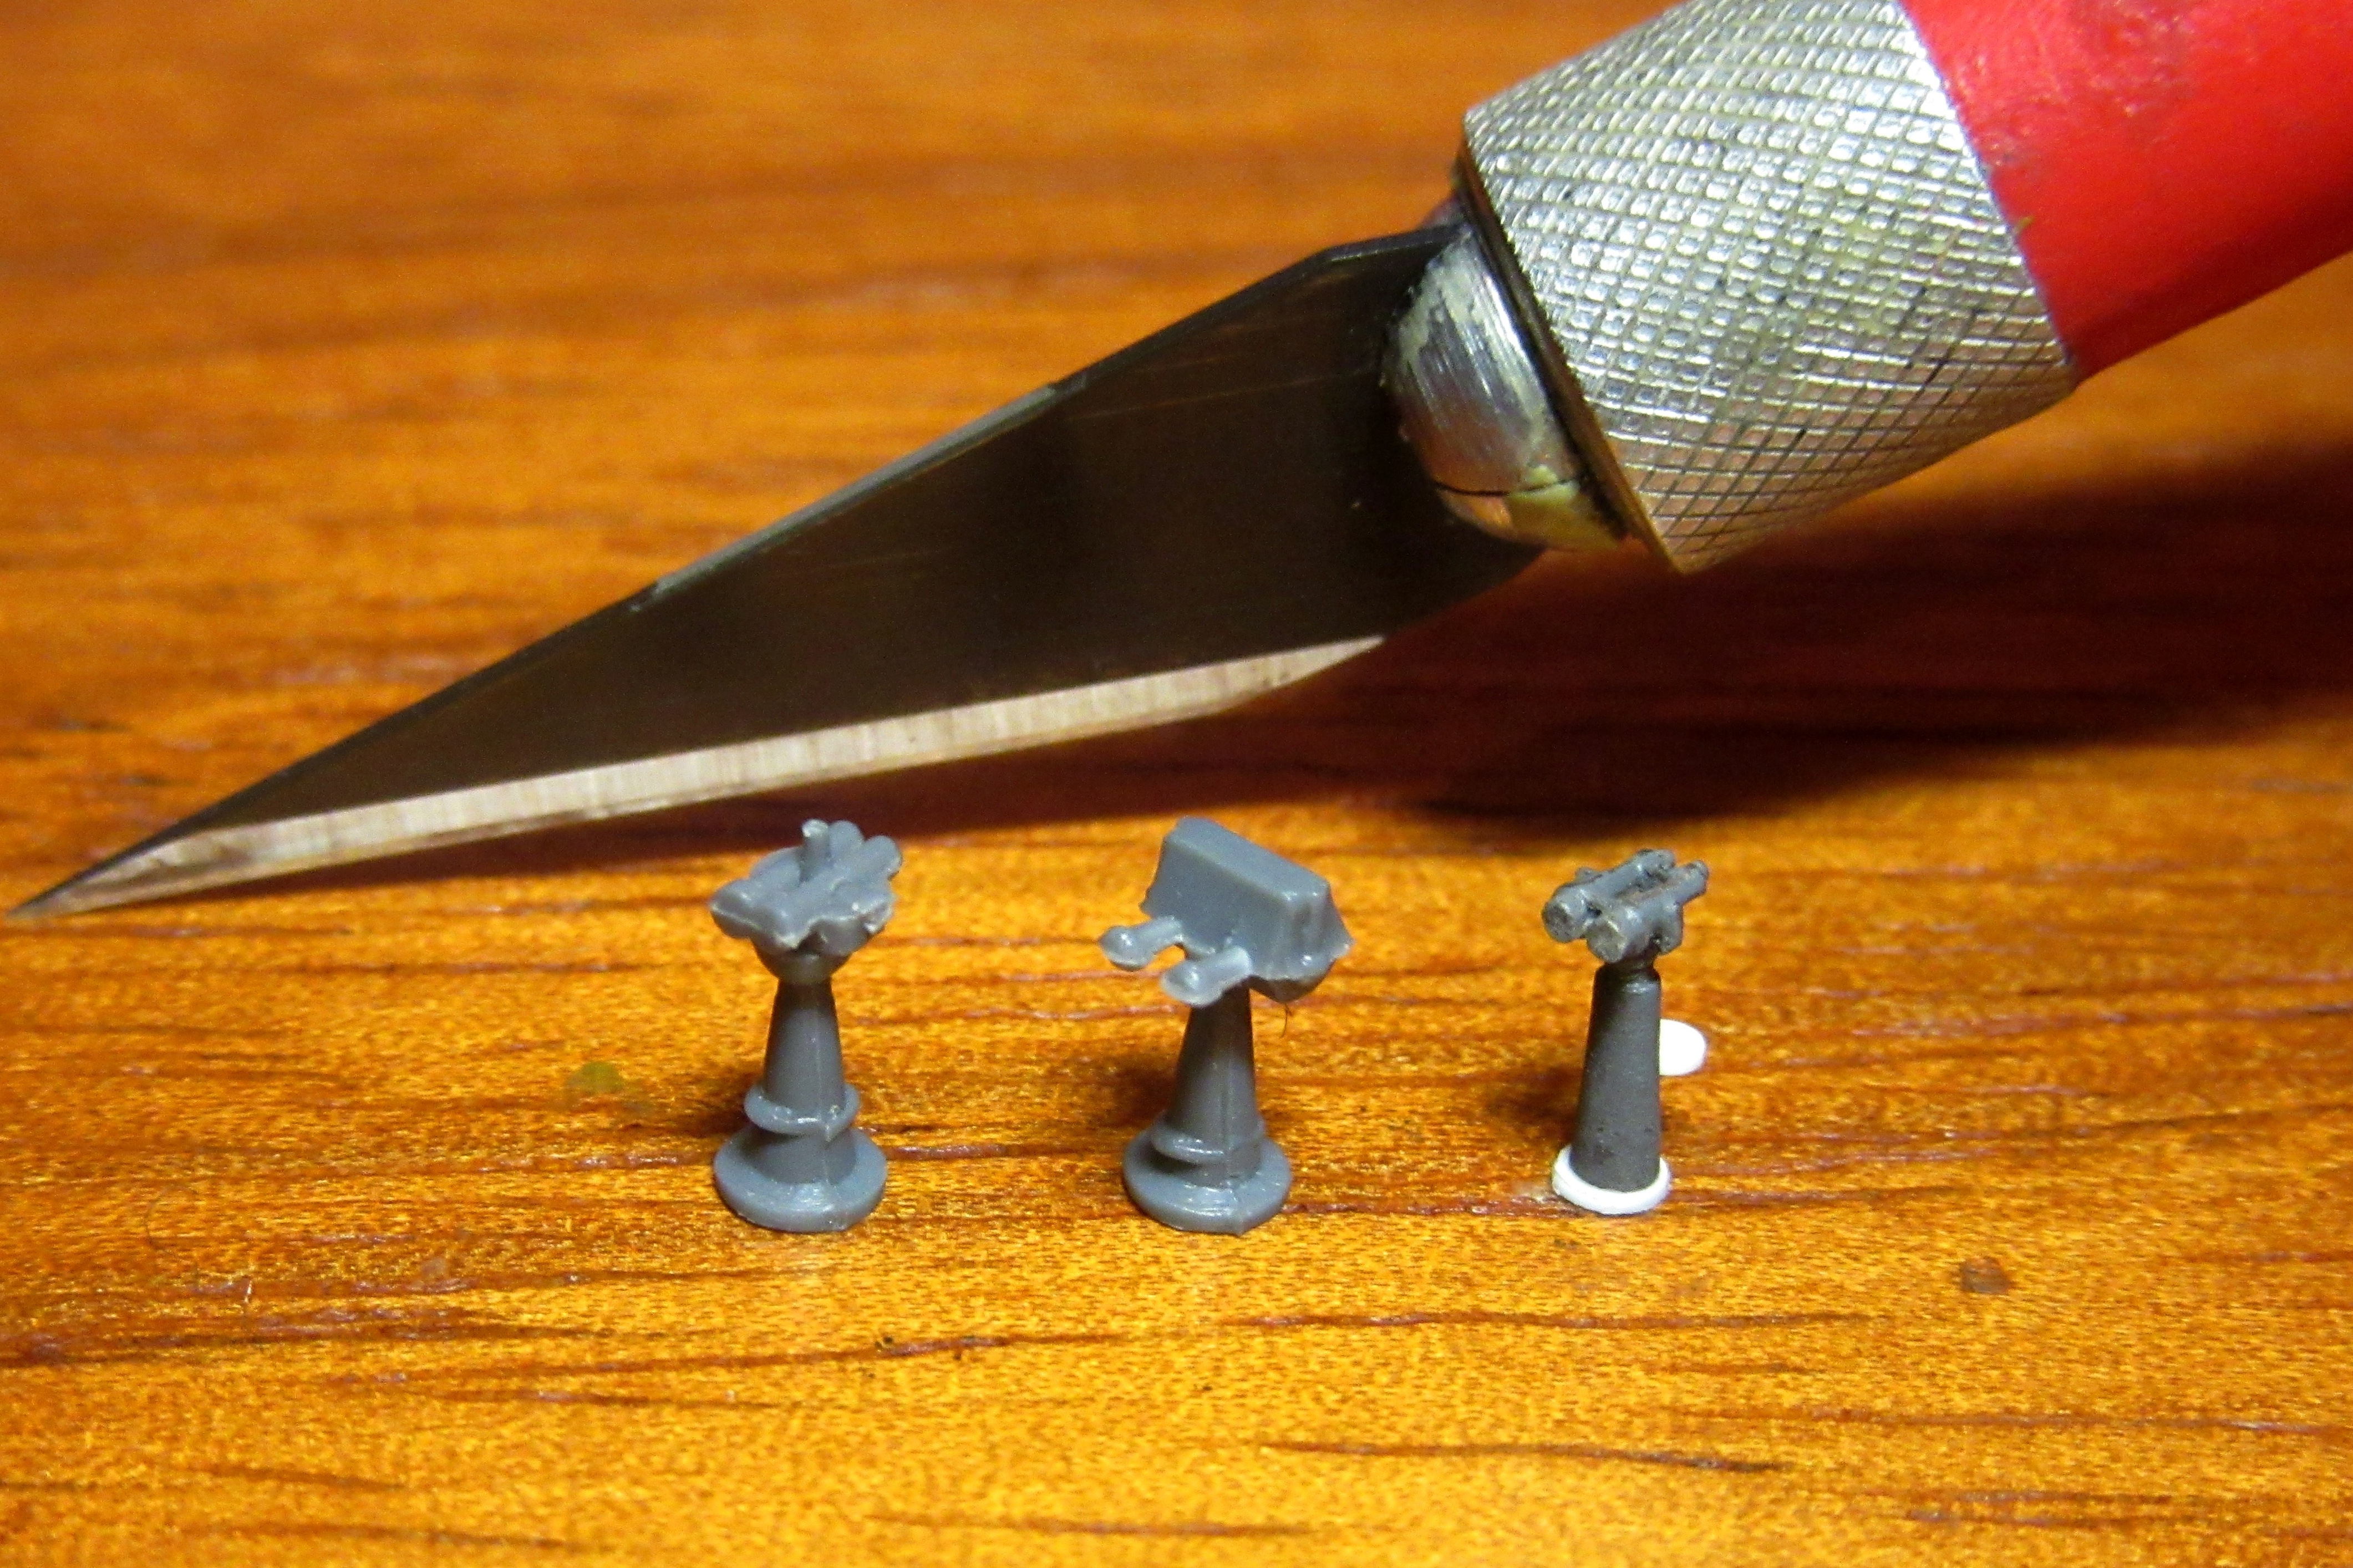
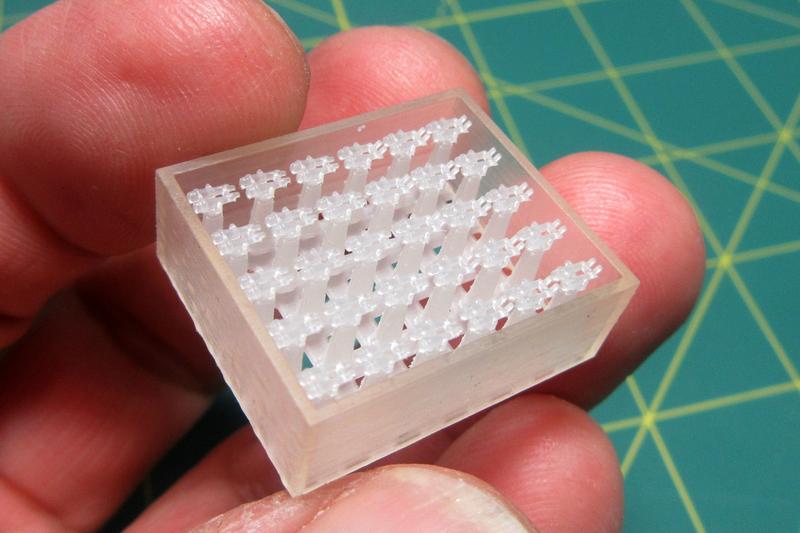
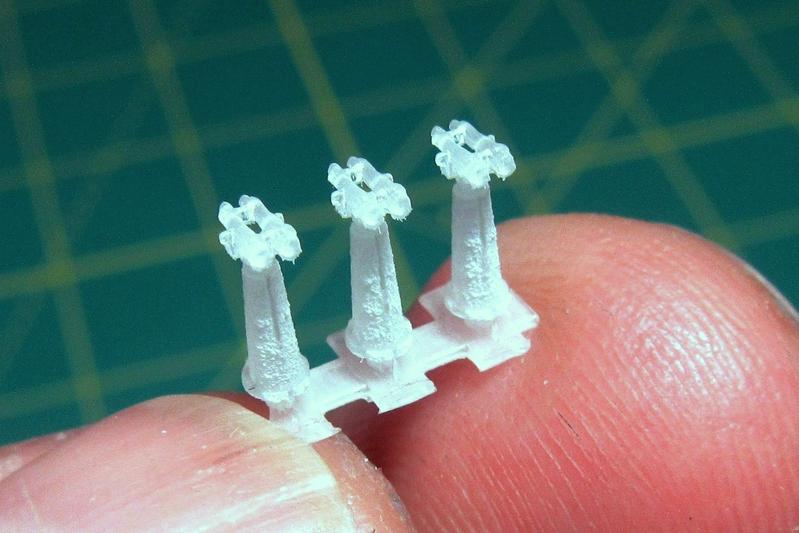
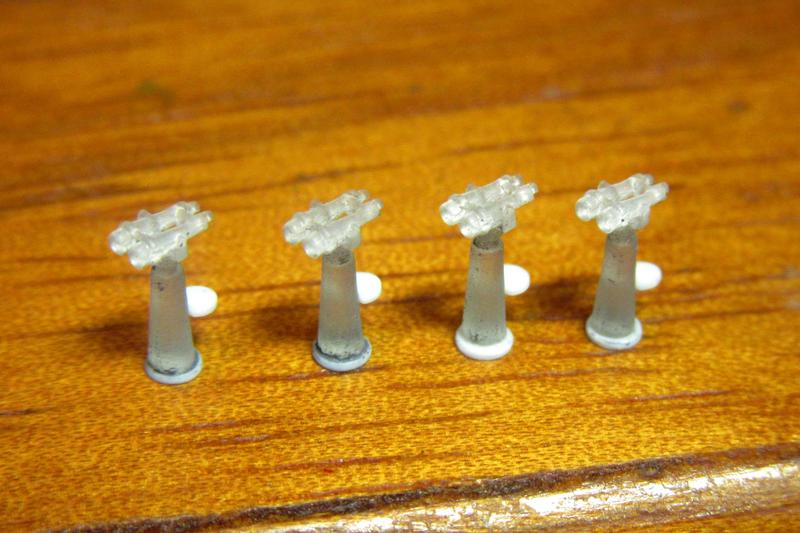
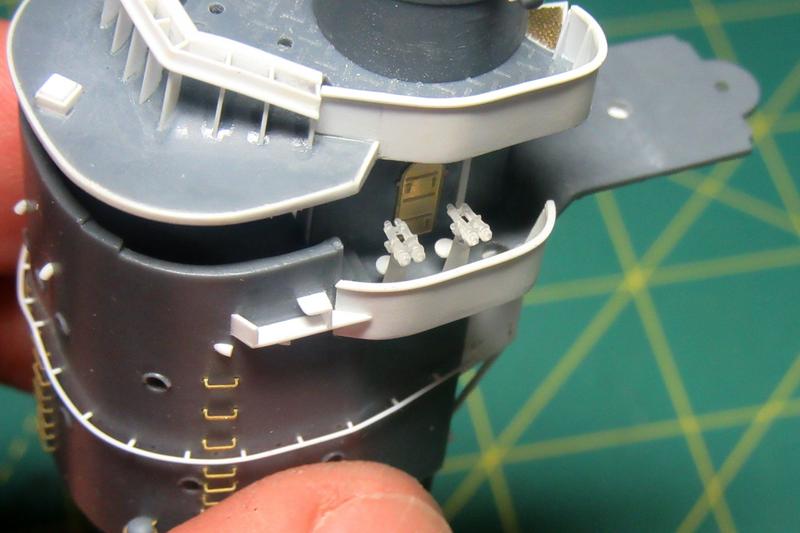
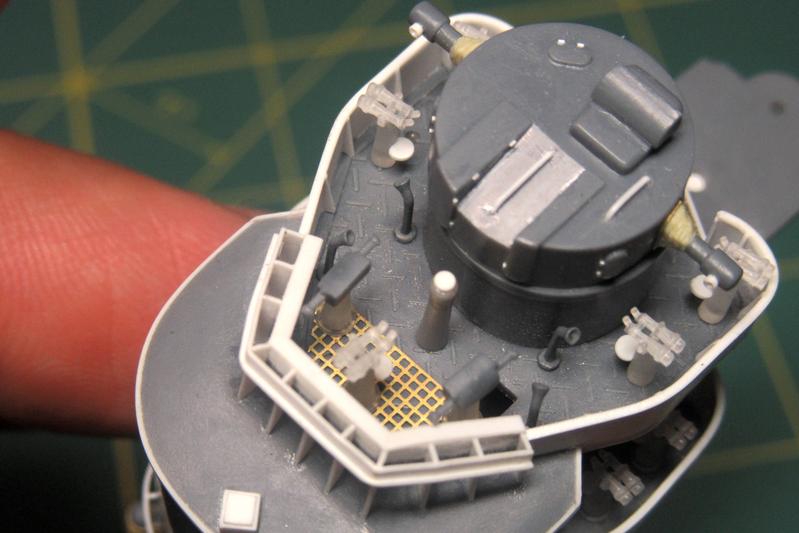
Yes and this has nothing to with your ship, but I doubt quality of 3D printing over the years, become a big money maker and there are a lot of people offering. This one cost me about 85 Euros, including micro motor installed.
I actually did build 3 of these little Trams and sold them to customers I had, commission as they say.
Just my 2 cents on 3D printing, I love it.
maybe but I had to.
timmyp
Visit this Community
Virginia, United States
Joined: May 18, 2008
KitMaker: 496 posts
Model Shipwrights: 404 posts
Posted: Thursday, August 06, 2020 - 03:39 AM UTC

Quoted Text

Gary, Mark, and Si, thanks!


Quoted Text

So, what's the technique to clean off the frosted look?//Tim


Hi Tim,

Perhaps mine isn’t the best technique for 3D printed parts clean-up since I keep breaking the &%^$# things...


–but here’s what I do.

First, when the new parts arrive in the mail I immediately put them out in my back yard to fully cure them with exposure to the ultraviolet in sunlight (sometimes they are a little soft because they aren’t completely chemically cured, but ultraviolet light fixes this). As for the cleaning, I start by taking an individual parts and do whatever light scraping I can get done with the X-acto – although this isn’t usually much. Most of the effort is with fine (grade #0000) steel wool. Rolling a little piece into a tiny ball, I go over the part gently and smooth it as well as I can. These parts come in a semi-clear material which is hard to see, so I brush on a thinned coat of gray acrylic (NOT enamel, as it will melt the part!) and, if necessary, go over it again. Rubbing away the paint assures that the part is truly smooth. It is tedious, really. I have found that a preparatory shot of Jack Daniel’s Tennessee sour mash eases the process considerably.


Thanks for tutorial. I've never worked with any 3-D parts, but if I ever get some in the future, I'll have a technique ready to clean them up!

I find that a shot or two of sour mash - be it Kentuckian, Tennessean, or Canadian - definitely helps "make the medicine go down"!

Thanks again.

Tim
McRunty
#491
Visit this Community
Missouri, United States
Joined: April 06, 2016
KitMaker: 602 posts
Model Shipwrights: 349 posts
Posted: Thursday, August 06, 2020 - 05:14 AM UTC

Quoted Text

I find that a shot or two of sour mash - be it Kentuckian, Tennessean, or Canadian - definitely helps "make the medicine go down"!


You are all miscreants!. All the world knows that Rum is the best drink, especially when it comes to helping with Naval modelling.

Kraken Rum is particularly good for this
TimReynaga
Staff MemberAssociate Editor
MODEL SHIPWRIGHTS
Visit this Community
California, United States
Joined: May 03, 2006
KitMaker: 2,500 posts
Model Shipwrights: 1,830 posts
Posted: Thursday, August 06, 2020 - 05:02 PM UTC

Quoted Text


Quoted Text

I find that a shot or two of sour mash - be it Kentuckian, Tennessean, or Canadian - definitely helps "make the medicine go down"!


You are all miscreants!. All the world knows that Rum is the best drink, especially when it comes to helping with Naval modelling.

Kraken Rum is particularly good for this


You might be right, Rory - I've had good luck so far with Jack Daniel's, but I'm always up for a dram of Nelson's blood too!


After prepping five more of the 12cm binocular mounts, I test fitted them to the air defense station on the roof of the bridge.These were similar to the horizontal fittings on the bridge wings except these were the subtly different high angle type with alternate eye pieces. Go ModelShipJP!


Among the other equipment here are two kit 66cm hooded range finders. These were upgraded with stands adapted from 12cm binocular mounts that I had broken earlier when prepping the binocular parts.


Also test fitted were a scratchbuilt gyrocompass repeater (in front of the large type 94 fire director) and 3D printed voice tubes from another IJN bridge fittings set by ModelshipJP. The brass etched mesh forward represents the non-slip wooden grating in this spot.


Though not as easy to work as styrene plastic, the new 3D printed parts go a long way to update Nichimo’s basic injection molded shapes.
RussellE
#306
Visit this Community
Victoria, Australia
Joined: June 27, 2010
KitMaker: 3,959 posts
Model Shipwrights: 2,777 posts
Posted: Thursday, August 06, 2020 - 09:46 PM UTC
can't wait to see you get some paint her, Tim
d6mst0
#453
Visit this Community
Texas, United States
Joined: August 28, 2016
KitMaker: 1,925 posts
Model Shipwrights: 1,298 posts
Posted: Thursday, August 06, 2020 - 11:16 PM UTC
Tim,

The bridge is looking great with all the detail.

Mark