Ships by Class/Type: Military Small Craft
For topics on PT boats, landing craft, Vietnam riverine, etc.
Channel Adversaries
warreni
Visit this Community
South Australia, Australia
Joined: August 14, 2007
KitMaker: 5,926 posts
Model Shipwrights: 2,624 posts
Posted: Friday, September 06, 2013 - 09:18 AM UTC

Quoted Text

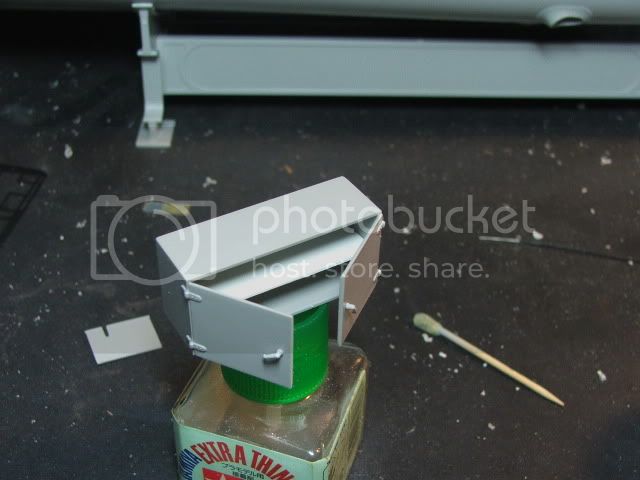
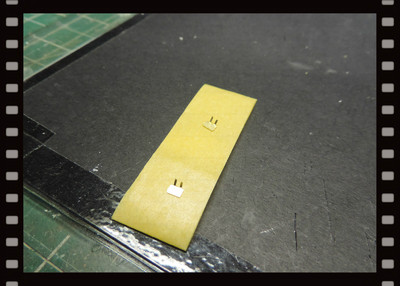
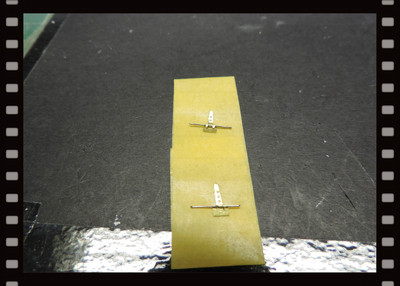
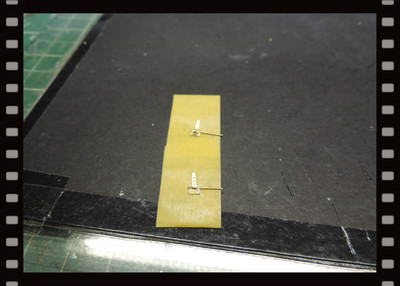
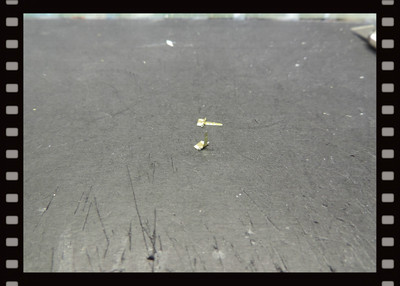
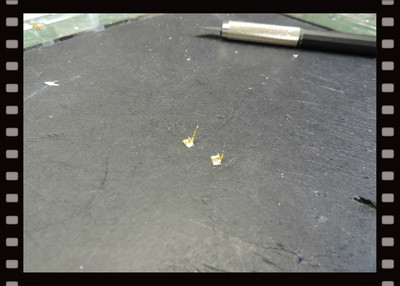
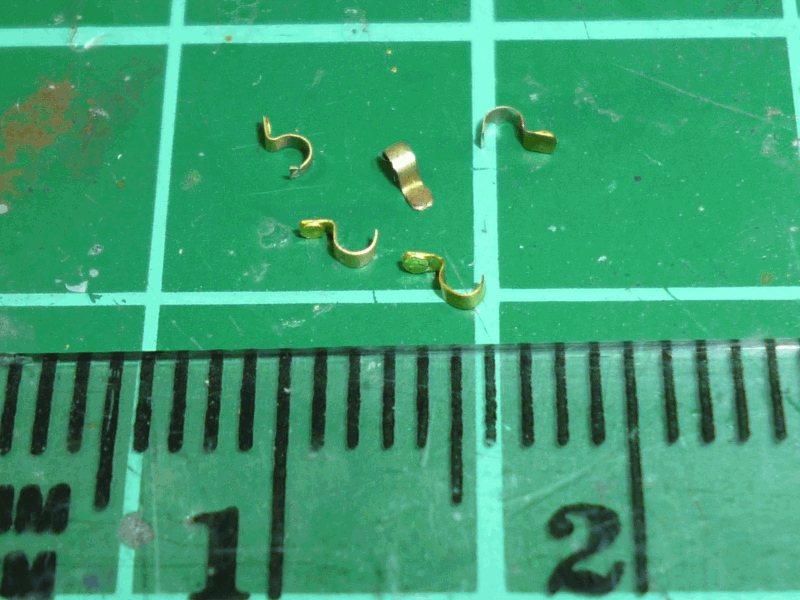
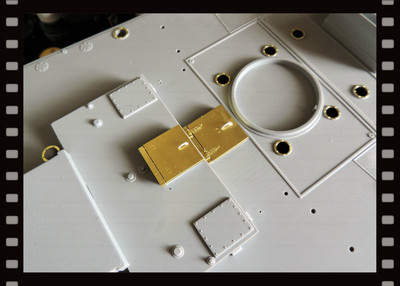
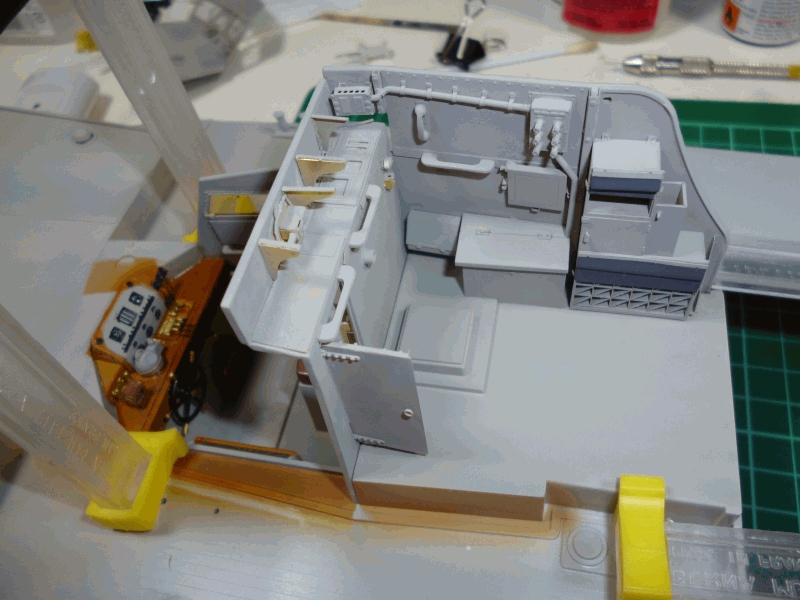
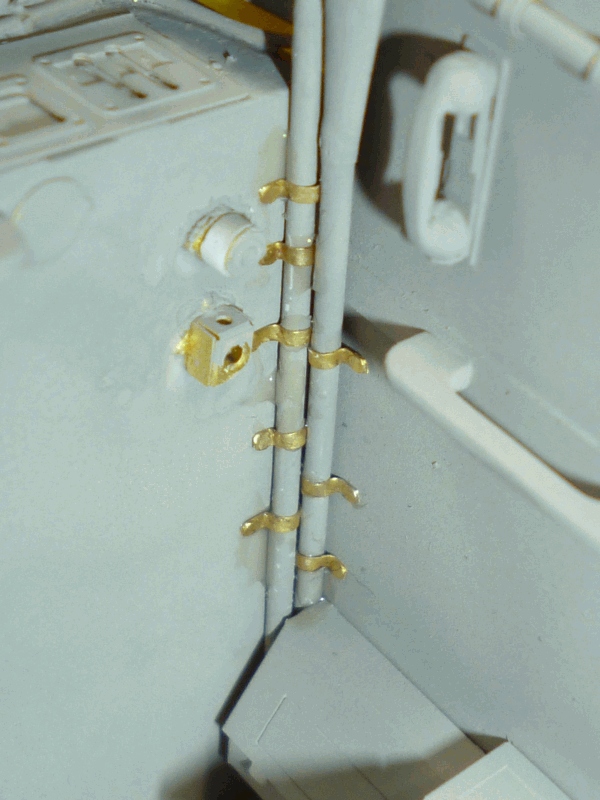
You mean I have been squinting at microscopic hinges all bloody afternoon to equal your PE efforts and now you say never mind
Doh............................
Sleep tight, I think I'll head for the garden and kick the neighbours cat.

Cheers mate


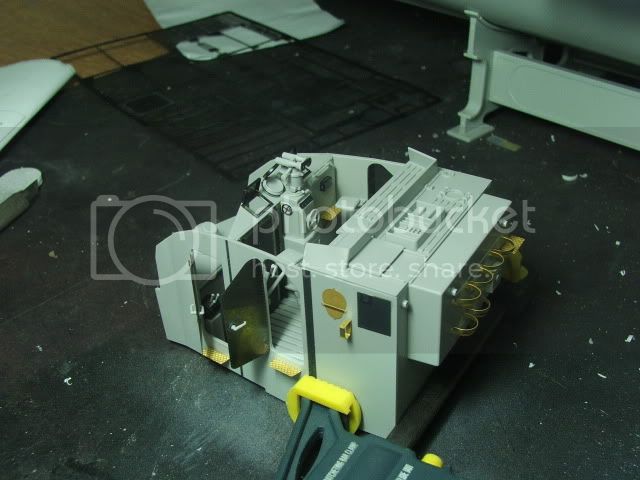
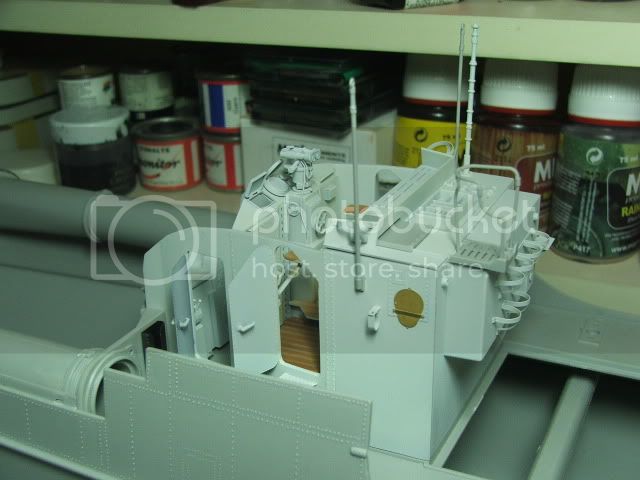
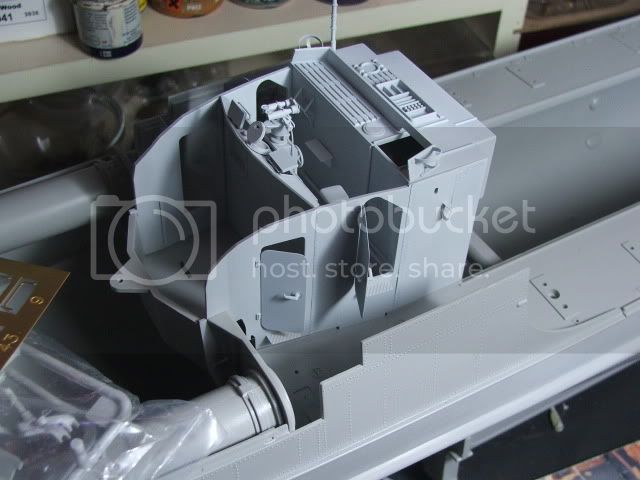
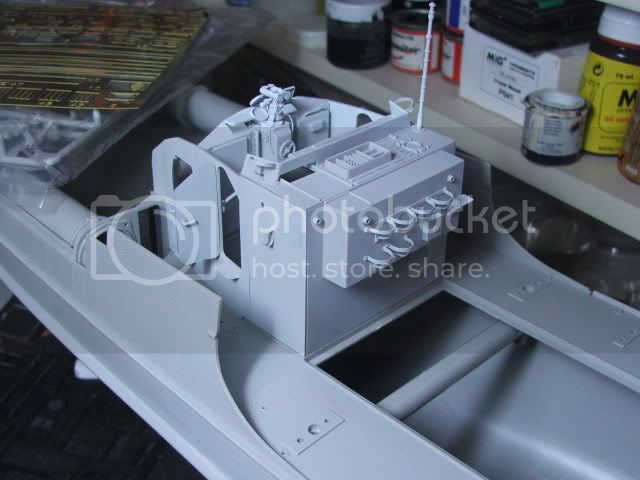
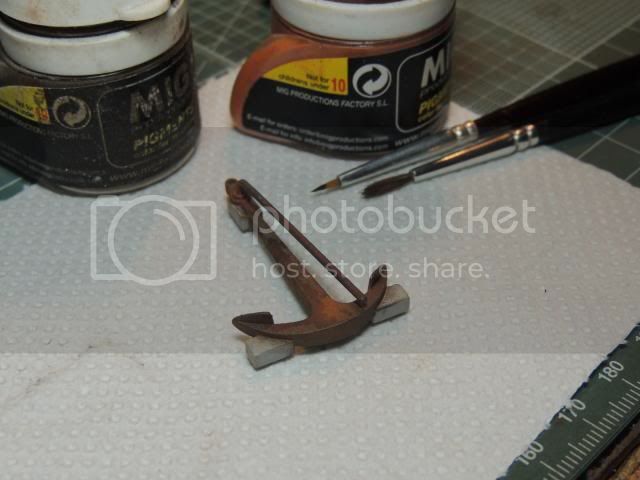
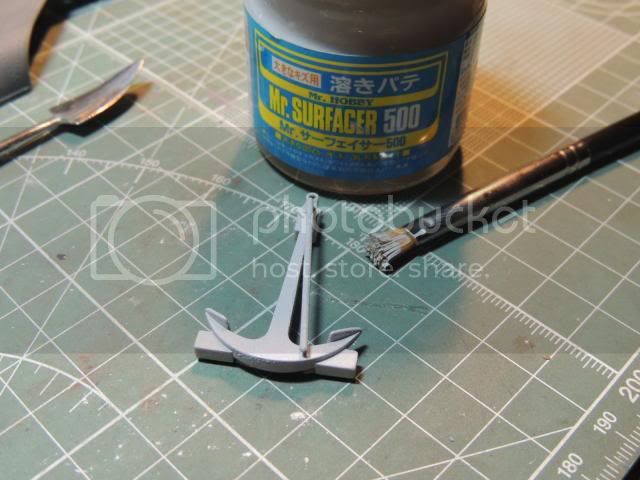
Think of it as enhancing your PEing skills my friend. If you can do them then you will have little trouble with other parts. Just remember to anneal all the parts BEFORE you try and roll them to shape. It makes it much much easier.

Cheers mate
sleepy Warren
Gremlin56
Joined: October 30, 2005
KitMaker: 3,897 posts
Model Shipwrights: 3,301 posts
Posted: Friday, September 06, 2013 - 06:07 PM UTC

Quoted Text

Great thread guys!

Warren, when I do PE hinges I use thin piano wire, I find it a lot easier to work with than the brass it does not bend as easily when working the hinges.

Cheers Rob.


After the first skirmish with a moveable hatch I will be going for Albion Alloy brass rod, should make life easier.
DanielMoscatelli
Visit this Community
Montevideo, Uruguay
Joined: August 22, 2011
KitMaker: 998 posts
Model Shipwrights: 941 posts
Posted: Saturday, September 07, 2013 - 05:05 AM UTC
Hello boys ..... good, since already we saw the hull with putty and sanded soon for his hand of definitive priming .......

While ......


And ......


Continuara .....
Gremlin56
Joined: October 30, 2005
KitMaker: 3,897 posts
Model Shipwrights: 3,301 posts
Posted: Saturday, September 07, 2013 - 05:29 AM UTC
That is gorgeous Daniel, nice posing of the doors. How are you going to add the life buoys to their holders? This puzzles me very much
Julian
warreni
Visit this Community
South Australia, Australia
Joined: August 14, 2007
KitMaker: 5,926 posts
Model Shipwrights: 2,624 posts
Posted: Saturday, September 07, 2013 - 06:00 AM UTC

Quoted Text

That is gorgeous Daniel, nice posing of the doors. How are you going to add the life buoys to their holders? This puzzles me very much
Julian


I have something that puzzles me even more, and that is why doors etc are being left open and not secured. This is a military craft remember and hatches and doors should not be left to flap around.

Having said that you are doing lovely work Daniel. Keep at it mate.

Kindest regards
Warren
beefy66
Visit this Community
England - North East, United Kingdom
Joined: October 22, 2007
KitMaker: 971 posts
Model Shipwrights: 645 posts
Posted: Saturday, September 07, 2013 - 06:02 AM UTC
Hello Boys you three are frightening the detail and finess you show with your PE work is awesome and this thread is so entertaining keep up the great work as always learning all the time from the Masters

Keith
Gremlin56
Joined: October 30, 2005
KitMaker: 3,897 posts
Model Shipwrights: 3,301 posts
Posted: Saturday, September 07, 2013 - 06:10 AM UTC

Quoted Text


Quoted Text

That is gorgeous Daniel, nice posing of the doors. How are you going to add the life buoys to their holders? This puzzles me very much
Julian


I have something that puzzles me even more, and that is why doors etc are being left open and not secured. This is a military craft remember and hatches and doors should not be left to flap around.

Having said that you are doing lovely work Daniel. Keep it mate.

Kindest regards
Warren


You know you are absolutely right on this point Mr. Inman. Leaving a hatch or door flapping would have gotten my A** kicked as an apprentice mate. My wife still complains that I close taps too tightly and close and lock doors. Second nature after 10 years at sea.

Cheers,
Gremlin56
Joined: October 30, 2005
KitMaker: 3,897 posts
Model Shipwrights: 3,301 posts
Posted: Saturday, September 07, 2013 - 06:13 AM UTC
Hi Keith, glad you are enjoying the "verbal abuse" we have to put up with here
If I had known beforehand I probably wouldn't have enlisted here (Just kidding here, Daniel and Waren are very excellent guys to work with).
warreni
Visit this Community
South Australia, Australia
Joined: August 14, 2007
KitMaker: 5,926 posts
Model Shipwrights: 2,624 posts
Posted: Saturday, September 07, 2013 - 06:28 AM UTC

Quoted Text

Hello Boys you three are frightening the detail and finess you show with your PE work is awesome and this thread is so entertaining keep up the great work as always learning all the time from the Masters

Keith


G'day Keith.

Many thanks for the compliments. Having been trainied as an Instrument Fitter in the RAAF and working on instruments like altimeters and gyroscopes I think it gave me all the hand-skills I need to tackle working with the PE sets. I am hoping that people will be inspired to give PE a go after reading this thread.

I may be OK at this PE stuff, but I haven't even tried the diorama stuff you do so well. Your S-Boat at the dock dio is incredible.

Cheers
Warren
DanielMoscatelli
Visit this Community
Montevideo, Uruguay
Joined: August 22, 2011
KitMaker: 998 posts
Model Shipwrights: 941 posts
Posted: Saturday, September 07, 2013 - 06:47 AM UTC
Thank you very much Keith!!! But not masters only apprentices!!
Boys dont become nervous!! Jaja the idea was that in final result some man would be extracting something of the drawer. But ultimately I decided to close all since this copy surely furrows the waters of the lake of the park....Quite these details surely are not practical!! Equal sound a few old men grumble!! ....

Make me happy to form a part of this group!!!

PS: Pardon ... that diorama of wharf S-100 eboat Schnelboot torpedo .........??? I want to see!! I want to see!!

==) Daniel
DanielMoscatelli
Visit this Community
Montevideo, Uruguay
Joined: August 22, 2011
KitMaker: 998 posts
Model Shipwrights: 941 posts
Posted: Saturday, September 07, 2013 - 07:06 AM UTC
A time ago prepares my anchor. I was very satisfied with her but ...... jajajjaja


Later paint her....


but ....


It is a Pity!! One sees very cool!!!


Daniel
Gremlin56
Joined: October 30, 2005
KitMaker: 3,897 posts
Model Shipwrights: 3,301 posts
Posted: Saturday, September 07, 2013 - 07:33 AM UTC
The anchor looked very well weathered Daniel, sorry I mentioned it in the first place I'll try not to be a grumbling old man Have you tried the sepia and black and white effects on the Nikon? really fun...........................
warreni
Visit this Community
South Australia, Australia
Joined: August 14, 2007
KitMaker: 5,926 posts
Model Shipwrights: 2,624 posts
Posted: Saturday, September 07, 2013 - 08:37 AM UTC

Quoted Text

Thank you very much Keith!!! But not masters only apprentices!!
Boys dont become nervous!! Jaja the idea was that in final result some man would be extracting something of the drawer. But ultimately I decided to close all since this copy surely furrows the waters of the lake of the park....Quite these details surely are not practical!! Equal sound a few old men grumble!! ....

Make me happy to form a part of this group!!!

PS: Pardon ... that diorama of wharf S-100 eboat Schnelboot torpedo .........??? I want to see!! I want to see!!

==) Daniel


Daniel, just do a search under Keith Richardson and the second one down is the diorama. Prepare to be impressed...
DanielMoscatelli
Visit this Community
Montevideo, Uruguay
Joined: August 22, 2011
KitMaker: 998 posts
Model Shipwrights: 941 posts
Posted: Saturday, September 07, 2013 - 09:29 AM UTC

Quoted Text

The anchor looked very well weathered Daniel, sorry I mentioned it in the first place I'll try not to be a grumbling old man Have you tried the sepia and black and white effects on the Nikon? really fun...........................


Julian does not worry!! It is a joke. To my I do not like me the final result jeejje either ... in these moments I am advancing the works in the foredeck .... tomorrow photos here.

Not, my poor Nikon is stride in modeP and my brain in mode P.....
Julian.?? Have you a gas station in the corner??

Daniel !!
DanielMoscatelli
Visit this Community
Montevideo, Uruguay
Joined: August 22, 2011
KitMaker: 998 posts
Model Shipwrights: 941 posts
Posted: Saturday, September 07, 2013 - 09:36 AM UTC
Daniel [/quote]

Daniel, just do a search under Keith Richardson and the second one down is the diorama. Prepare to be impressed...[/quote]

Thank you Warren!! The friend Keith end being a teacher in the topic!!! Very good this dock !!! This kit is beautiful!! I arm it years ago and 2 weeks ago I found it in Ebay Grecia and buy it!! This one in my rack now ... quite a piece of collection difficult to find and expensivly of paying!!!

Congratulations Keith!!!!
warreni
Visit this Community
South Australia, Australia
Joined: August 14, 2007
KitMaker: 5,926 posts
Model Shipwrights: 2,624 posts
Posted: Saturday, September 07, 2013 - 09:38 AM UTC
Hi All.

Quick update before I heard back to the QMHE to spend some money!
Progress continues on the left sidewall of the flying bridge..

That's it.. told you it was a quick update!
Cheers all
Warren
Gremlin56
Joined: October 30, 2005
KitMaker: 3,897 posts
Model Shipwrights: 3,301 posts
Posted: Saturday, September 07, 2013 - 05:20 PM UTC
PE hinges 101:

I have worked out a way to assemble the microscopic hatchcover hinges that works for me. Put a piece of Tamiya tape on the work surface and trap the screw plate on the sticky surface after slightly raising the hinge tabs:


Then insert the other part of the hing between the two tabs, trapping this part on the sticky surface of the tape:


Then place a short length of brass rod on the hinge parts between the raised tabs:


Once the tabs have folded around the hinge pin you can move the rod to one side and secure it with CA or Gator grip. When dry trim the pin and you have a working hinge:


Mind you, after going through all this bother I do wonder why took the trouble

What is with the gas station Daniel? you lost me there


The hull of the Vosper recieved its coat of grey ground yesterday. The rudder construction looks good now that it is in one colour.
Gremlin56
Joined: October 30, 2005
KitMaker: 3,897 posts
Model Shipwrights: 3,301 posts
Posted: Saturday, September 07, 2013 - 05:39 PM UTC
Here is the link to Keith's excellent dio:

https://modelshipwrights.kitmaker.net/features/3966

warreni
Visit this Community
South Australia, Australia
Joined: August 14, 2007
KitMaker: 5,926 posts
Model Shipwrights: 2,624 posts
Posted: Saturday, September 07, 2013 - 08:23 PM UTC
Julian, did you remember to anneal the hinged before you tried to bend them? Good to see progress on the tricky little buggers.
Another short update. One of the steps with the PE asks you to remove an extinguisher from a kit part and use it with the PE stuff.. You have to be joking don;t you Mr Griffon! It is a plastic blob and would be like a big festering boil on a bottom if you used it... so I scratched on up with plastic rod and some left over brass strip..

I think it looks a bit better. Sorry the photo is a bit over exposed..
Next up was to install some pipe conduits around the flying bridge. They are made with either brass wire or plastic rod. And if you have a run of conduit you need attaching parts to hold the conduit in position and after a bit of trimming and curving and bending here are the first batch..

And here's what they looked like in position before they got greyed..

Then, to cover up all that gleaming gold brass it all gets painted grey..

Well that was the first coat anyway and when that is fully cured it will get another coat. You can't see the bare brass with the naked eye but the all seeing camera eye has no trouble.
That's it for now. Next up is to assembly the wheelhouse and flying bridges. Hopefully it will all line up..
Cheers all
Warren
Gremlin56
Joined: October 30, 2005
KitMaker: 3,897 posts
Model Shipwrights: 3,301 posts
Posted: Sunday, September 08, 2013 - 01:50 AM UTC
Your build is making rapid progress Warren and it looks very good indeed. The metal lips very soft enough to bend without anealing being necessary here.
Gremlin56
Joined: October 30, 2005
KitMaker: 3,897 posts
Model Shipwrights: 3,301 posts
Posted: Sunday, September 08, 2013 - 01:55 AM UTC
Just spent a very enjoyable afternoon pottering around with my trusty Krome to put the first coat of paint on 234. Also had fun messing around with the Nikon, great piece of kit and to top things off Monza, (even if Hamilton didn't win).


Nostalgic 1940's effect


Now to look for a rather subdued blue shade to fill in the rather unsightly unpainted part of the hull. For the black shade I will be using weathered railway black from Lifecolour.

Longshanks8
Visit this Community
England - South West, United Kingdom
Joined: July 04, 2013
KitMaker: 430 posts
Model Shipwrights: 390 posts
Posted: Sunday, September 08, 2013 - 03:30 AM UTC
Julian, the stern area with triple rudder has blended in nicely !

Warren, your certainly tempting me to go down the griffon PE route for the Vosper, someone very close to me now would say your 'a very bad man'

Think I might leave it until I have a bit more experience in PE

Keep up the good work guys
TAFFY3
Visit this Community
New York, United States
Joined: January 21, 2008
KitMaker: 2,531 posts
Model Shipwrights: 1,244 posts
Posted: Sunday, September 08, 2013 - 05:52 AM UTC

Quoted Text

Hi All.

Quick update before I heard back to the QMHE to spend some money!
Progress continues on the left sidewall of the flying bridge..

That's it.. told you it was a quick update!
Cheers all
Warren


Great work guys, even enjoying the banter which sometimes makes think more of Moe, Larry, & Curly rather than Warren, Daniel, & Julian. Two questions, what is that little can that looks like some kind of reservoir and what looks like a small rack atop the lockers on the left side of the bridge?
warreni
Visit this Community
South Australia, Australia
Joined: August 14, 2007
KitMaker: 5,926 posts
Model Shipwrights: 2,624 posts
Posted: Sunday, September 08, 2013 - 06:35 AM UTC
Basically a hydraulic fluid reservoir. They call it a Lockheed fluid container or something like that. There is a pipe that runs from the bottom but I have not put it in yet.

Kev, there is only one way to get experienced in PE and that is to use it...
warreni
Visit this Community
South Australia, Australia
Joined: August 14, 2007
KitMaker: 5,926 posts
Model Shipwrights: 2,624 posts
Posted: Monday, September 09, 2013 - 02:26 AM UTC
G'Day everyone.
Well its a brand new day here in Oz and I am up to take some pain relief tablets... again... Oh well, enough moaning, here is a short update.
As I have started to assemble the superstructure I thought I would take some pictures of the office before it is all buttoned up..


As you can see I have one of the sides in position and drying..

And here is a view of some of the cable conduit and the holding brackets on the flying bridge.

I can't imagine what a miserable place it would have been in the middle of winter in a snow storm to be so exposed to the elements.
I have made a start on the top part of the flying bridge that is totally replaced by PE. I painted the pieces yesterday before I started folding and assembling them but a tip for you Julian, don't bother painting them first Julian as there is a lot of heavy-duty folding to be done with all the brackets up there and the paint takes a battering. Better to leave it until the assembly is complete.
If this kit had been OOB I am pretty sure it would have been finished long ago as even though it is highly detailed the parts count is pretty low.
Good night for now
Warren
On that note it is time to go back to bed and see if I can get some more sleep.