


Thought it better to say something

As Warren said its looking great, is the Accurate Armour one?


 Julian this one as dog and two tails!!!! Already a time it wanted to see his Oerlikon finish!!! Jajjaja realy adjoins. I wait that alone they shoot flowers at the enemy ......

Hello my friend!! What passing that you need sedatives?? You must do as Julian .... hide a bottle of brandy with Thiner's label for paintbrushes.
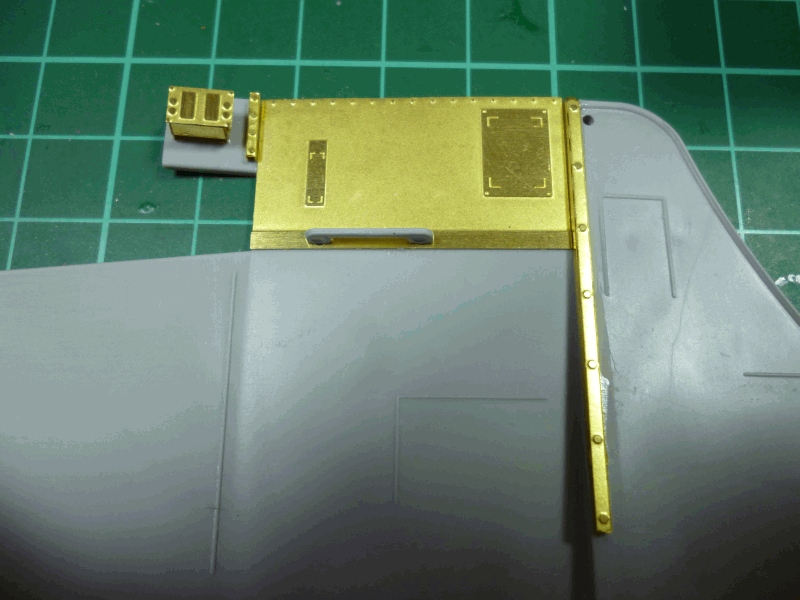
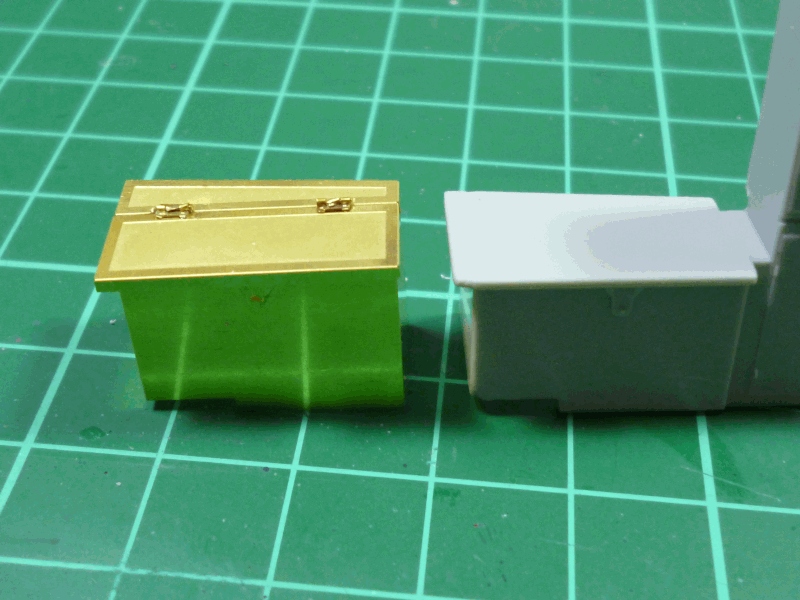
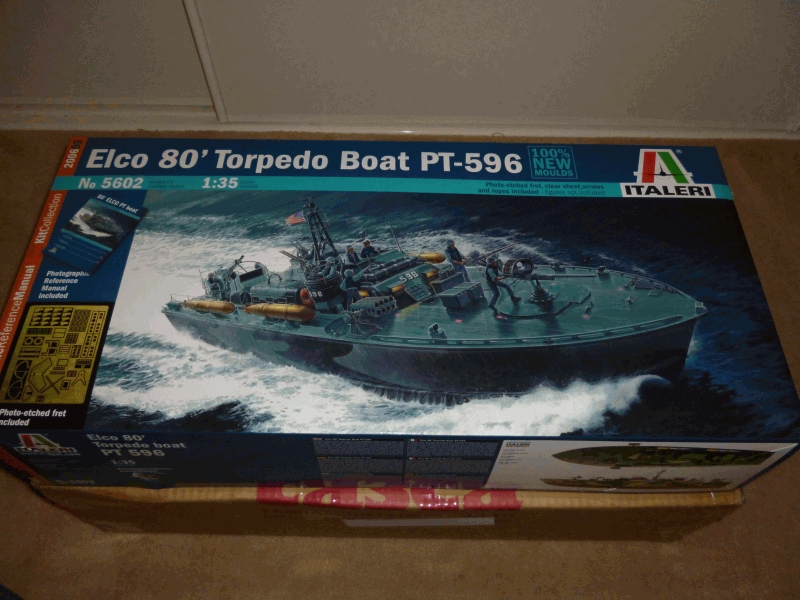
Well. remaining beautiful this cabin ..... and I cannot imagine armed with Italeri Vosper without this PE set!!!!!
Regards Daniel


Great job friend
The wheelhouse is shaping up beautifully, very impressive.
Hope you get your nights sleep
Cheers Kev
Hello friends, looking for information I meet the recent Winner of the on-line contest of Italeri Ships's official site.. My congratulations to the Colleague modeler. and here I share ......


 Sean friend I pay the drinks!!! .... Regards Daniel


 Al
AlHi Warren,
Sitting here absolutely gob smacked at the detail you are achieving in the wheelhouse.
I would love to have a go at this but I know I need more practise with photo etch.
The three of you are doing a great job
Great work Warren, that PE set does provide a lot of extra good looking detail.

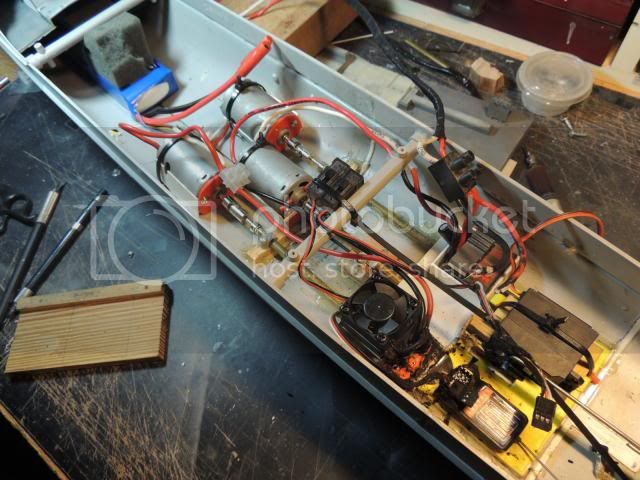
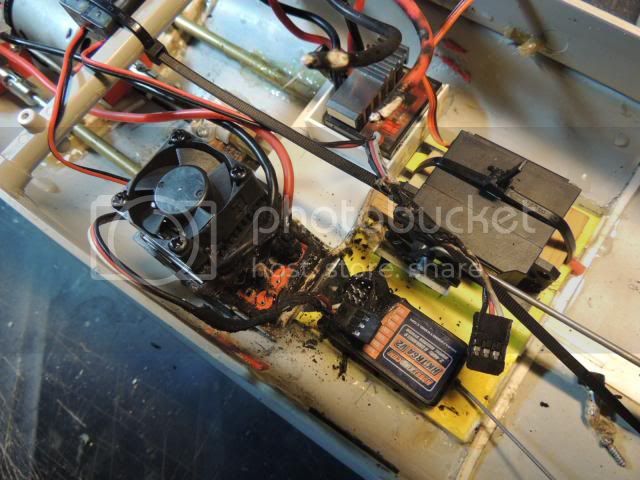
 Thanks Al Ross !!! This it is a very good news!!! Incredibly I could never buy Schnelboot inaction Out Stock ...I have in pdf...... Apparently here!! For the advances in details of my two adversaries I will have to do to me of all them.. In Action!!! Daniel After many comings and goings to the lake of the park when the new ideas prove in RC any term as already forward ... in a species of bonfire Vikings.
  ......


 |


