


the nose needed binding with masking tape to keep it together. The gaps were edged with masking tape to ease clean up and protect detail, the big gap behind the radiator was plugged with a peice of palsticard.

And more filler.
More soon.
Si


 I will be doing one from the wolfpack squadron.


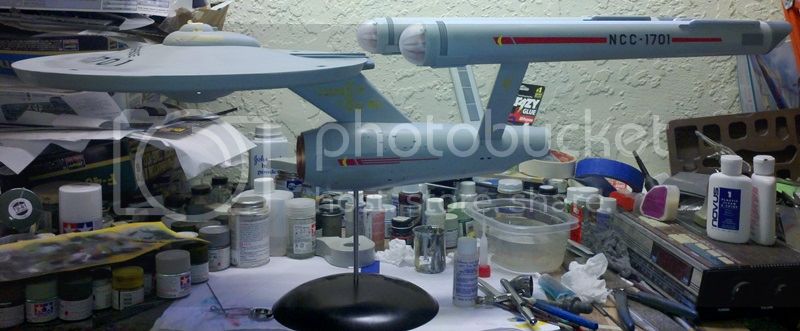
 this was many years ago and not a lot has been done. Some of the Verlinden detail set has been glued on and a couple of panels opened up. Here is a pic and I will wait to see if it's alright to proceed.
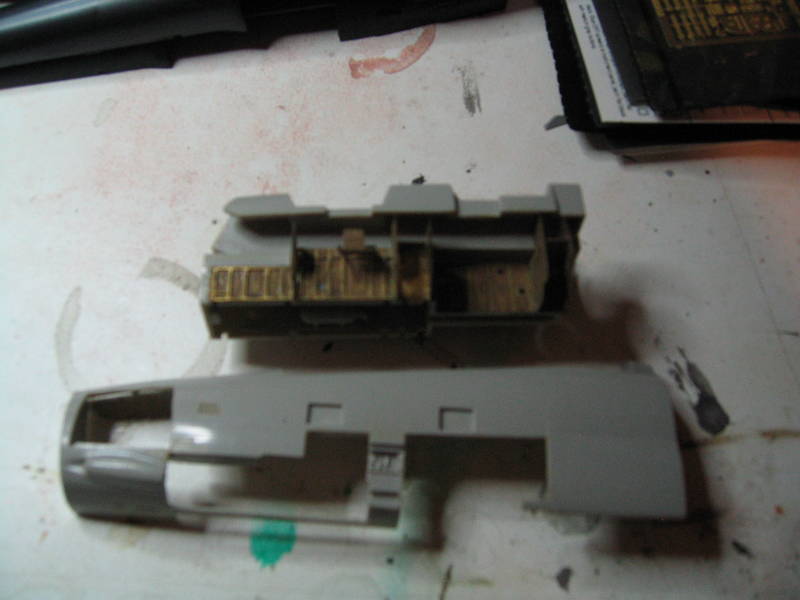
I may have run into a problem, I went to start my kit and found that some of it has been put together
Cheers Rob.


 Good luck with the top wing.


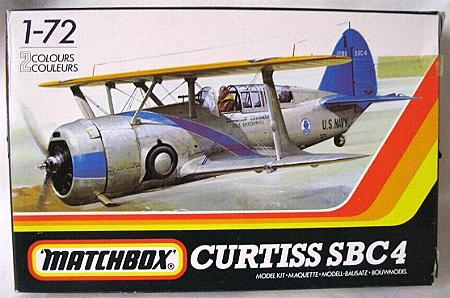
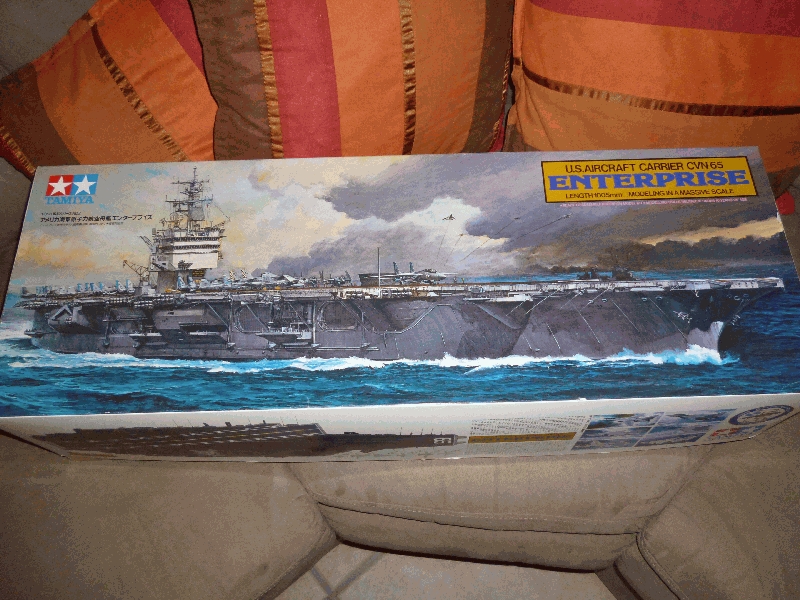
Michael, looks great. I bought the same model a couple of years ago when i first got into modelling, the big box got me all excited. I screwed it up big time it ended up in the bin. I will have to get it again now i am more experienced at building models and give it another shot.


 |


