

I do have a sheet of roundels.


the tailstripes went before the red meatballs
I do have a sheet of roundels.


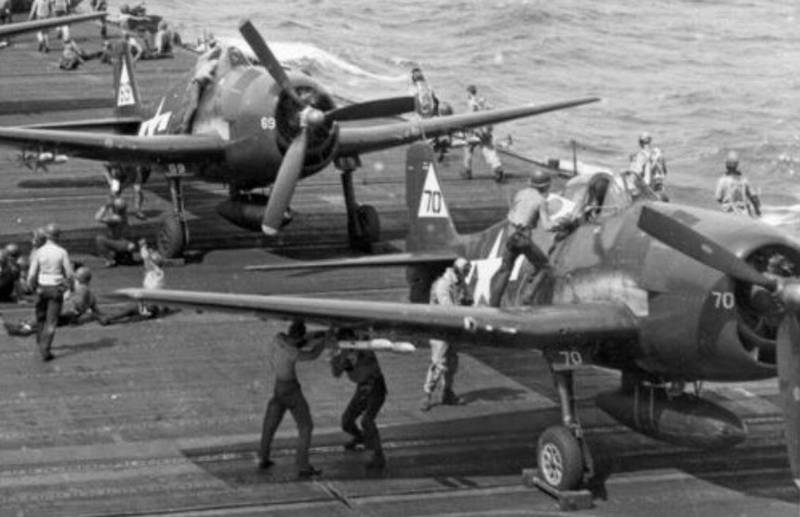


Hi Warren, I know the type you are describing, but I have found quite a number of images which show the C-shaped ones which the Sweet Models kit ones sort of resemble, here one example
just browsing around, found another, and another.
no idea when these went out of use, but they seem quite common in the Pacific war period.

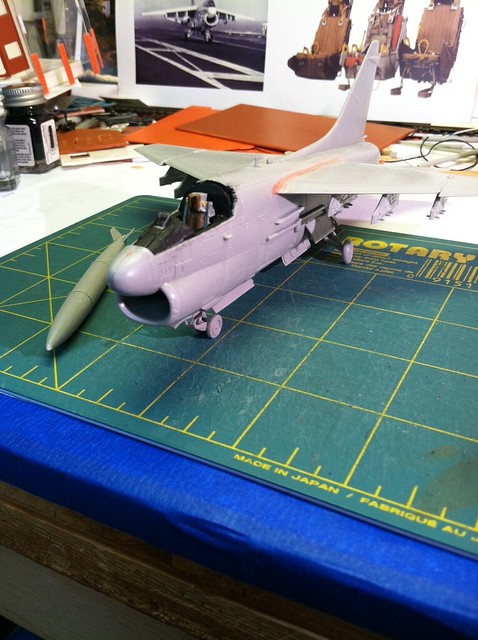
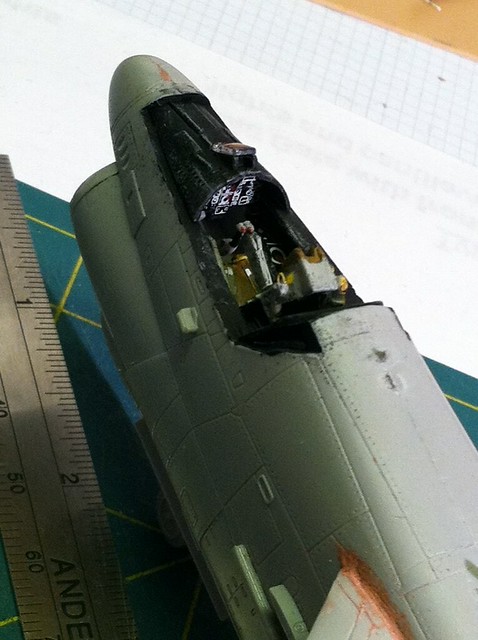
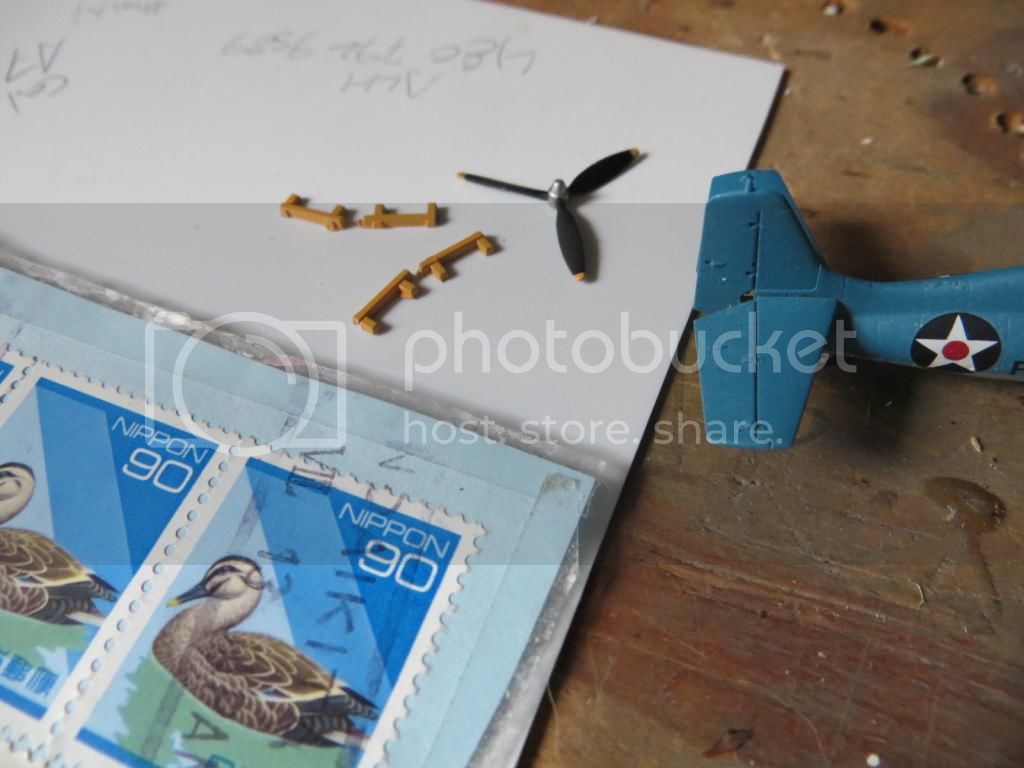
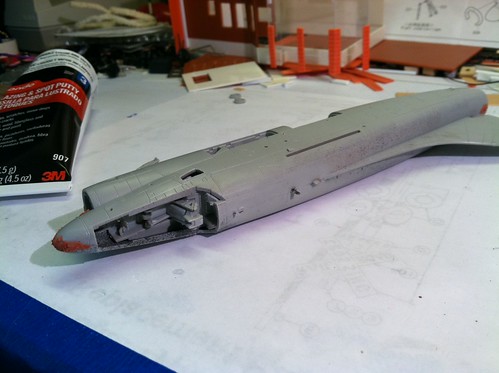
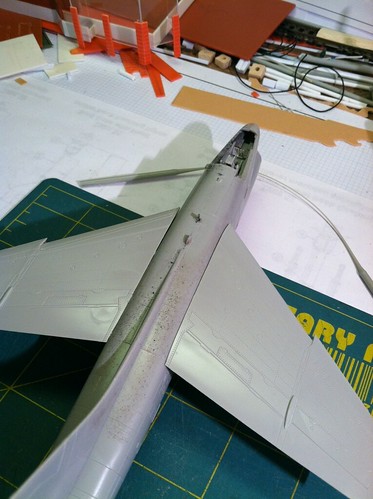
 ) I was able to find enough internet photos to craft ejector handles from wire, seat belts from tape, and paint the cockpit and seat to a decent degree of detail. The Hobby Boss canopy is very thin and clear! Not hiding any sins there.


Some good work going on here. About a month and a half left everyone, so get cracking!
Michael


Welcome aboard Tim, glad someone's doing the Big E! One more month everyone, looking forward to some good stuff here.
Michael
Quoted TextWelcome aboard Tim, glad someone's doing the Big E! One more month everyone, looking forward to some good stuff here.
Michael
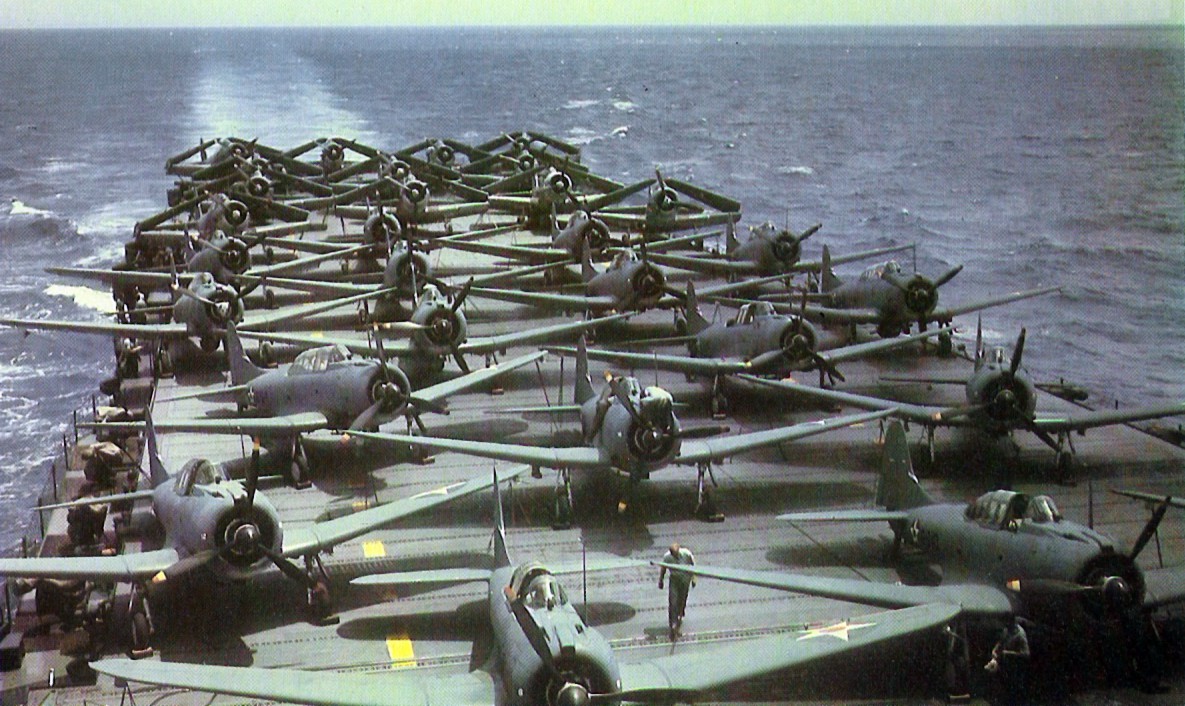
My Big E was MUCH bigger than that Big E!
Can anyone point to where the gallery is for this campaign?
Cheers
Warren

 |


