Official Campaign: Dive 3
Slovakia
Joined: October 15, 2010
KitMaker: 825 posts
Model Shipwrights: 97 posts
Posted: Saturday, March 09, 2013 - 11:12 PM UTC
Nordrhein-Westfalen, Germany
Joined: May 26, 2008
KitMaker: 1,168 posts
Model Shipwrights: 676 posts
Posted: Saturday, March 09, 2013 - 11:28 PM UTC
One word, man: Excellent!
AKA "Tailor" -VMF'06 - German Gamblers
http://www.youtube.com/channel/UCk8zhb1sc4Pe3BRLqq3d-SQ

#023
Zurich, Switzerland
Joined: March 13, 2009
KitMaker: 2,058 posts
Model Shipwrights: 163 posts
Posted: Sunday, March 10, 2013 - 07:52 AM UTC
I second that. Great lookin' sub!
Too many models - too little time...
Slovakia
Joined: October 15, 2010
KitMaker: 825 posts
Model Shipwrights: 97 posts
Posted: Monday, March 11, 2013 - 10:22 AM UTC
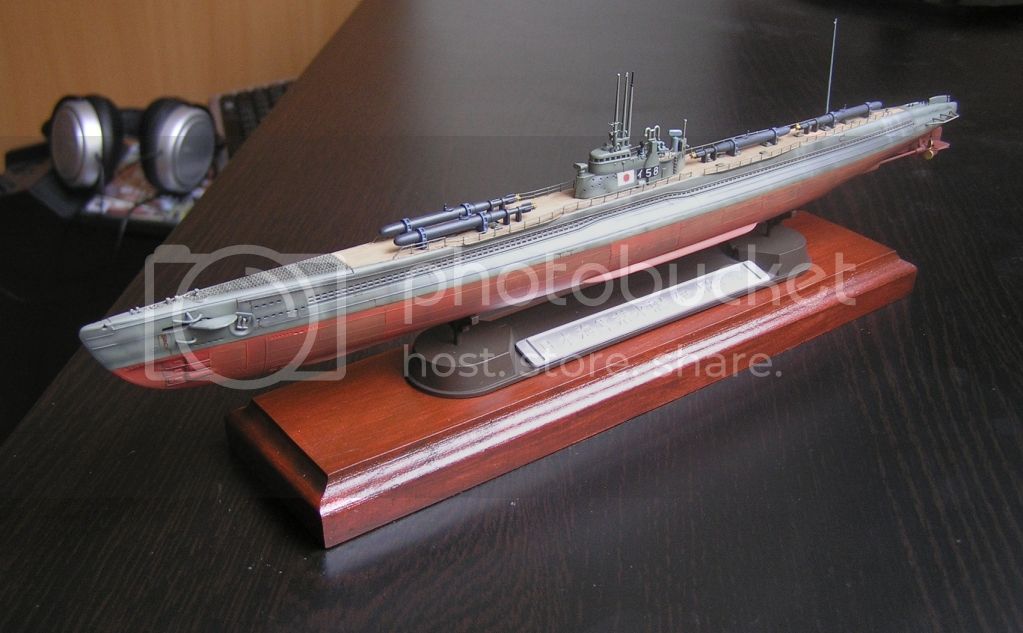
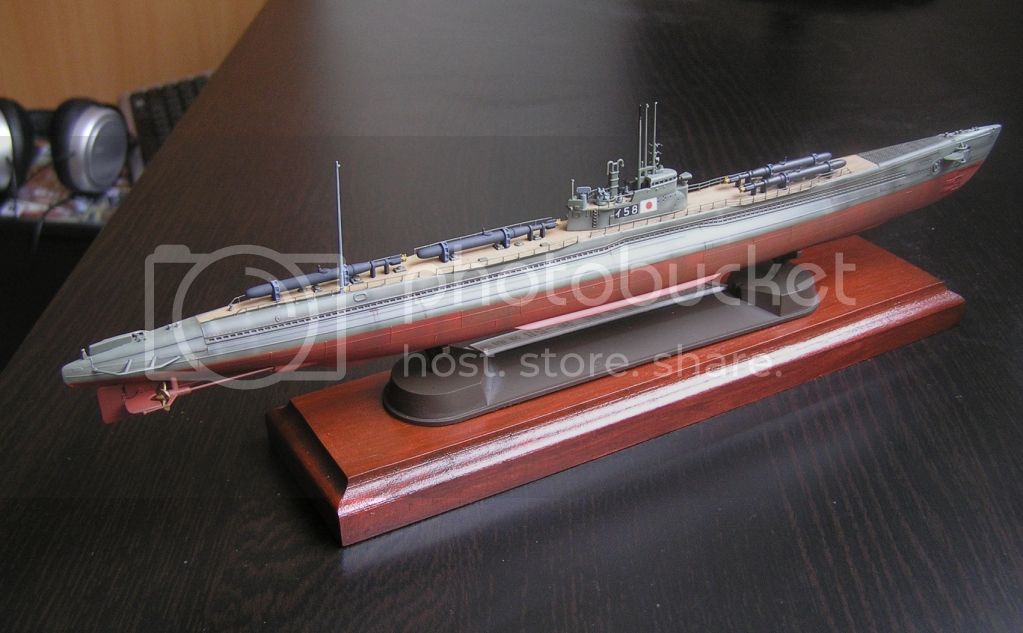
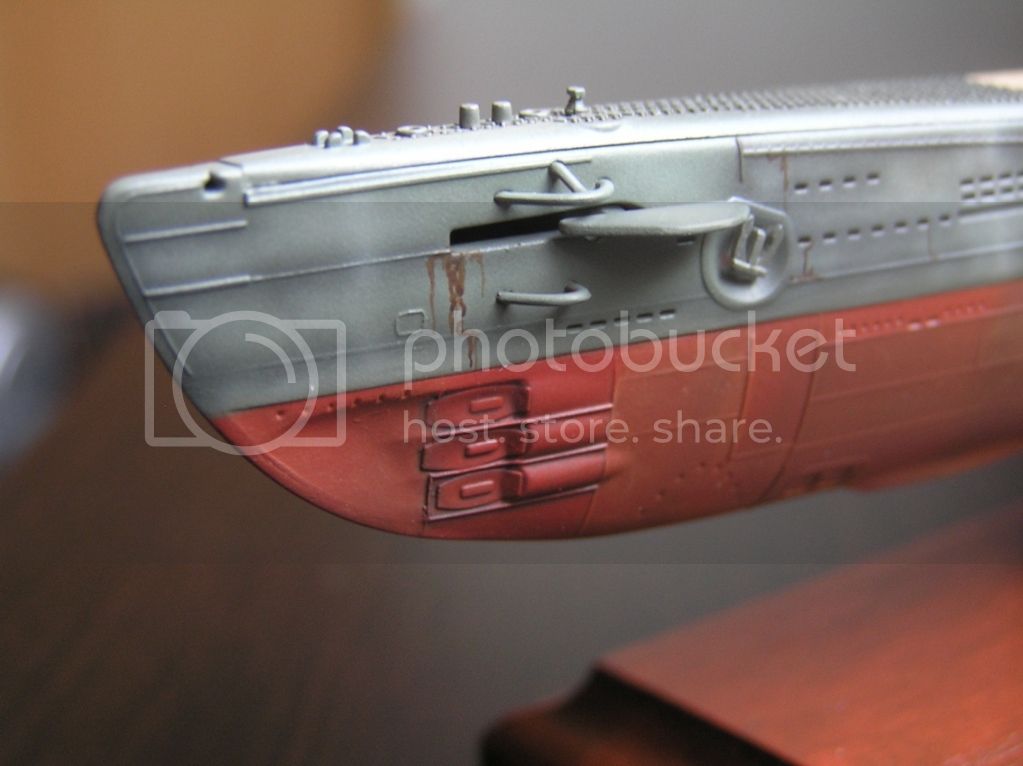
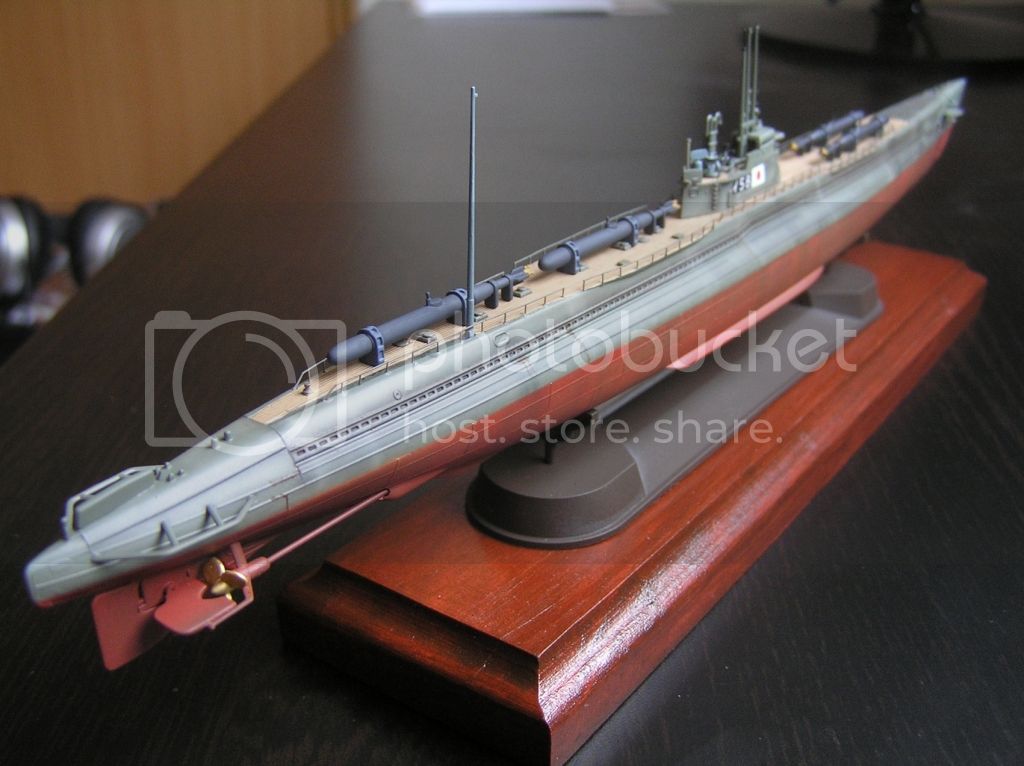
Thank You guys. Im happy You like it. Im also looking forward for others to complete their builts.
Maryland, United States
Joined: February 25, 2013
KitMaker: 209 posts
Model Shipwrights: 6 posts
Posted: Tuesday, March 12, 2013 - 02:14 AM UTC
Still trying to locate the digital camera after moving a couple months ago, so the phone will have to do for now.
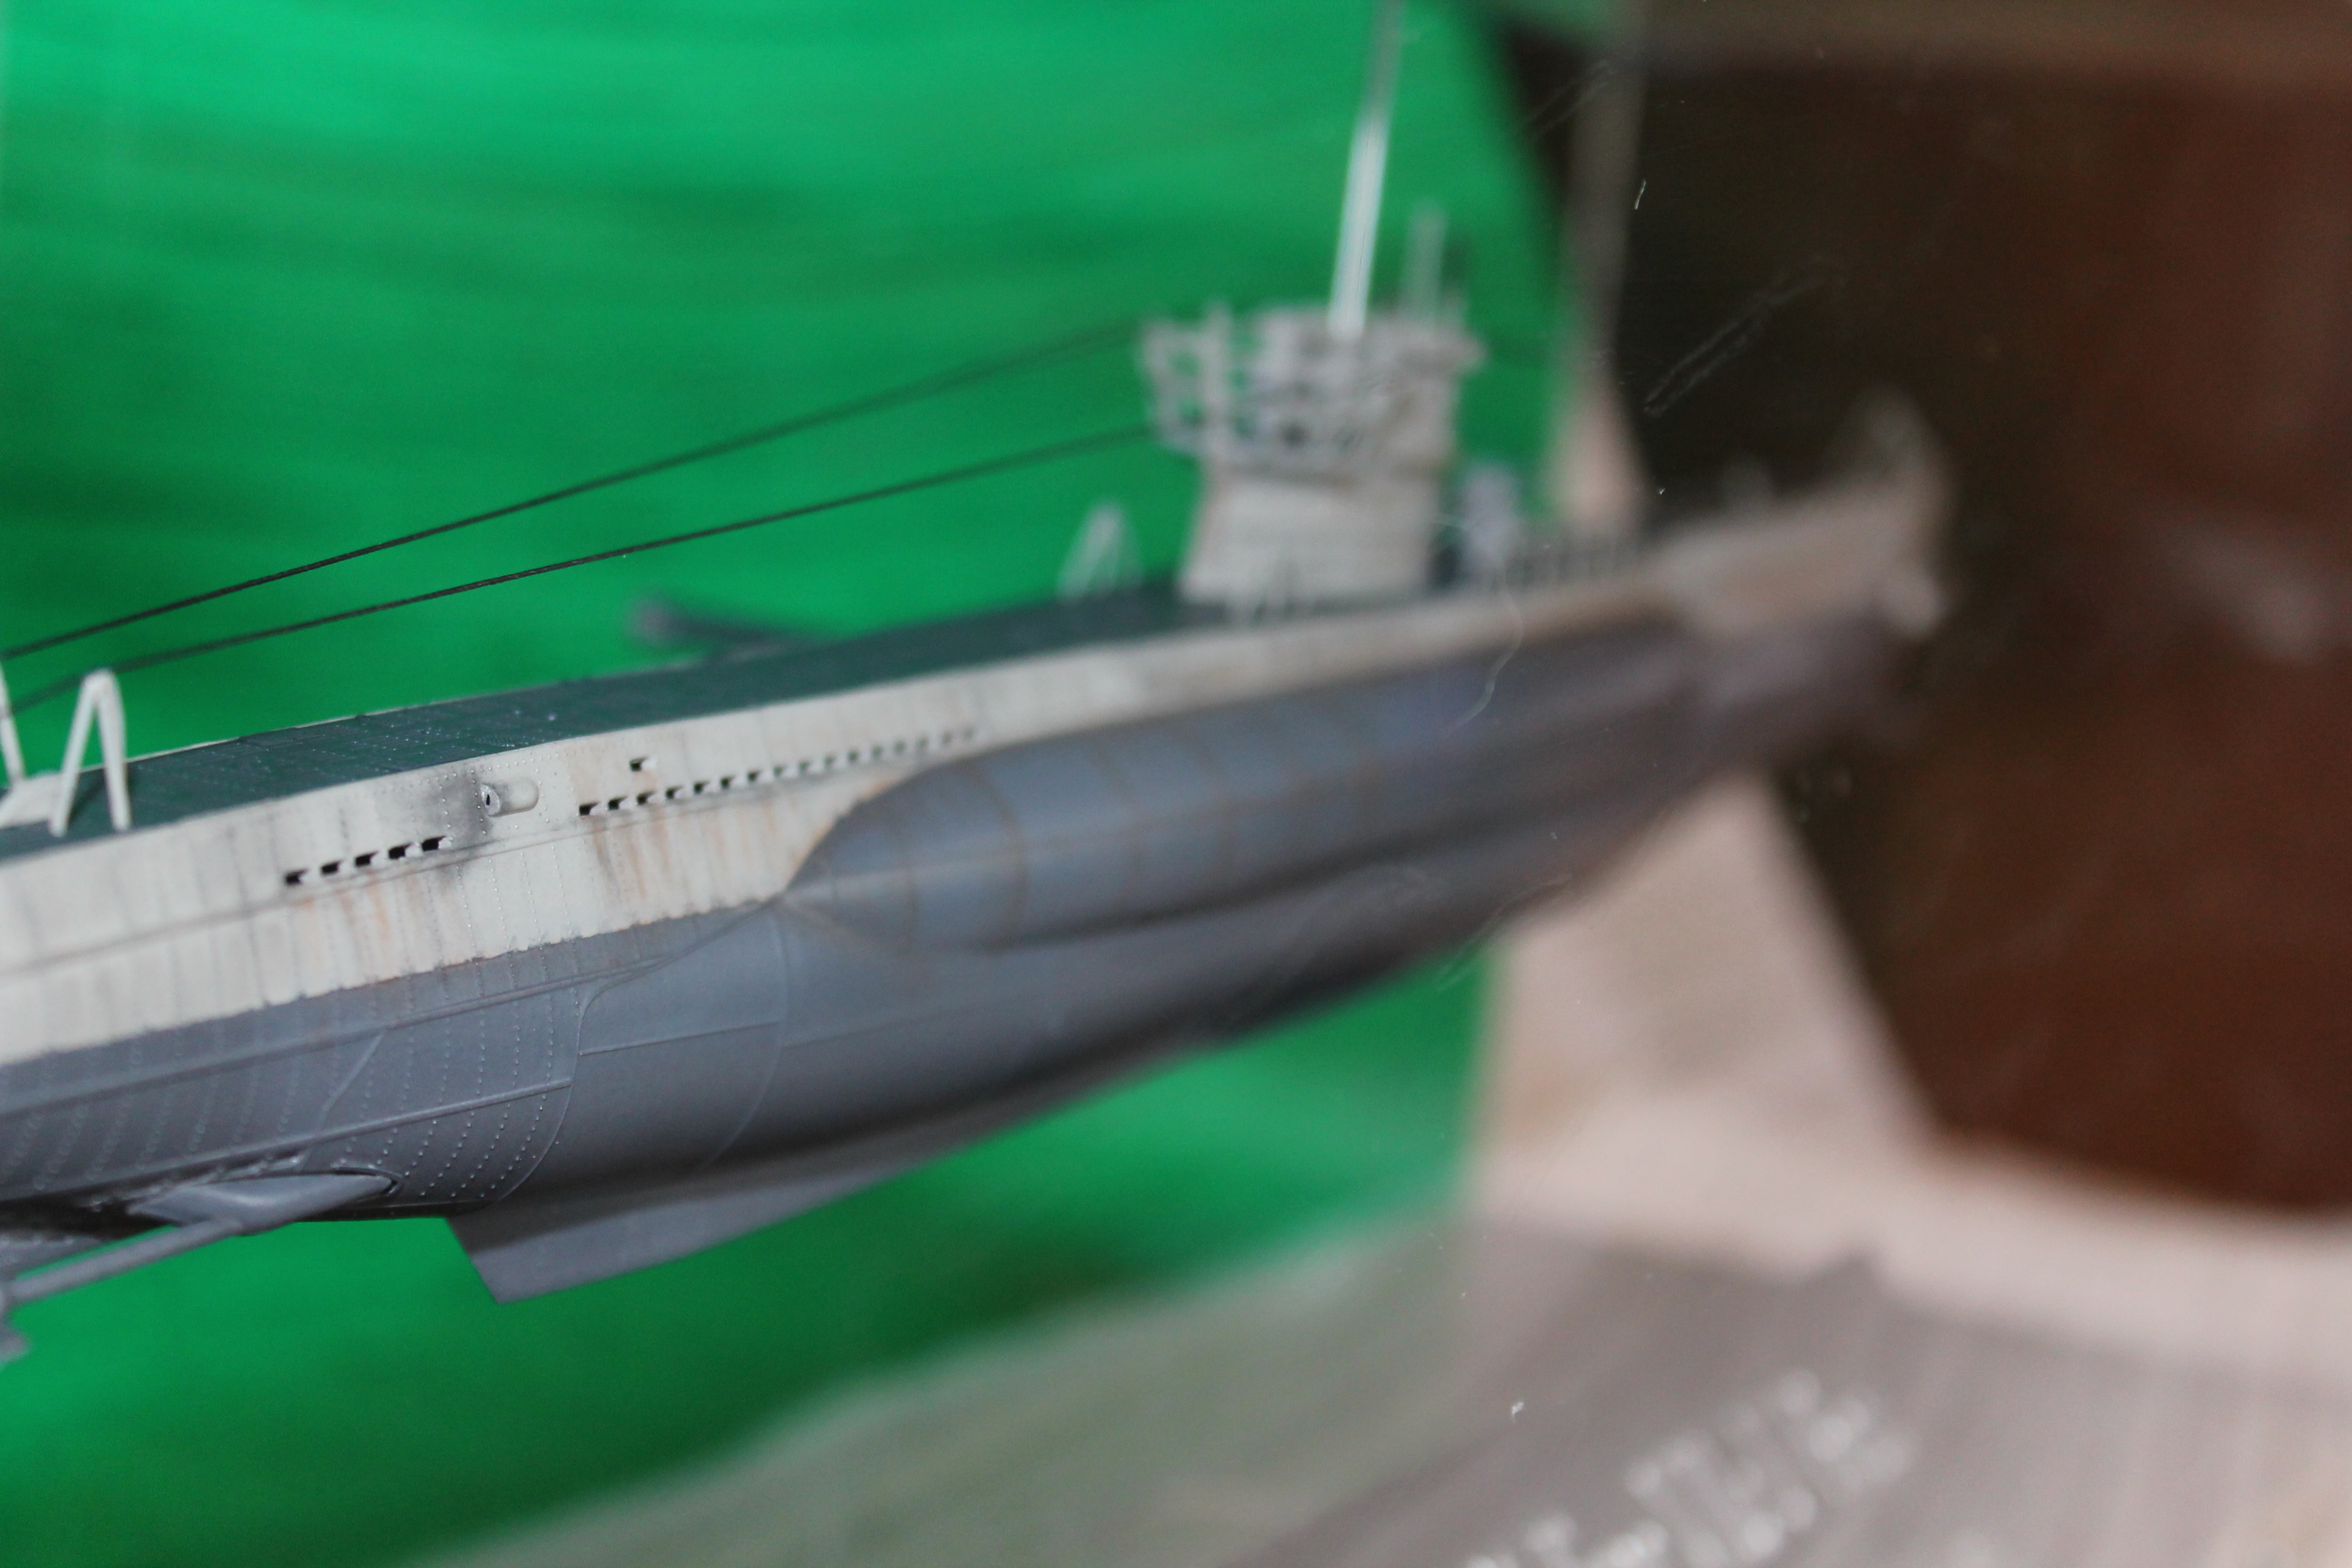
Here is a small update on the USS Chicago. I made good progress this weekend.
After the disaster with the tie downs along the top of the hull, I decided to replace them by cementing on locator pins from a couple parts in the spare bag. After those were dried I filed them down and superglued thin strips of extra PE that I cut from the PE sheet which came with the model.
After that I masked and applied a light coat of Tamiya Fine primer to avoid the issues with adhesion I got with the hull red coat.
I airbrushed the upper hull and sail flat black (Tamiya XF-1) and then masked and painted the periscope and other masts with Insignia White (Tamiya AS-20). I decanted a little bit onto a paint tray and touched up the white by hand. After sealing it with some dullcote and letting it dry overnight, I went back with a 5/0 spotter brush and some toothpicks and put the black camoflauge onto the periscope and antennae by hand. Lastly I took the spotter and applied some Modelmasters Acryl gloss where the decals are going to go. After I washed up I realized I forgot to brush some onto the nose for the big bull face!
England - South East, United Kingdom
Joined: March 01, 2010
KitMaker: 7,078 posts
Model Shipwrights: 6,649 posts
Posted: Monday, March 18, 2013 - 09:30 AM UTC
Hi Guys some great builds.
I am naerly ready to enter the fray, will be the Bibber. i have just ordered the transport trailer by u-model from WEM, don't know whether I will have time to incorperate it in this build, but willtry.
Si
Maryland, United States
Joined: February 25, 2013
KitMaker: 209 posts
Model Shipwrights: 6 posts
Posted: Tuesday, March 19, 2013 - 02:39 AM UTC
Put the final flat seal coat on the USS Chicago last night. Overall it was a much more trying build than I was expecting, mostly due to my own stupidity, but some poor fitting small plastic pieces on the top of the hull were unexpected for such a recent tooling that is so well engineered in other ways. The hull would have fit together seamlessly if I had used liquid cement instead of tamiya extra fine, unfortunately I learned that the hard way when the hull split open at the nose during the unmasking process.
All that is past now, just got to take some pictures for the campaign gallery. Found the digital camera so they will be much more crisp.
United States
Joined: March 06, 2013
KitMaker: 33 posts
Model Shipwrights: 28 posts
Posted: Tuesday, March 19, 2013 - 09:34 AM UTC
I'm a late entry to the game but I wanna play too and just happen to be working on a sub, which I only just started about a month ago. Maybe this will give me an extra "push" to get somewhere on it!
The kit is Revell's 1/72 Gato:

The game plan is to modify it into the USS Cod as she appears today complete with "covered wagon" fairwater, twin 40mm Bofours and 5"25 deck gun. I also am modding the deck to be "see through" like the real boat with the forward section around the escape trunk under the deck detailed out too.
I am using the Eduard "Big Ed" and White Ensign gato sets. Here's the progress so far:
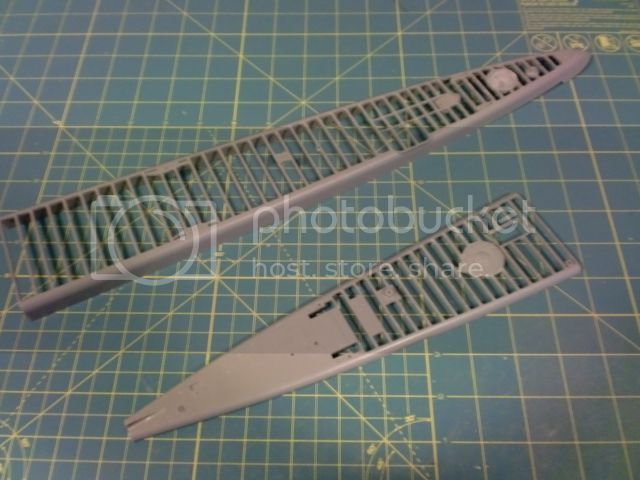
The forward and aft decks have been skeletonized right out of the solid kit deck (the Eduard PE will go on top of it):
Modifications on the fairwater (I opened the molded-in kit doors and am in the process of moving the ammo trunks):

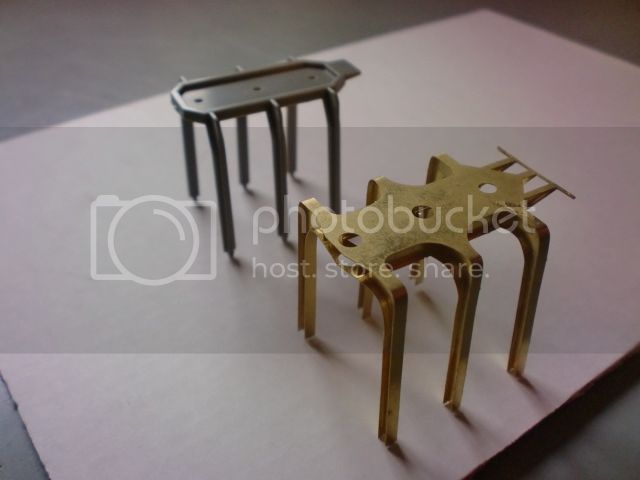
The WEM PE periscope frame vs the kit offering:
And the fairwater:

United States
Joined: March 21, 2013
KitMaker: 10 posts
Model Shipwrights: 10 posts
Posted: Friday, March 22, 2013 - 04:16 AM UTC
This will be my entry Revell 1/144 Type VIIc
This will also be my first submarine
United States
Joined: March 21, 2013
KitMaker: 10 posts
Model Shipwrights: 10 posts
Posted: Saturday, March 23, 2013 - 04:11 AM UTC
England - South East, United Kingdom
Joined: March 01, 2010
KitMaker: 7,078 posts
Model Shipwrights: 6,649 posts
Posted: Saturday, March 23, 2013 - 08:47 AM UTC
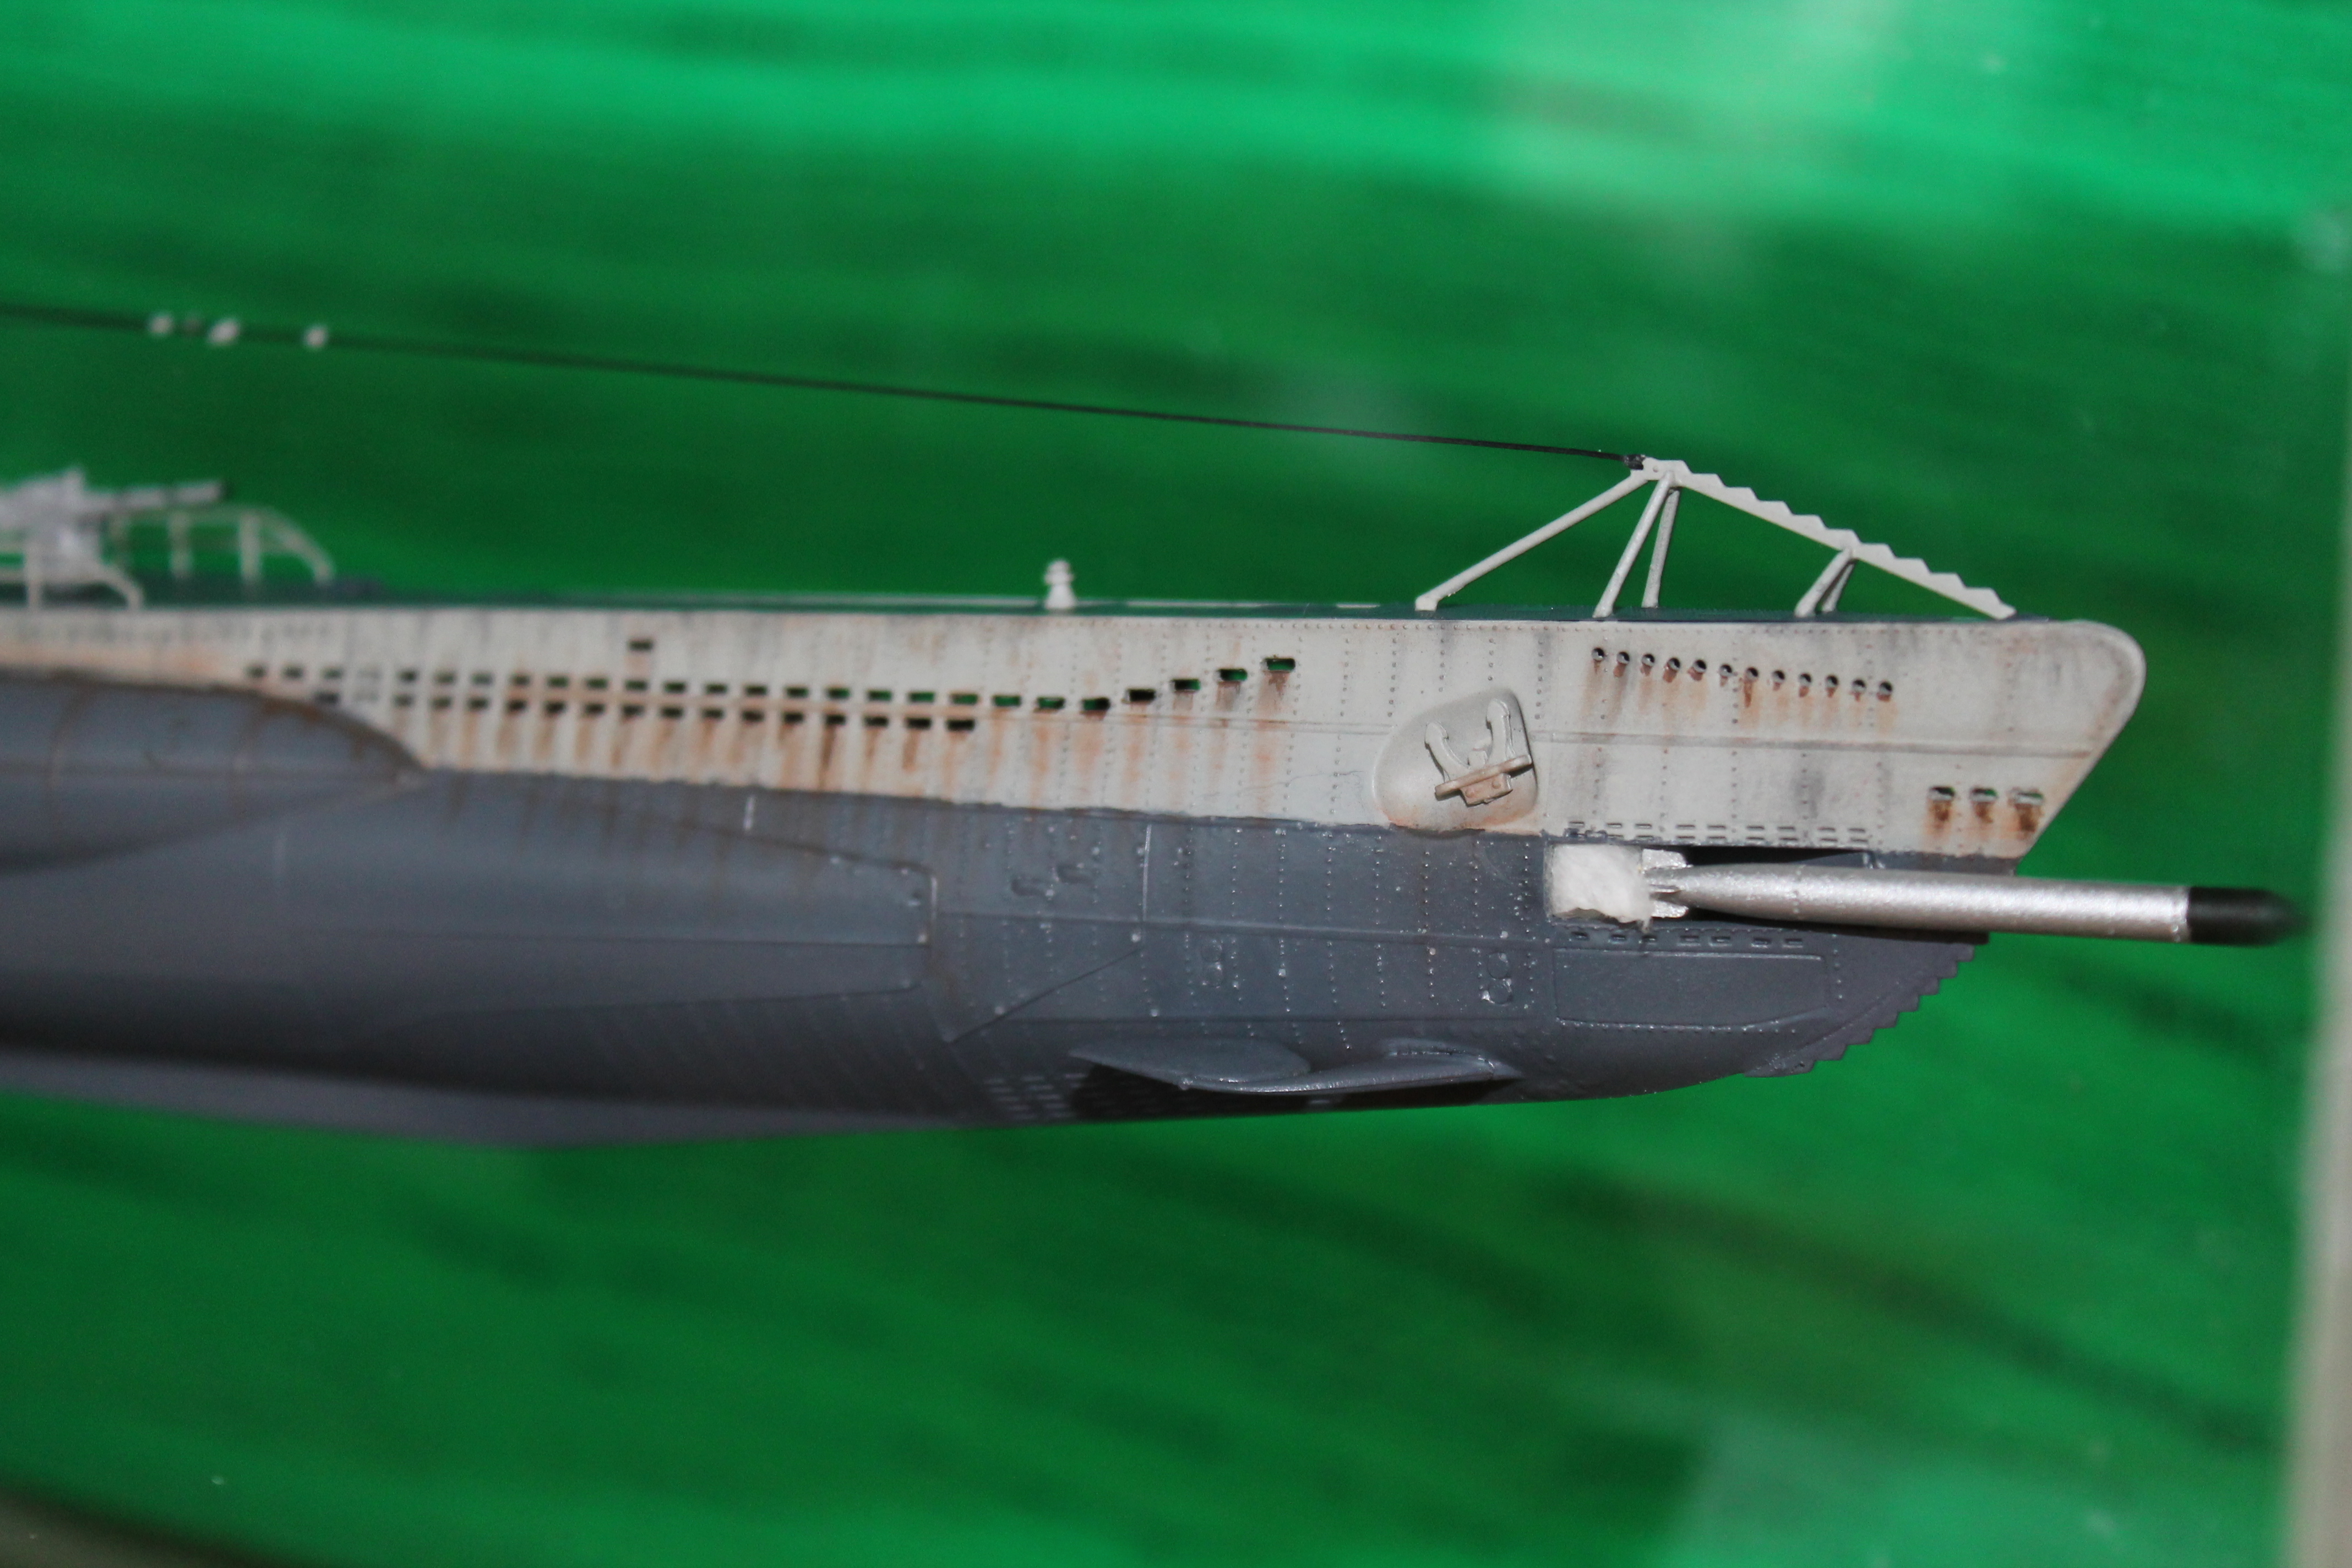
Great U 81 Kevin, that is an inovative and absolutly outstanding build.
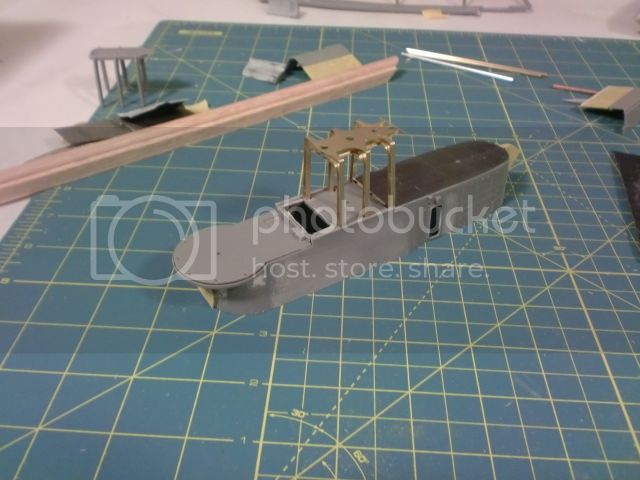
Right, better late than never I am off the mark. A package arrived from WEM this morning, unfornately no Biber trailer. Plan is therefore get on with it as a stand alone, and put it in a diorama setting whenever.
As the Bibe will be on a trailer ot will be closed up, so the Interior is going to be straight out of the box.
The Kit.

This has eturned more like building an aircraft than a naval subject, I have started with the the "Instroment Panel"

Needs a bit of a touch up, but getting there.
More soon.
Si
England - South East, United Kingdom
Joined: March 01, 2010
KitMaker: 7,078 posts
Model Shipwrights: 6,649 posts
Posted: Sunday, March 24, 2013 - 09:20 AM UTC
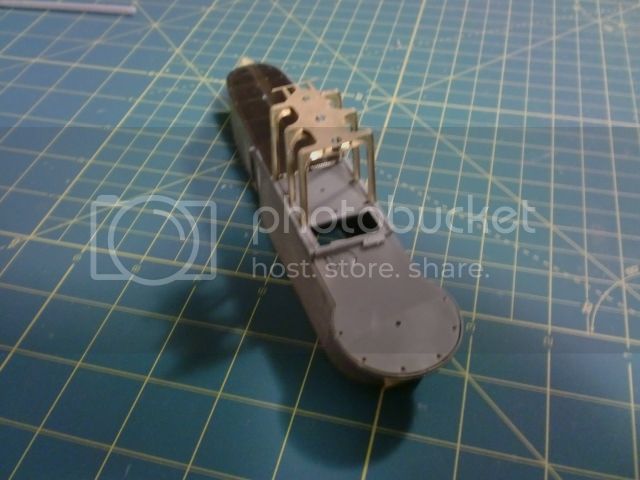
As the boat is going to be cloased up, the kit interior, which although a little basic will be satisfactory.

the hull halves go together well.

The rudders and diving plane, and prop shaft fir quite neatly.

More soon.
Si
England - North East, United Kingdom
Joined: October 22, 2007
KitMaker: 971 posts
Model Shipwrights: 645 posts
Posted: Monday, March 25, 2013 - 12:10 AM UTC
Hi Simon great little kit this one see your build will be nearly as quick as mine have you got your Camo pattern in mind yet some very striking ones for this little beast
Cheers Keith
England - South East, United Kingdom
Joined: March 01, 2010
KitMaker: 7,078 posts
Model Shipwrights: 6,649 posts
Posted: Monday, March 25, 2013 - 08:15 AM UTC
Hi Keith, it is a great little Kit, and very enjoyble to build. Haven't decided on colour scheme yet, I am doing some diggingas the final plan for this baby is on a trailer behind a frtuk sat on Italeri's dock front.
Si
England - South East, United Kingdom
Joined: March 01, 2010
KitMaker: 7,078 posts
Model Shipwrights: 6,649 posts
Posted: Friday, March 29, 2013 - 09:57 AM UTC
Onward and upward. This little beast really does go together quickly, etch added to the man hull.

Torpedo rails added, with the etch at the forward end added.

and completed, the "cockpit roof" is loose fitted so I can remove it for spraying. I am not happy trying to mask the film without pushing it in.

I have found one picture of an interesting colour scheme, light grey upper with a a pattern of white and very dark patches, and a dark lower hull. I am assuming the lower hull is the same dark grey as the lower hull of their larger cousins, the dark upper colur is very dark, so could well be black, unless of course anyone knows different.
si
England - North East, United Kingdom
Joined: October 22, 2007
KitMaker: 971 posts
Model Shipwrights: 645 posts
Posted: Friday, March 29, 2013 - 10:38 PM UTC
Simon the little beast is looking great well with it being the Easter break I have some time for myself and will be starting my second build for this campaign got this cheap in the LHS sale Revell 1/144 type 11B should be a quick OOB build but will be trying some water techniuqe with this that I read about in a Magazine hope it turns out OK and looks like the box art

#023
Zurich, Switzerland
Joined: March 13, 2009
KitMaker: 2,058 posts
Model Shipwrights: 163 posts
Posted: Saturday, March 30, 2013 - 01:53 AM UTC
Somehow I missed looking in here a while and missed out on some really nice builds!
Jason, some nice updates on your GATO. How old is that kit? Doesn't look too old?
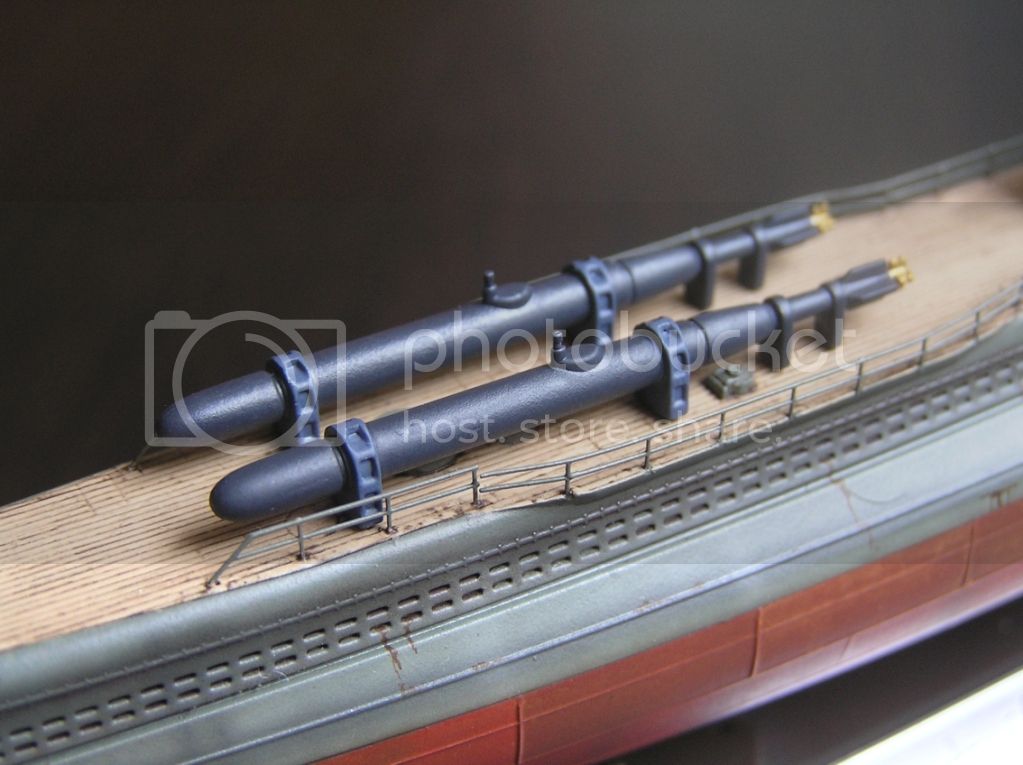
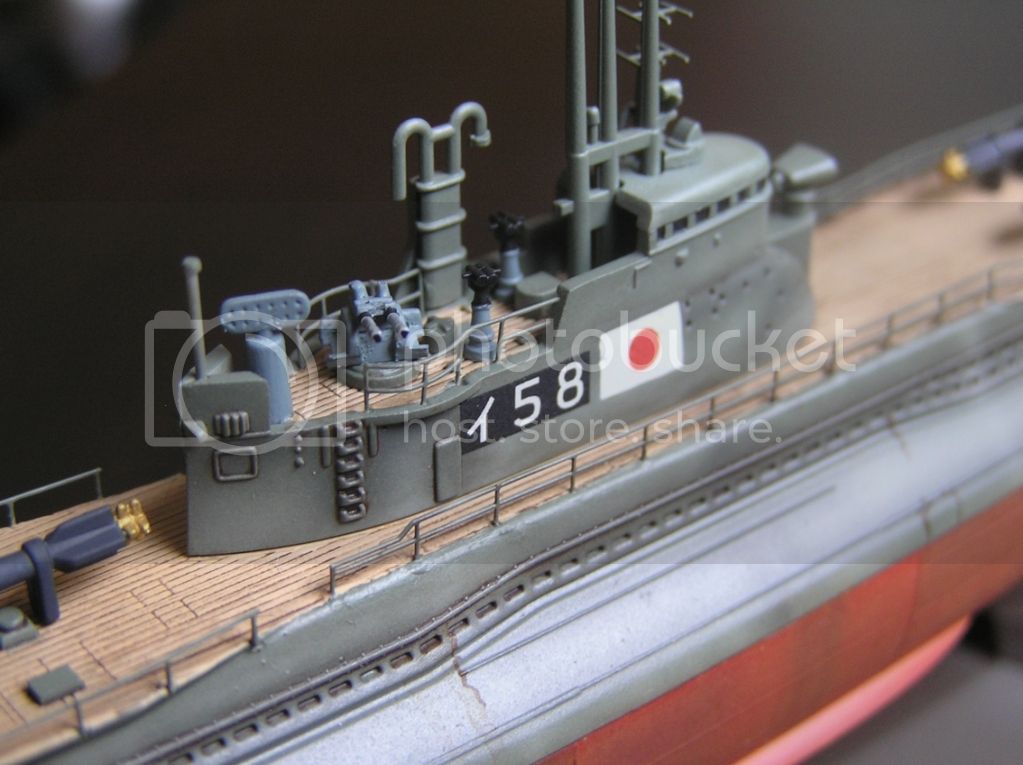
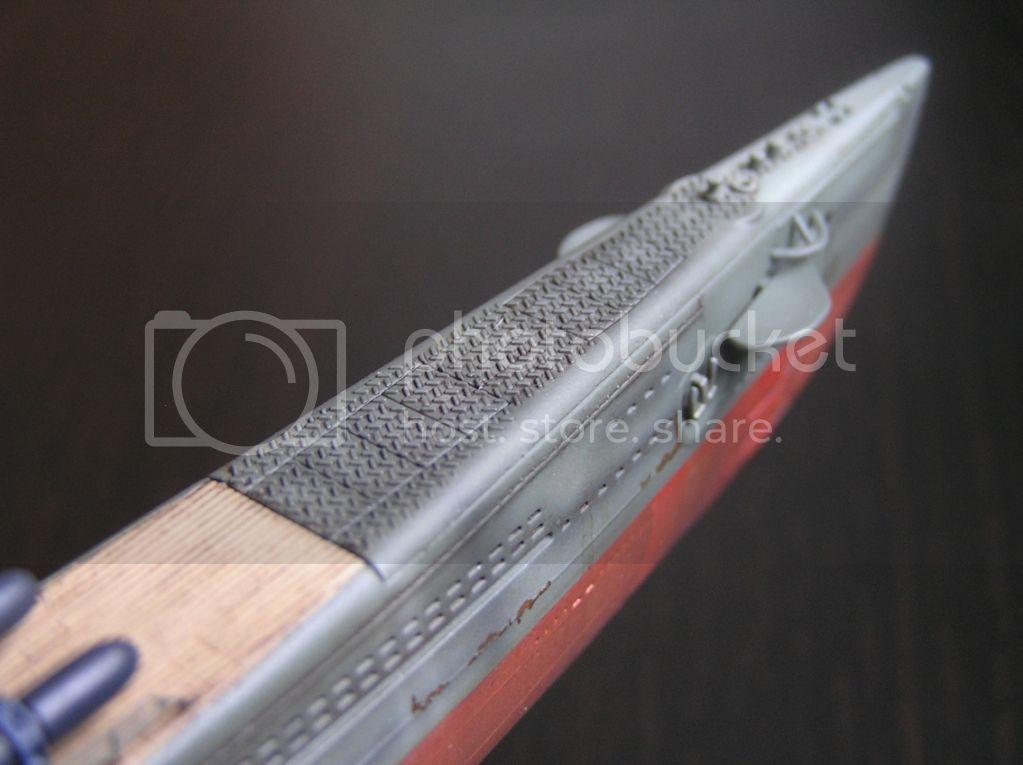
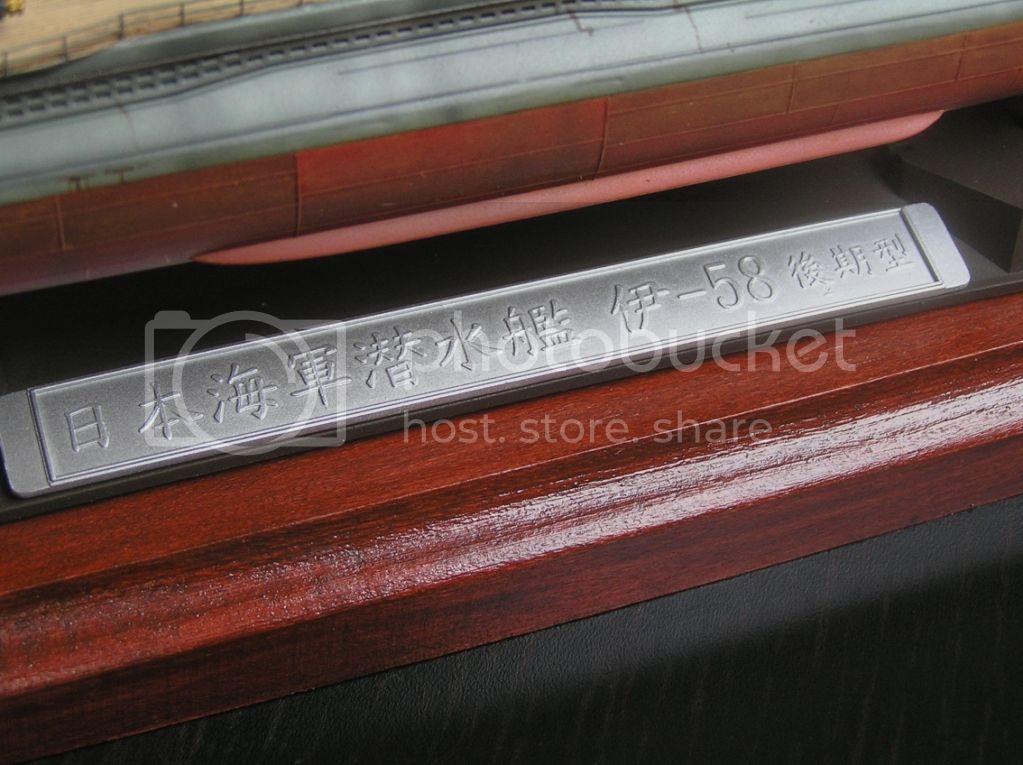
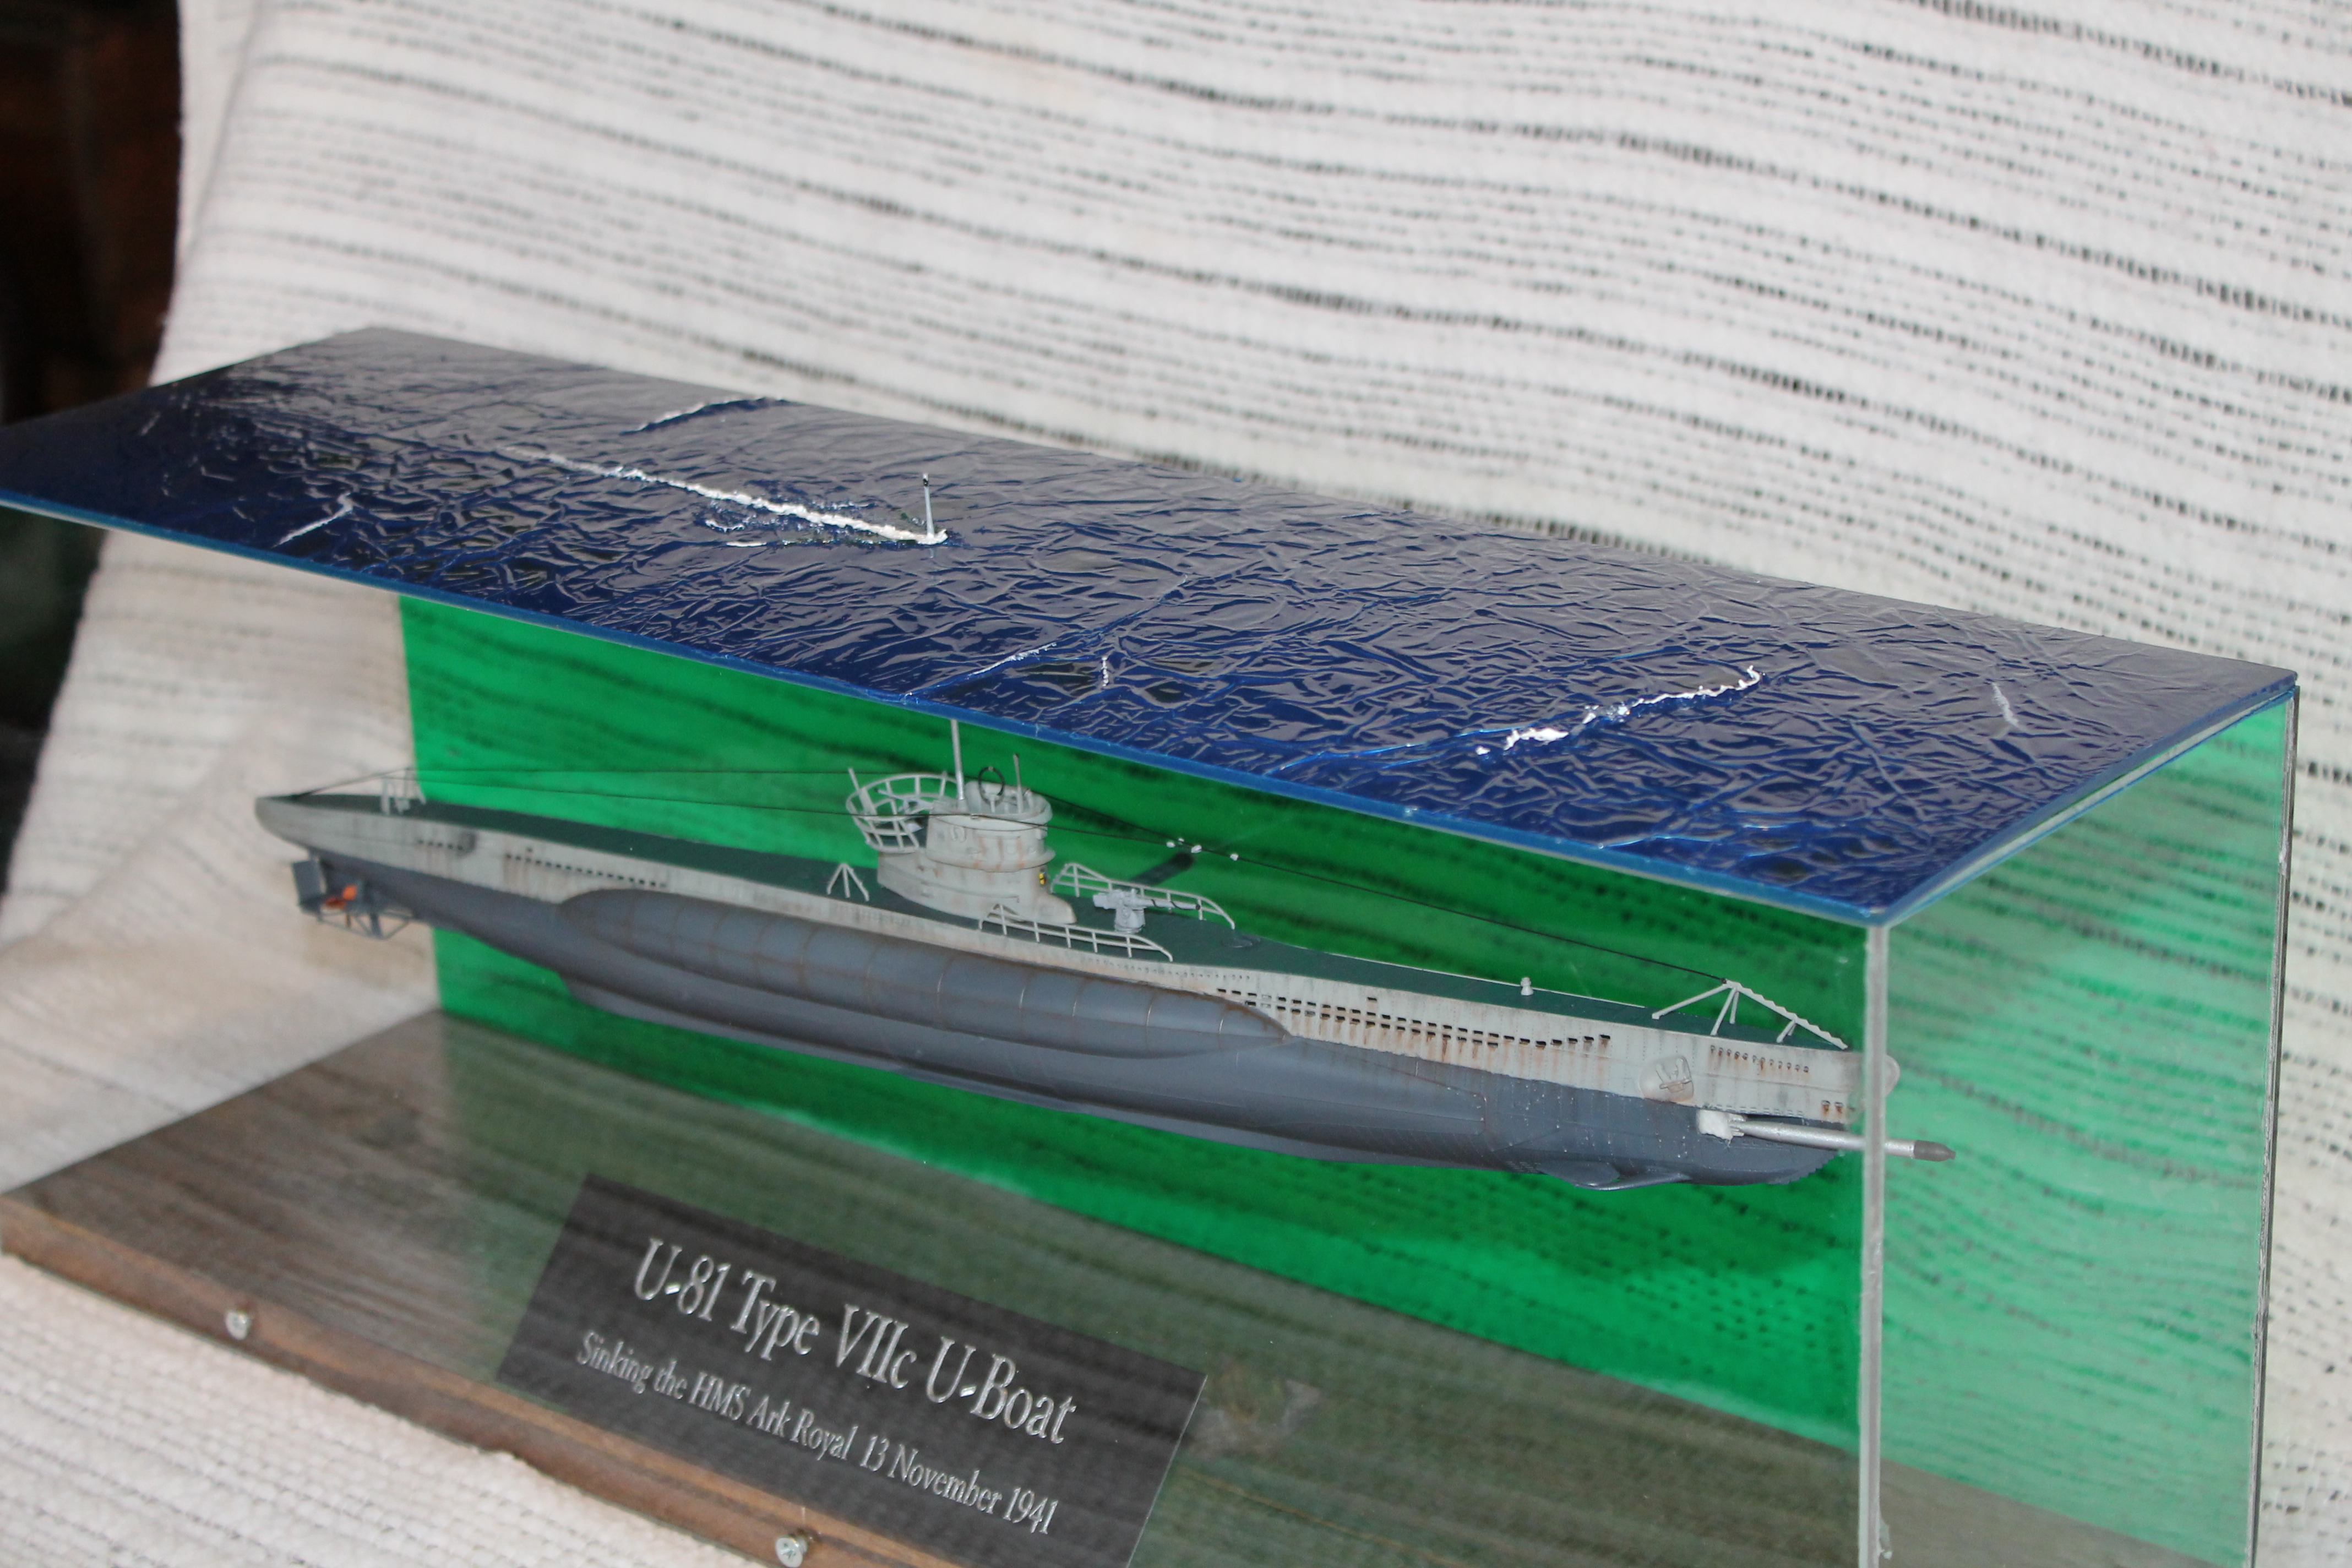
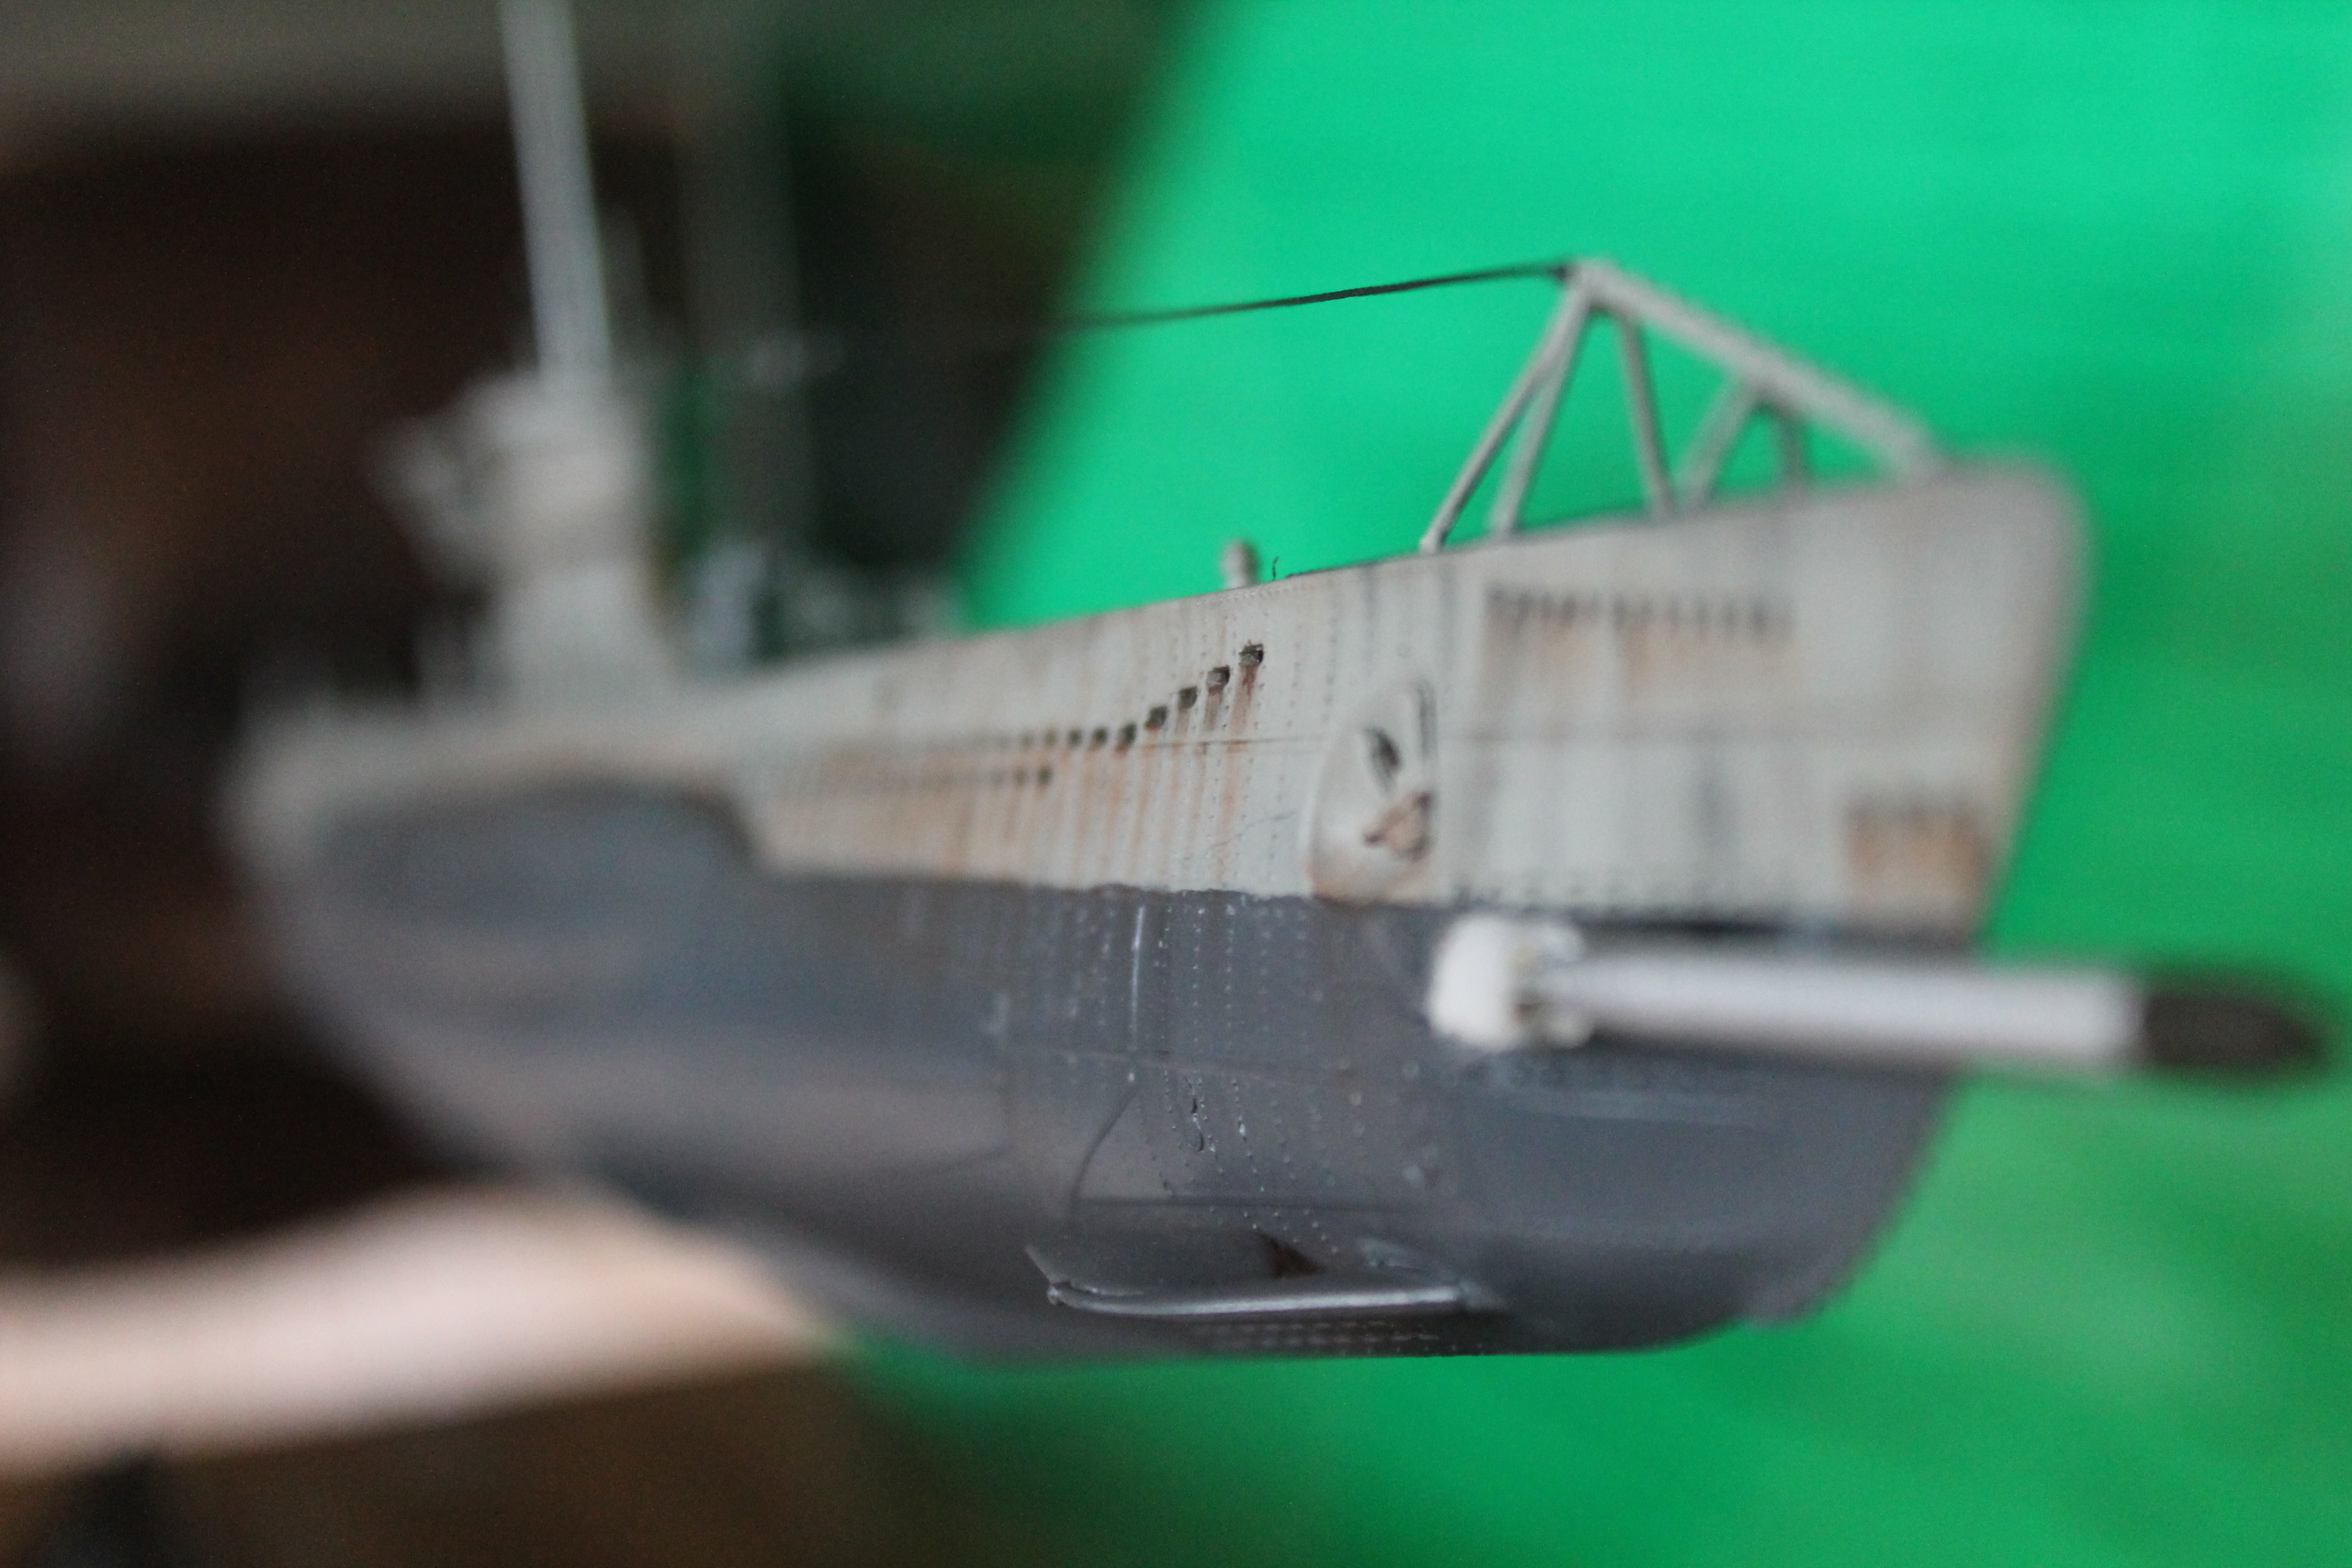
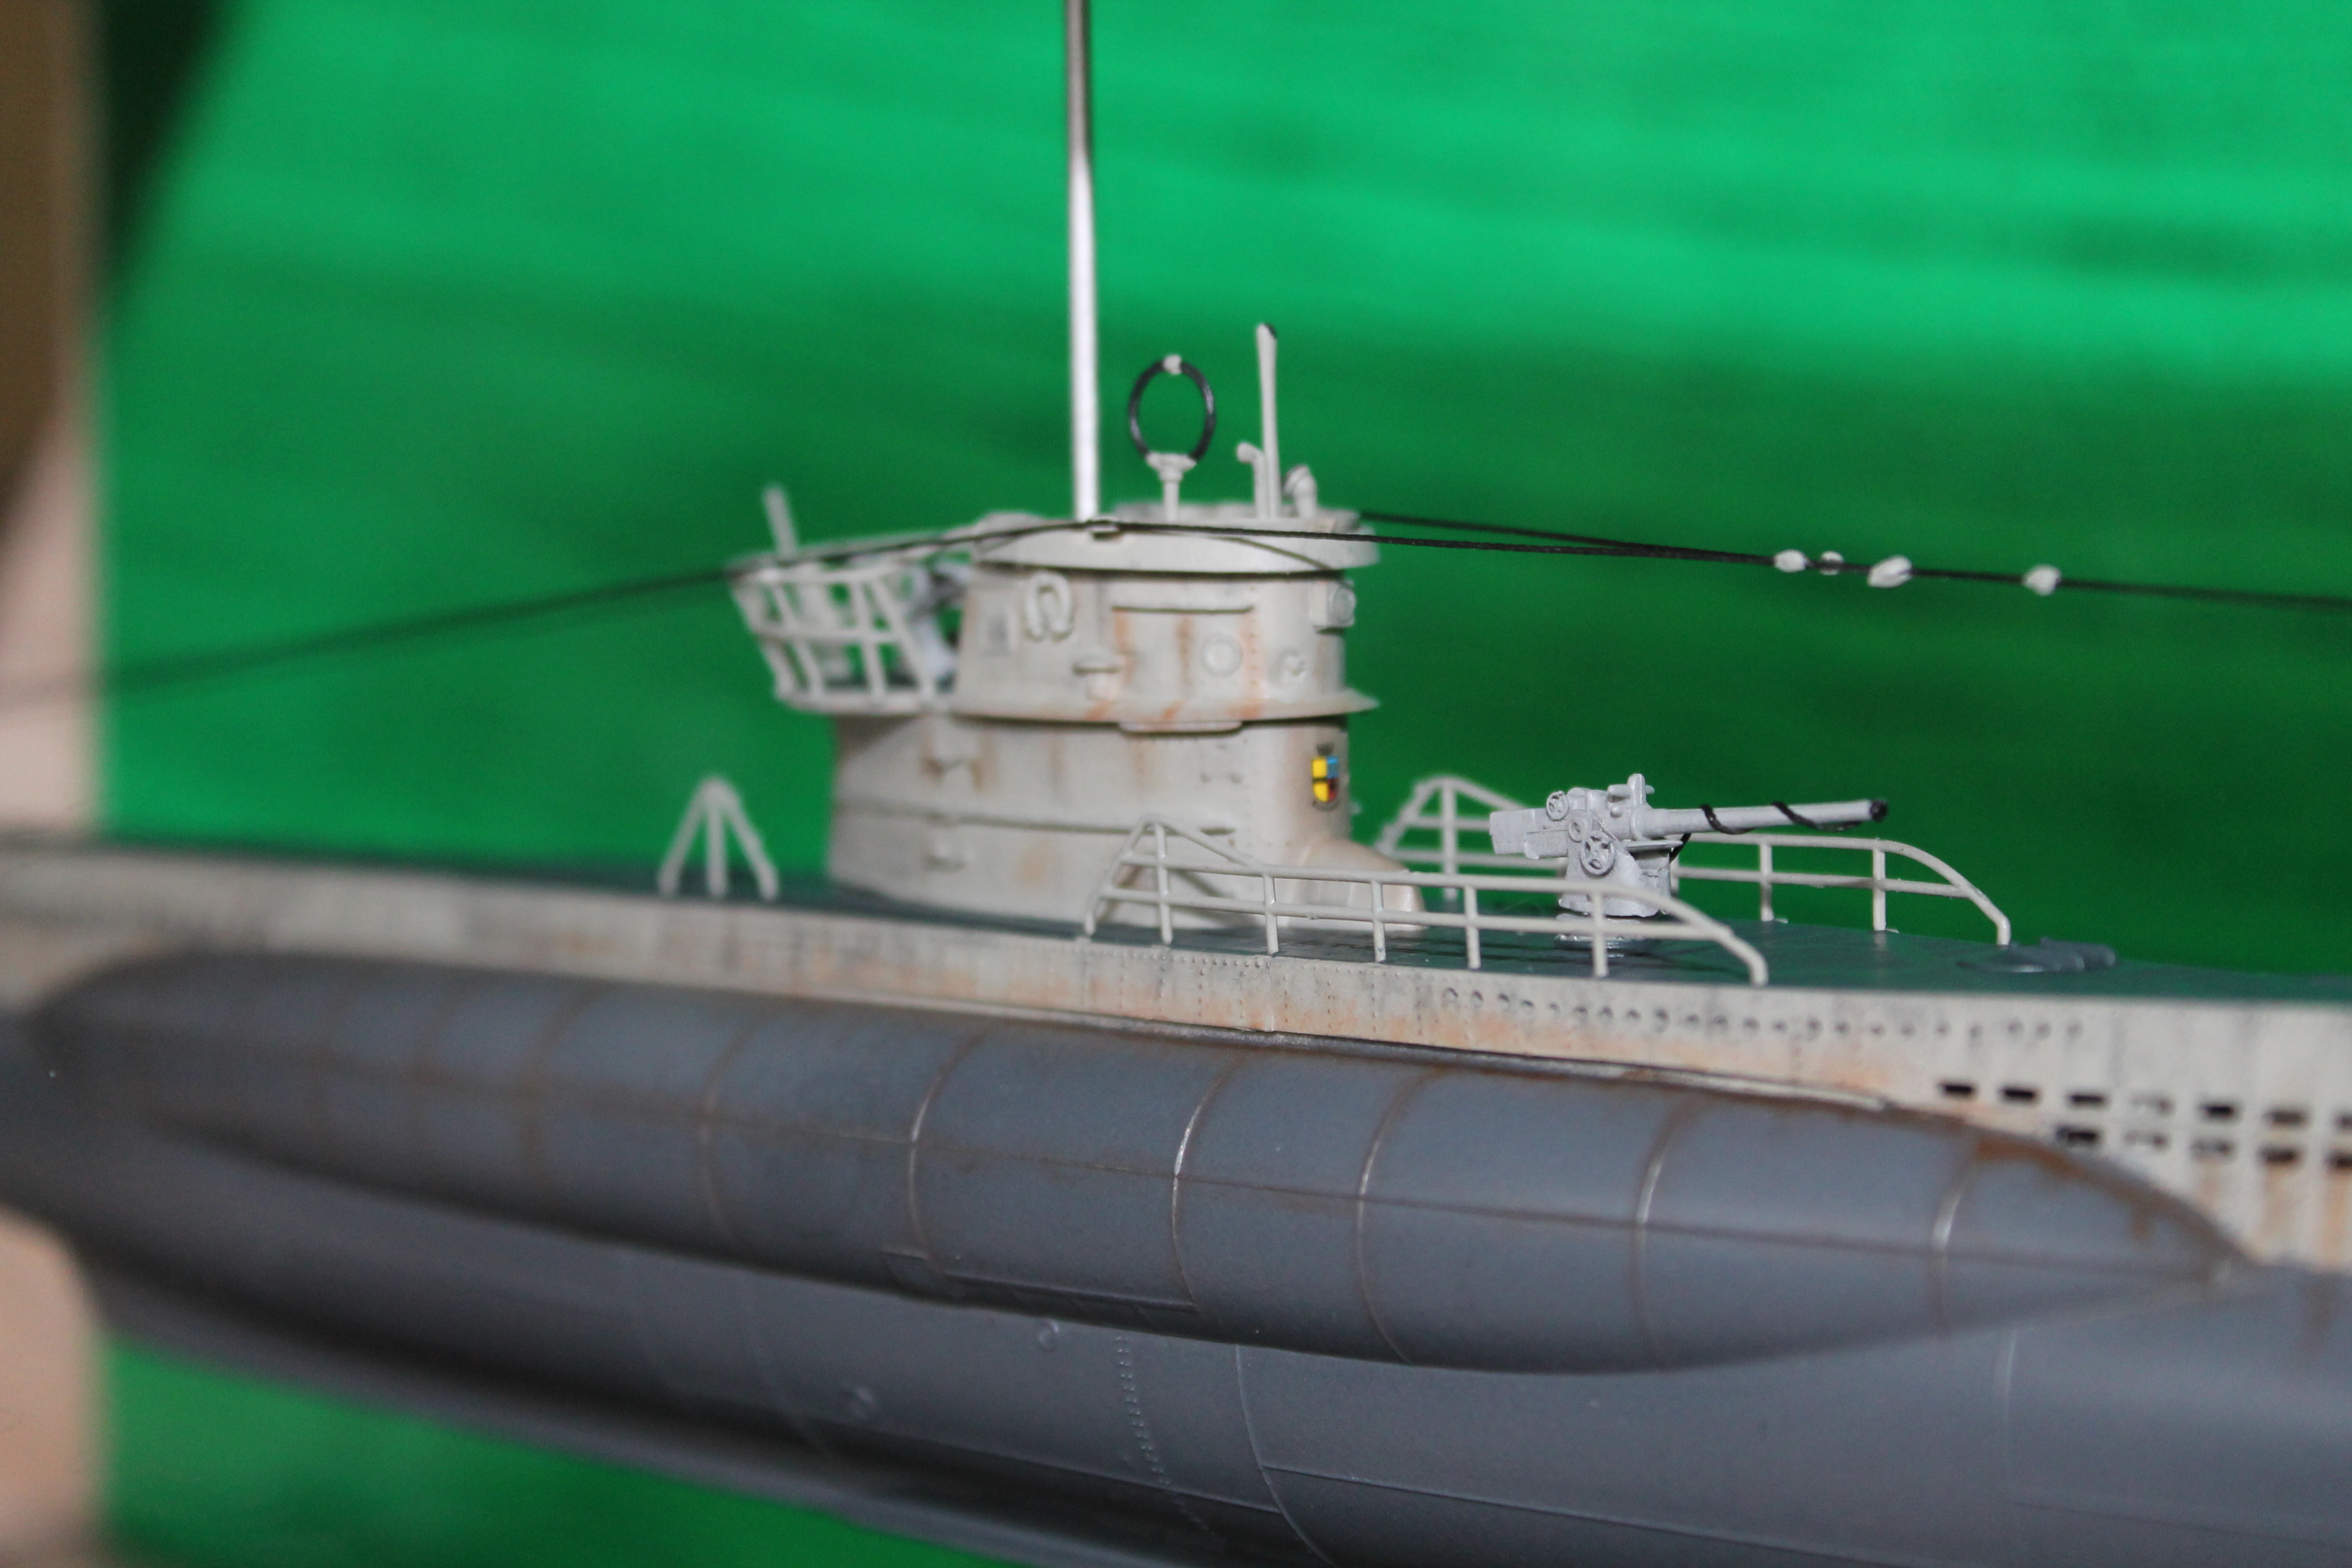
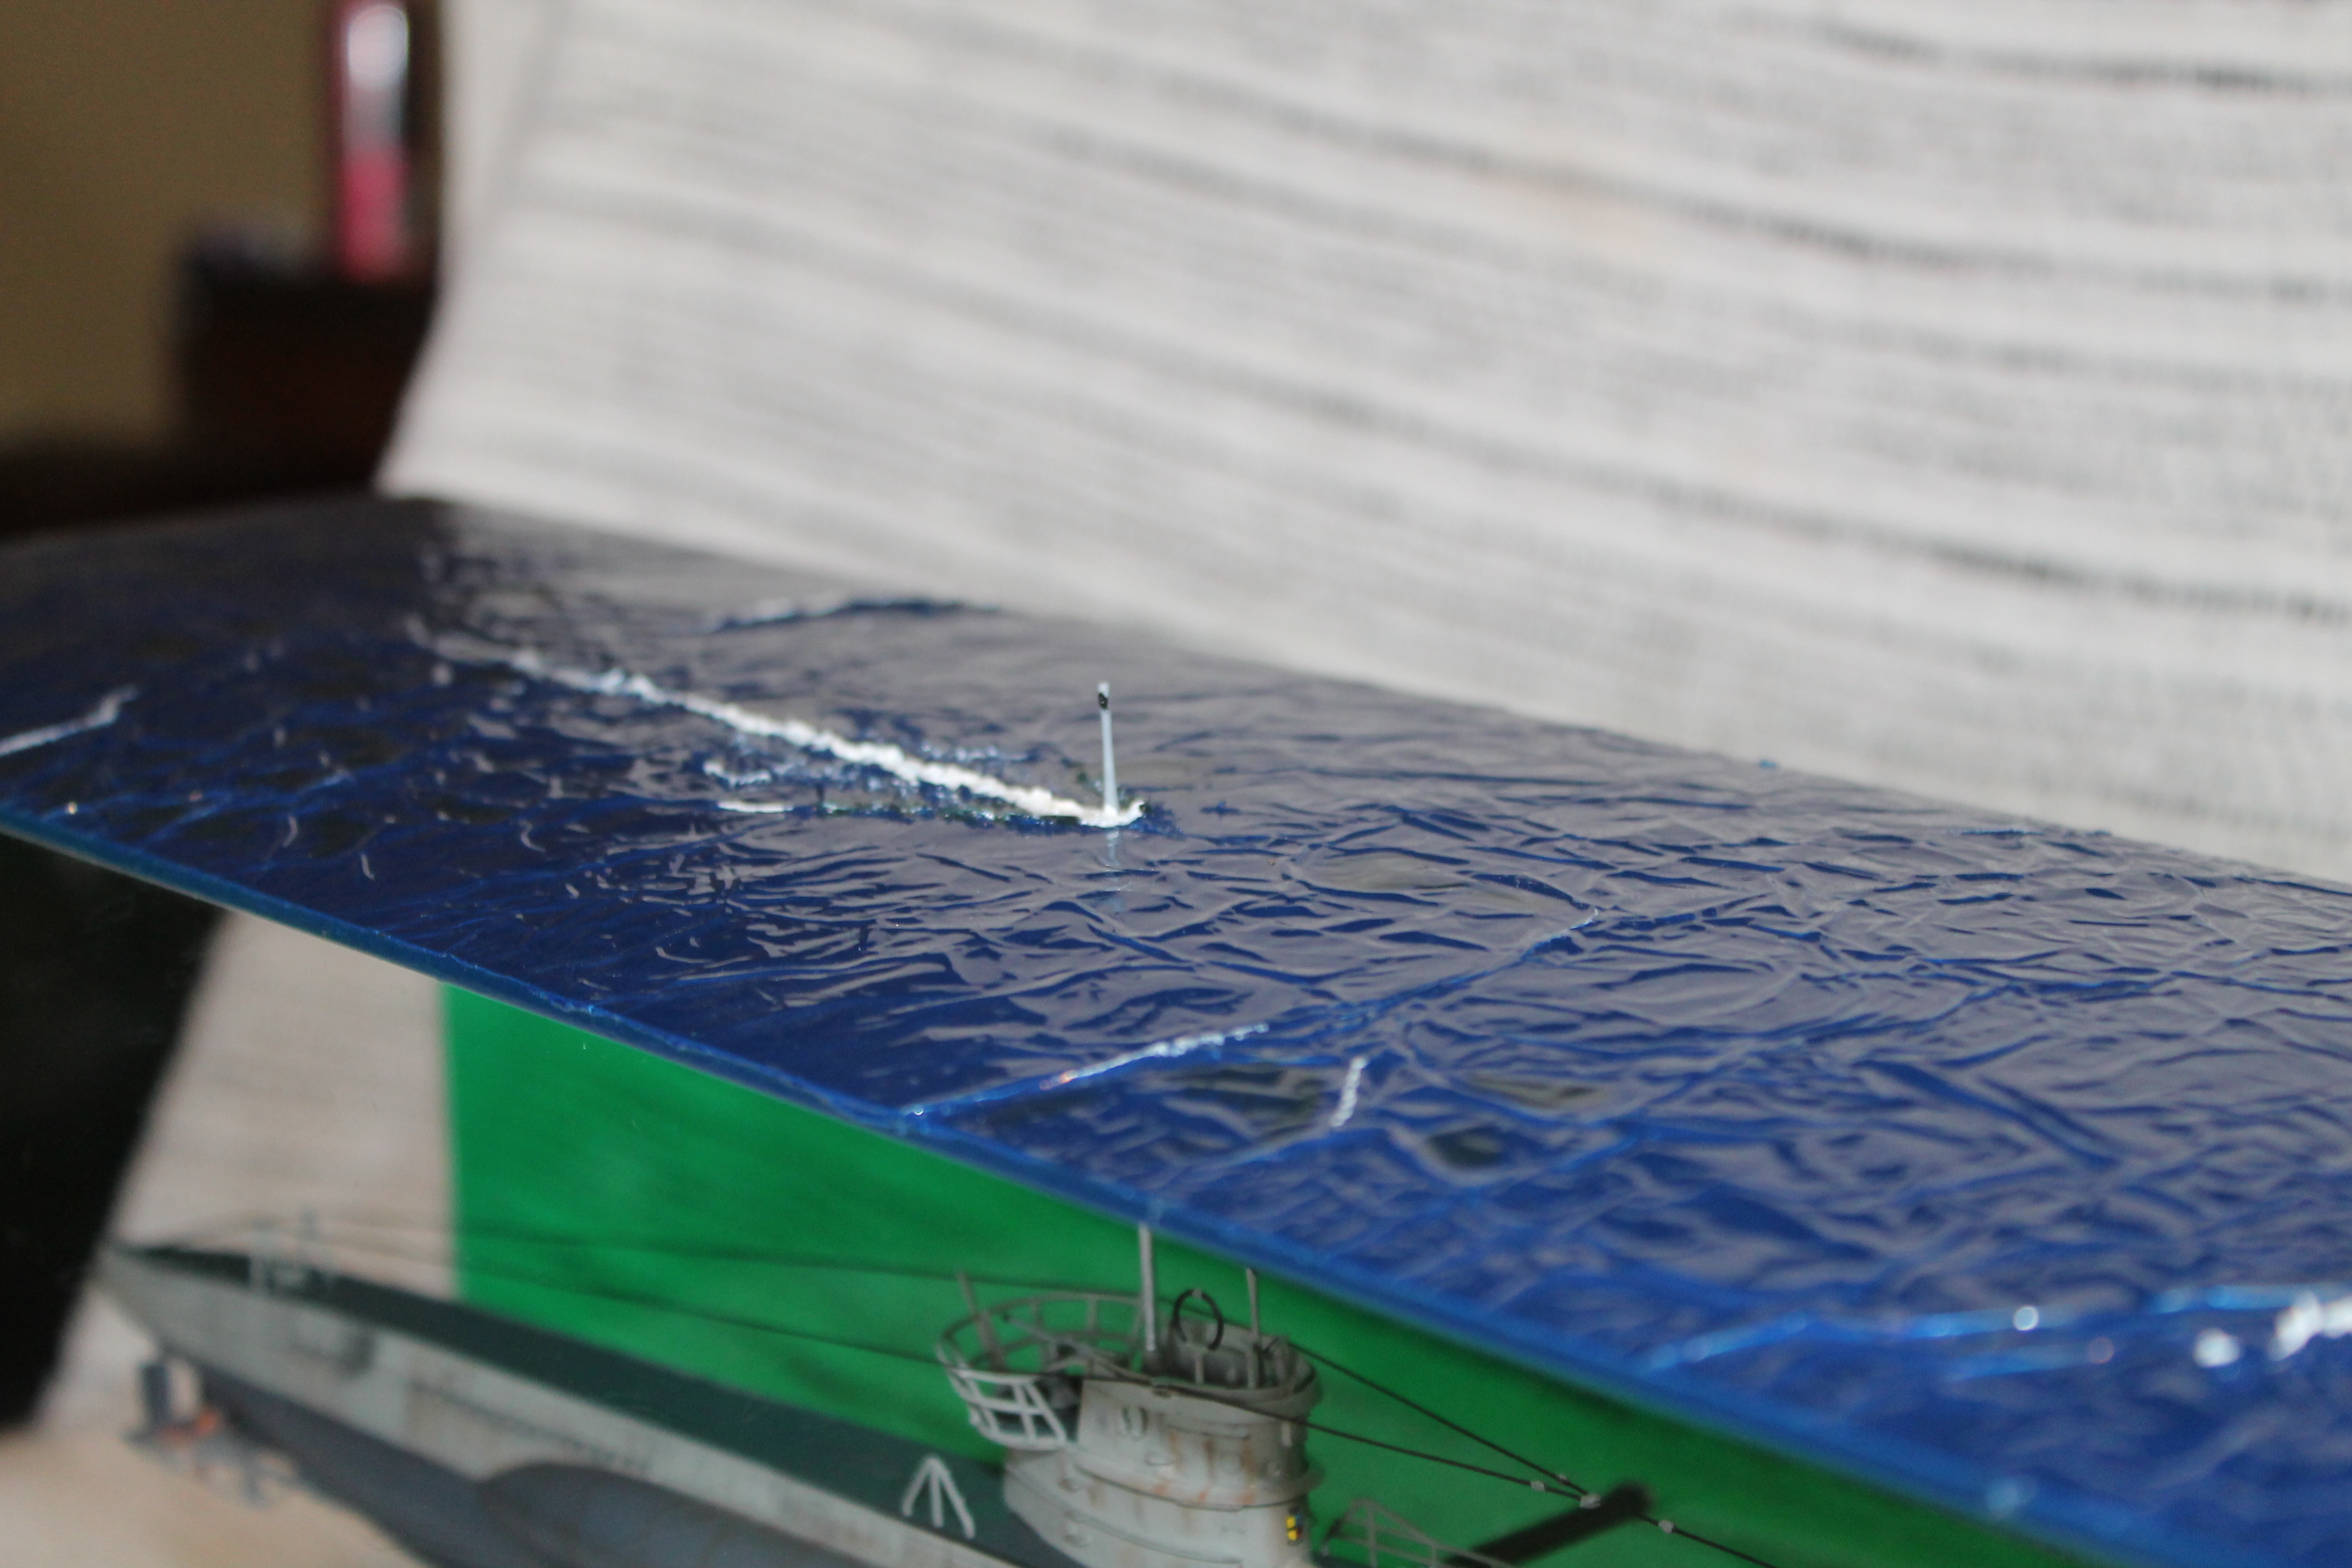
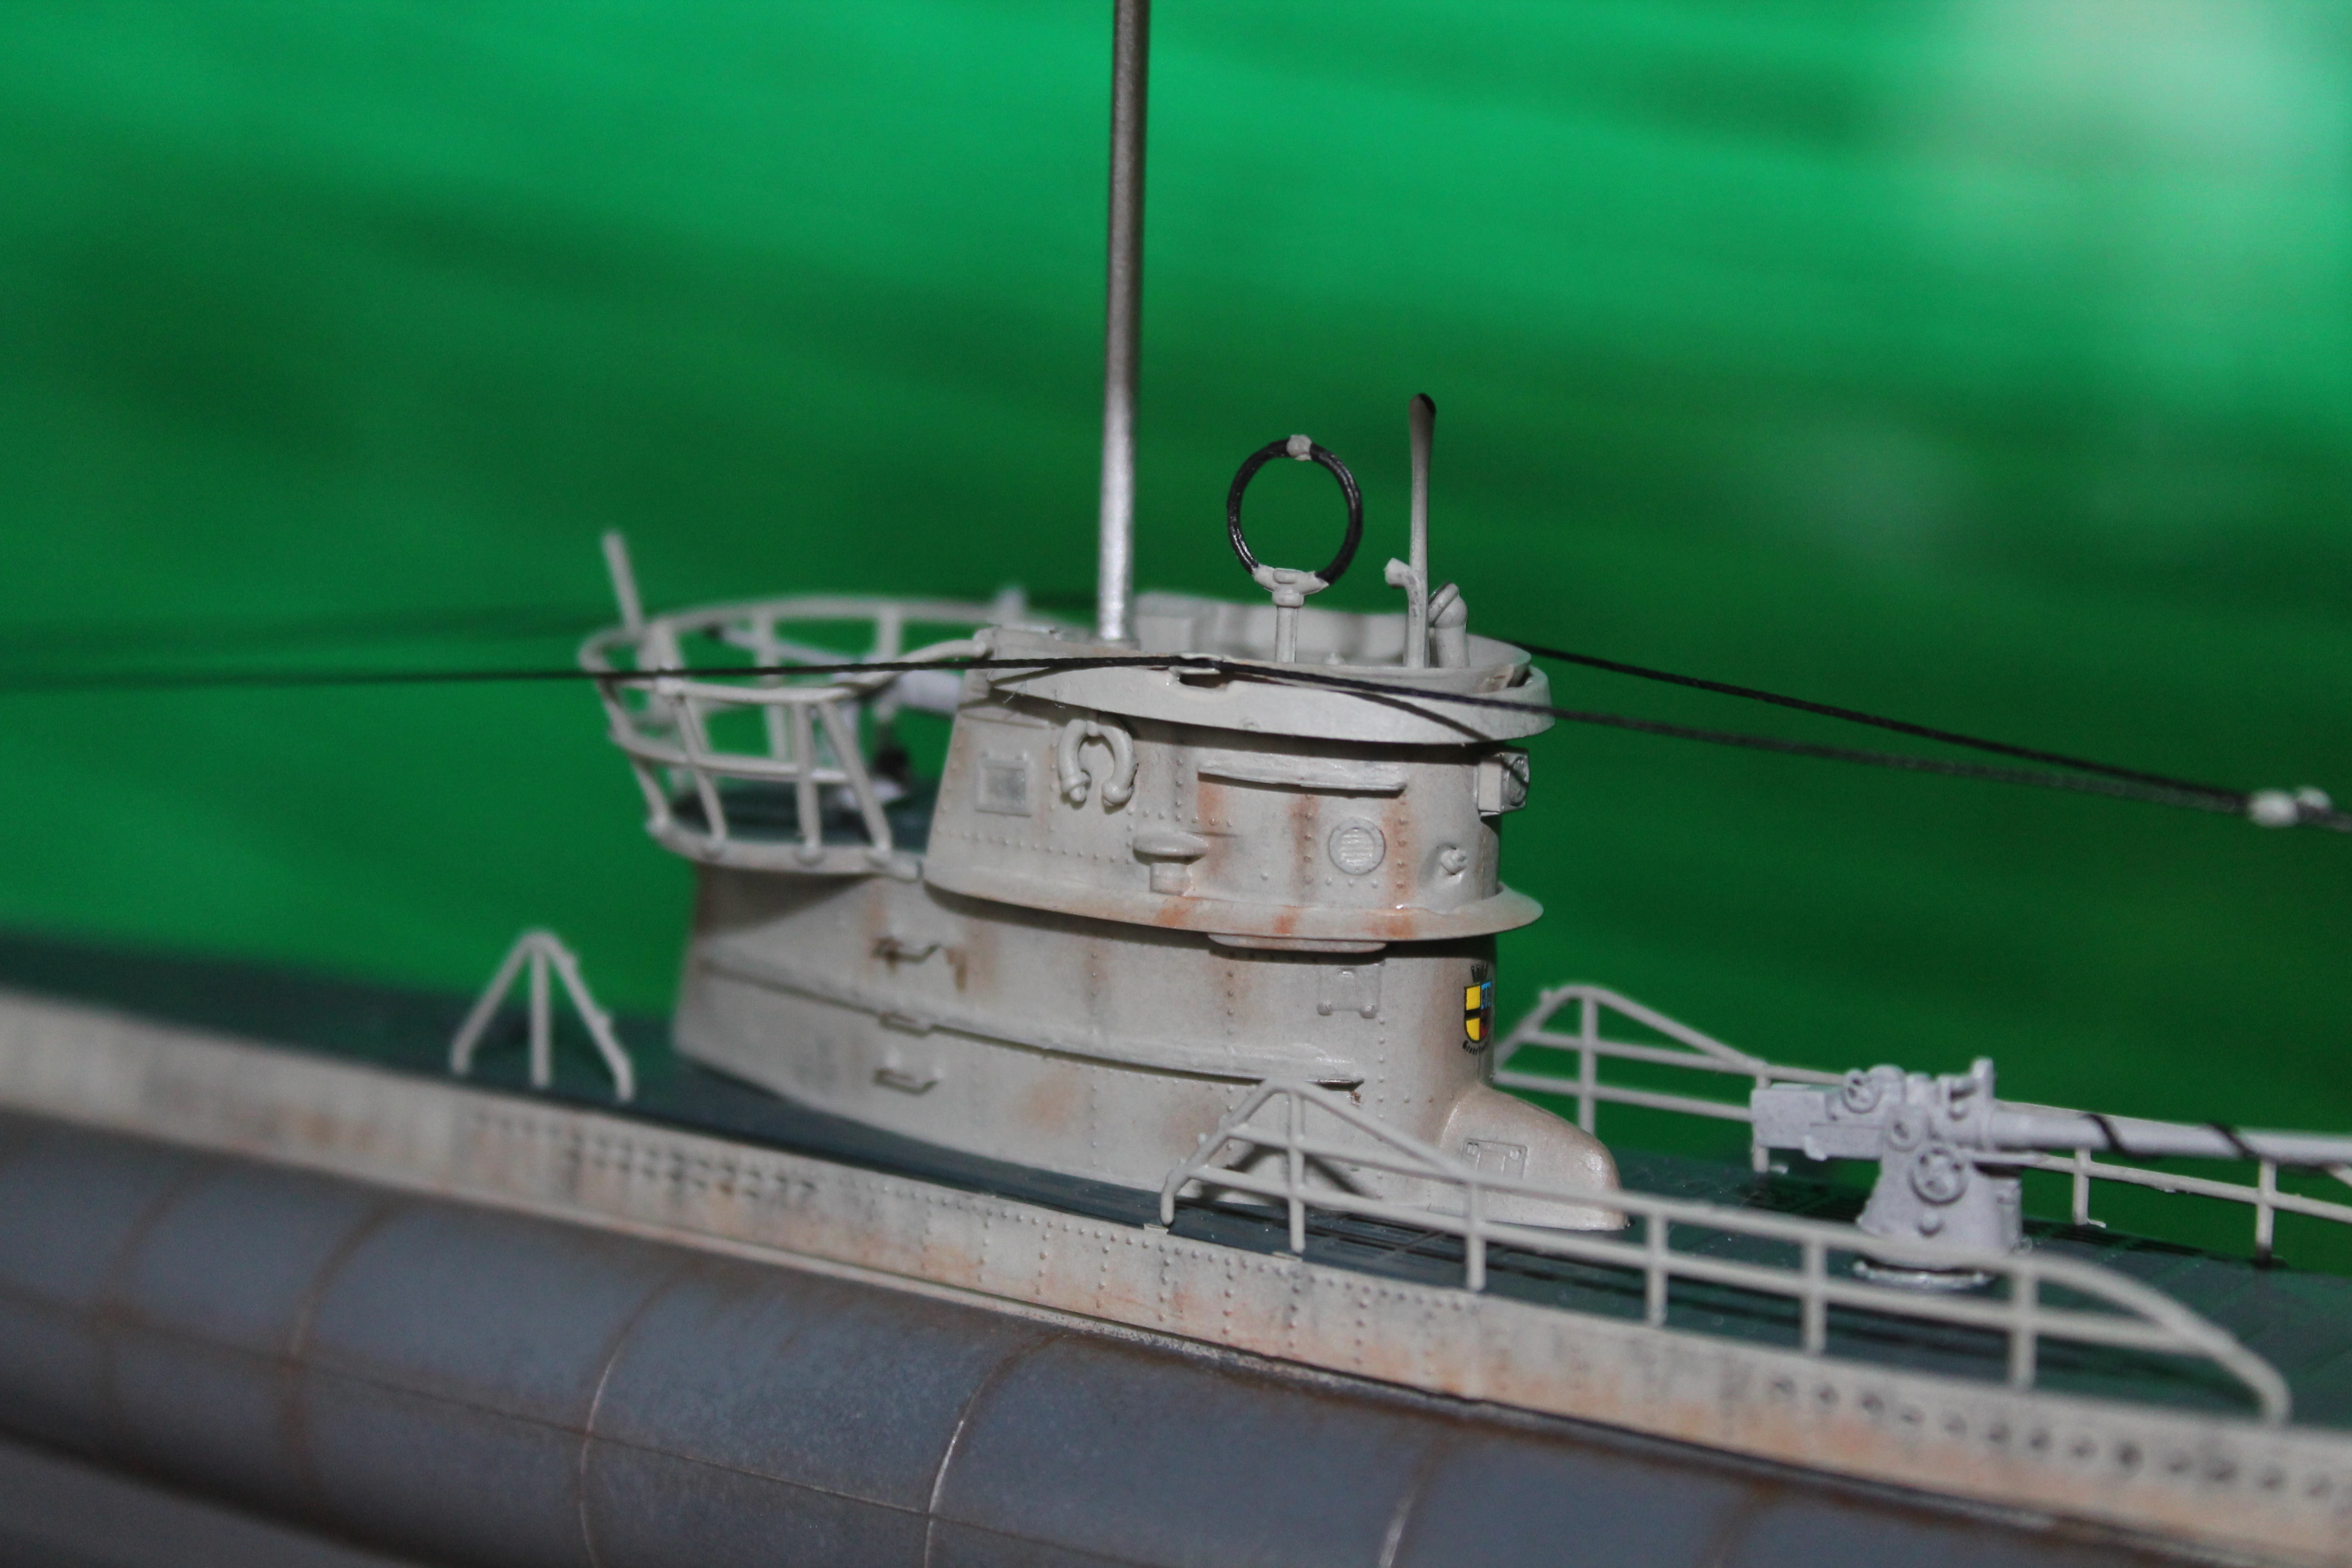
Kevin, really like your display. Is it attached with the periscope?
Simon, interesting build. Wouldn't care to sit in one of those... The steering wheel assembly looks rather futuristic.
Unfortunately my Gato hasn't gone anywhere since January. Still waiting for paint and a display...
Cheers!
Stefan
Too many models - too little time...
England - North East, United Kingdom
Joined: October 22, 2007
KitMaker: 971 posts
Model Shipwrights: 645 posts
Posted: Saturday, March 30, 2013 - 02:35 AM UTC
Well after a couple of hours build hull and conning tower built up and first coat of primer all small parts will be added when i get this in some water the fun part


England - South East, United Kingdom
Joined: March 01, 2010
KitMaker: 7,078 posts
Model Shipwrights: 6,649 posts
Posted: Sunday, March 31, 2013 - 06:07 AM UTC
I wouldn't have fancied sitting in one either Stefan.
Nice start Keith.
A bit more on the little beast, well is armament.

completed and fitted.

and a base coat of the ever reliable citedal Skull white.

More soon
Si
United States
Joined: March 21, 2013
KitMaker: 10 posts
Model Shipwrights: 10 posts
Posted: Monday, April 01, 2013 - 03:27 AM UTC
@ Stefan no, actually it has a rod connected to the sub about midship in the hull, and the back of the case.
England - West Midlands, United Kingdom
Joined: August 01, 2012
KitMaker: 960 posts
Model Shipwrights: 58 posts
Posted: Tuesday, April 02, 2013 - 09:55 AM UTC
Texas, United States
Joined: September 15, 2002
KitMaker: 8,985 posts
Model Shipwrights: 3,509 posts
Posted: Tuesday, April 02, 2013 - 05:31 PM UTC
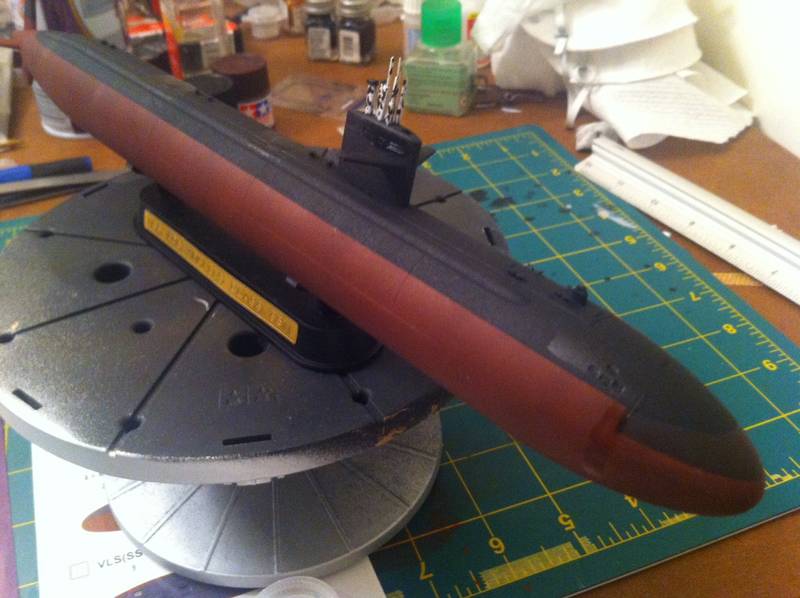
I've completed a few entries and taqken some pix. It has been forever and i have forgotten how to download them into my gallery so i can link them to a post. COuld someone be so kind and refresh my memory. I've for 4 nuc subsso far and working on another at the moment
Those who don't learn from history are doomed to repeat it
VMI "76
Order of the Red Nose Plug
Blue Volute Bumper Spring Award
#084
Quebec, Canada
Joined: September 14, 2005
KitMaker: 2,485 posts
Model Shipwrights: 1,157 posts
Posted: Tuesday, April 02, 2013 - 05:51 PM UTC
Hi Steve,
Log in to Kitmaker Network
Click My Photos top left side it will take you to your gallery.
Click upload top right side of page.
Click browse button and upload from your computer files
Repeat last step for additional pics.
Cheers,
Joe
England - North East, United Kingdom
Joined: October 22, 2007
KitMaker: 971 posts
Model Shipwrights: 645 posts
Posted: Wednesday, April 03, 2013 - 02:48 AM UTC
Small update hull painted and decals added to tower some chipping and wheathering added using oils and corner of a sponge to make small paint chips


Hope to get this in some water before the weekend
Cheers Keith
England - North East, United Kingdom
Joined: October 22, 2007
KitMaker: 971 posts
Model Shipwrights: 645 posts
Posted: Wednesday, April 03, 2013 - 08:26 PM UTC
Another update got cracking on the base last night and built up the sides I have used building insulation board for the main part and set the sub into some clear silicon it looks white when wet but will dry clear will leave this for a couple of days to set and then add more silicon to the base to build up the water line and waves to make it look like a rough north sea.

Cheers Keith