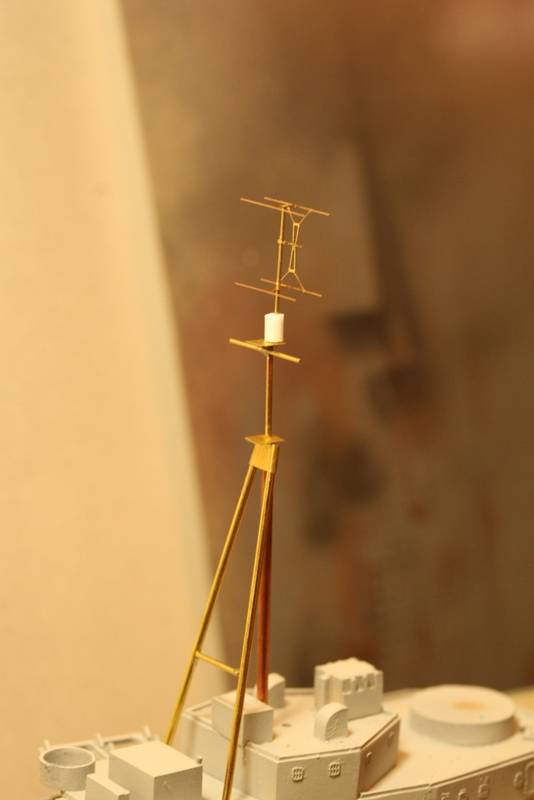
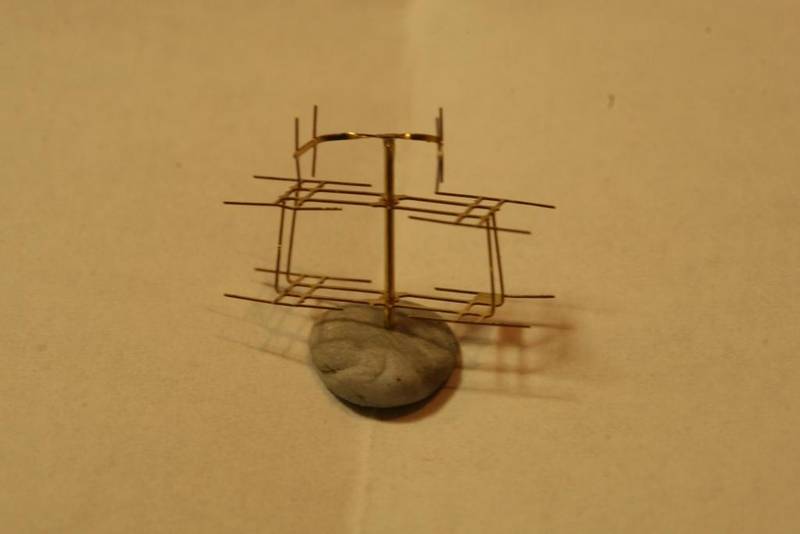
Well I took it on the chin and made up a couple of pole masts. They were much quicker to make though the height difference is interesting. The tripod masts with radar were pretty much the same.

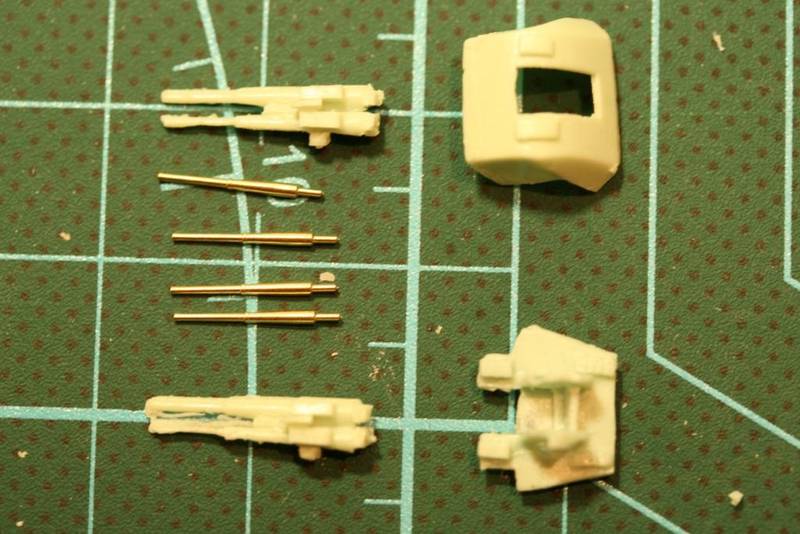
For my next replacement part I thought I would give my version of a tutorial on the 4 x 21" torpedo launcher.
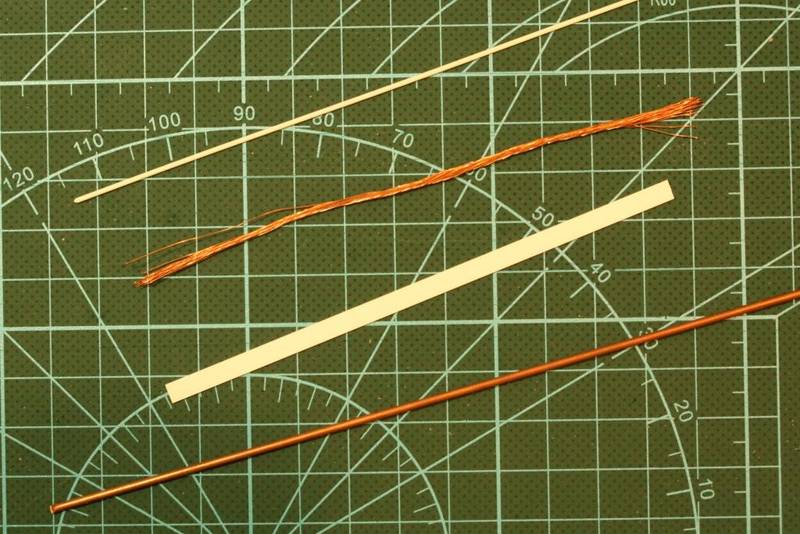
Parts requirements is fairly basic, 1mm rod, copper wire, 1.6mm copper tube and 4mm x 0.25mm strip.
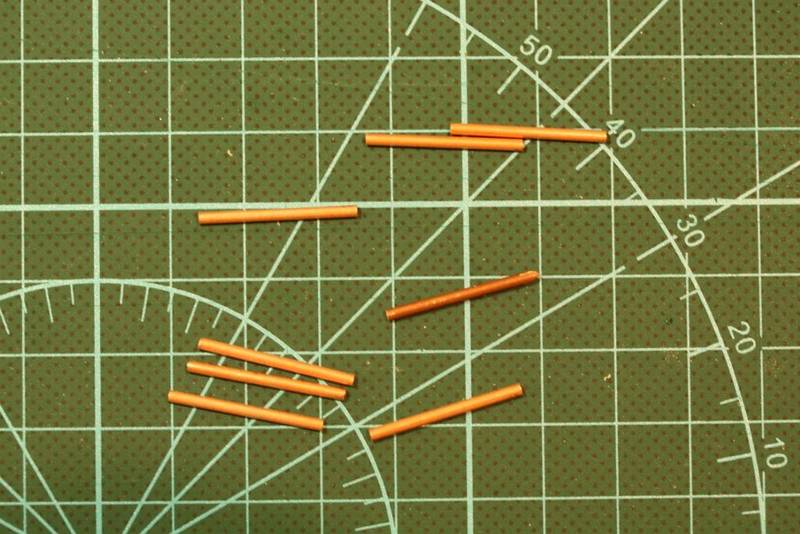
Cut the tube into 8 x 21mm lengths.
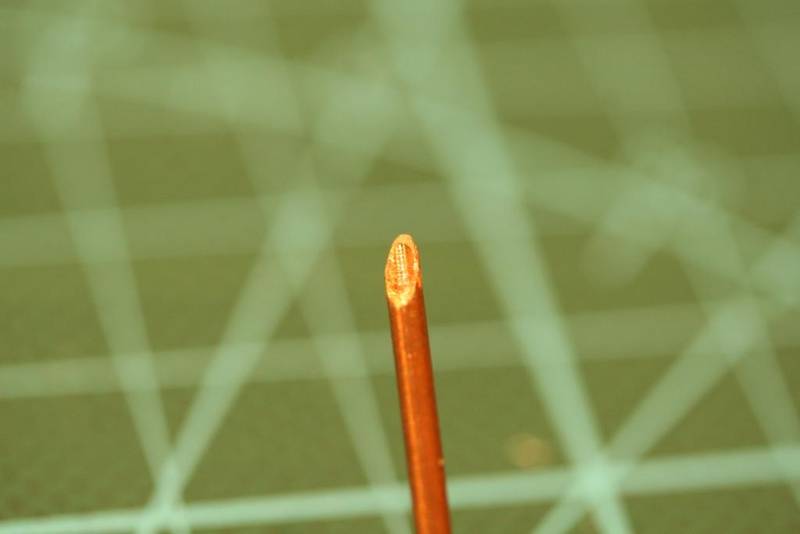
Angle grind with Dremel and bore out hole. Holding copper tube with your fingers while grinding will lead to melted fingerprints. I tested that myself

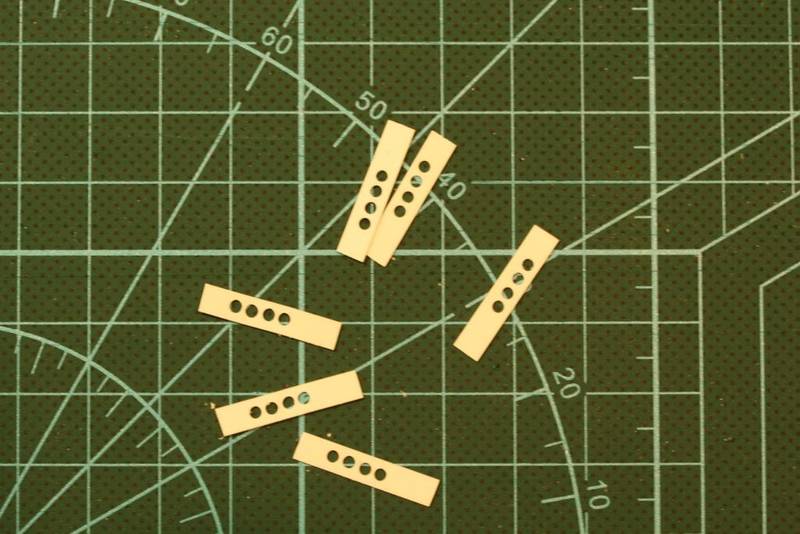
Cut the 4mm strip into 6 x 20mm lengths and drill 4 holes (1.7mm). If you stack the six pieces you will get all the holes in the same place.
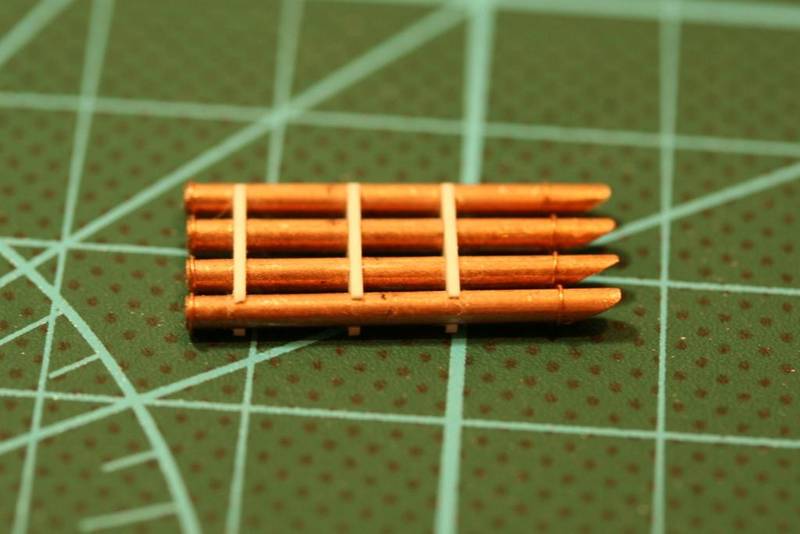
Rack up the tubes. This is much easier to do if you have oversized strips.
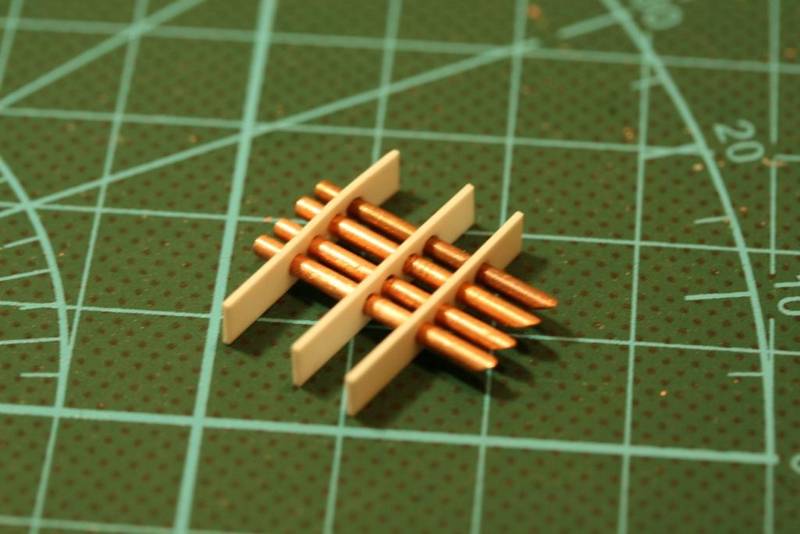
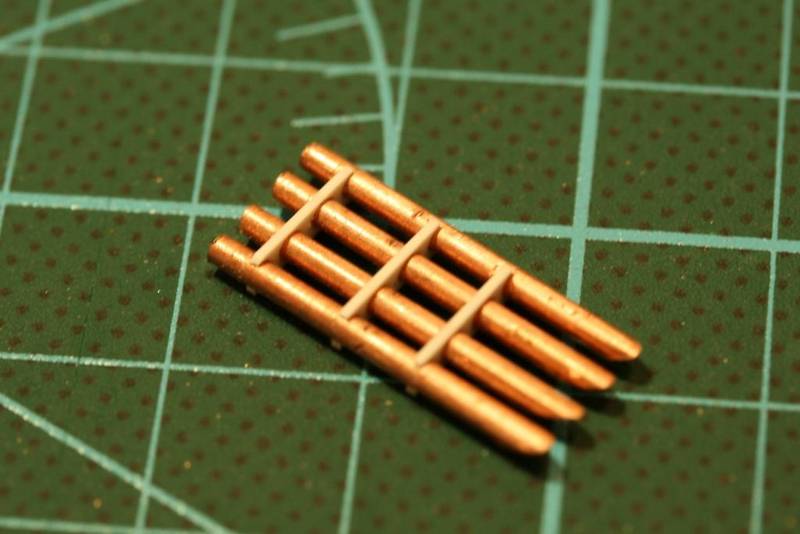
Trim excess
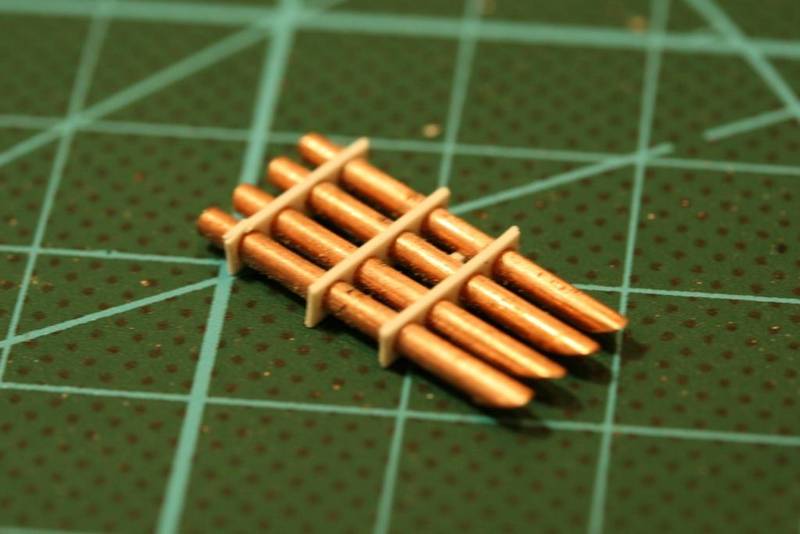
then sand done to bare minimum. The strips are structural parts for holding the tubes together
Next coil the copper wire around some spare copper tube and make a spring.
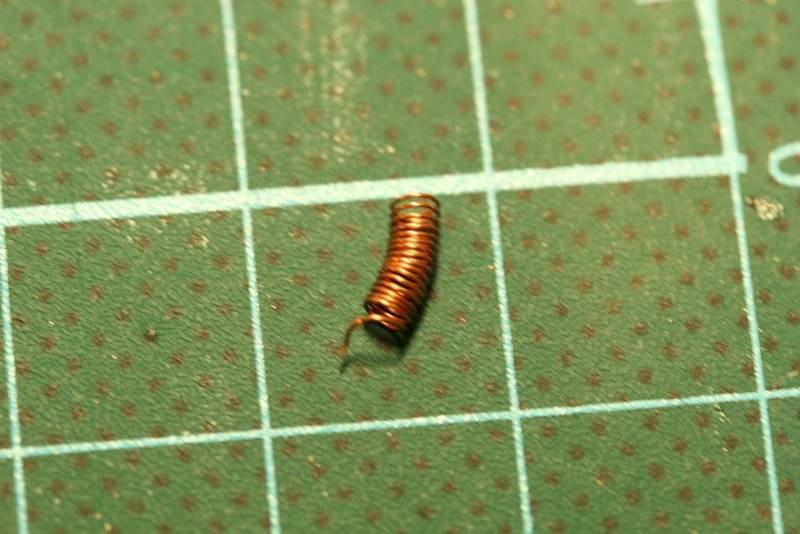
Slice spring into rings
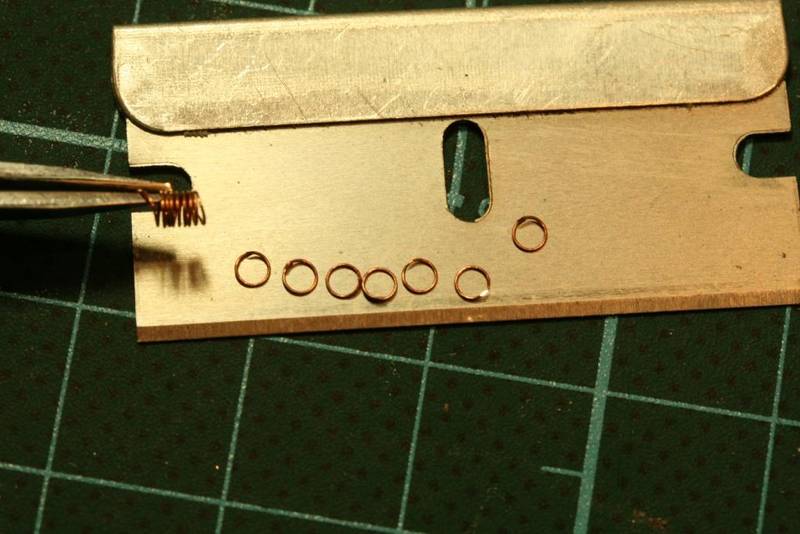
and mount one at each end of a tube. These are hard to see but I figure after painting and a wash they produce a subtle difference in the tube.
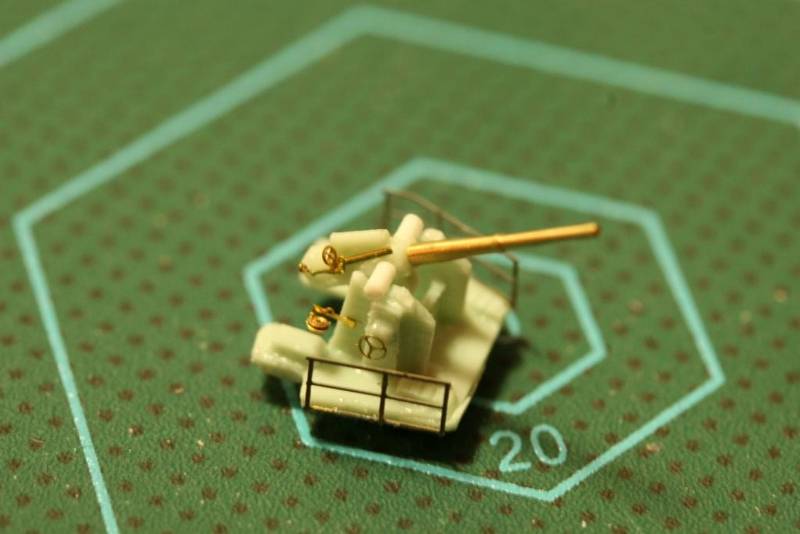
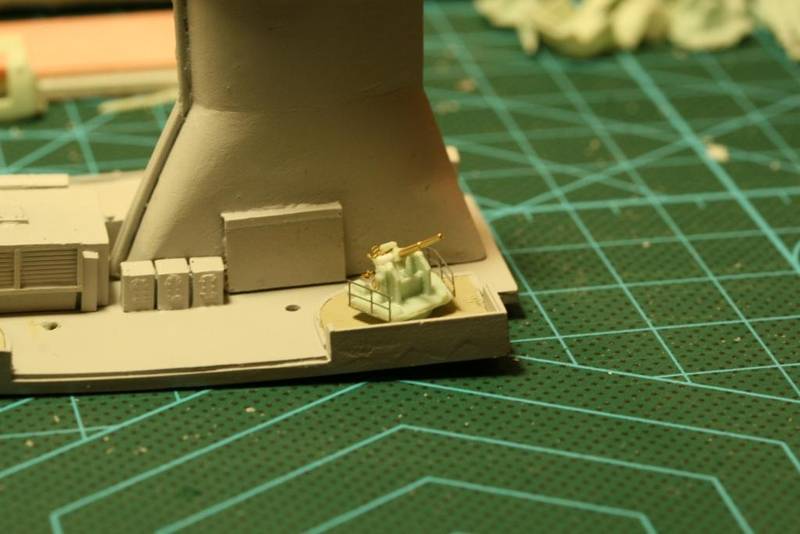
And add detail to your taste. I used the 1mm rod for compressors at the end of each tube. The white square is a control box, the brass piece is a pump. I have also added a rail to pull the launcher into firing position and a walkway for when it was deployed.
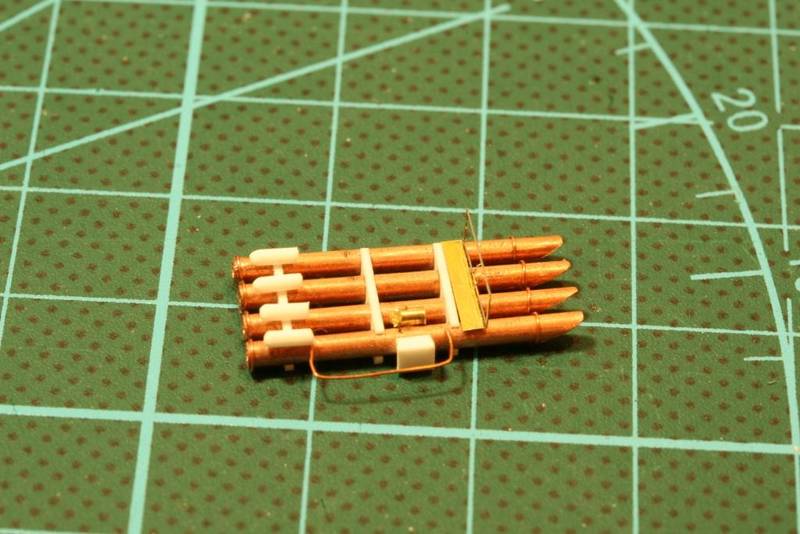
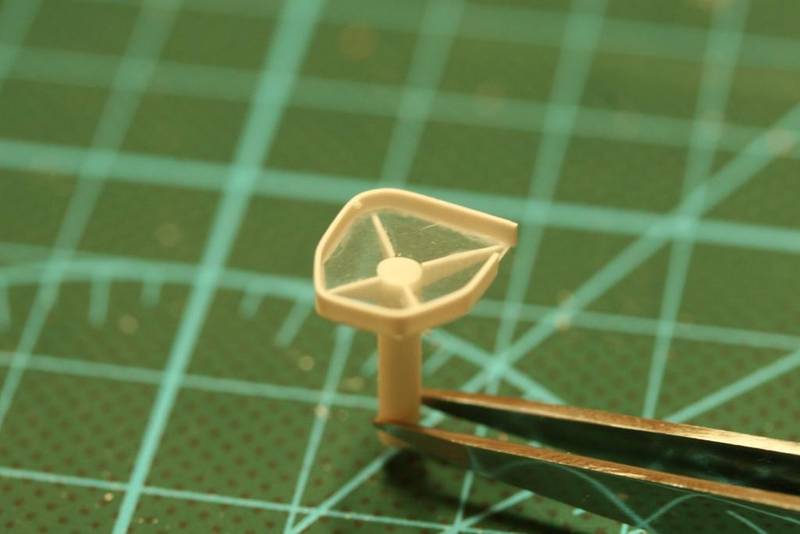
And looking at the last picture I see I forgot the turntable.
Anyway, hope you enjoyed my version on how to scratch a cruiser mounted torpedo launcher.
cheers
Michael


 .
.