Thank you Bernd for your kind comment and following my build - that is much appreciated!

And one more update, it's time for fifty,...ahmm, well some shades of grey

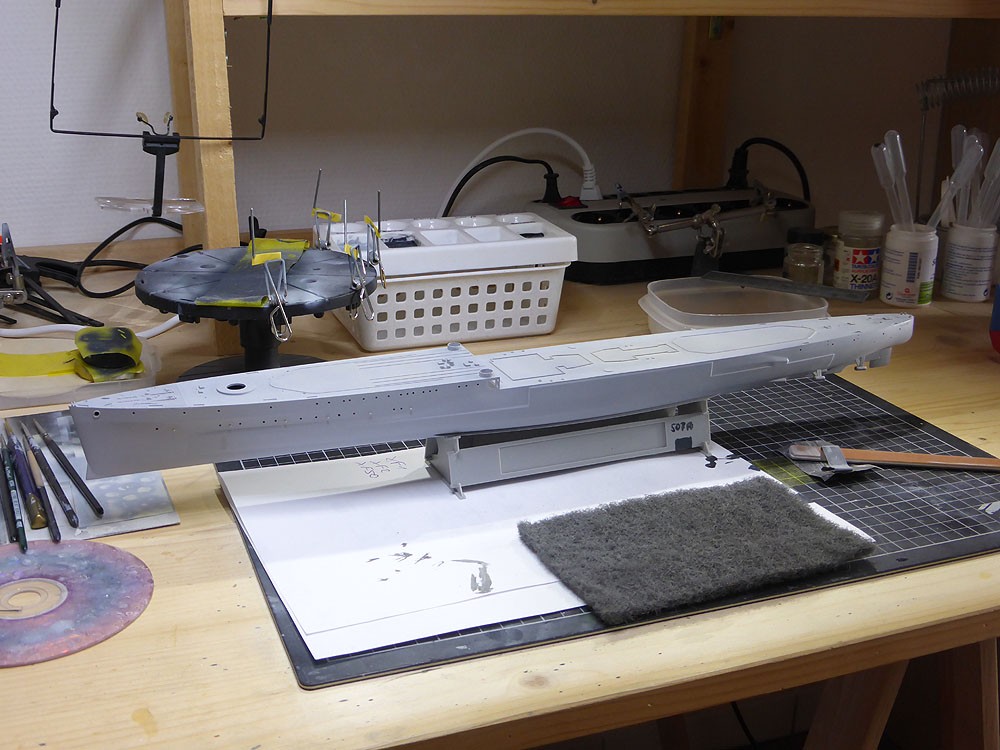
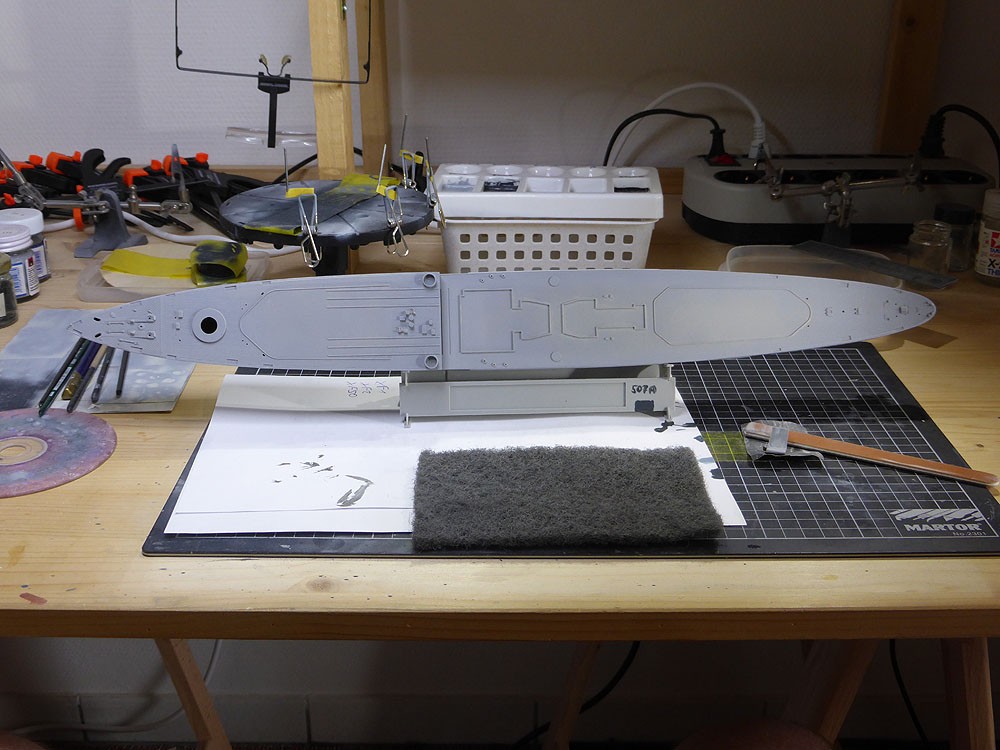
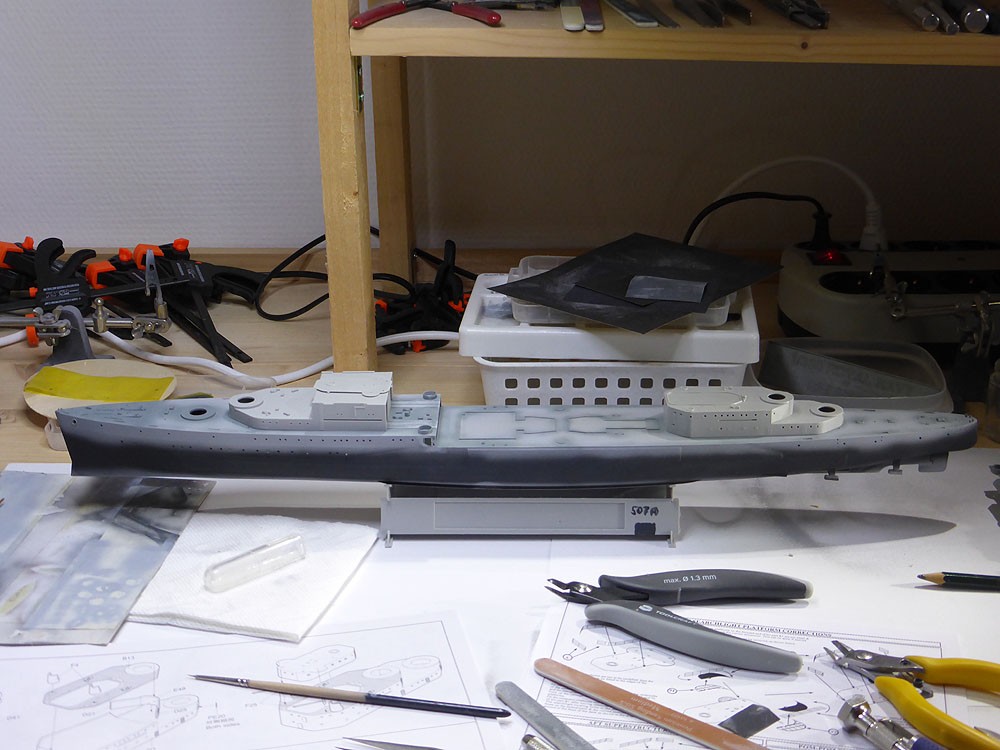
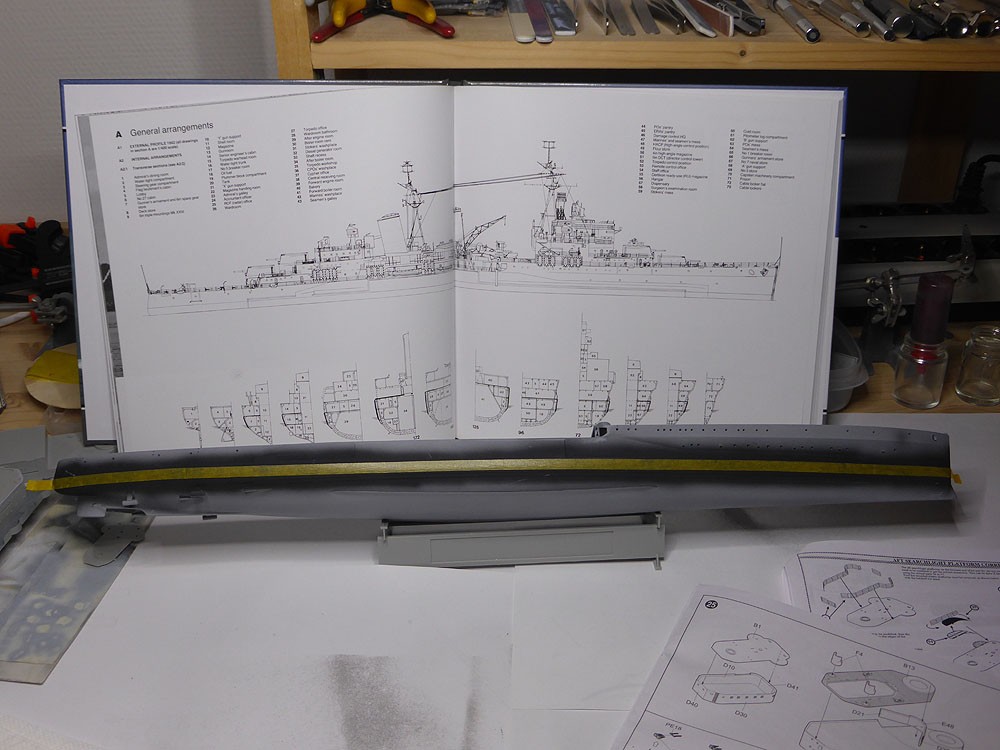
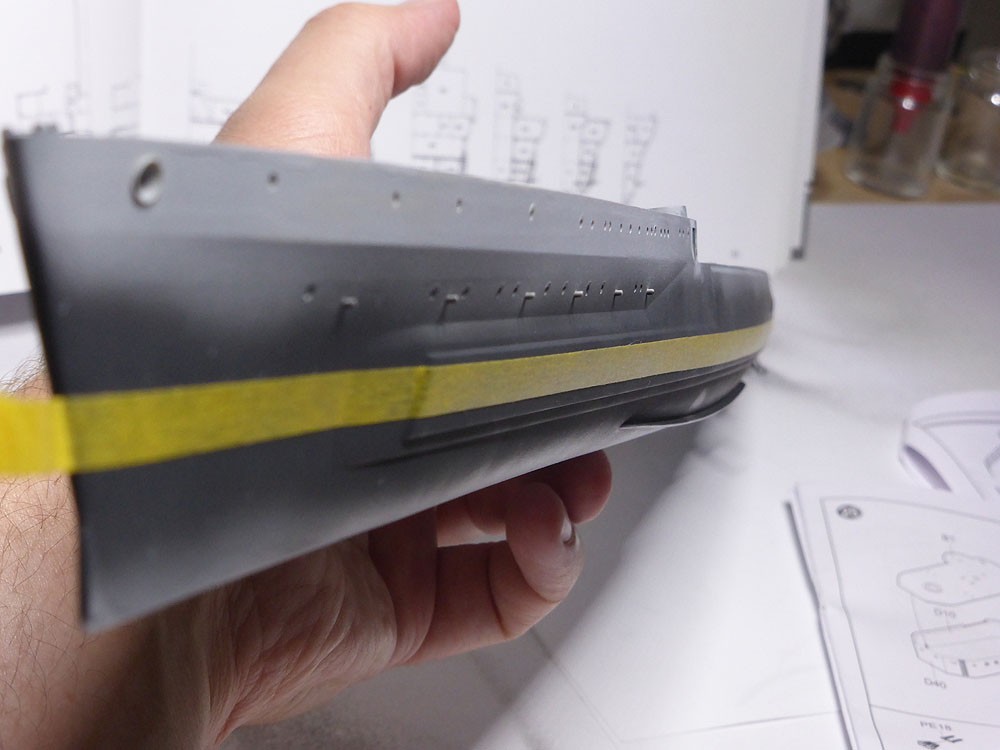
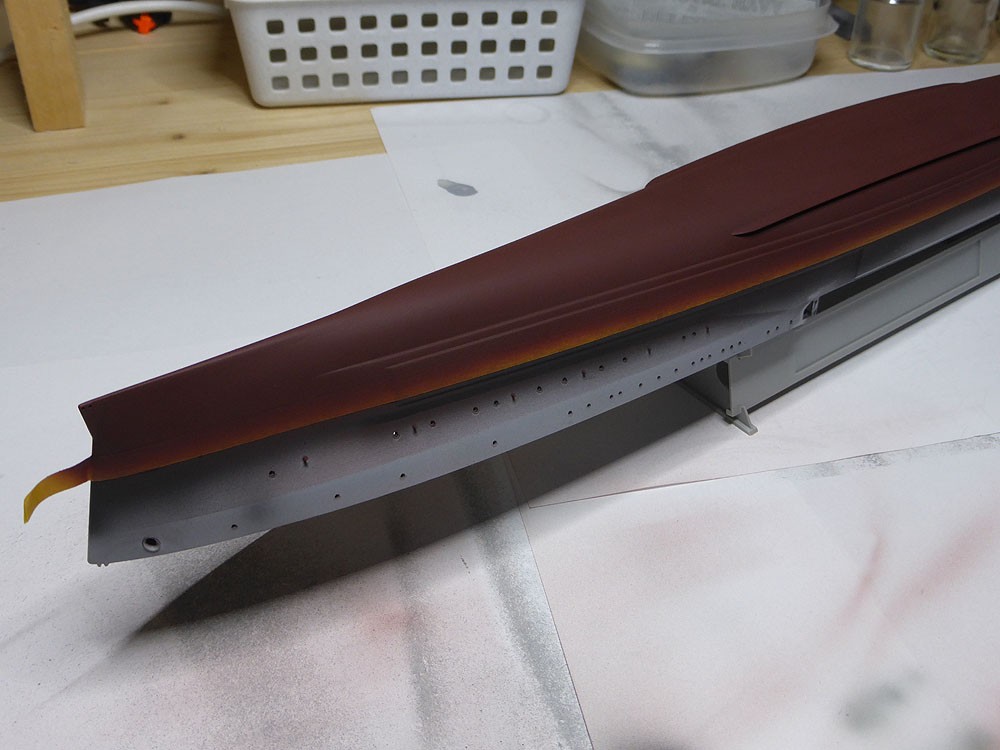
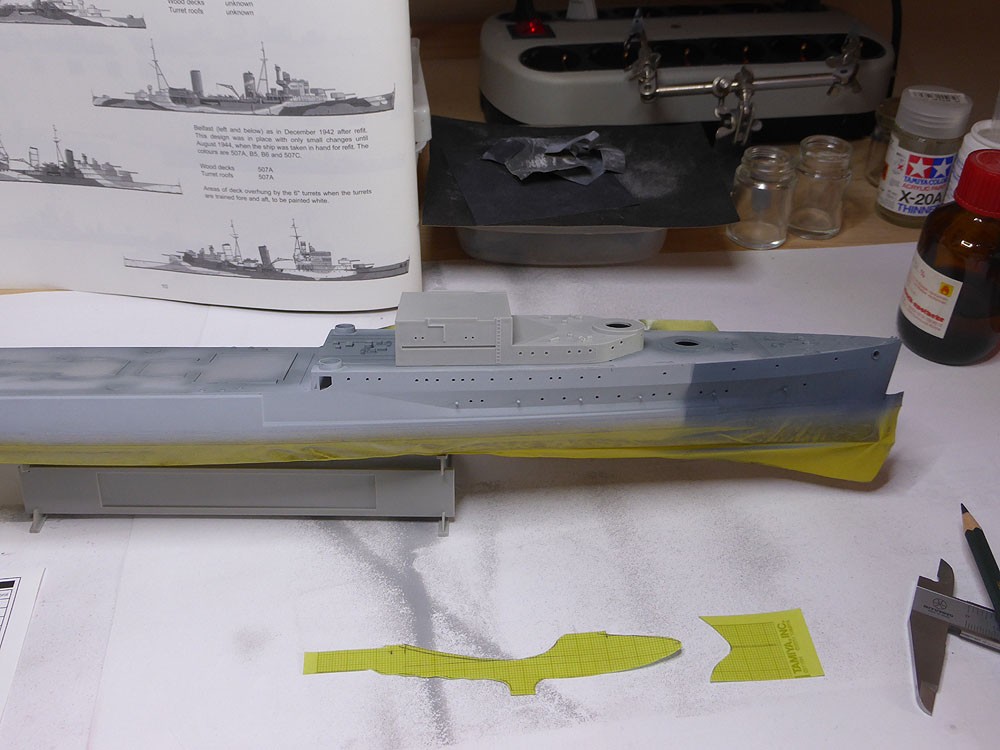
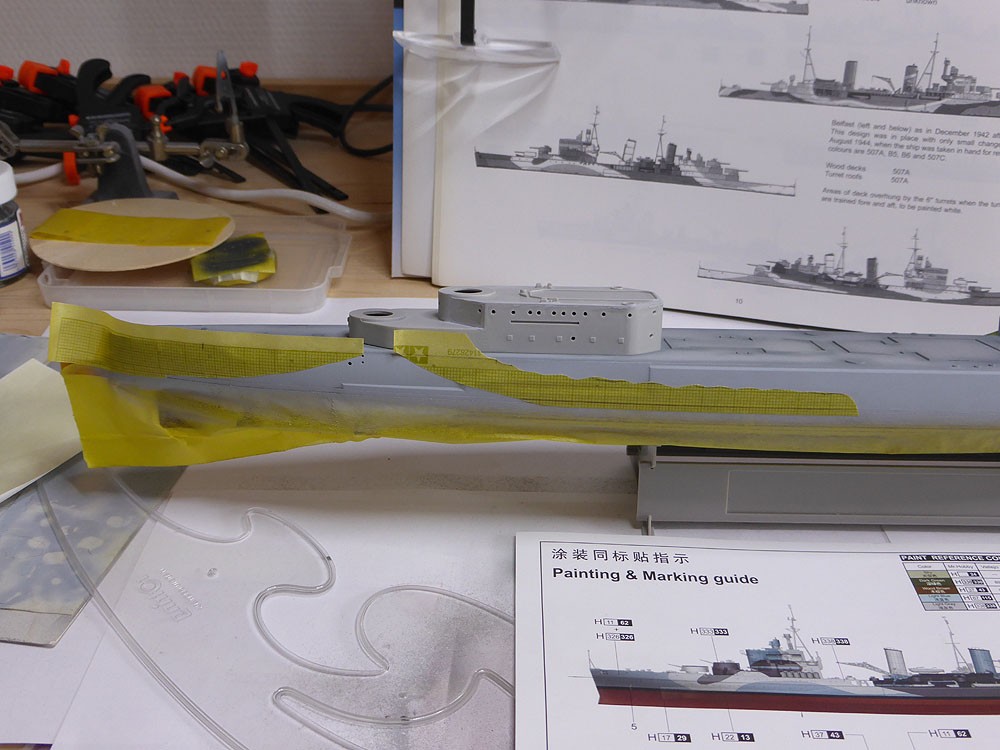
After masking the lower hull with 40mm tape - great, that's doing it for BELFAST, for PoW and Repulse I had to use additional sheets of paper to mask the hull... - I sprayed the whole upper hull in the lightest grey, 507C. Waiting one day to make sure everything is proper and dry, the work on the camouflage starts.
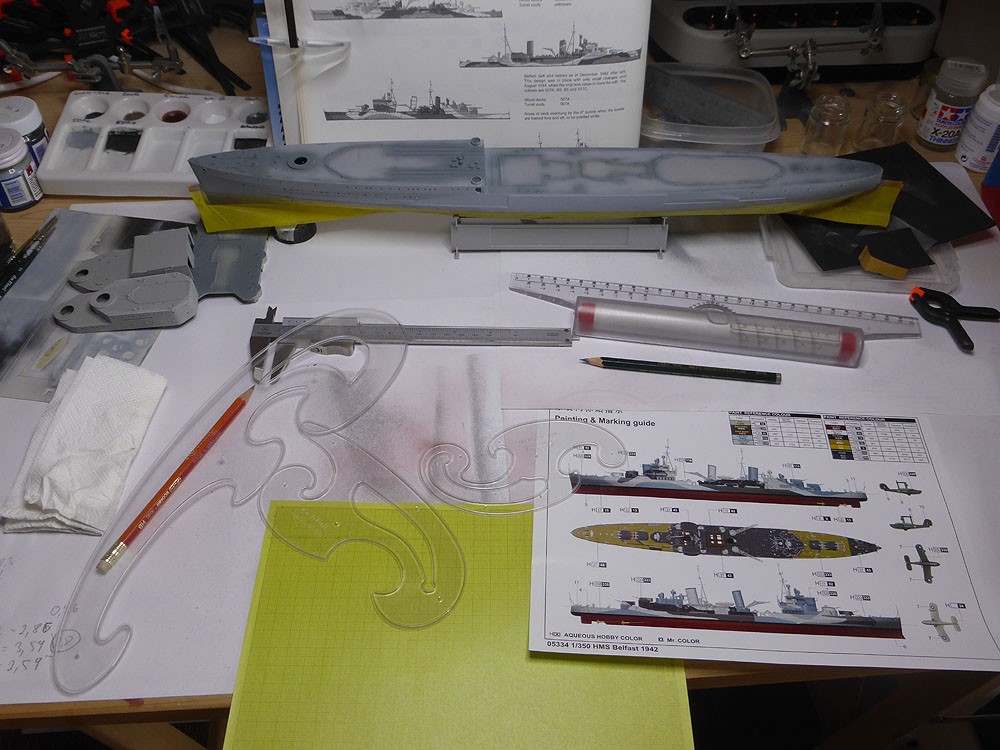
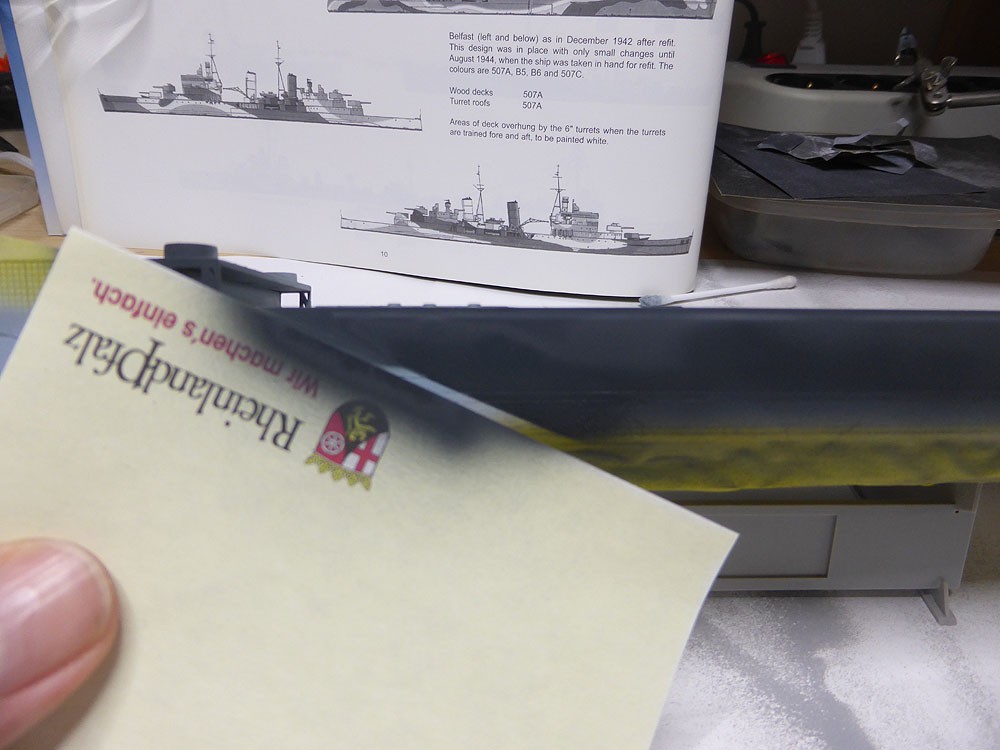
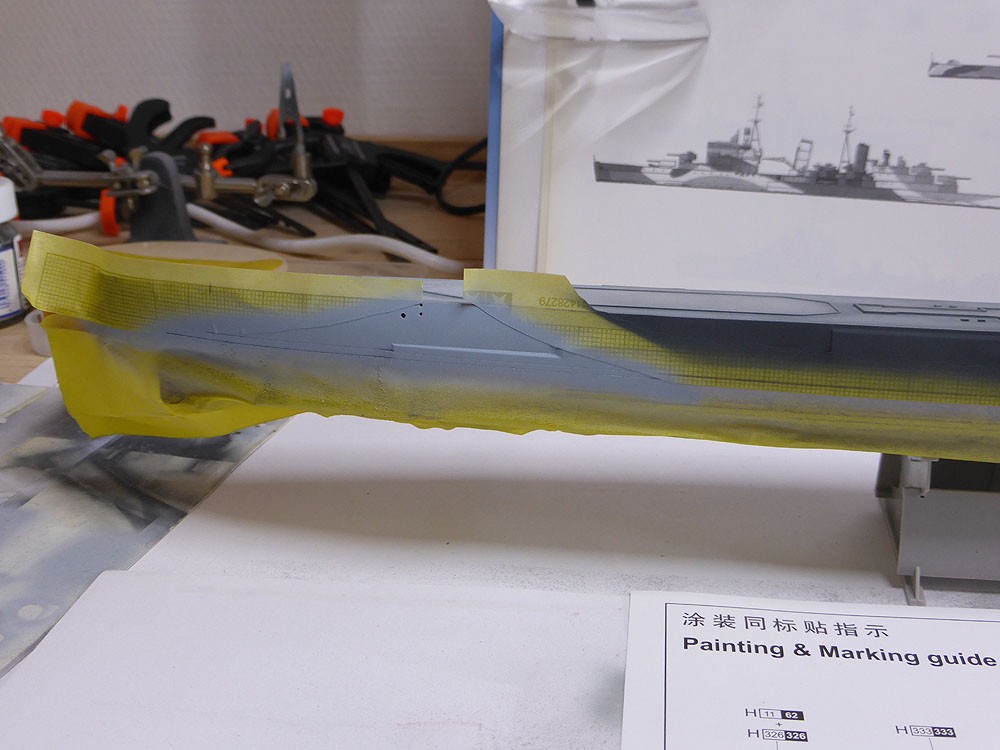
Here's the stuff I used. Particularly helpful was the masking sheet with 1mm-sqaures printed on from Tamiya. I found those on a fare, the sheets are 17 x 23 cm usable size, and a pack of 5 was about 10. So not exactly a bargain, but with my experience from today, I have to say it's worth every cent!
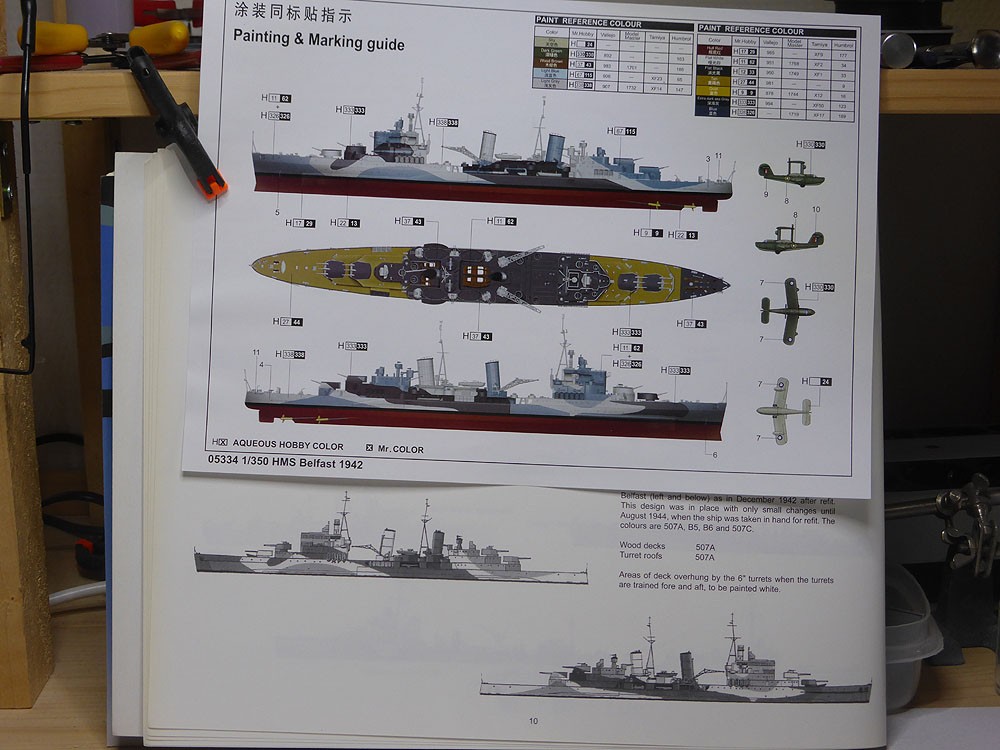
Trumpi's paint scheme for the hull is actually not all that far away from Alan Raven's reference, so I used both as a guidance.
Well, to be honest, I am not looking for a fraction of a mm here, I am shooting to get the right impression over all, so yes, this is not a 100% reproduction of the paint scheme. But then again - how was the scheme really looking back in 1942/43? References differ, so let's go and just do it!
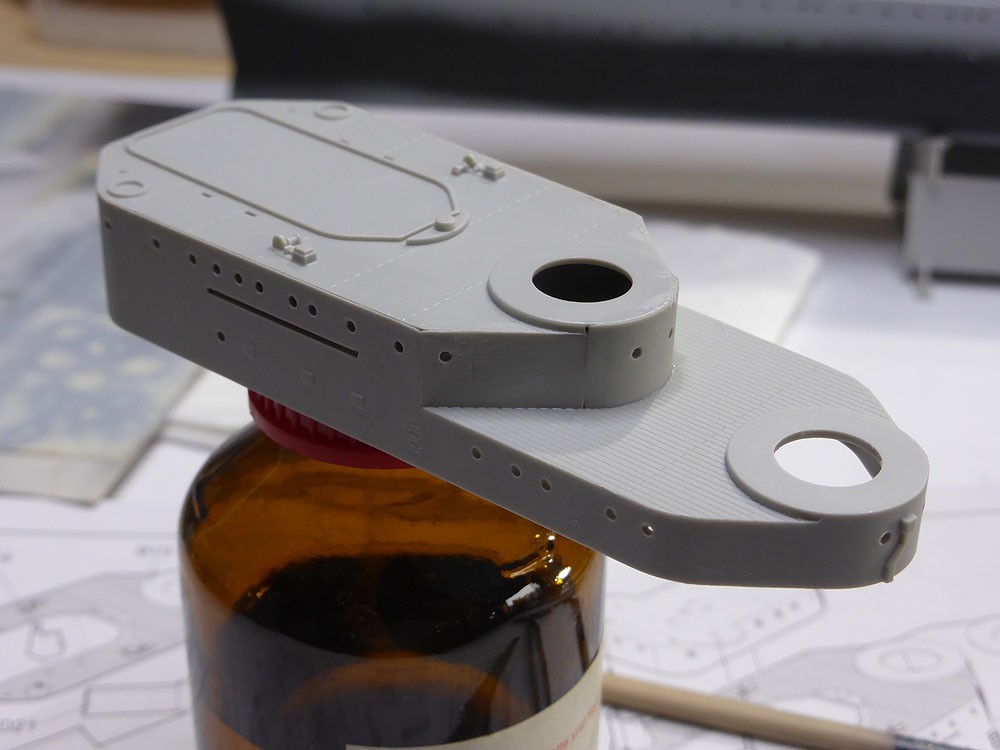
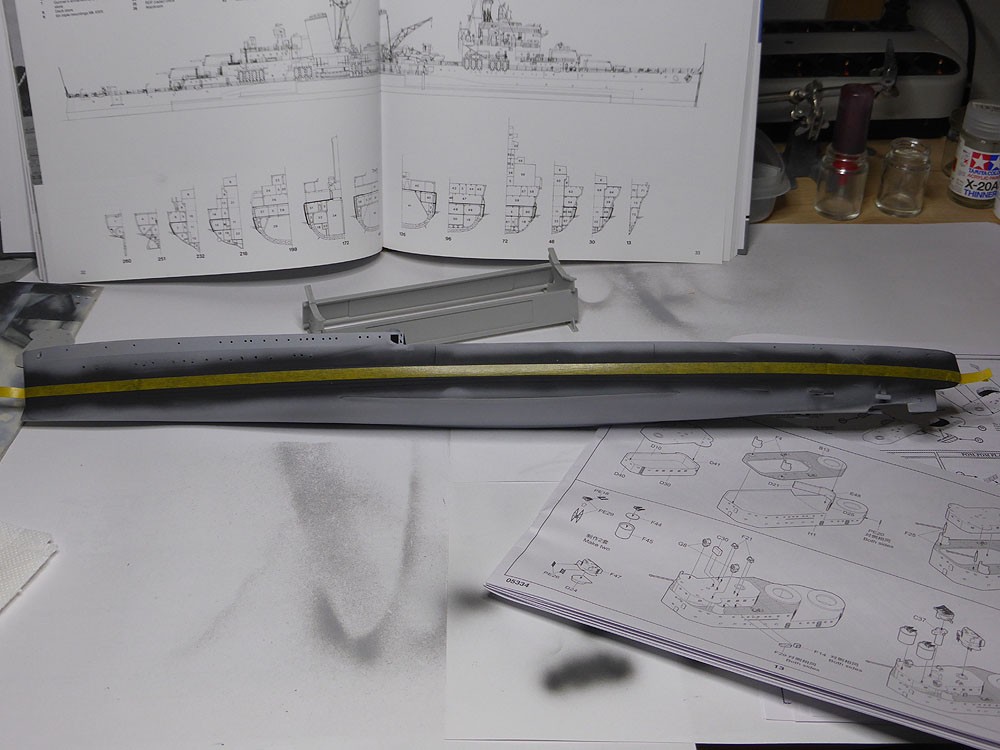
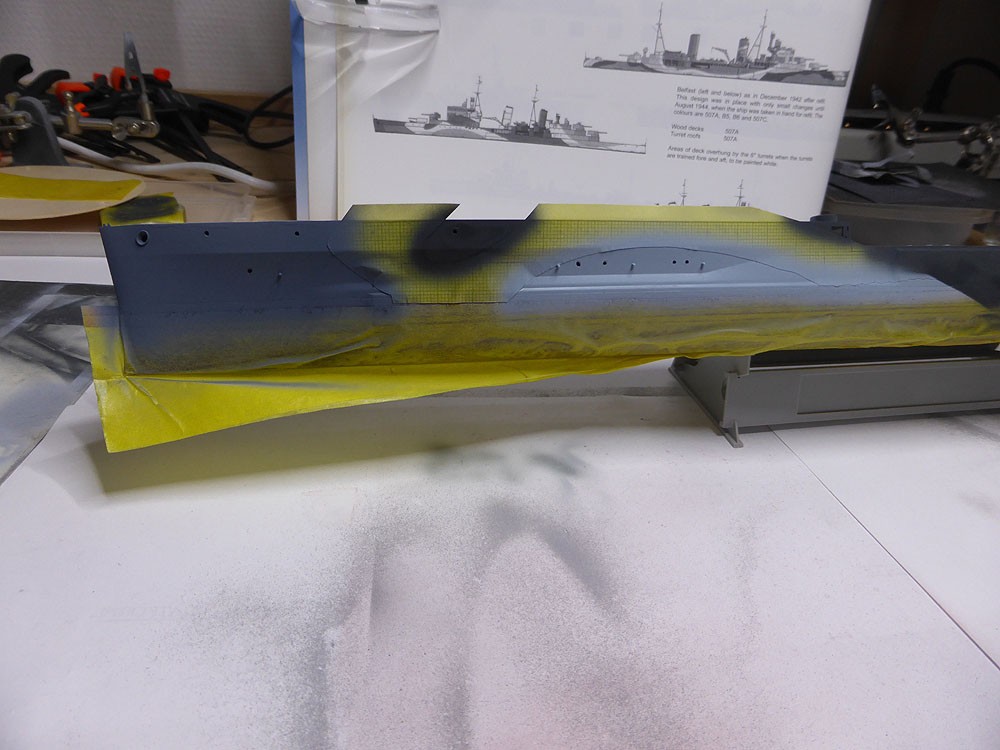
Measuring, drawing with a 2B pencil, comparing to the model's hull, and cutting...so here's the first part:
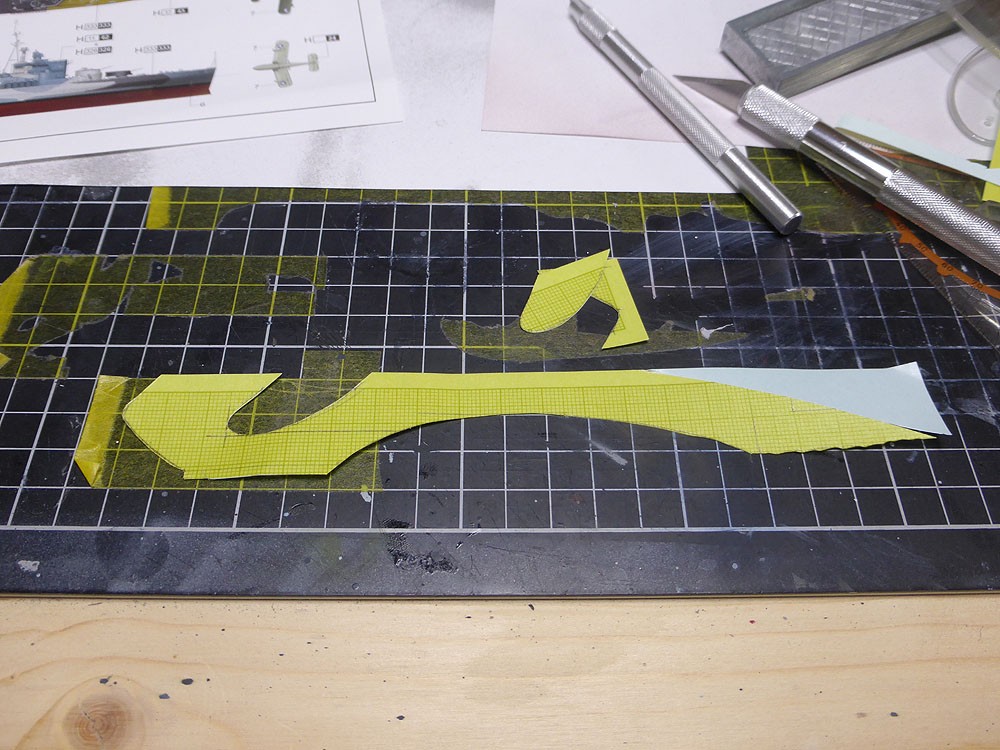
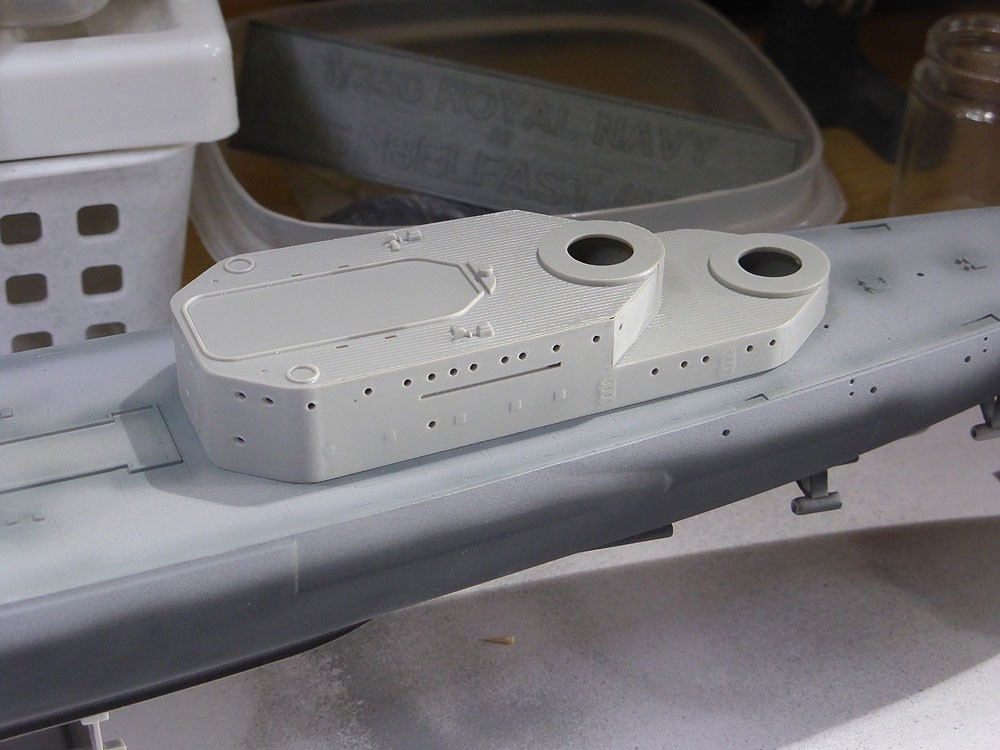
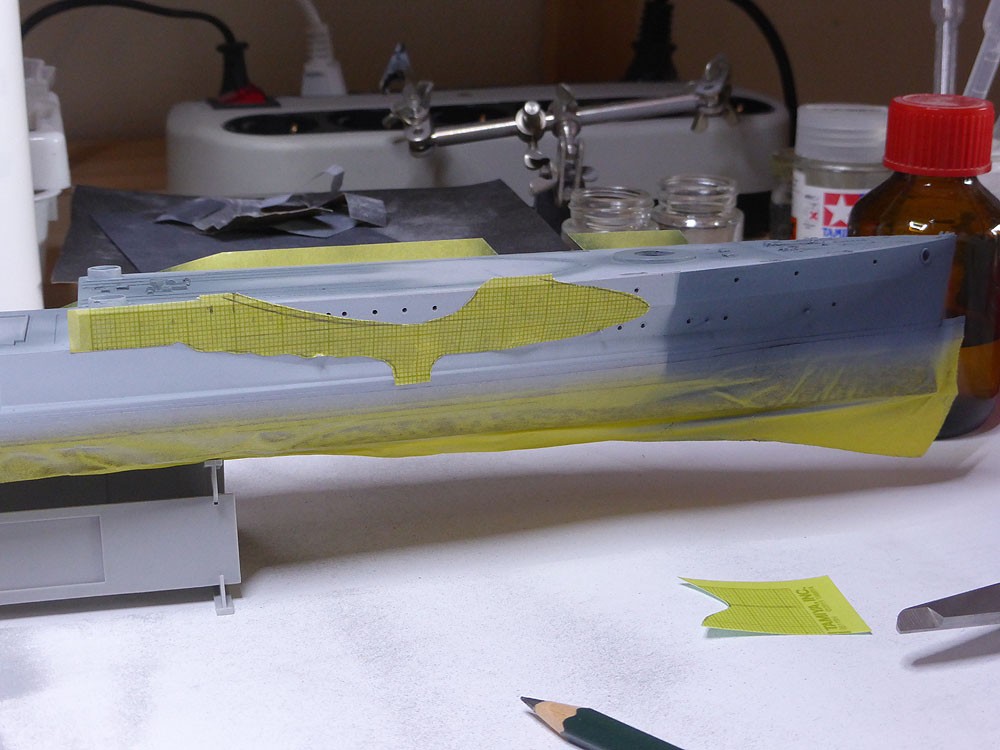
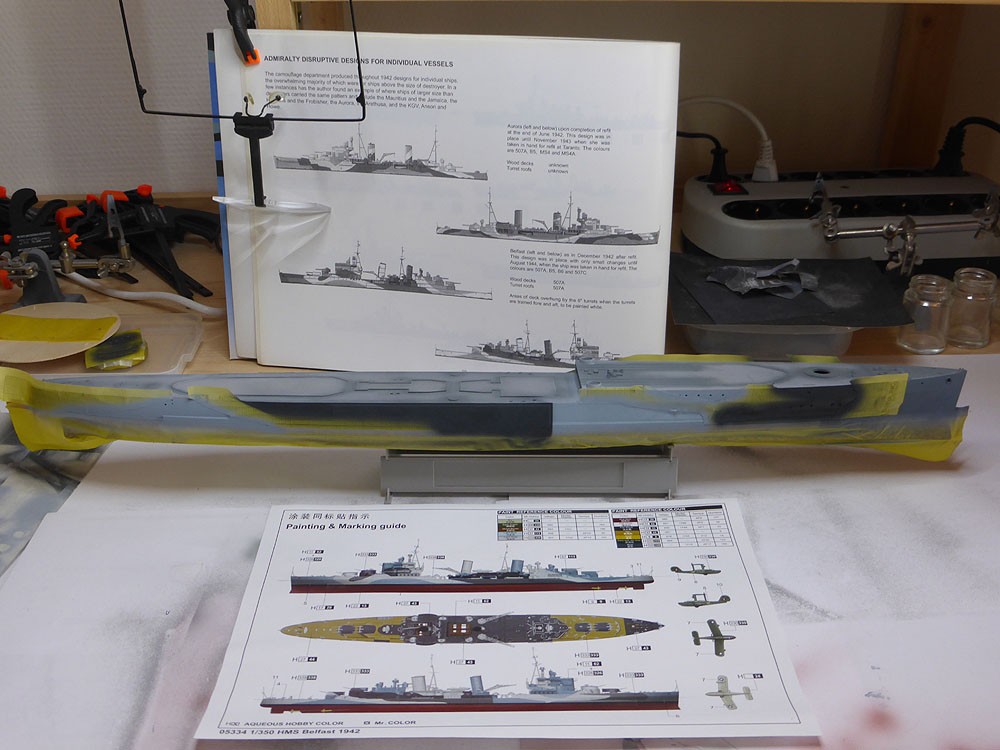
and on the hull:
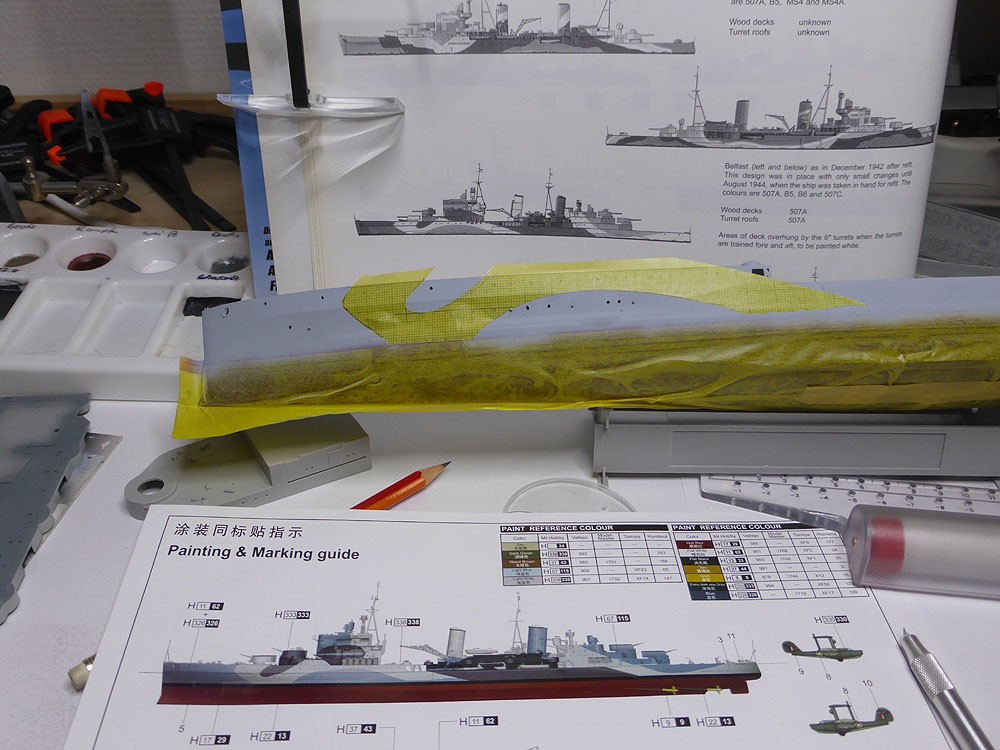
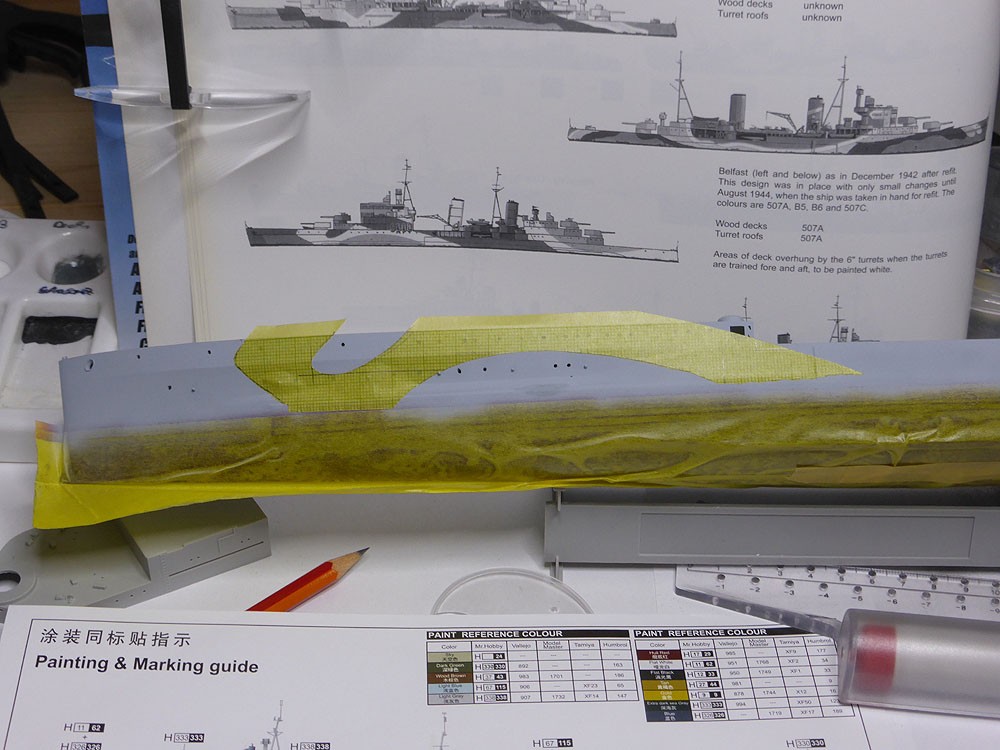
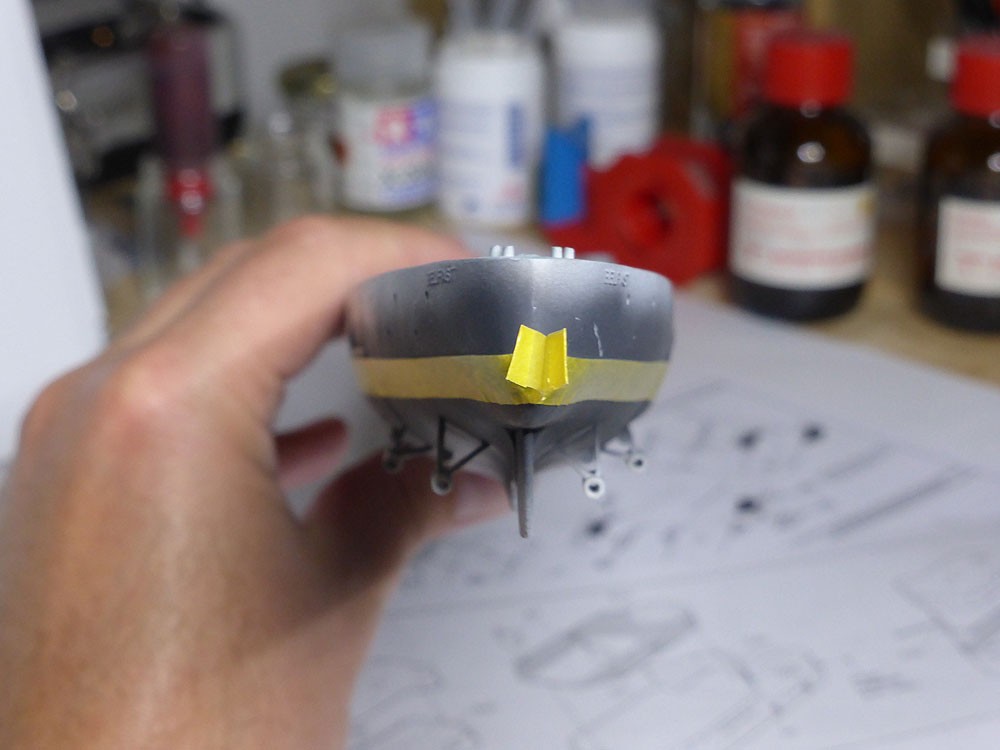
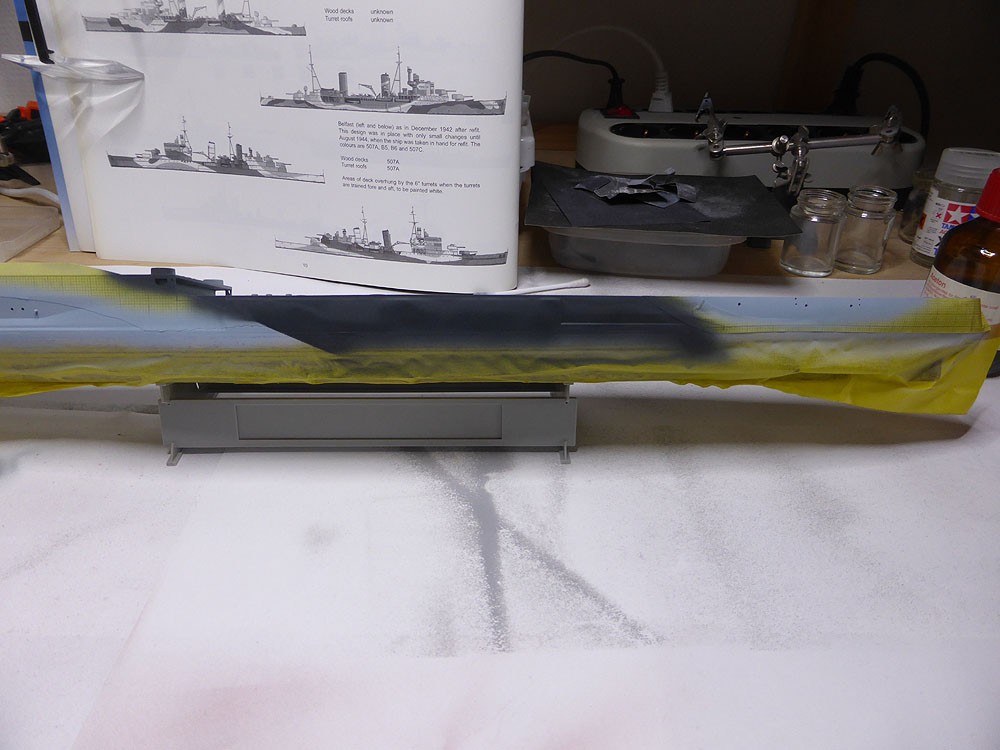
The stern part:
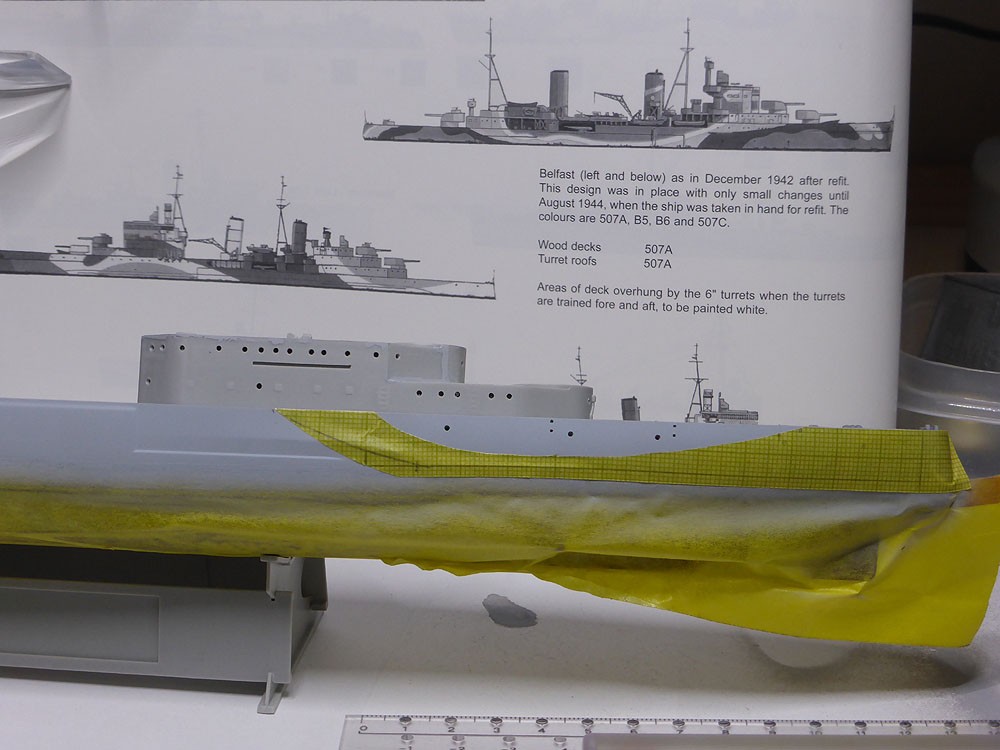
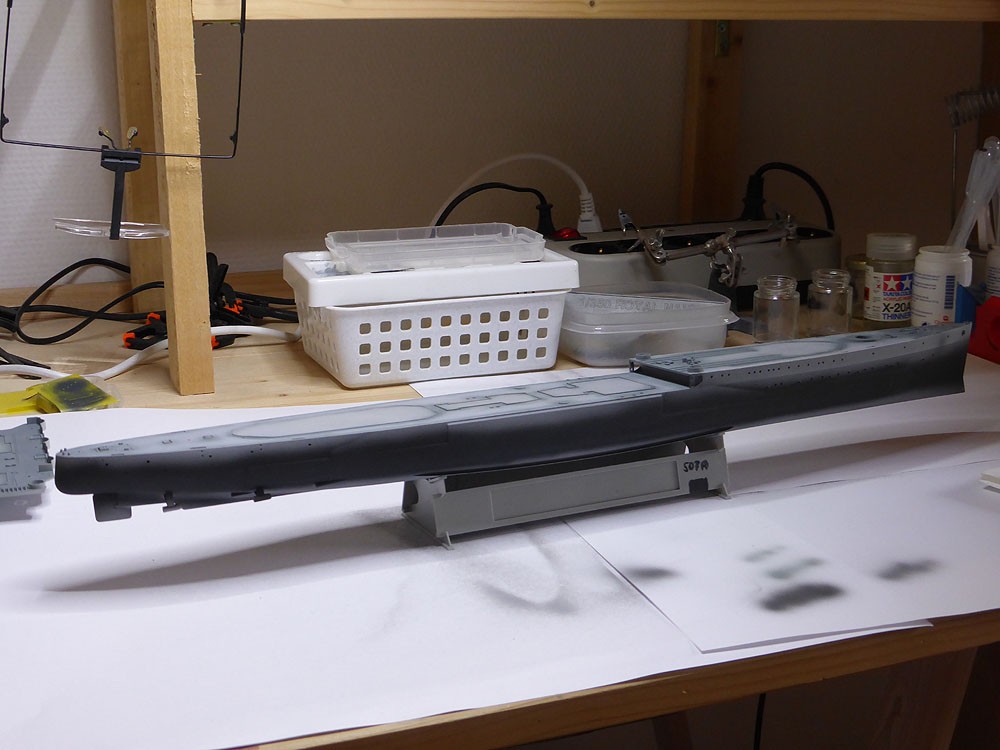
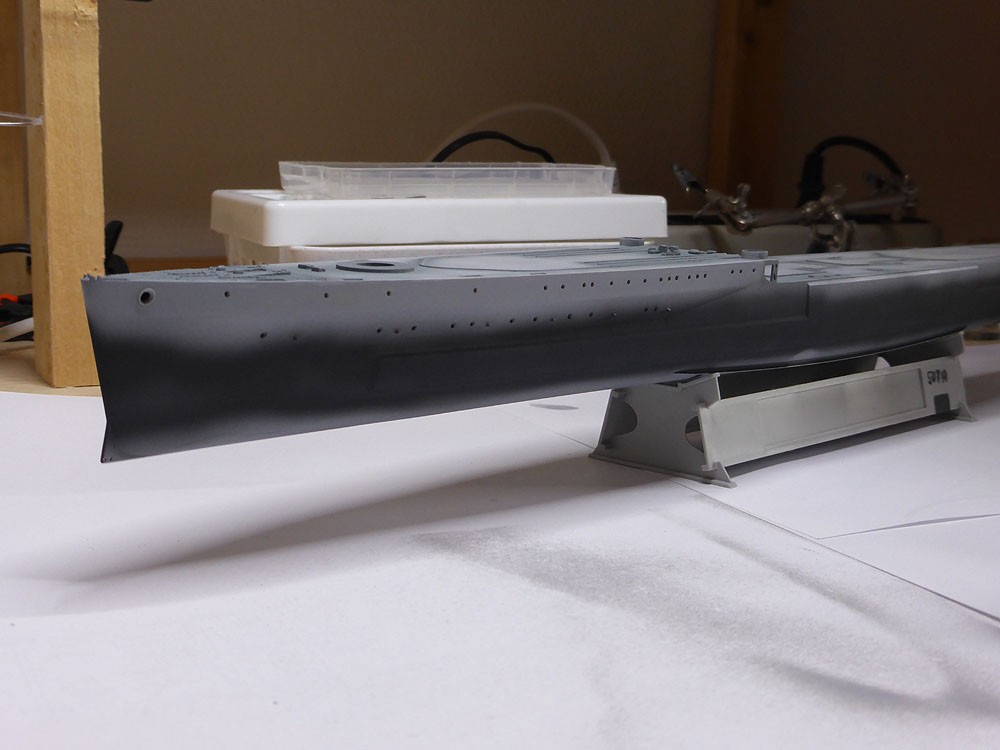
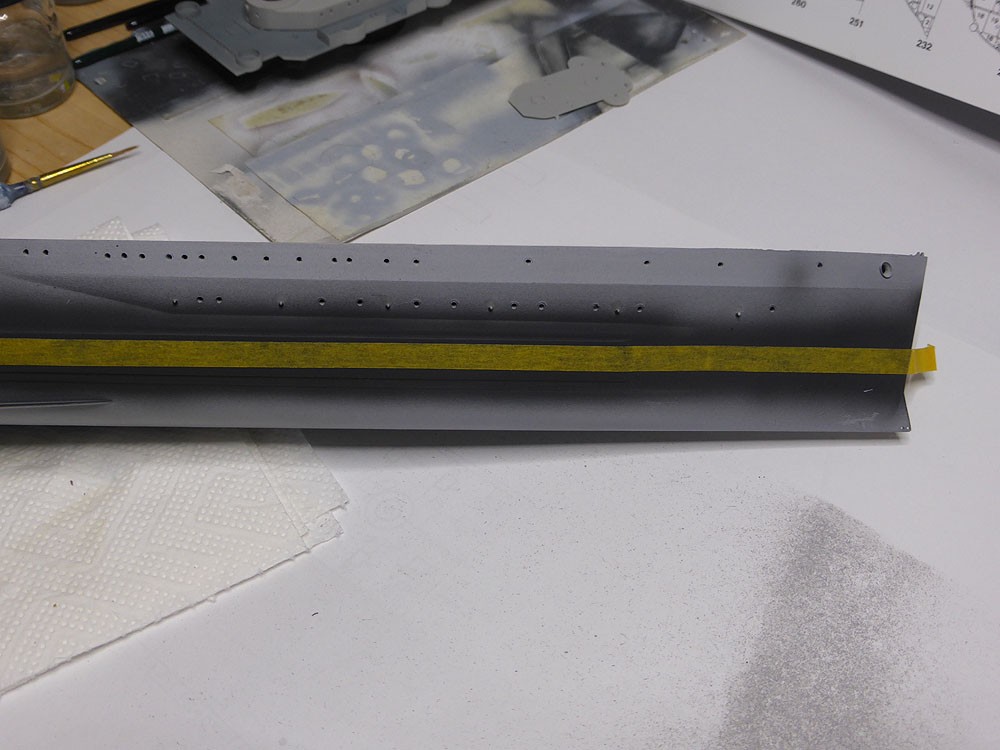
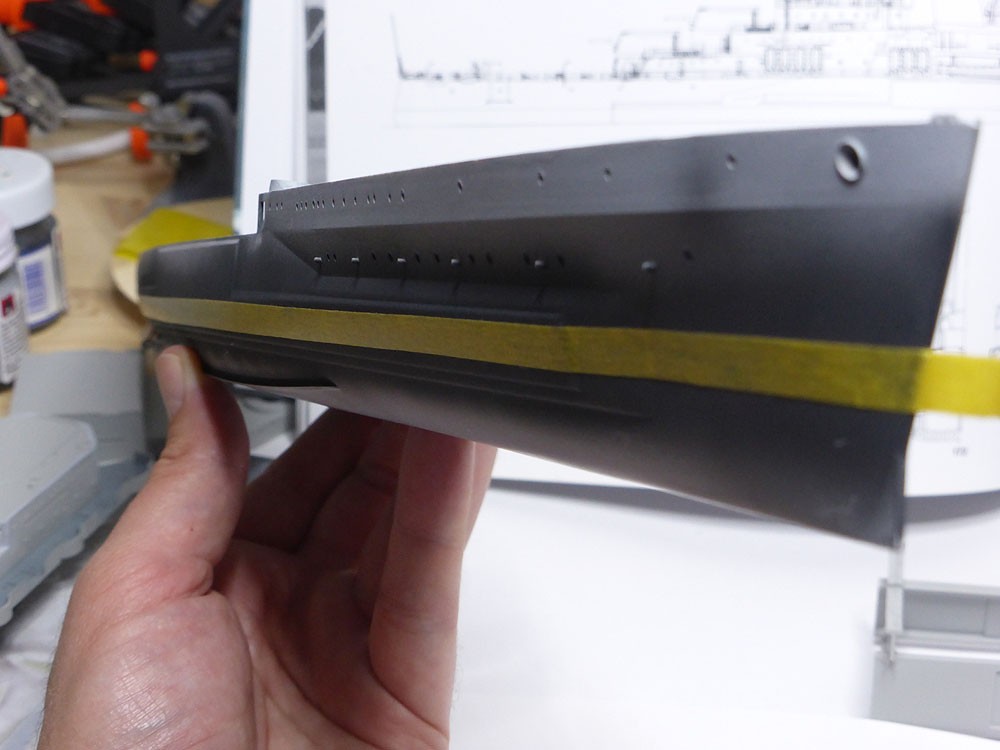
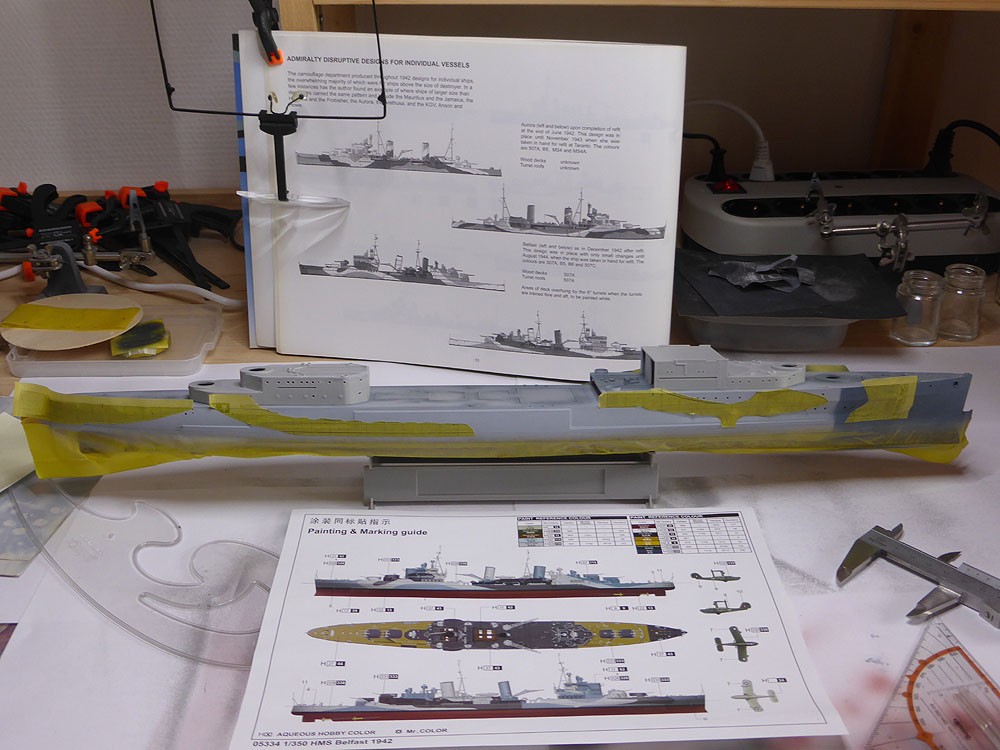
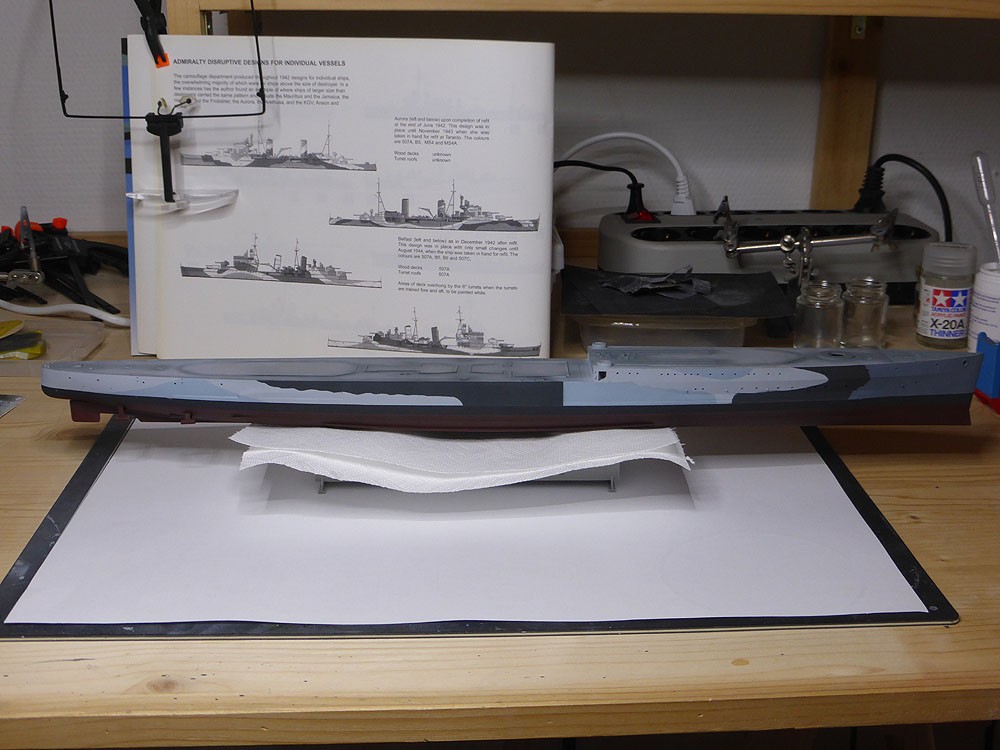
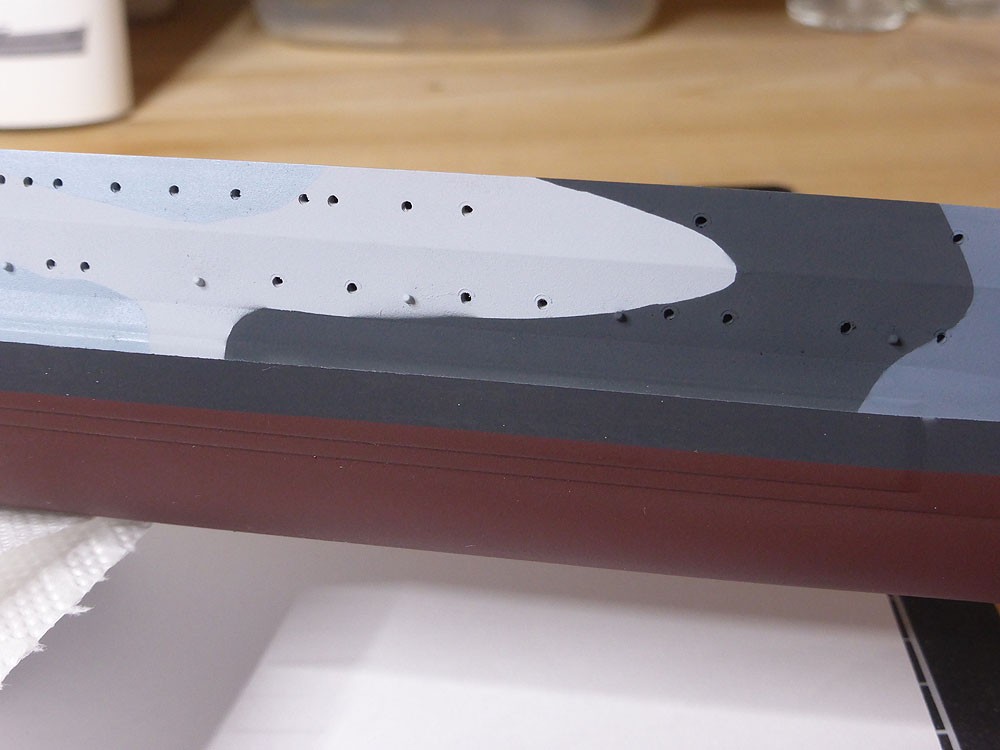
With that, all required masking for the port side is done, now it's just a question of careful using the airbrush. The light blue-grey B6 applied:

A simple sticky helps masking 'on the go':
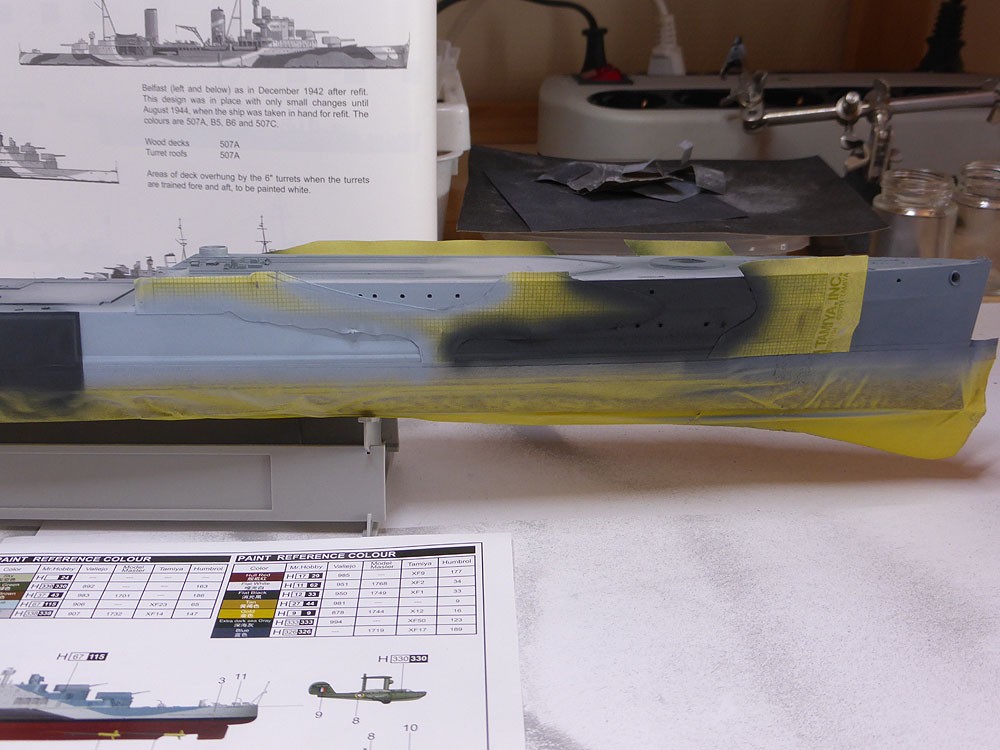
Port side done - this is so much simpler than the good old PoW - I wonder why...have to double-check wether the paint scheme was some much more complicated or if it was just because PoW was my first approach with these paint schemes...

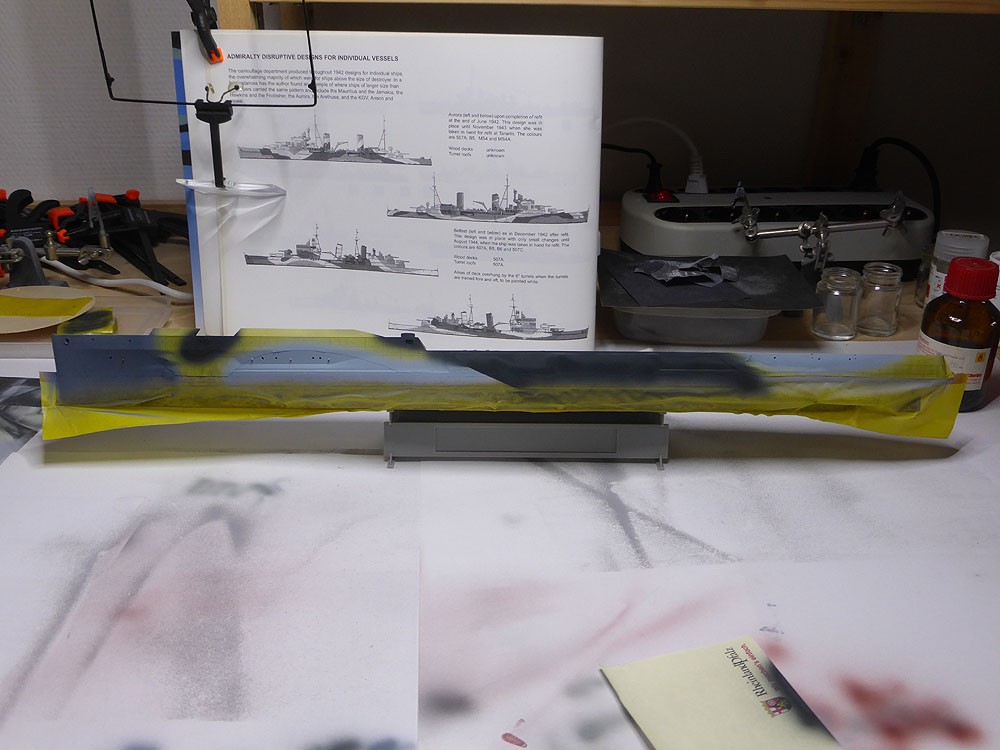
Over to starboard - again a little planning saves time and masking sheet - I sprayed the bow up to about where A turret will sit in B5. This saves a full step of spraying/masking

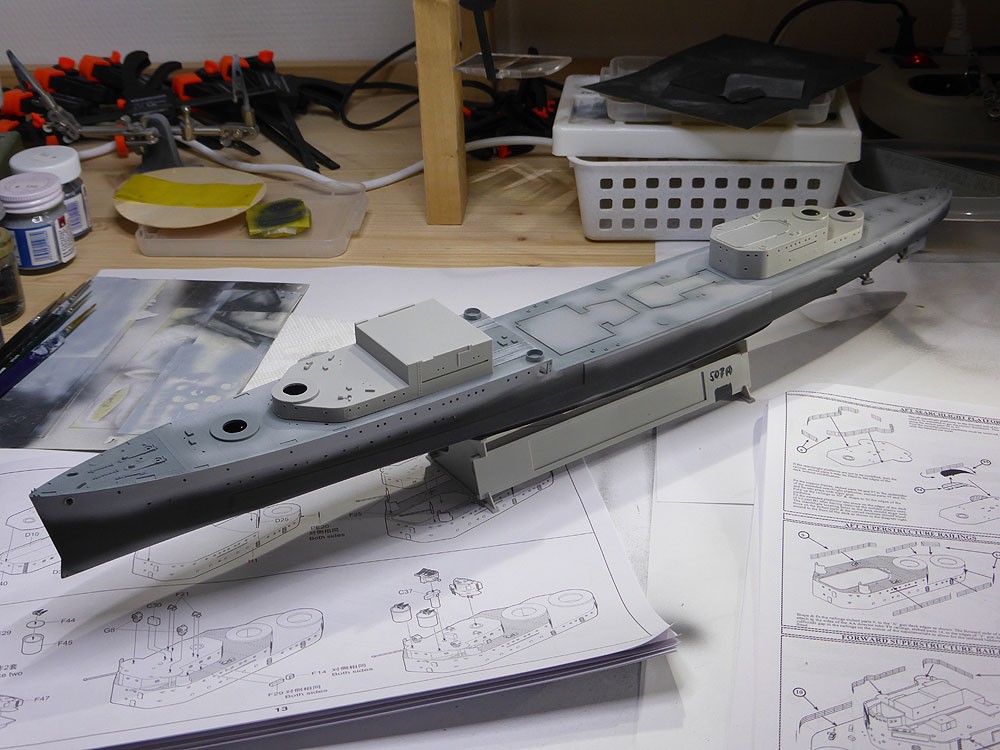
Starboard side, all required masking done.
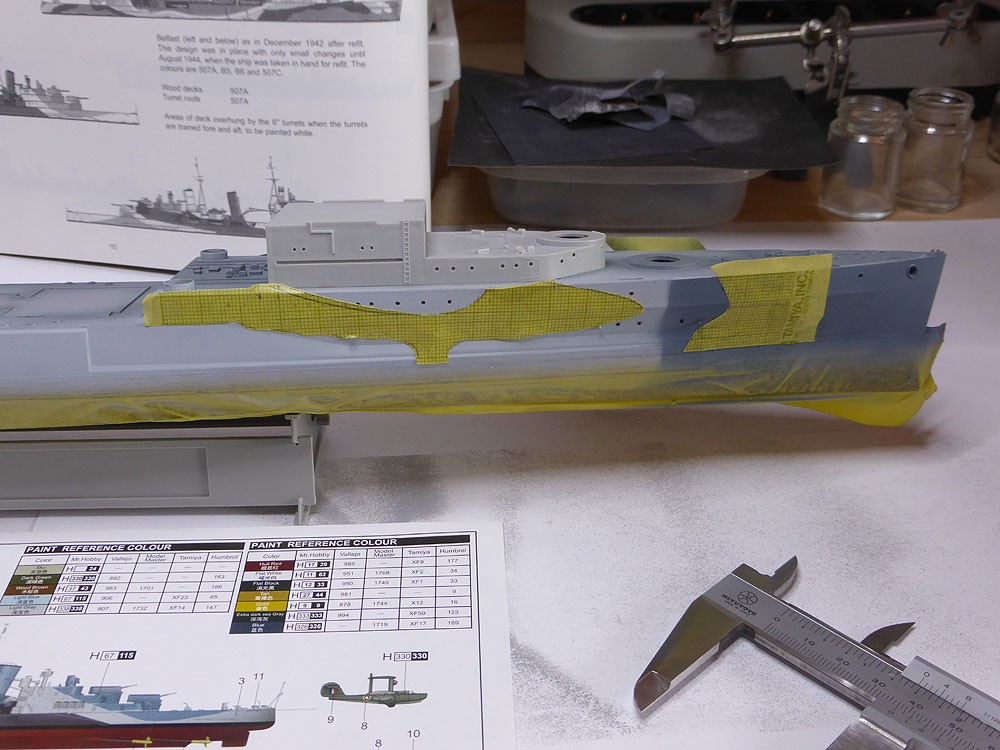
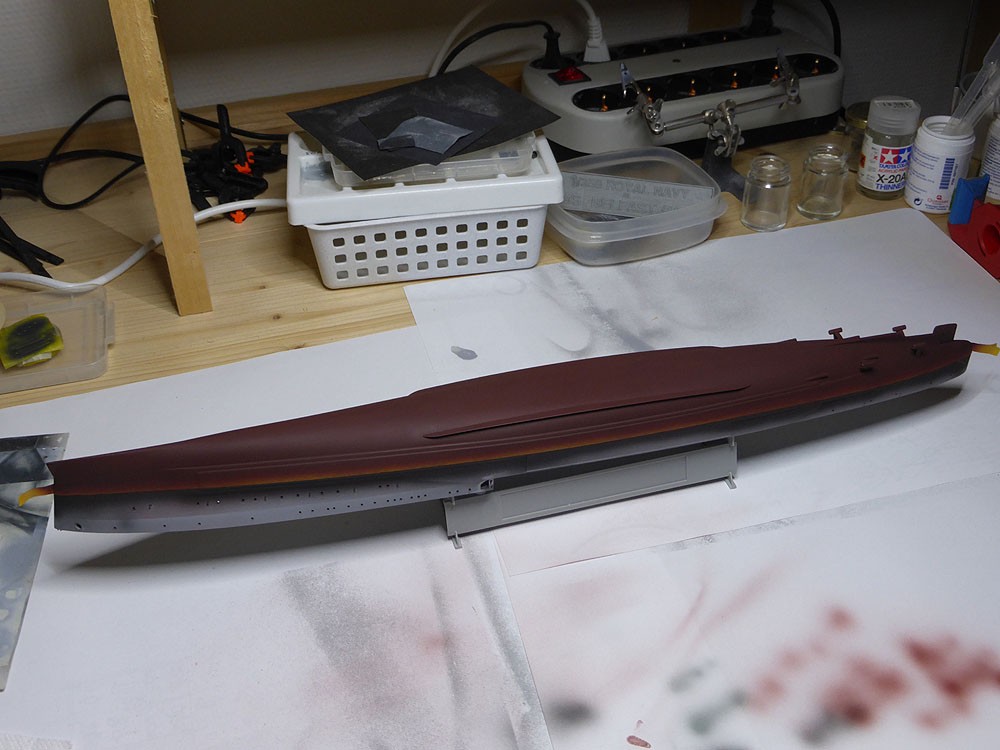
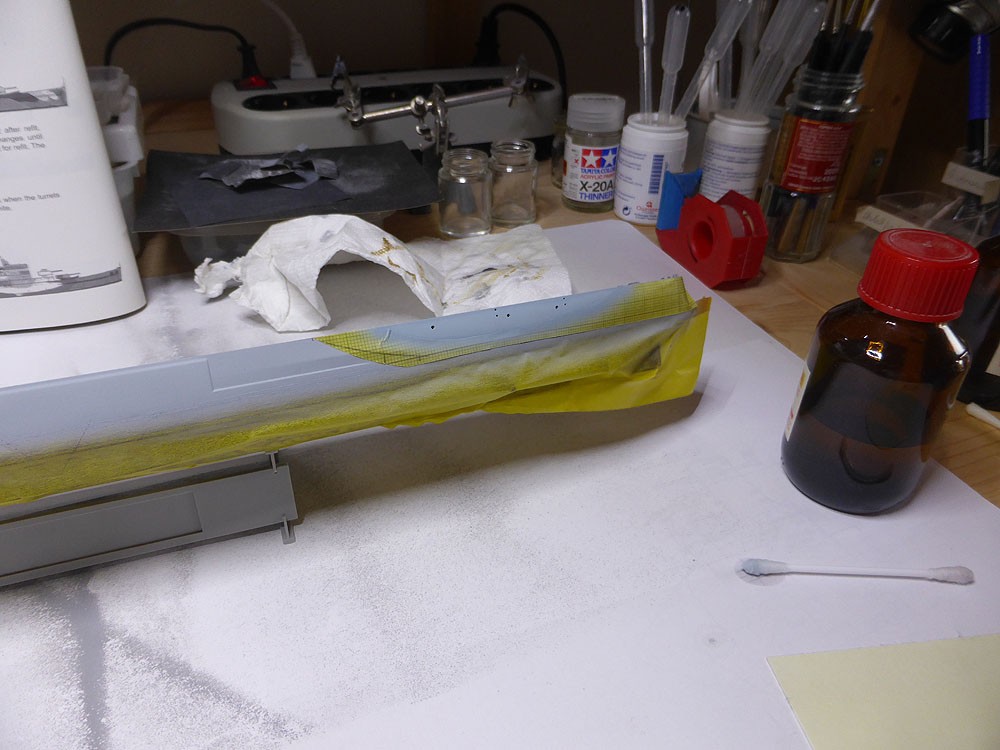
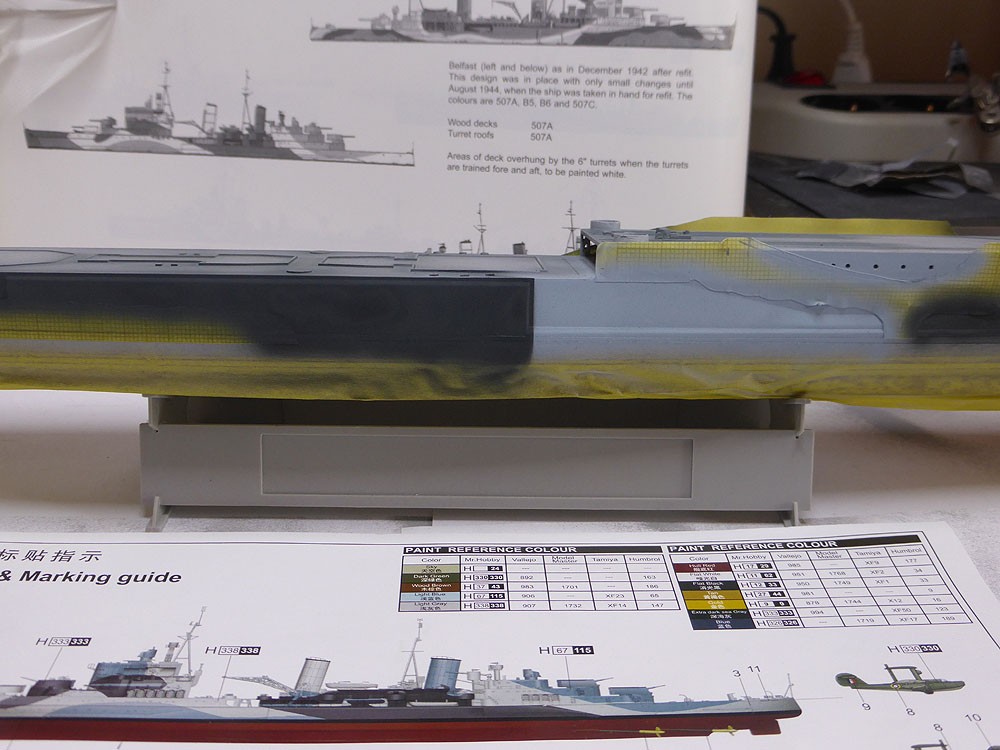
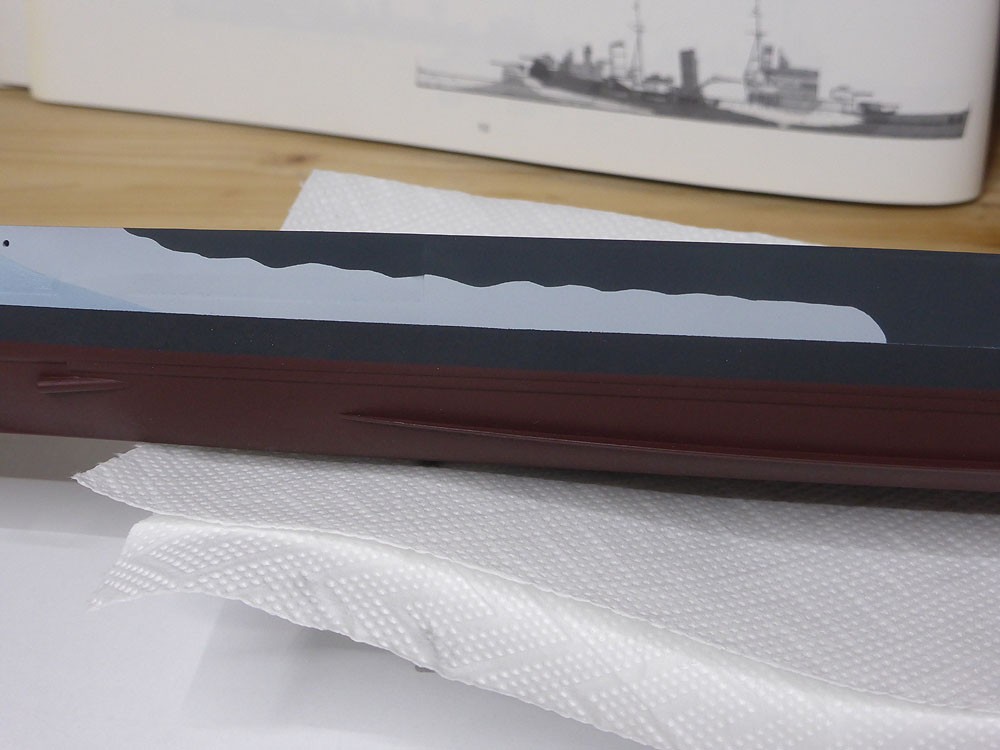
And color on. Always beginning with the lighter colors working towards the darker ones (B6 - B5 - 507A). The vertical line amidships was again done with the help of my little sticky.
So that's the starboard side done:
And now...having dinner, a glass of nice wine and waiting for the colors to get dry enough to remove the masking. Almost like christmas - big surprise and you hope it's what you wished for


But I would say, that's fair enough!!
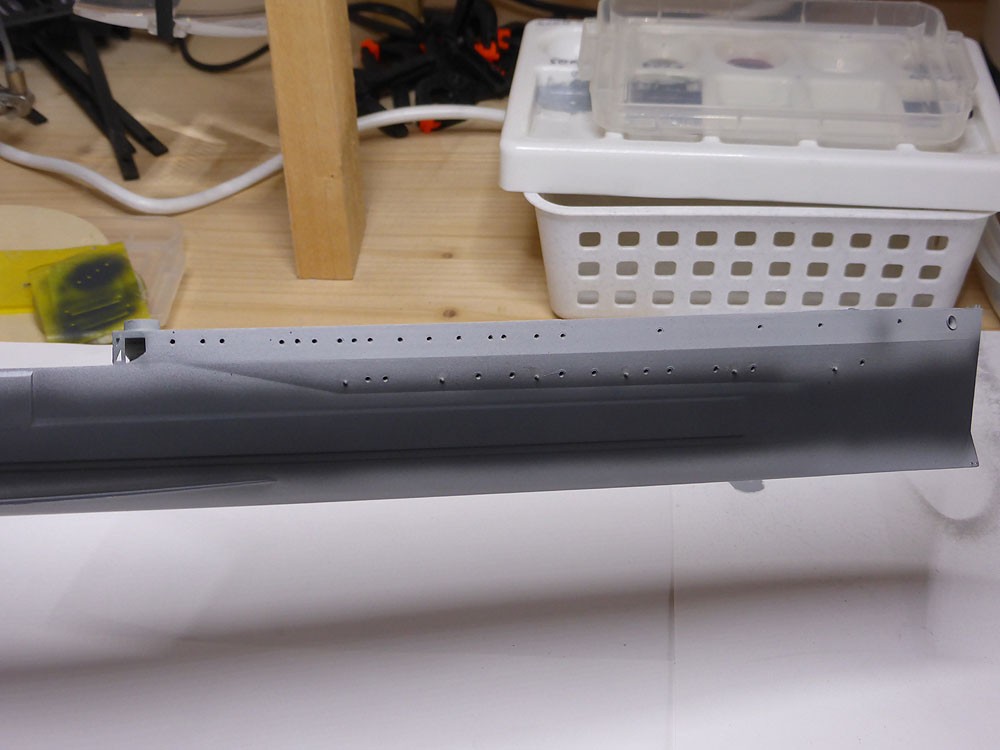
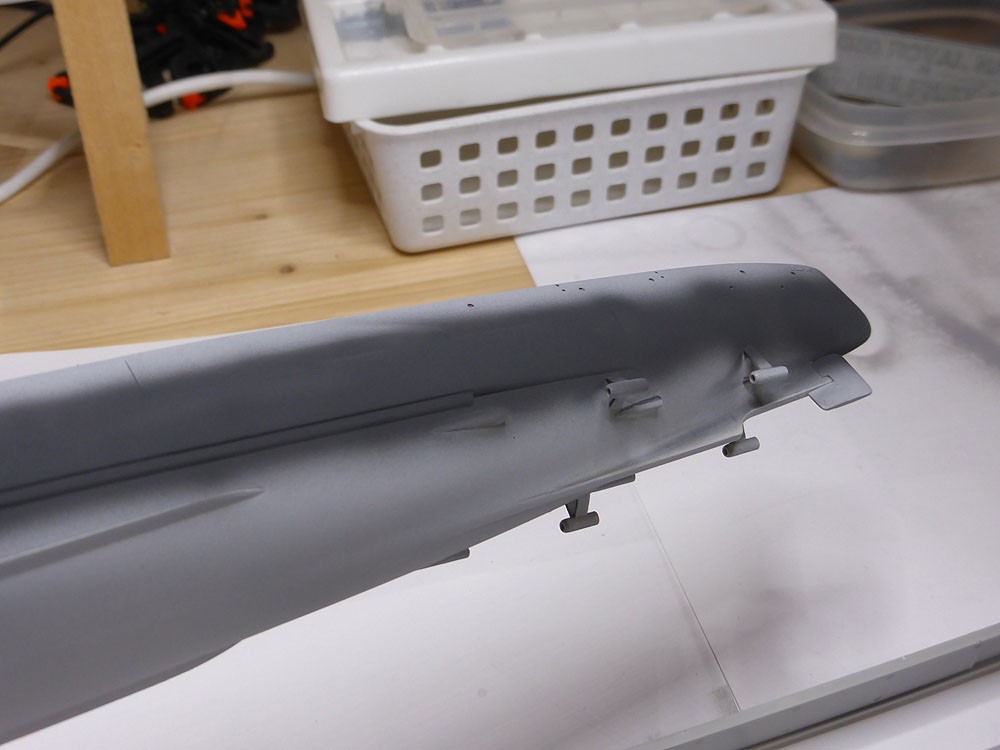
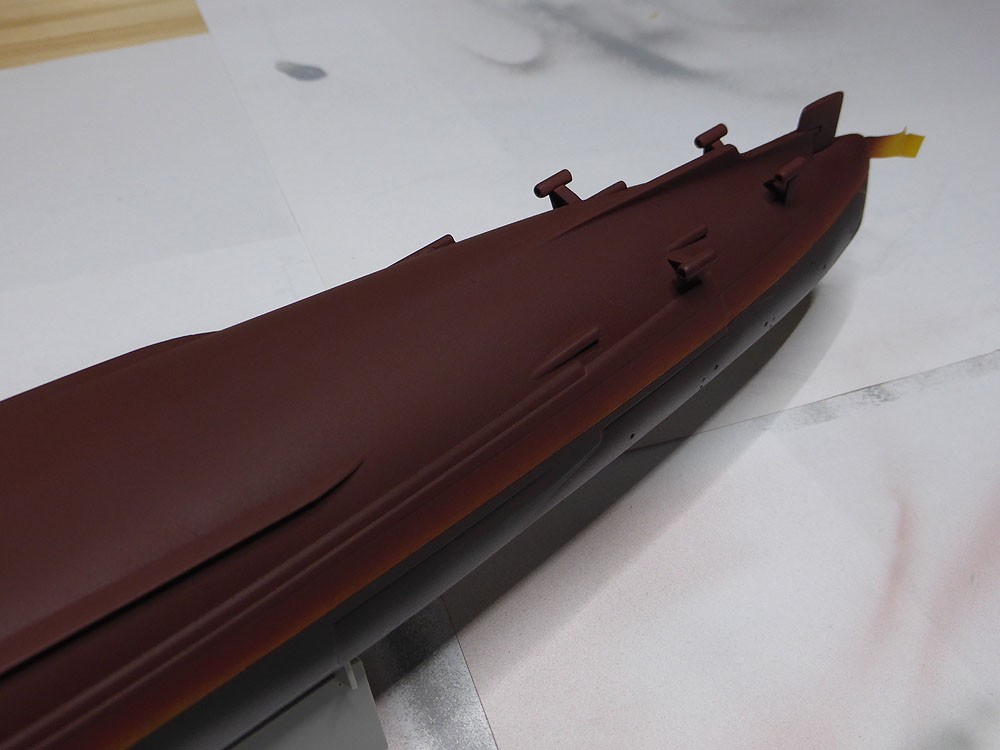
Yes, there is some work to do, some little overspraying here and there, a few rough lines and a few tiny areas were the paint suffered from the masking, but that was expected.

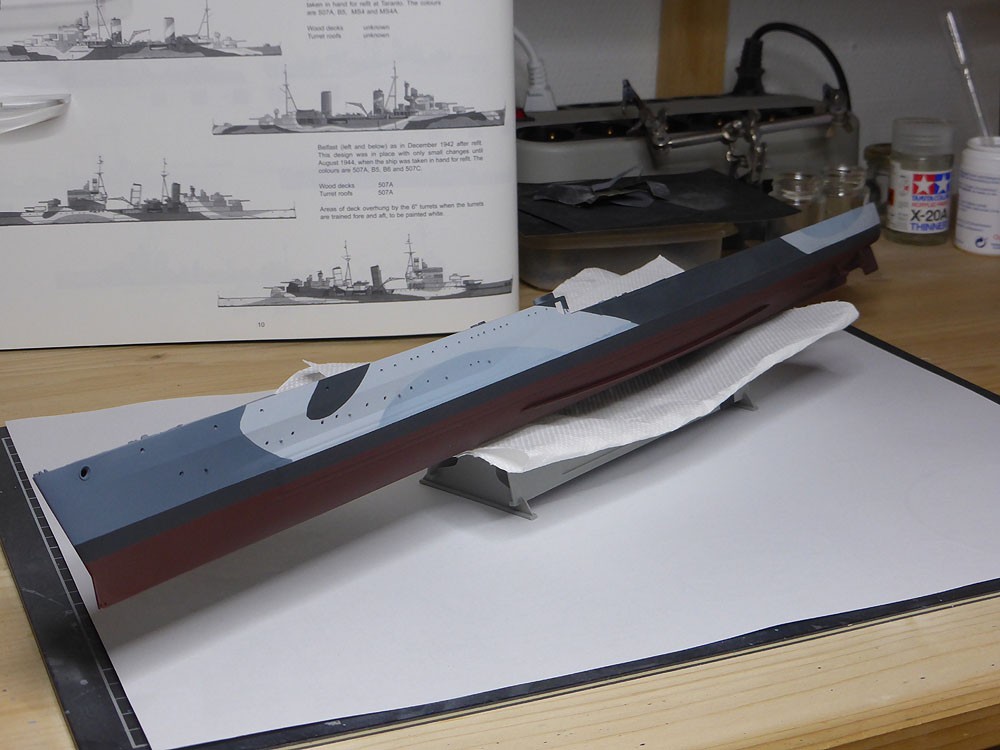
To be honest, it turned out way better than I expected, so I am very happy
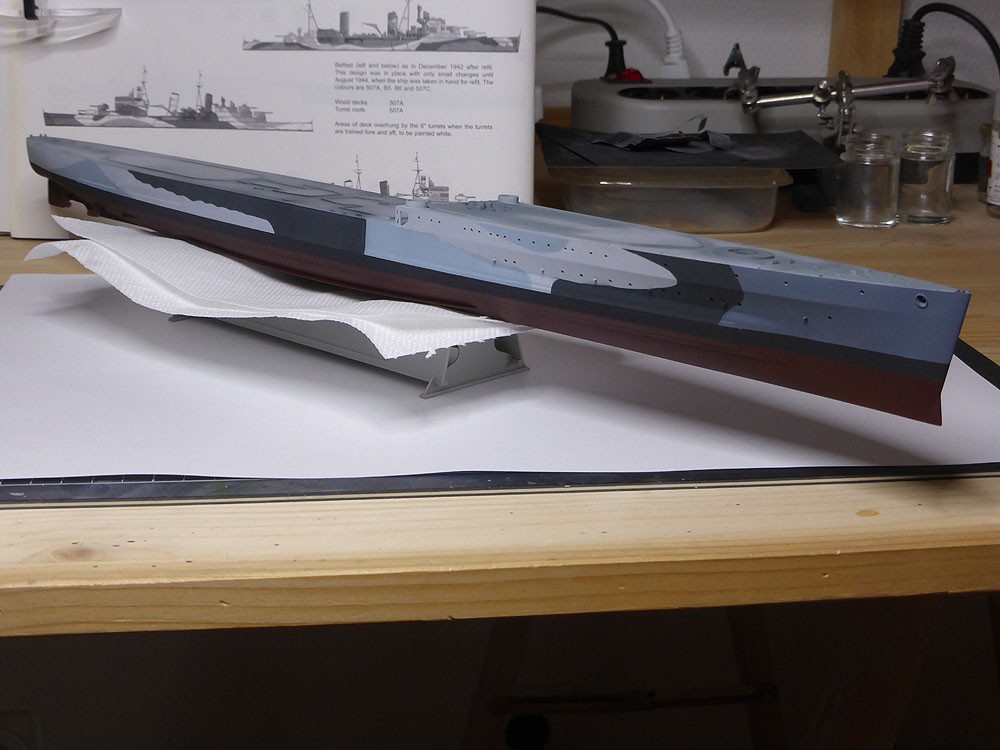
So here are some more detailed pictures including all the areas that need some further attention:
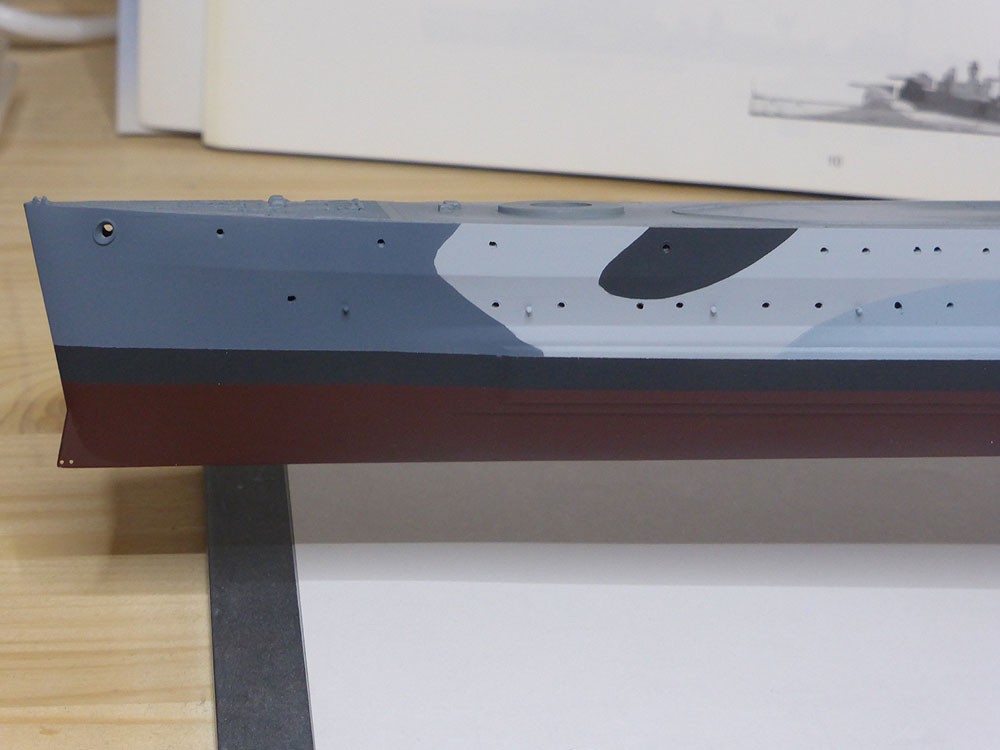
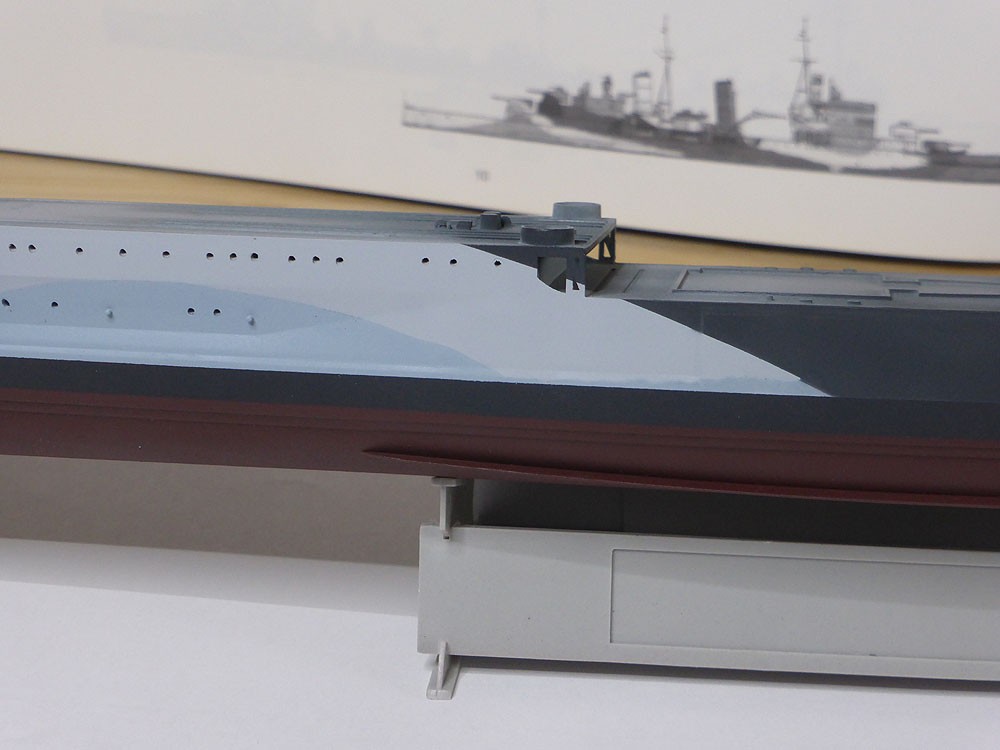
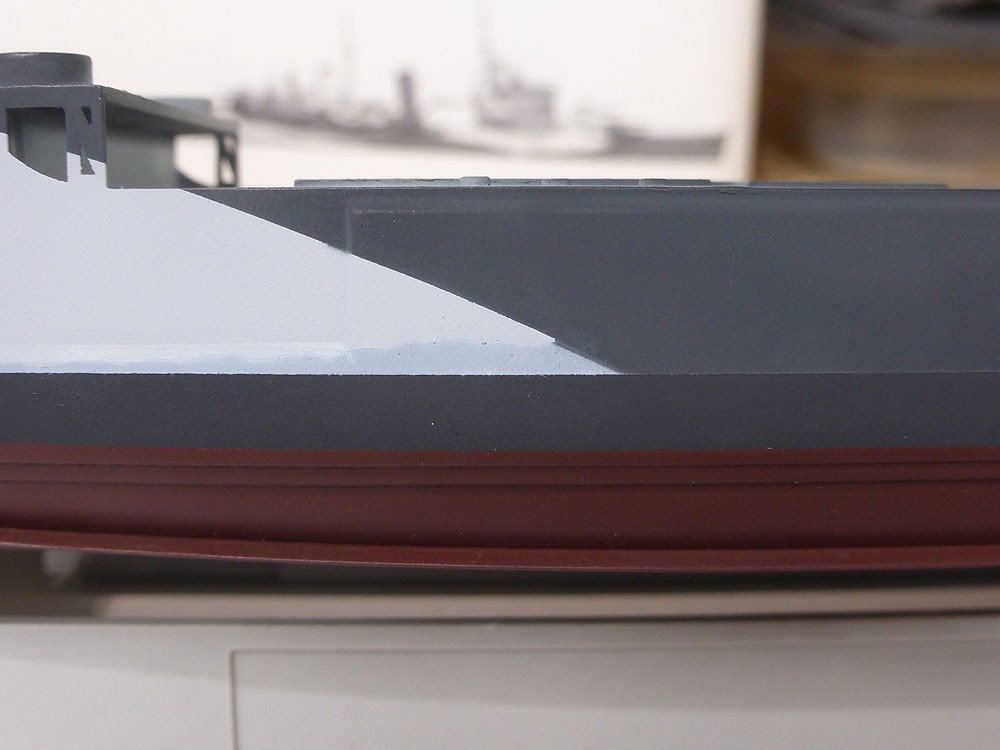
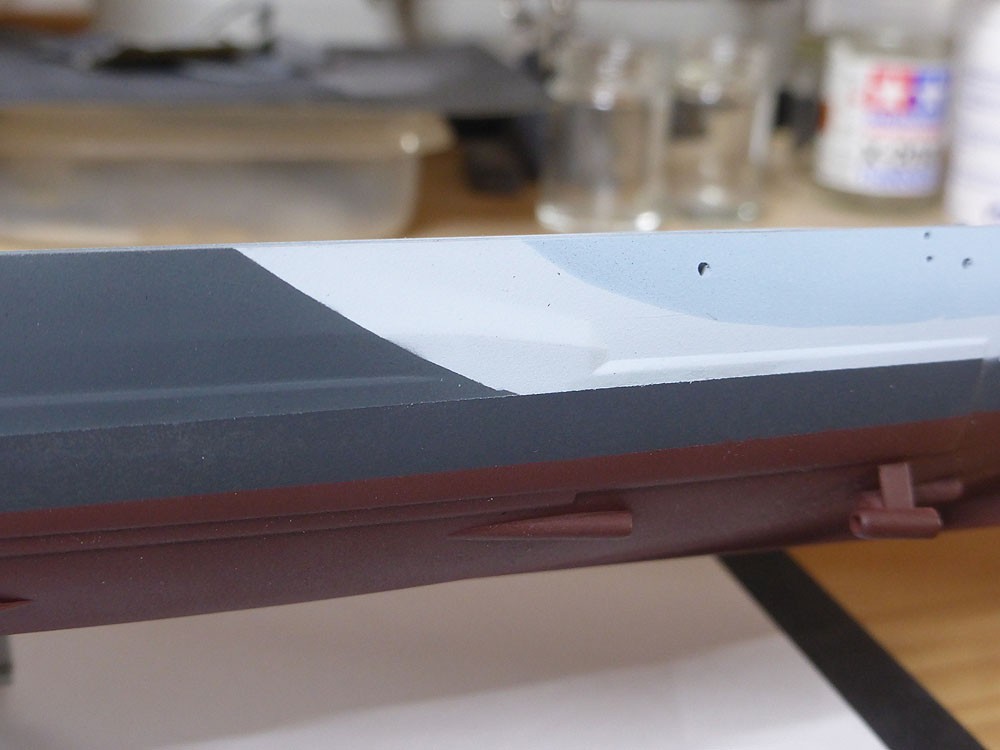
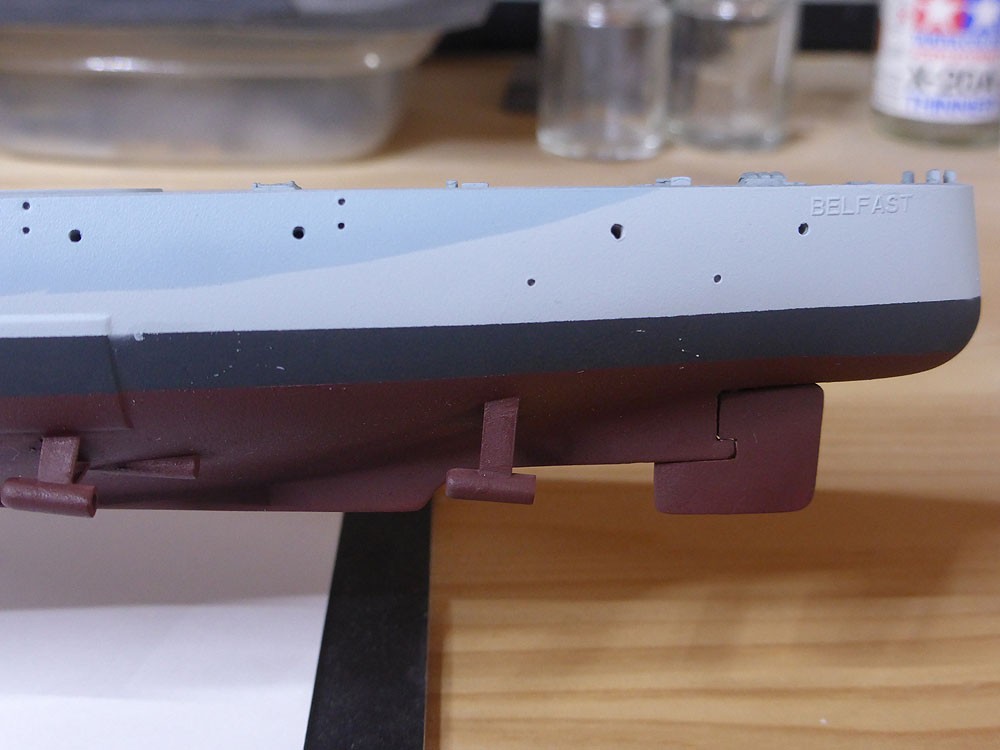
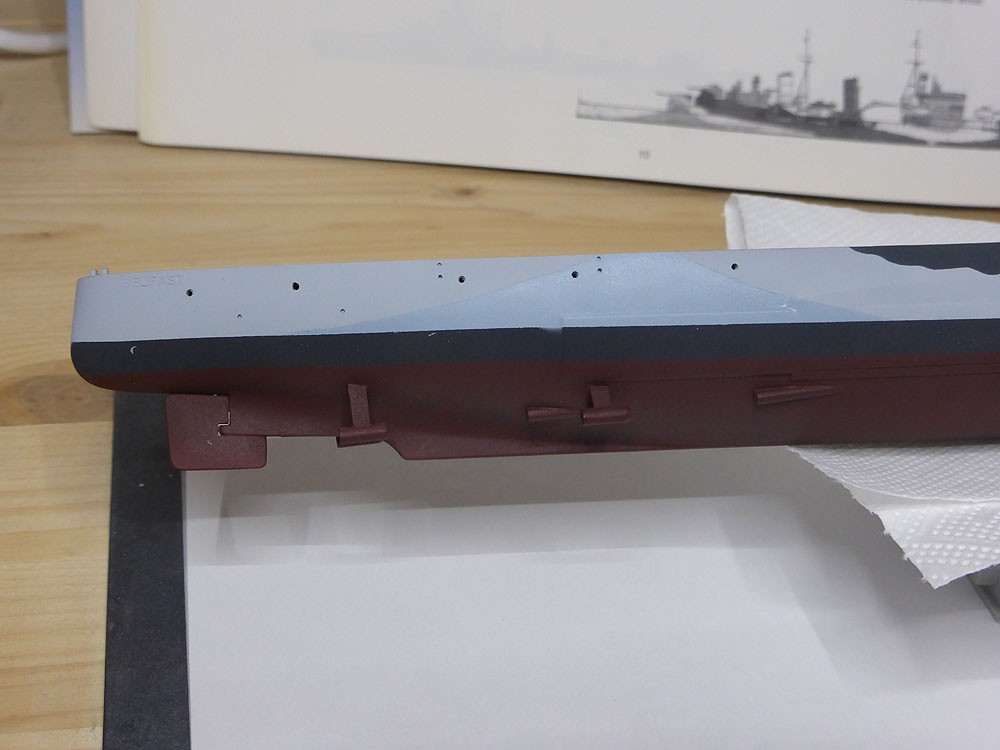

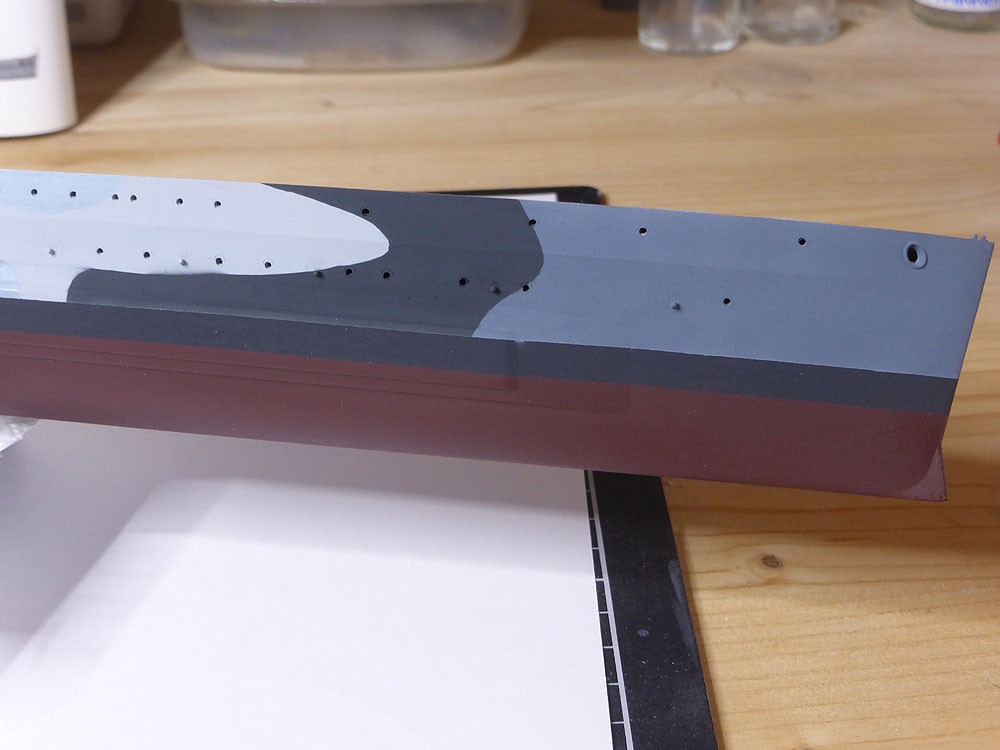
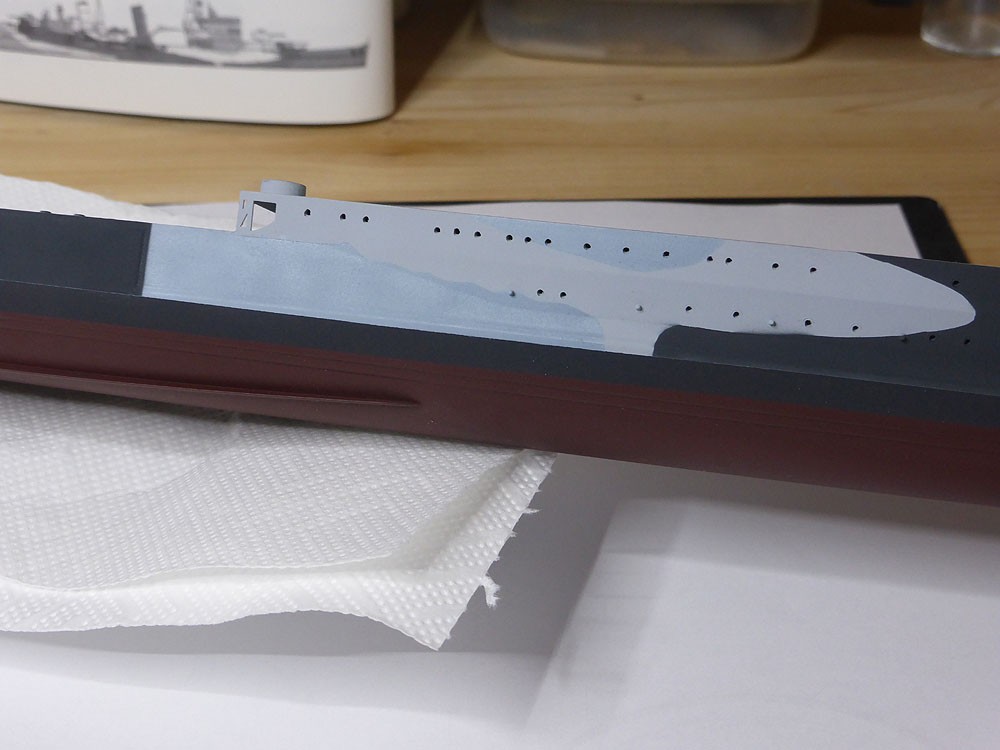
So let's say there is definitively nothing that worries me. Nothing that can't be fixed either just with the hairy stick or in some ares by partially masking and spraying, but all minor stuff.
All in all, I am really happy with the way the hull came out. I was a little concerned that the 507A would give a to dark impression overall, and was wondering wether it was meant to be 507A or B5 in some areas, but I think it looks all right the way it does.
And that's how I will start into the cruisers campaign on 01 August.
Not much time next week and away from the shipyard next weekend, so my next update will be the start of the campaign.
Si, I hope that's all right?? I think it's definitely less than 20% done, and I won't be finishing her in the next weeks.... But I should be able to finish in time for the campaign!
And should I really be much faster than I anticipate, I will do another cruiser - promised
For now,
cheers and thanks for looking!!
Jan