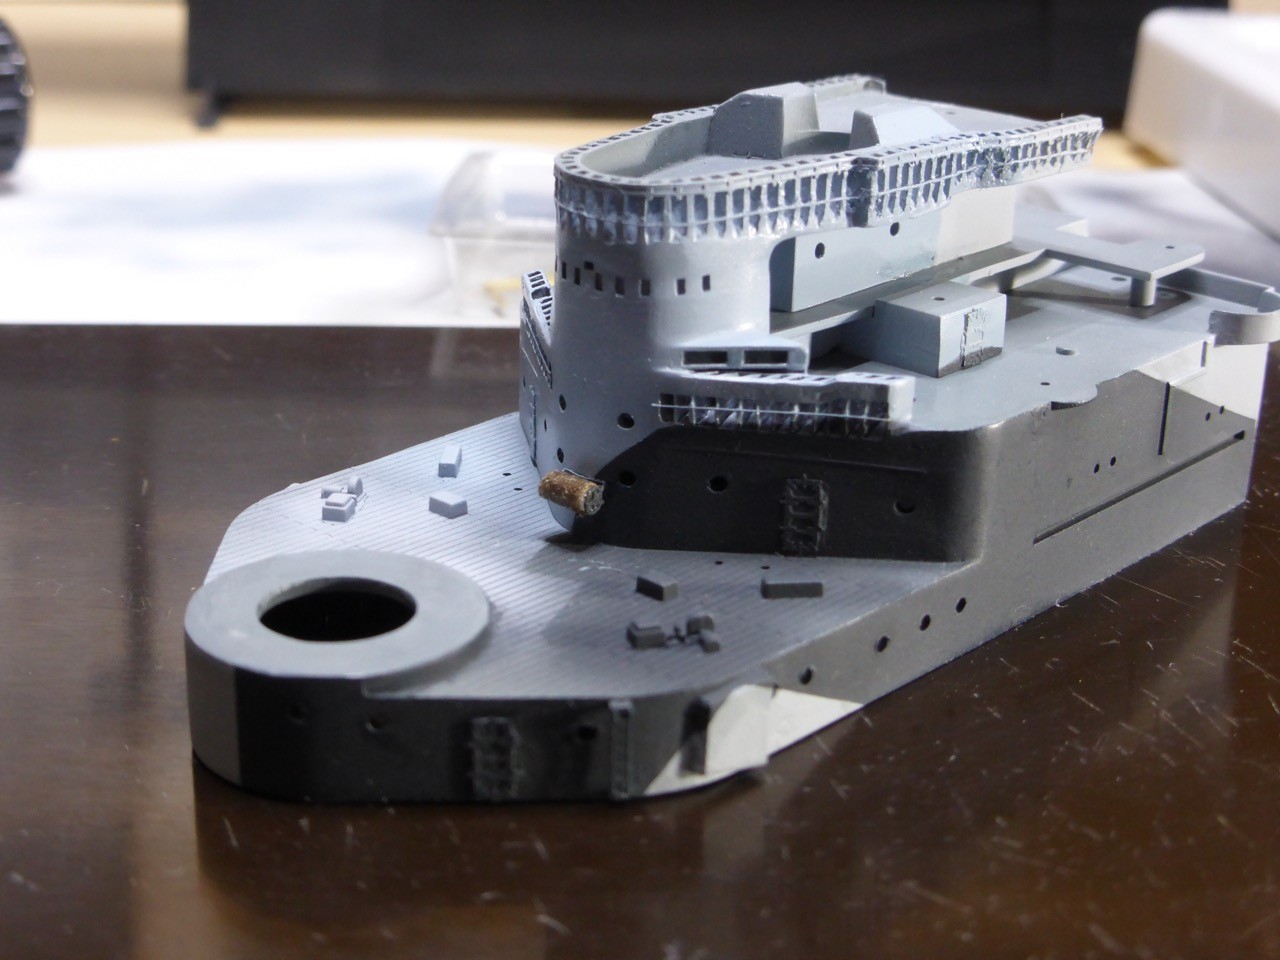
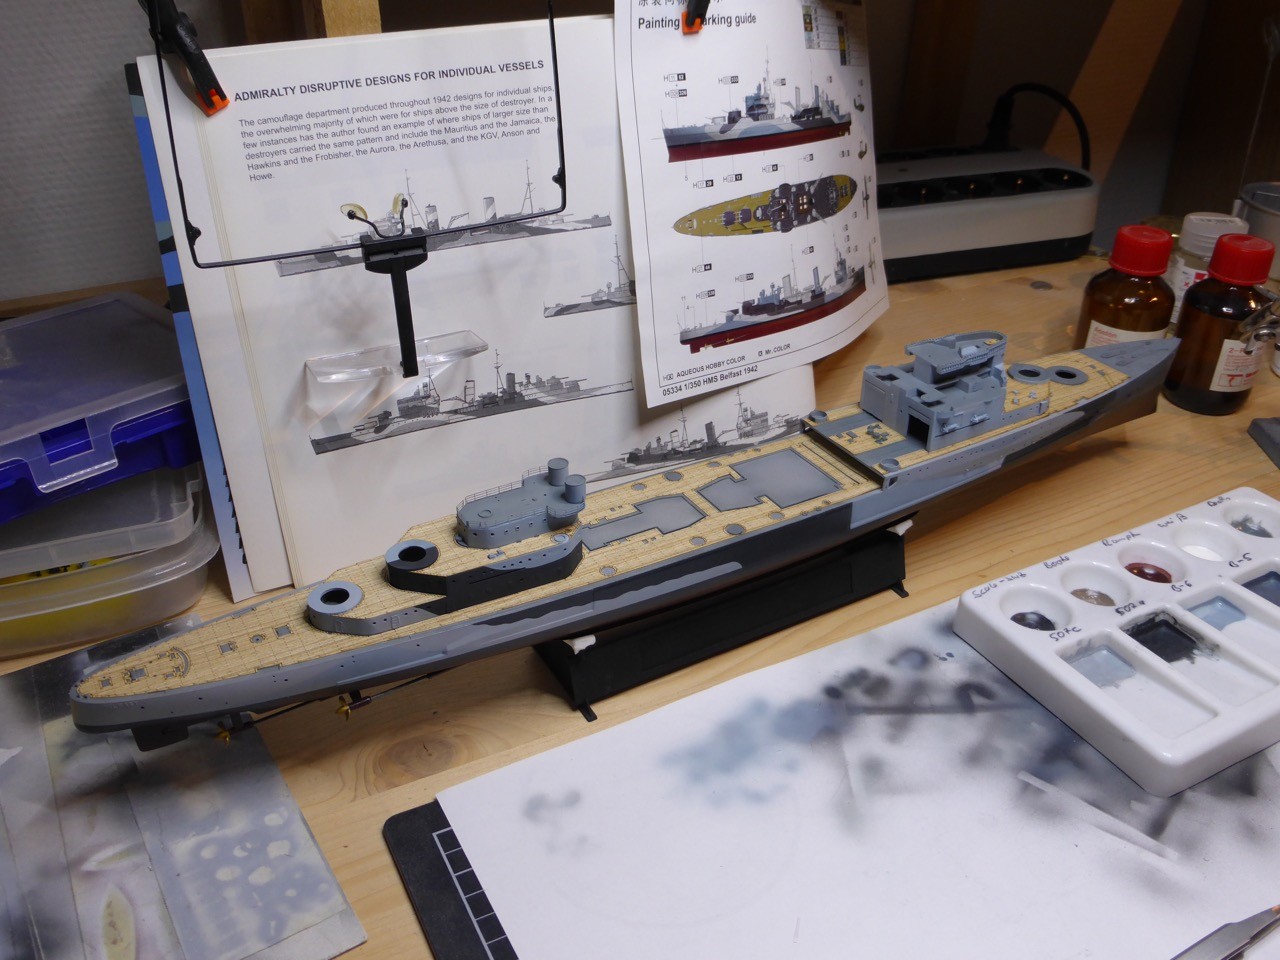
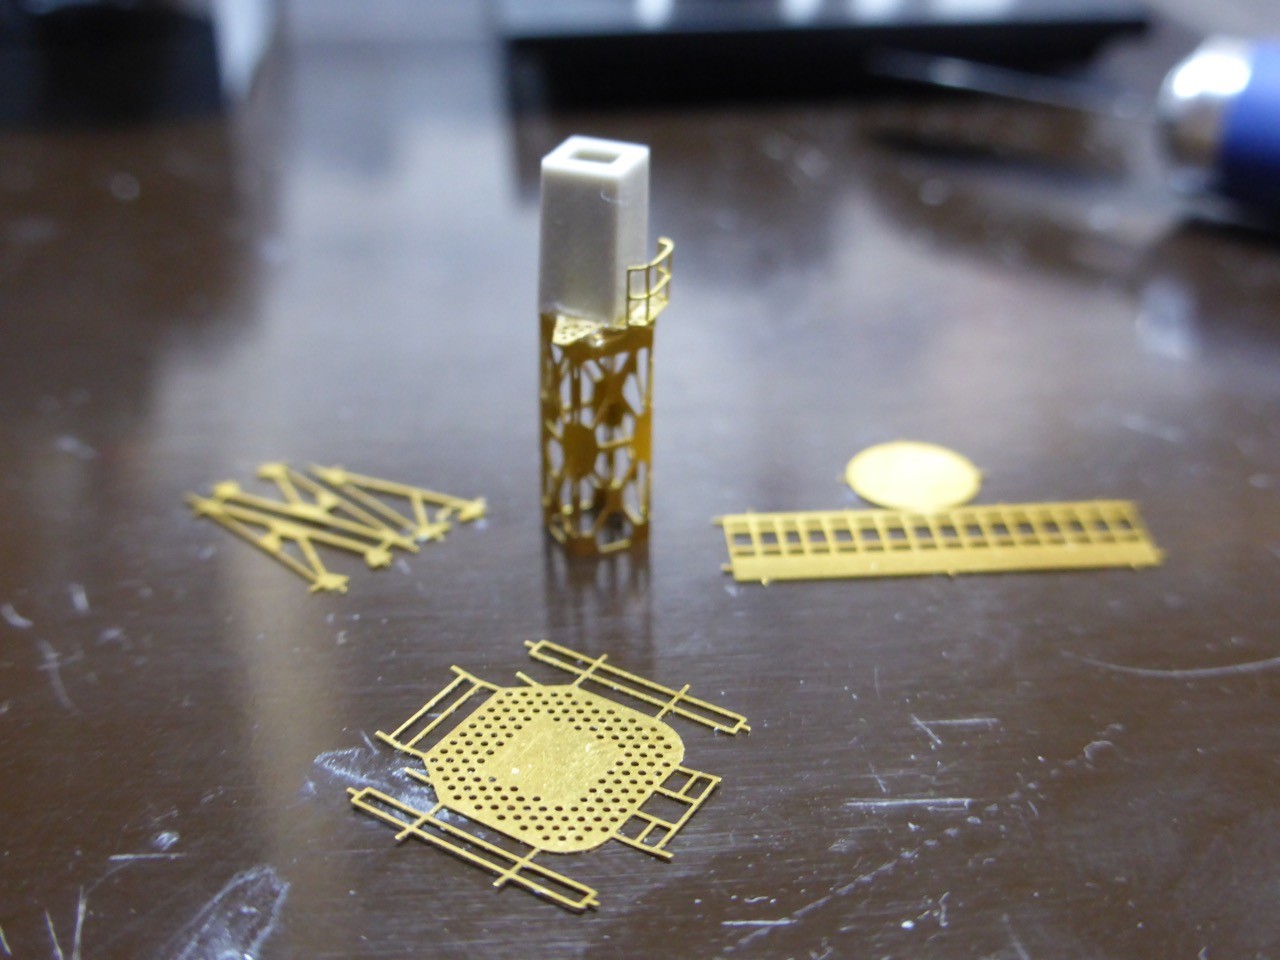
All right, here's the results of some busy bench time

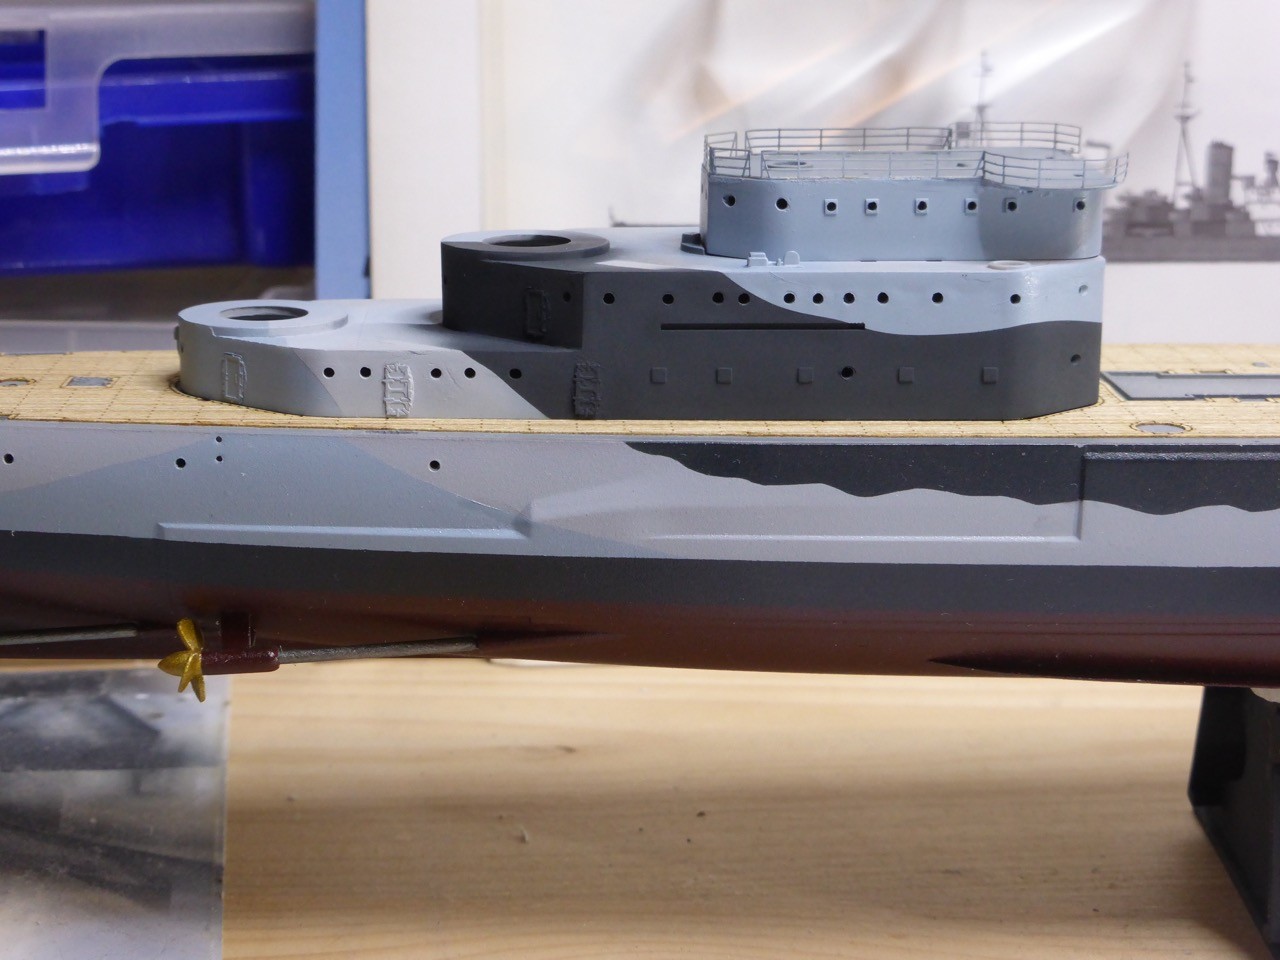
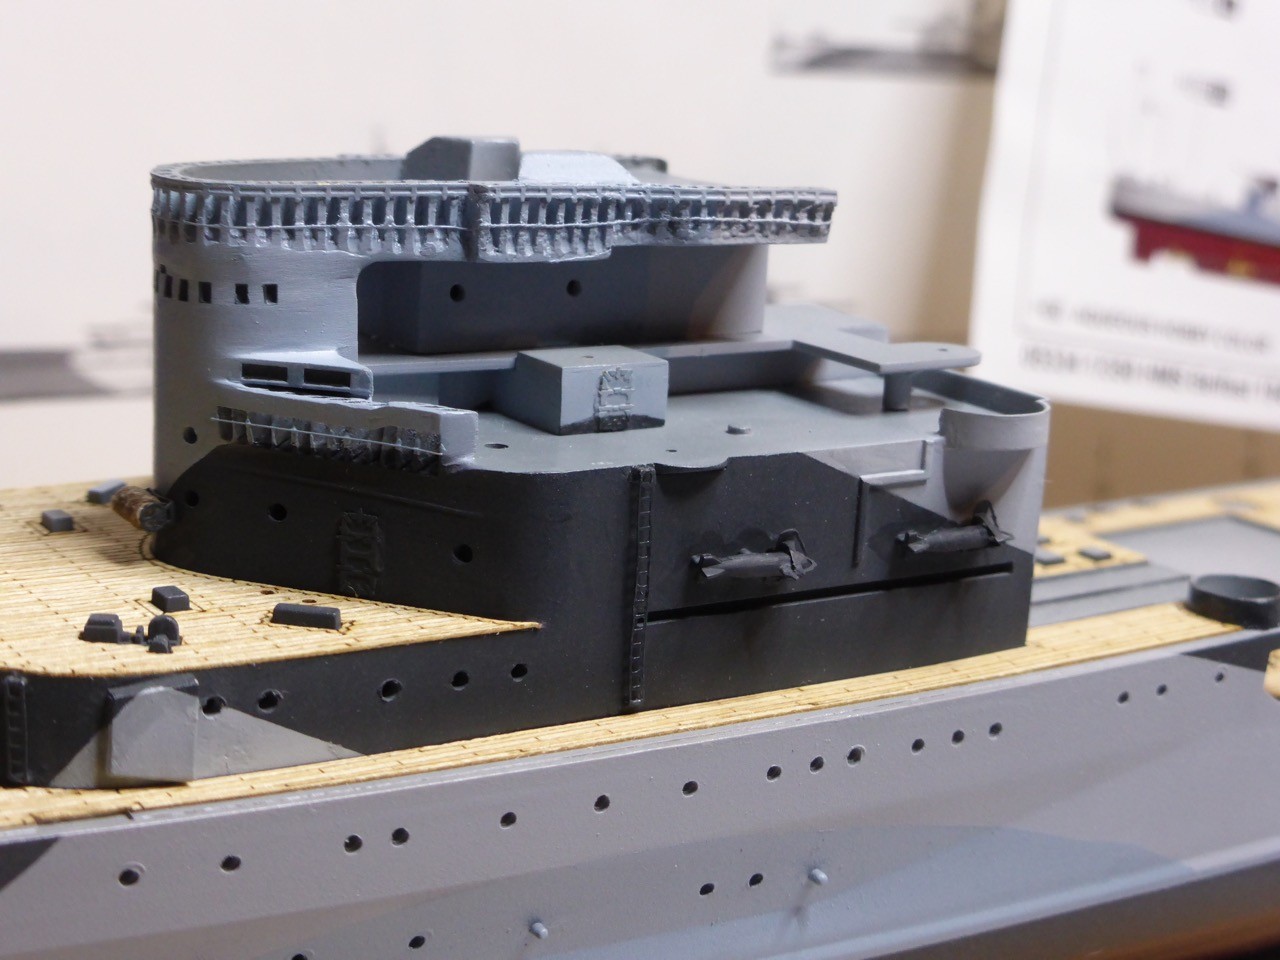
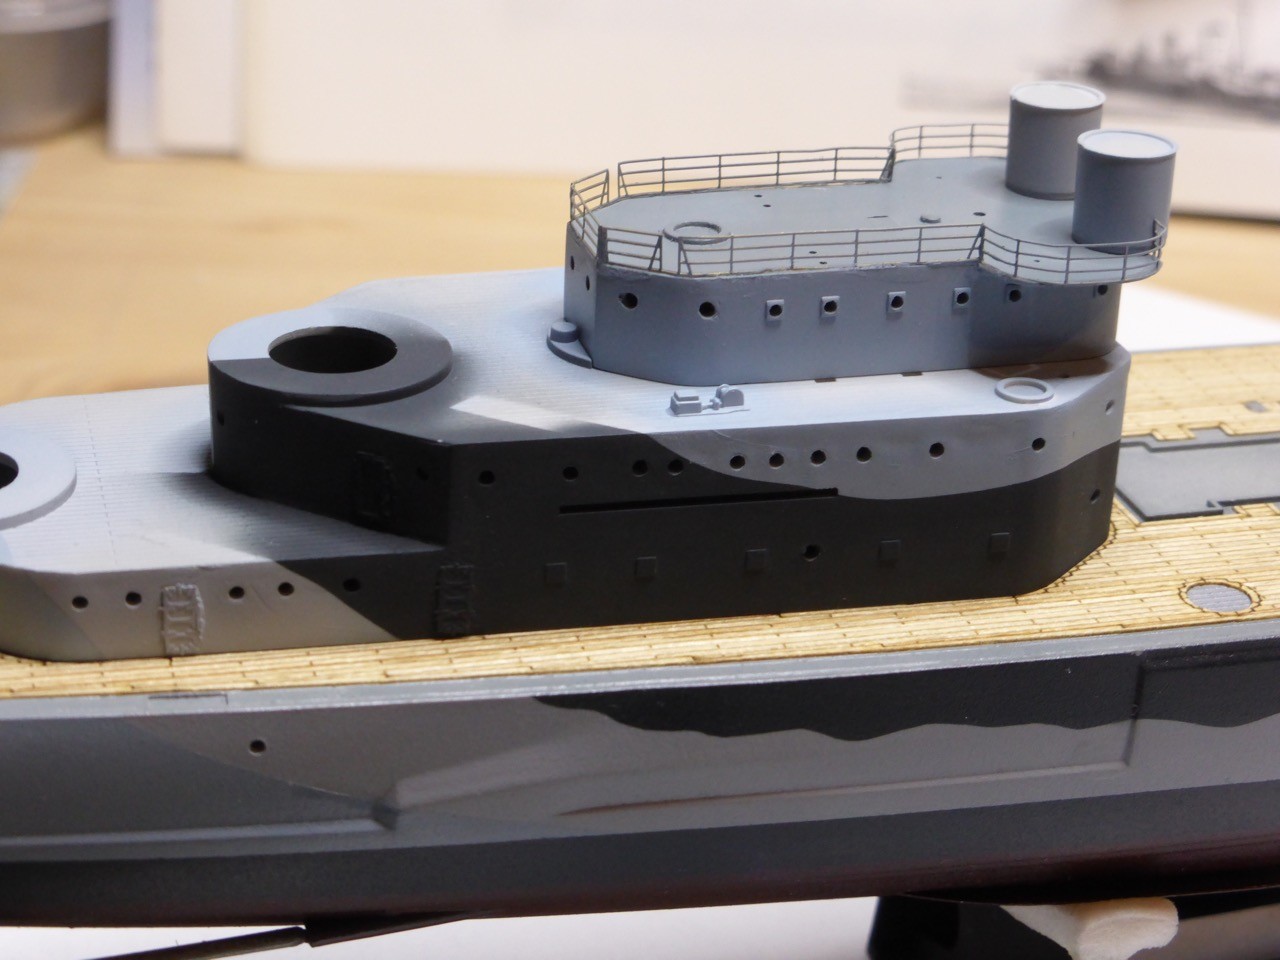
It's about time to attack the HACS and the forward artillery controller, to get on with the forward superstructure.
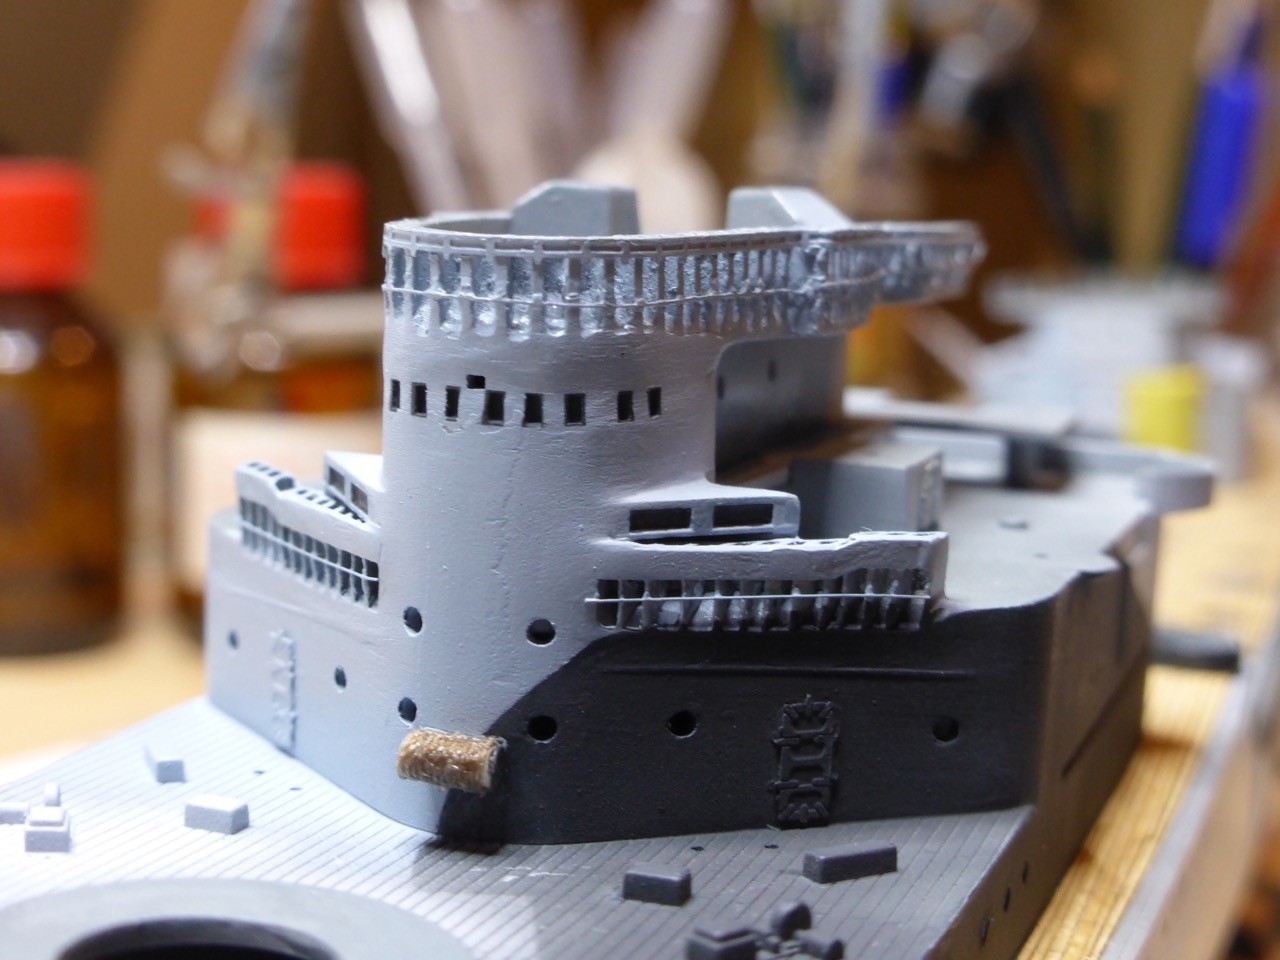
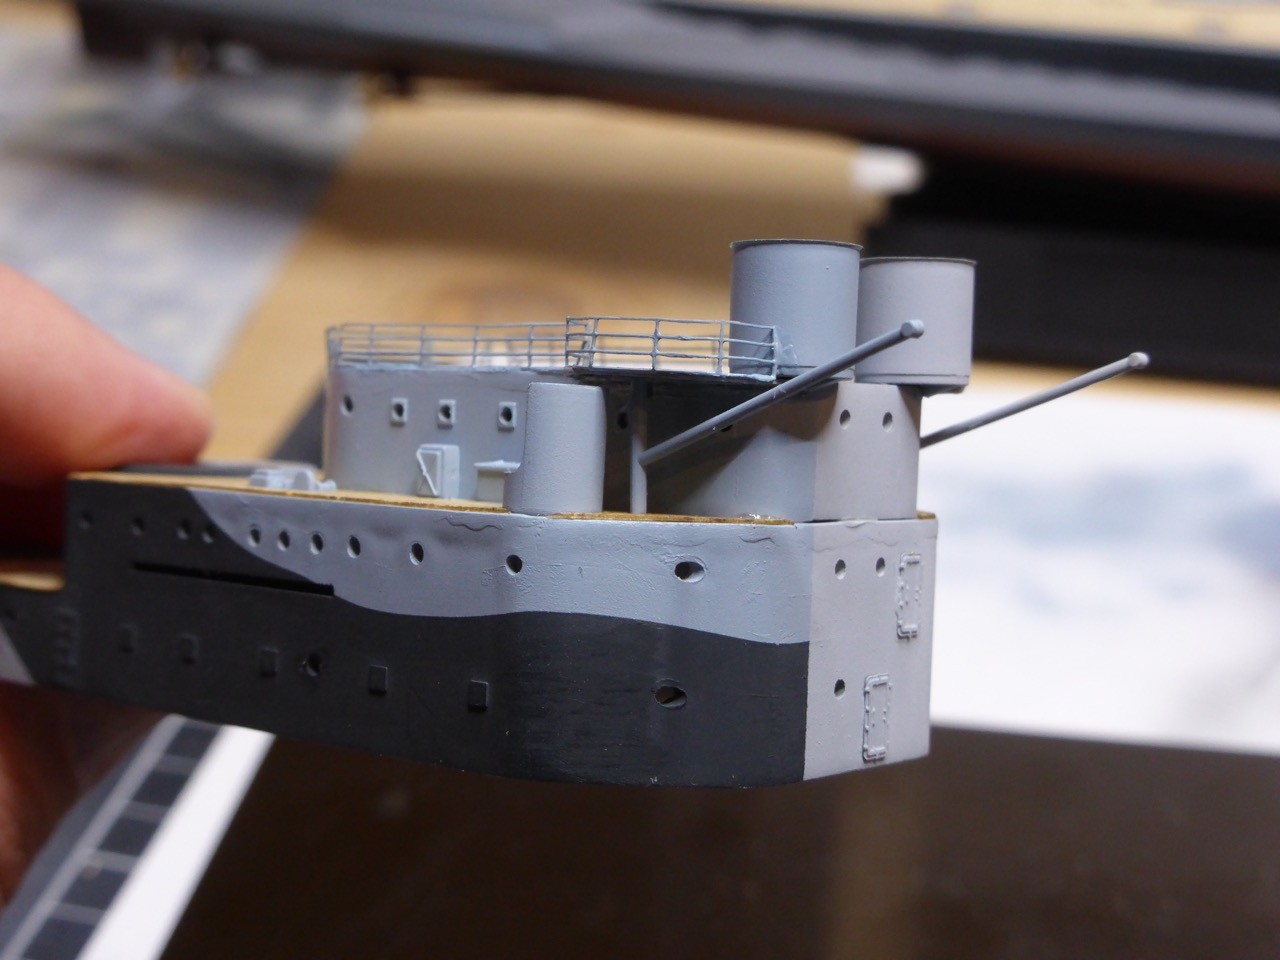
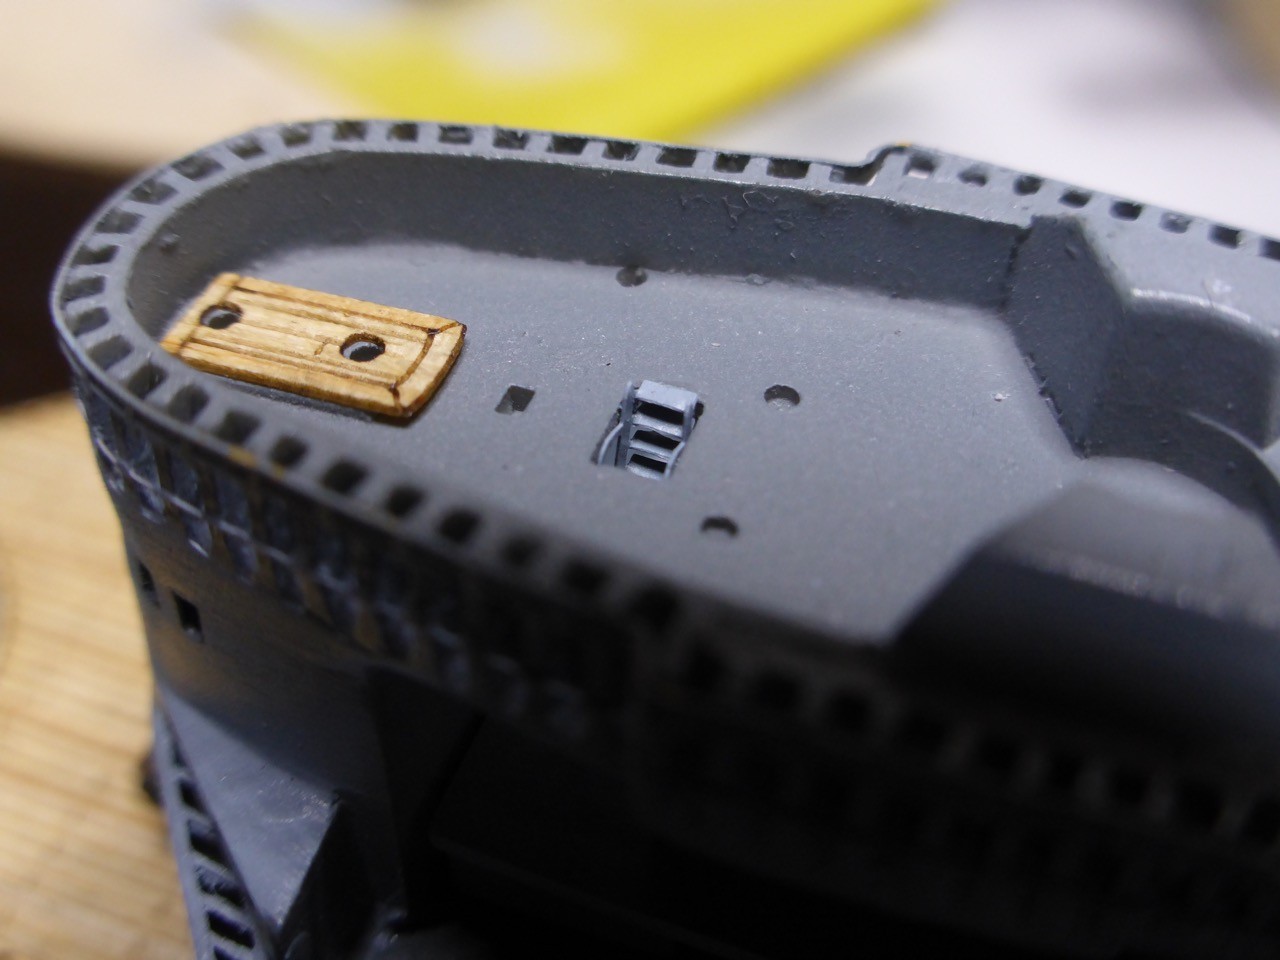
The mounting with the catwalk test fitted.


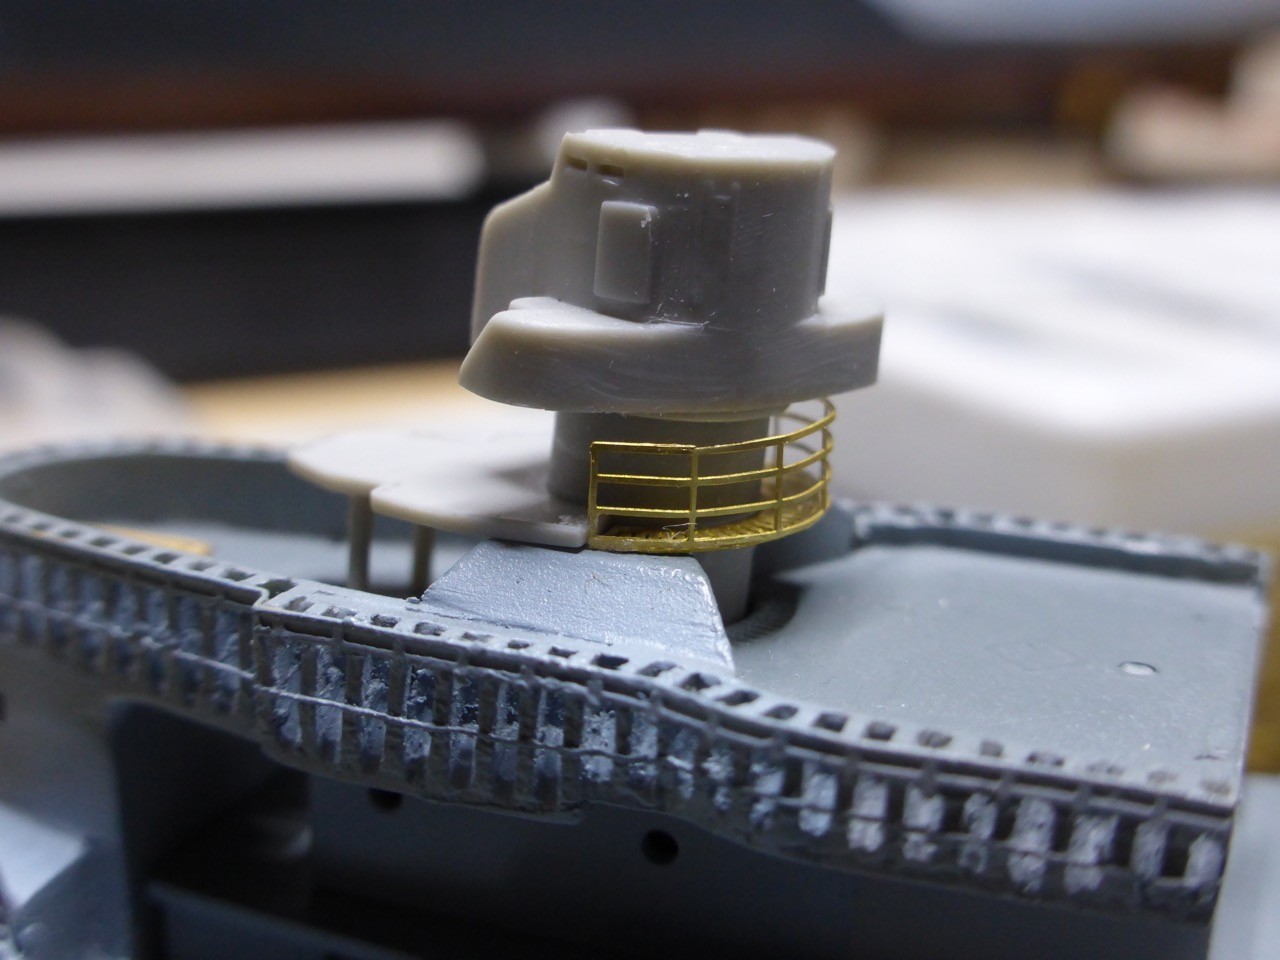
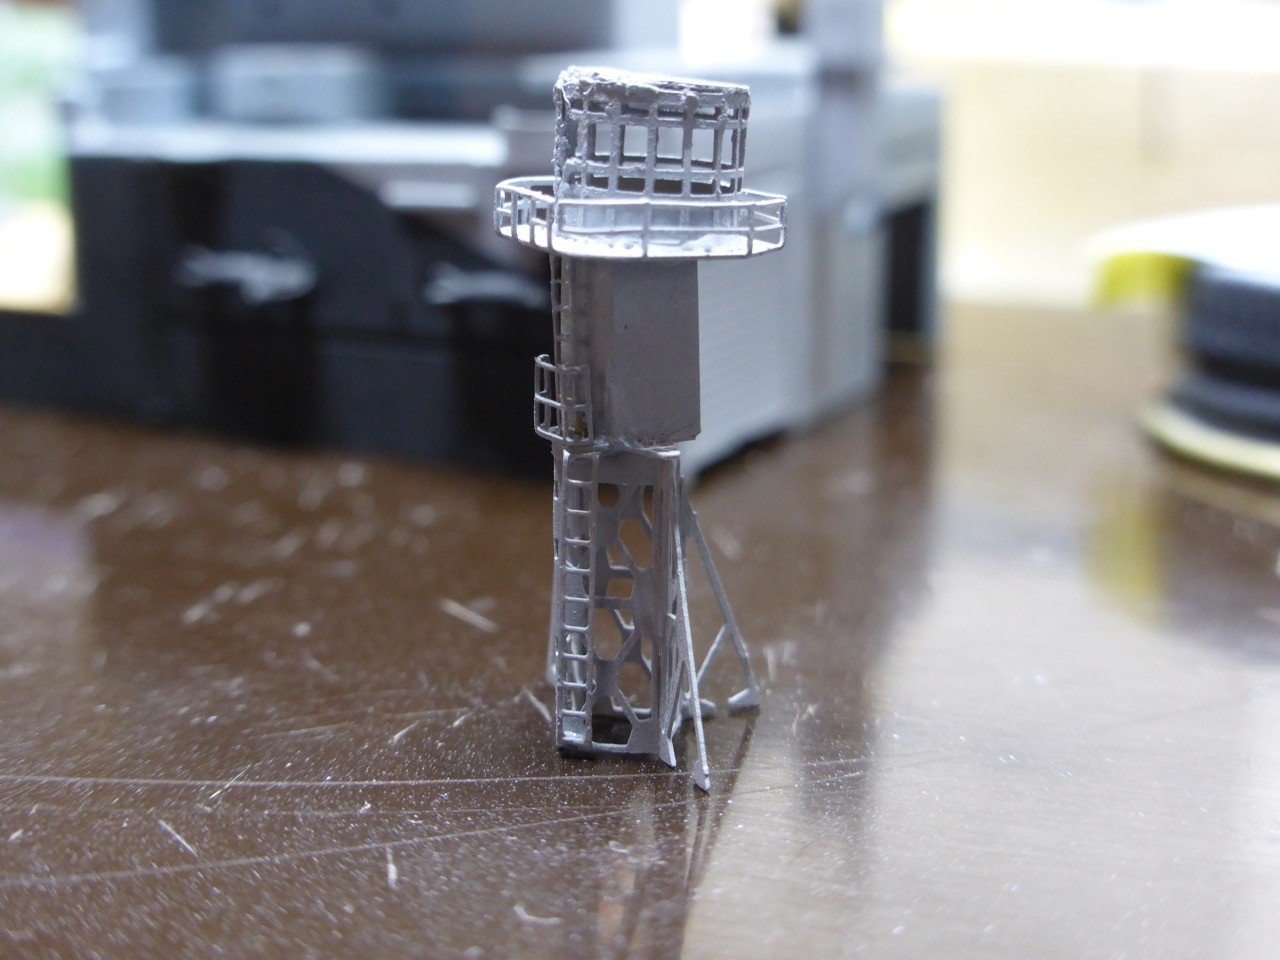
The actual fire control radar on top:
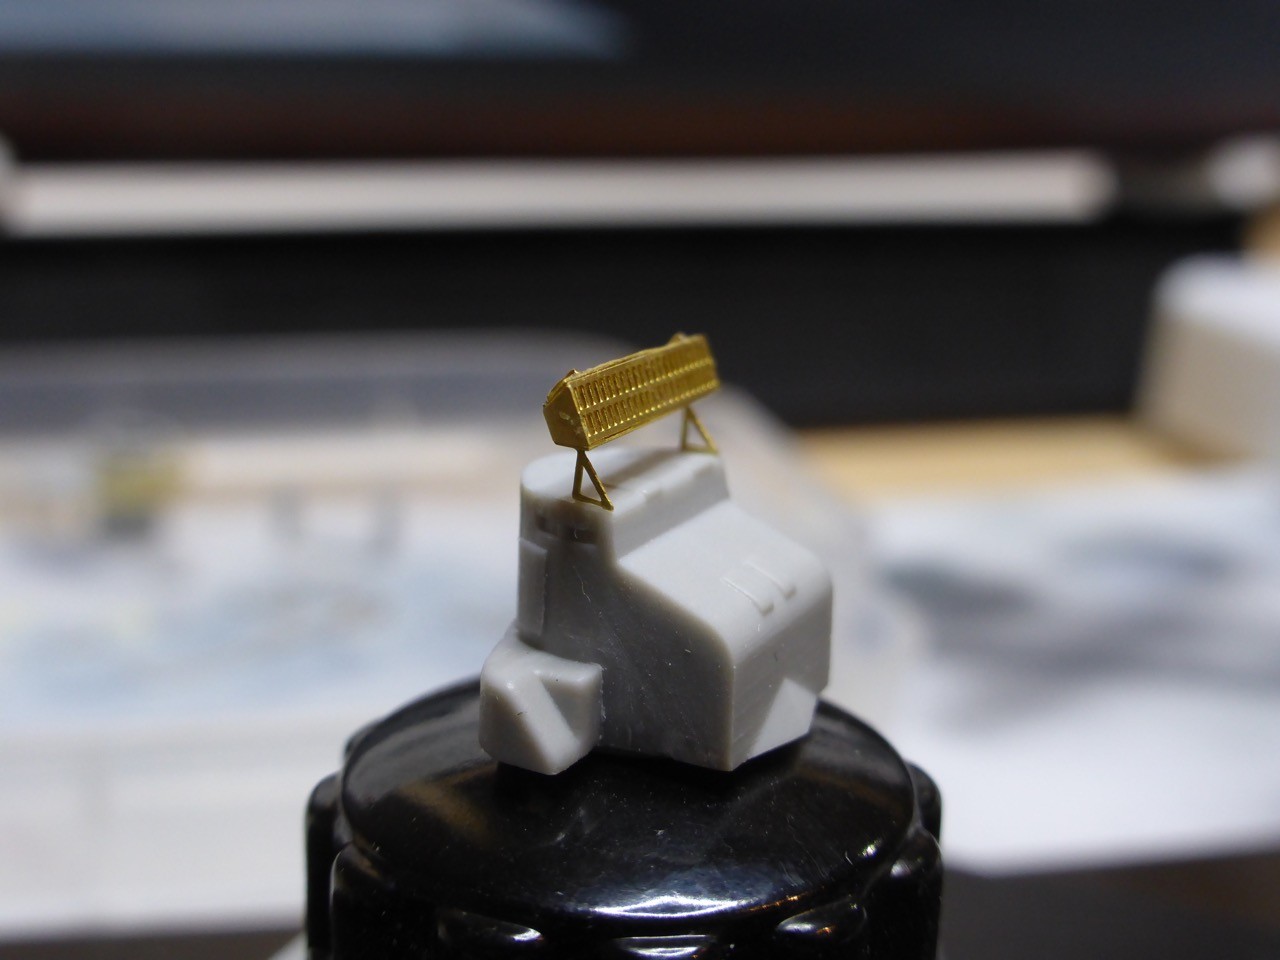

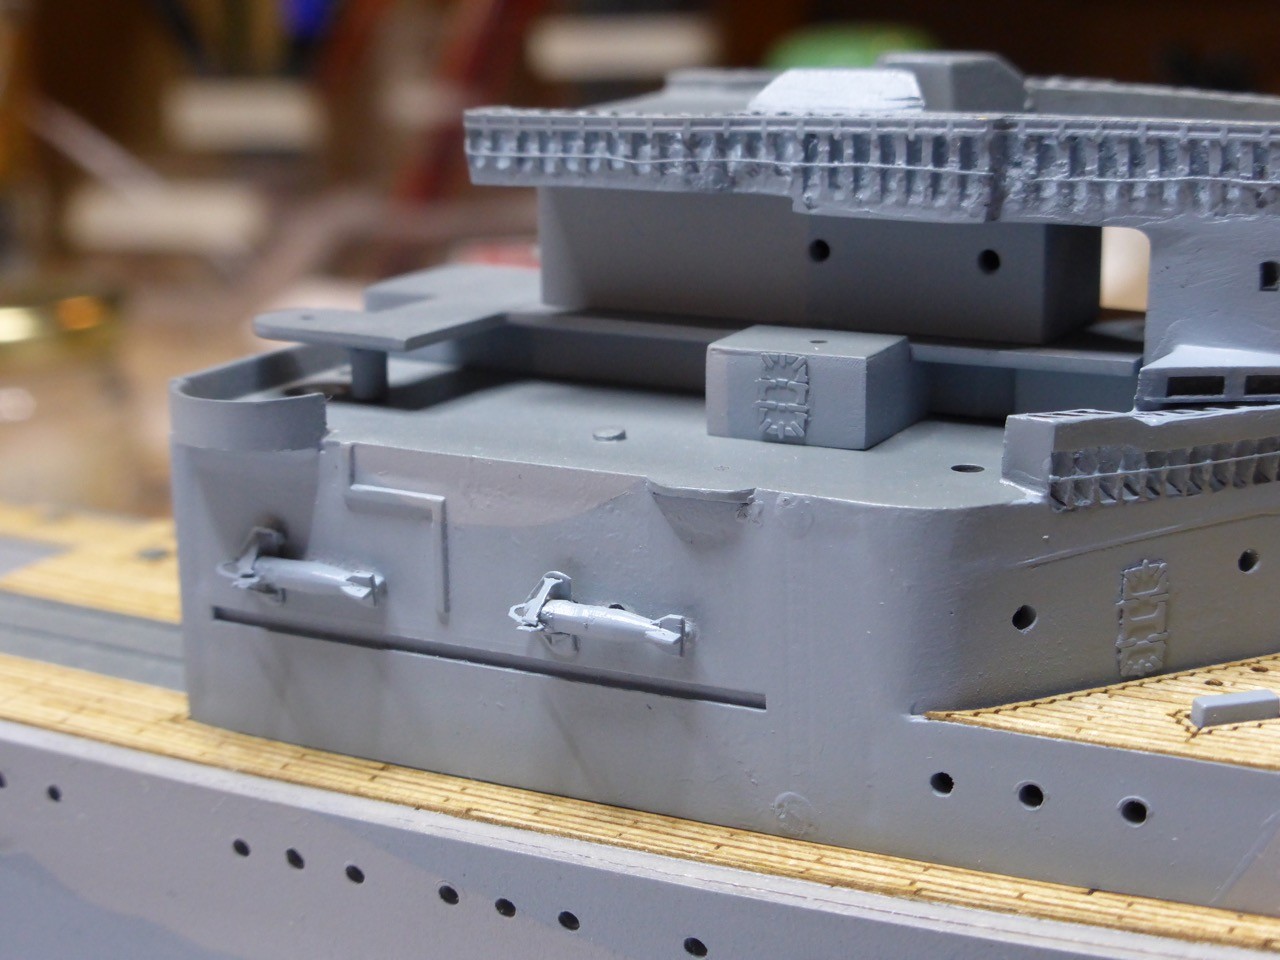
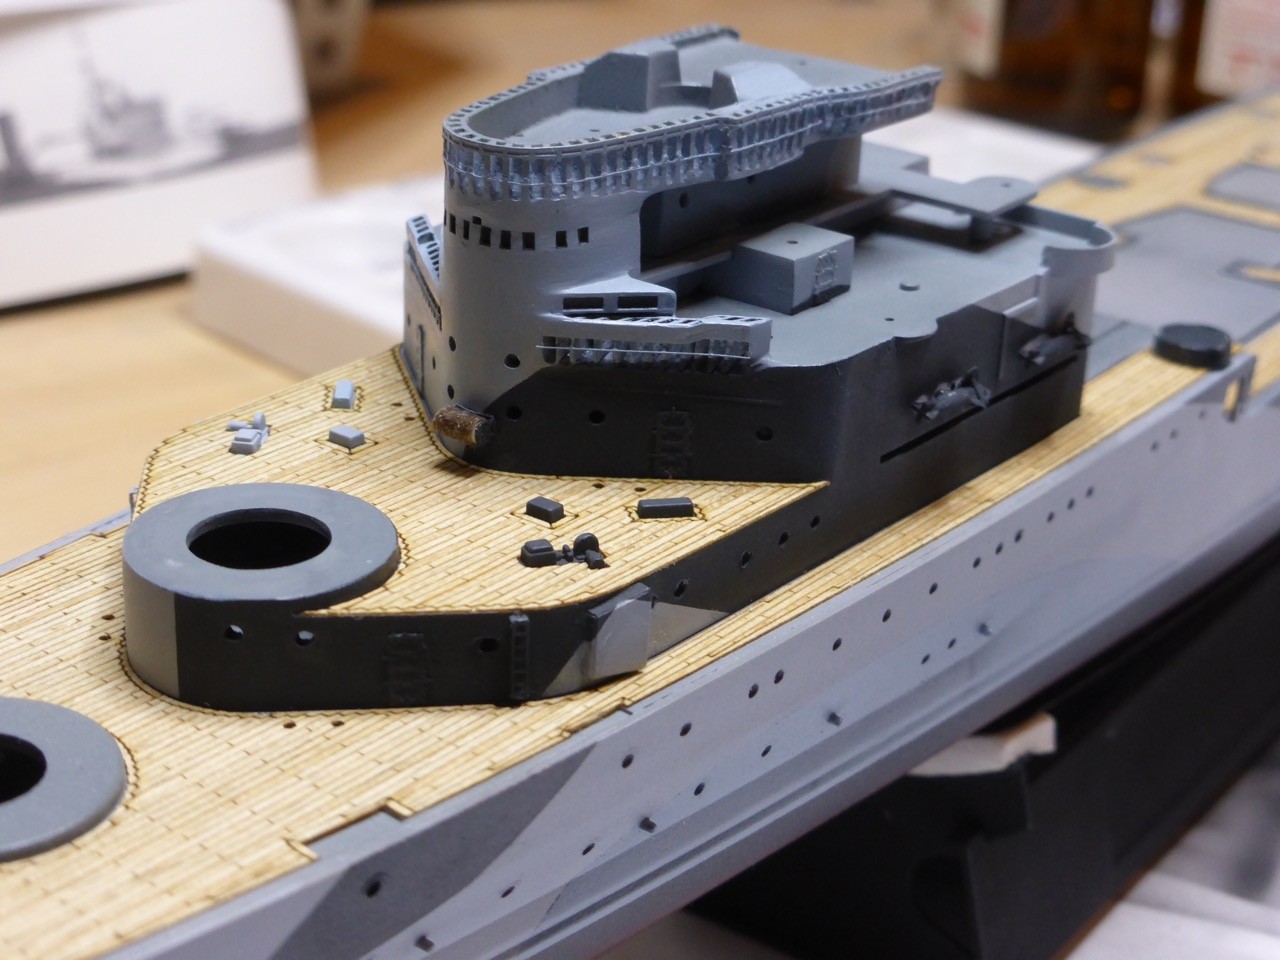
The 273 radar lantern and mast, all parts from WEM, test fitted.
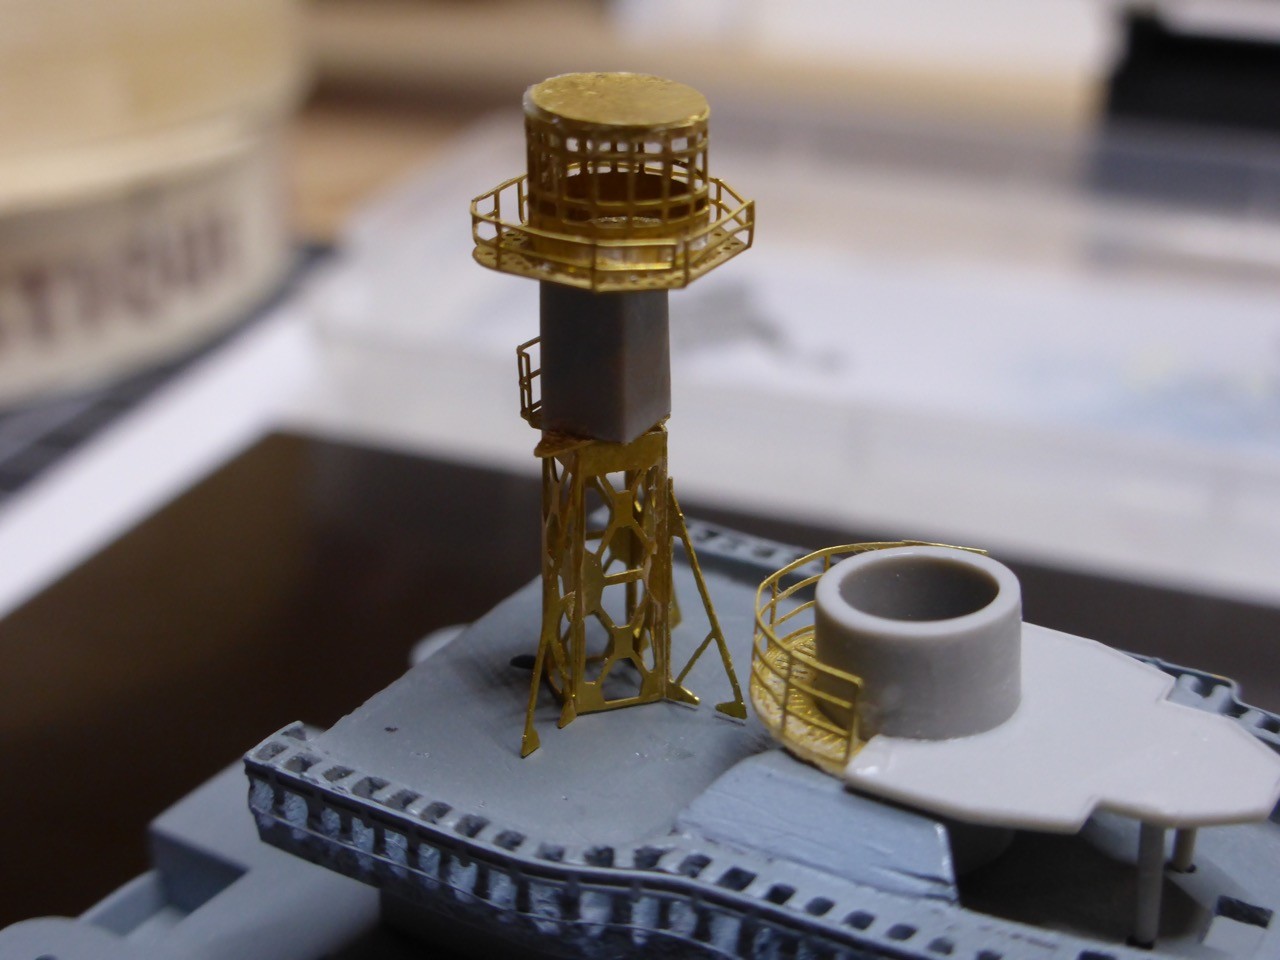
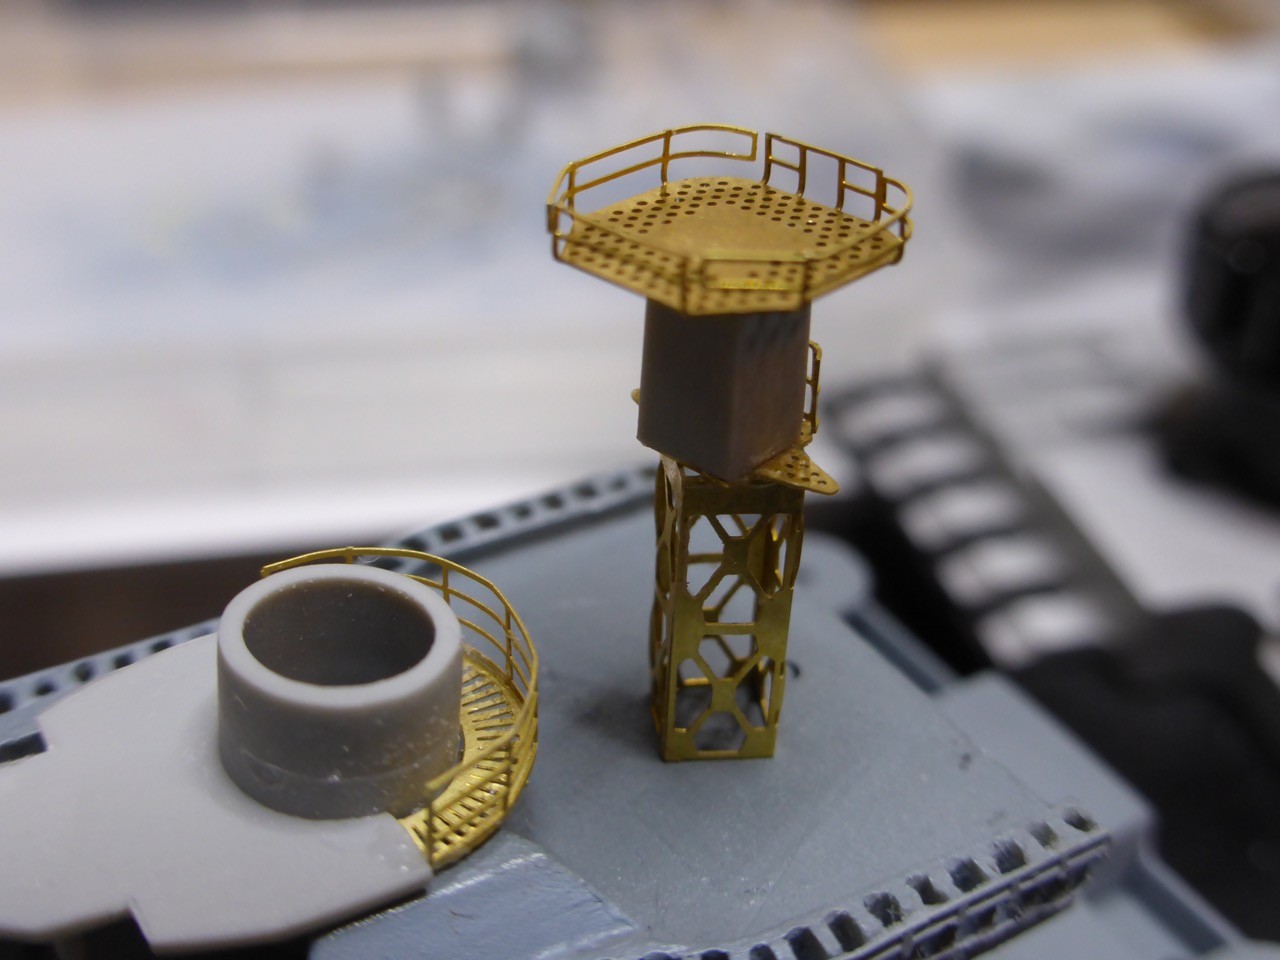
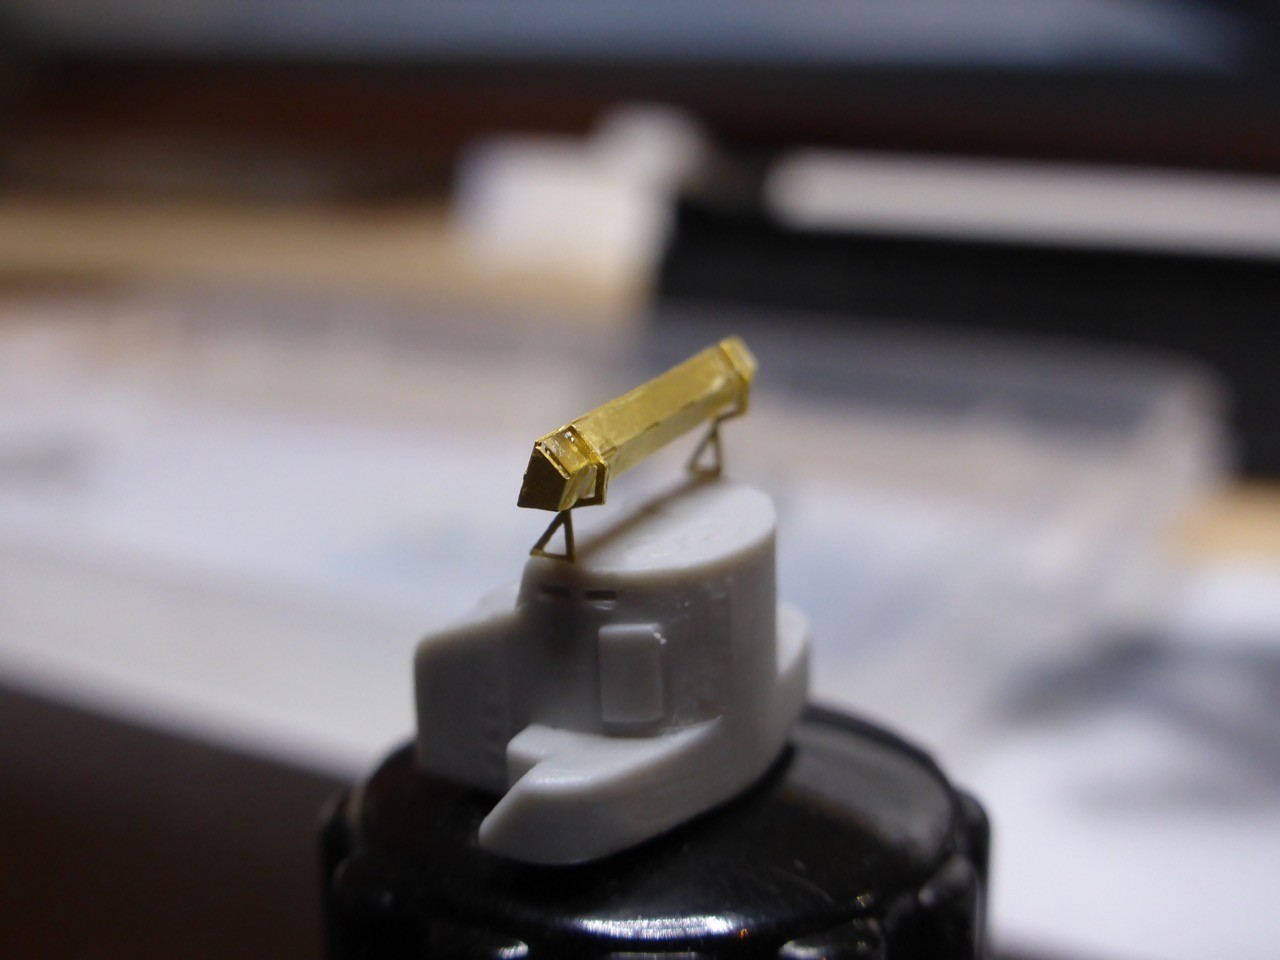
The 285 YAGI HACS are a hybrid from WEM and the original Trumpeter parts - even so I said differently earlier, I too have one of the over-etched WEM sets and the antennas have some parts missing. So the dipoles are WEM, the reflectors are Trumpeter, and both go together pretty smooth


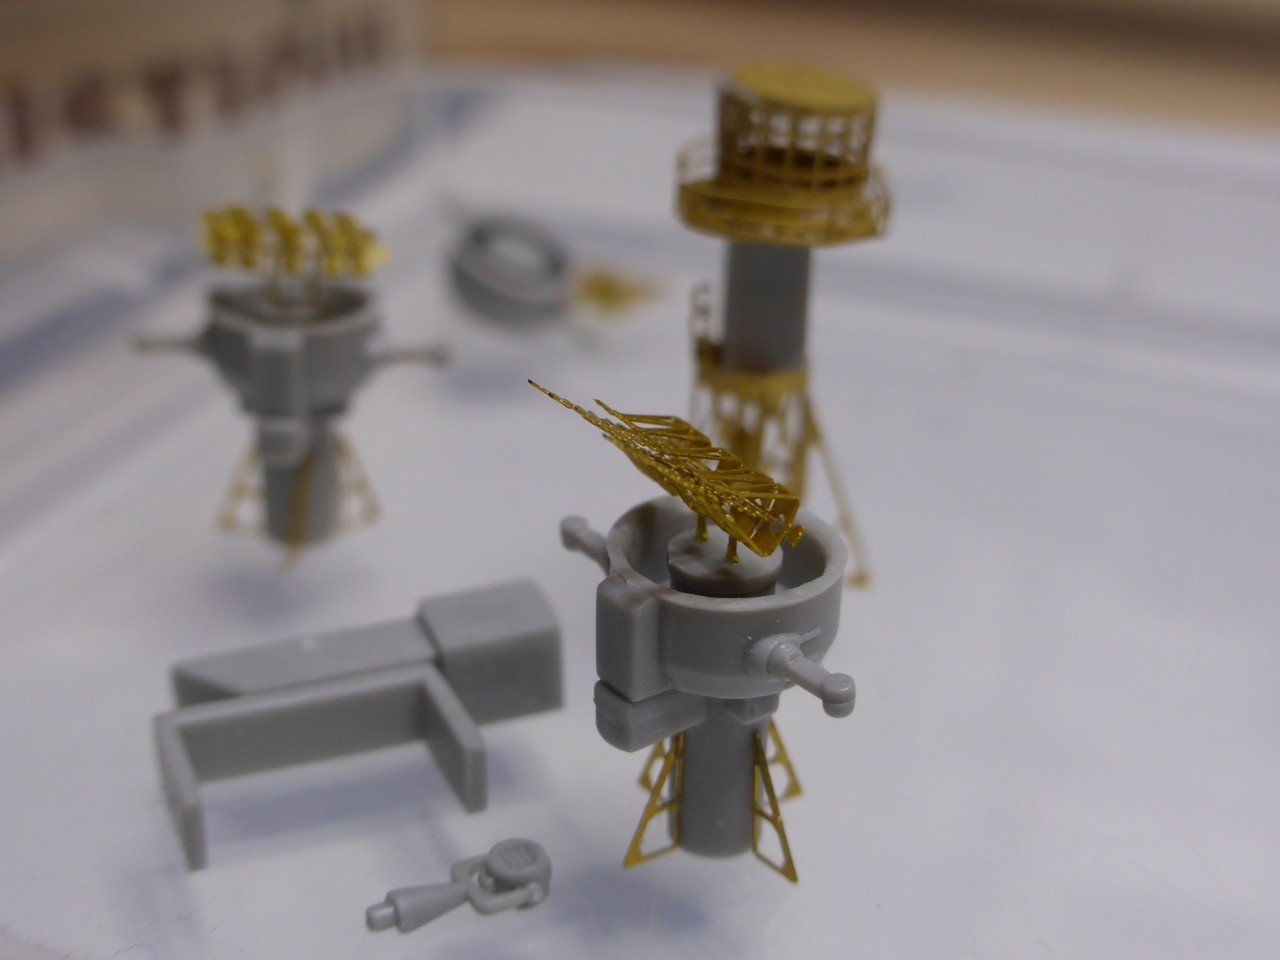
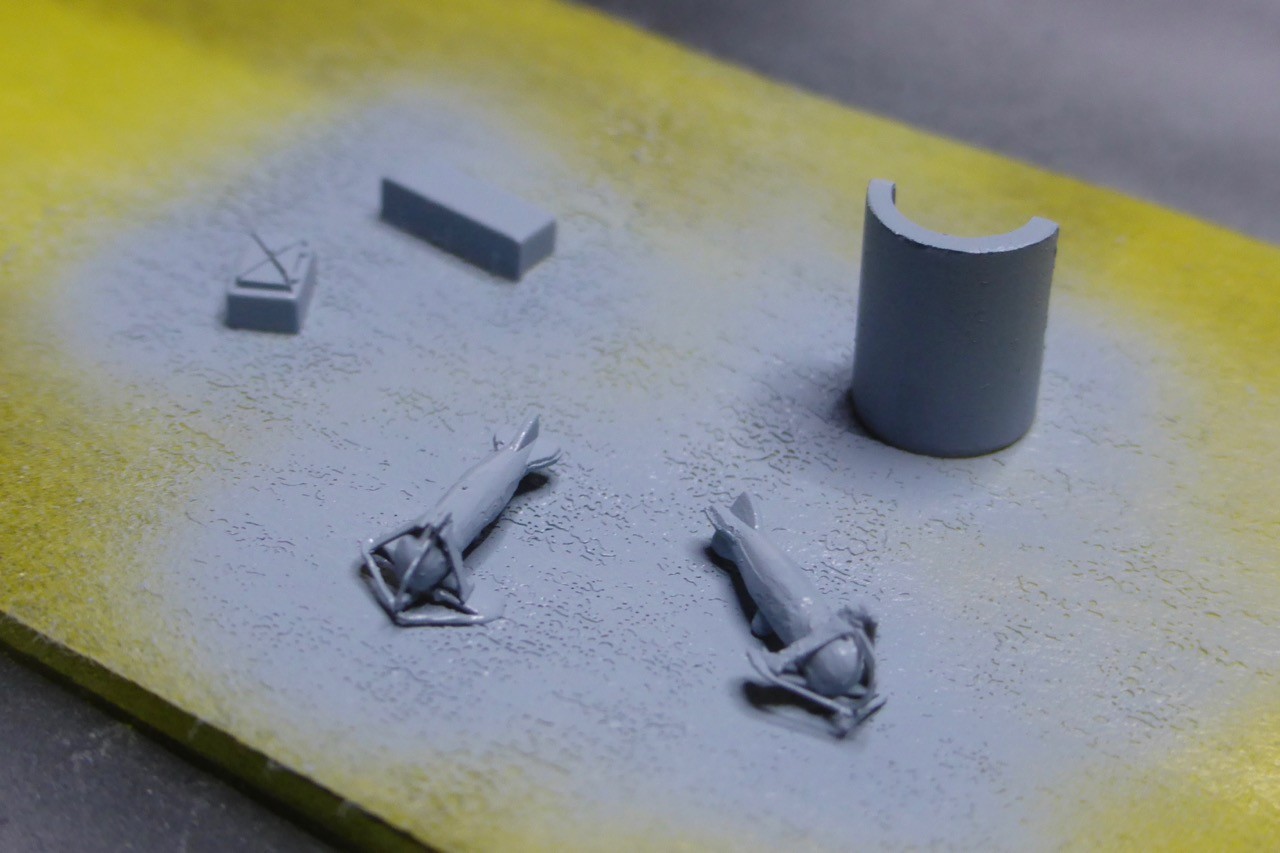
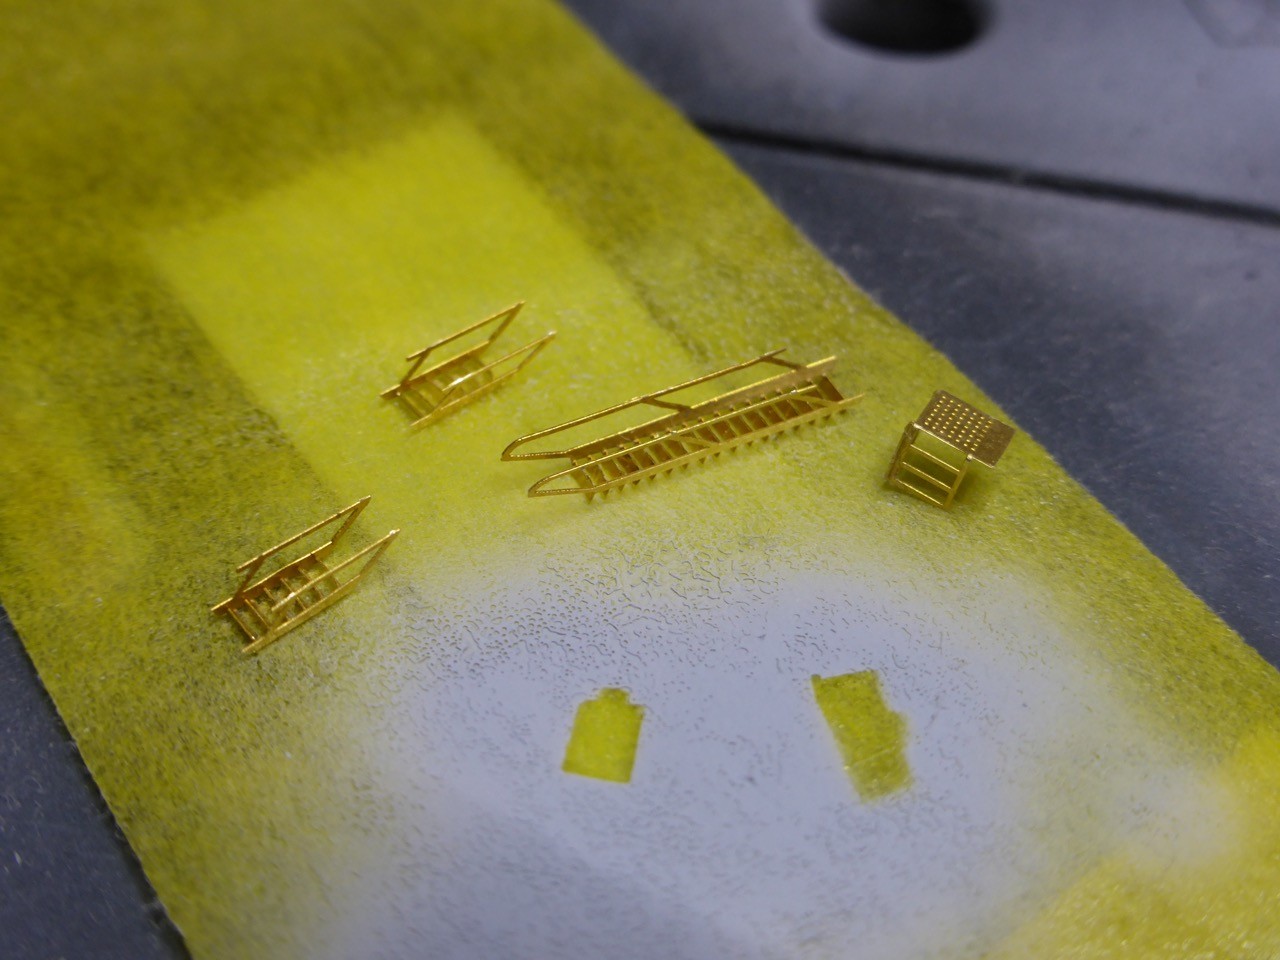
So that's about the small parts that I did. Not all, some are higher up on the rack...somehow forgot to take pictures as I realize now...

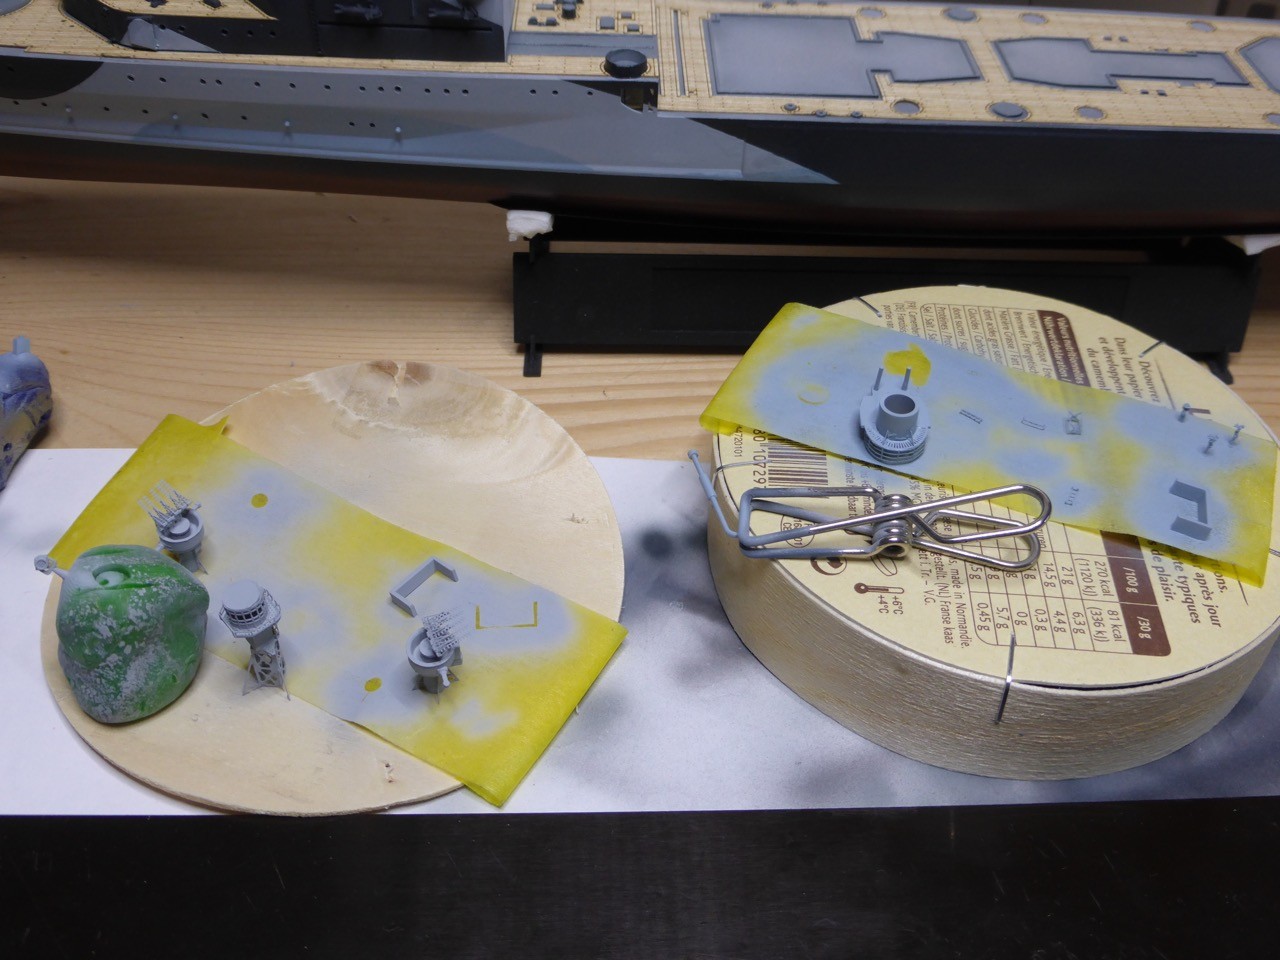
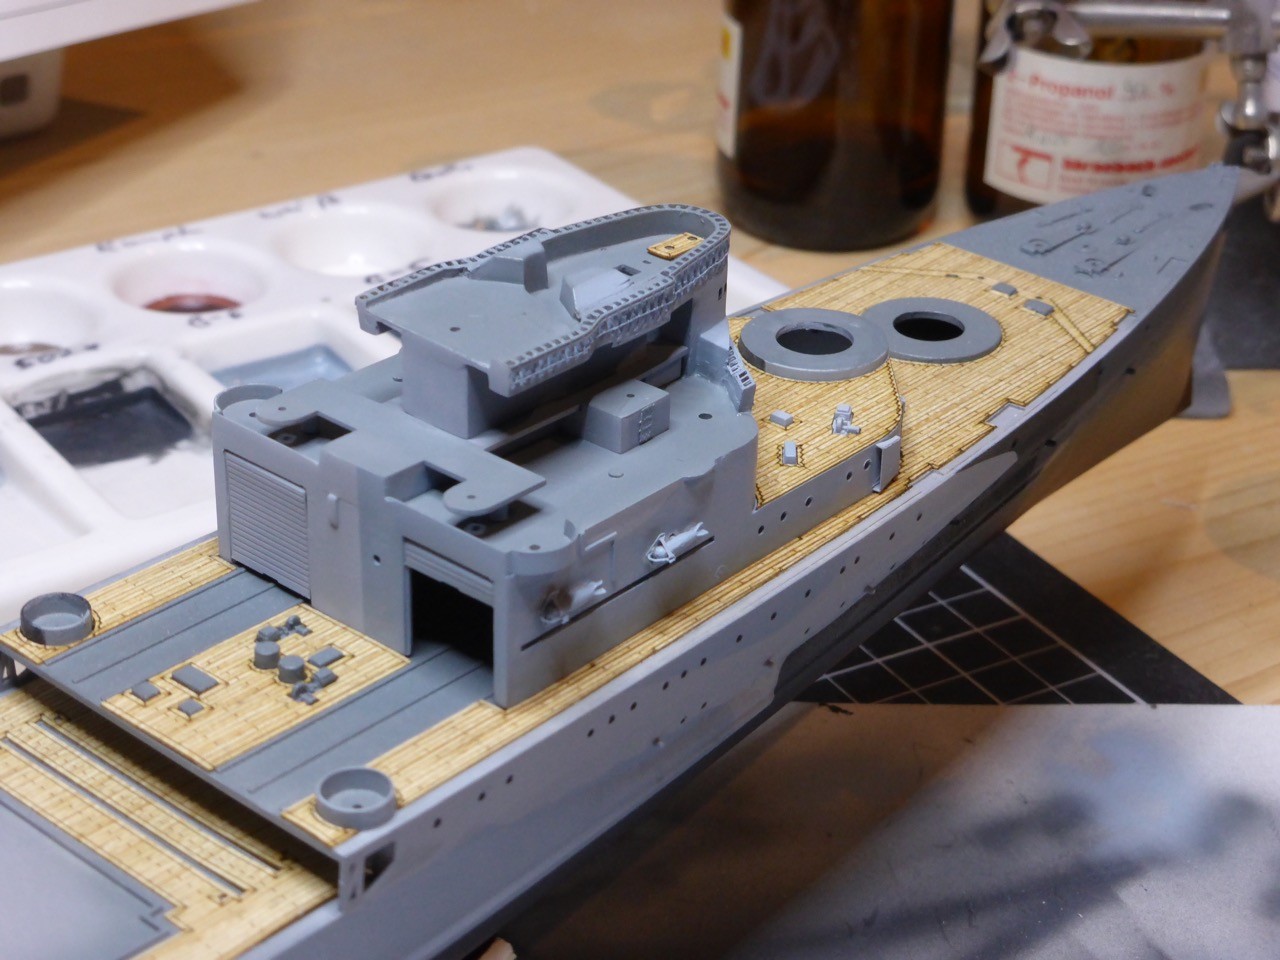
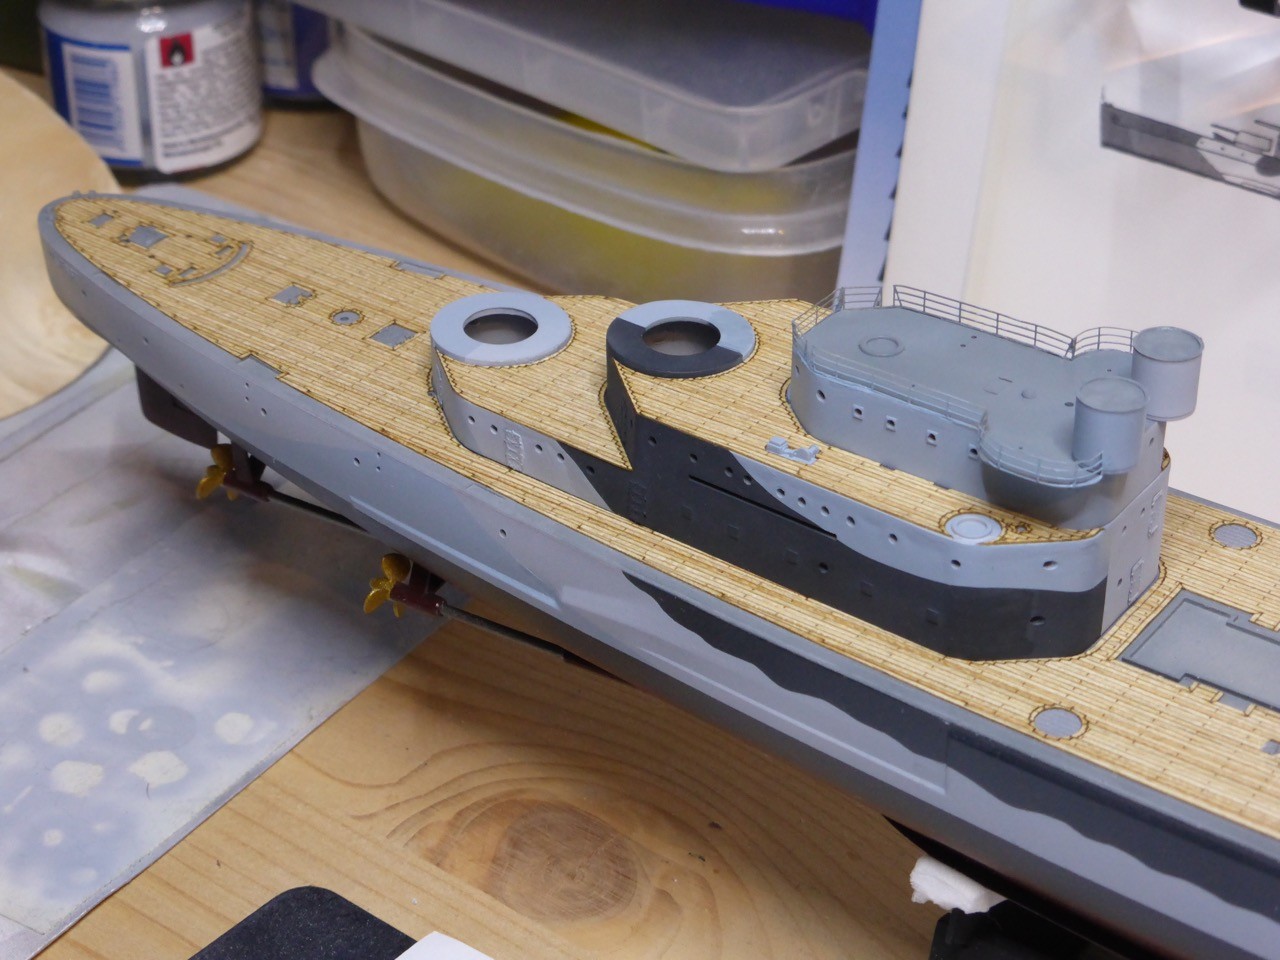
For a next step, I want to install most of the small stuff on the main deck, winches, pollards, anchor equipment etc..., so here's the start:

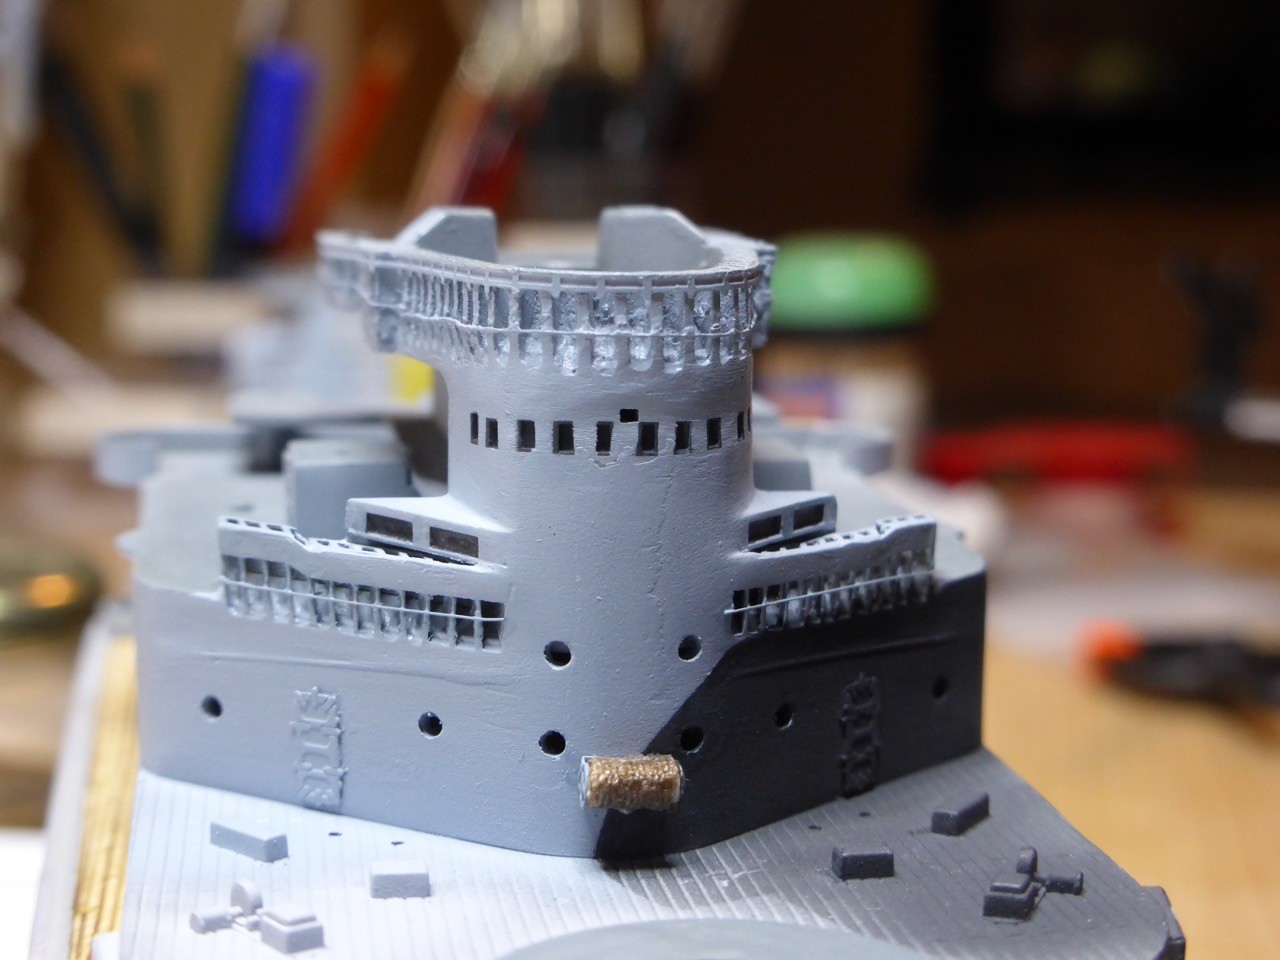
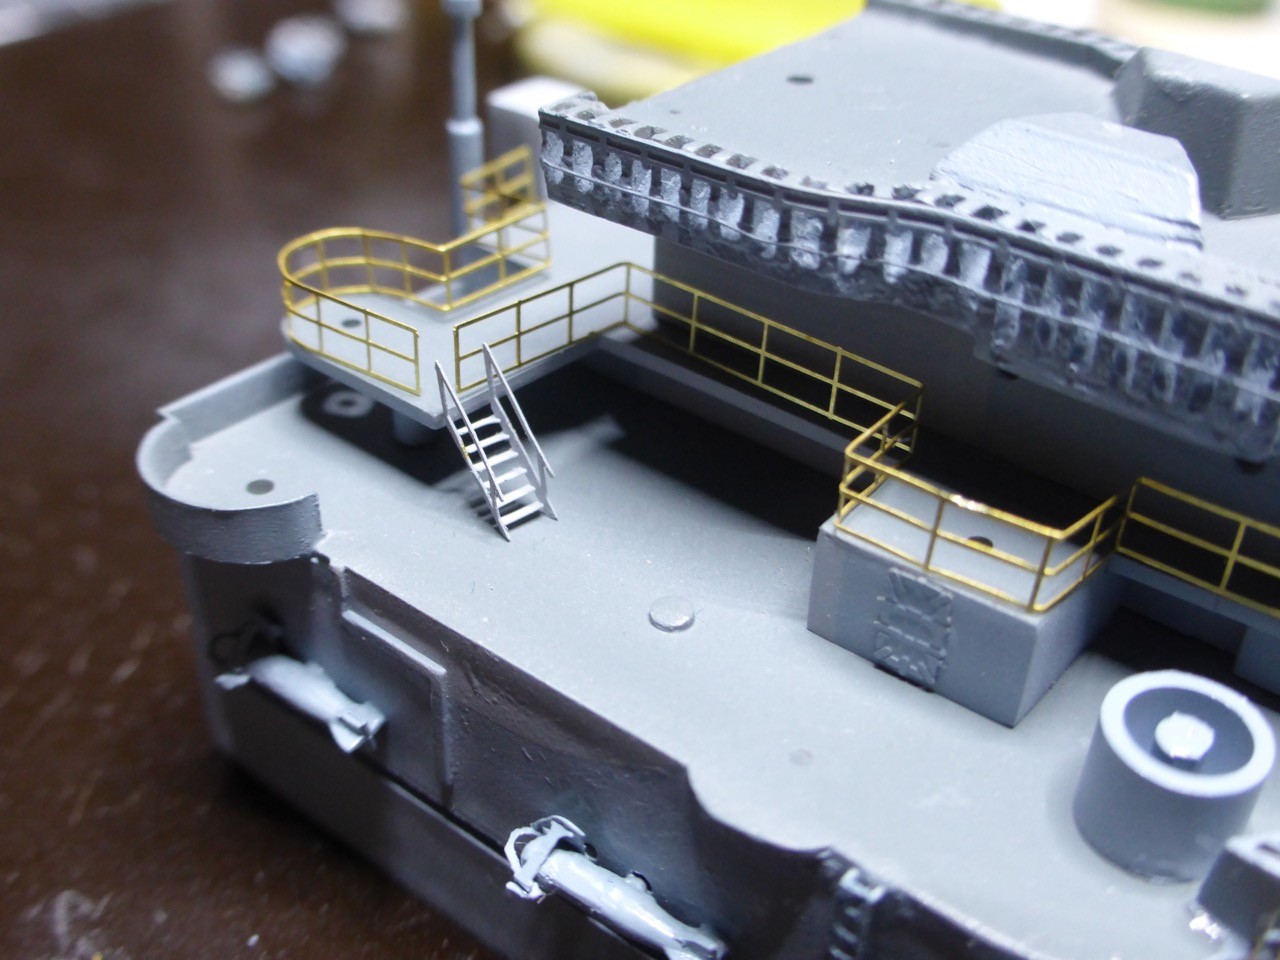
The 273 painted and two ladders added:
The ladder up to the compass platform installed.

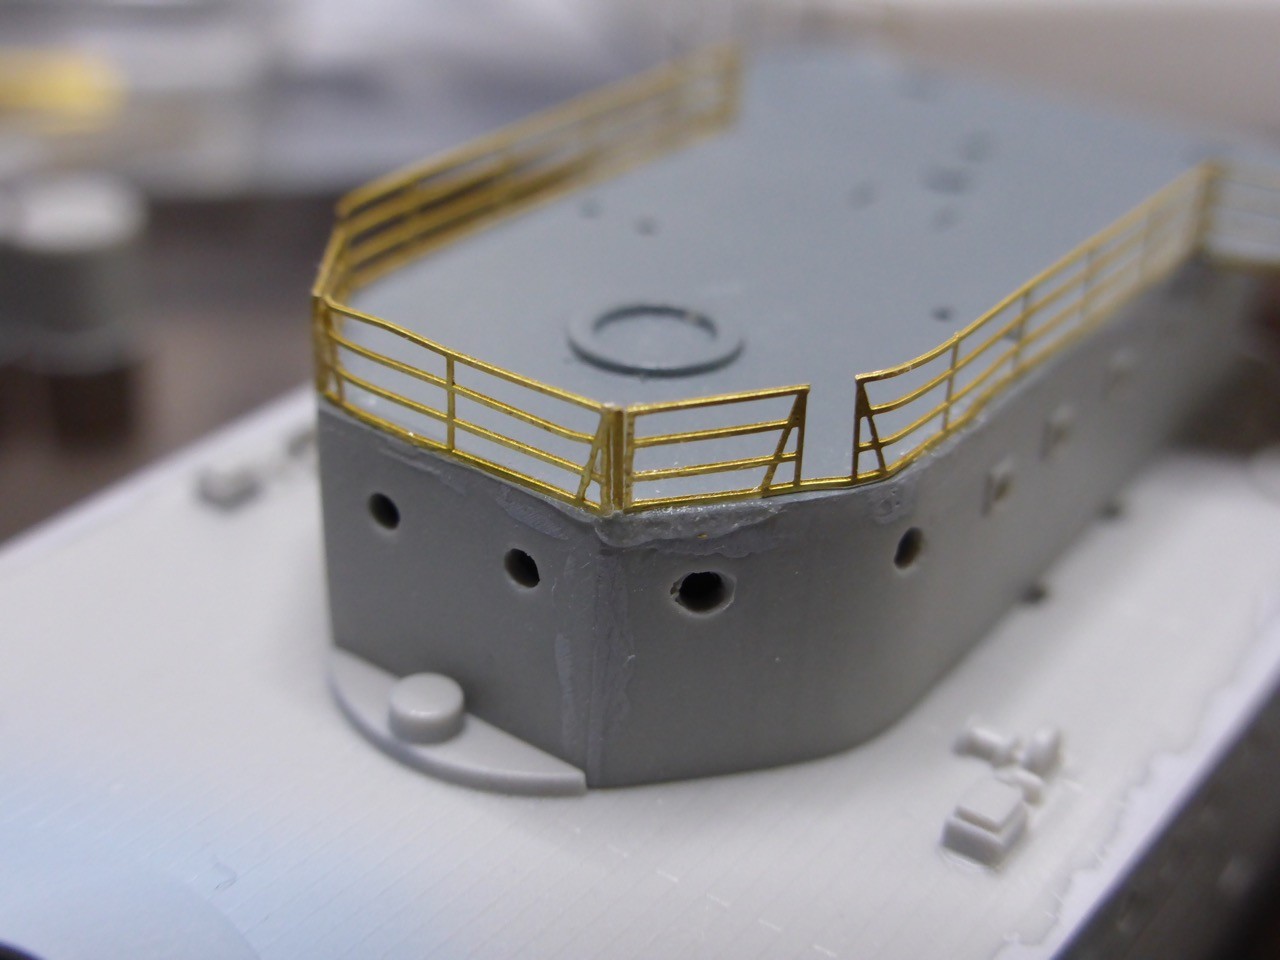
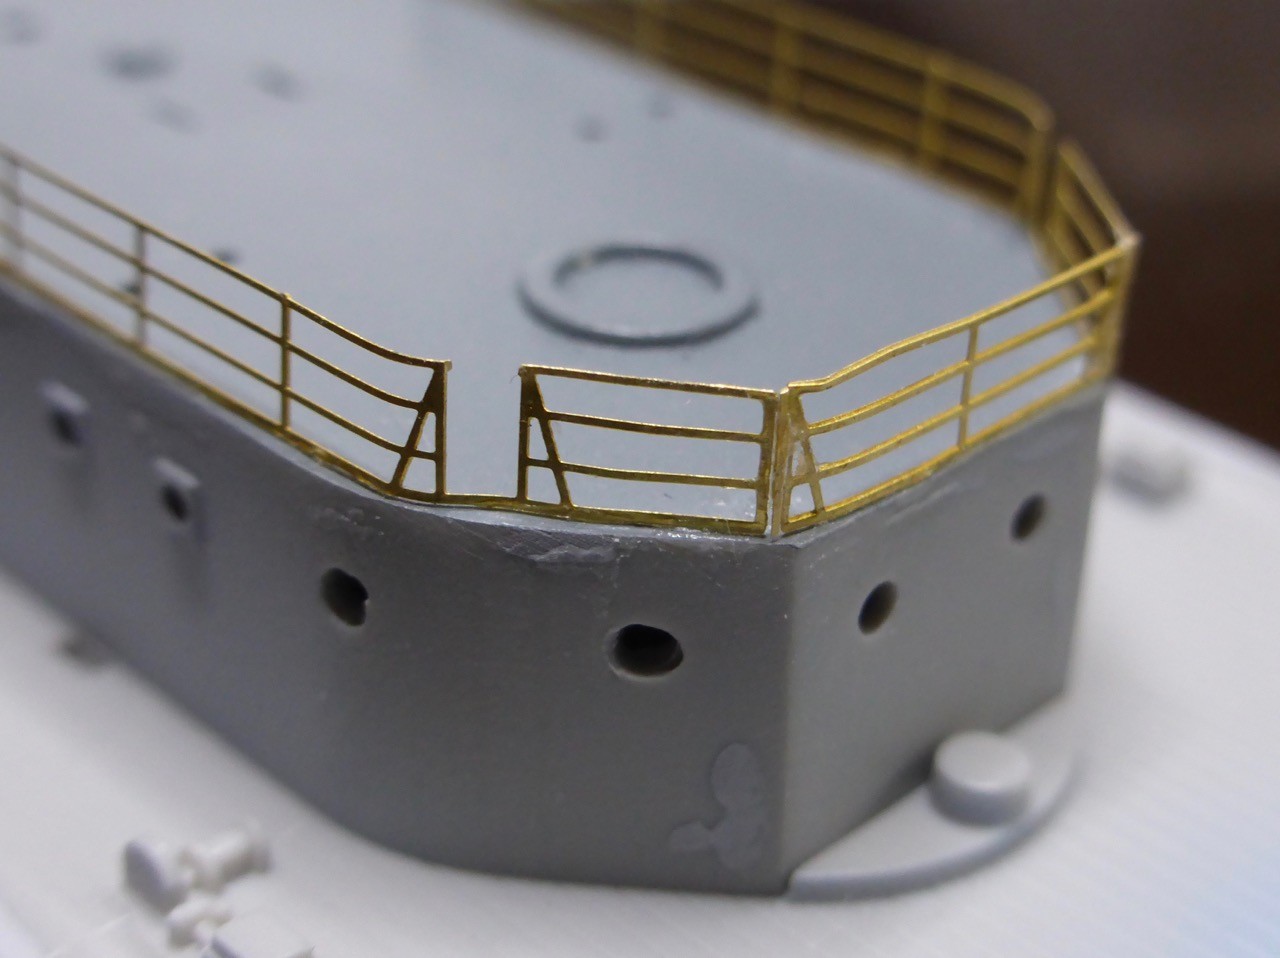
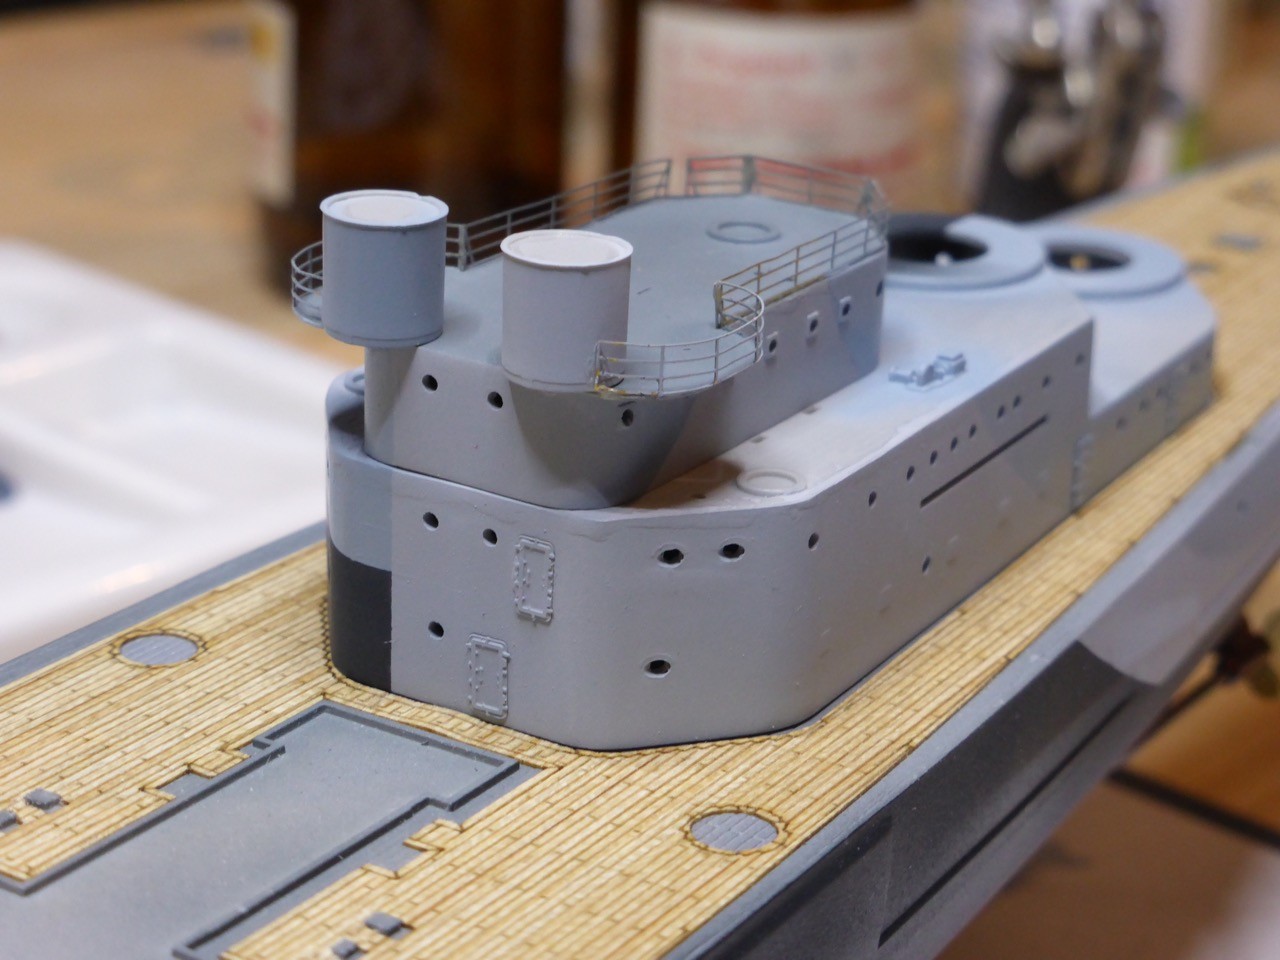
Now I was just about to install all the remaining ladders, the 282 YAGI's, the Oerlikons etc on the bridge when, luckily, a thought stopped me - where do the ladders go to not interfere with the railings?? On that thought, I had a closer look at what railing need to be installed and were, and it was clear that some of the railings need to be installed before all the fragile small stuff is added.
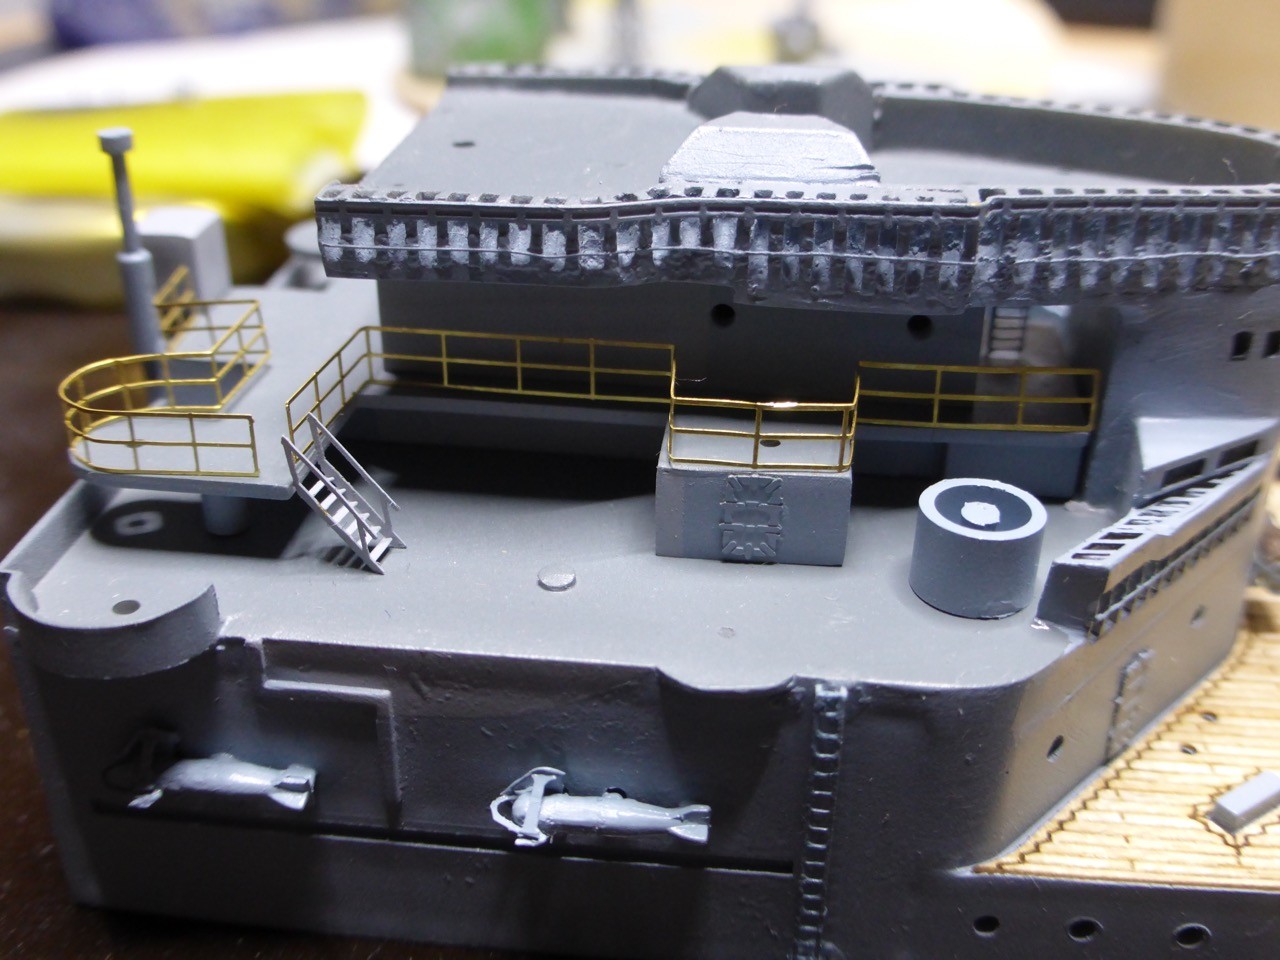
Imagine getting those squeezed in between/over the HACS...that'S a set up for some havoc...

So as it stands, first part of the railings are bent, I will cut one segment to fit the inclined ladder properly, and then things shall proceed. I hope to get something done during the week...but no promises
As always, thanks for stopping by and looking in!!
Cheers,
Jan


 That is most appreciated!
 next week looks better, and the weekend should offer some decent bench time. I can't wait to get on with my BELFAST myself, real life can be a real lady