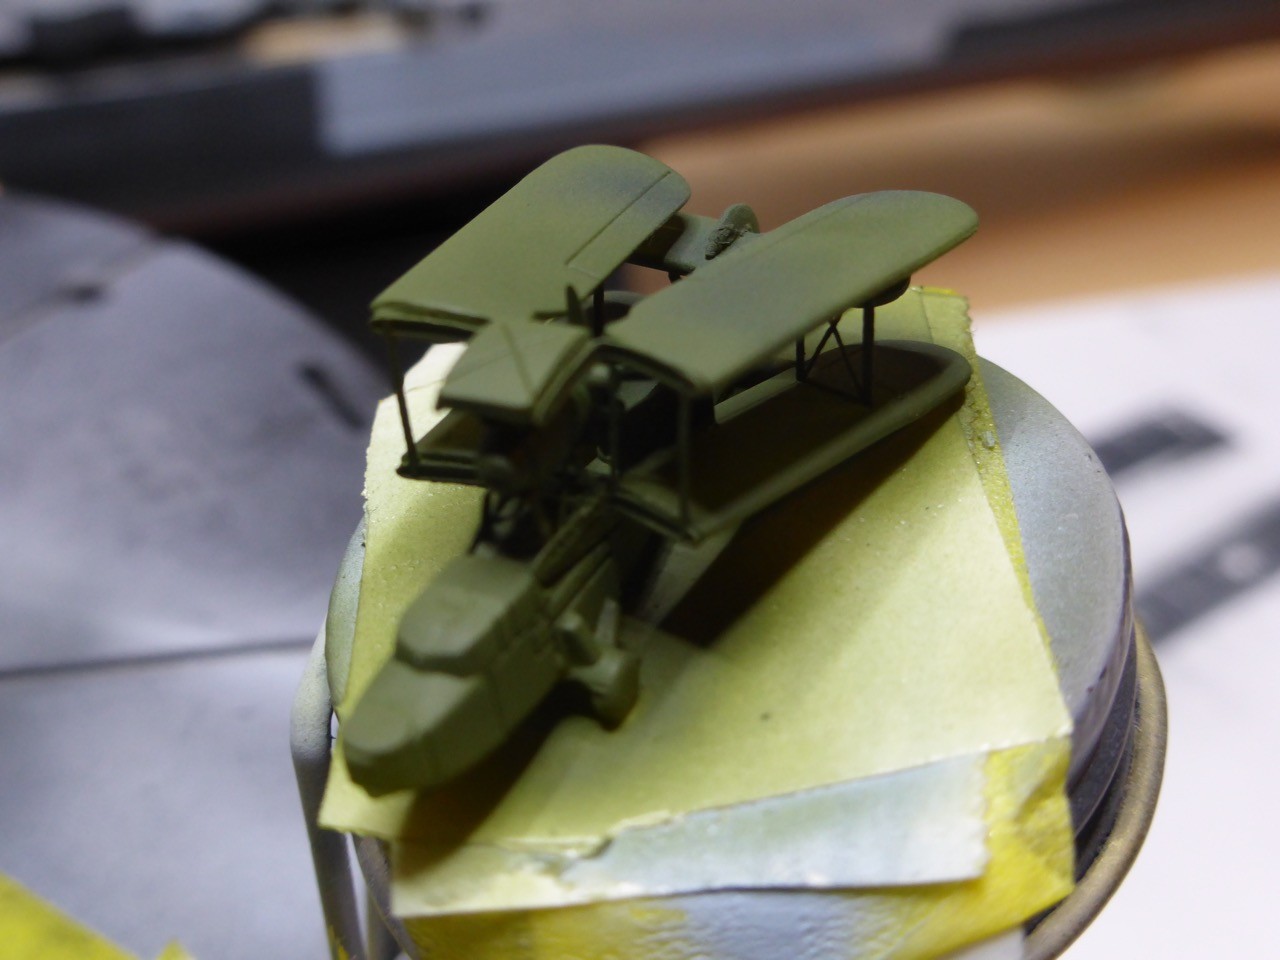
Yes, it seems quite brave to start with those pianos, but hands down, they are great!!
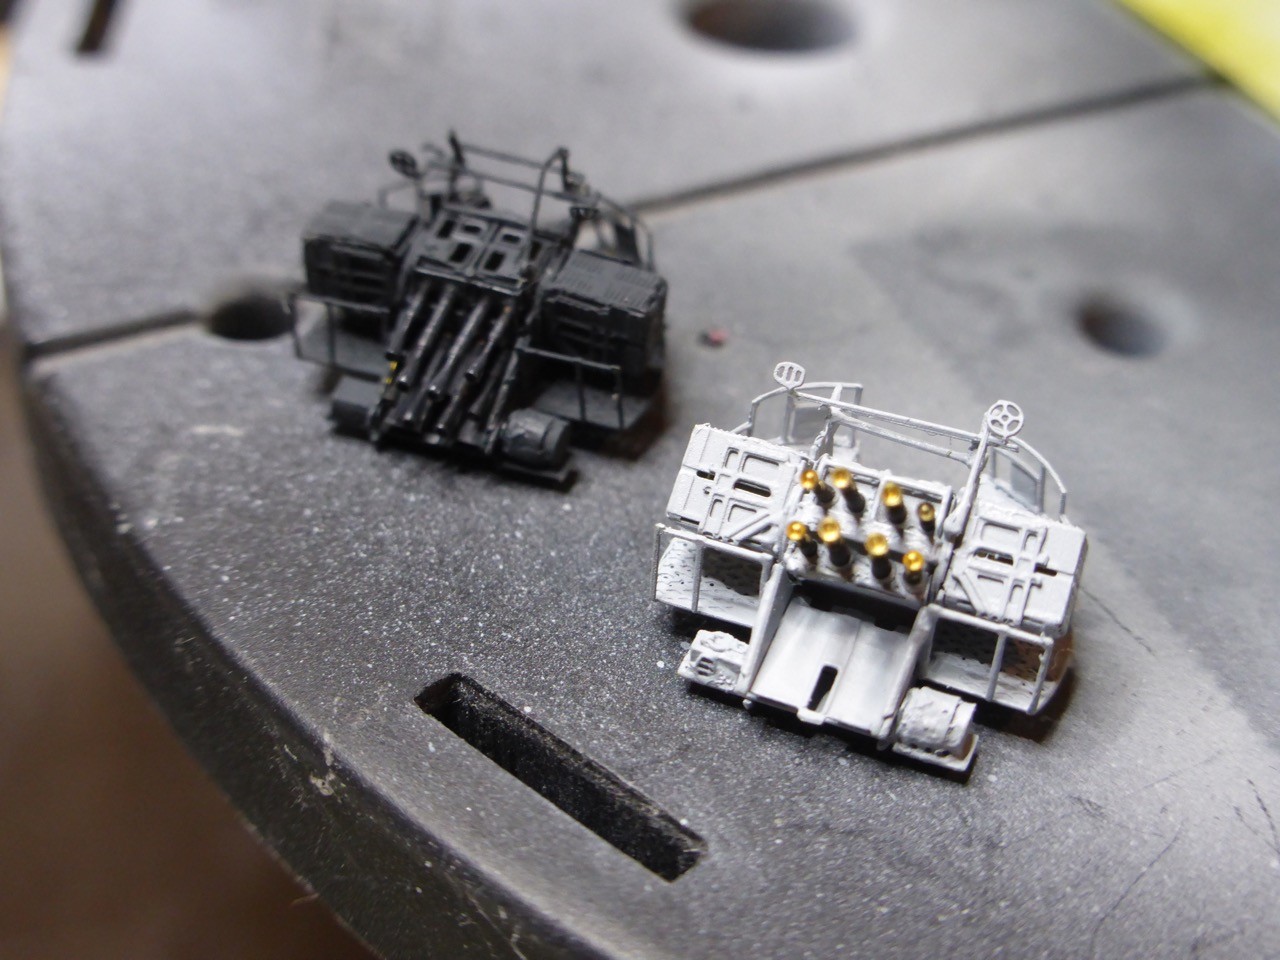
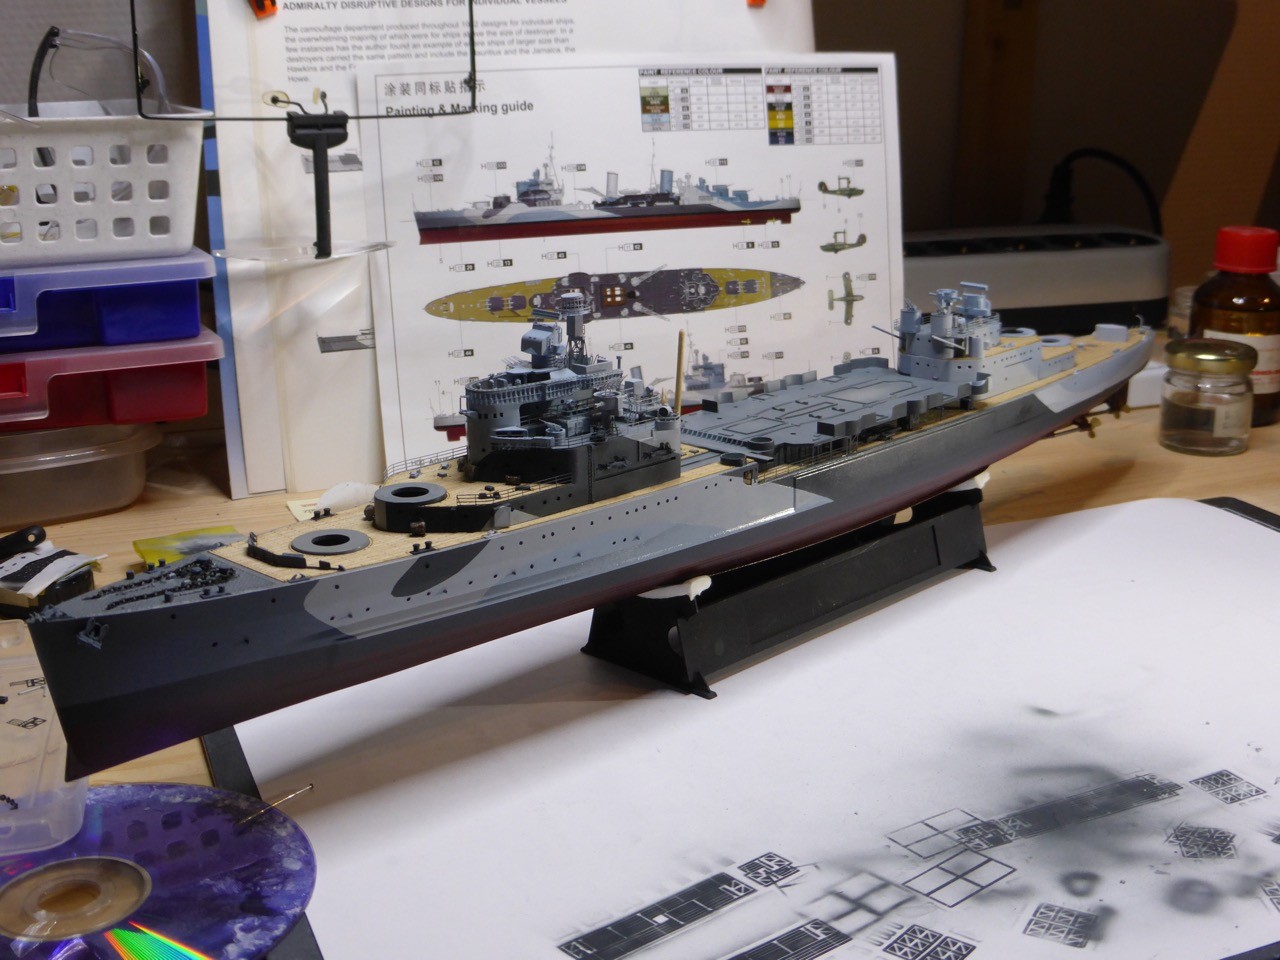
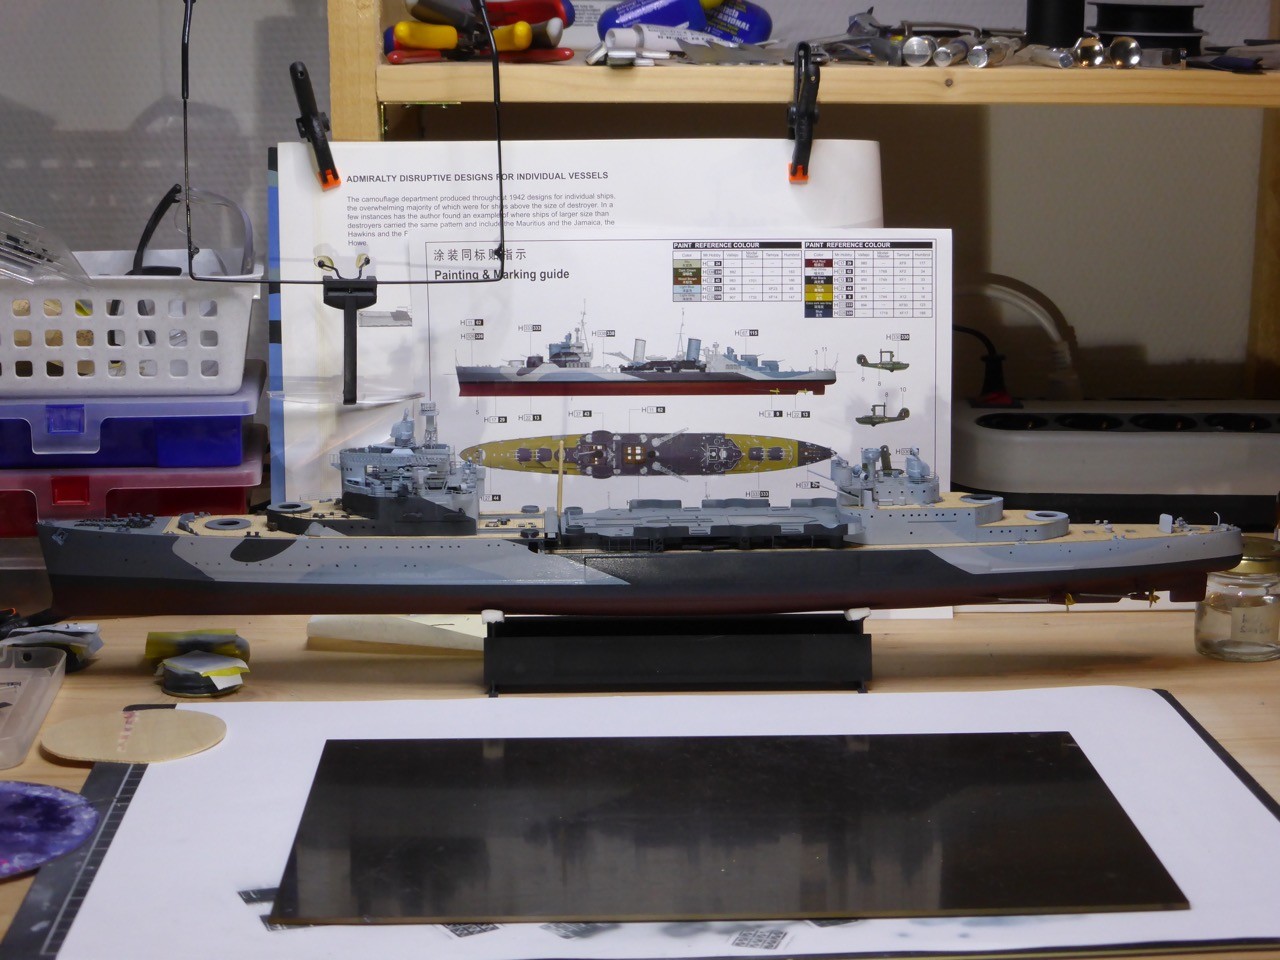
I took a whole bunch of photos while I did my first two - Russ, it's two for the Belfast, but I am more and more likely to discard my first one. I'll just walk you through the process, step by step during some posts (not much time) and show a few things that I think are important if you want to try them for yourself, and to show what I did wrong...I think you'll agree that I should not ship the first one in the end...
So let's get started.
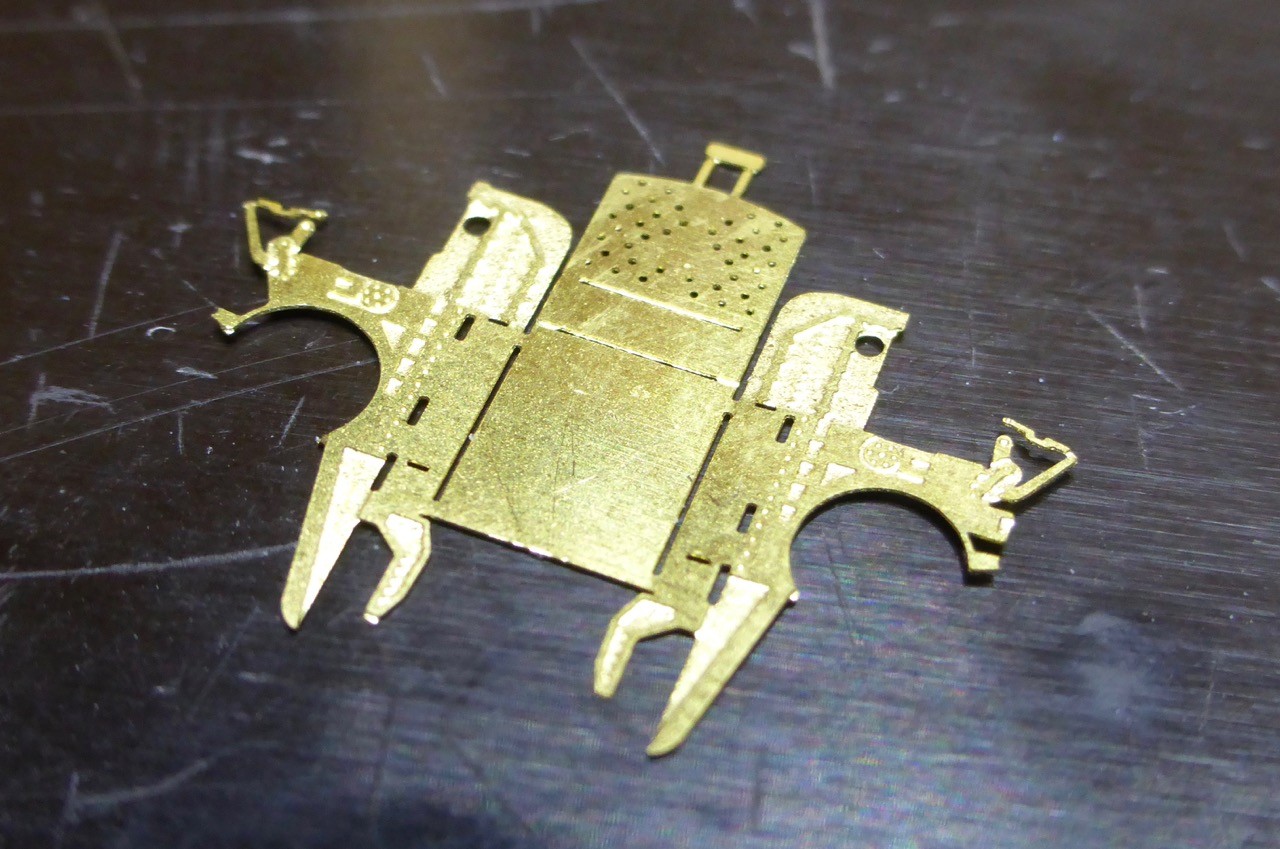
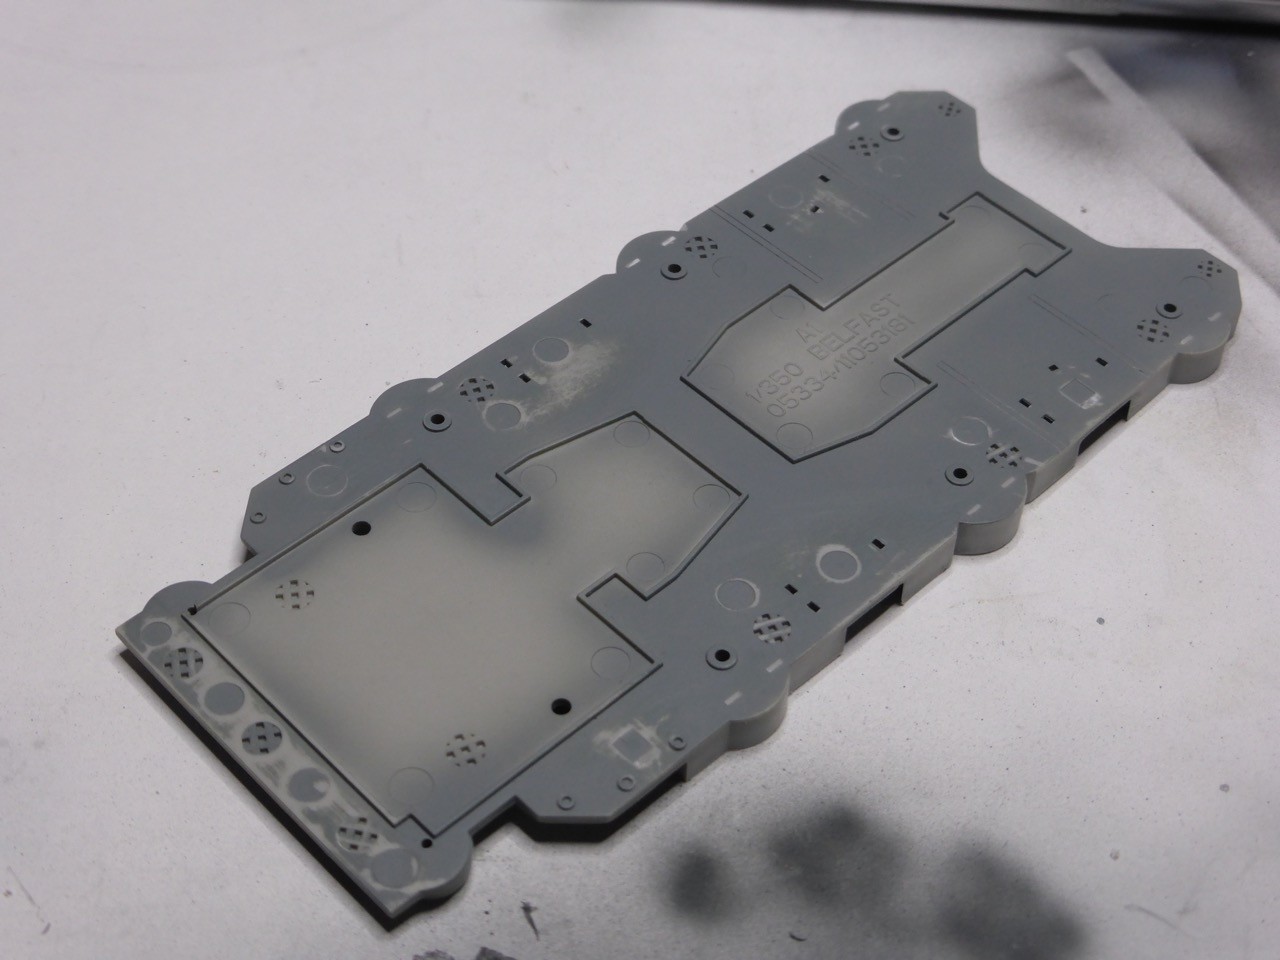
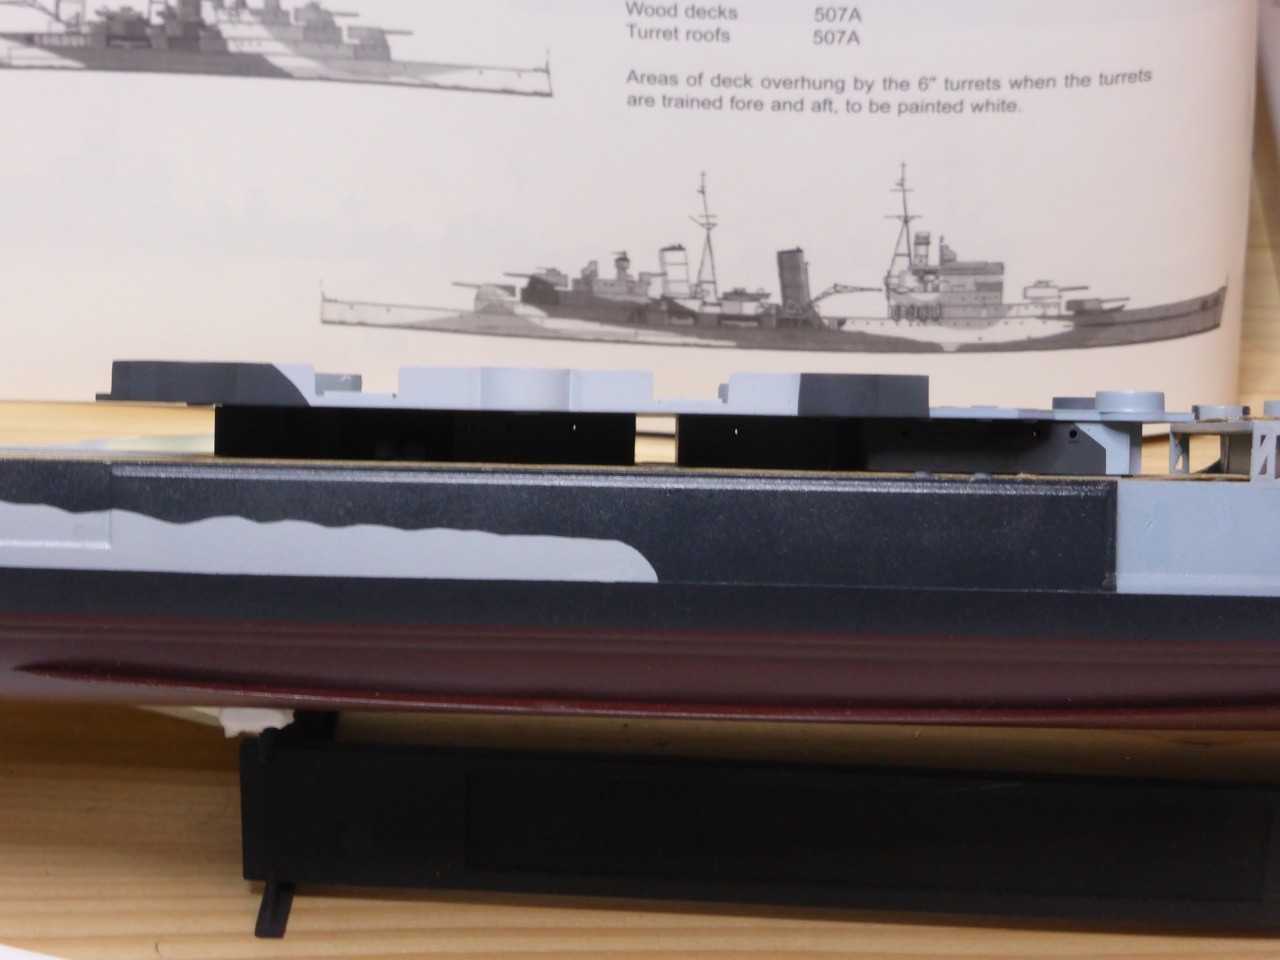
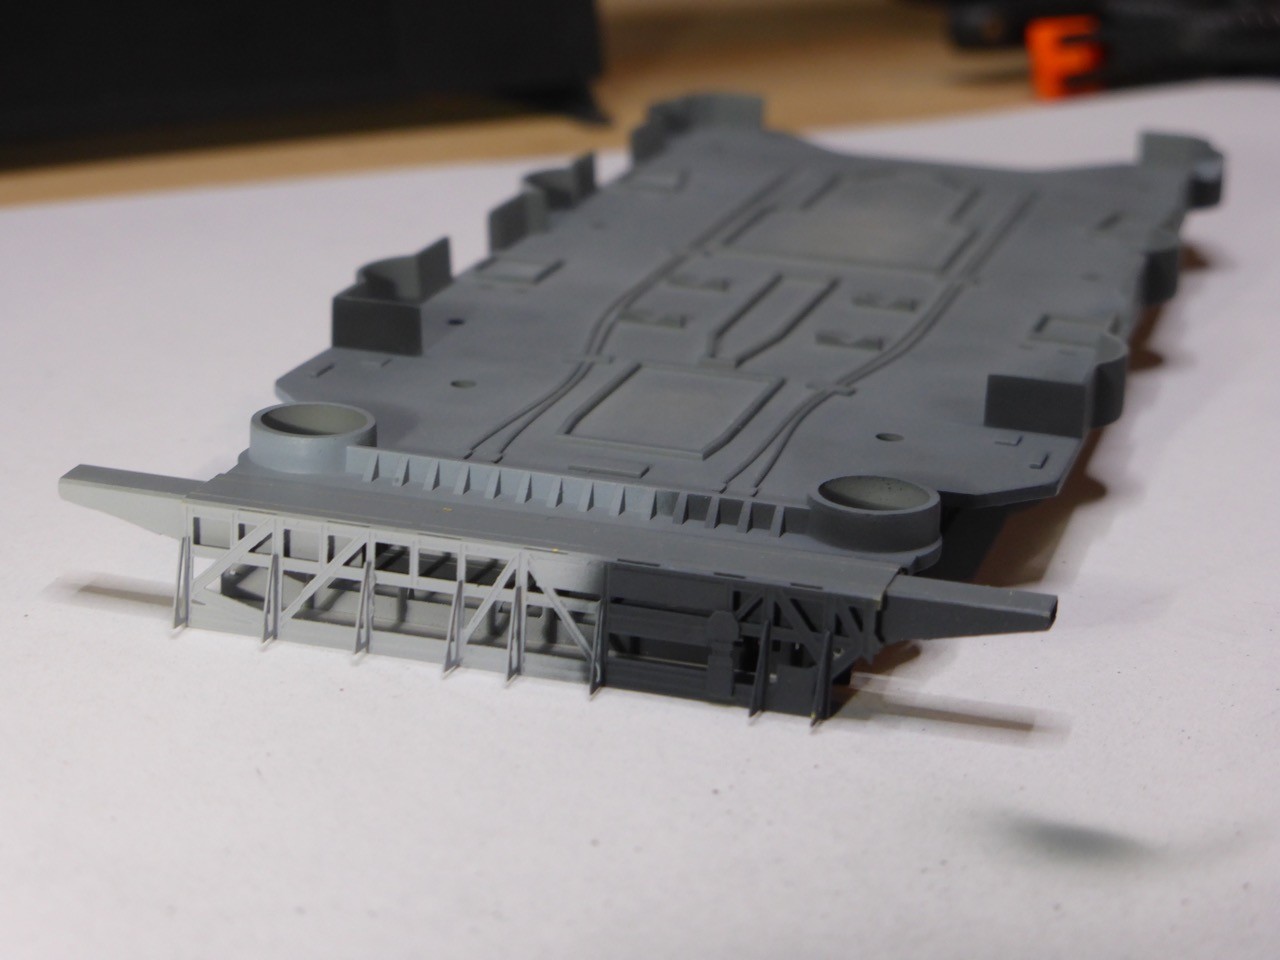
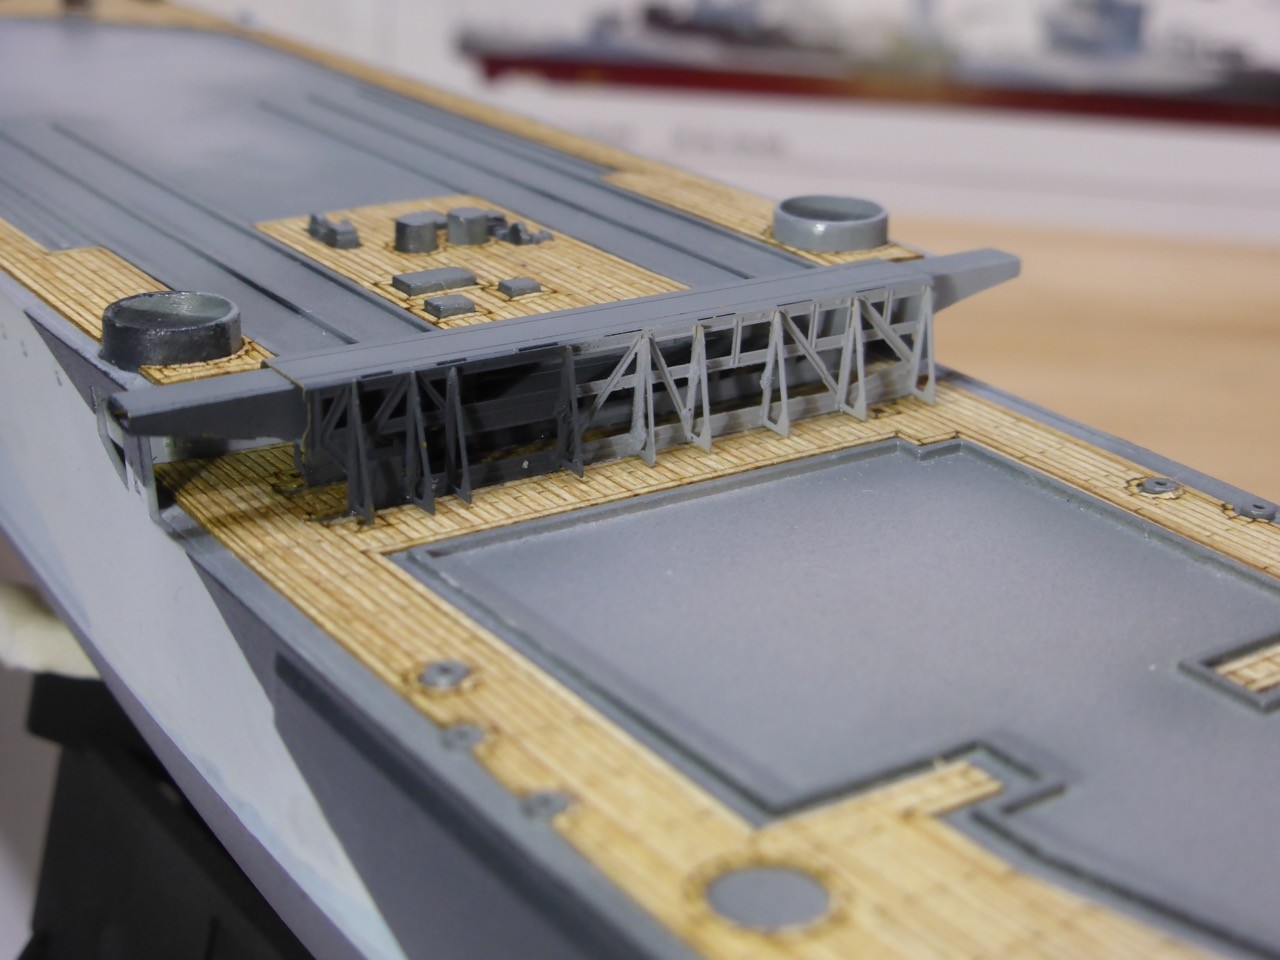
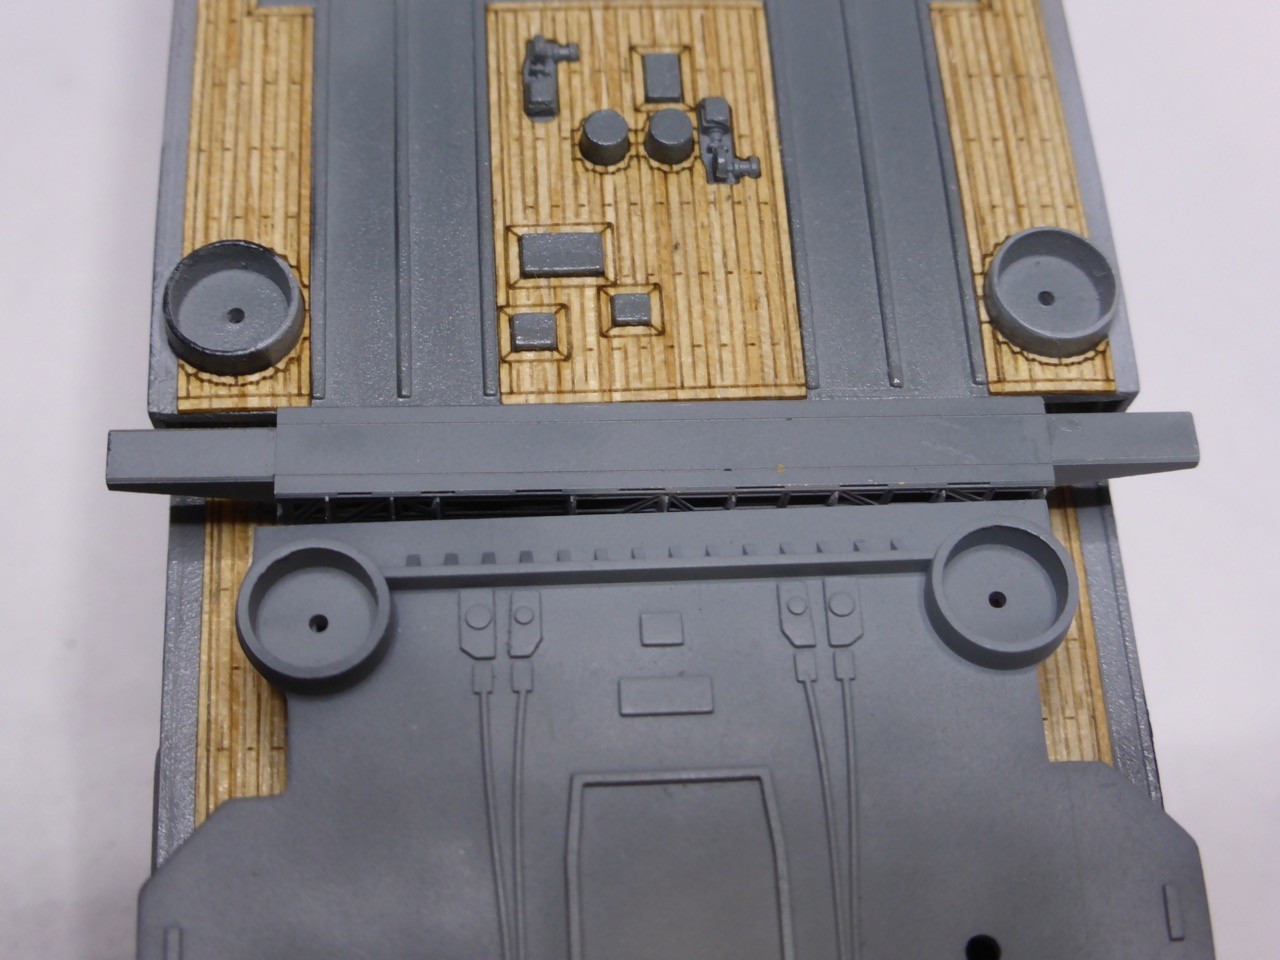
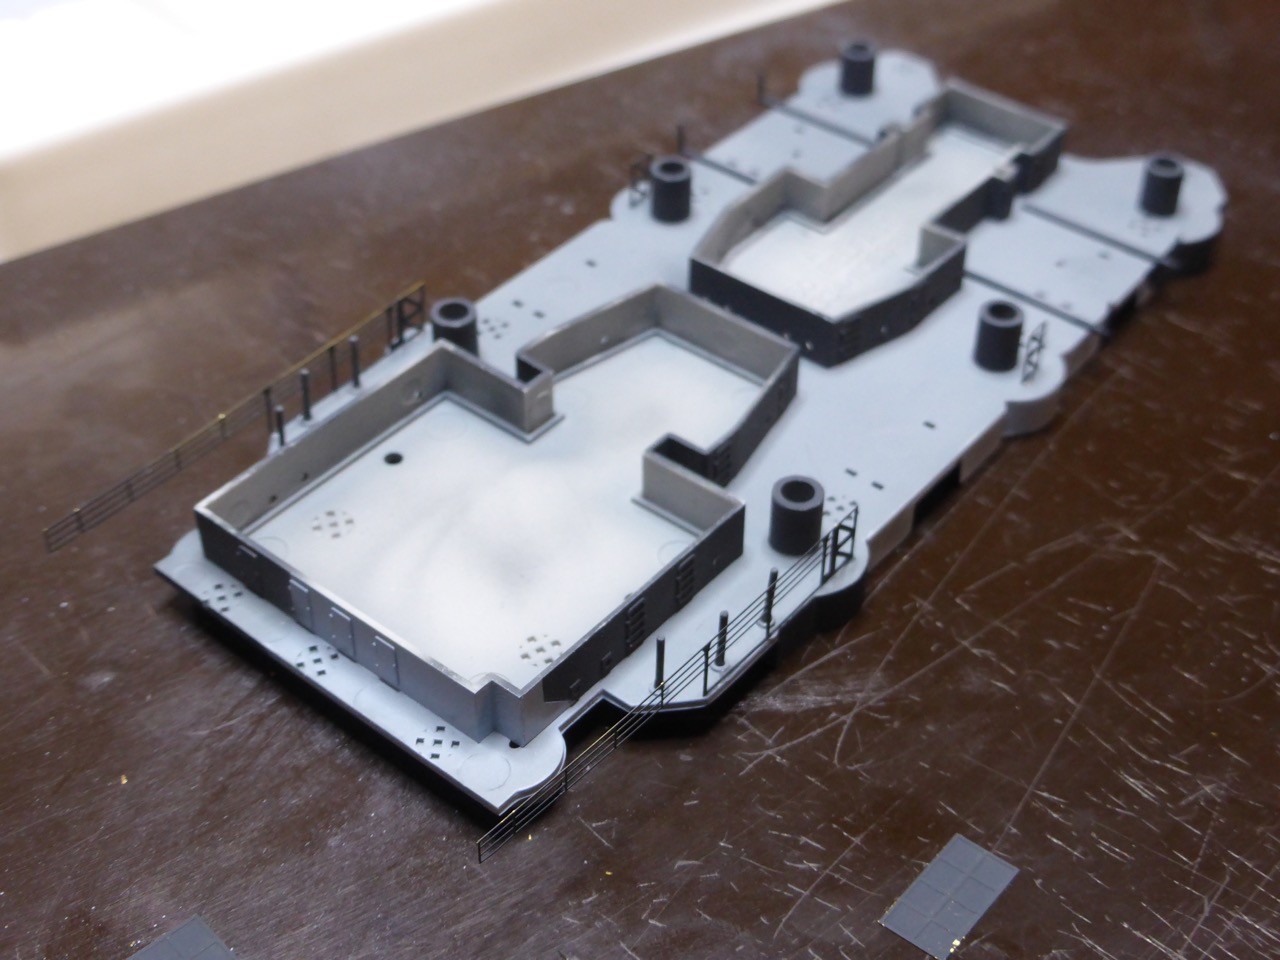
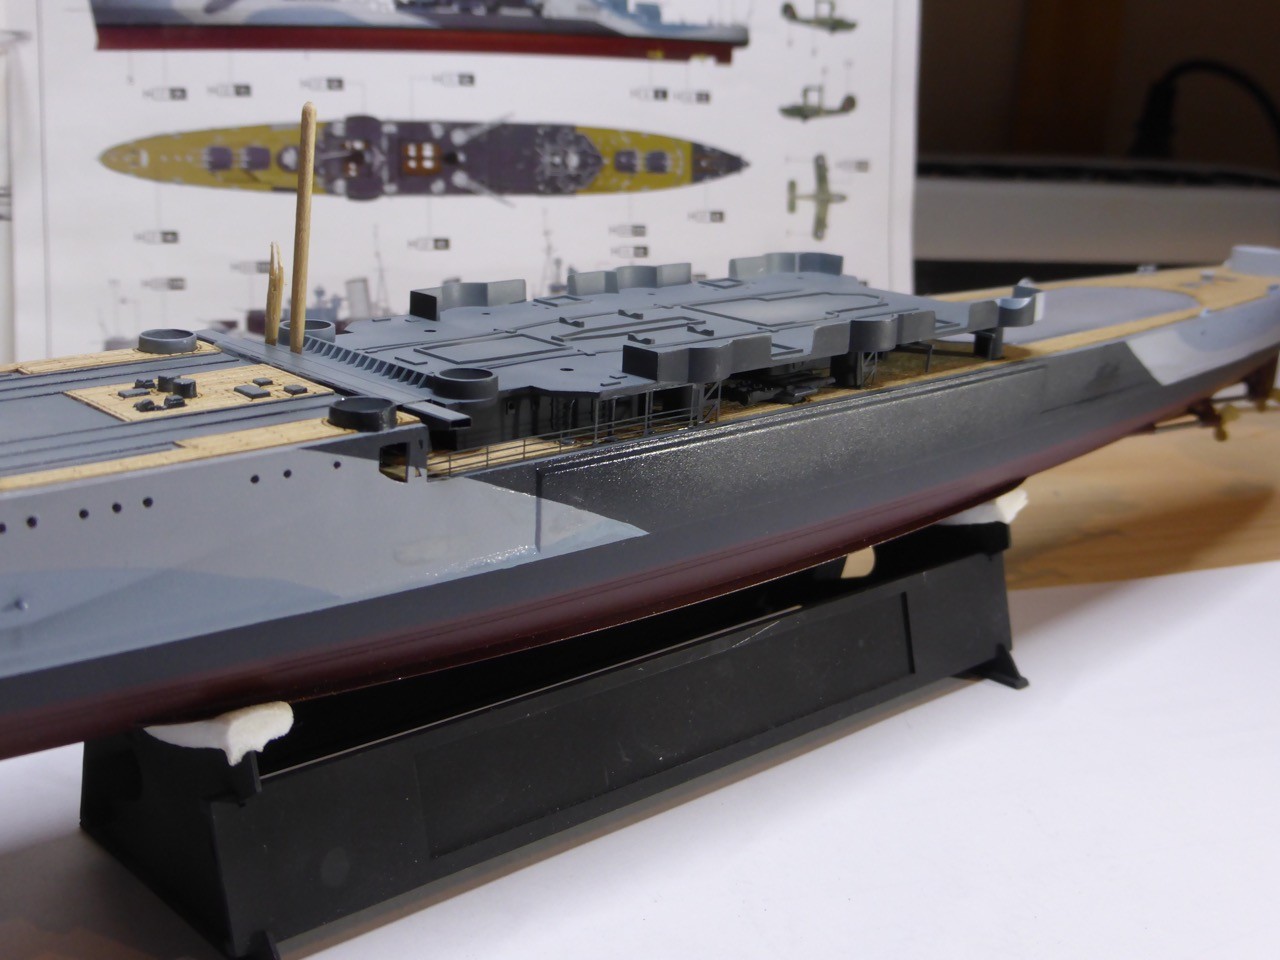
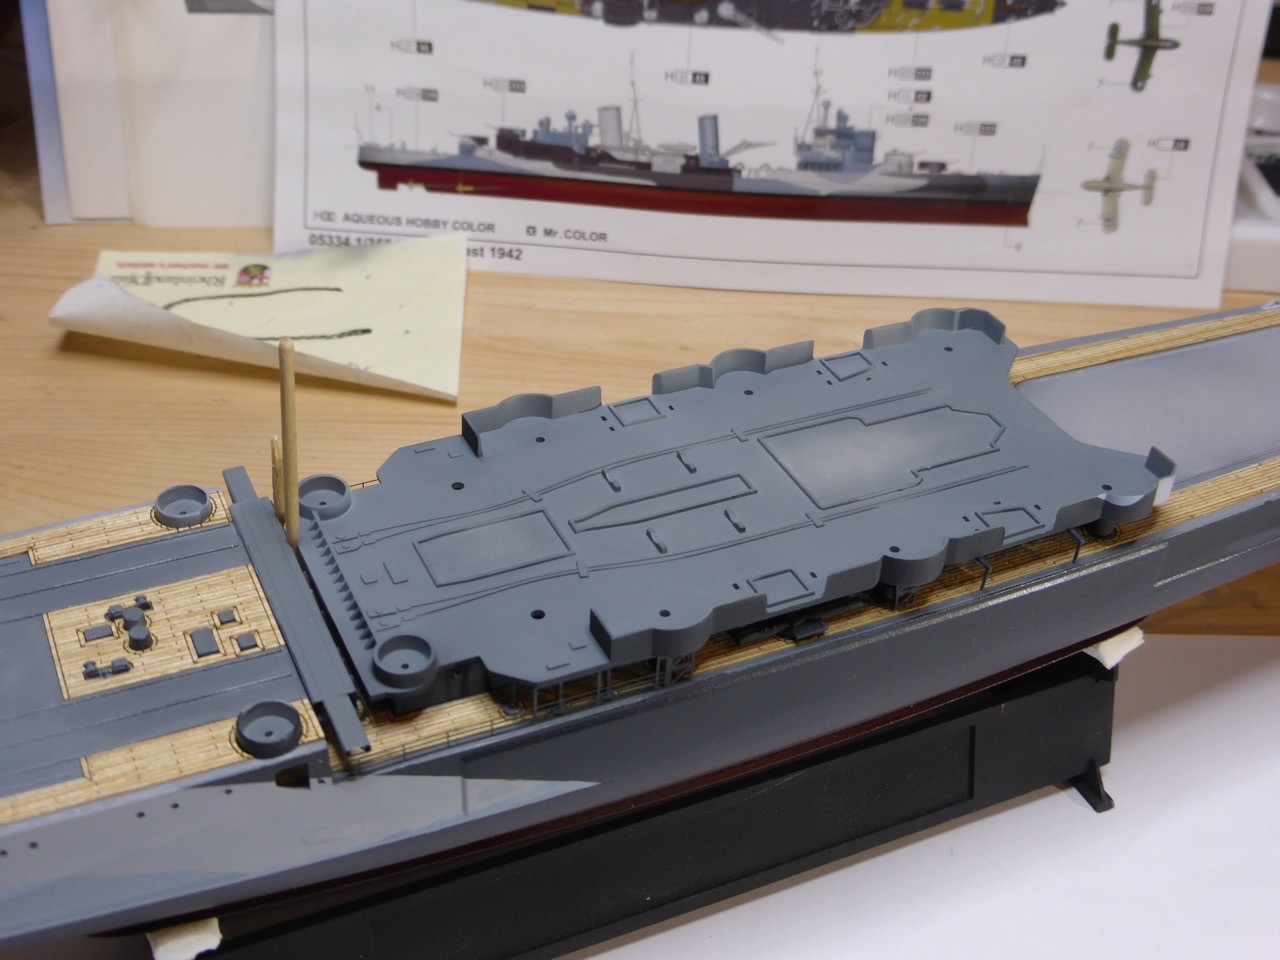
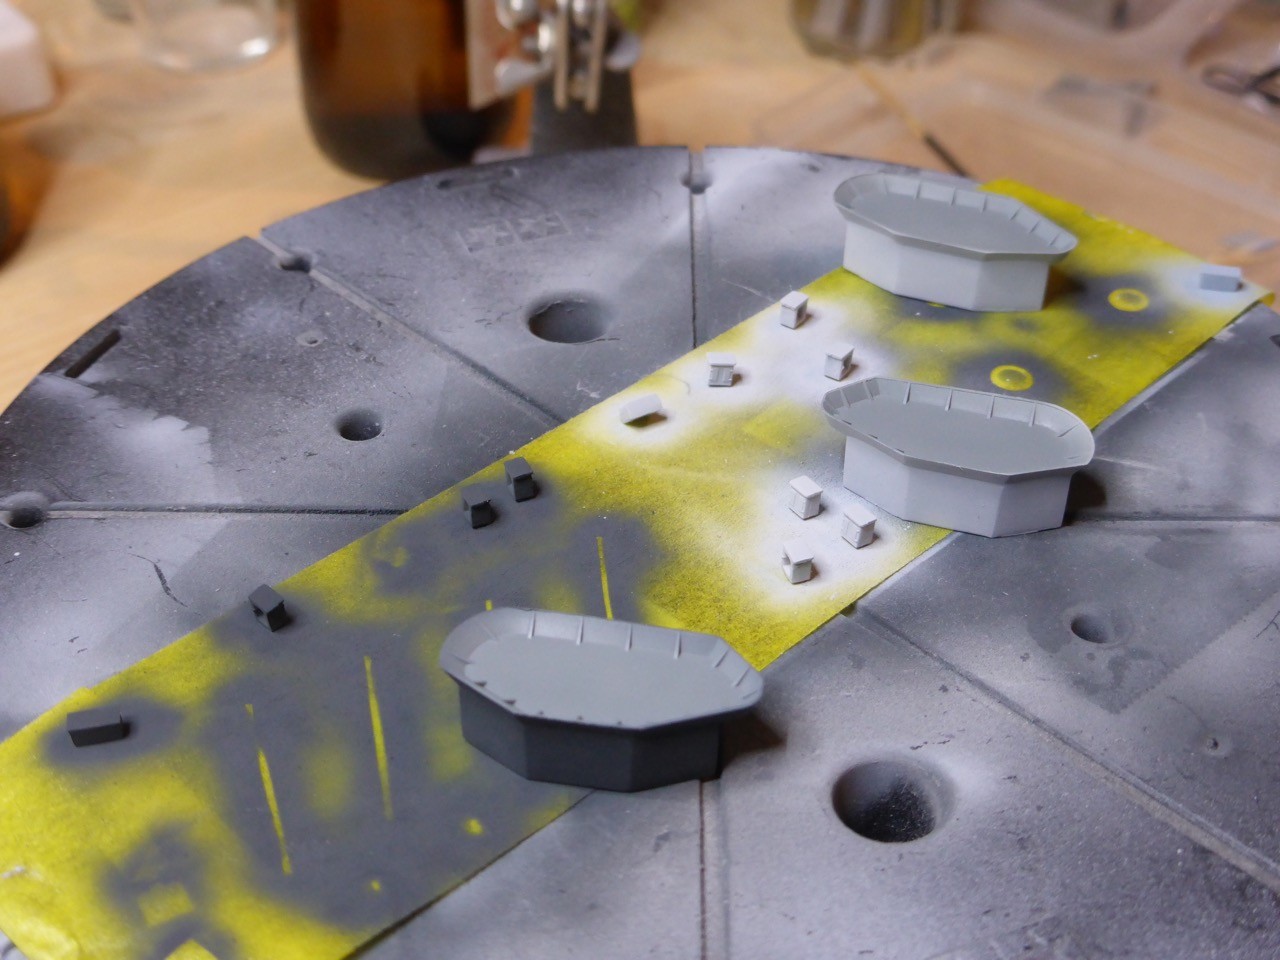
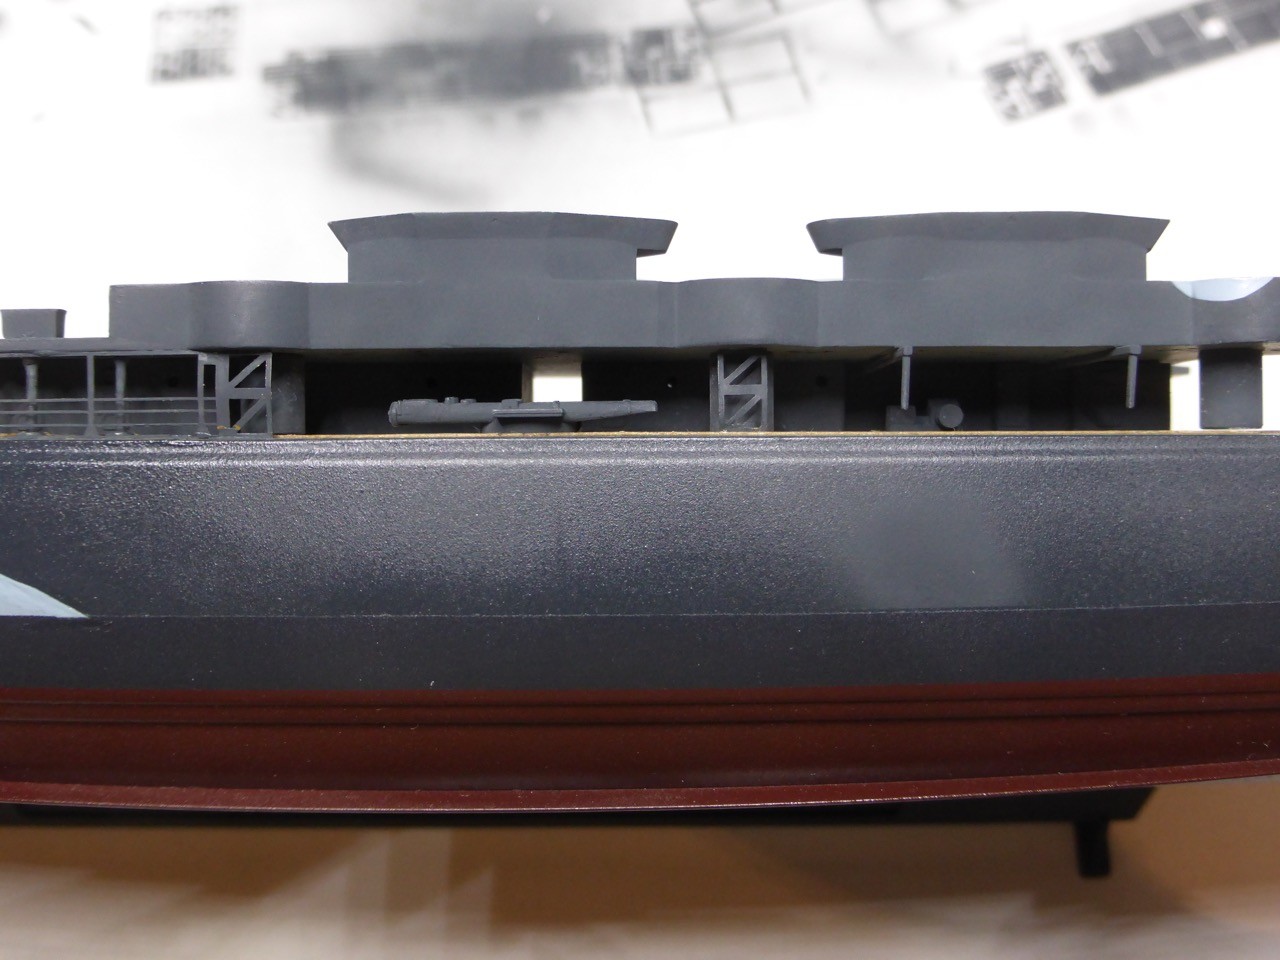
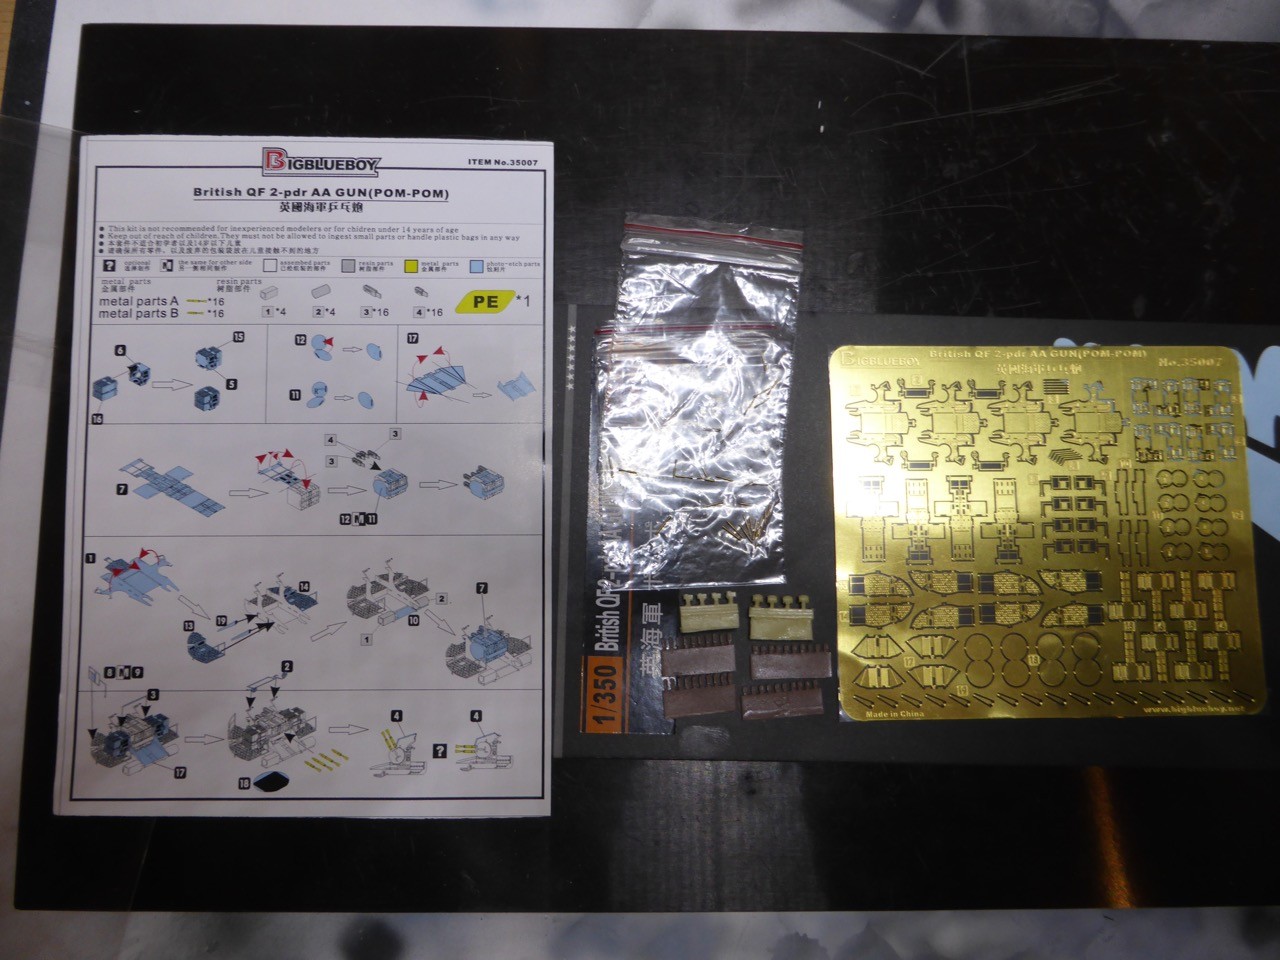
Here's the starting point once more.
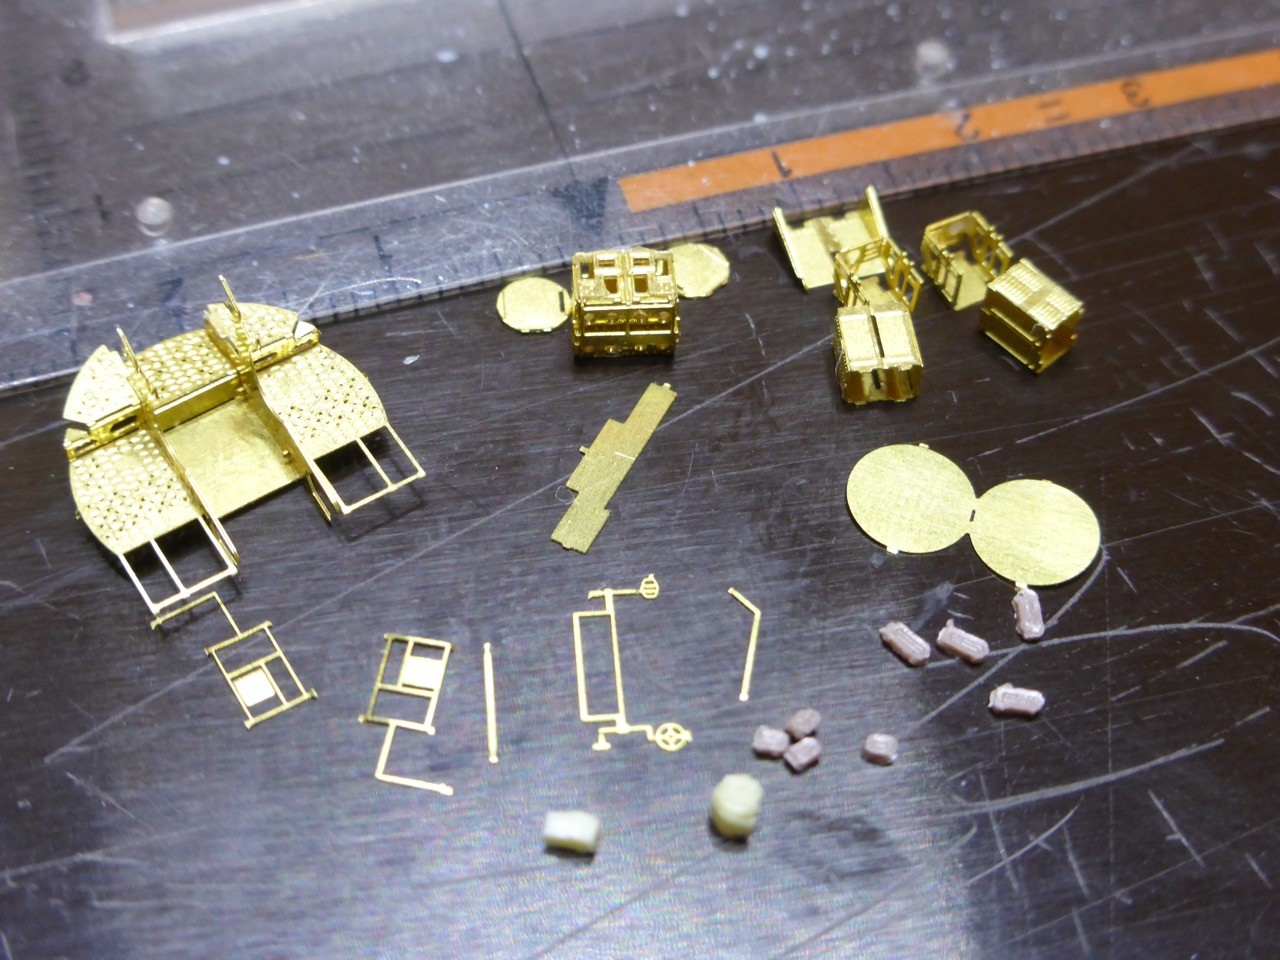
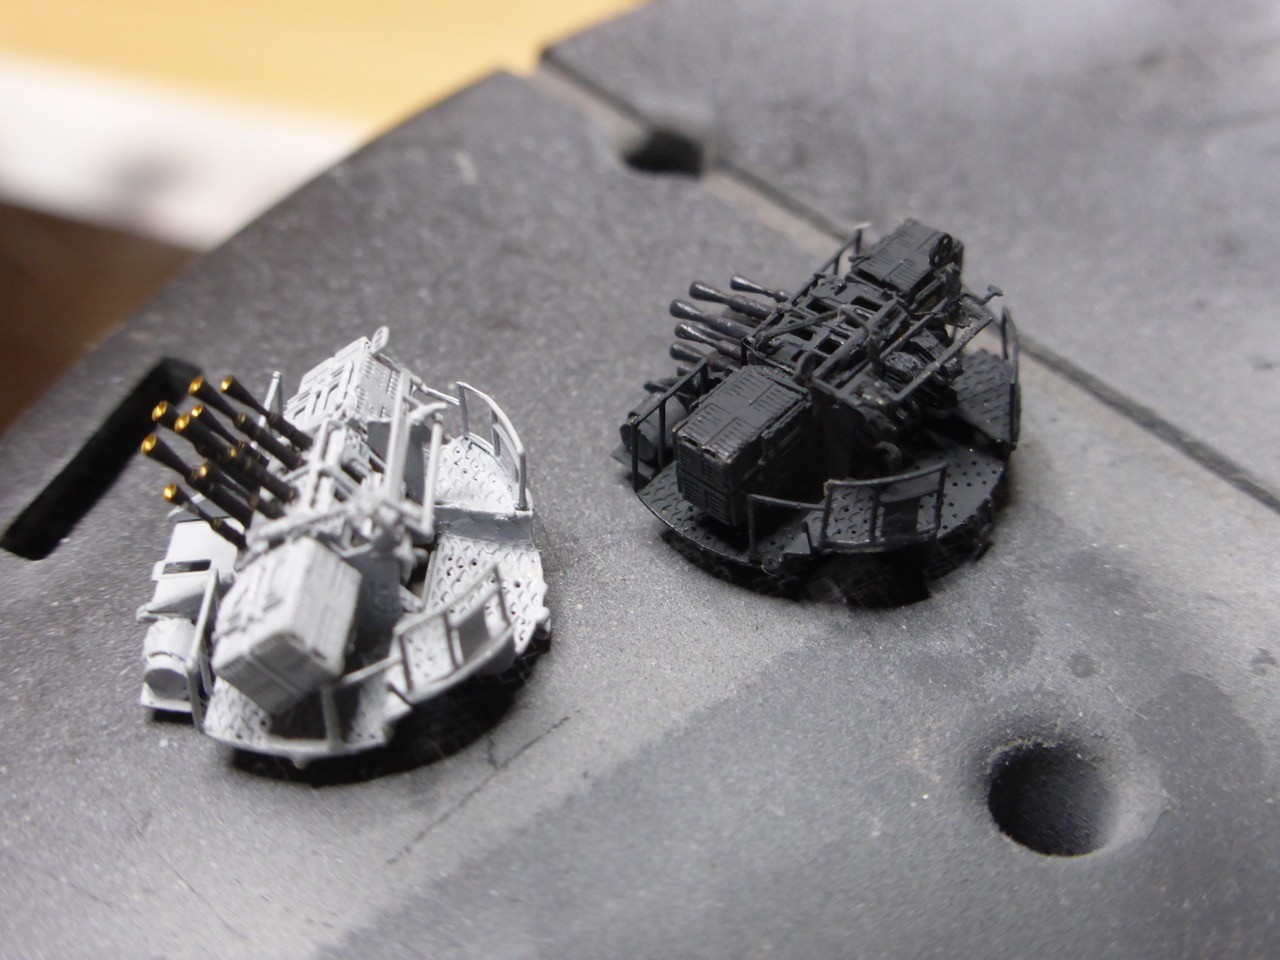
The kit is to build four. Two different length barrels are supplied, and some resin parts and one fret PE. The metal is rather thick and a little bit sturdy, but the etching is really good. So it is quite easy to handle, not really fragile, but this comes with a price: make sure you bend it right the first time. reversing the bend is likely to destroy the part...
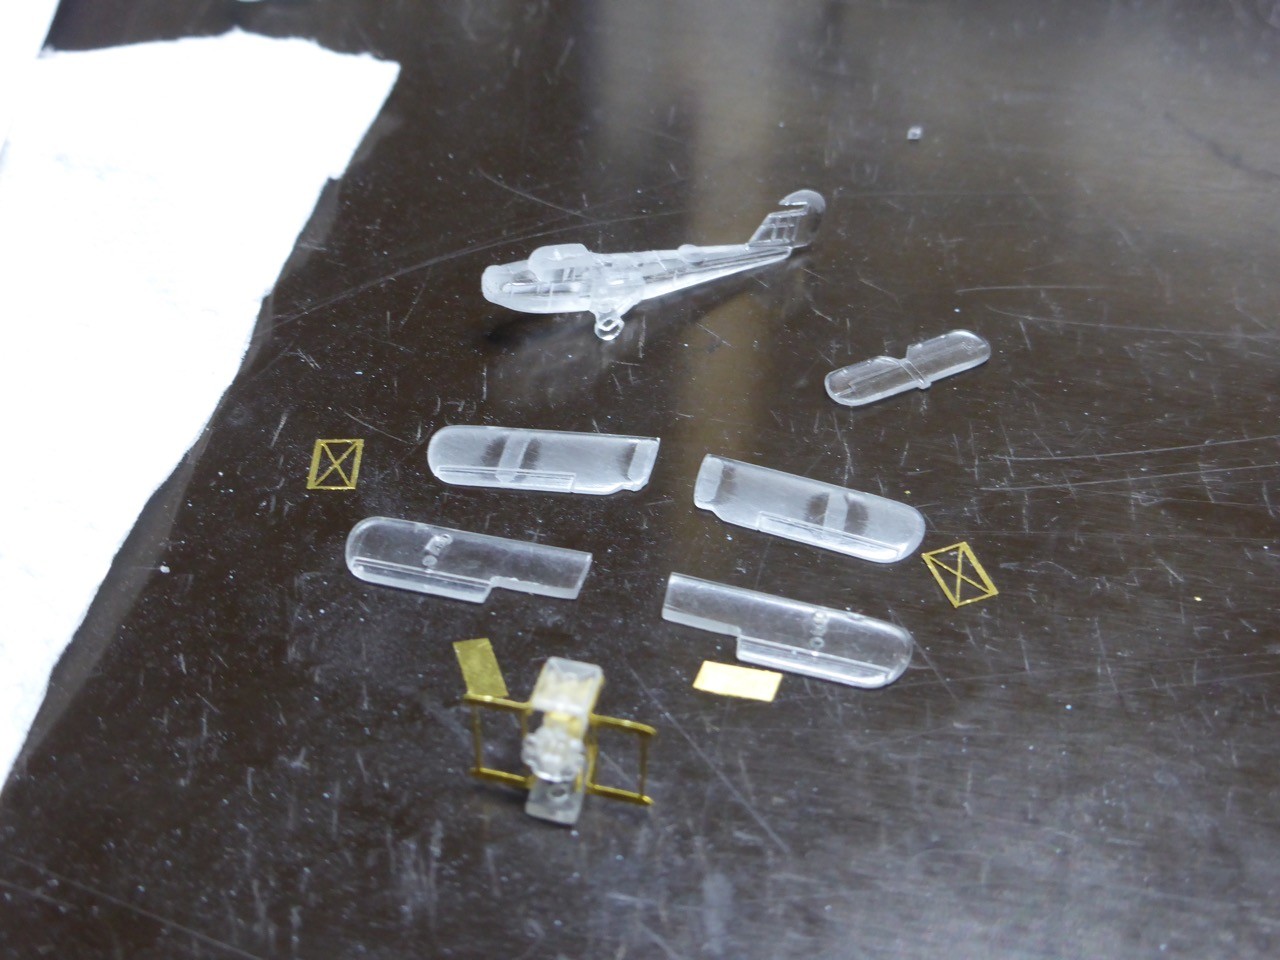
On a VERY positive note: there are surplus parts for all the very small parts, PE and resin. The barrels are exact number, though.
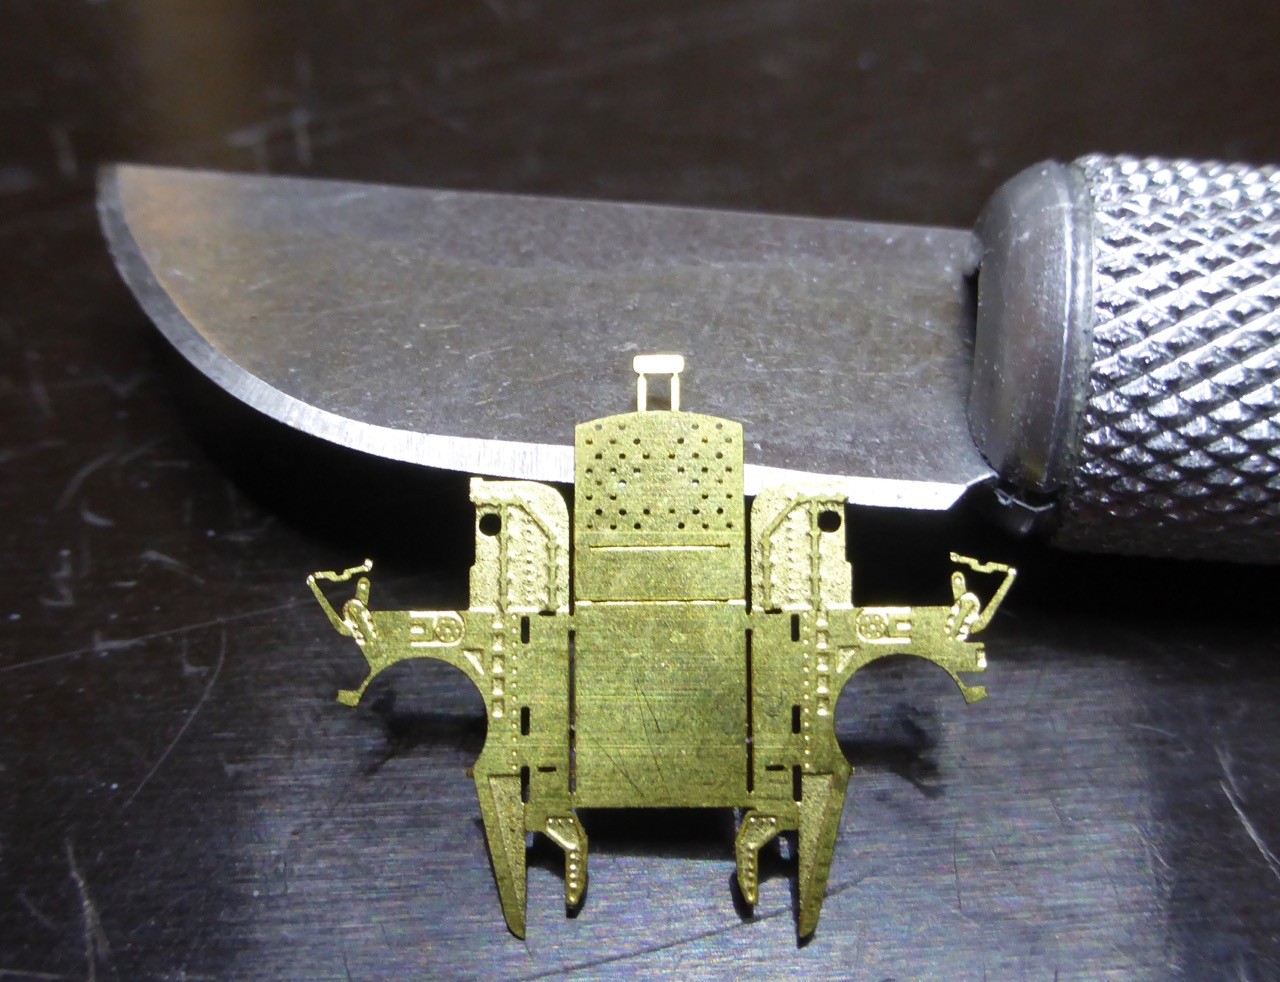
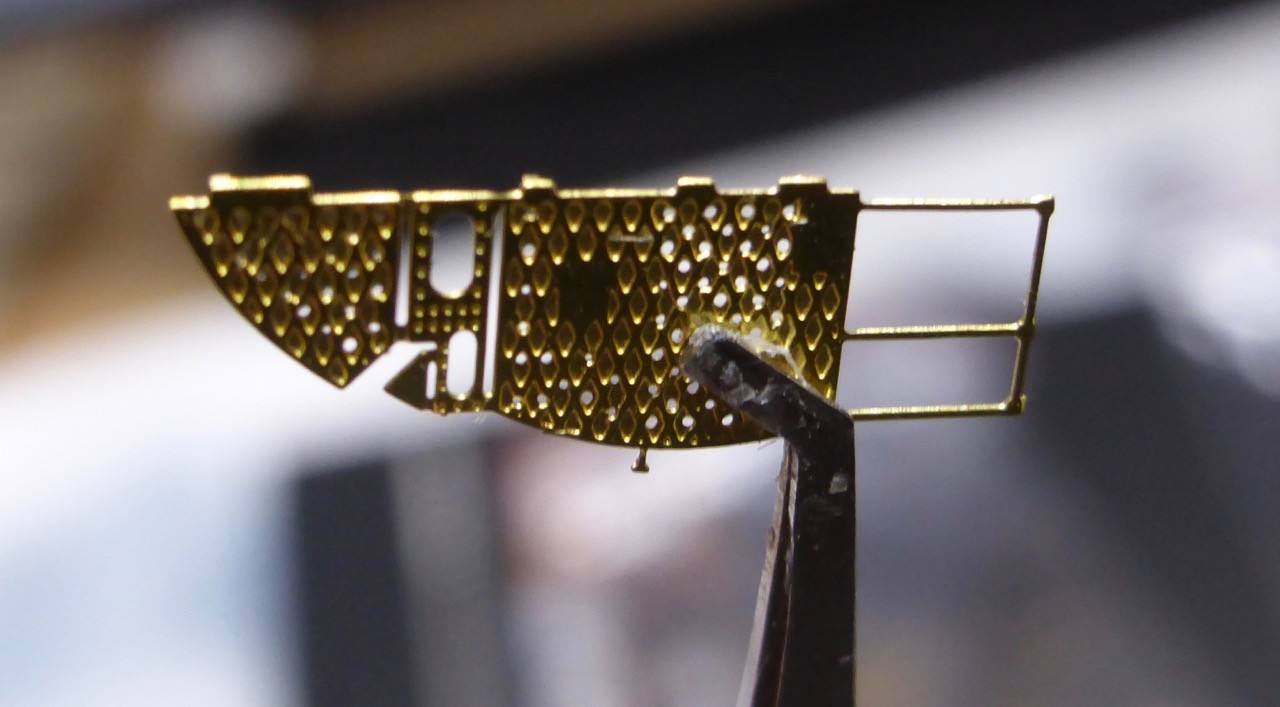
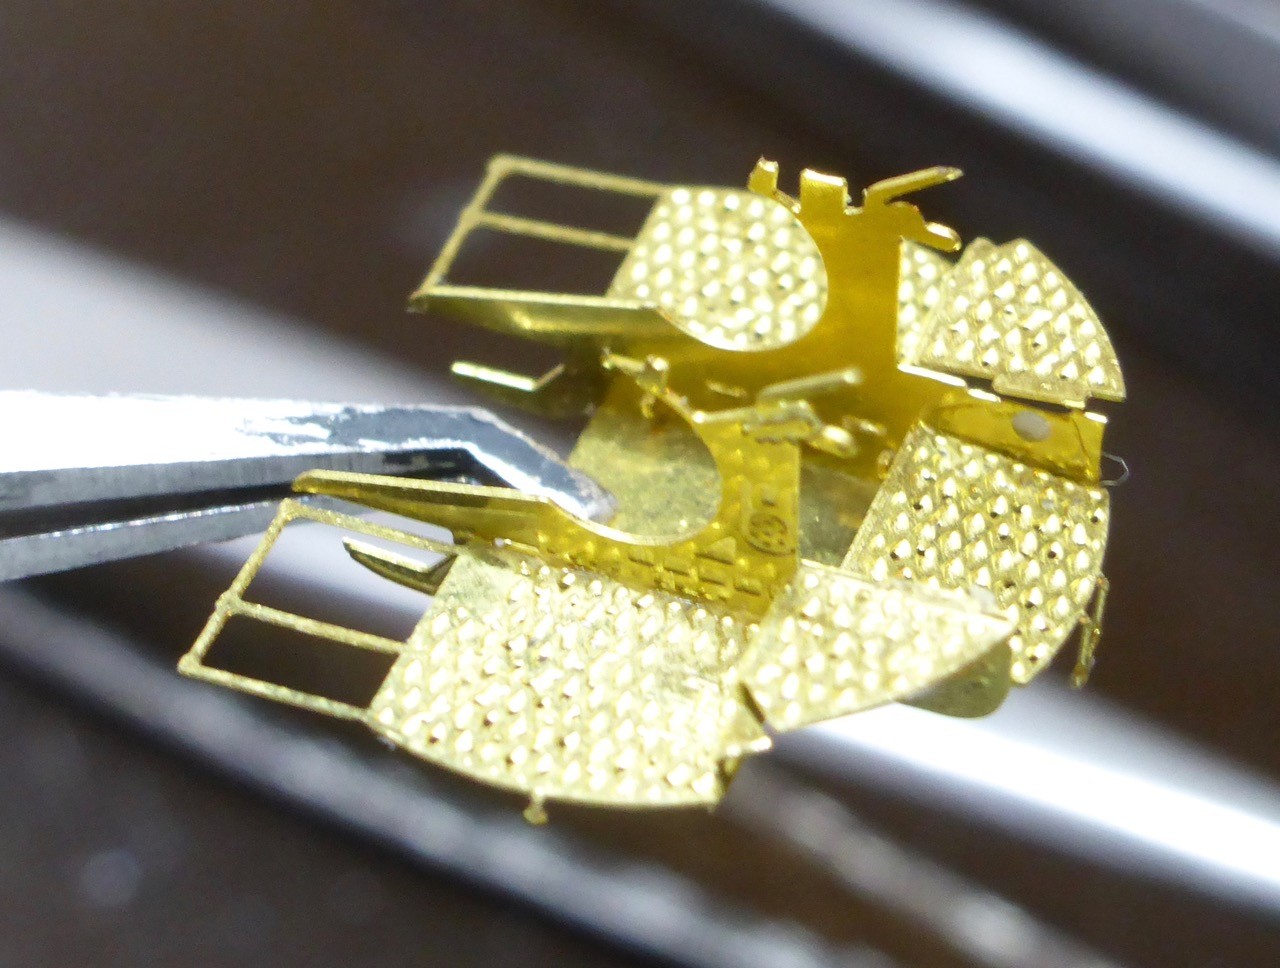
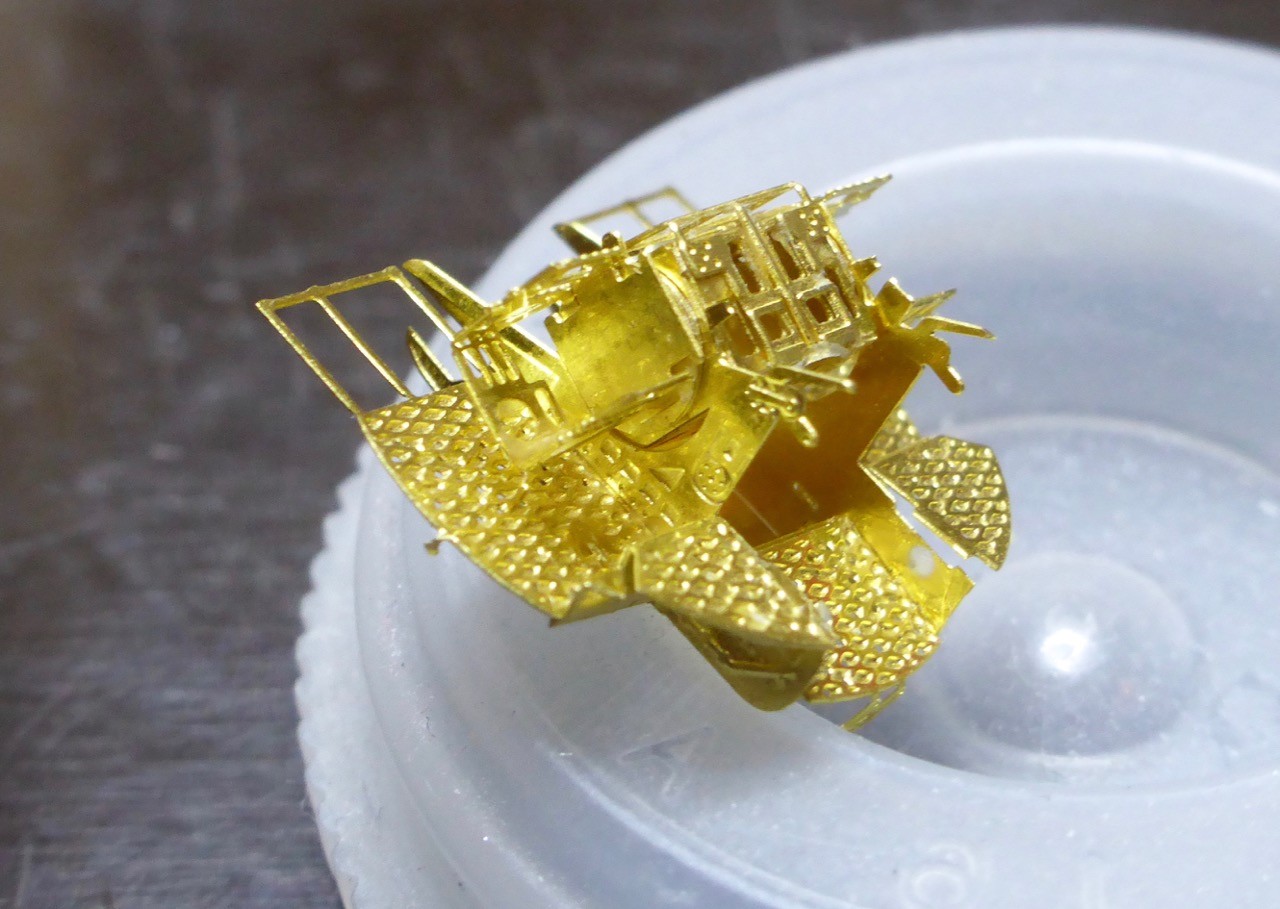
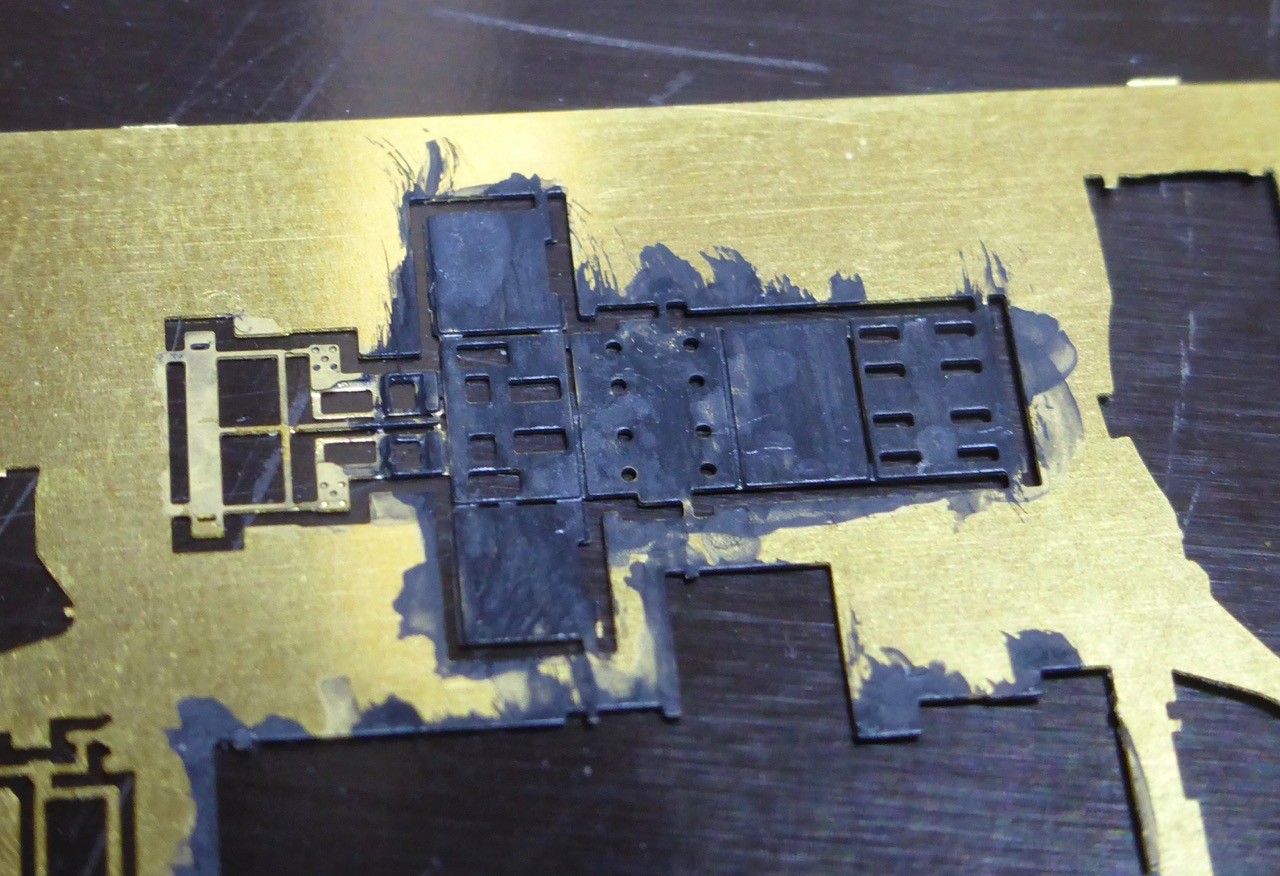
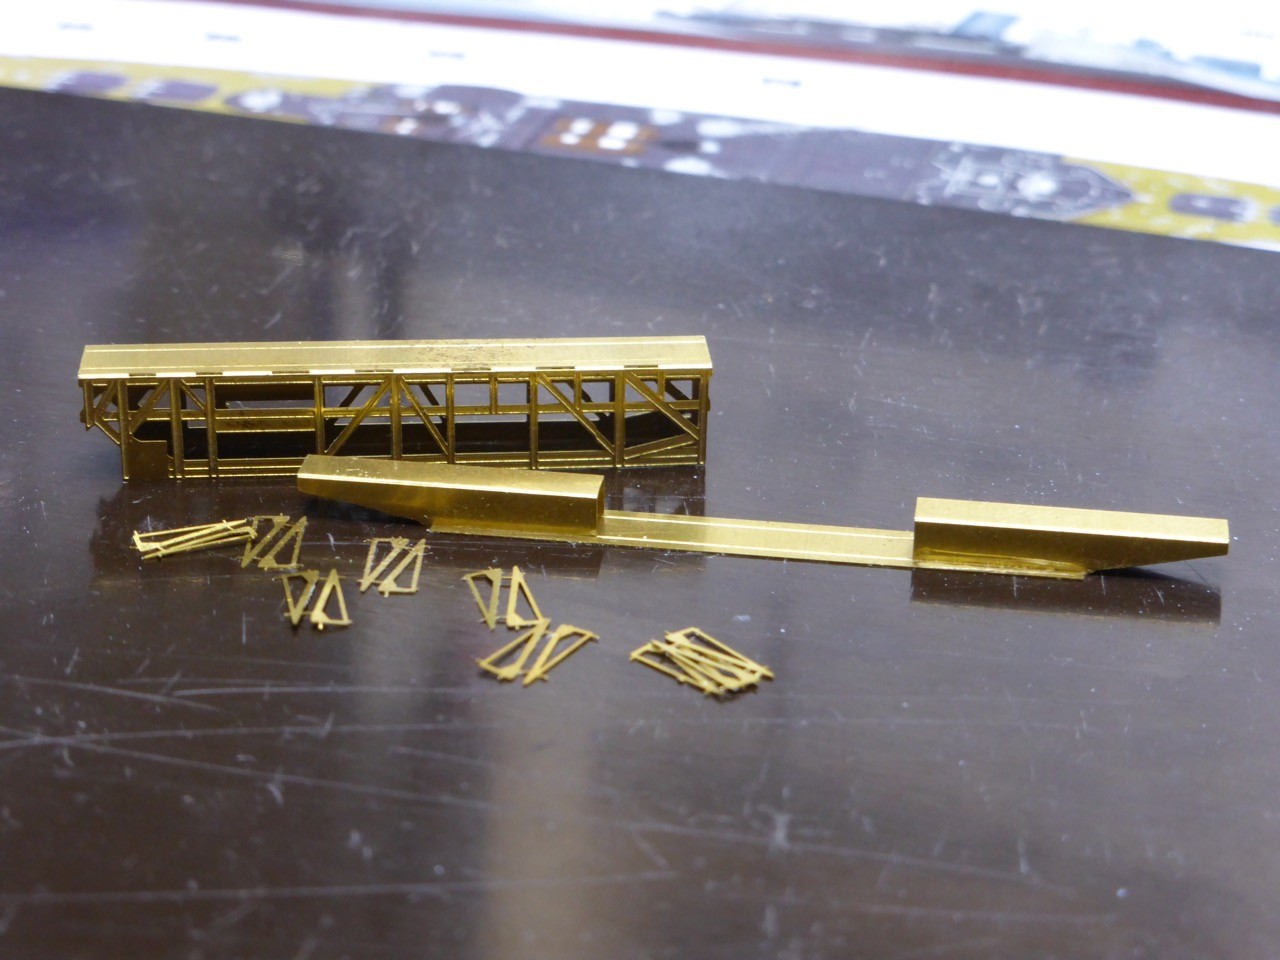
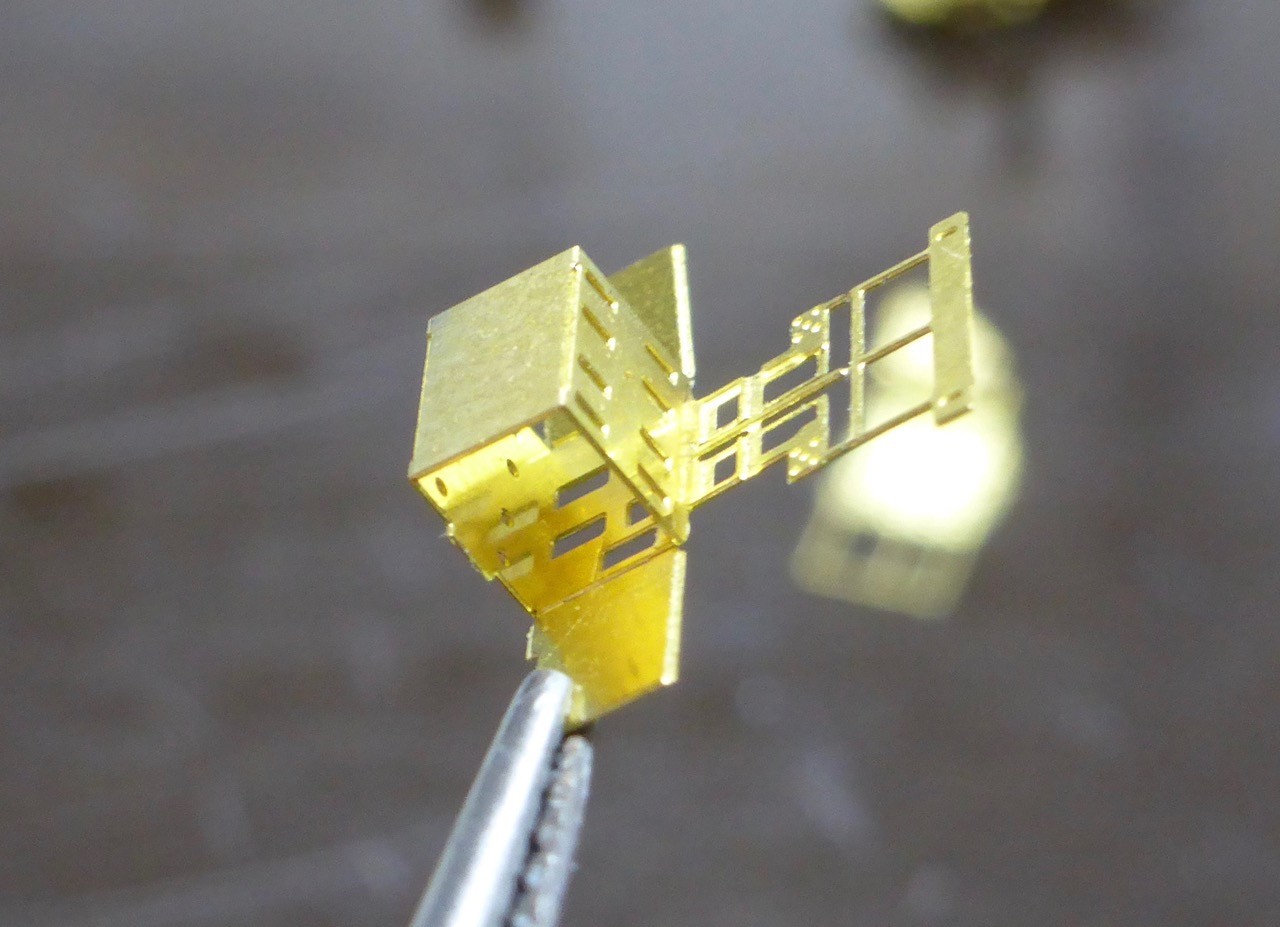
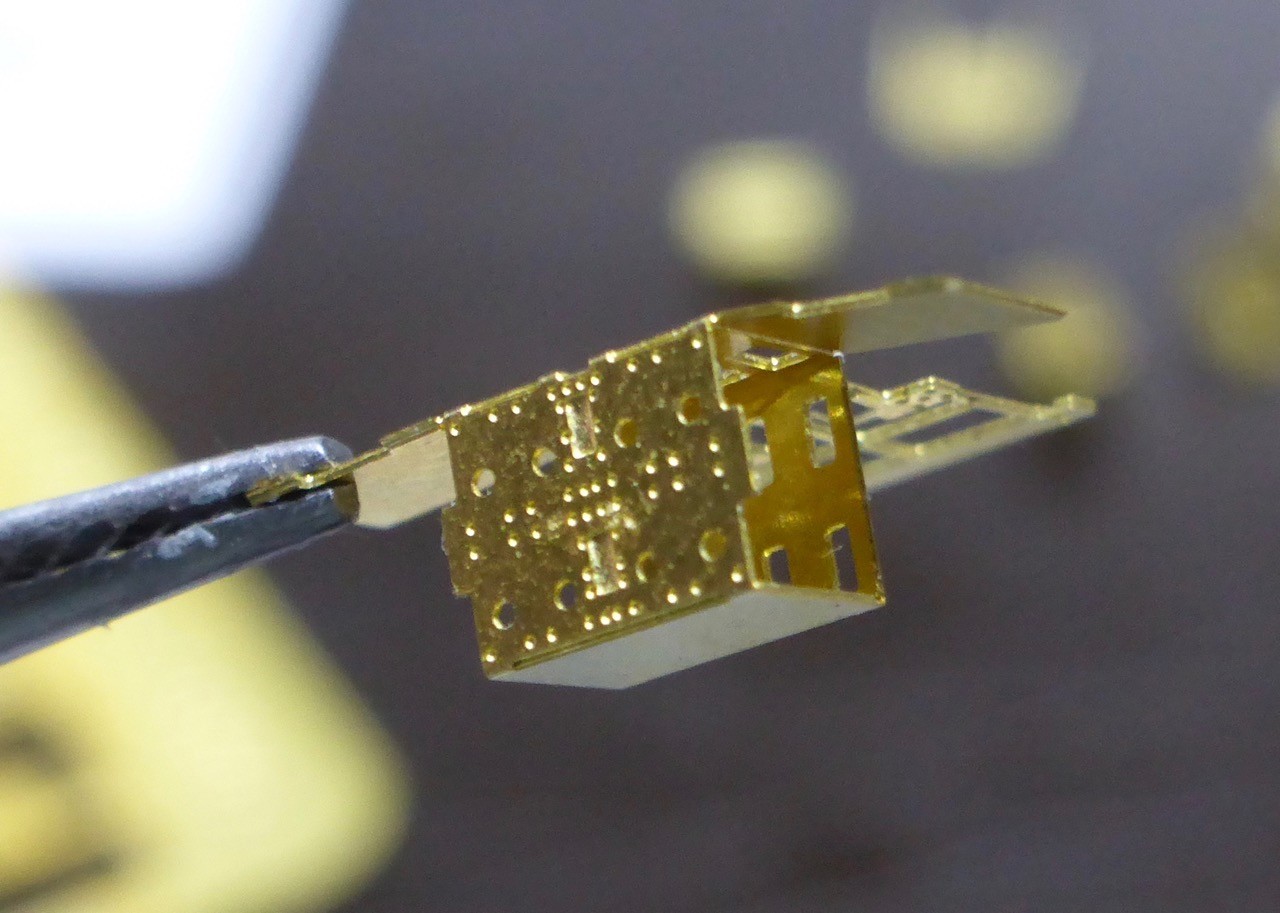
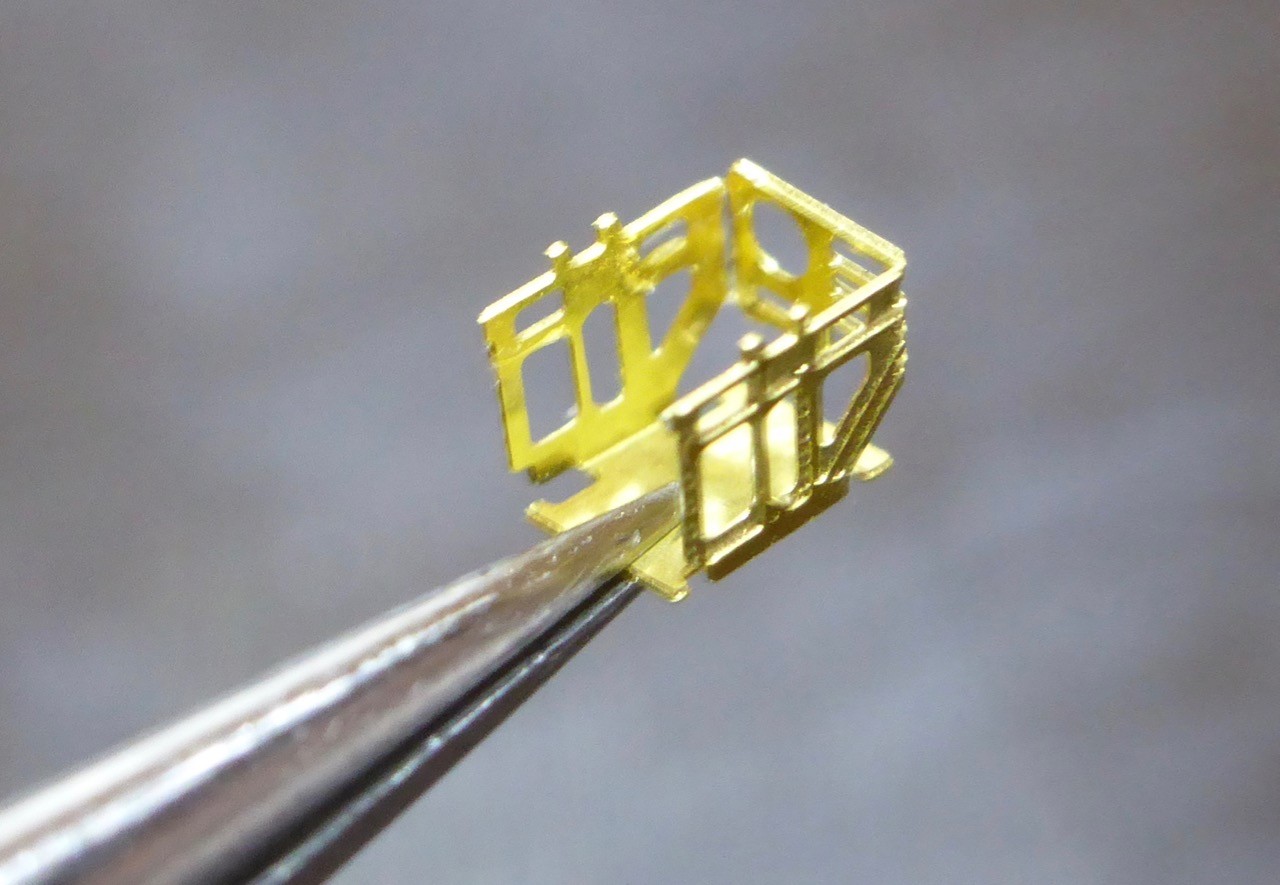
Some PE origami

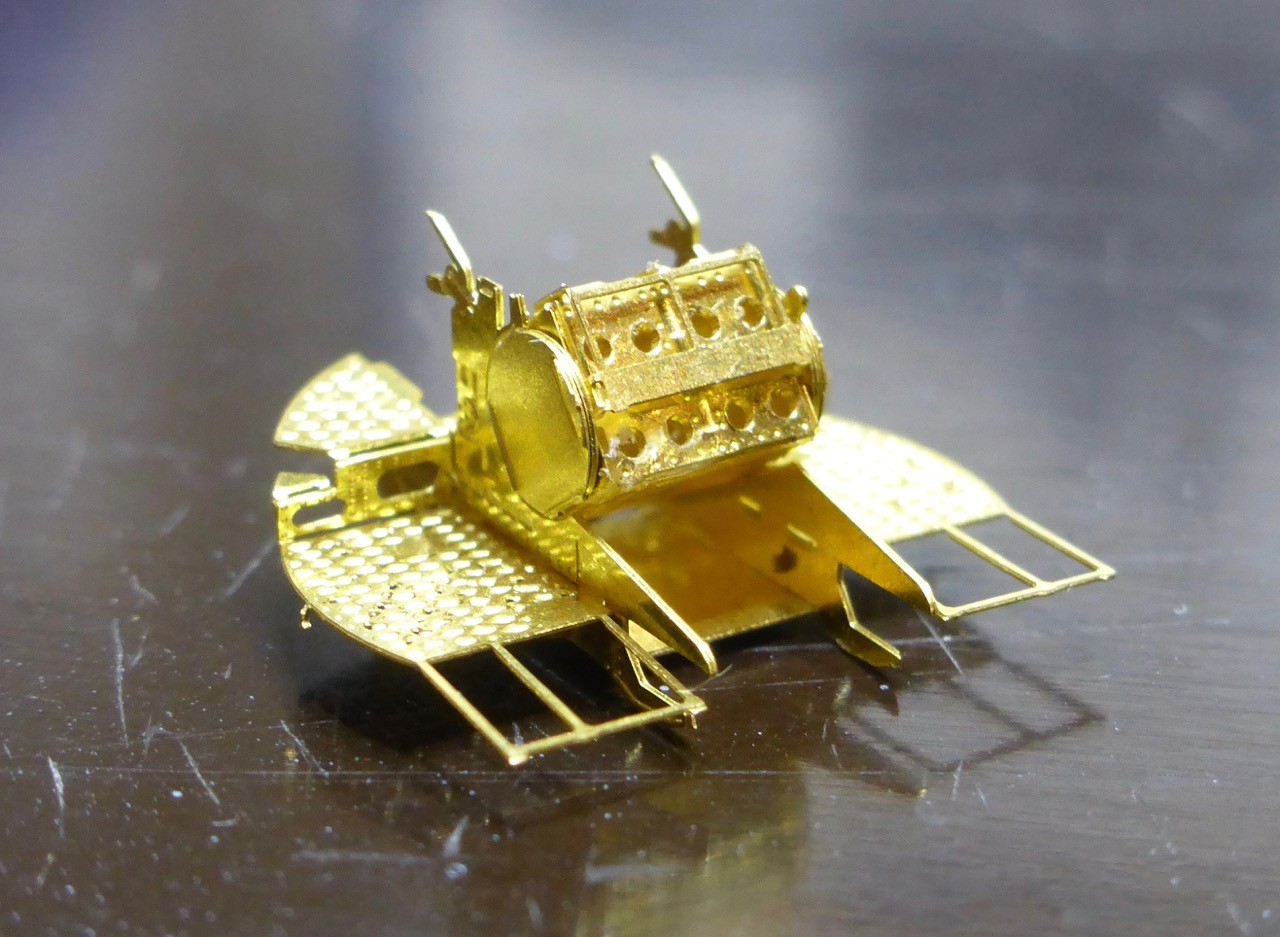
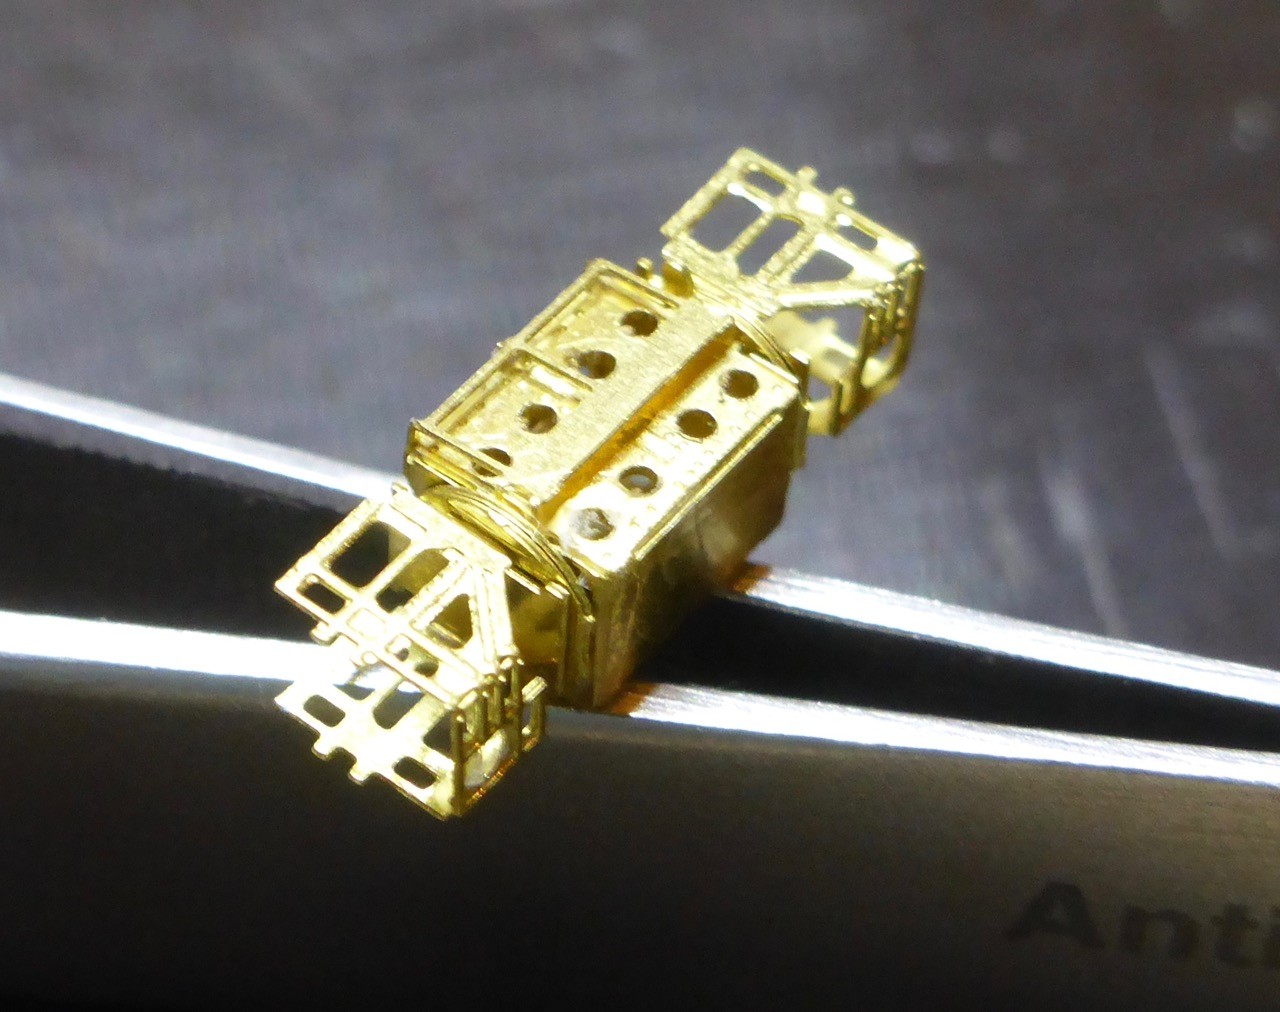
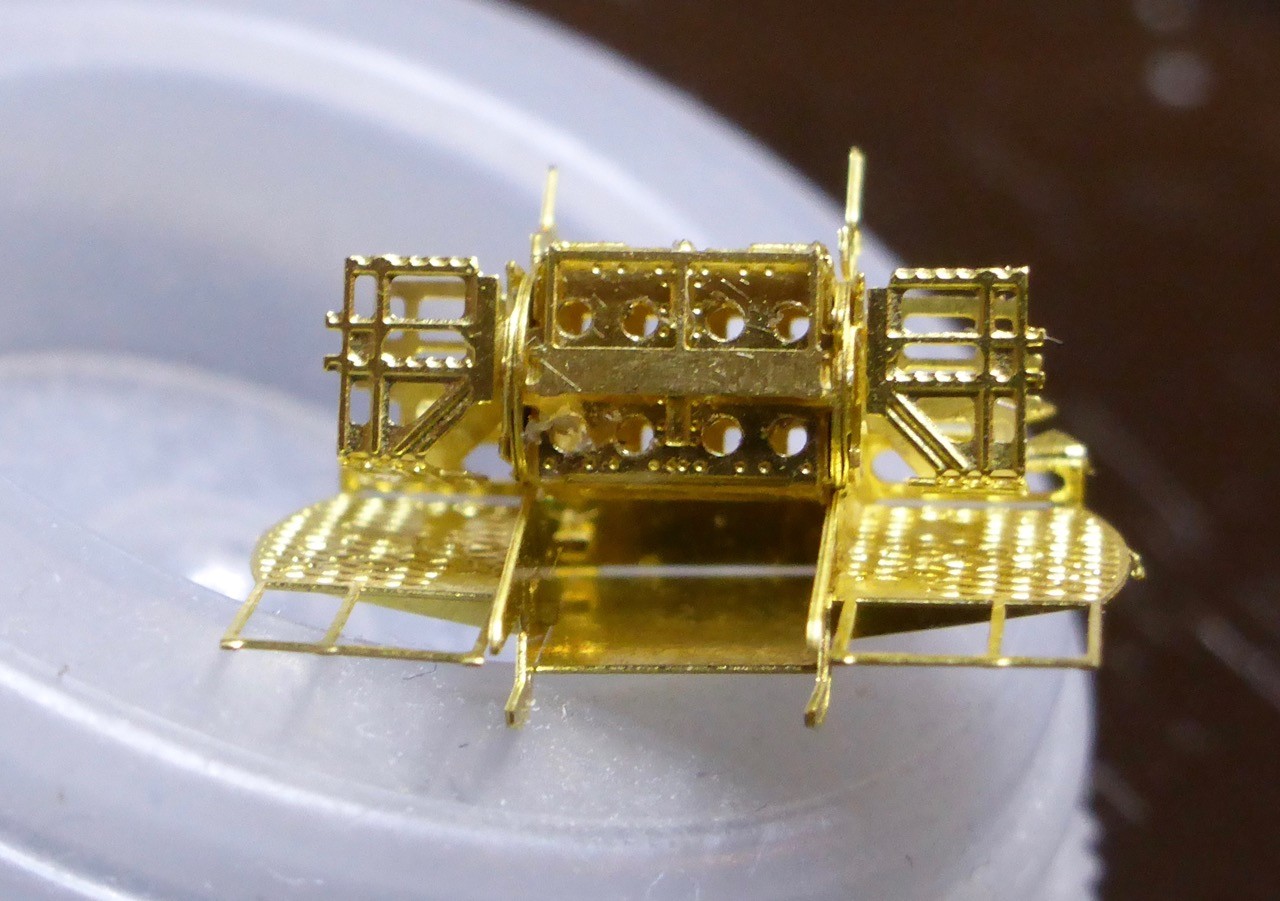
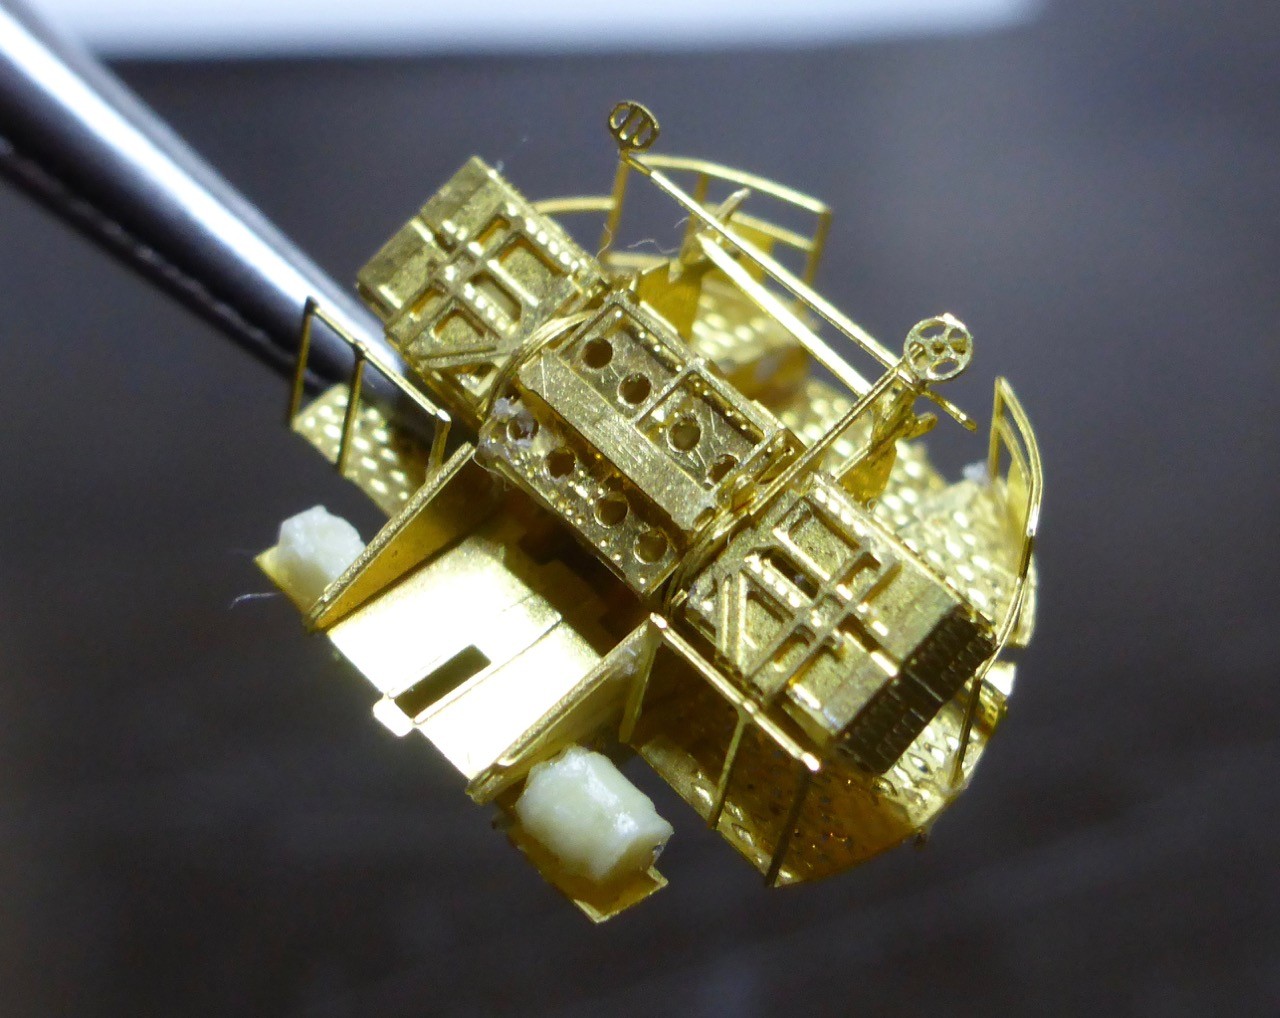
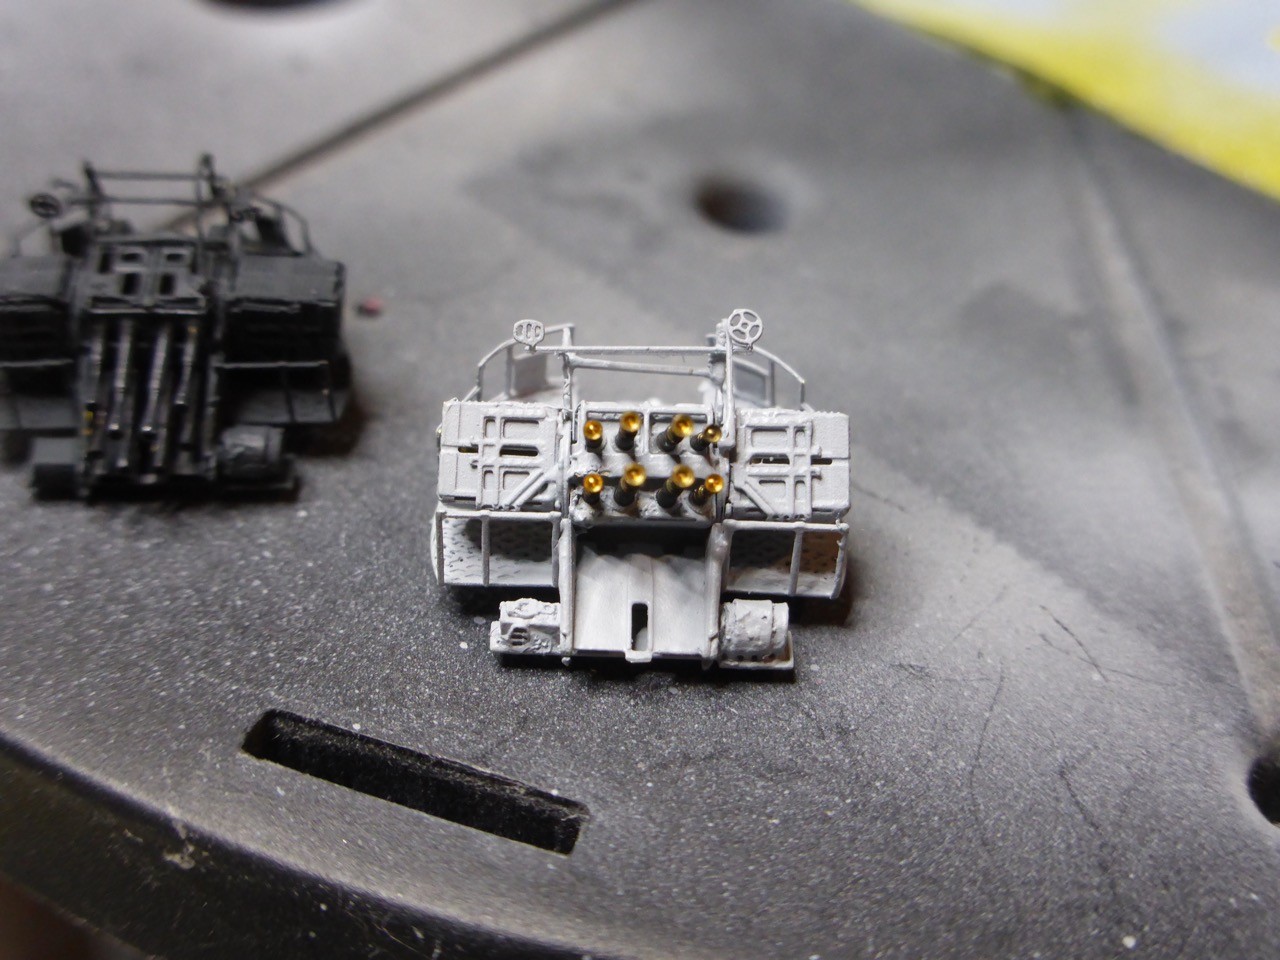
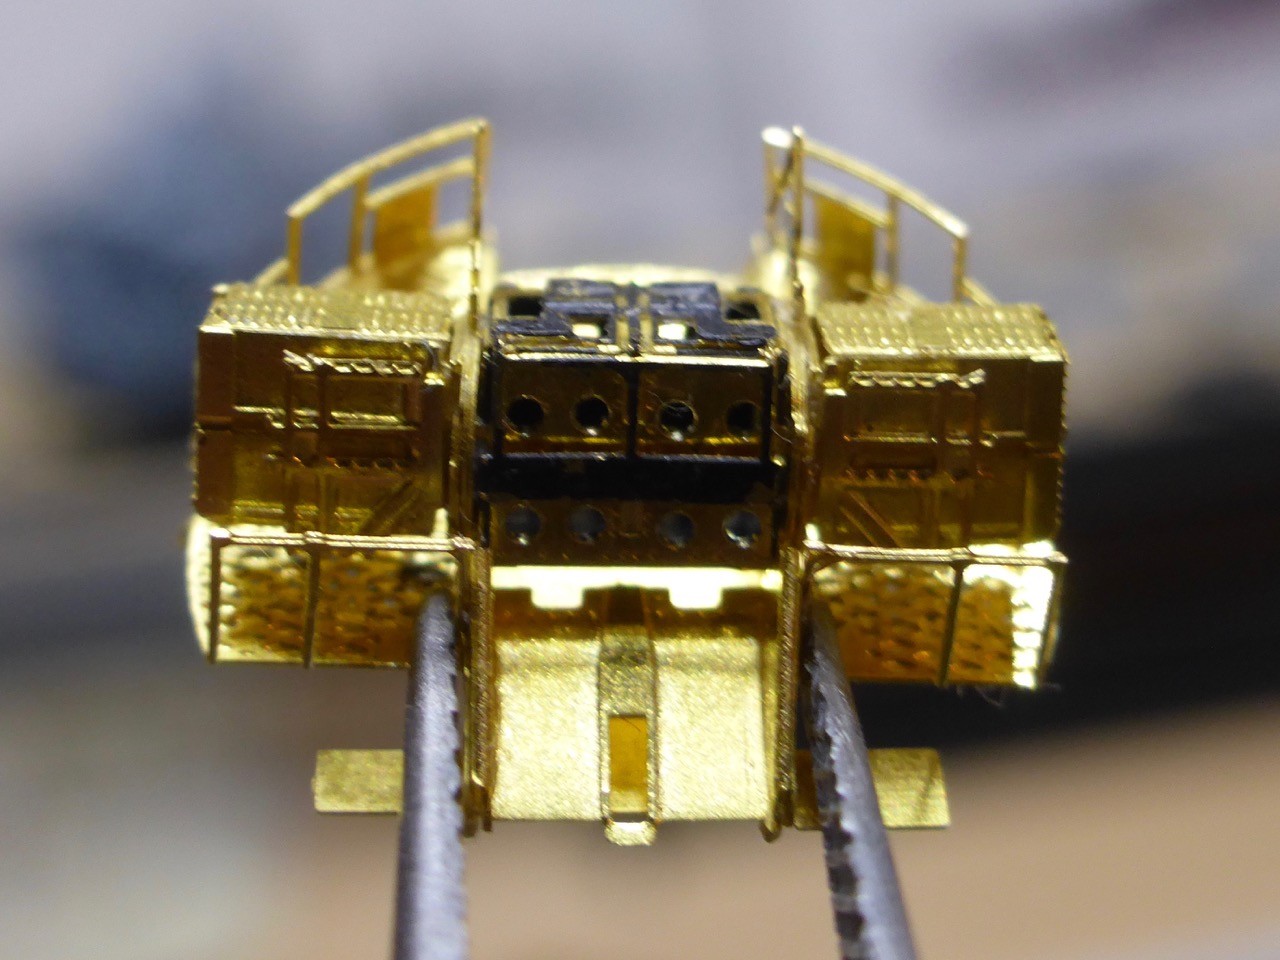
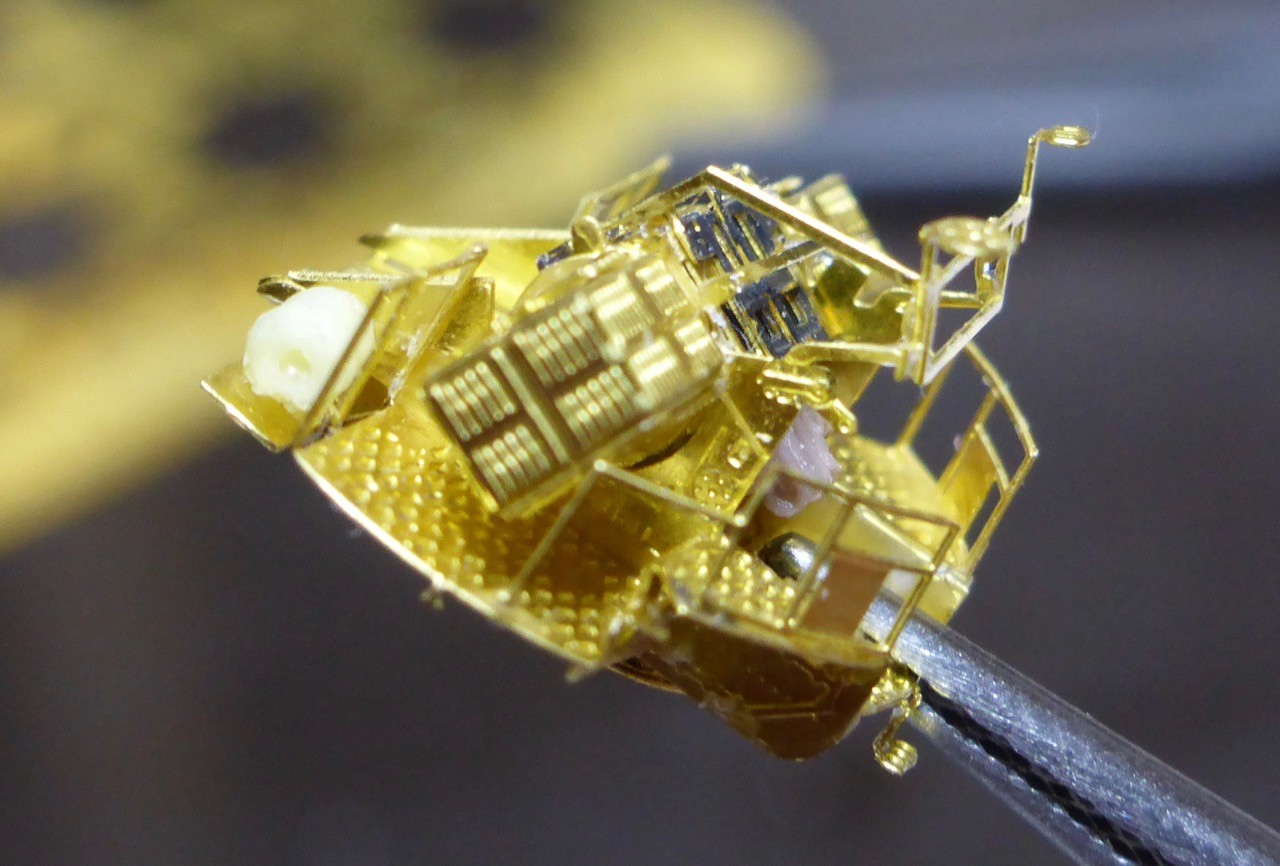
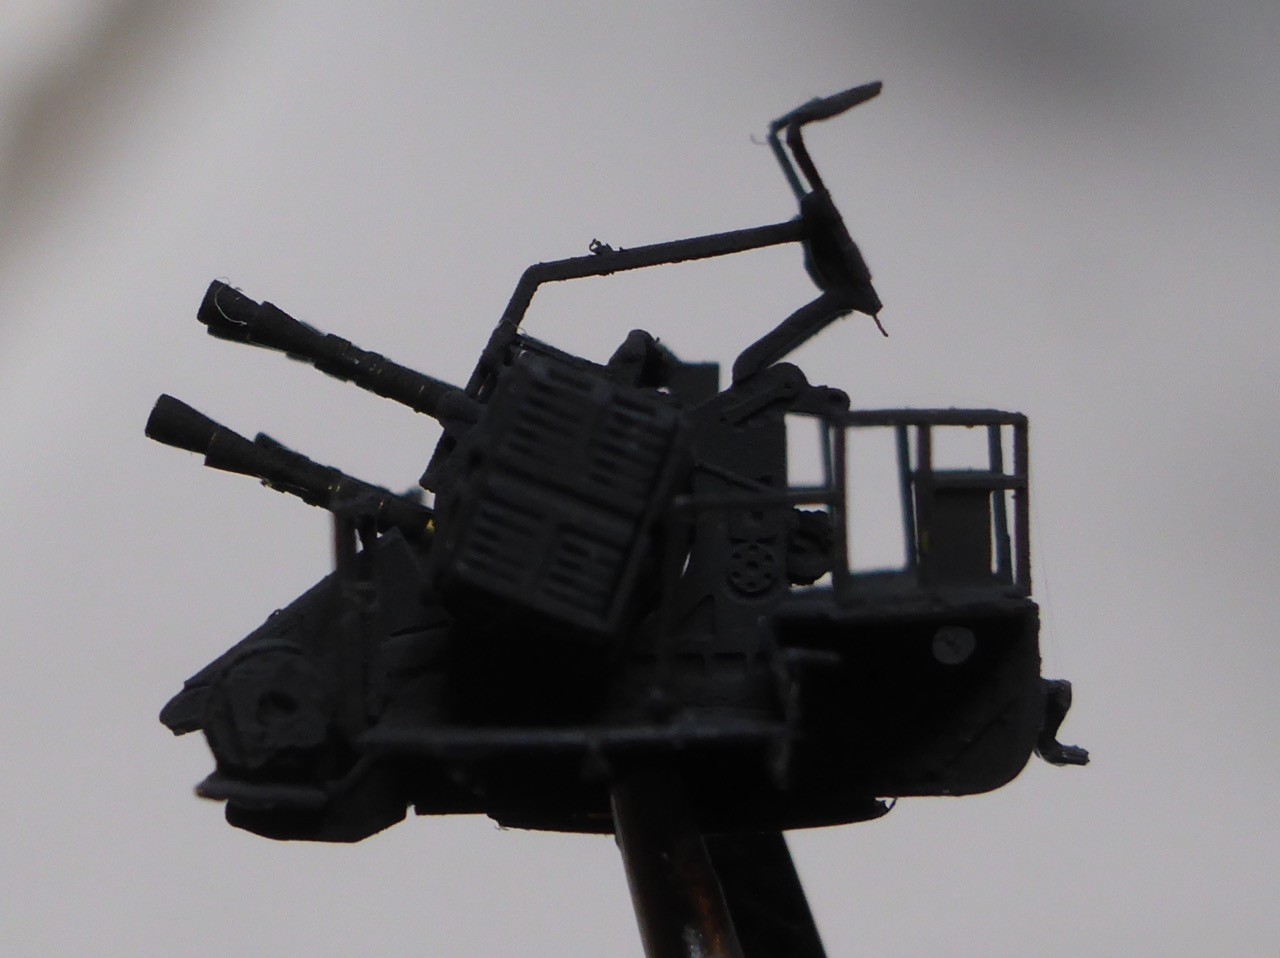
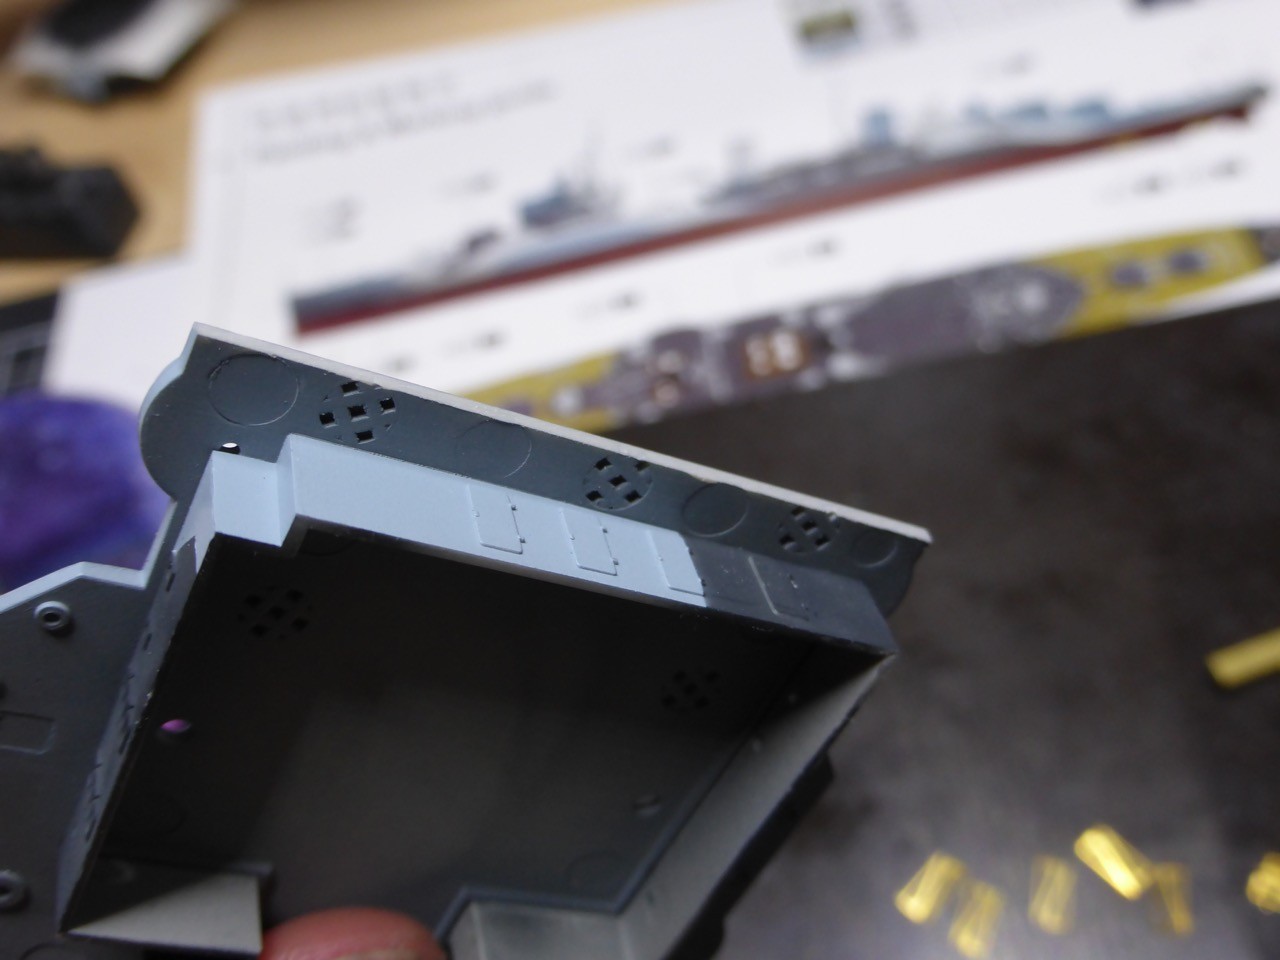
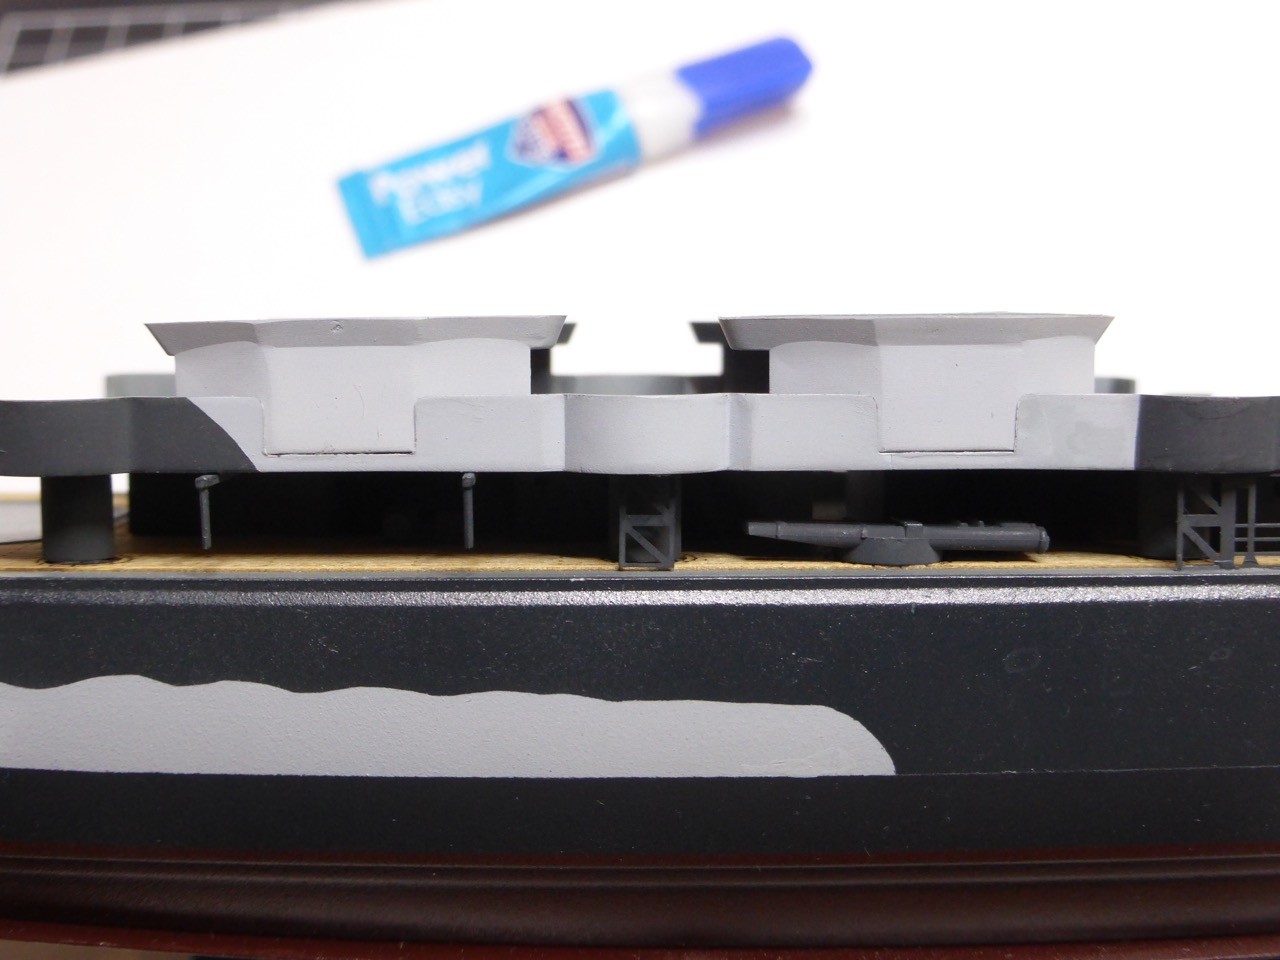
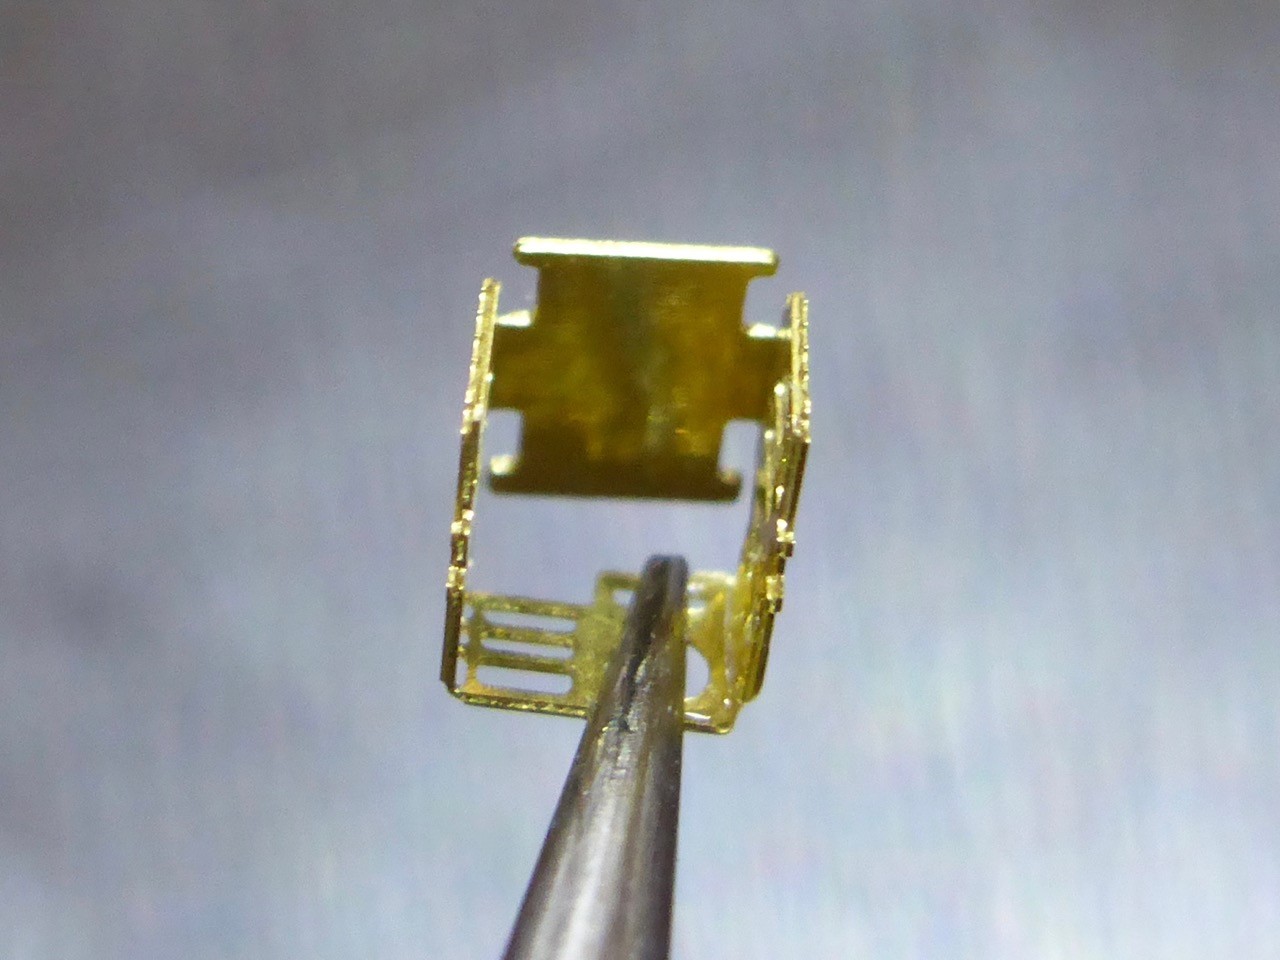
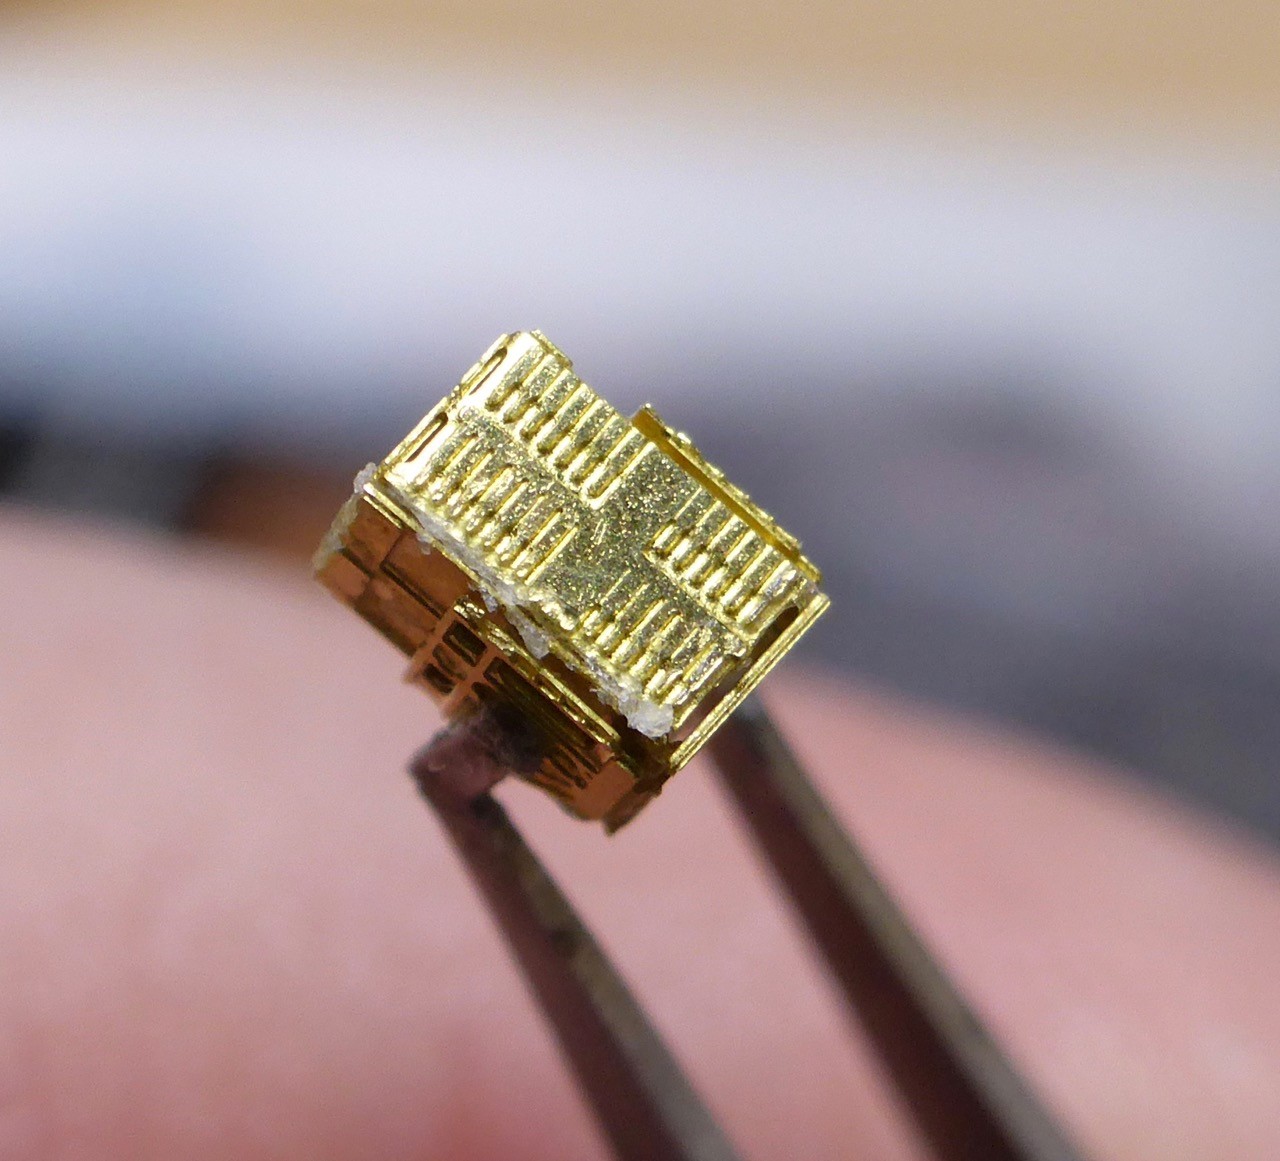
This is going to be the central part of the gun, basically the eight breeches.

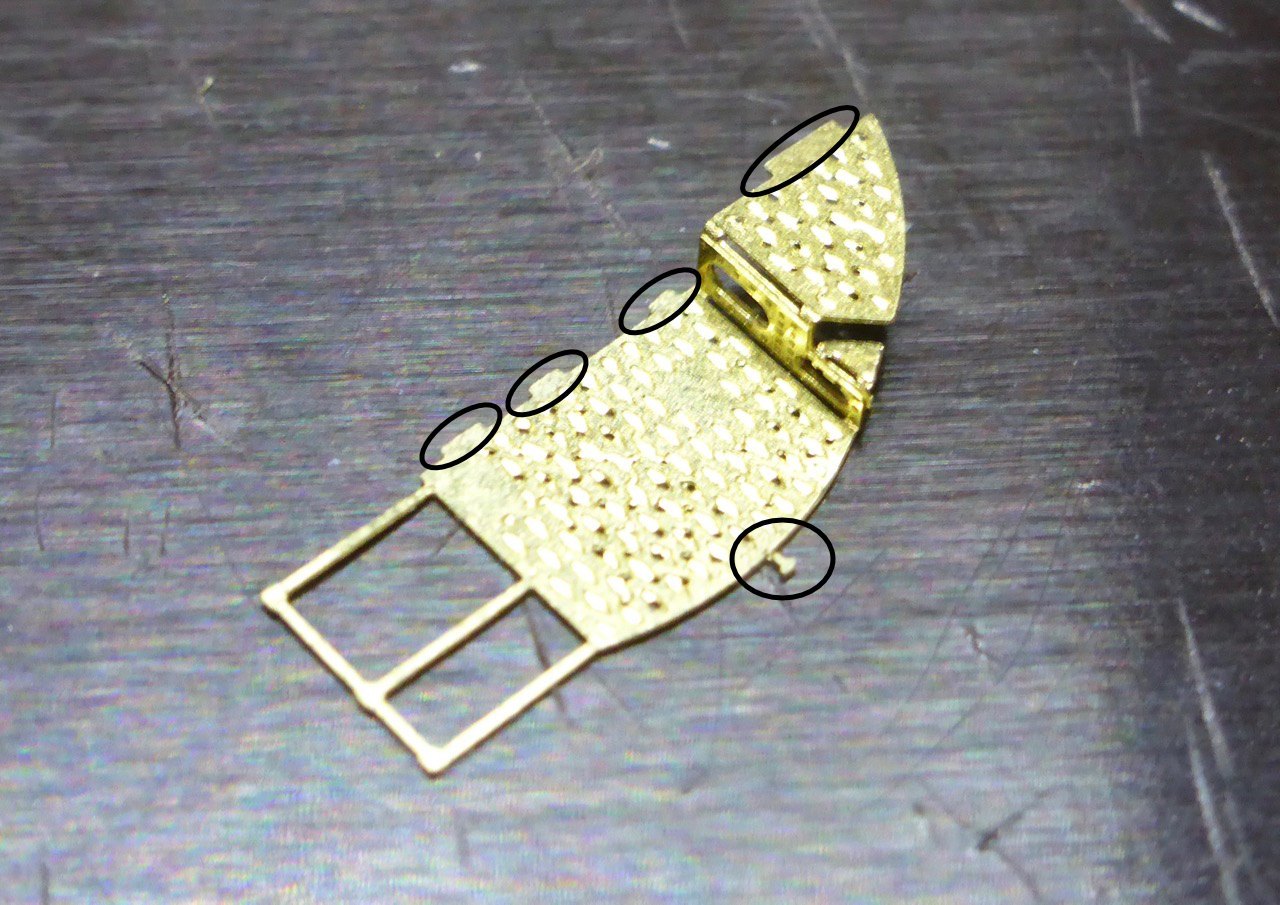
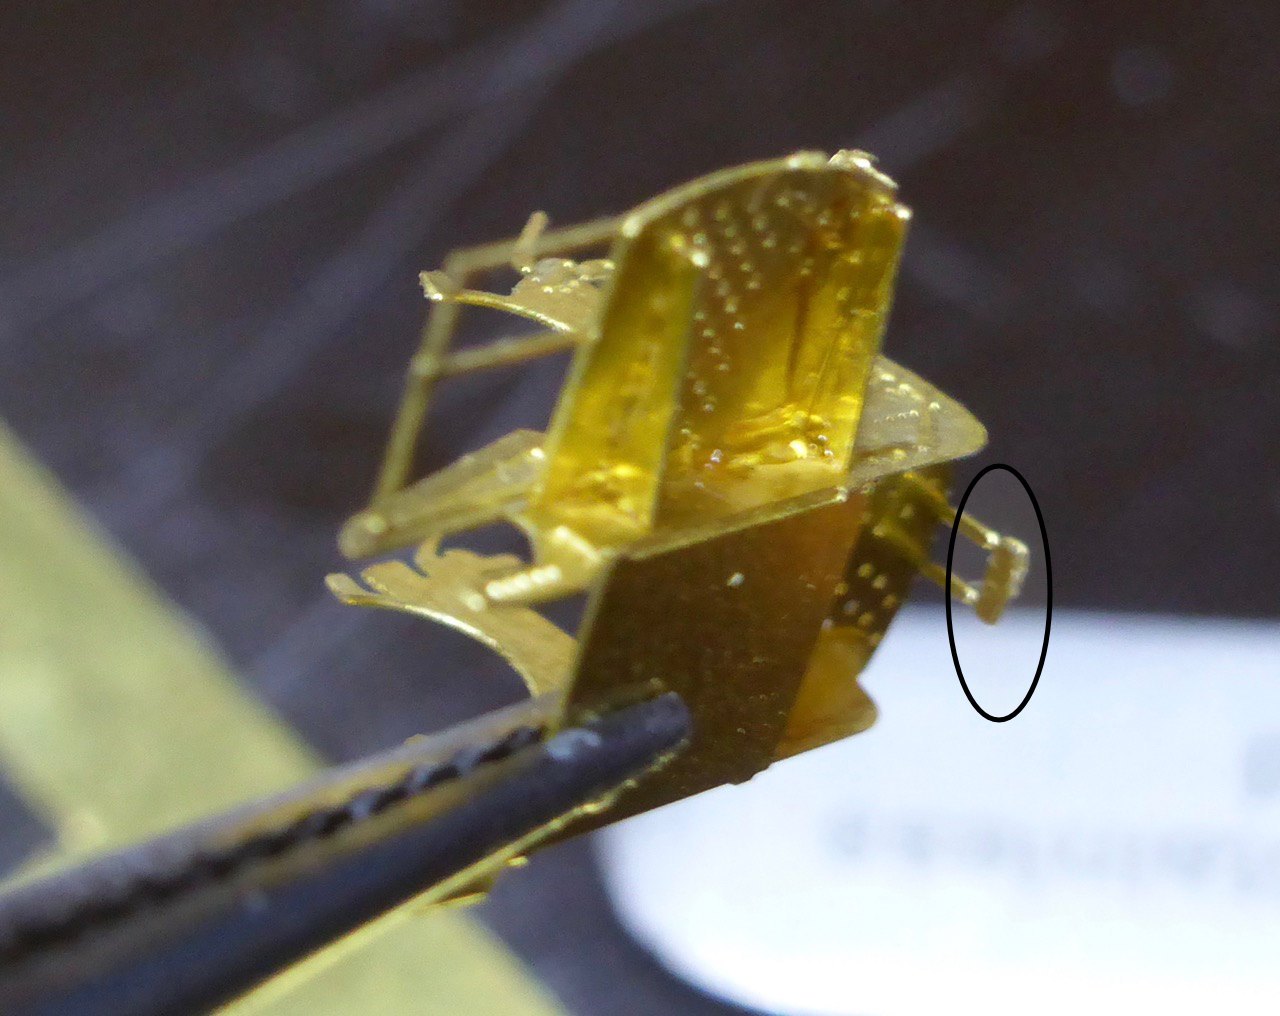
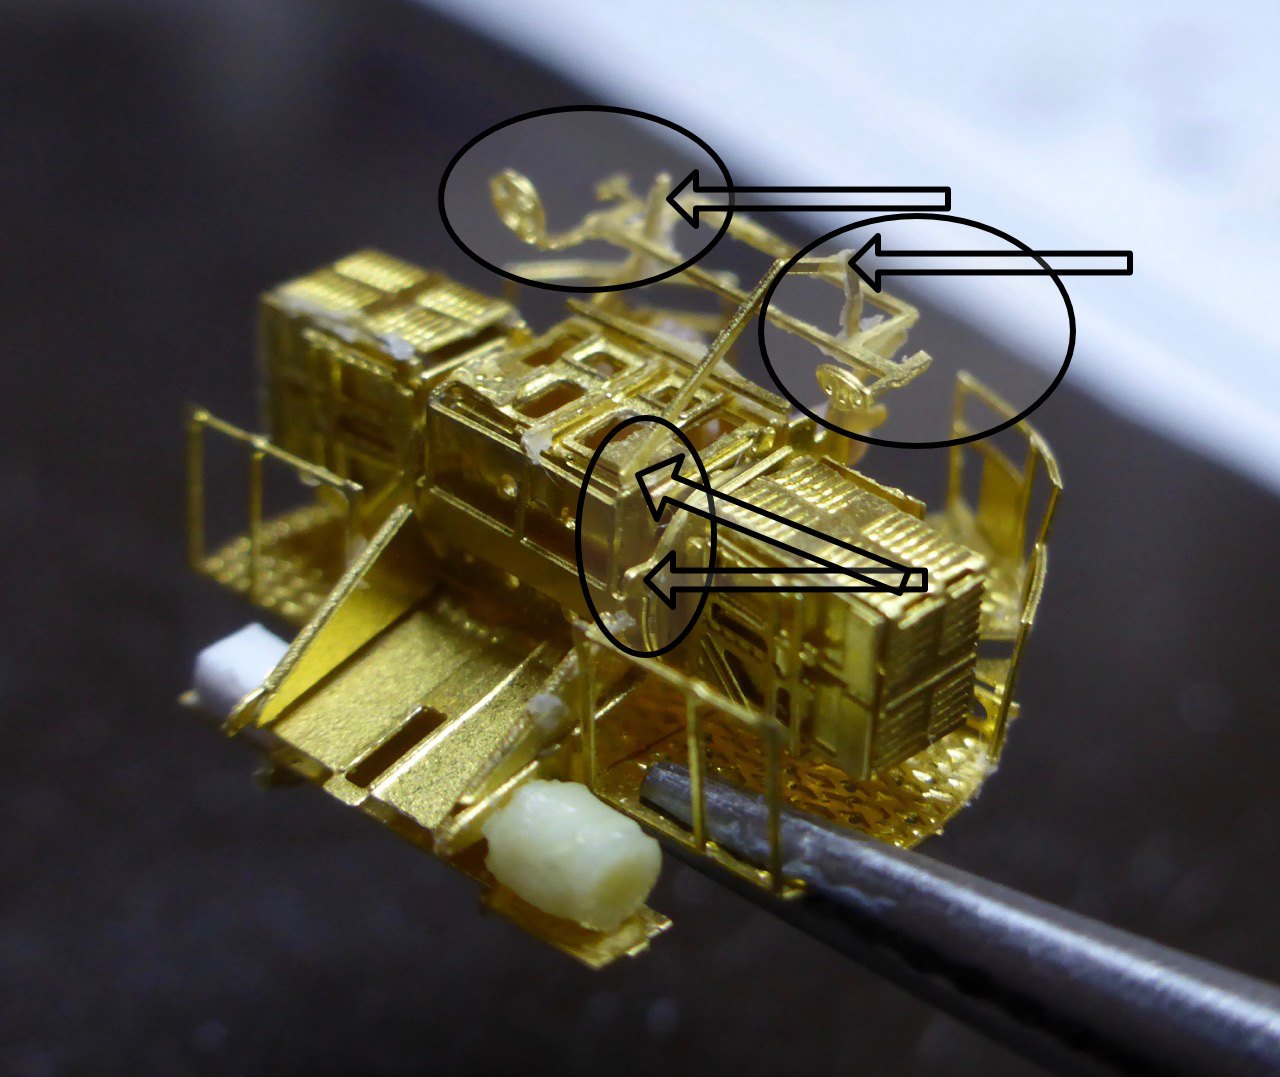
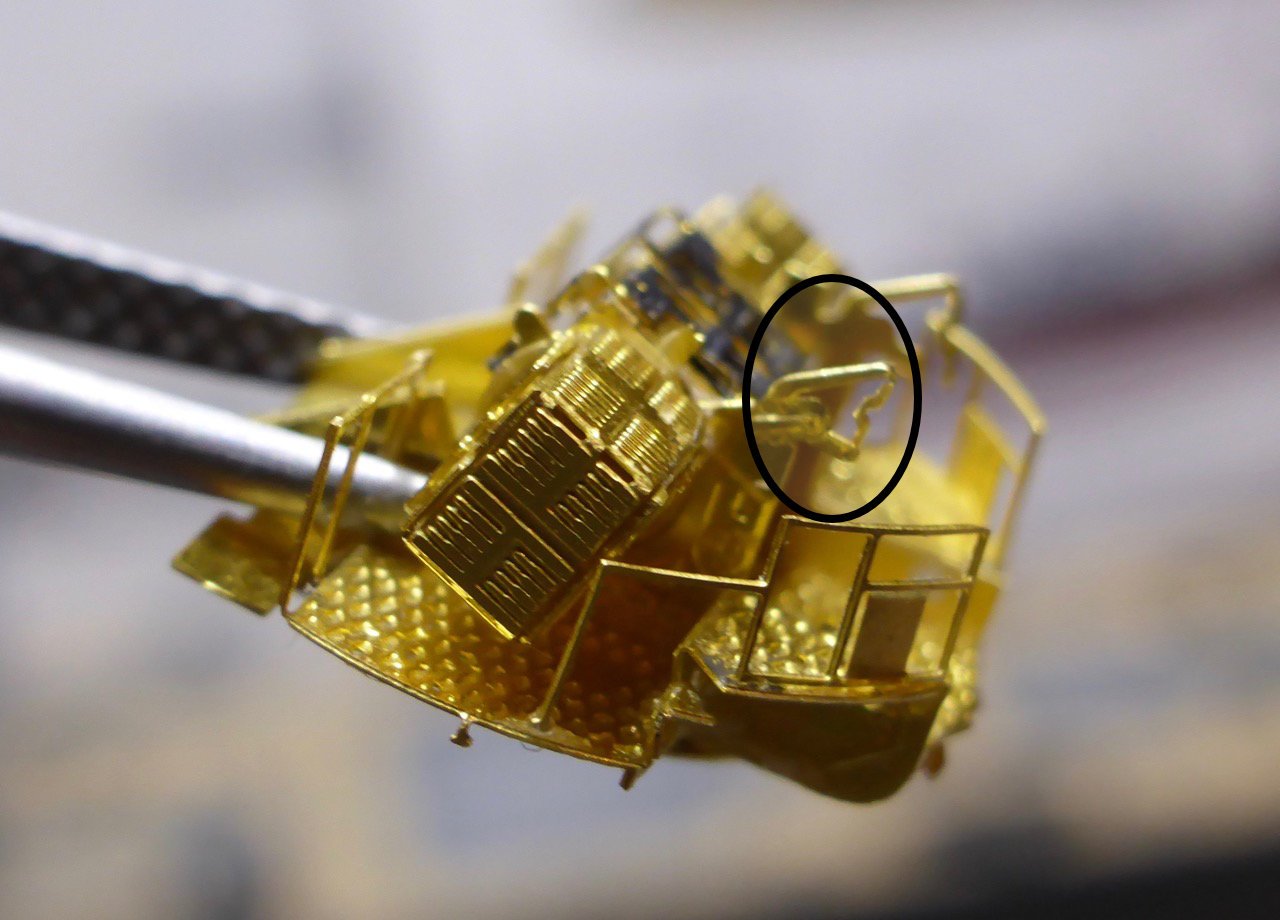
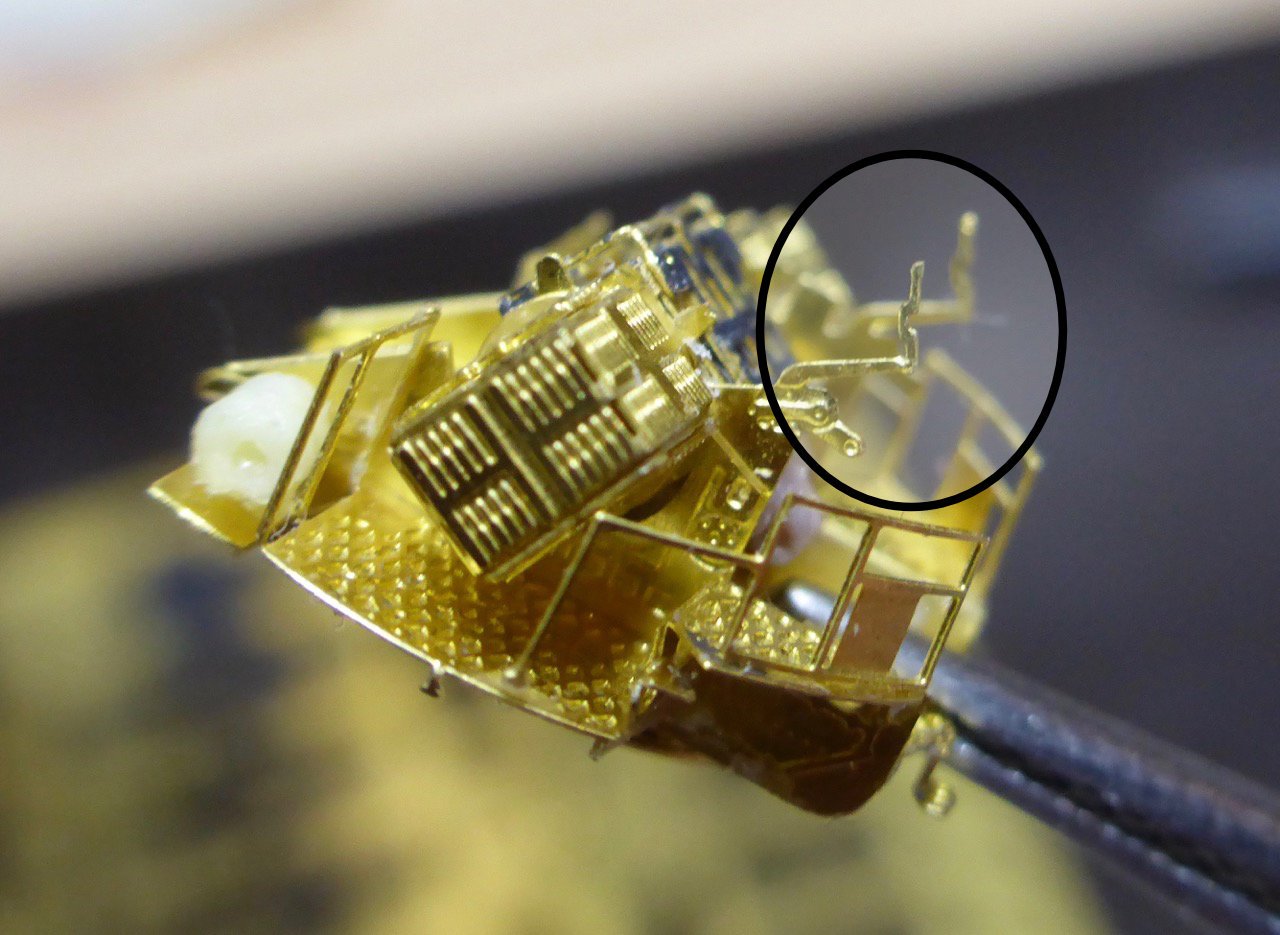
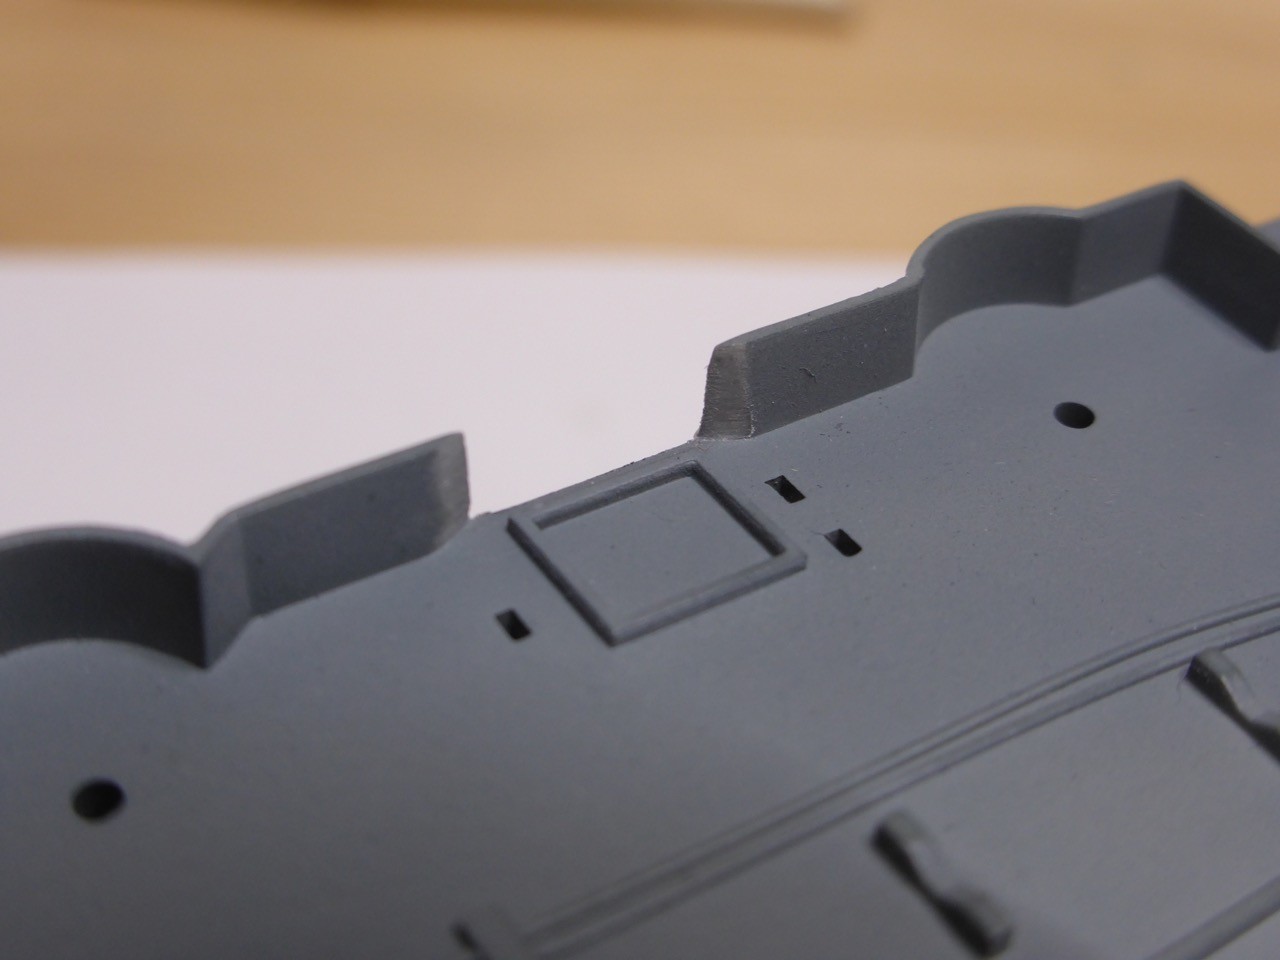
When you are cleaning the part, make sure that you don't cut useful things. All those in circle are needed!!

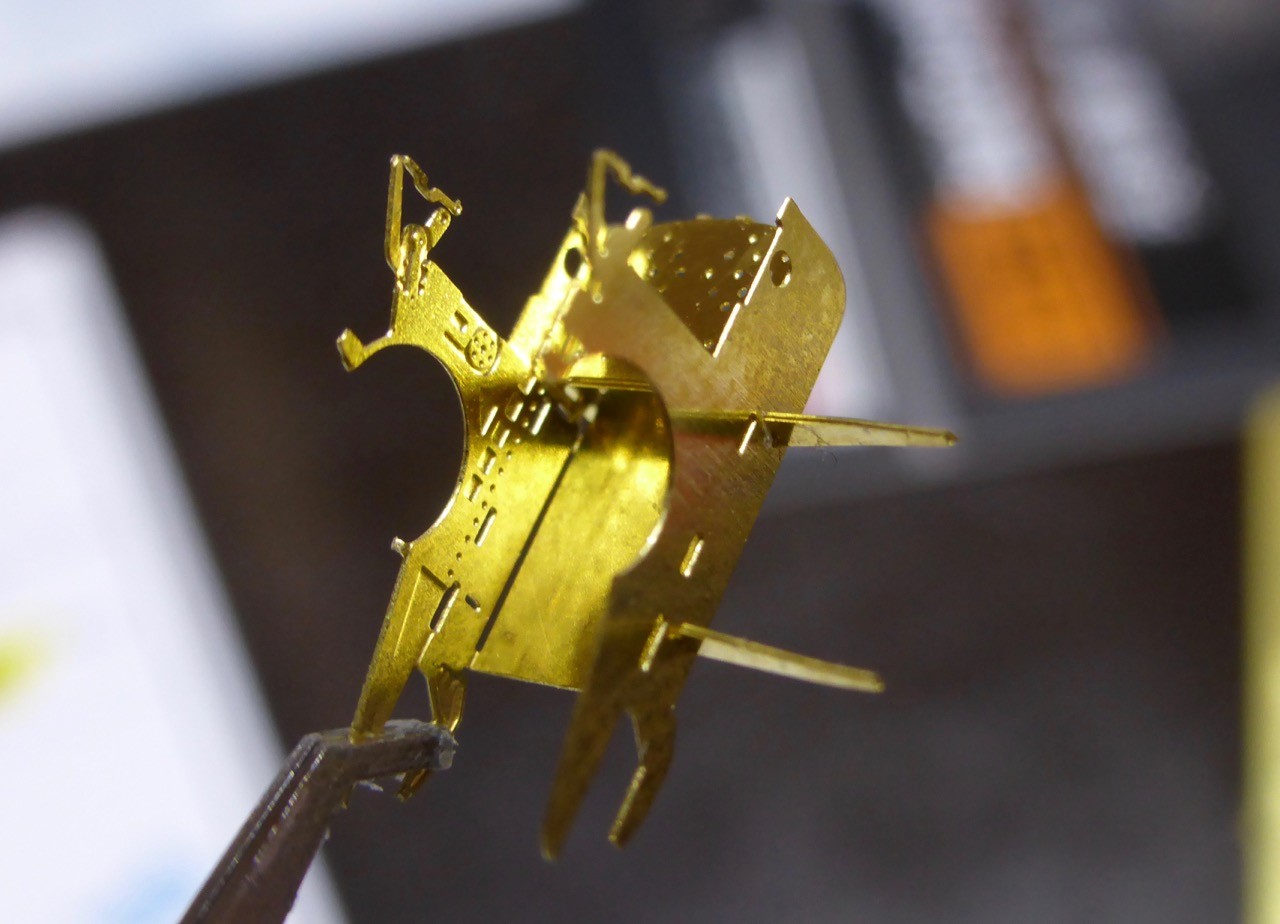
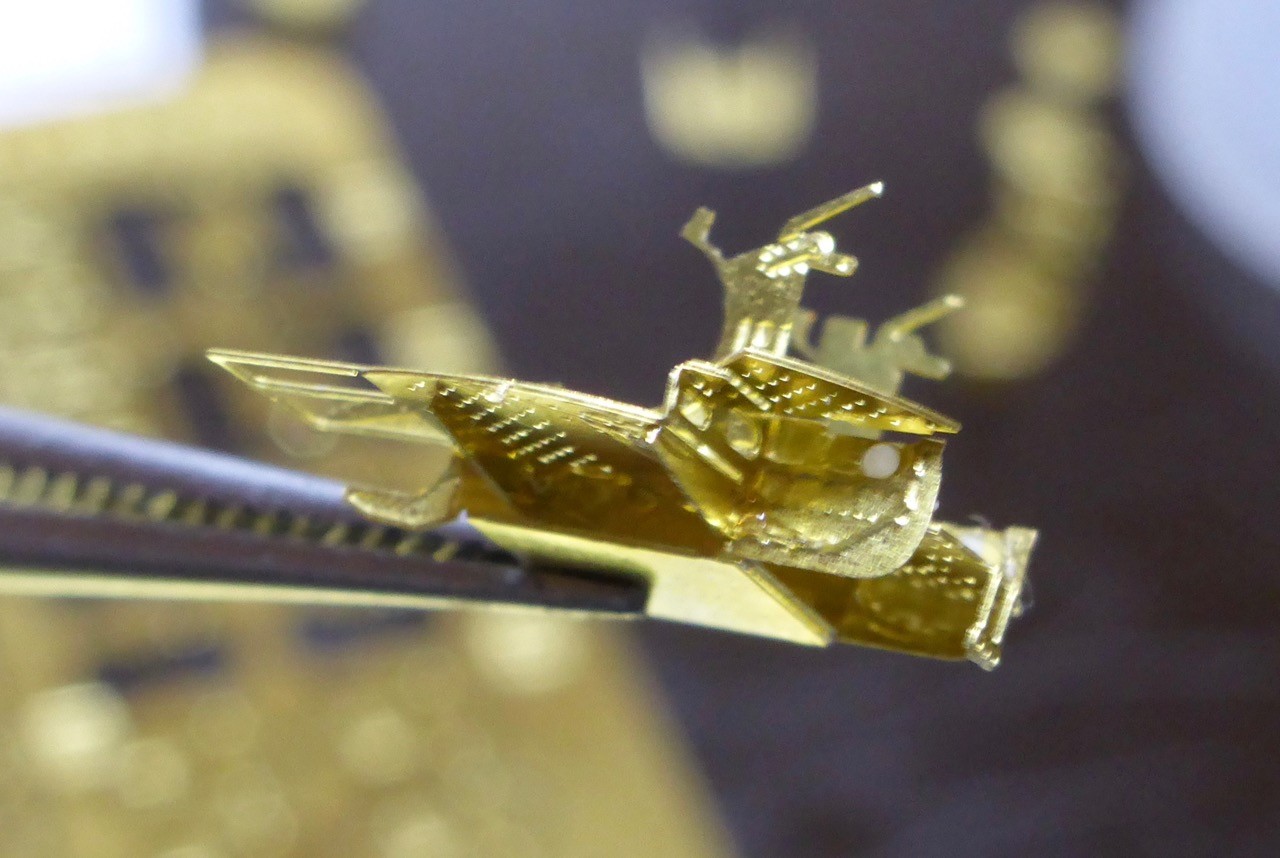
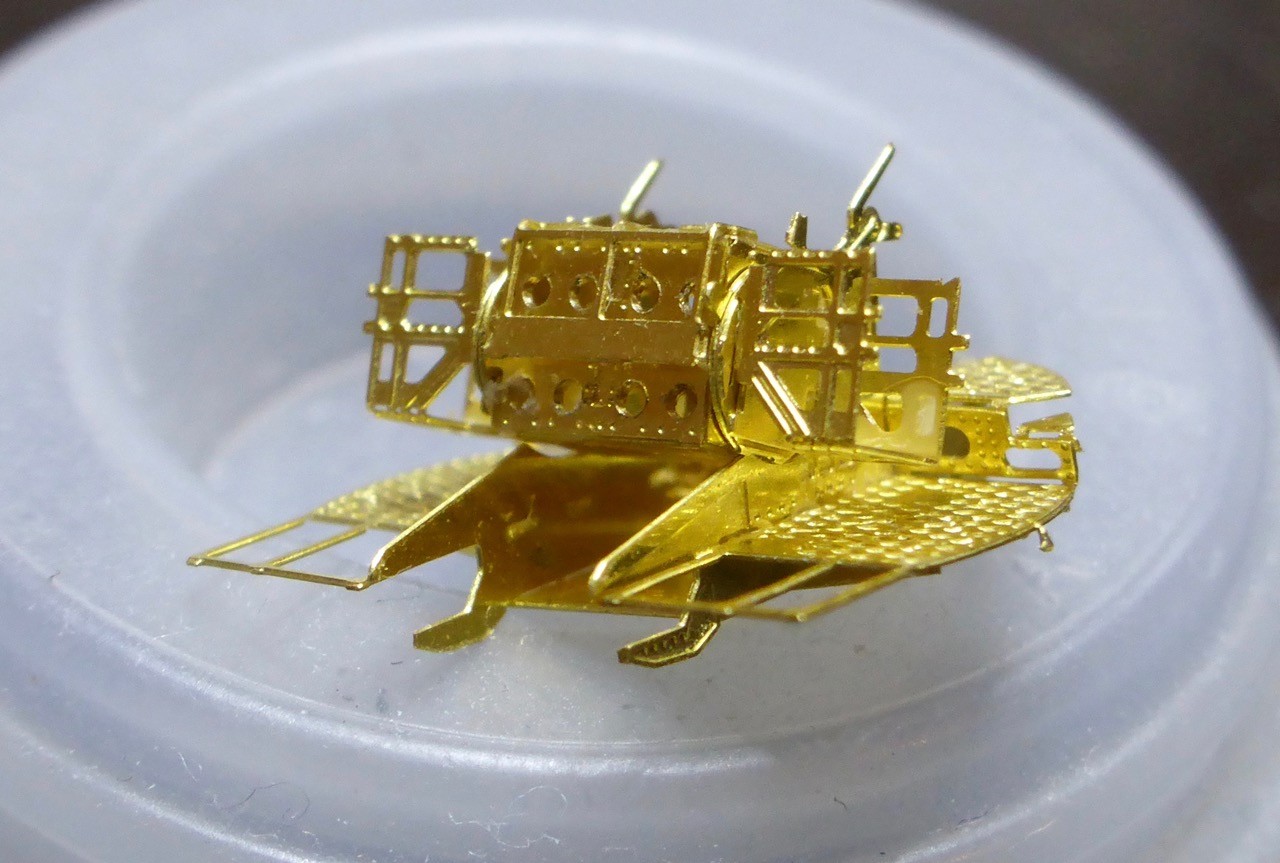
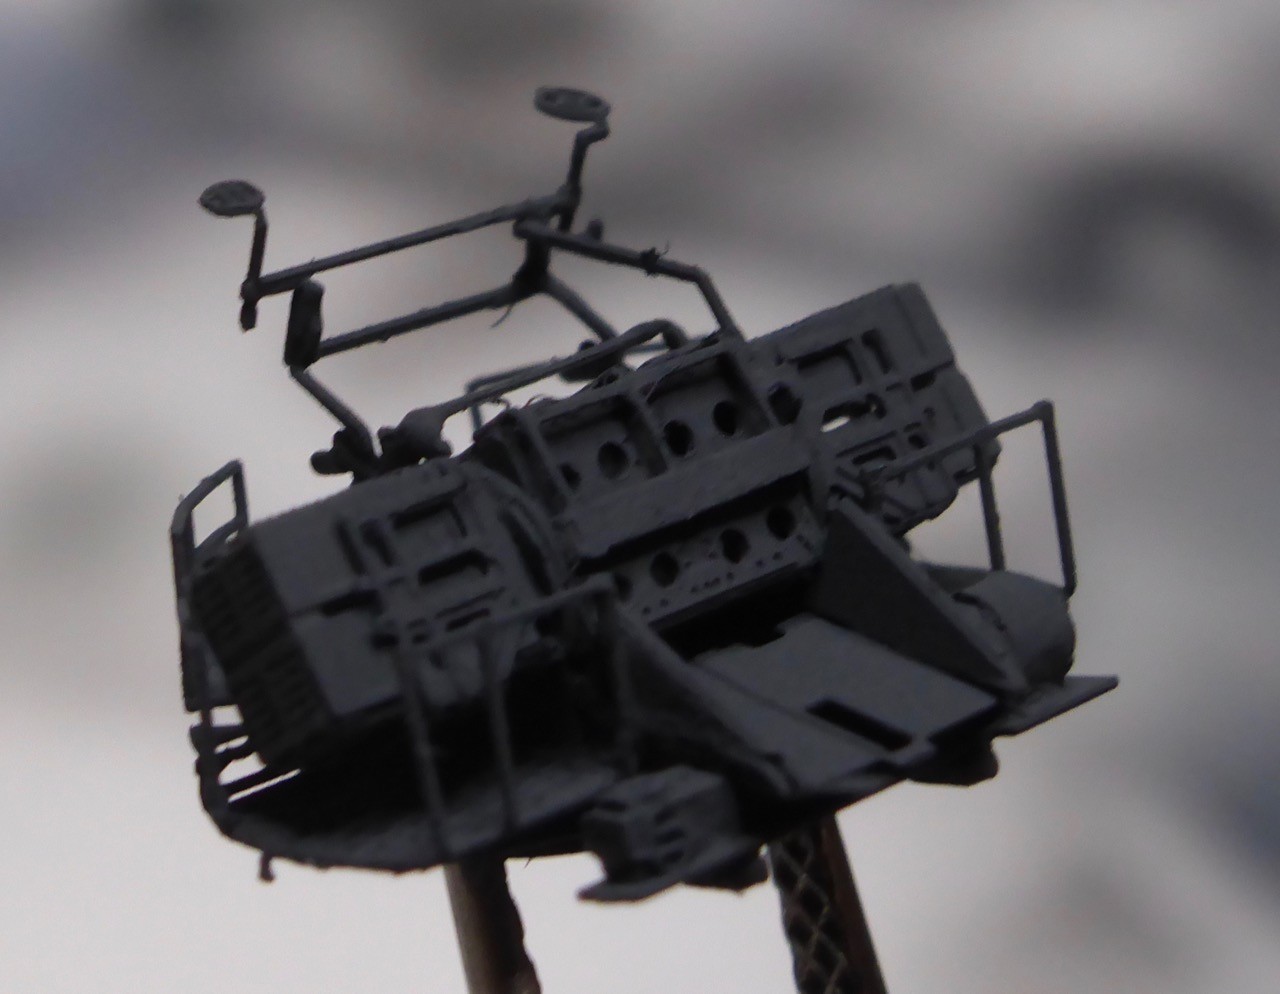
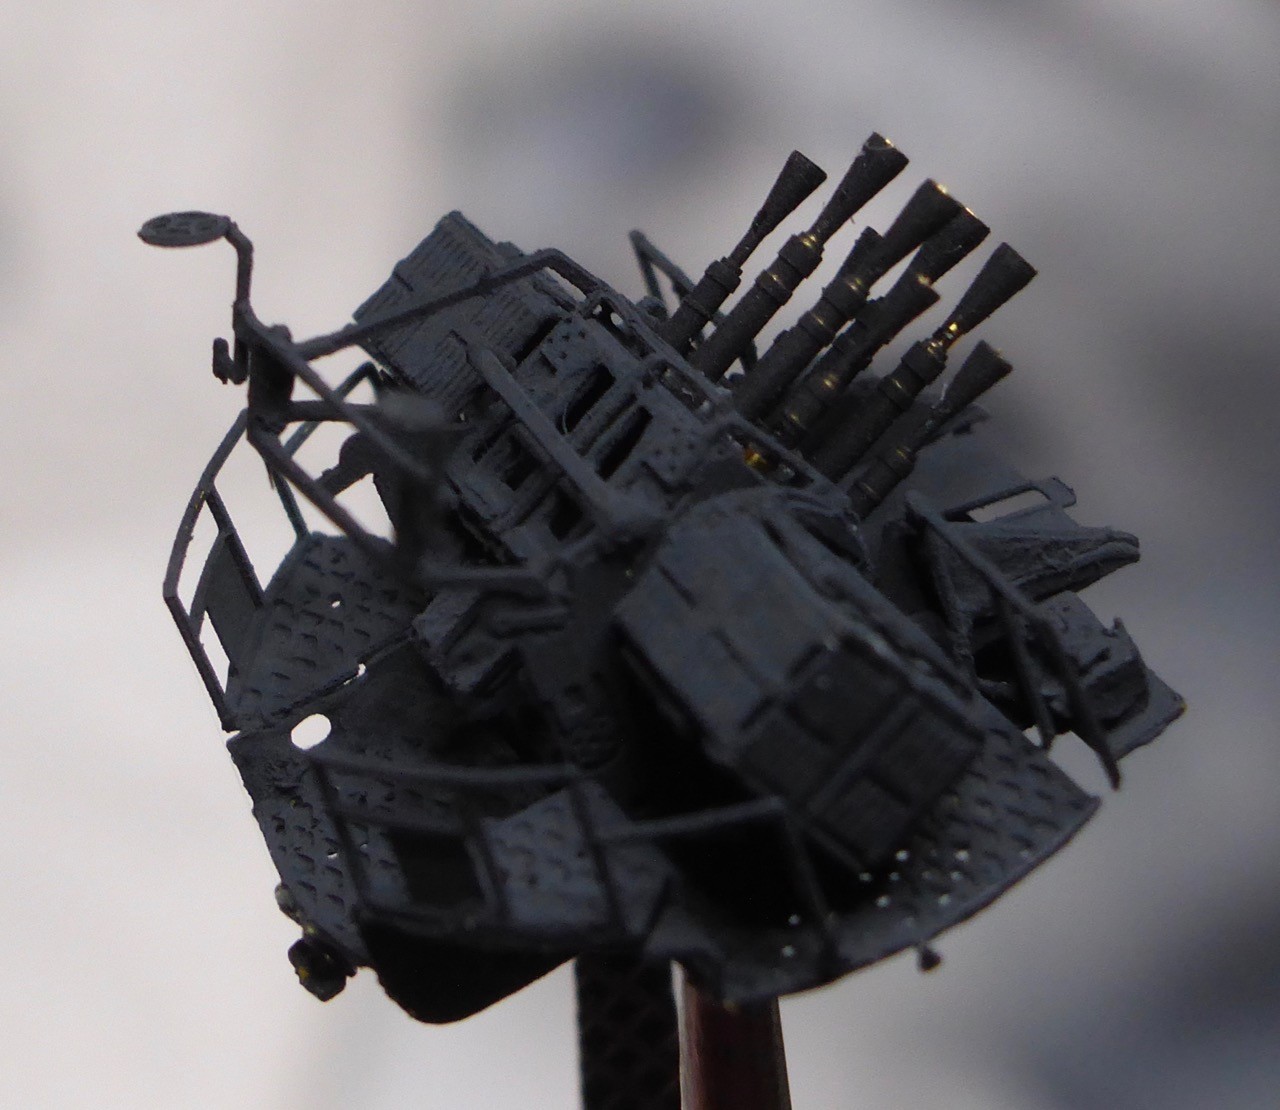
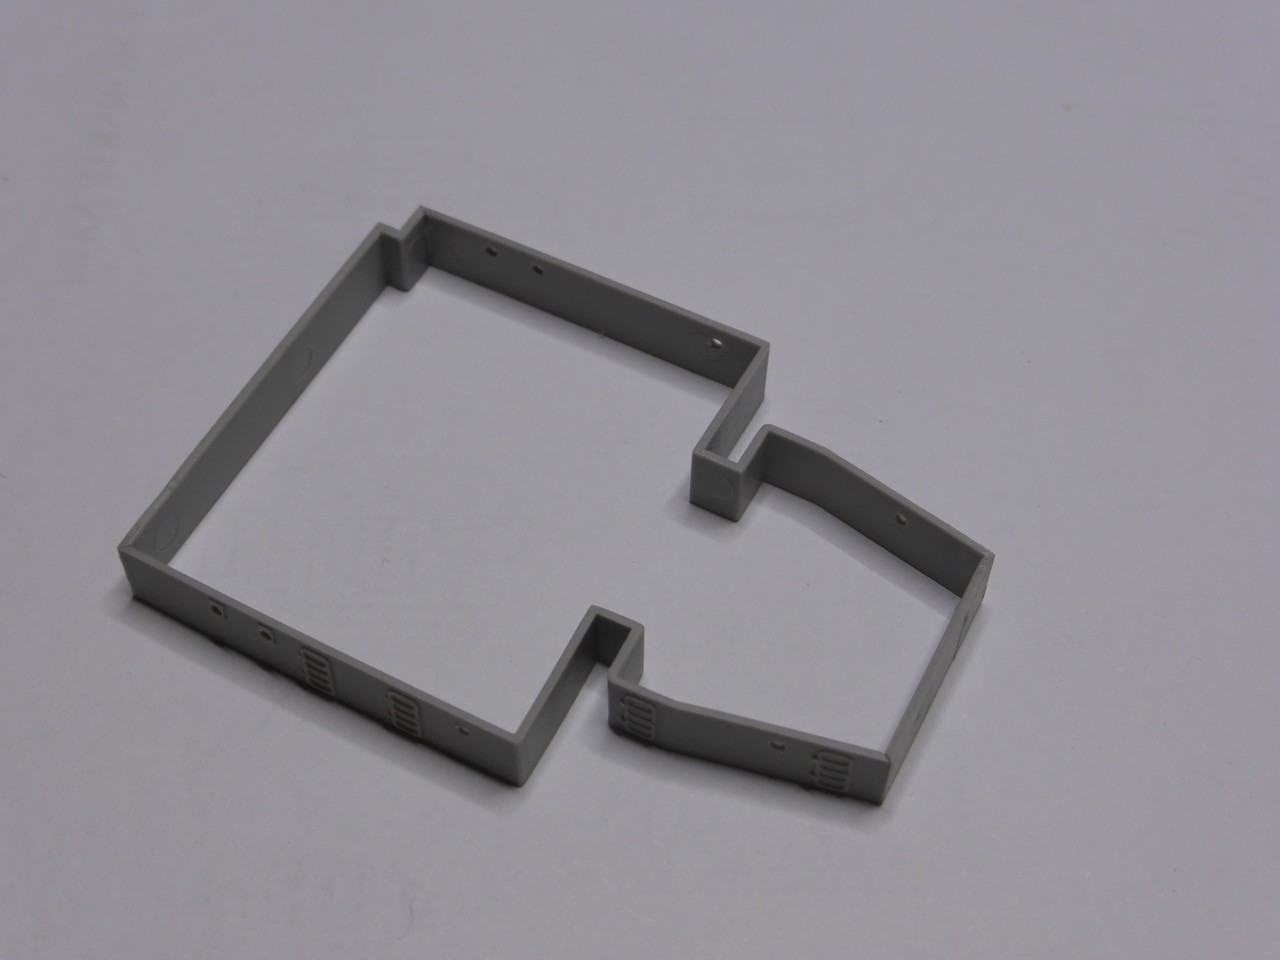
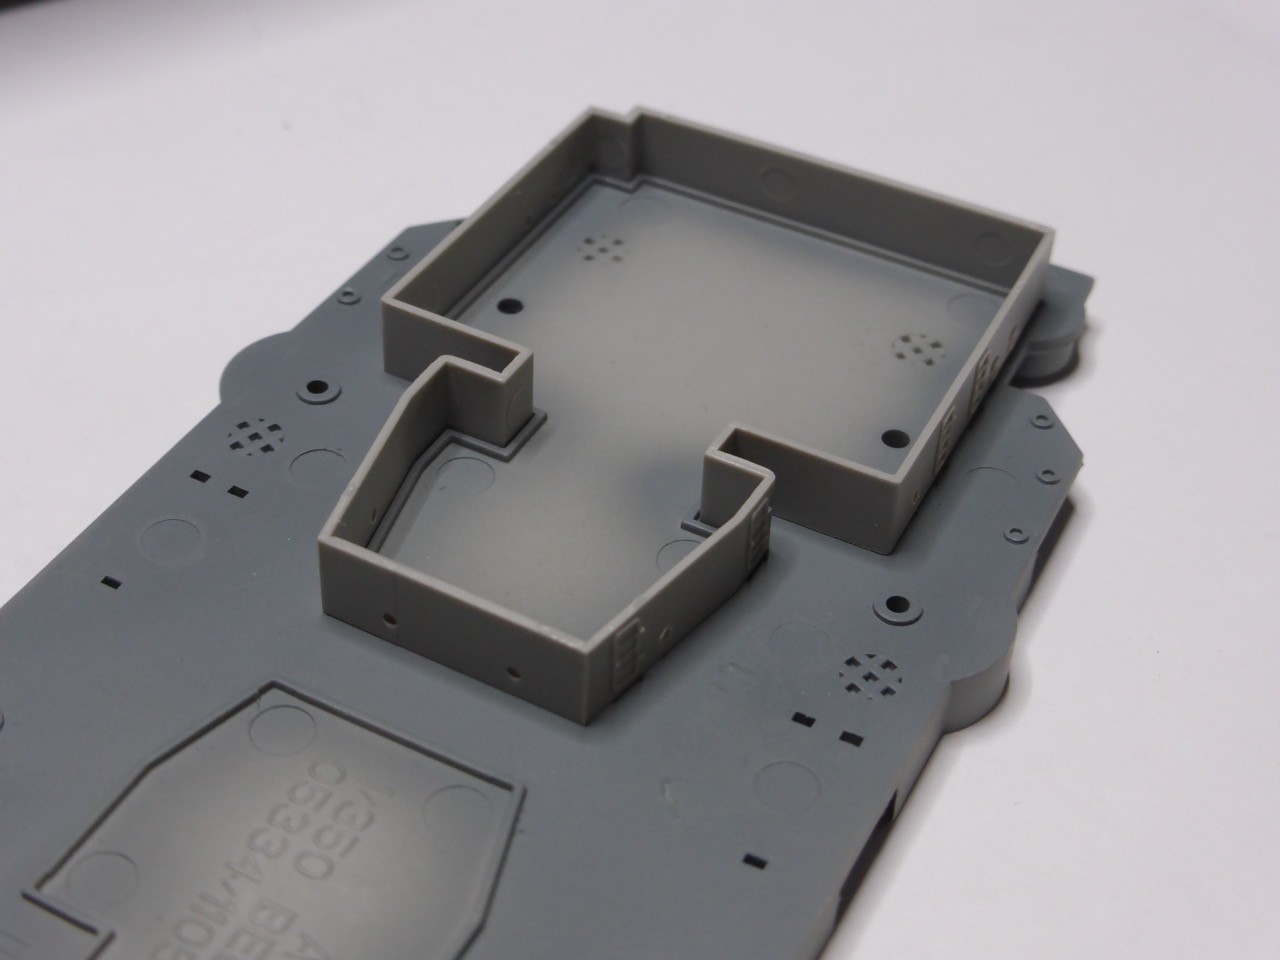
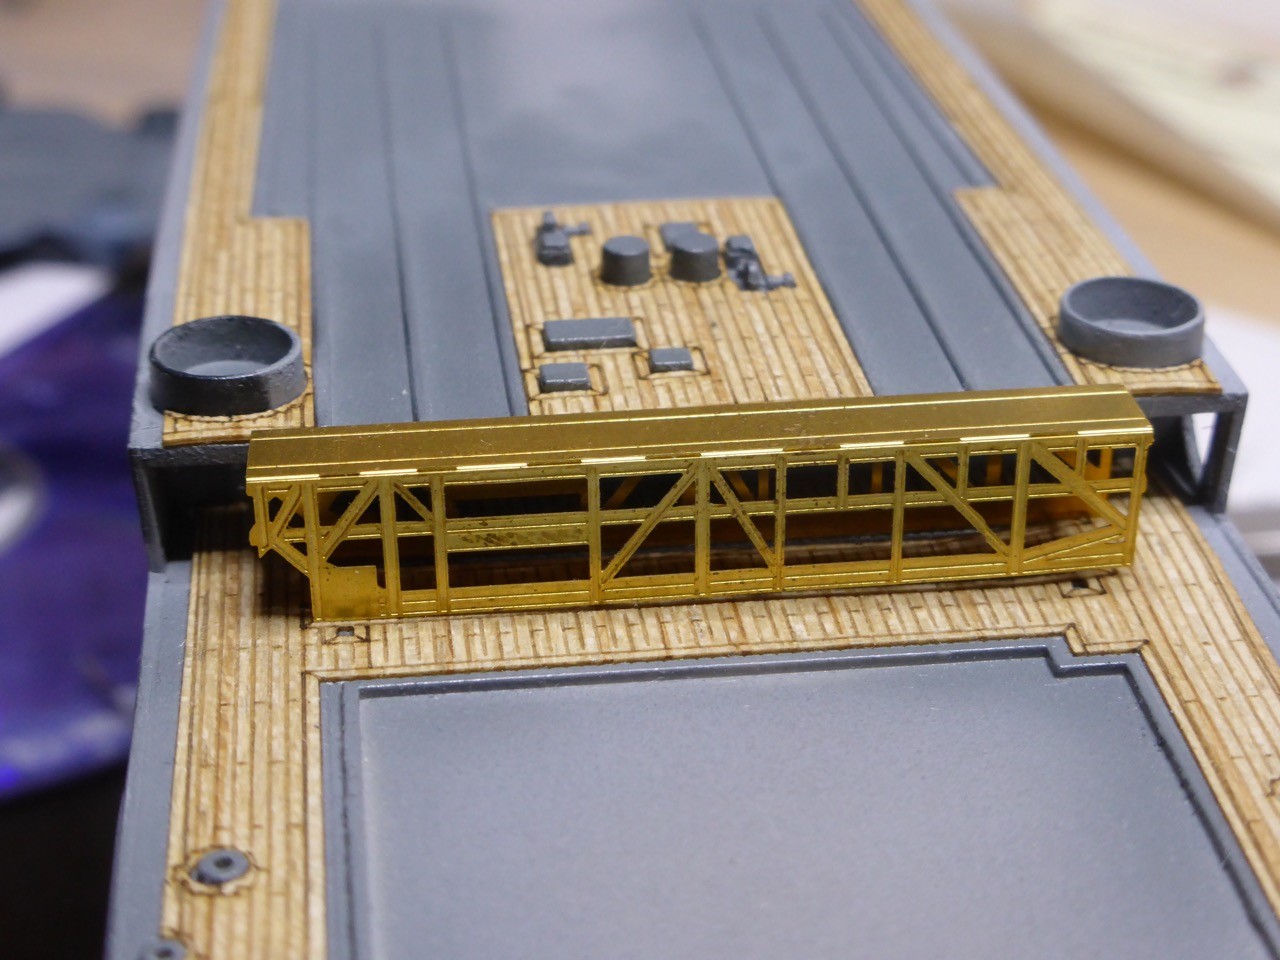
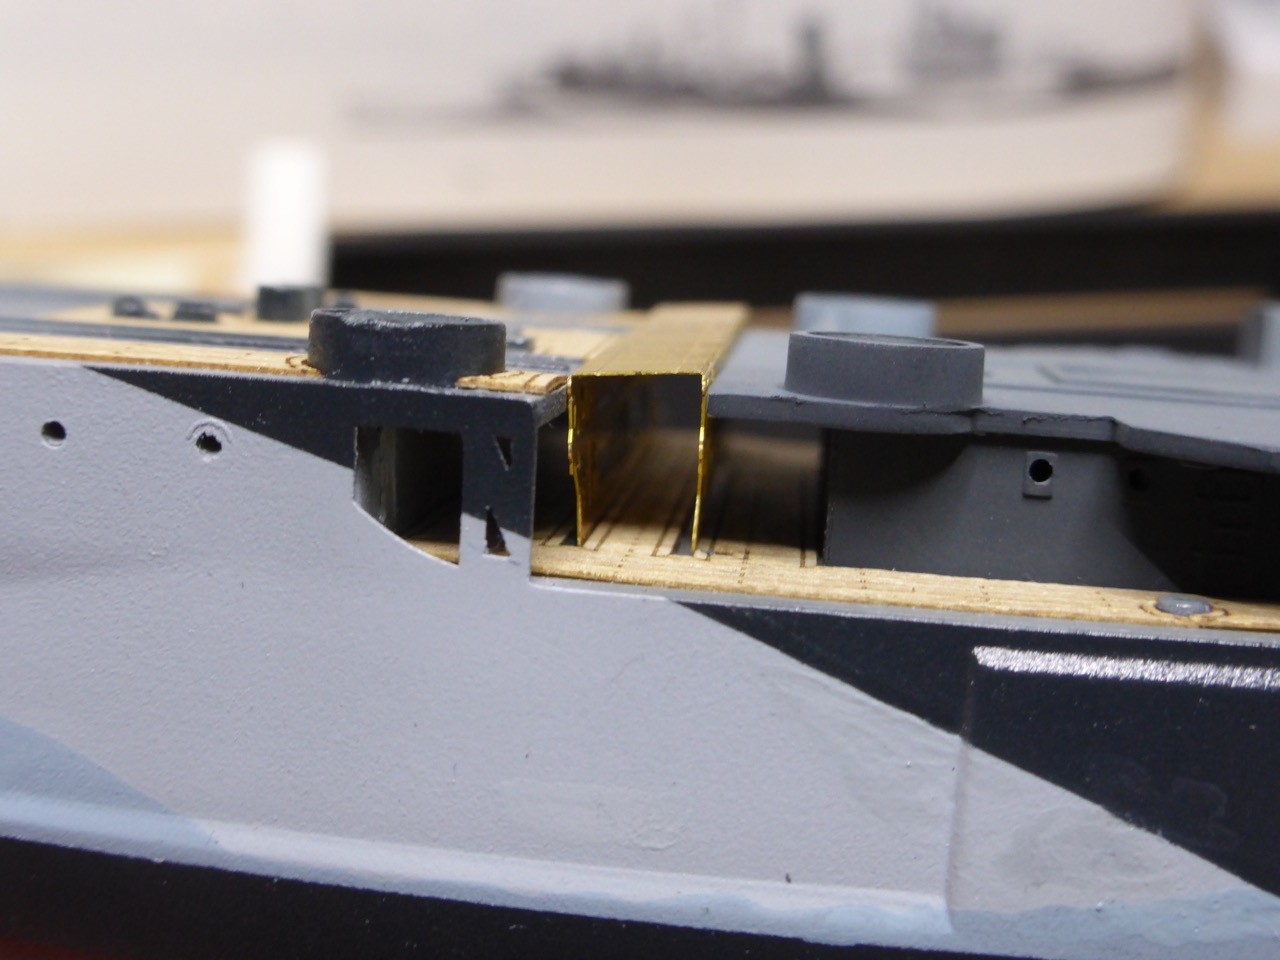
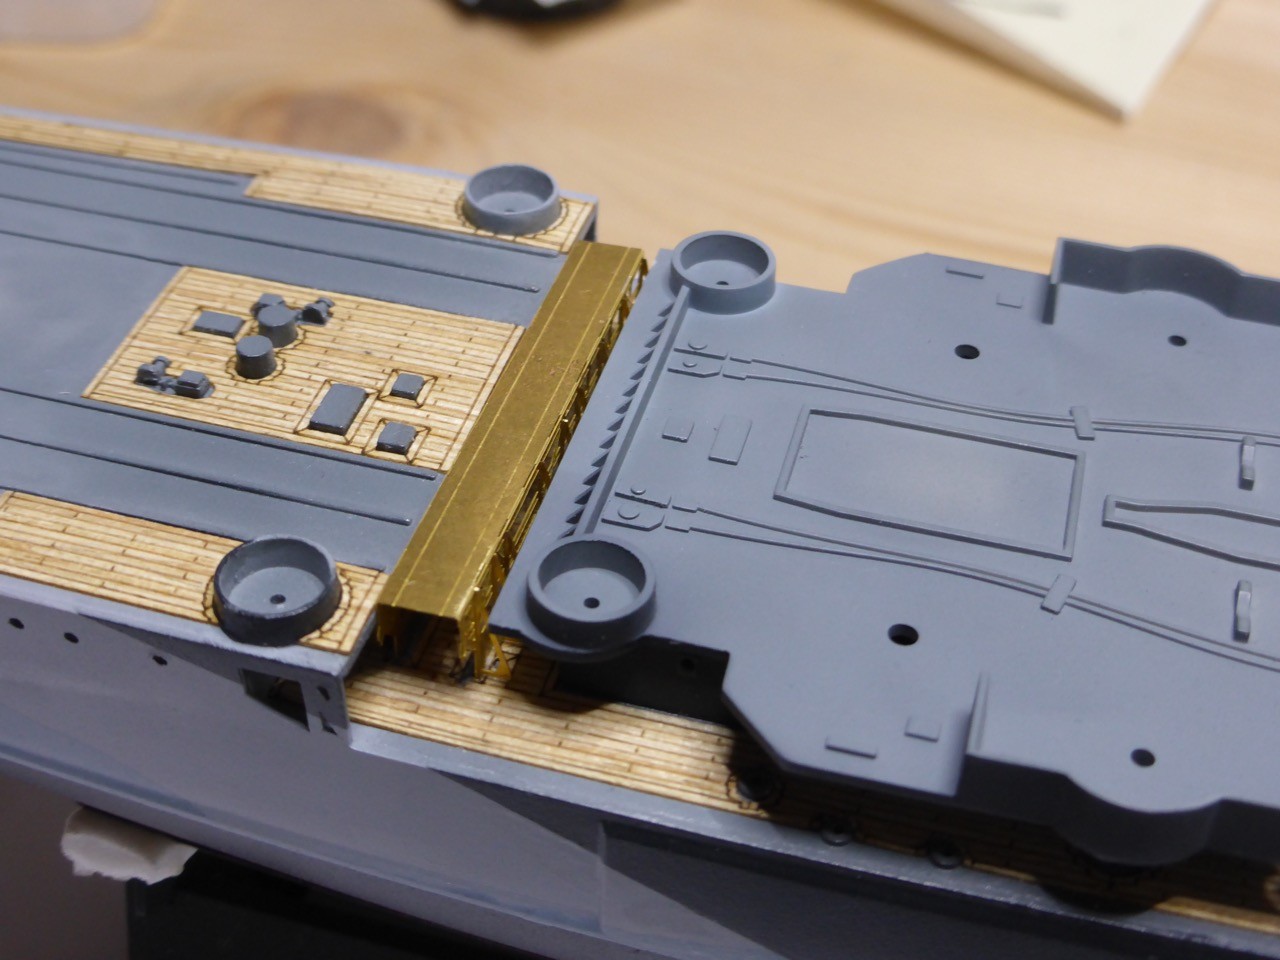
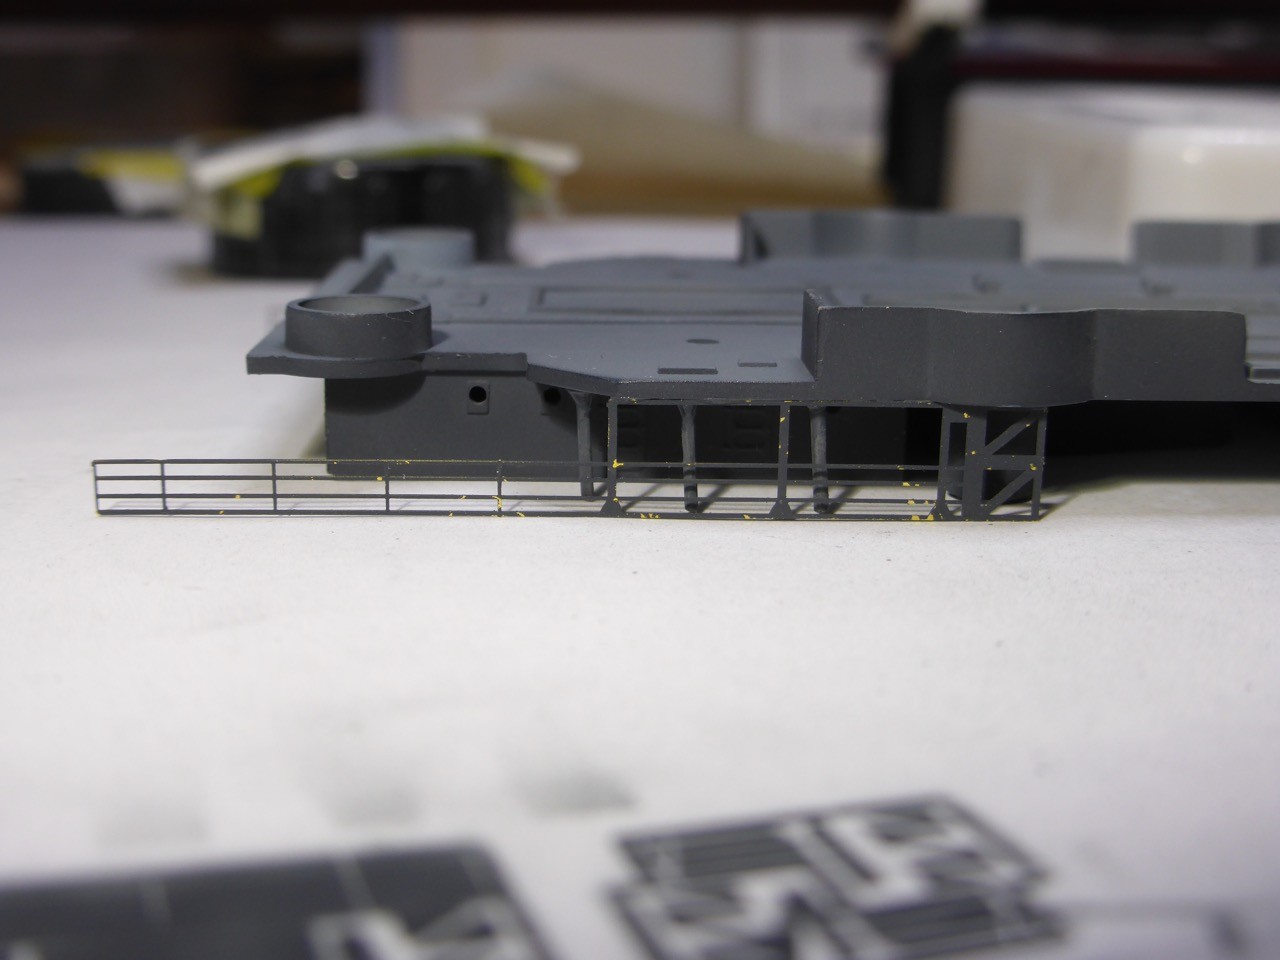
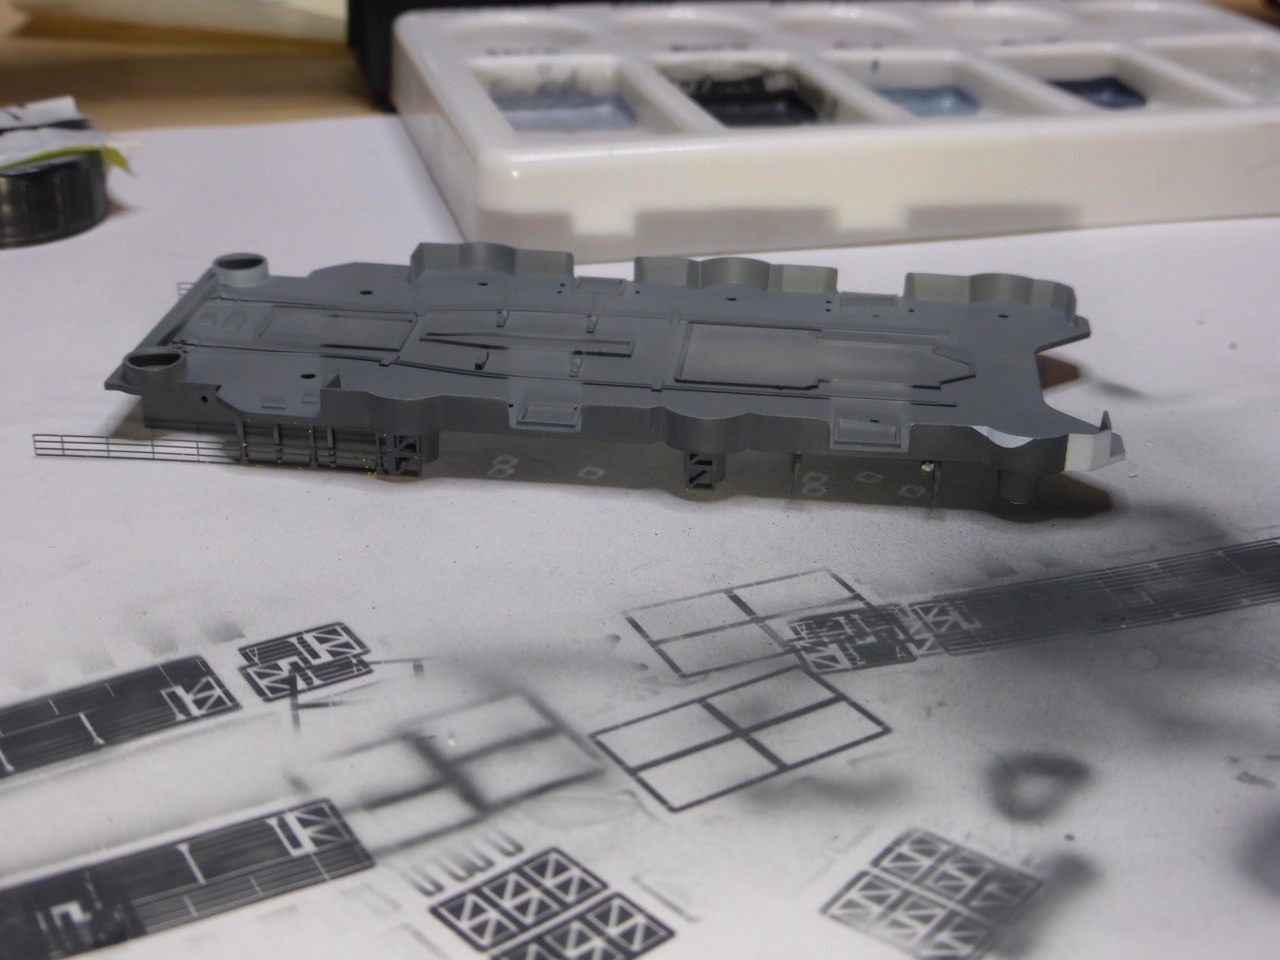
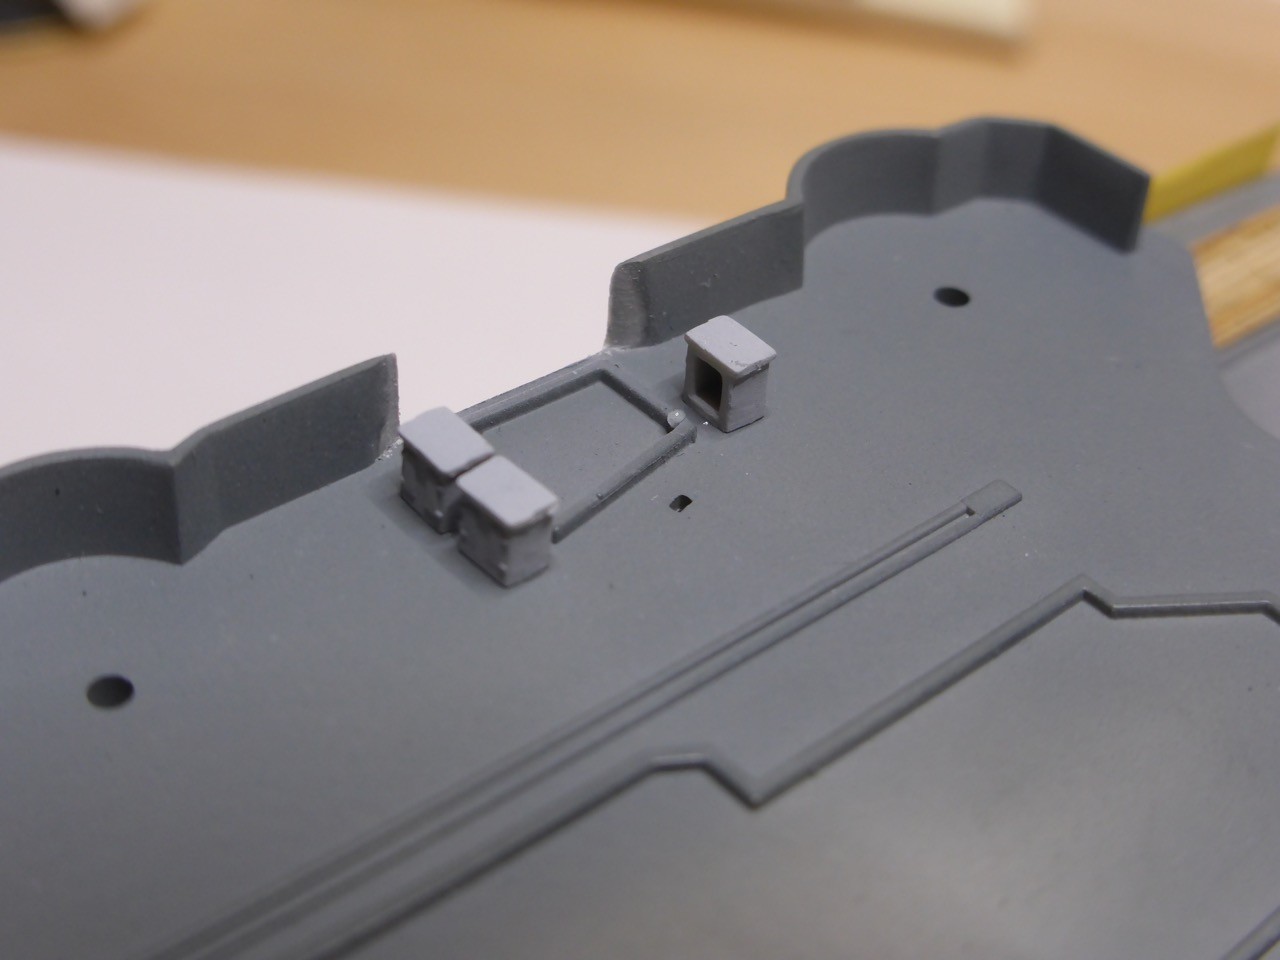
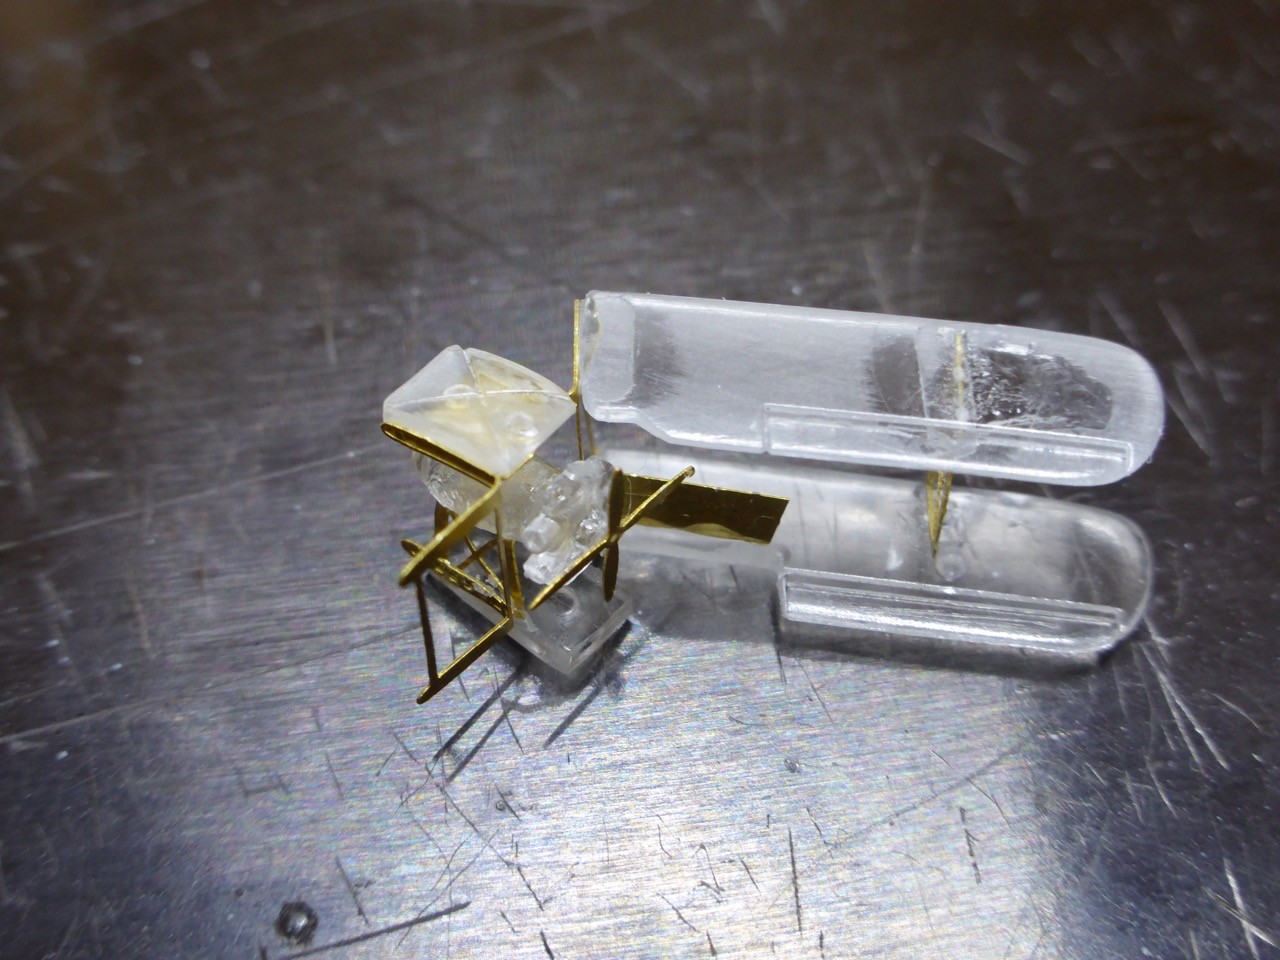
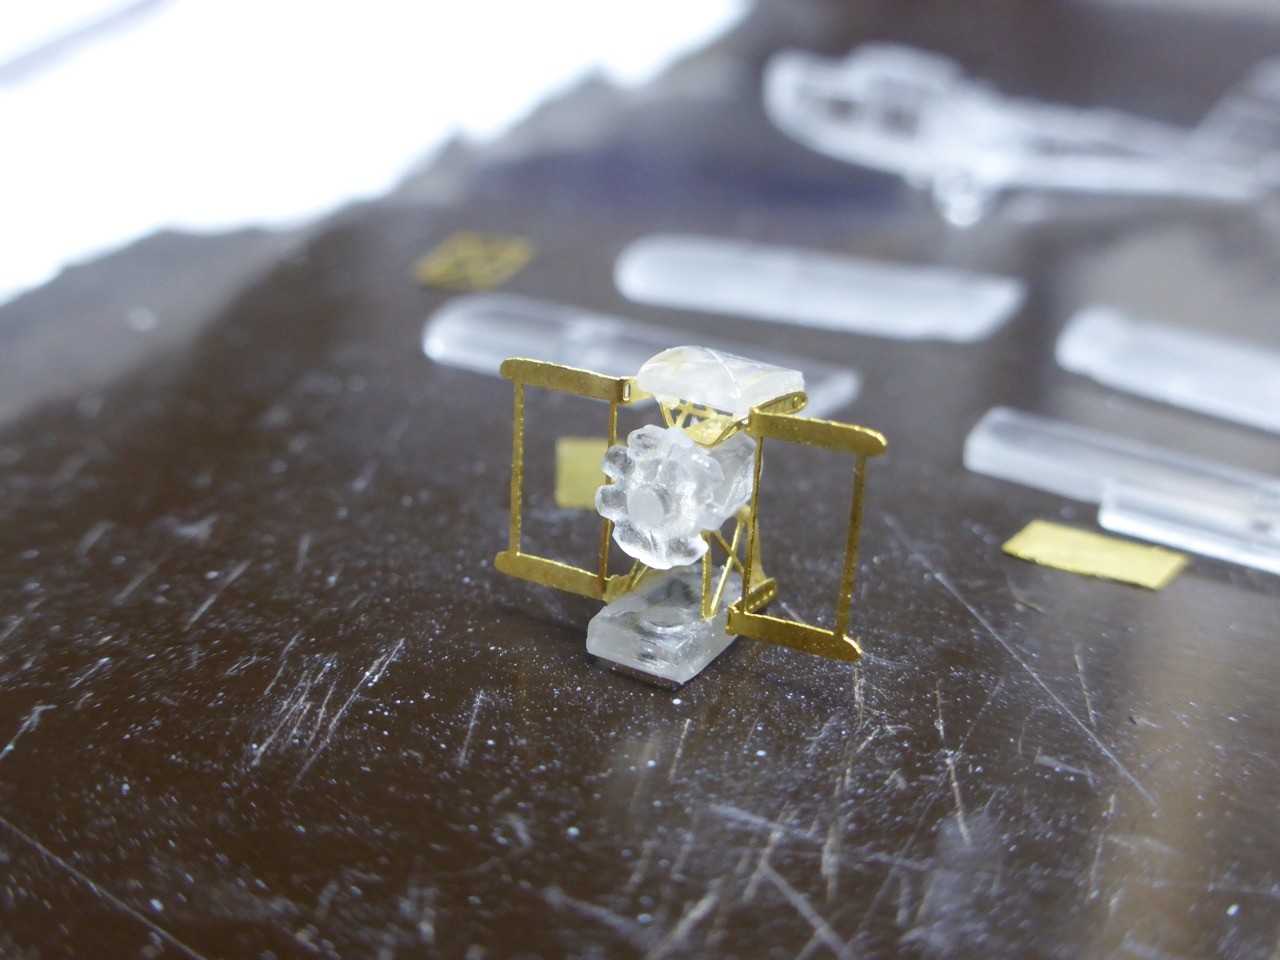
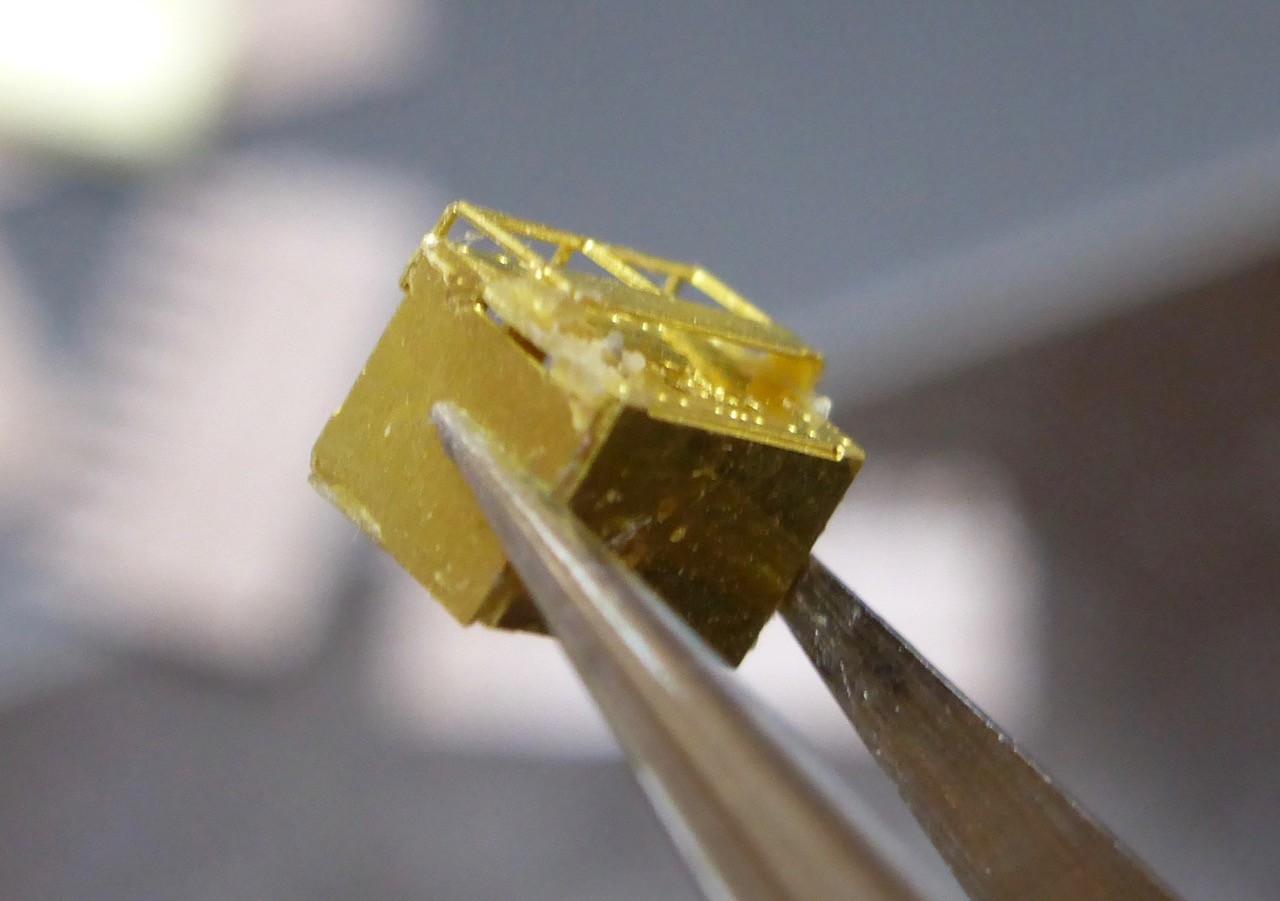
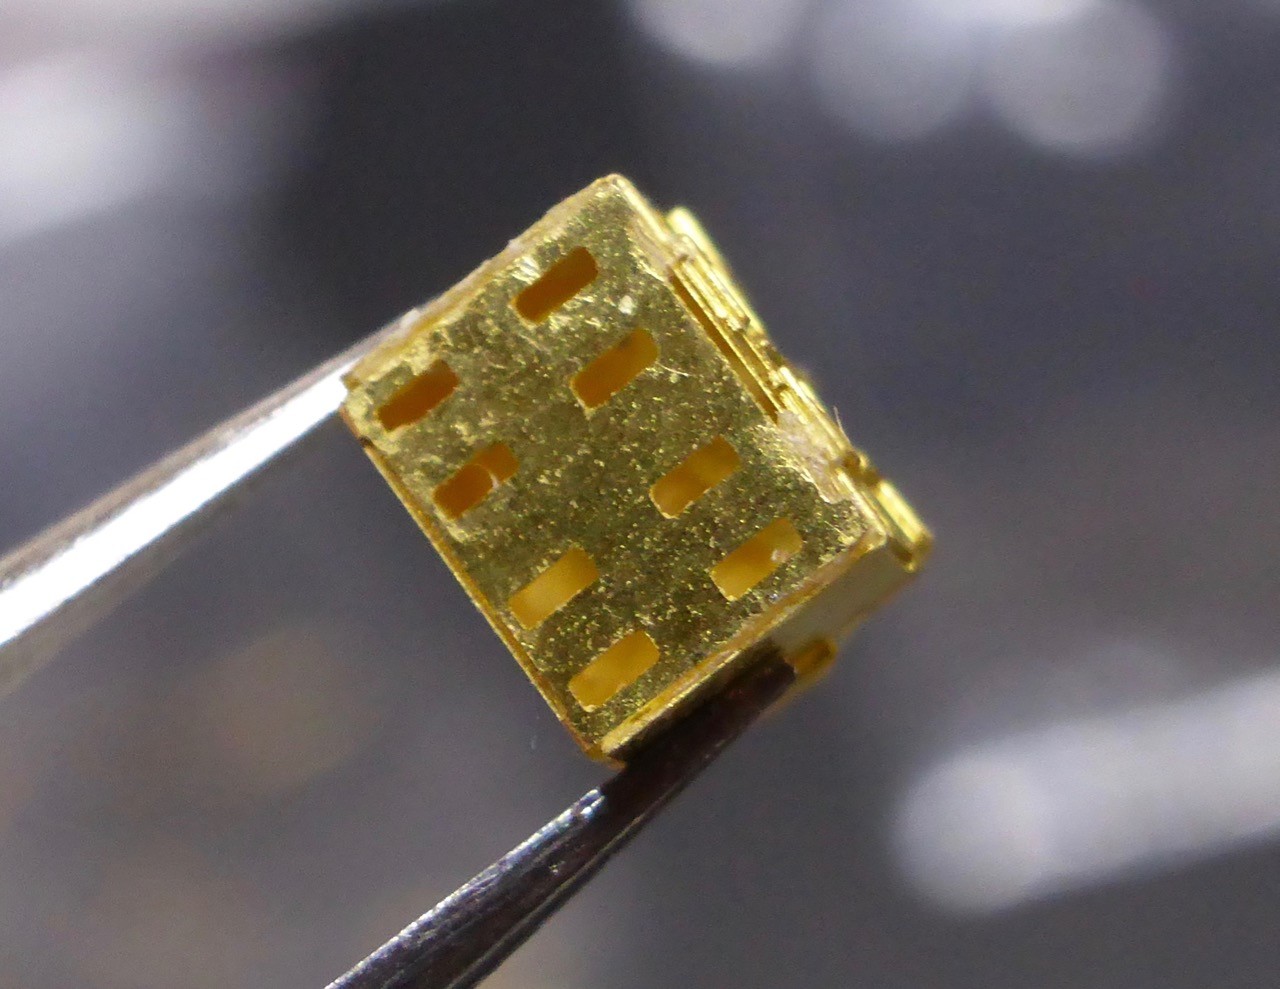
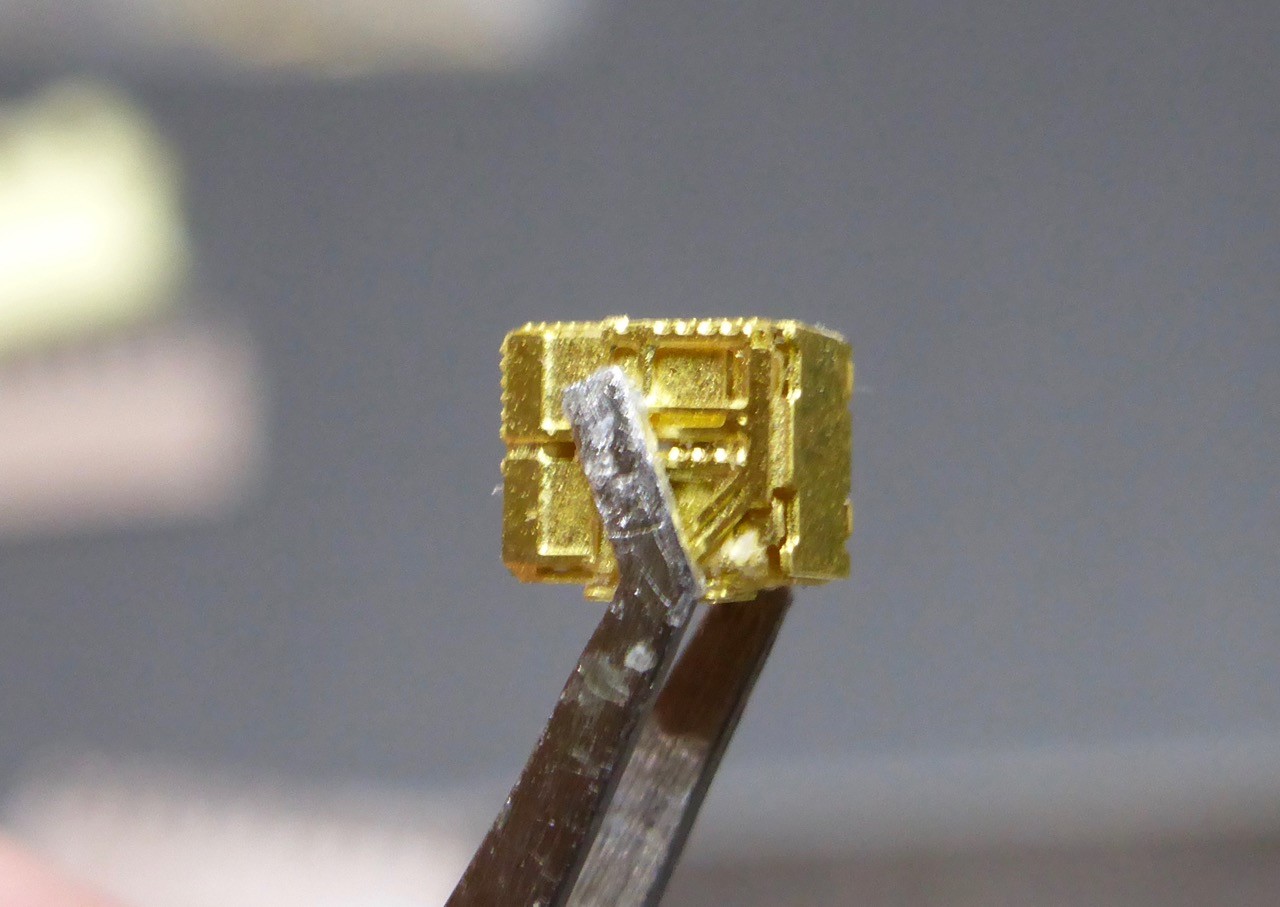
First building the main body
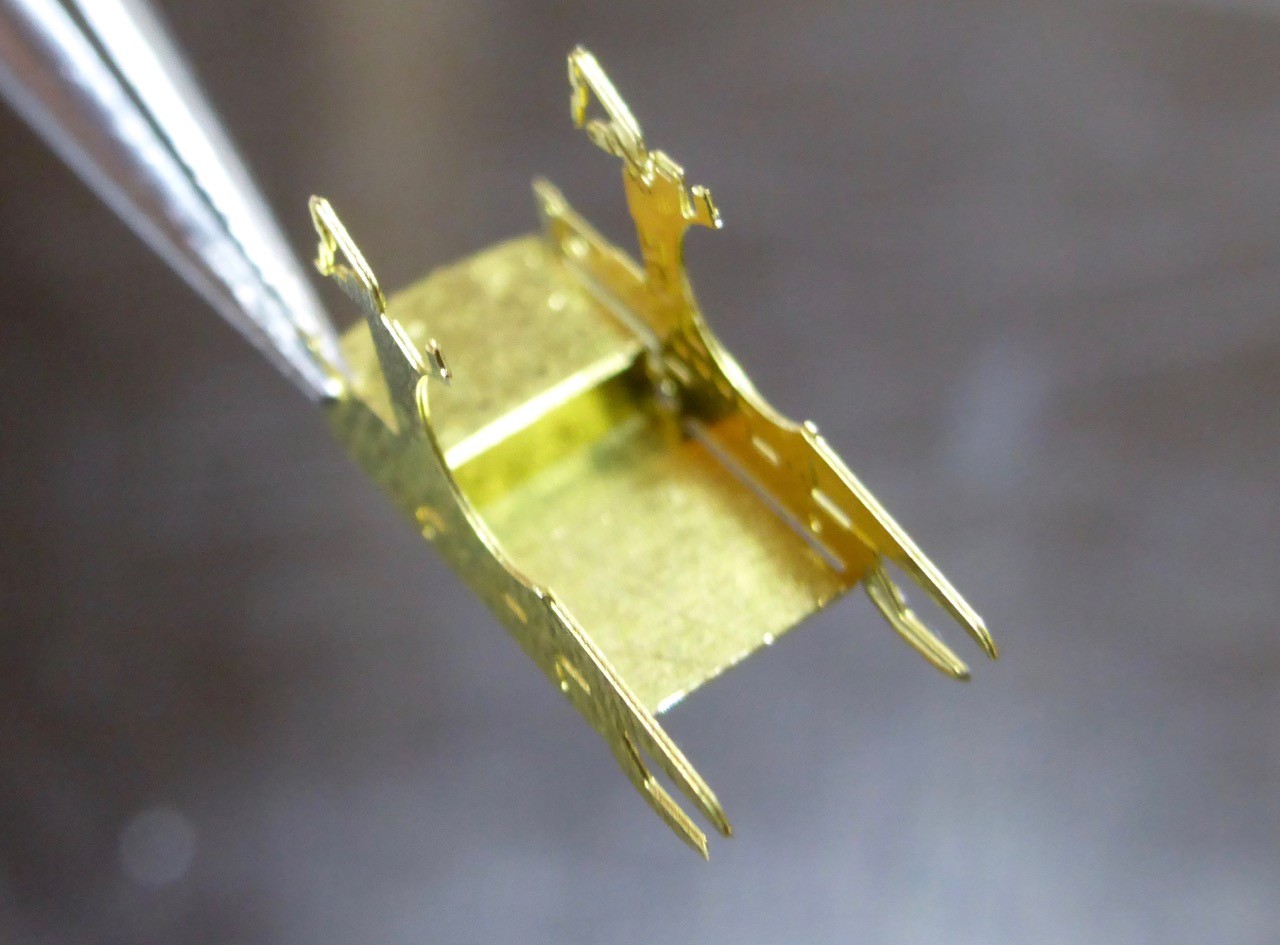
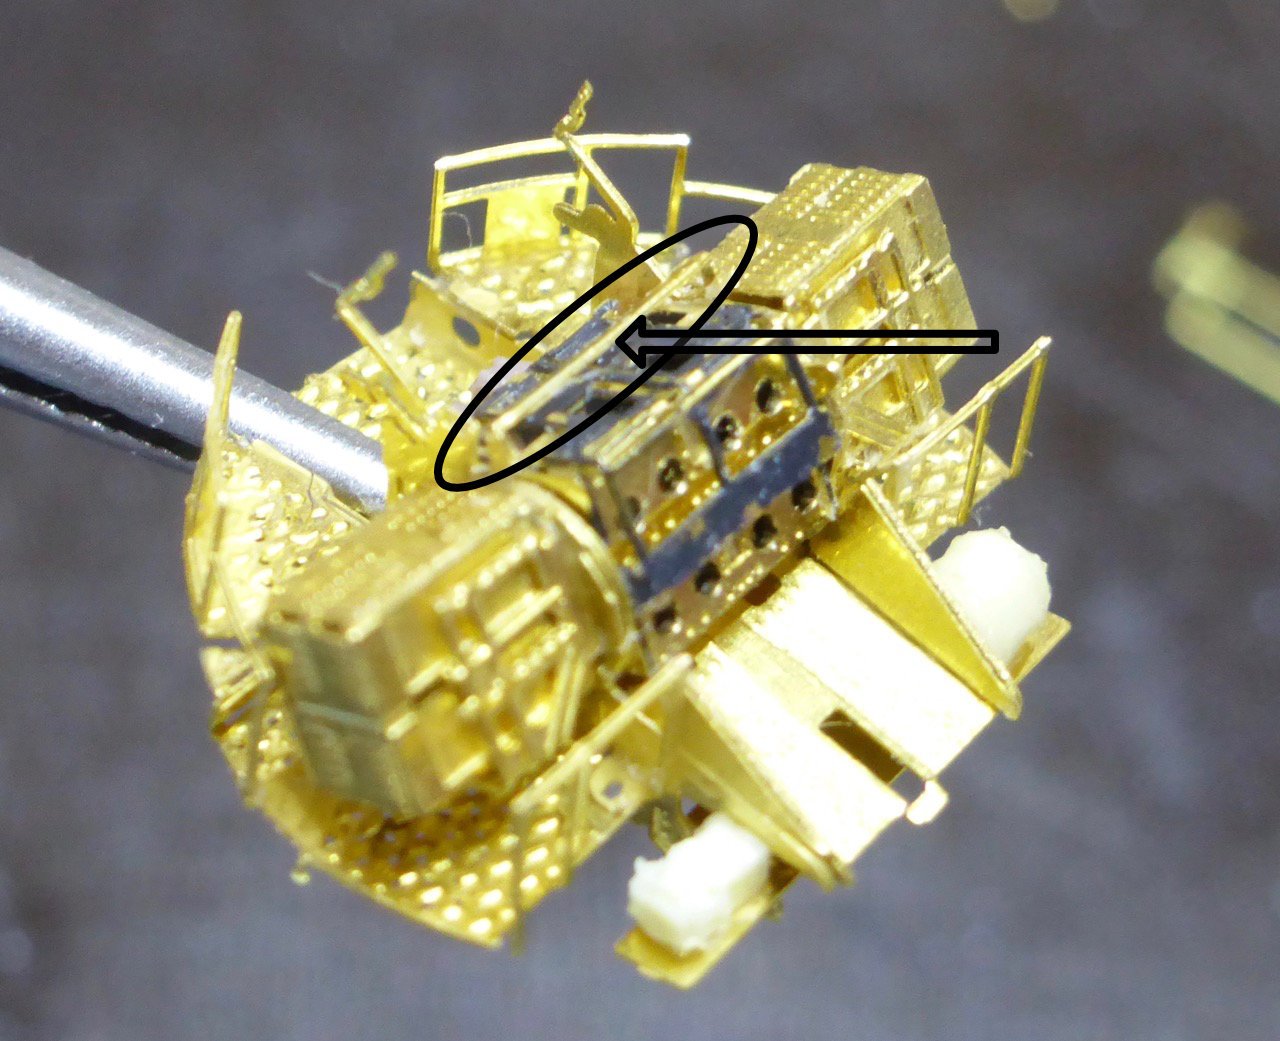
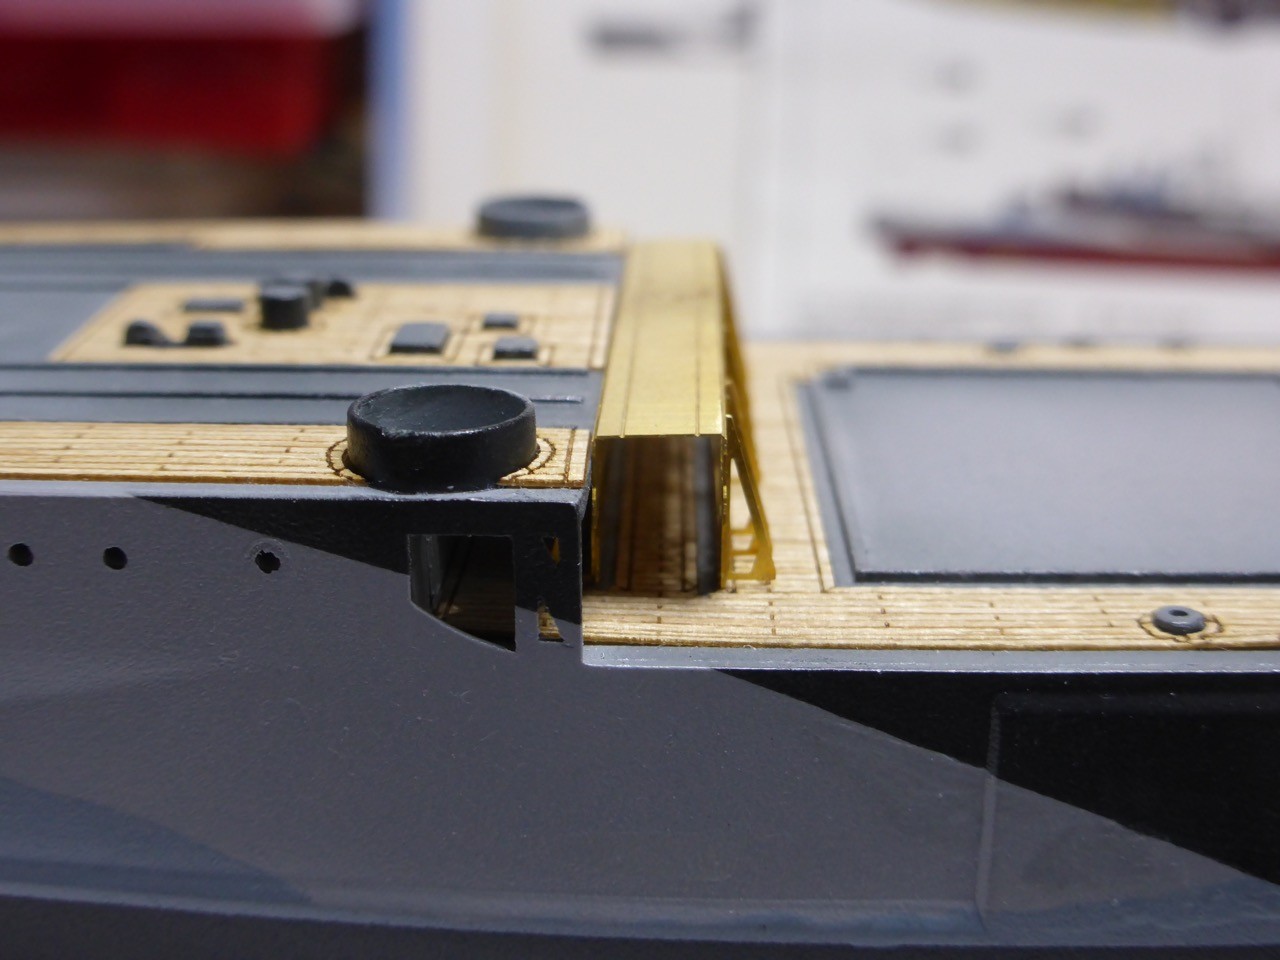
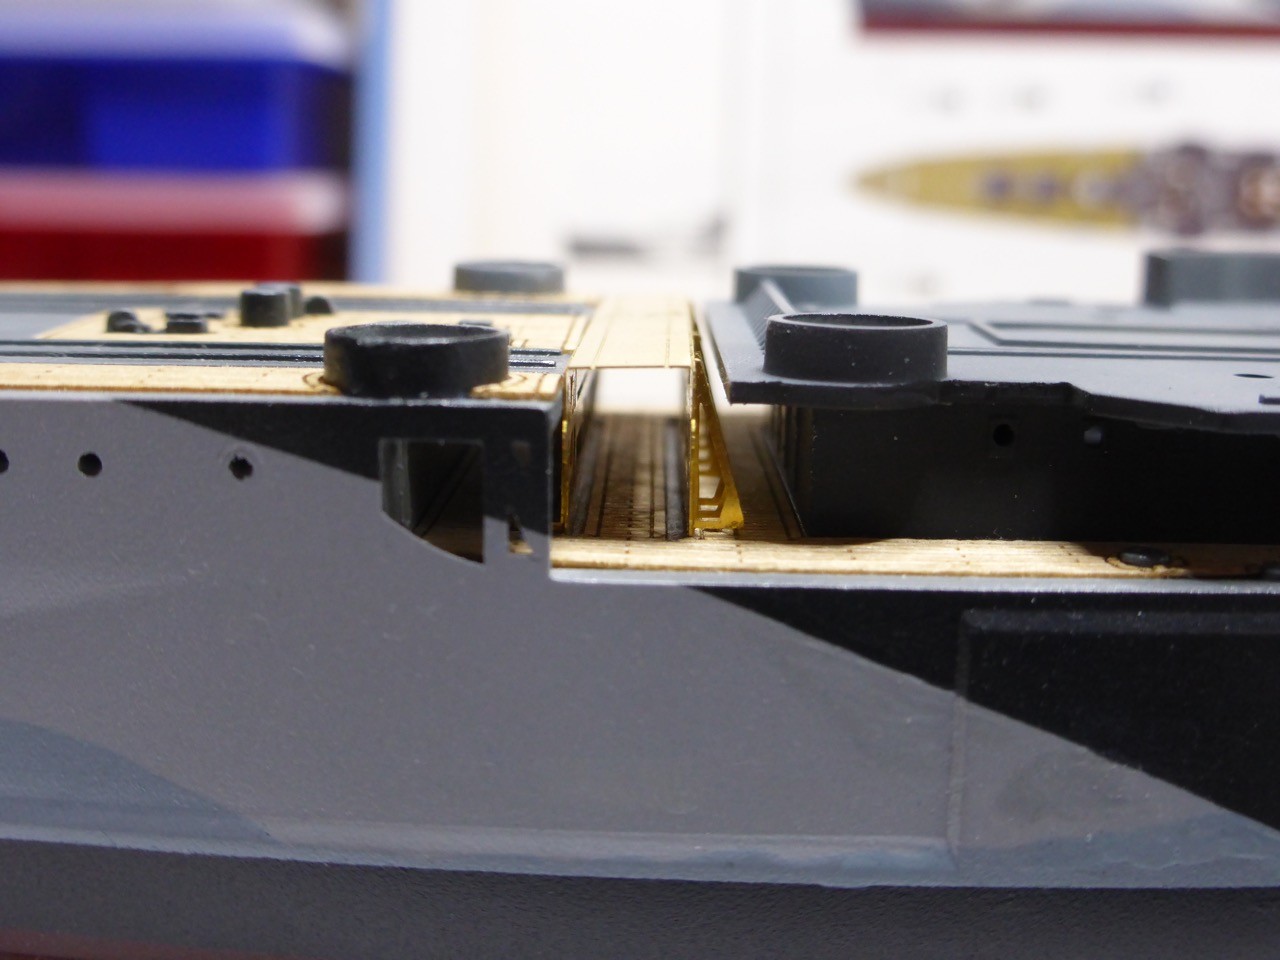
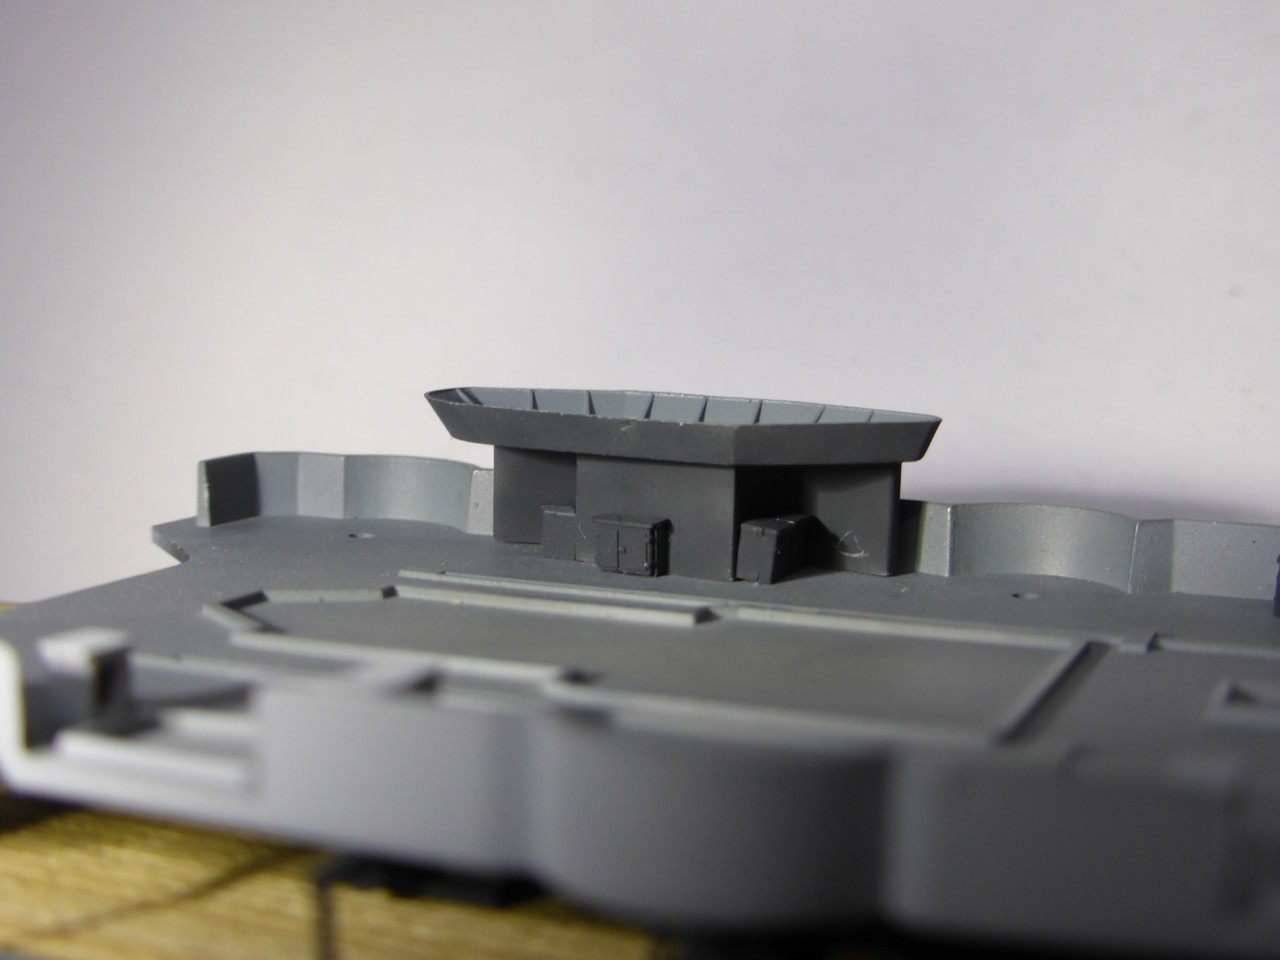
The overlapping part gives a very neat thee dimensional structure around the barrels (arrow).


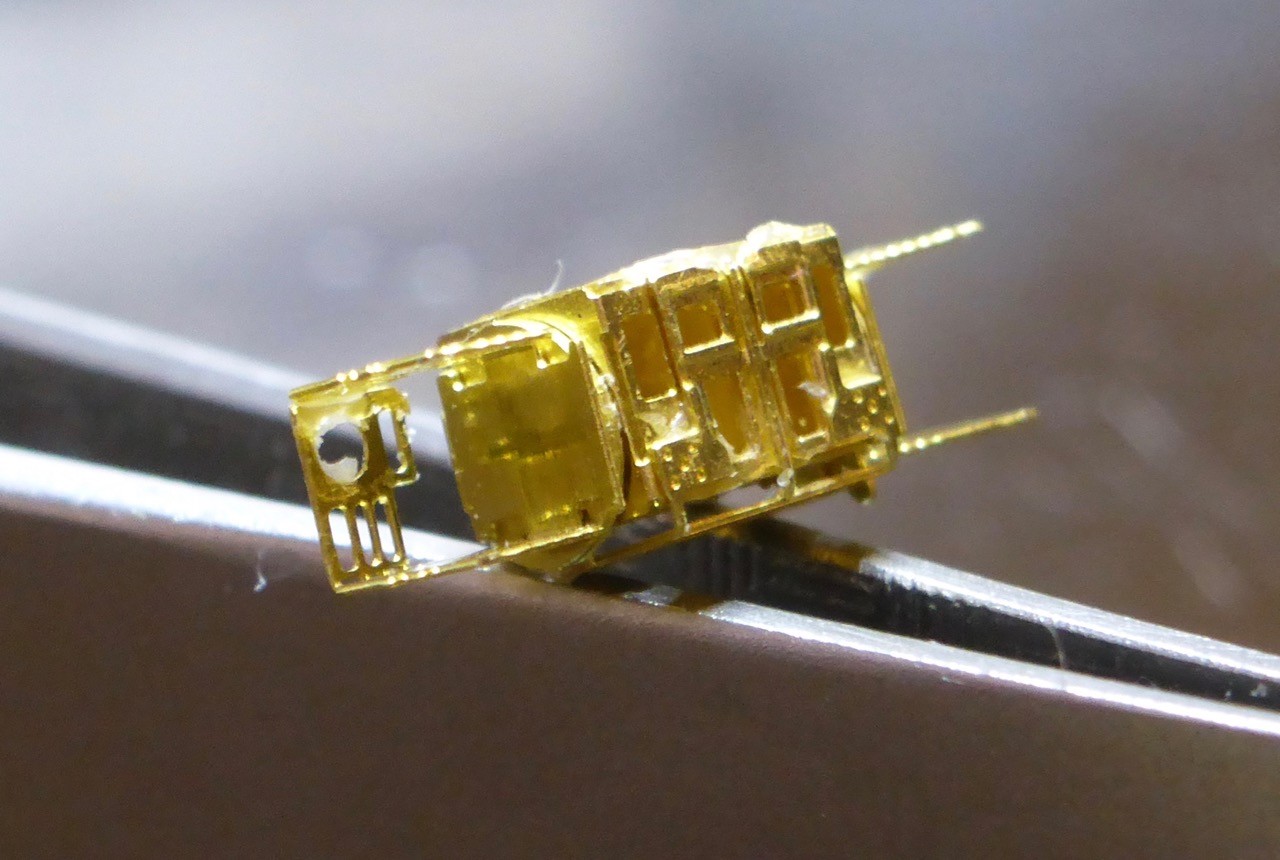
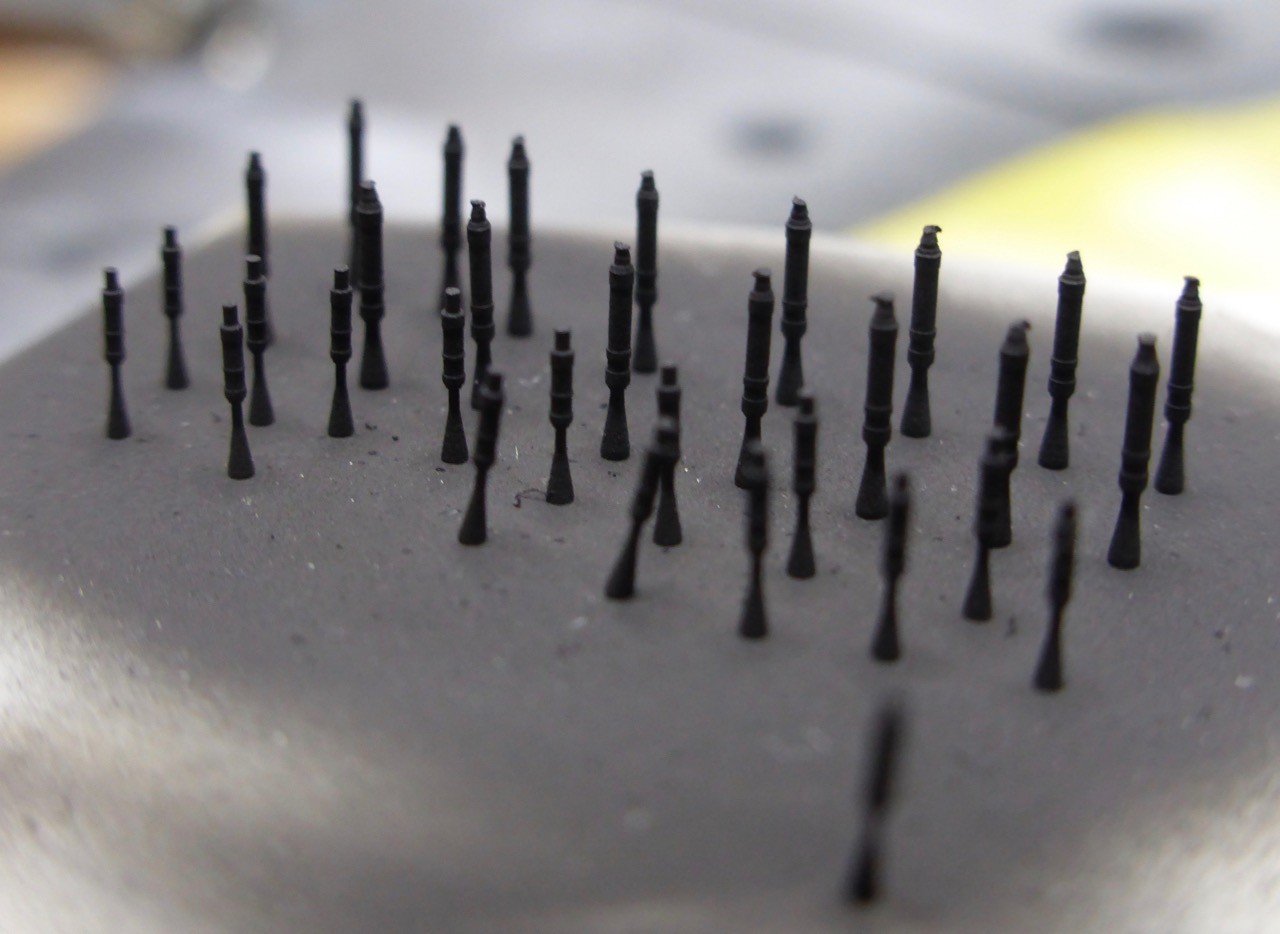
The individual breeches, all resin parts. Two times twenty provided for two times sixteen needed. Good. Already lost two...


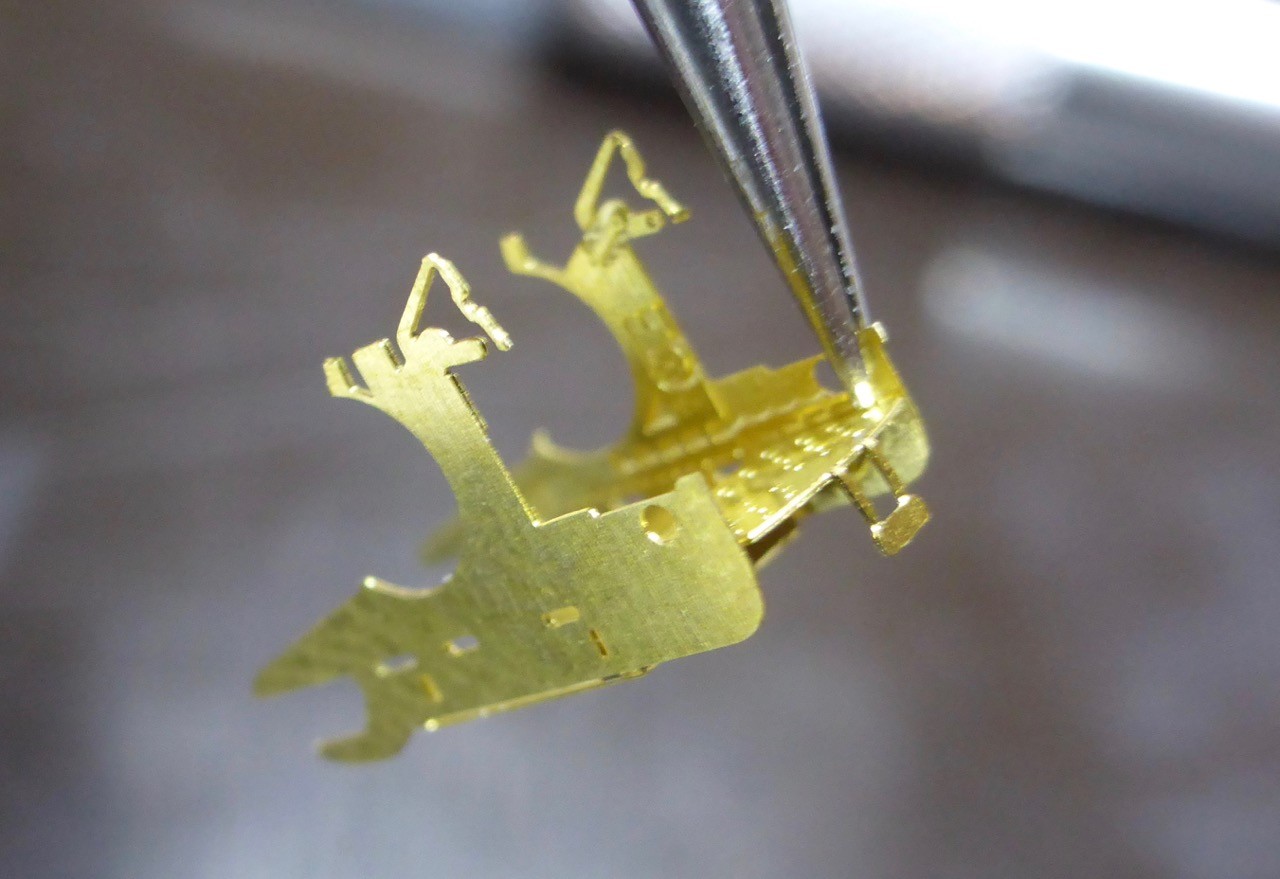
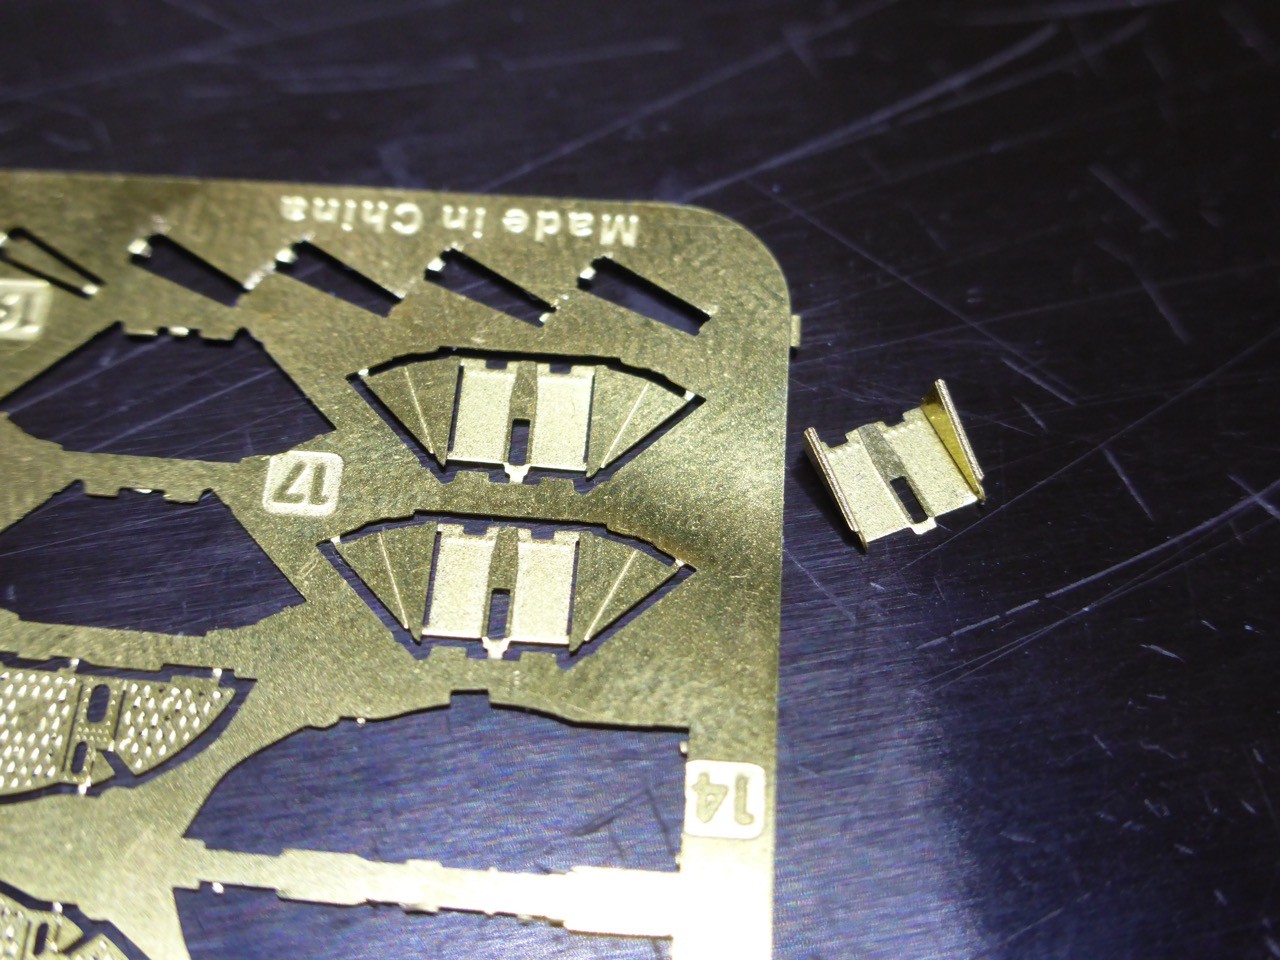
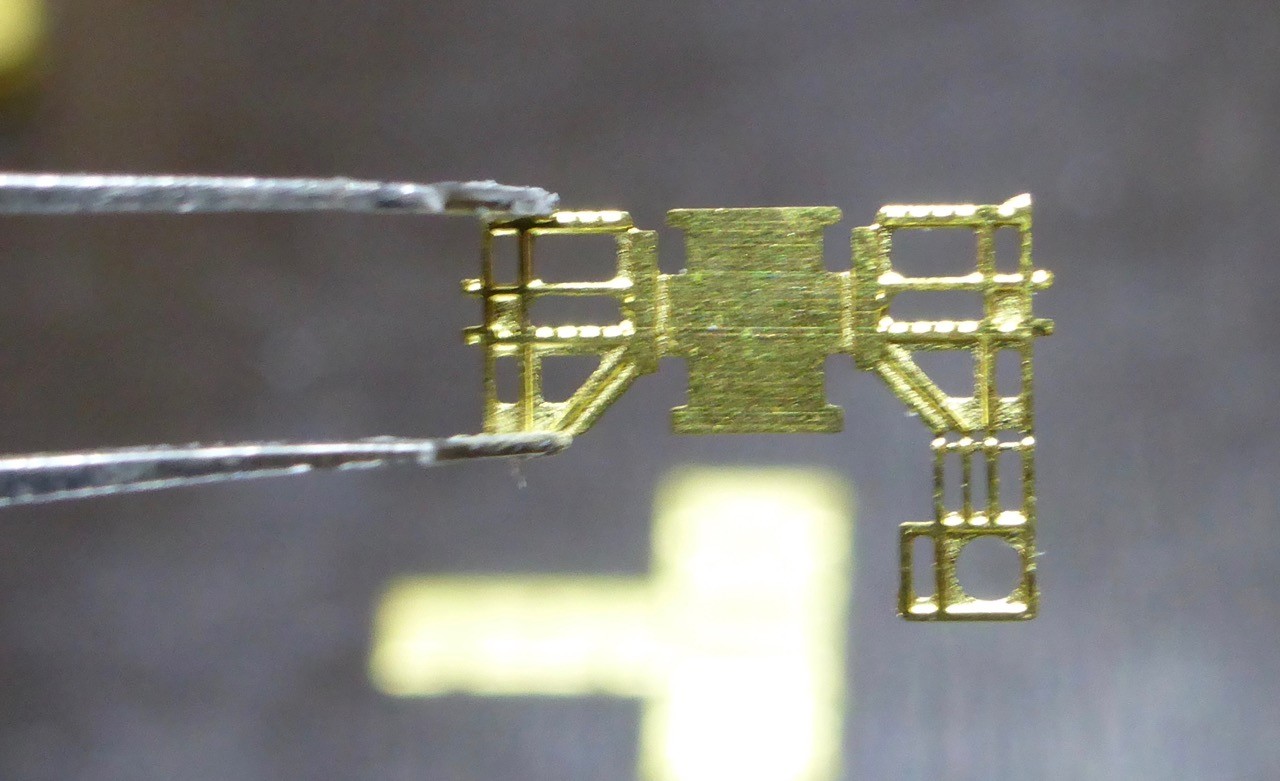
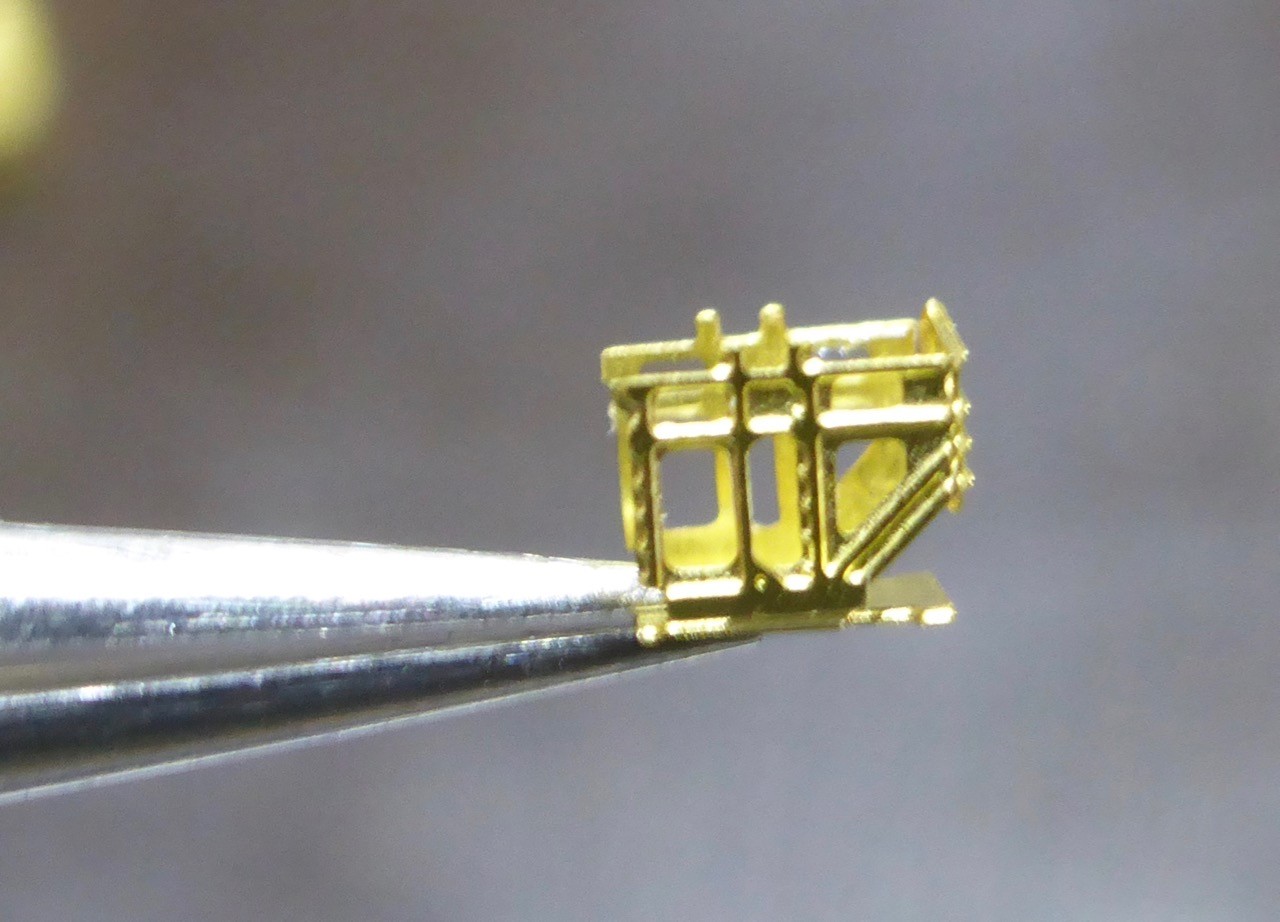
Those little plates will be the joints later on. The little gaps (arrow) find their counterpart on the sides of the breech-block...

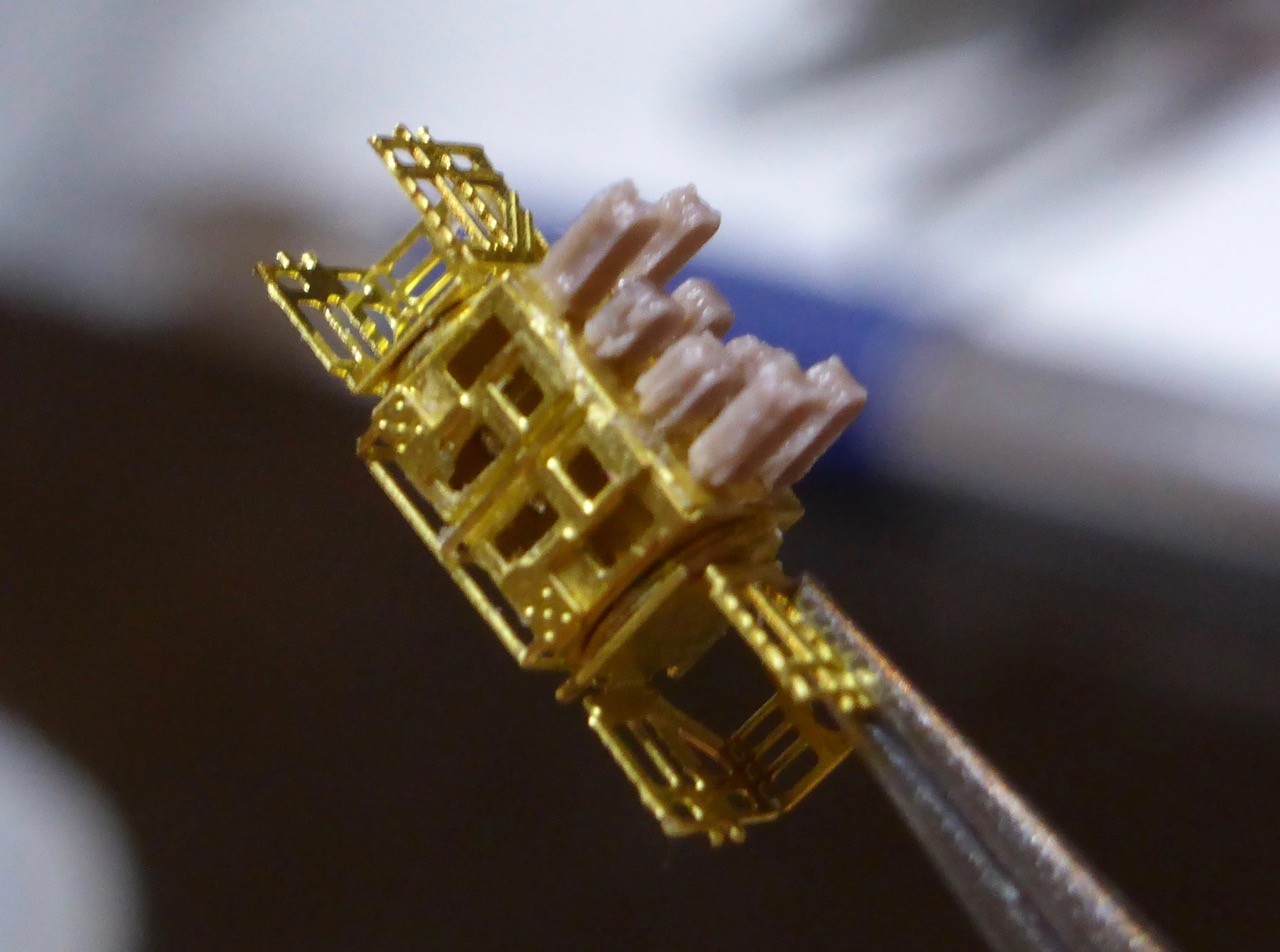
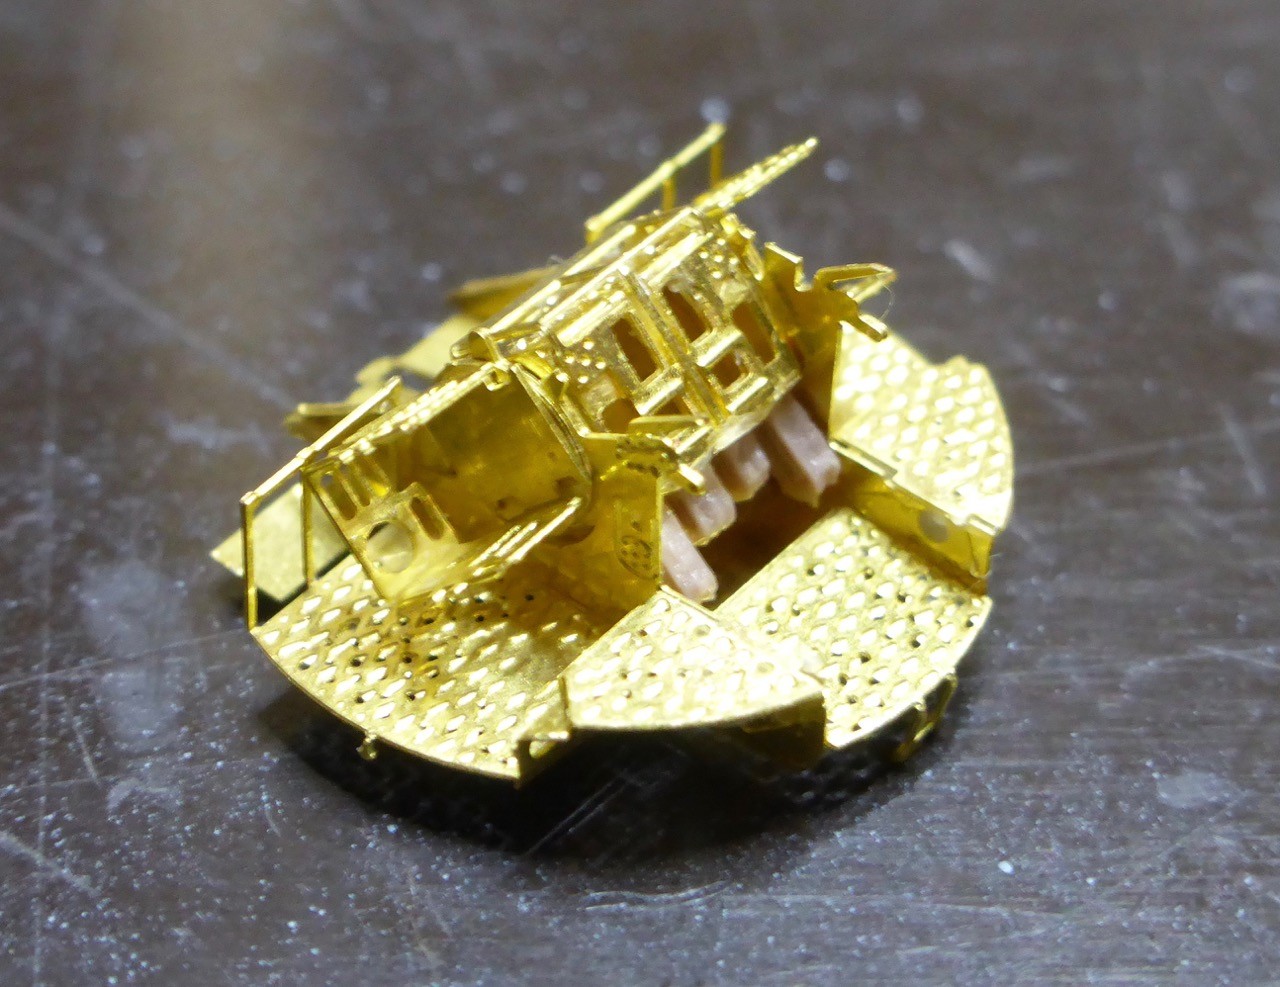
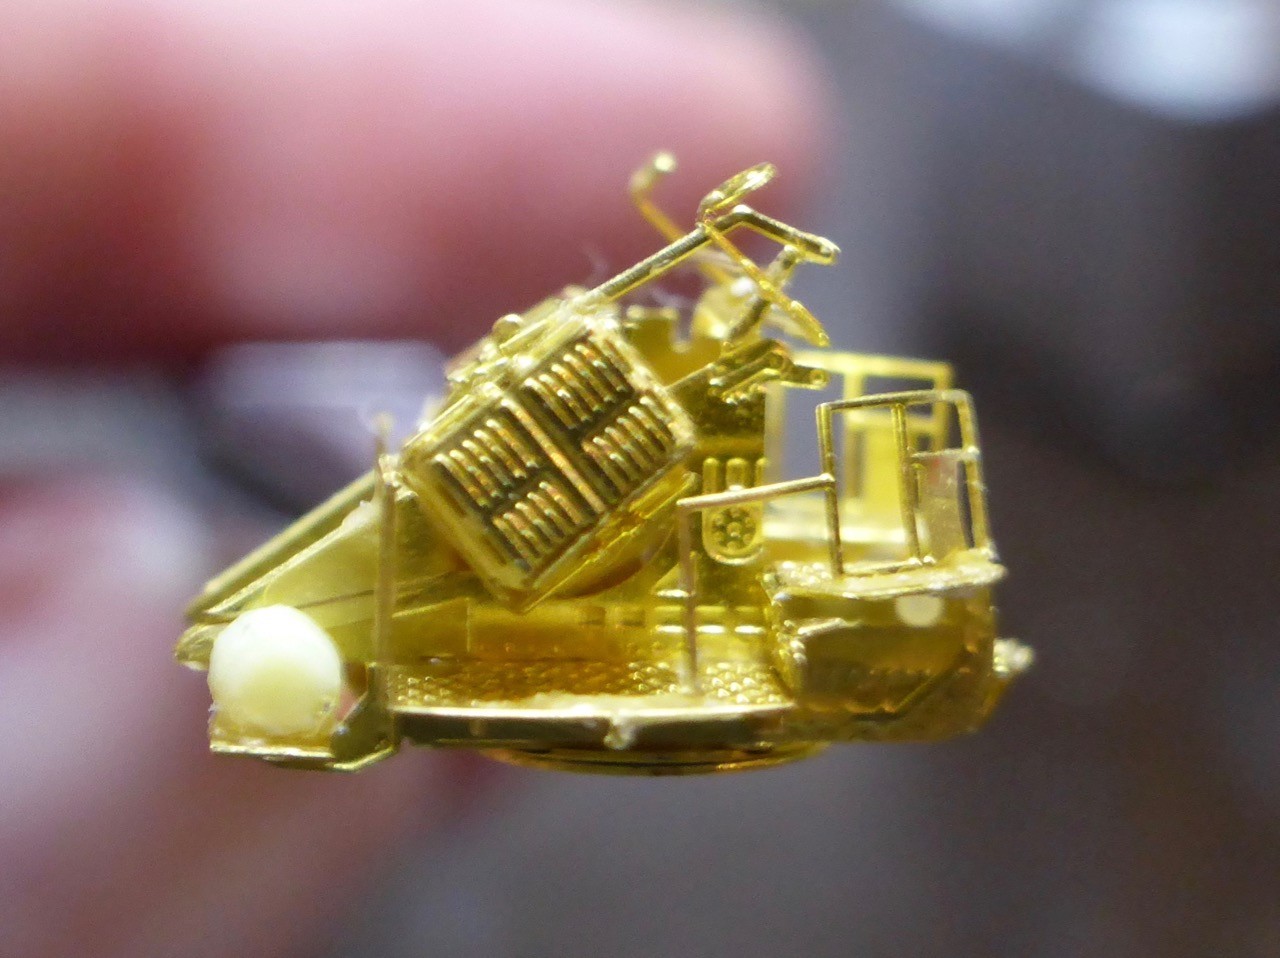
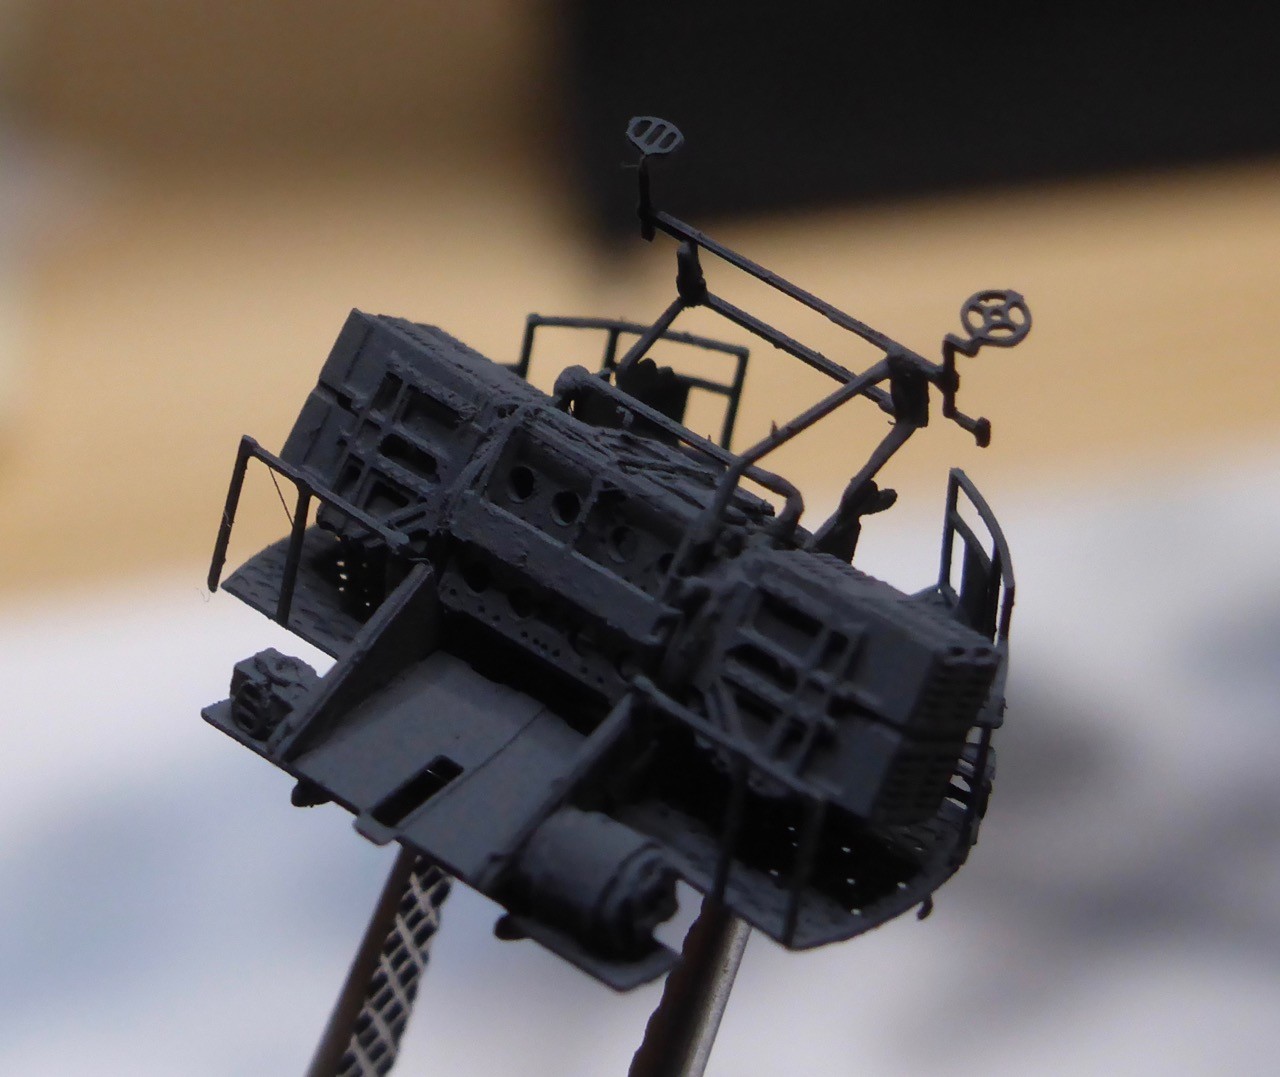
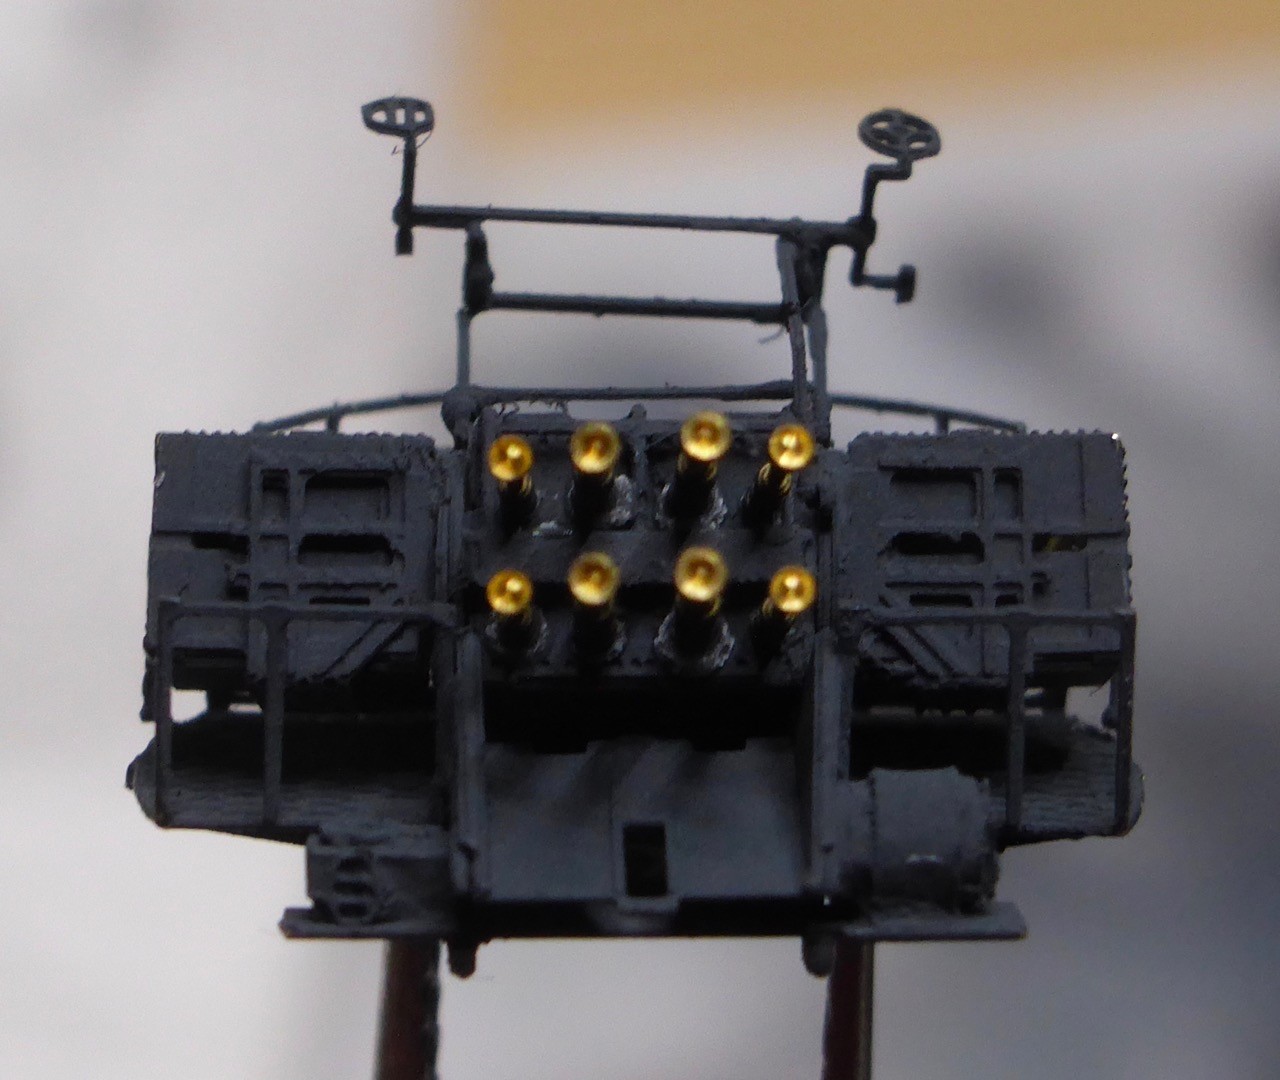
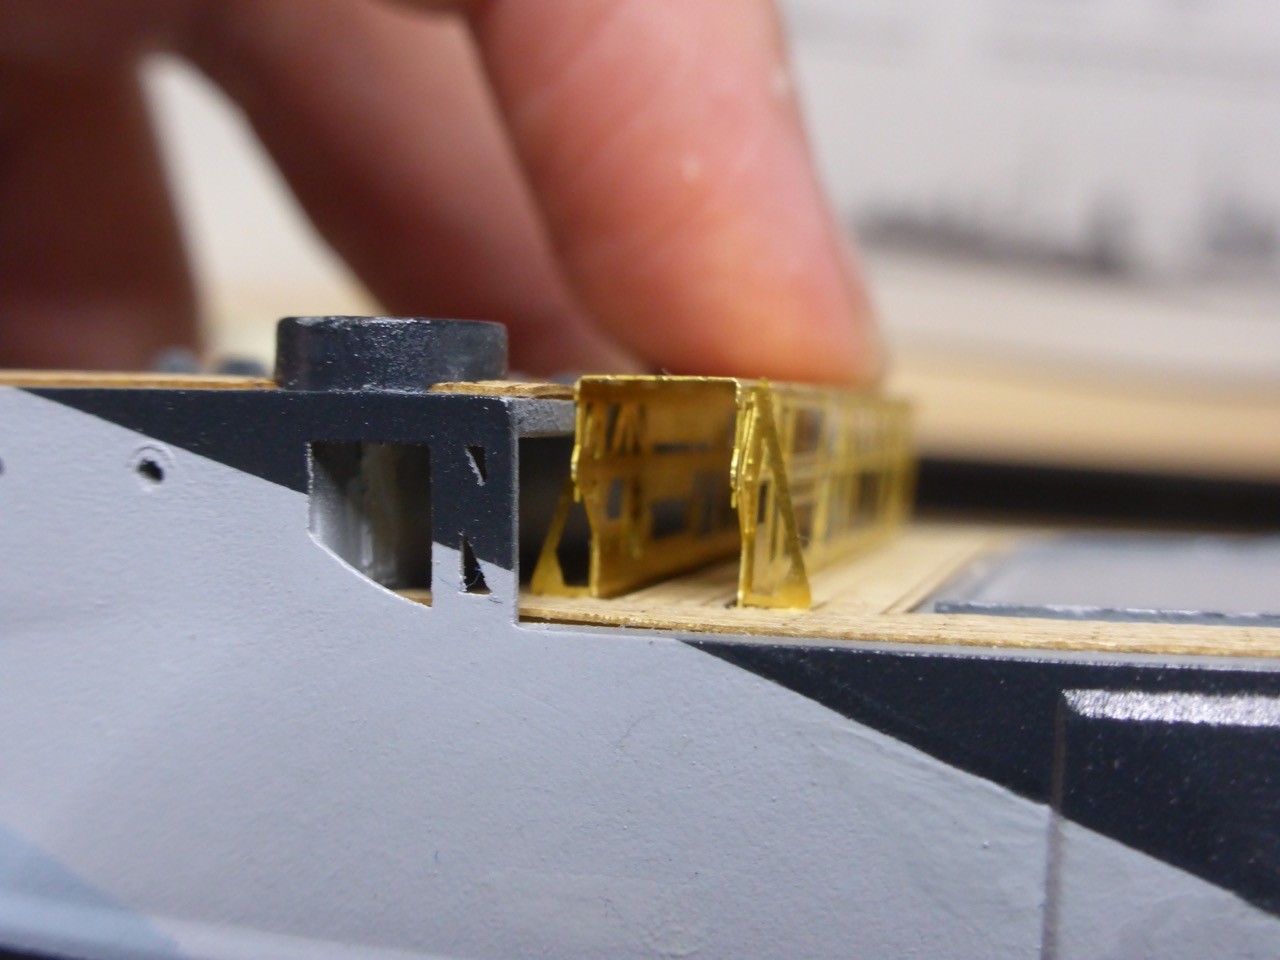
The cradle for the ammunition.
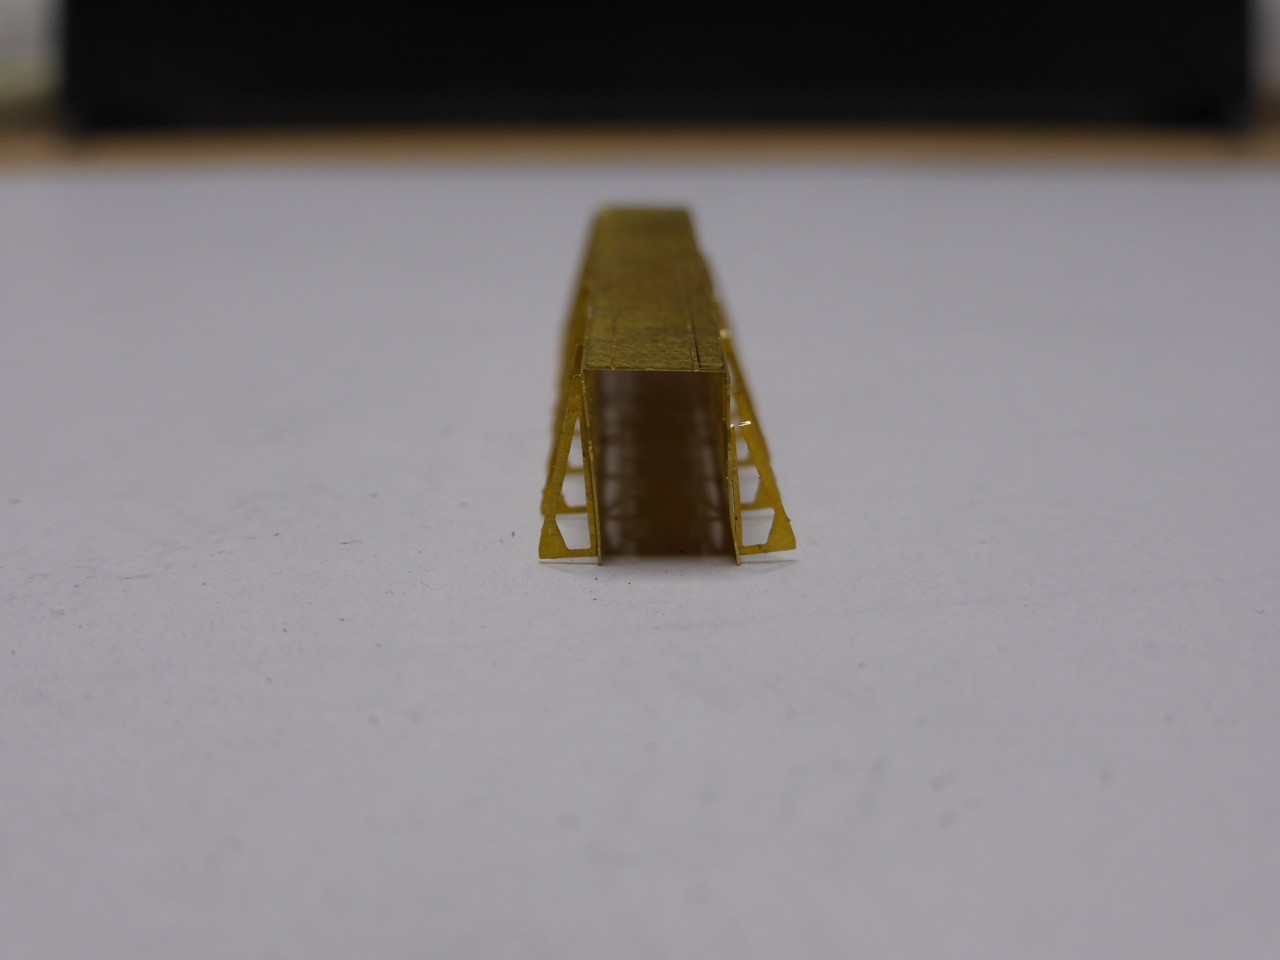
Folded.
Those four distinctive holes will find their counterparts in the circled connecting links of the ammunition.

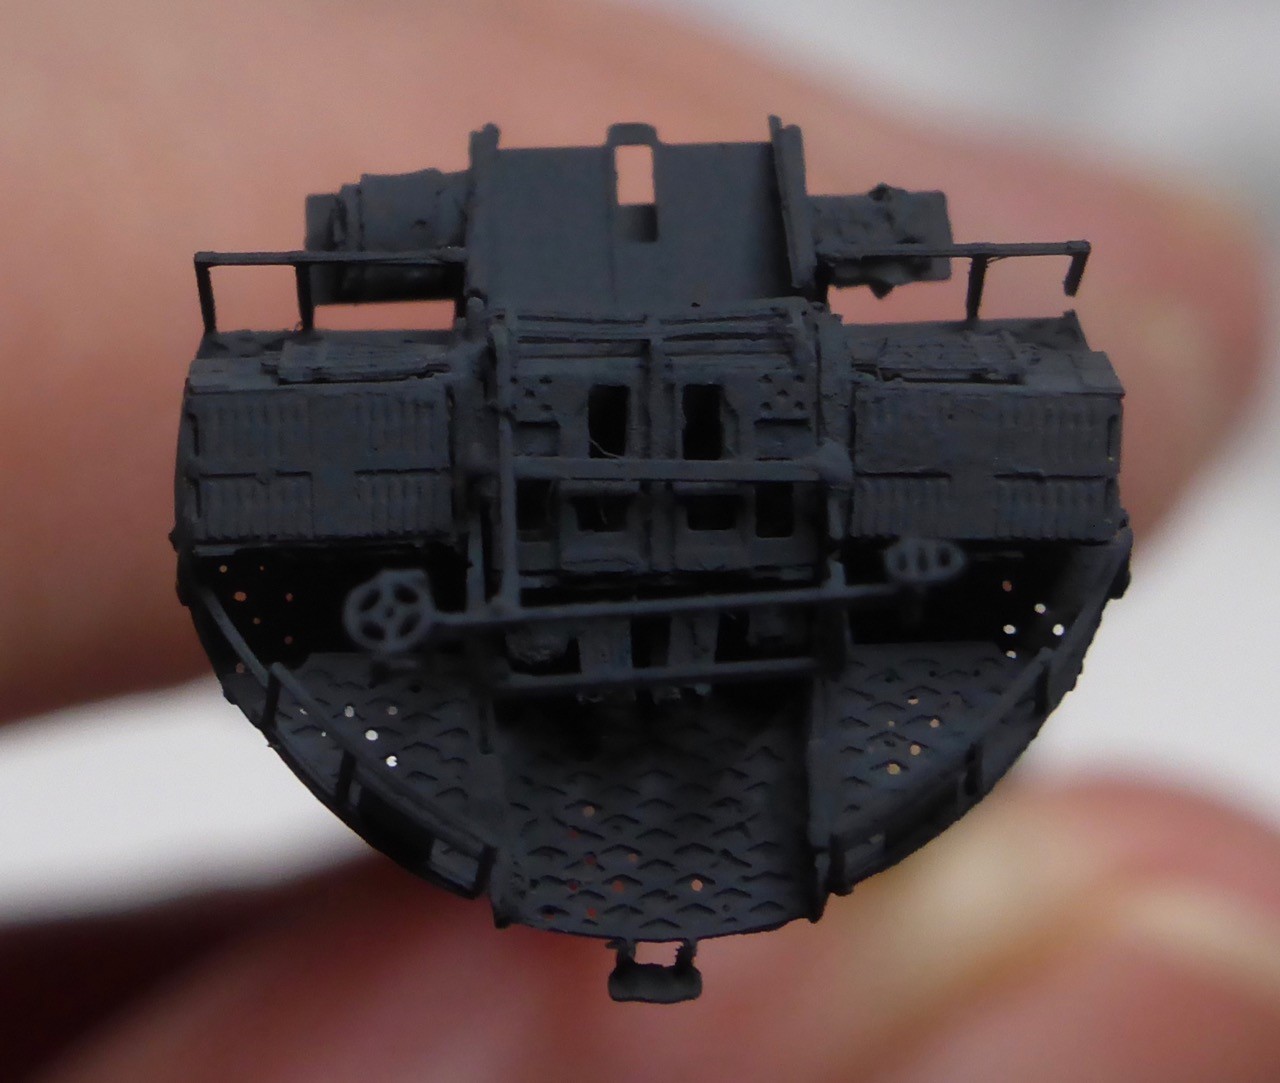
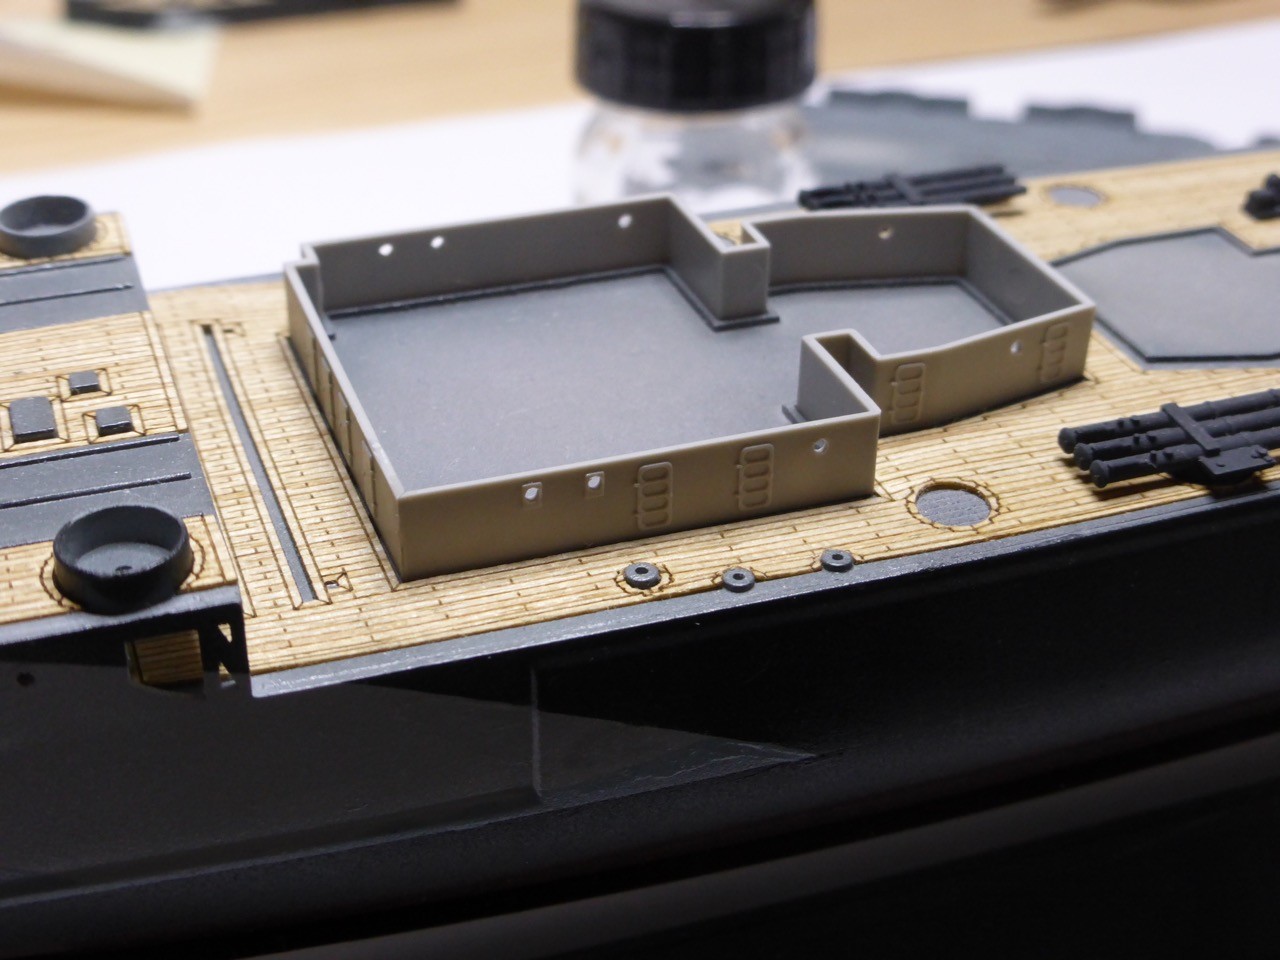
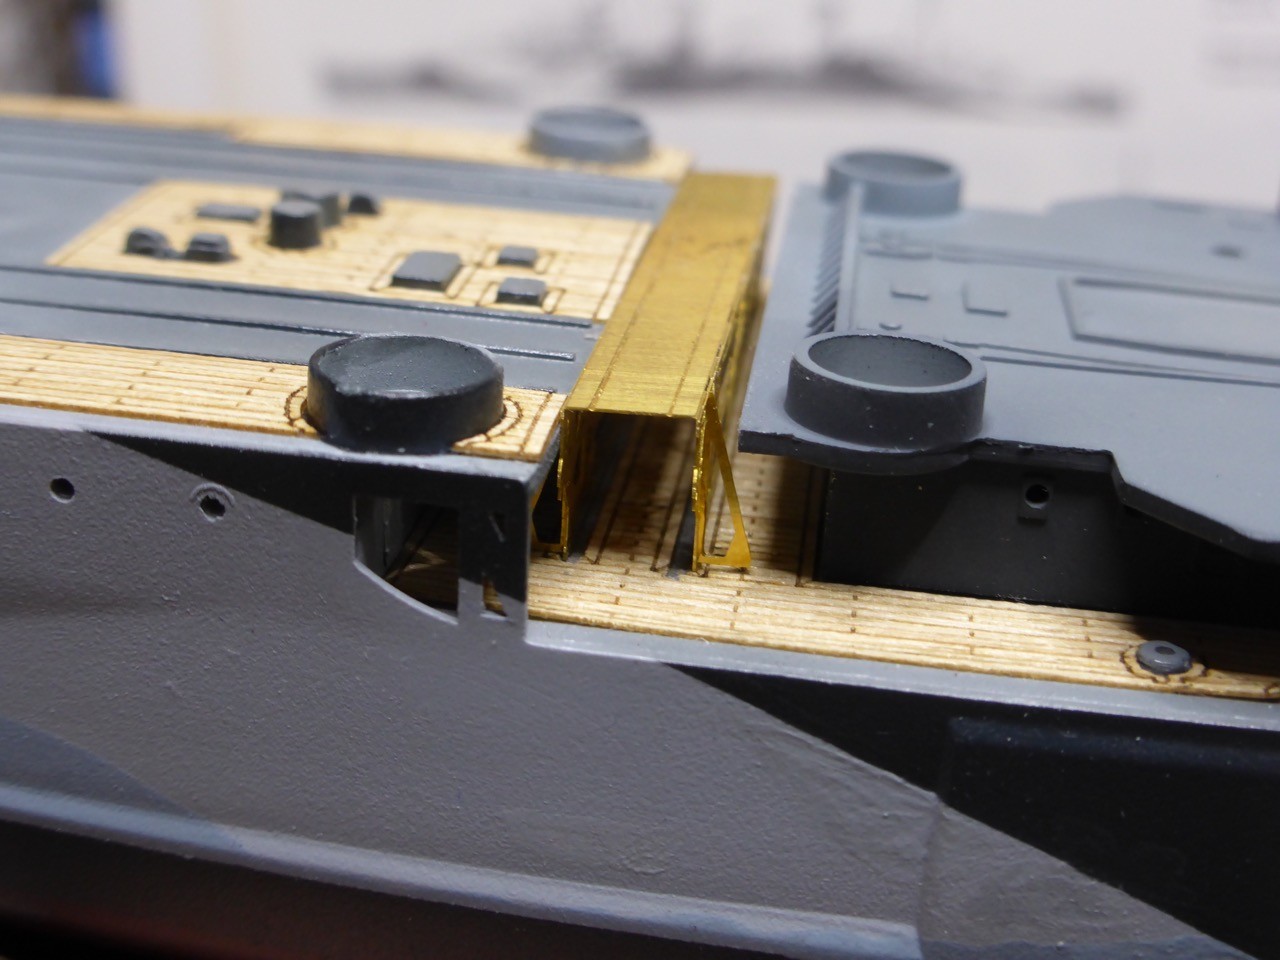
The ammunition boxes are only one pice (vice four individual boxes for Eduard), but they are open in the middle so you can look through and once in place they don't look like just one piece. Nicely done.


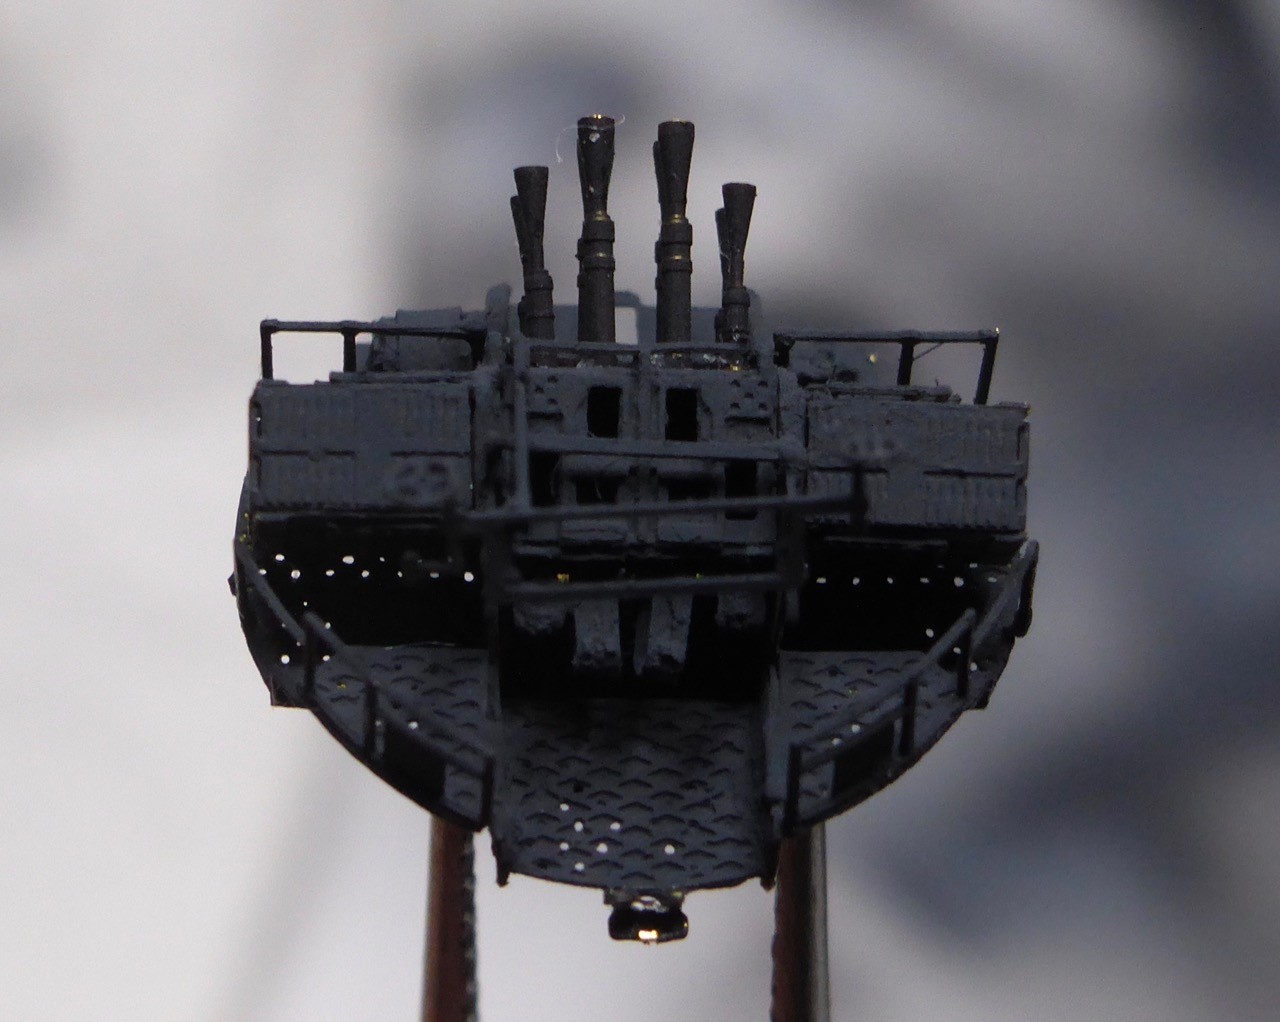
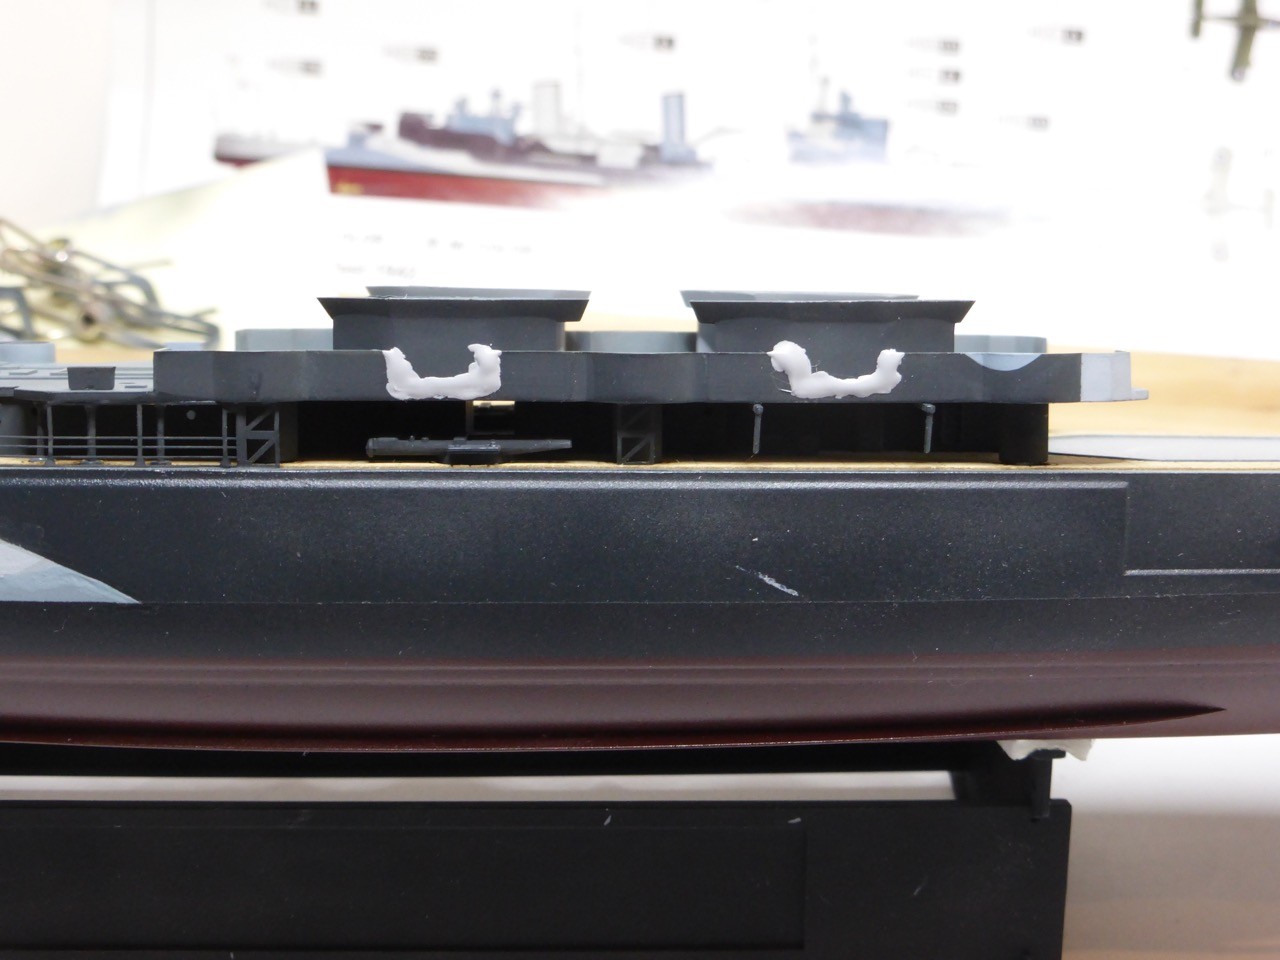
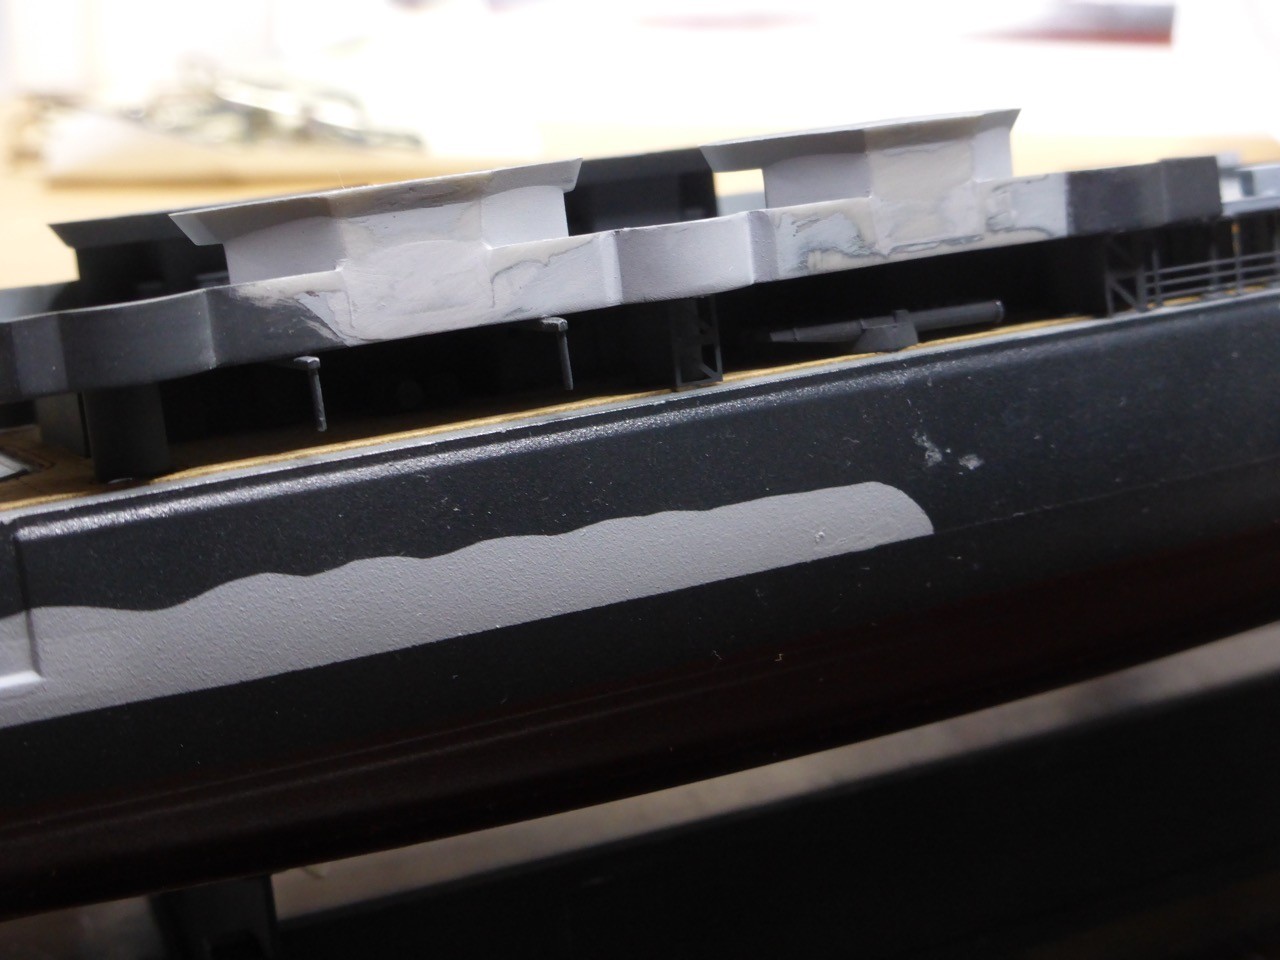
Ammo box in cradle gives you this - but, even though it is said in the instructions, I highly recommend not building that assembly yet!! One of the things I learned for my second piano. I will show you why later...


All right, let's call it chapter one. Chapter two will follow soon - I try tomorrow but I don't promise

I hope you like this little rund down of the build, maybe it can be helpful for something. Or just fun watching....
Cheers,
Jan