Great to see a Hood join in here - your decks look good, a very nice start!!

Si, you're still running ahead - great work on your Scharnhorst, looks absolutely awesome!!
Now let's skin the cats - I know one thing for sure - your method is faster than mine

especially on weekends like this one. Lots of good bench time, but I have a tendency to get stuck with some issues or redo. But I guess the concept is well known to all of us here: realize you missed something - going back to the manual - quick look, not reading everything - cursing the manufacturer for bad fit and completely undoable steps - looking again, spotting your own mistake - disassemble everything with some losses - follow instructions and find out that the fit is quite all right and the steps are doable...


So here's my latest encounter with this process:
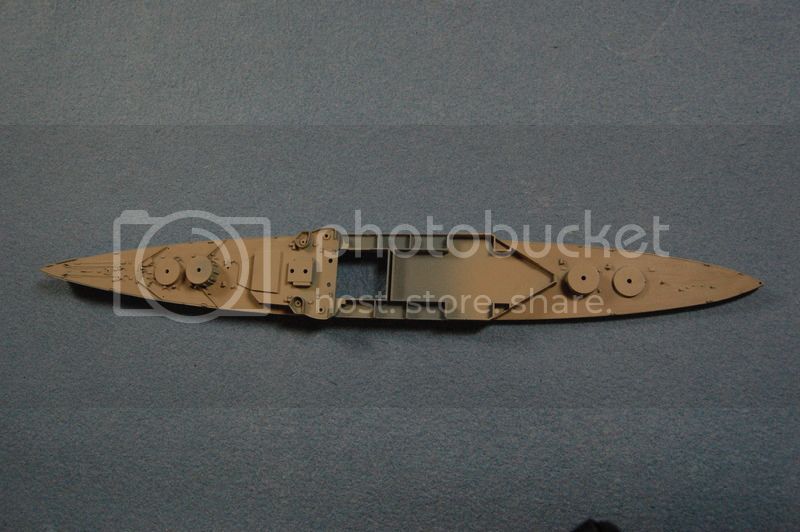
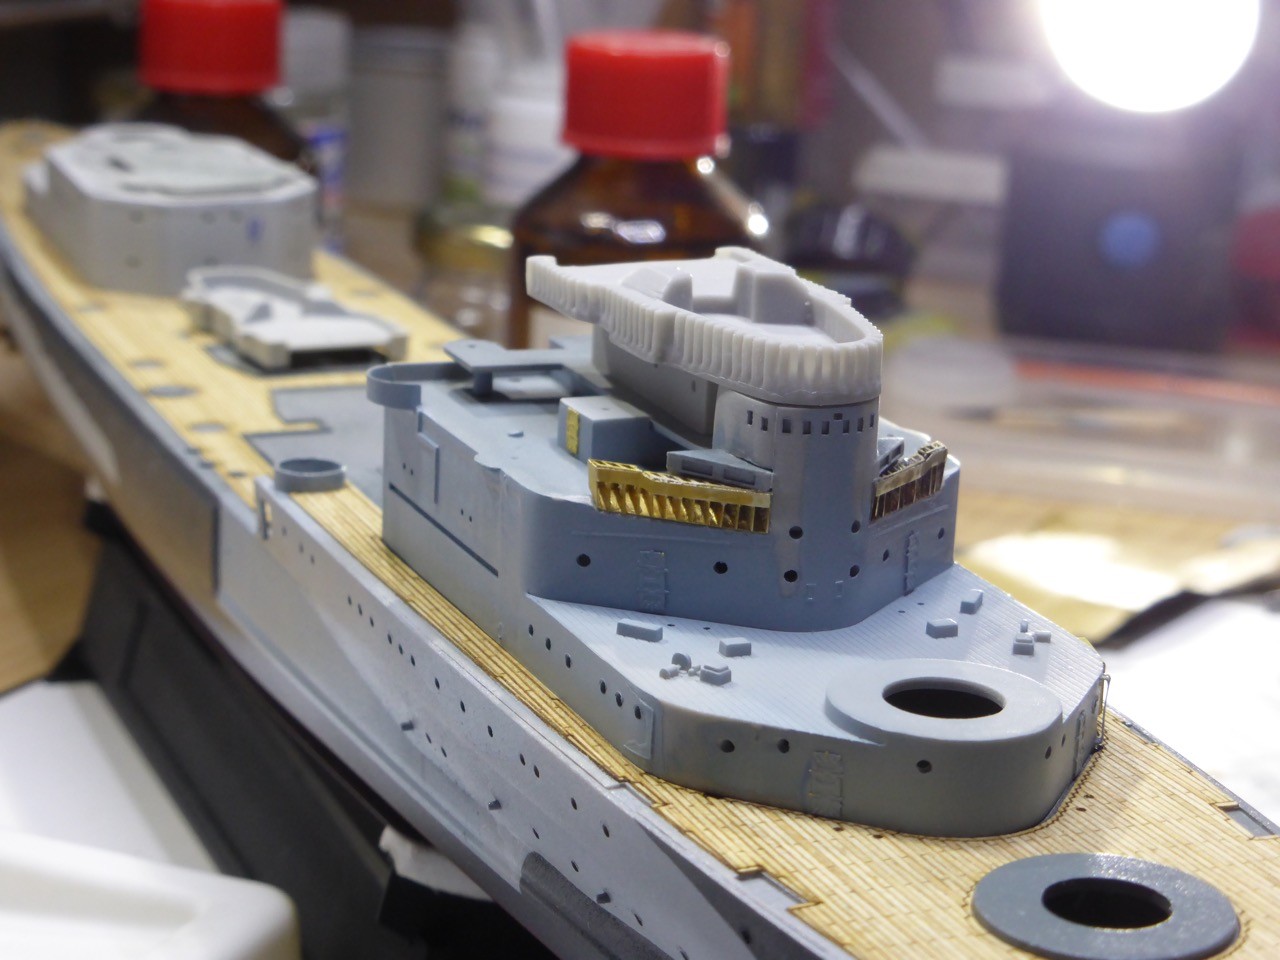
Bridge build up, test fitting the WEM compass platform.
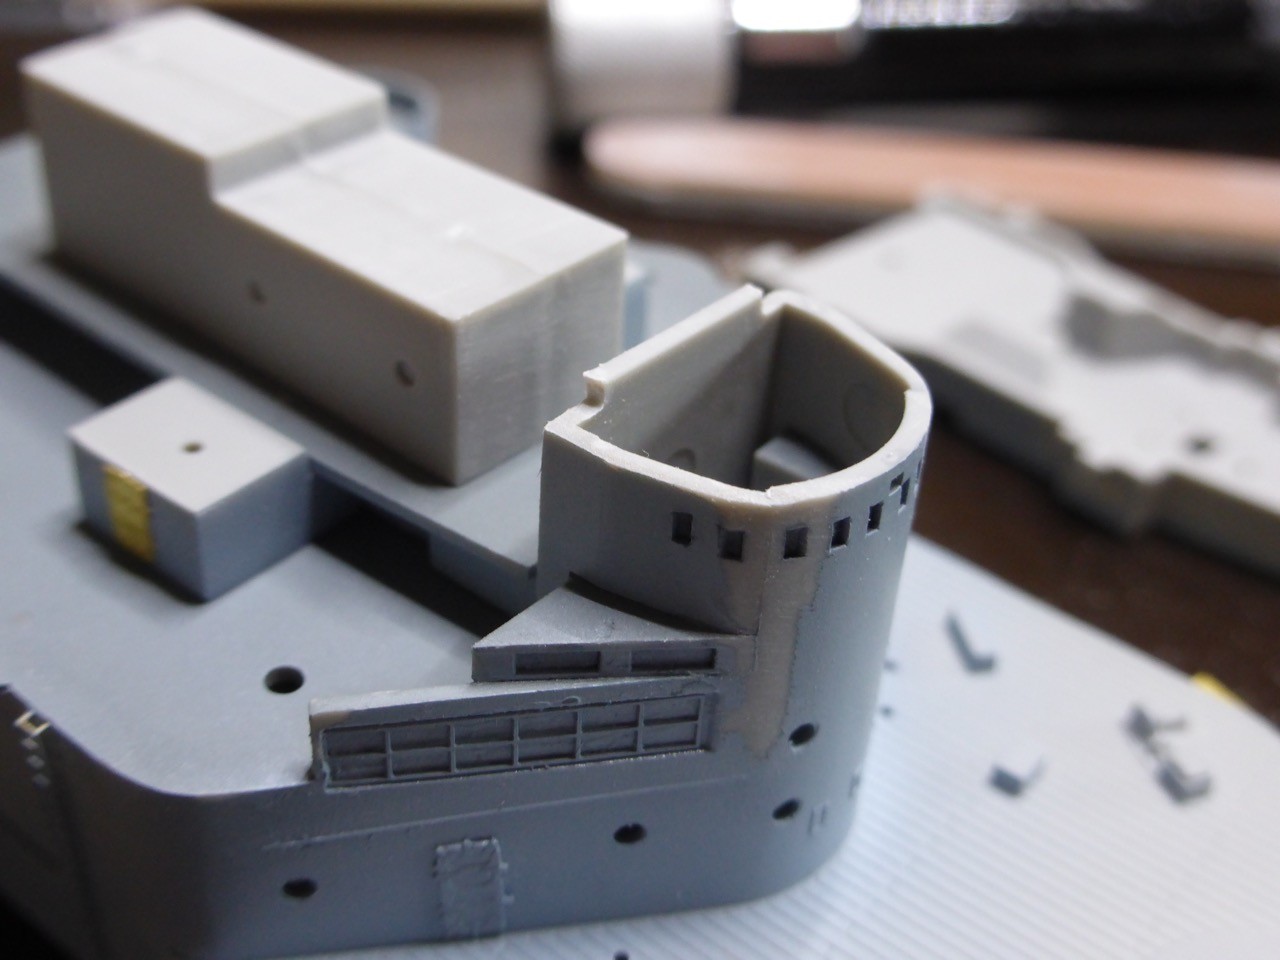
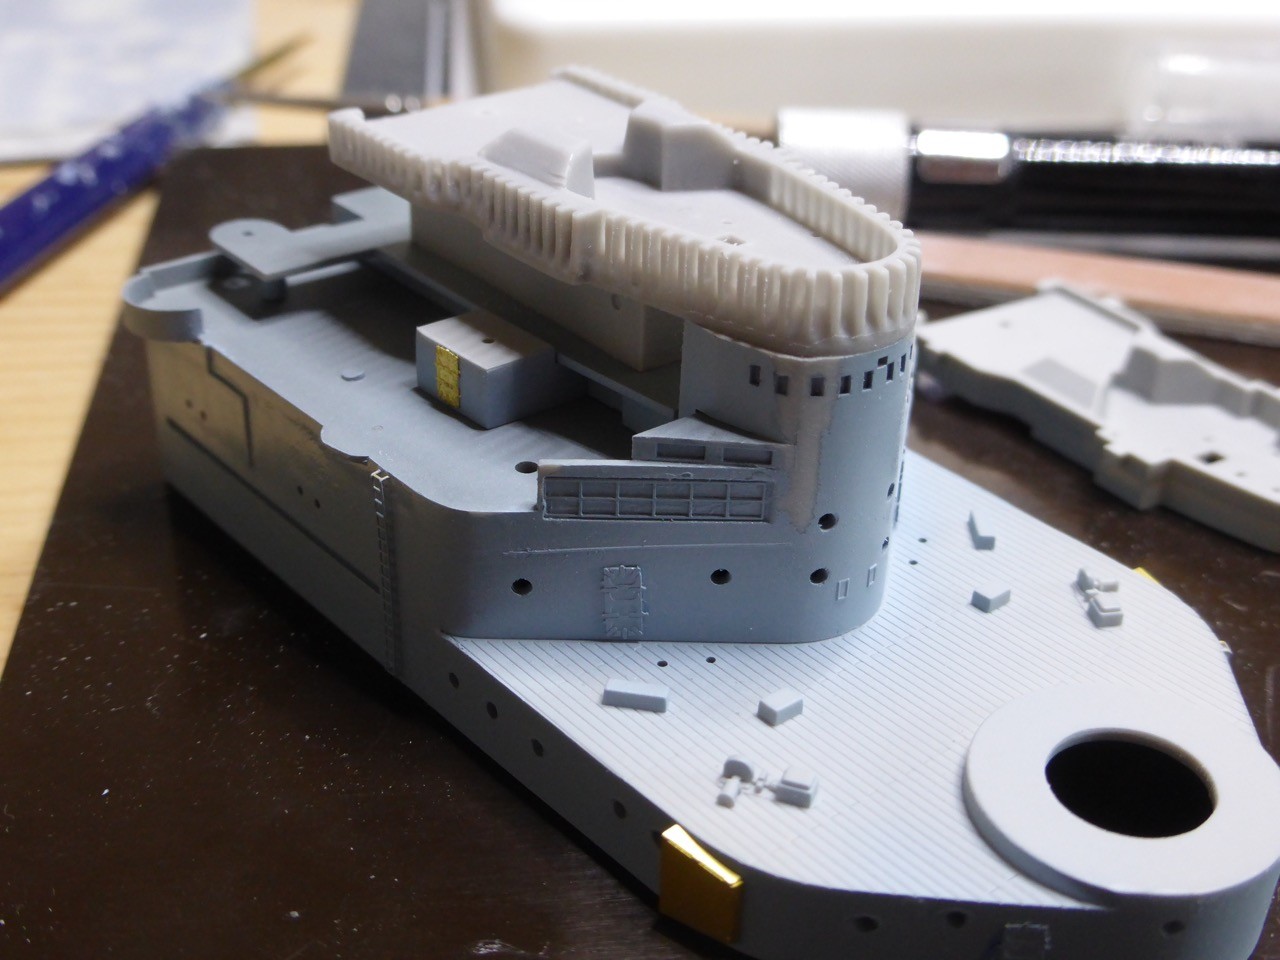
Is it only me thinking that the deflectors here are molded upside down?? I will have to add something on top of that structure later on.
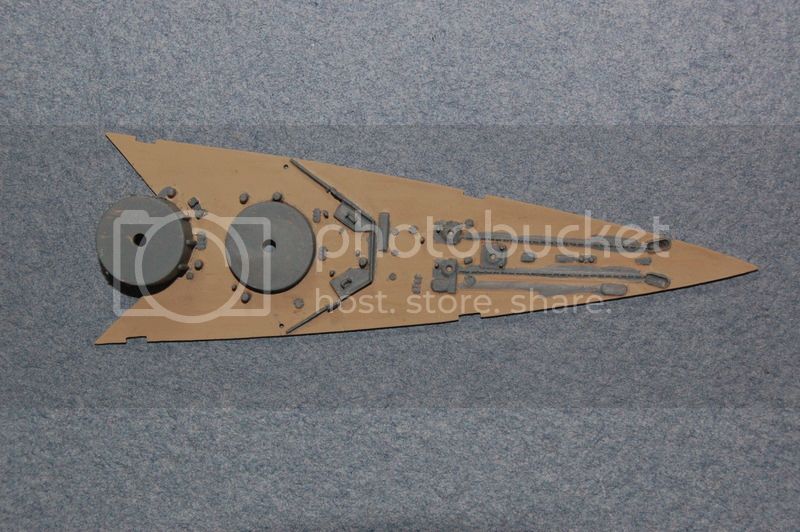
Compared to the kit' part:
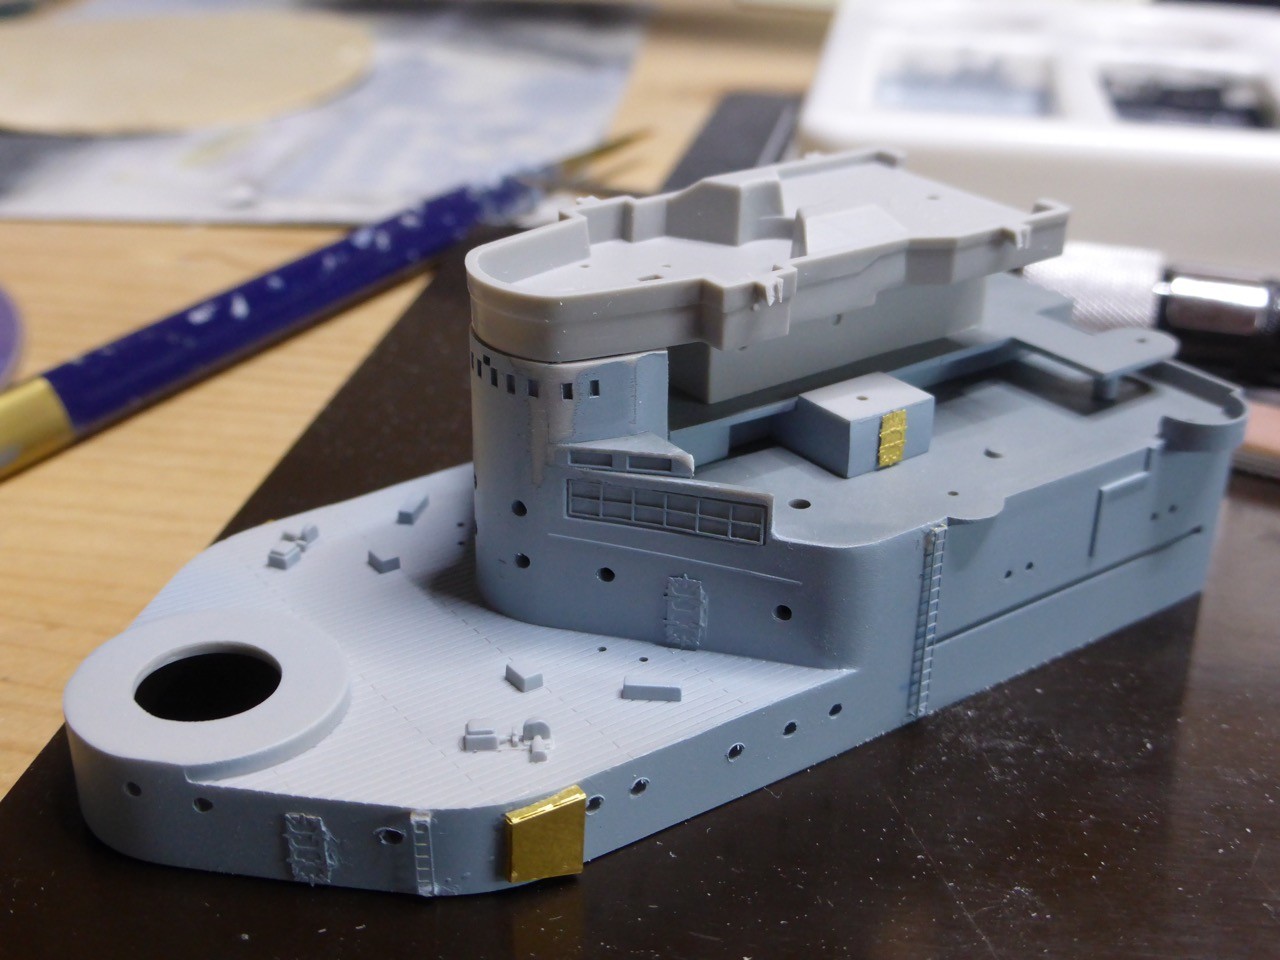
Realizing there are way better wind deflectors in the WEM set, but they need some quite substantial re-building...
but here they are:
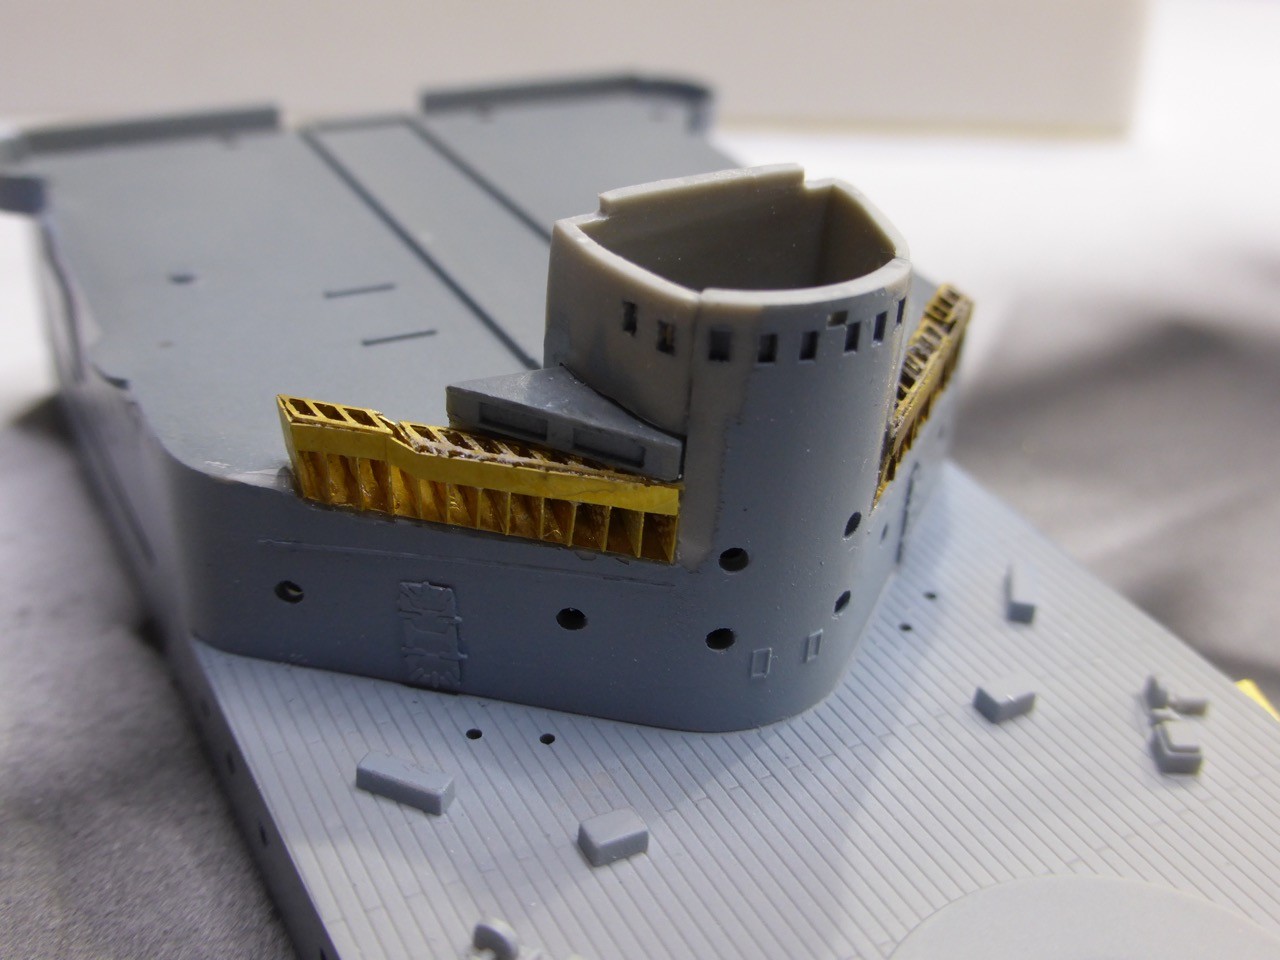
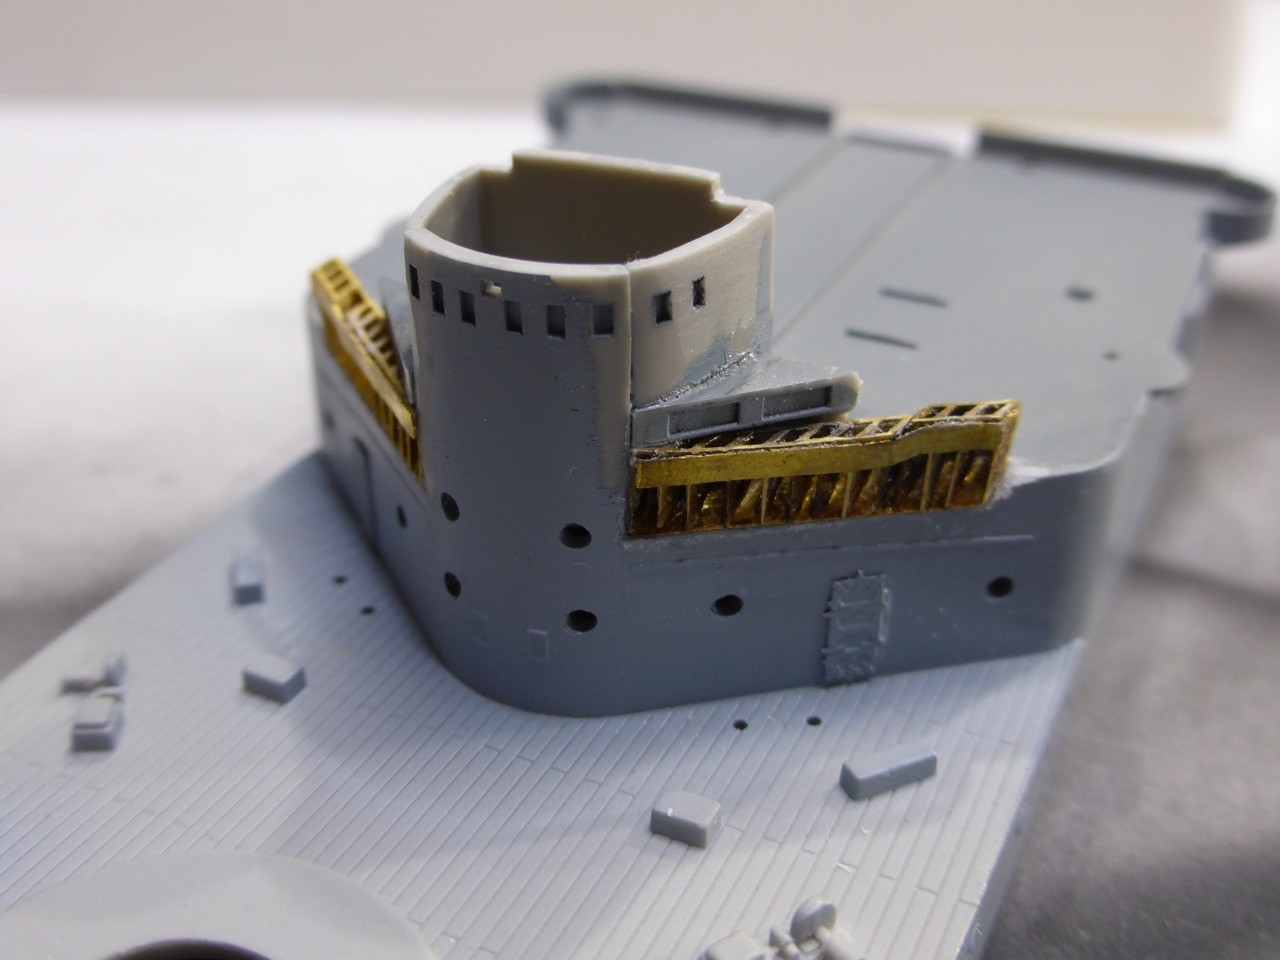
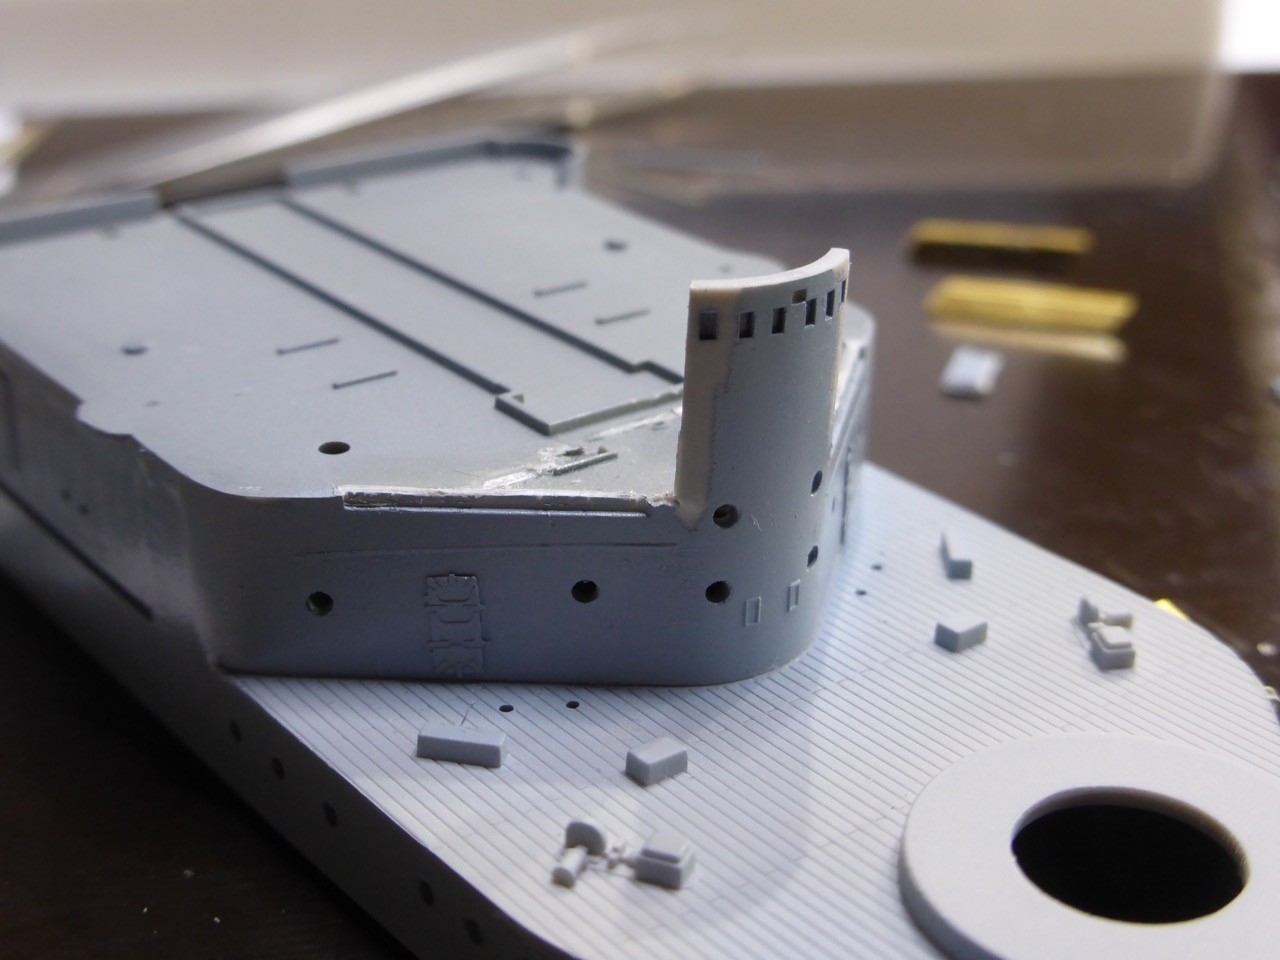
My cursing here was to WEM (and I apologize!!), I started with the first deflector upside down, even though the instructions were sufficiently clear. I just should have read them.

Good thing is that CA glue burns away at a decent temperature, so I could undo everything with a lighter and start new. That's why the port side deflectors are darker and not as straight as the starboard ones...
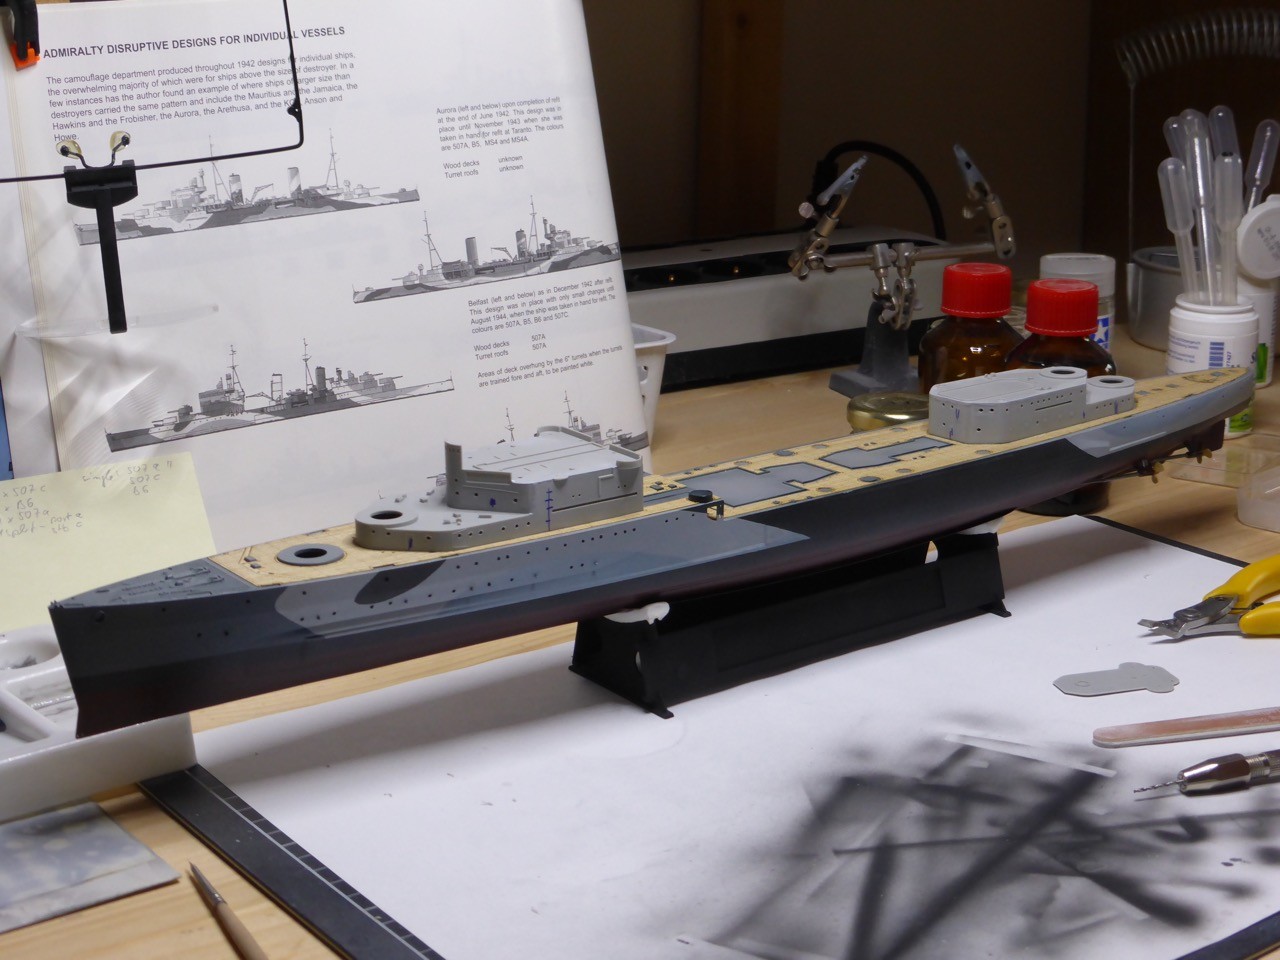
More on my build log - will see if I manage the full update today, could be tomorrow...
Cheers,
Jan


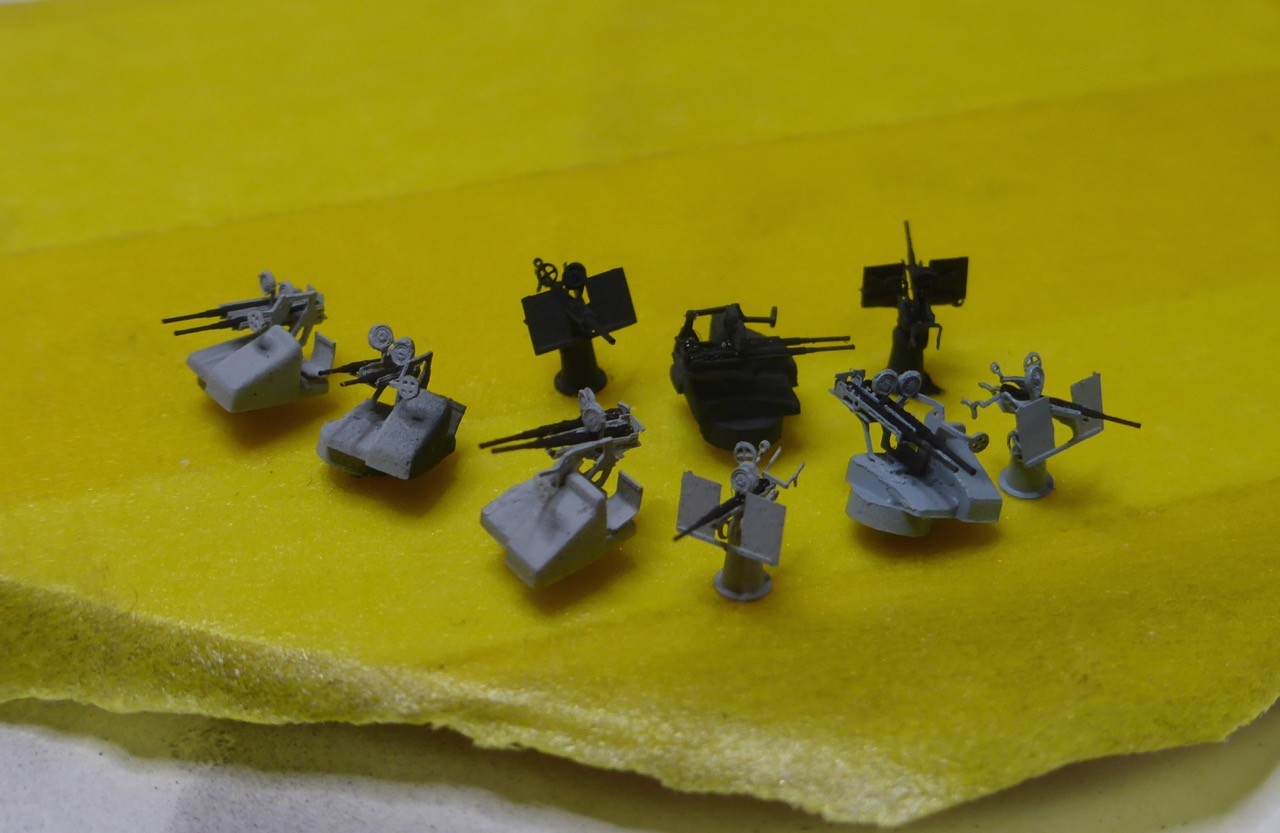
but since you ask, here is a view of some of the issues.


 [/URL]