

Go to modelshipwrights.com for the current dynamic site!


General Ship Modeling
Discuss modeling techniques, experiences, and ship modeling in general.
Discuss modeling techniques, experiences, and ship modeling in general.
Hosted by Jim Starkweather
Building Revells 1/72 Flower-Class Corvette

md72

#439

Joined: November 05, 2005
KitMaker: 4,950 posts
Model Shipwrights: 248 posts

Posted: Tuesday, June 02, 2015 - 07:13 PM UTC
Wow, what a project! I'll follow along for the ride. Good Luck!


rolltide31
#377
Joined: June 27, 2010
KitMaker: 1,481 posts
Model Shipwrights: 1,332 posts

Posted: Tuesday, June 02, 2015 - 07:27 PM UTC
whiskey in hand, pizza on order, ready for the ride!!

bdanie6
Joined: November 09, 2008
KitMaker: 615 posts
Model Shipwrights: 50 posts

Posted: Tuesday, June 02, 2015 - 10:34 PM UTC
I'm here too Warren 
 Beer in hand
Later
Beer in handLater

RedDuster

Joined: March 01, 2010
KitMaker: 7,078 posts
Model Shipwrights: 6,649 posts

Posted: Thursday, June 04, 2015 - 12:16 AM UTC
Some serious aftermarket going on there Warren,
This looks like you are going to have bags of fun.
Will be along for the ride.
Cheers.
Si
This looks like you are going to have bags of fun.
Will be along for the ride.
Cheers.
Si

RussellE
#306

Joined: June 27, 2010
KitMaker: 3,959 posts
Model Shipwrights: 2,777 posts

Posted: Thursday, June 04, 2015 - 03:10 AM UTC
Mr Inman, could you please have the apostrophe removed from your blog title, as it stops email notifications going out to us subscribers?
IE we're missing out on your updates!
IE we're missing out on your updates!


warreni
Joined: August 14, 2007
KitMaker: 5,926 posts
Model Shipwrights: 2,624 posts

Posted: Friday, June 05, 2015 - 03:05 AM UTC
Thanks everyone for dropping in for a look.
I am currently still removing all the parts from within the deck PE parts (which are big...) and will submit a biggger update when I start doing something interesting..
Cheers
Warren
I am currently still removing all the parts from within the deck PE parts (which are big...) and will submit a biggger update when I start doing something interesting..
Cheers
Warren
warreni
Joined: August 14, 2007
KitMaker: 5,926 posts
Model Shipwrights: 2,624 posts
Posted: Friday, June 05, 2015 - 03:06 AM UTC
Quoted Text
Mr Inman, could you please have the apostrophe removed from your blog title, as it stops email notifications going out to us subscribers?
IE we're missing out on your updates!
I never knew that Russell. Thanks for that. I have emailed Todd to change the title somehow, or I will start a new blog if I need to.
Cheers mate and thanks again
Warren

TRM5150
Joined: January 03, 2010
KitMaker: 2,159 posts
Model Shipwrights: 1,400 posts

Posted: Friday, June 05, 2015 - 06:10 AM UTC
I removed the apostrophe...things should be working now! I suppose this would work as the office test!
warreni
Joined: August 14, 2007
KitMaker: 5,926 posts
Model Shipwrights: 2,624 posts
Posted: Friday, June 05, 2015 - 07:19 AM UTC
Thanks Todd. I can still see it in the title.. is that OK?
warreni
Joined: August 14, 2007
KitMaker: 5,926 posts
Model Shipwrights: 2,624 posts
Posted: Friday, June 05, 2015 - 08:35 AM UTC
Greetings everyone out there in the MSW-verse..
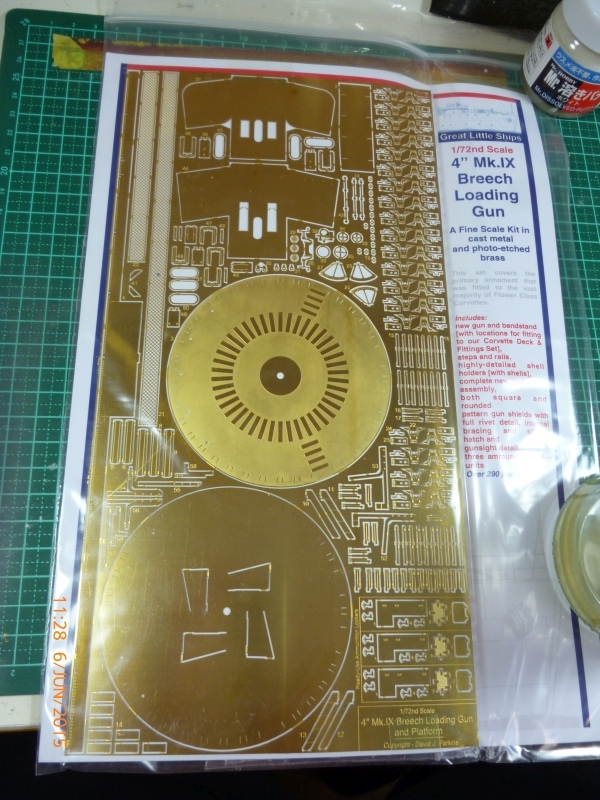
I took pictures of all the PE sets and the hull and have uploaded them ready for your education and edification.
First up we have the box cover art.
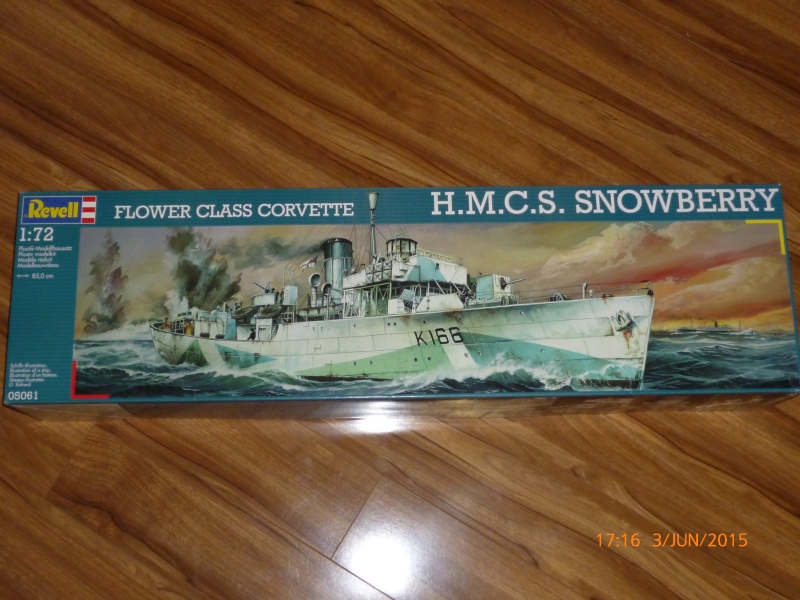
Note that the box is about 3 feet long in the old language, 90cm in the new improved language..
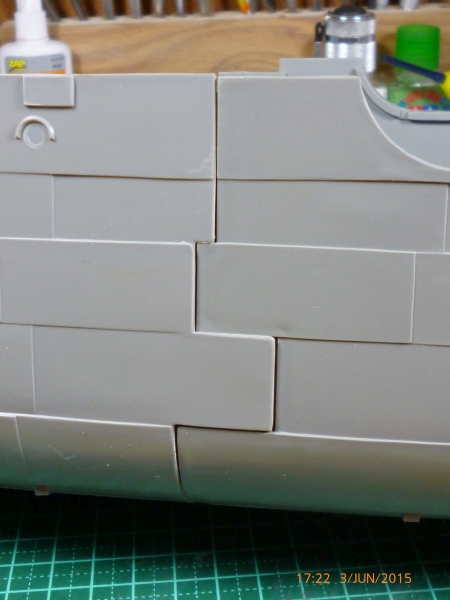
Then we have the hull halves that I glued together last century.
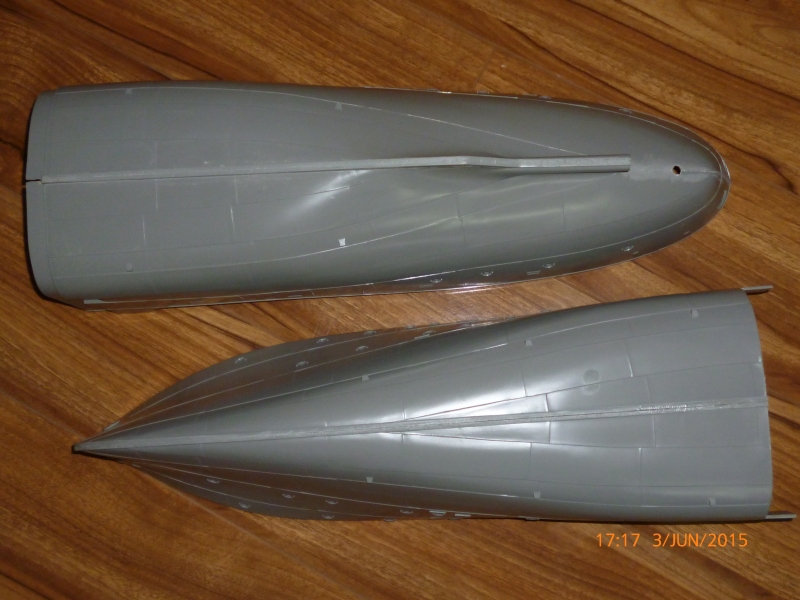
I did clean up the joint but I was a little rough back then and it will take a bit of work to get right.
Next up are a few photos showing how the hull is moulded.
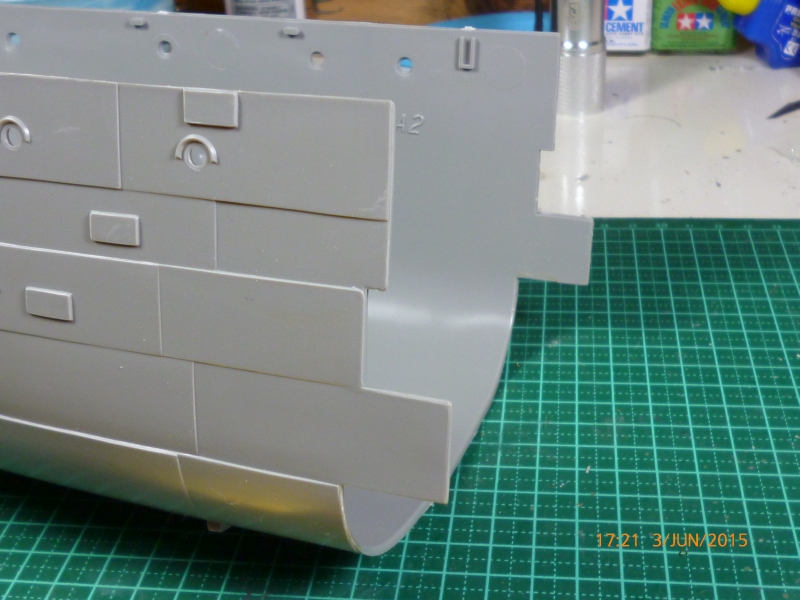
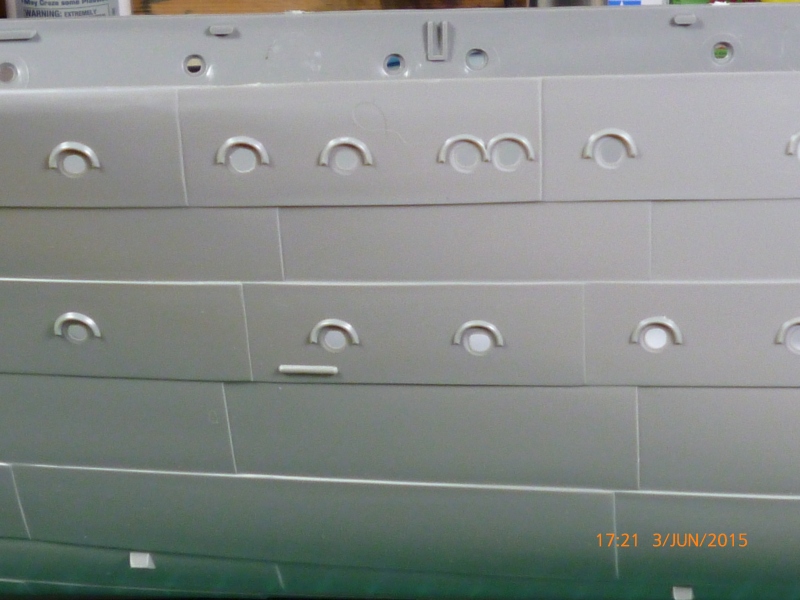
I have a PE set to replace the scuttles with brass bits which I will show when I get around to them.
And here is how the two hull ends join in the middle
Shouldn't need too much clean up.
Now before we get to the detail sets I have a few pictures showing where I up to with the hull..
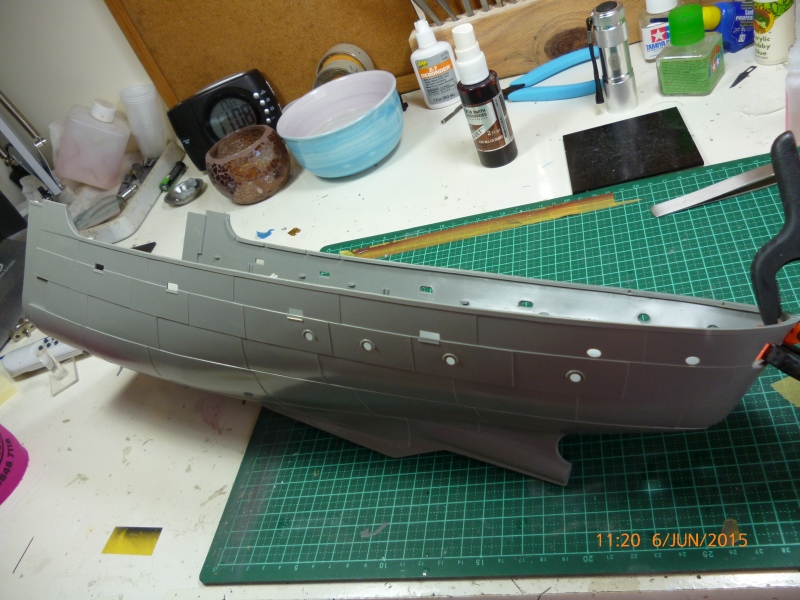
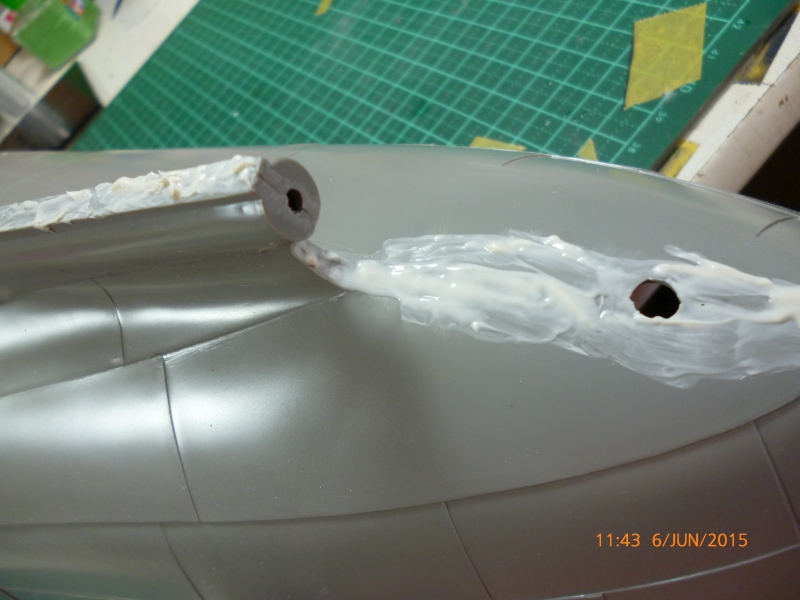
I have finished the keel on the front part of the hull and have started on the stern. The original join had cracked due to transporting it around the country etc so I have reglued it and applied a clamp or two to hold it in place.
Then I applied that magic Mr Dissolved Putty to the joint and all the rough parts should disappear with a little application of love with various abrasive mediums.
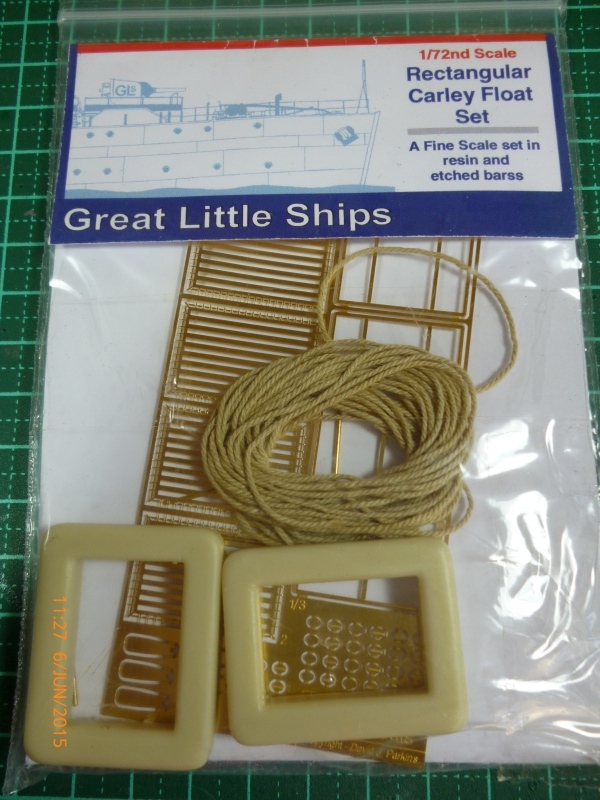
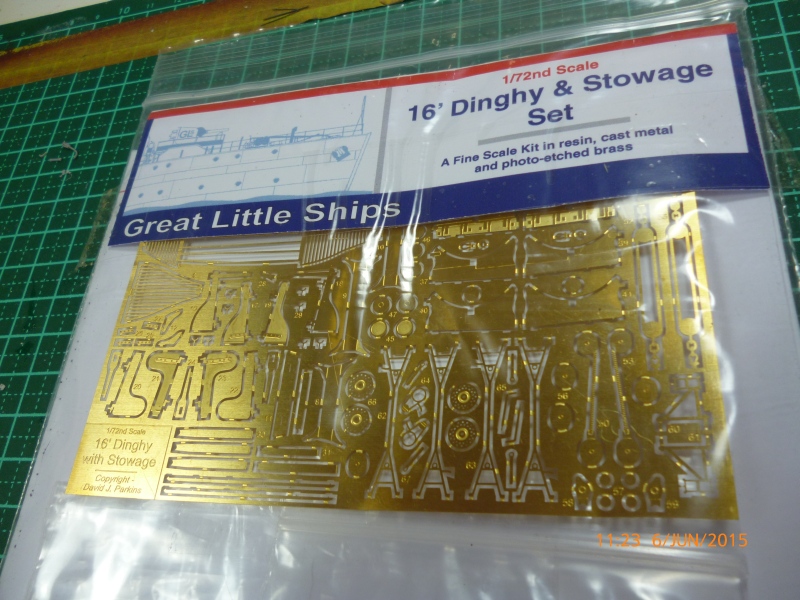
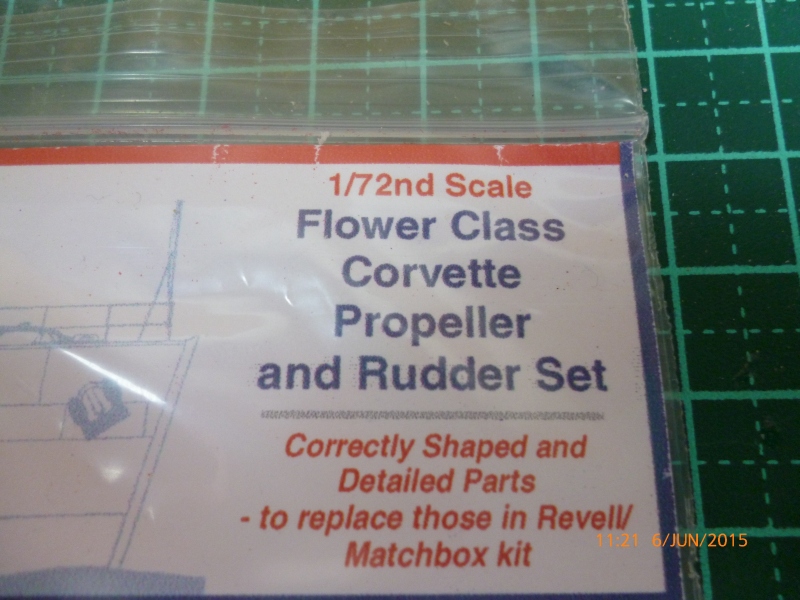
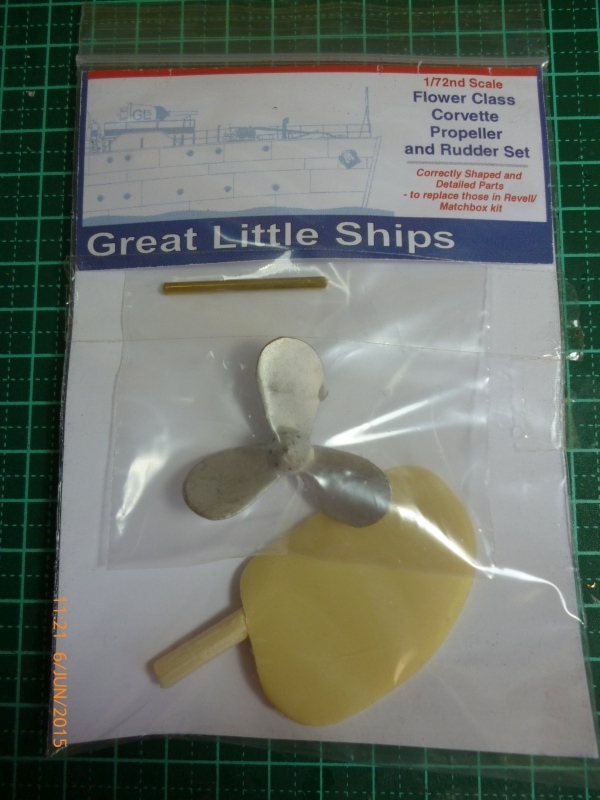
OK Now I have bought you uop to date with the hull I will continue with the detail sets I have got for the Snowberry. First up is the Scuttle set I mentioned before..
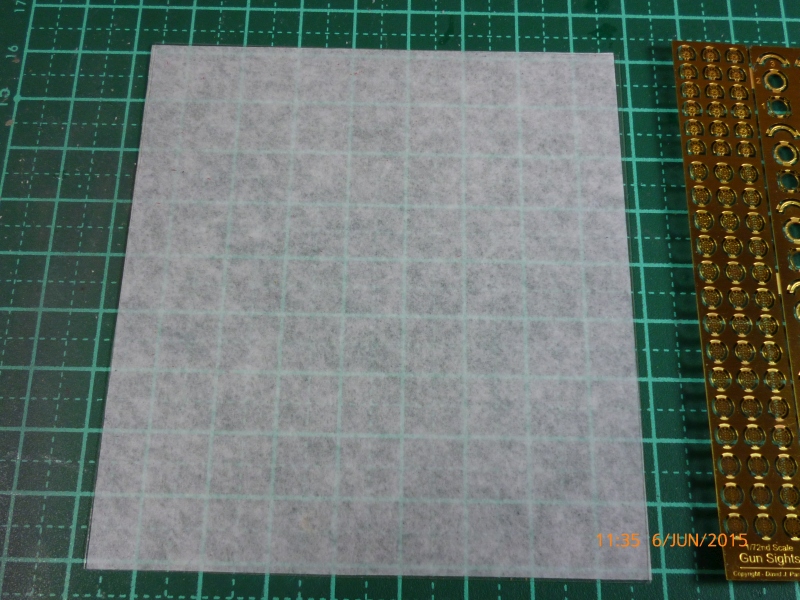
That is a piece of clear acetate for the portholes, sorry, scuttles..
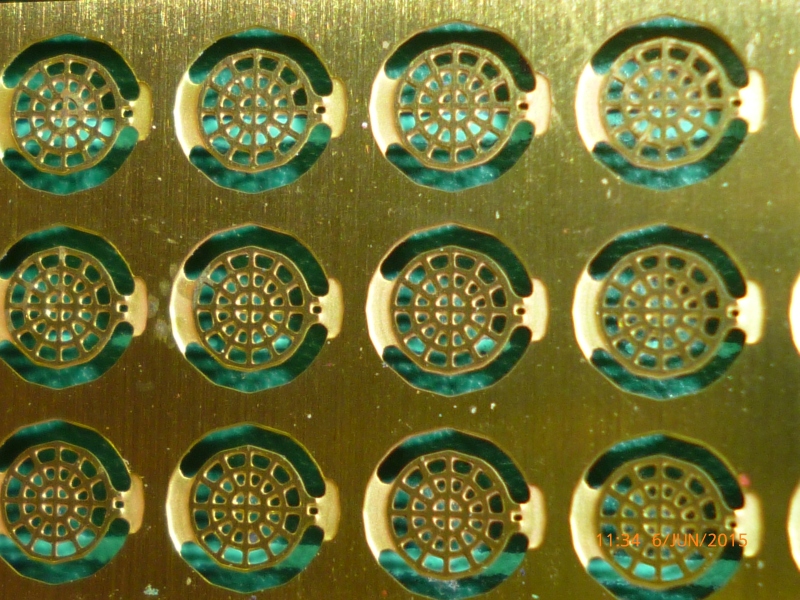
Then the scuttle detail..
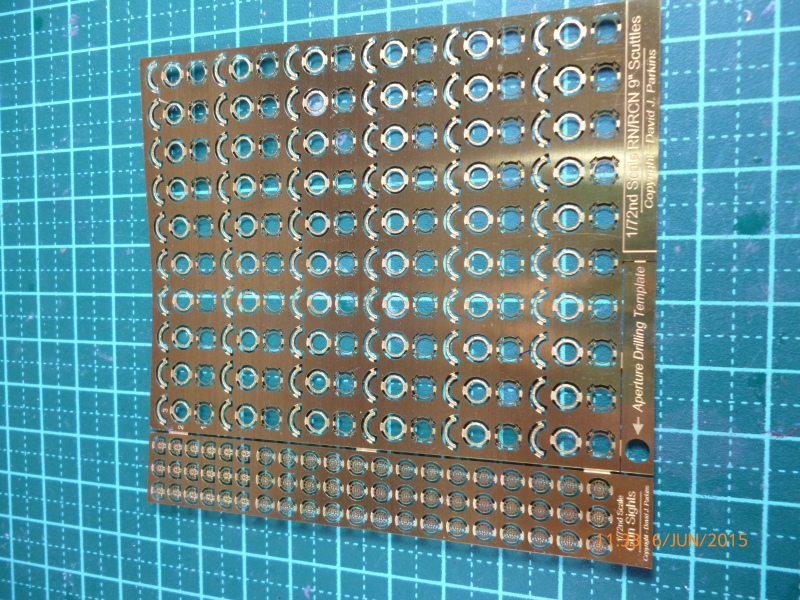

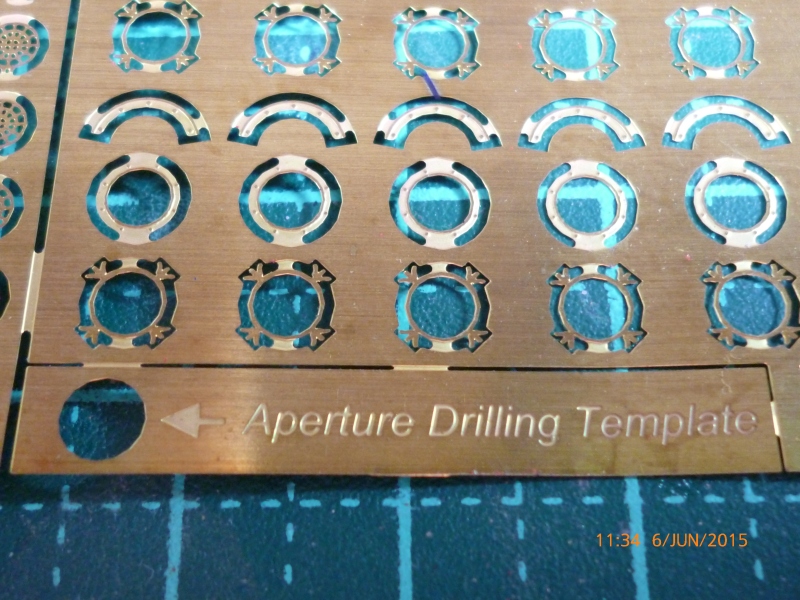
Each scuttle has three pieces. And you get a load of 1/72 gunsights and a template for re-drilling the holes.
And then the instructions..
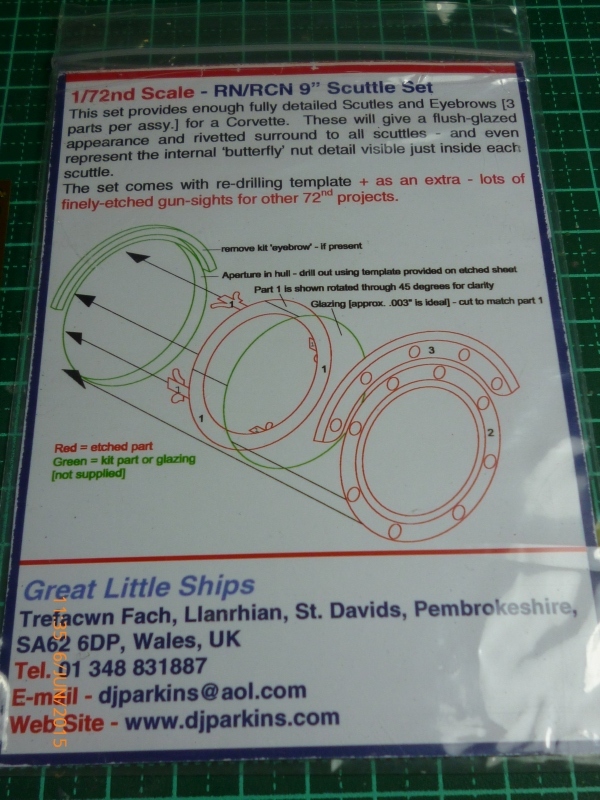
So I have to remove the existing scuttle detail that you saw in an earlier picture and replace them all with new stuff... I think I might be using some other medium for the glass that I can put in AFTER I paint the hulls.
Next we have the parts from the deck set in the bottom of the HMS Belfast box I am using to store the PE.
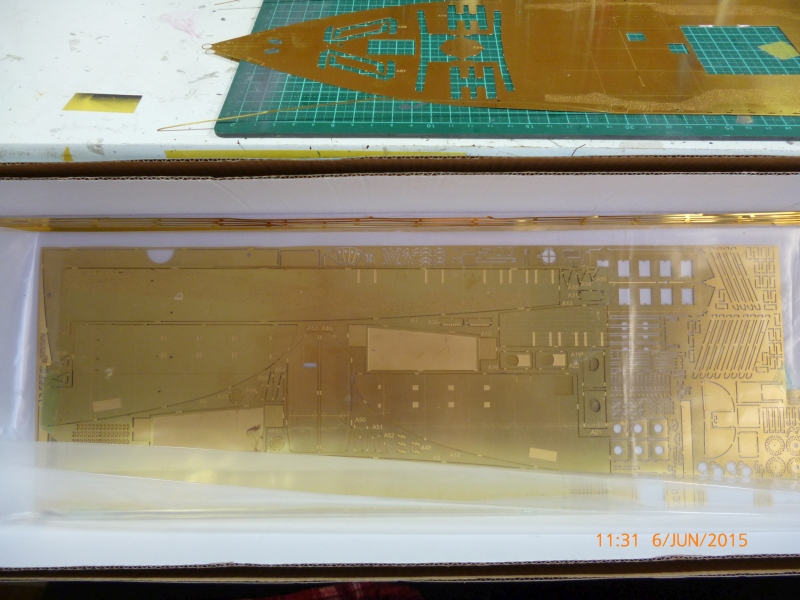
To give you some idea of the size of the deck set I put the foredeck piece on my cutting mat which is over 40 cms long.
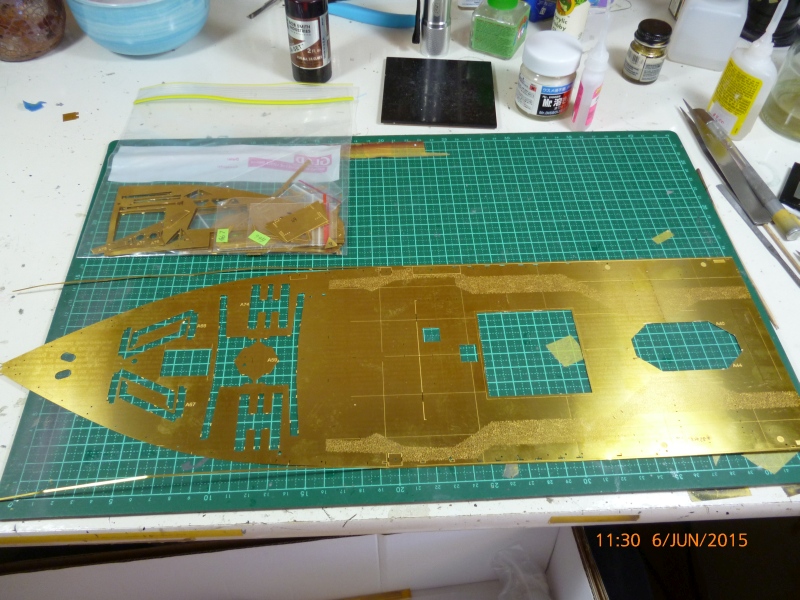
The holes in the centre are where I have removed other parts that were etched in the middle of the deck.
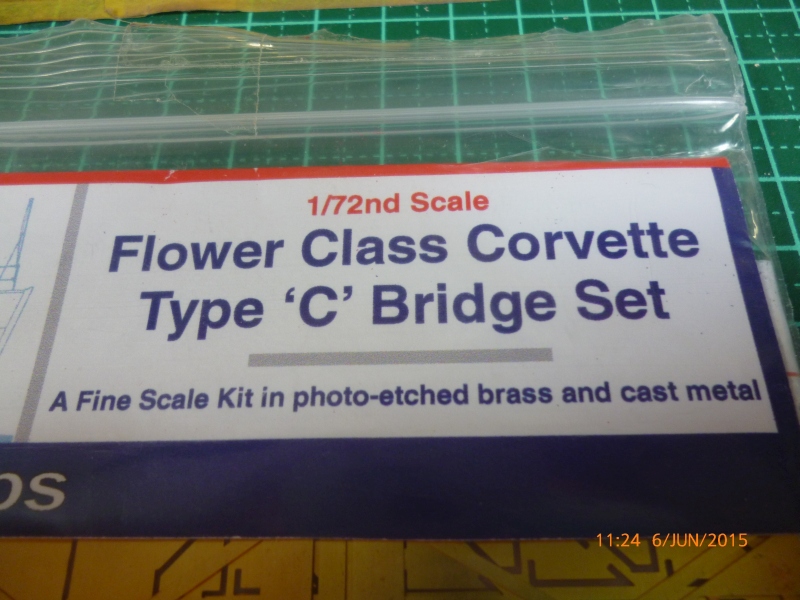
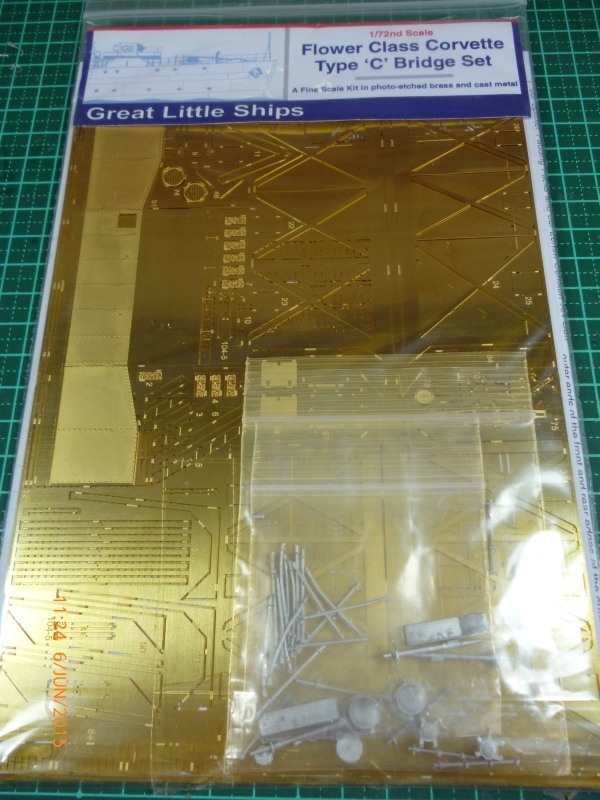
Next is the funnel and mast set. The funnel comes pre-rolled and it is all nicely packed in a cardboard box.

Next is...
The diecast bits..
And the brass bits.
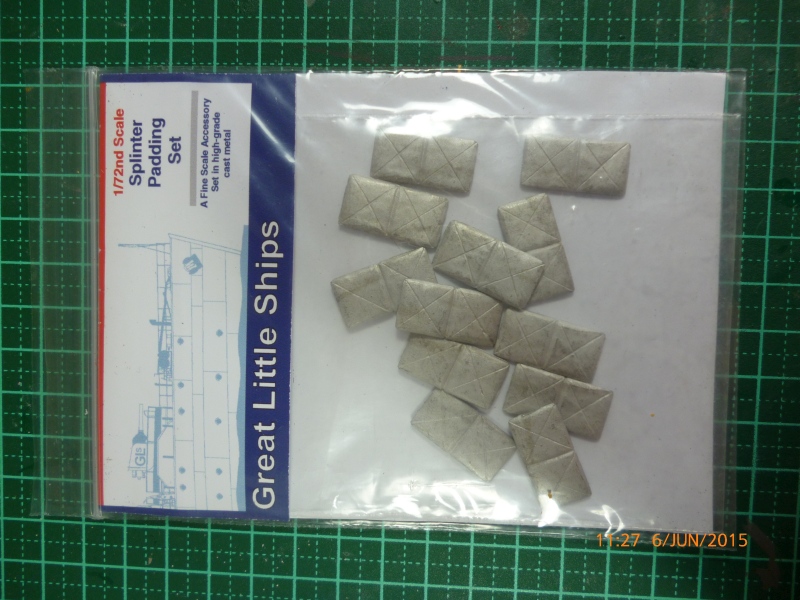
Then there is the splinter padding set..
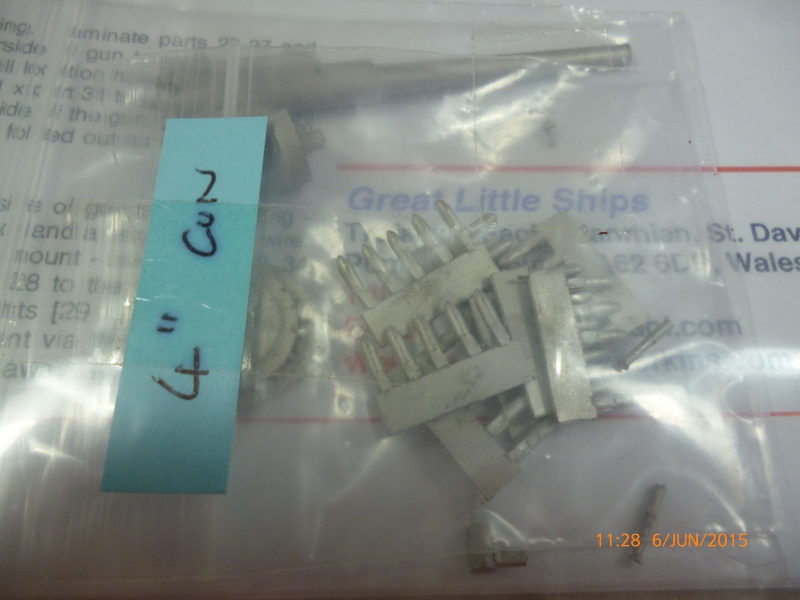
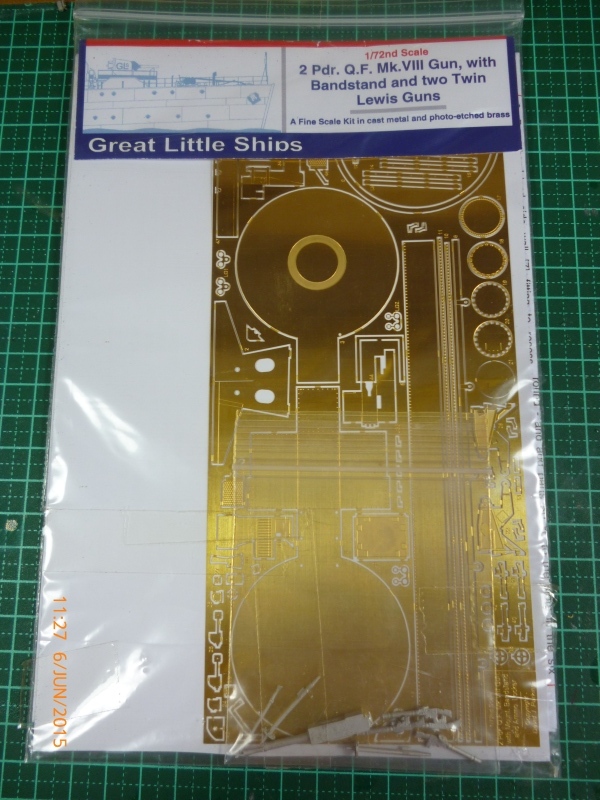
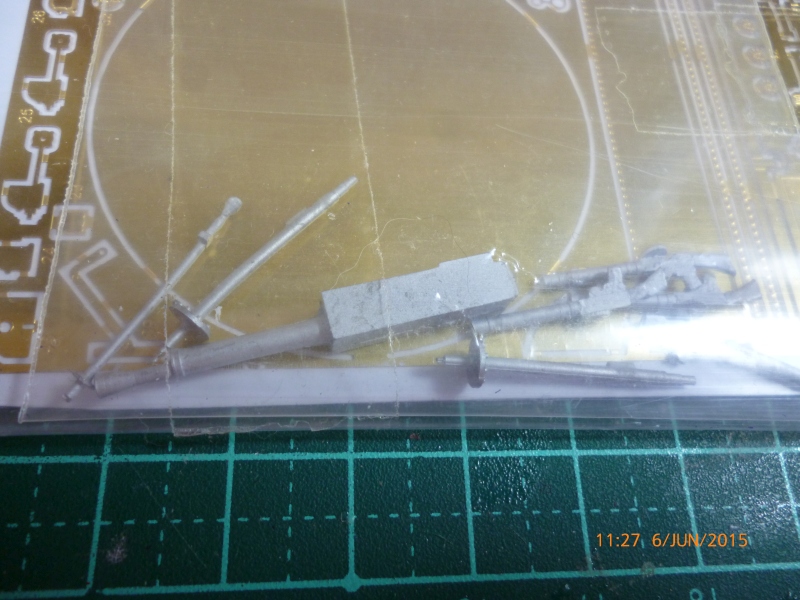
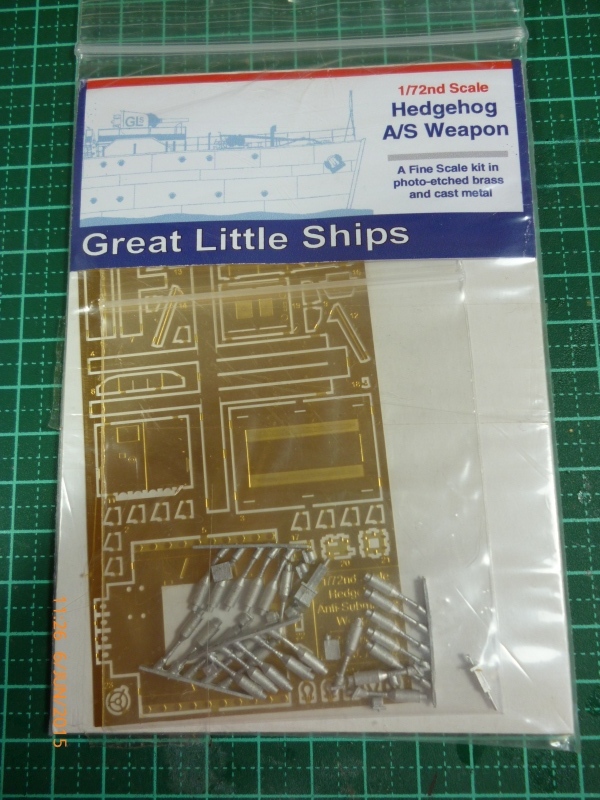
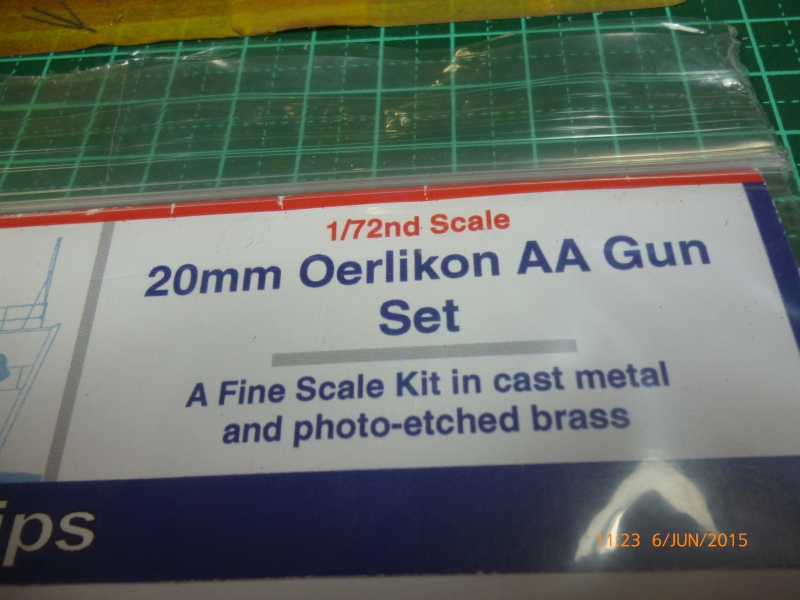
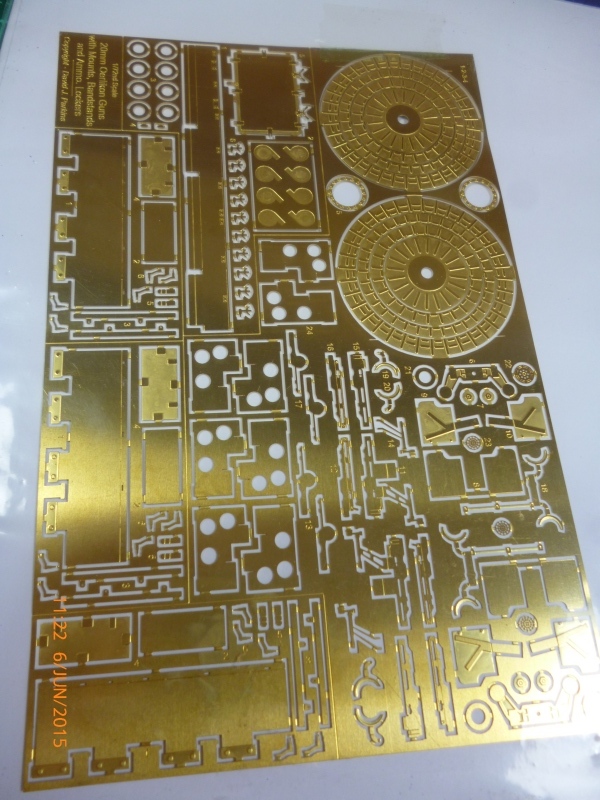
The 2 Pdr and Lewis Gun Set. First the brass..
Then the diecast
Then the..
and
and
and
The brass

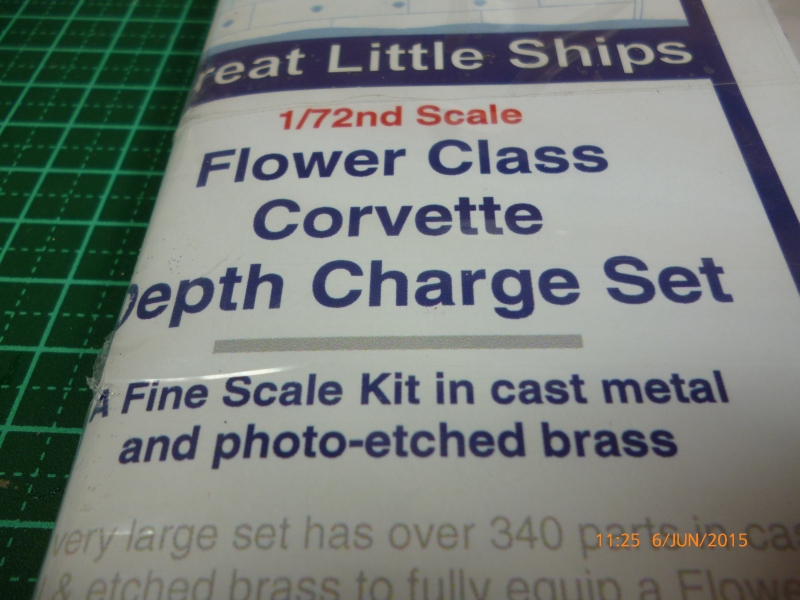
And there is a bag of depth charges in diecast metal that come with this set.
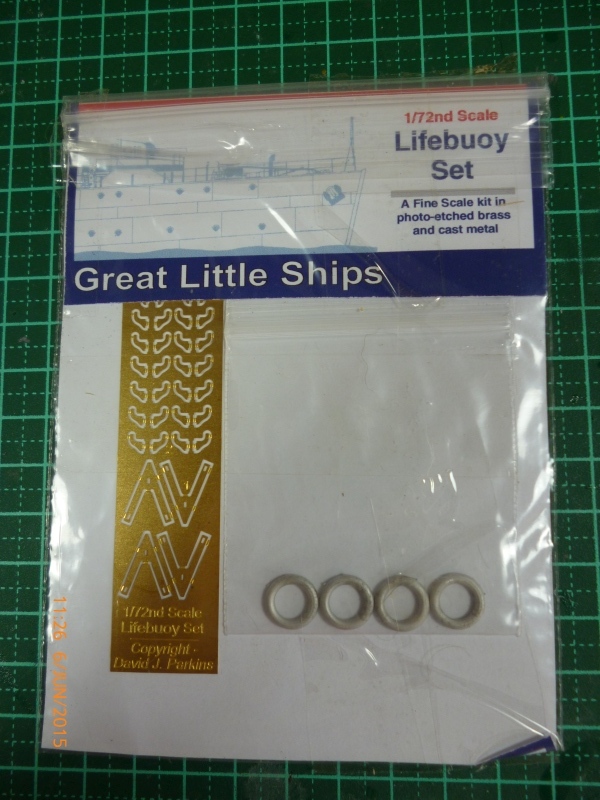
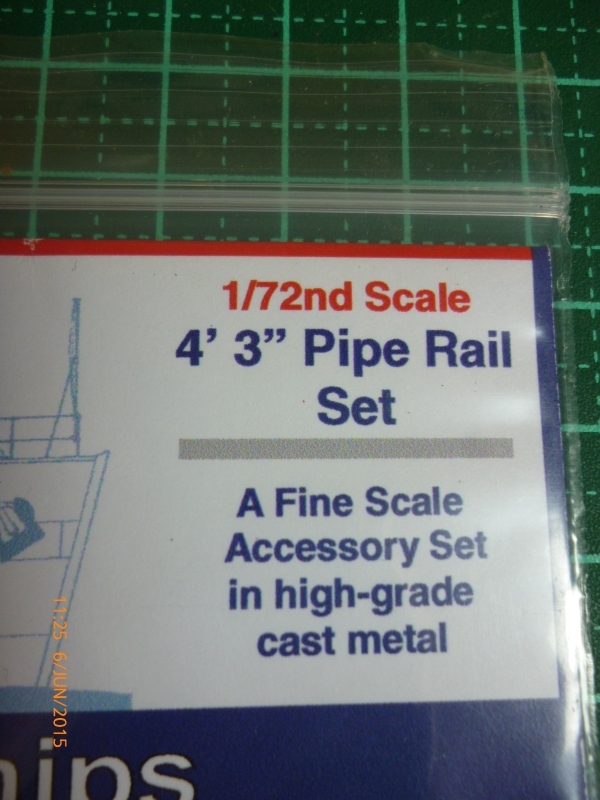
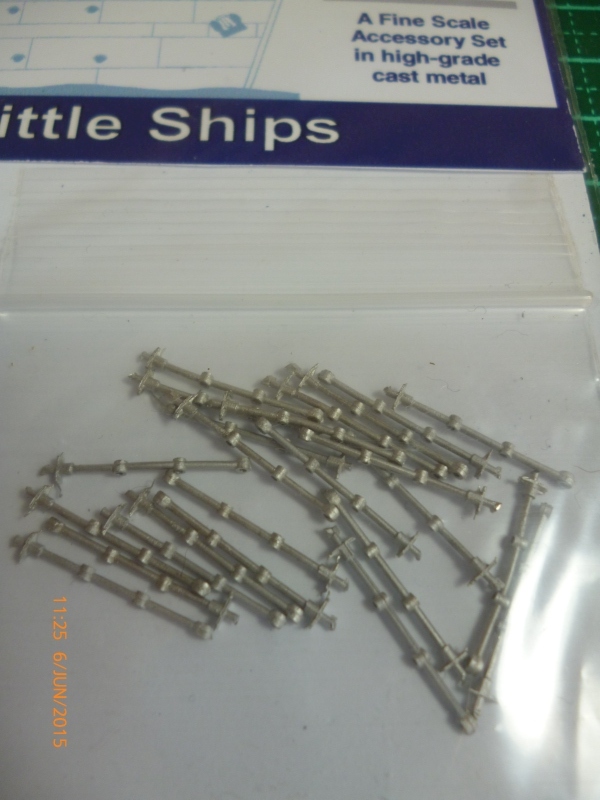
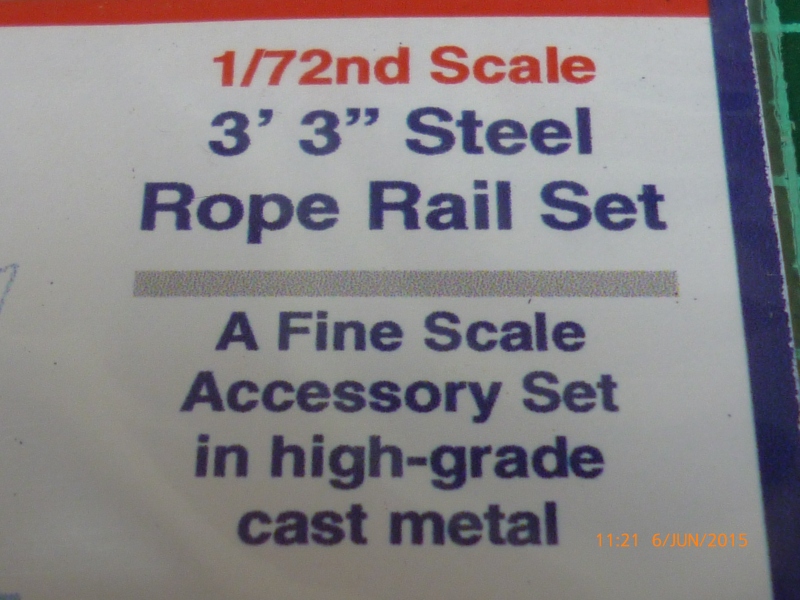
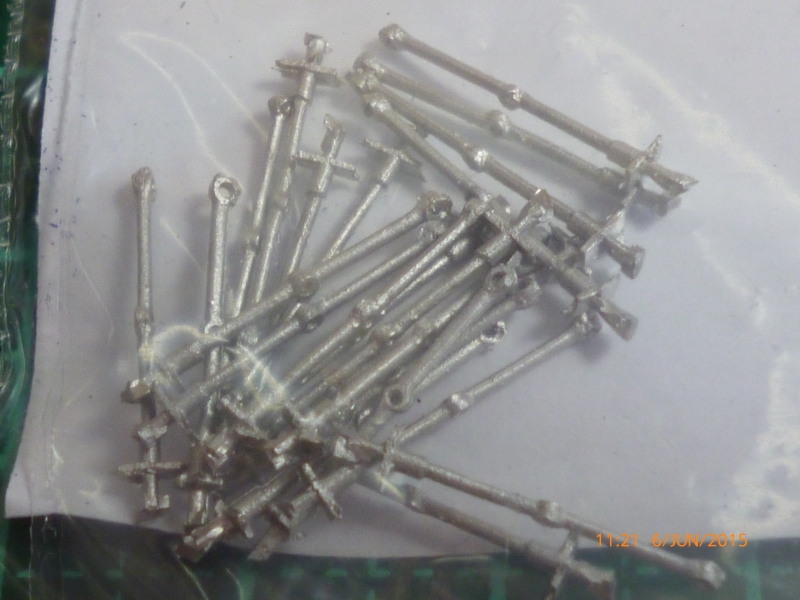
Then there is the first Pipe Rail Set
And then..
Then the..
Then there is the..
Brass..
and diecast..

Then there is the..
and finally..
And that is it for the moment.
Next up for me is finishing the keel on the stern half then installing the new brass scuttle detail.
Cheers for now
Warren
I took pictures of all the PE sets and the hull and have uploaded them ready for your education and edification.
First up we have the box cover art.
Note that the box is about 3 feet long in the old language, 90cm in the new improved language..
Then we have the hull halves that I glued together last century.
I did clean up the joint but I was a little rough back then and it will take a bit of work to get right.
Next up are a few photos showing how the hull is moulded.
I have a PE set to replace the scuttles with brass bits which I will show when I get around to them.
And here is how the two hull ends join in the middle
Shouldn't need too much clean up.
Now before we get to the detail sets I have a few pictures showing where I up to with the hull..
I have finished the keel on the front part of the hull and have started on the stern. The original join had cracked due to transporting it around the country etc so I have reglued it and applied a clamp or two to hold it in place.
Then I applied that magic Mr Dissolved Putty to the joint and all the rough parts should disappear with a little application of love with various abrasive mediums.
OK Now I have bought you uop to date with the hull I will continue with the detail sets I have got for the Snowberry. First up is the Scuttle set I mentioned before..
That is a piece of clear acetate for the portholes, sorry, scuttles..
Then the scuttle detail..
Each scuttle has three pieces. And you get a load of 1/72 gunsights and a template for re-drilling the holes.
And then the instructions..
So I have to remove the existing scuttle detail that you saw in an earlier picture and replace them all with new stuff... I think I might be using some other medium for the glass that I can put in AFTER I paint the hulls.
Next we have the parts from the deck set in the bottom of the HMS Belfast box I am using to store the PE.
To give you some idea of the size of the deck set I put the foredeck piece on my cutting mat which is over 40 cms long.
The holes in the centre are where I have removed other parts that were etched in the middle of the deck.
Next is the funnel and mast set. The funnel comes pre-rolled and it is all nicely packed in a cardboard box.
Next is...
The diecast bits..
And the brass bits.
Then there is the splinter padding set..
The 2 Pdr and Lewis Gun Set. First the brass..
Then the diecast
Then the..
and
and
and
The brass
And there is a bag of depth charges in diecast metal that come with this set.
Then there is the first Pipe Rail Set
And then..
Then the..
Then there is the..
Brass..
and diecast..
Then there is the..
and finally..
And that is it for the moment.
Next up for me is finishing the keel on the stern half then installing the new brass scuttle detail.
Cheers for now
Warren

Grauwolf

#084

Joined: September 14, 2005
KitMaker: 2,485 posts
Model Shipwrights: 1,157 posts

Posted: Friday, June 05, 2015 - 09:03 AM UTC
Hi Warren,
Looking forward to seeing this ship come together...she'll be
awesome.
And all that brass...you are a courageous man!
Cheers,
Joe
Looking forward to seeing this ship come together...she'll be
awesome.
And all that brass...you are a courageous man!
Cheers,
Joe
warreni
Joined: August 14, 2007
KitMaker: 5,926 posts
Model Shipwrights: 2,624 posts
Posted: Friday, June 05, 2015 - 09:24 AM UTC
I am more worried about attaching the brass to the plastic.. deck to hull! Gulp
Welcome aboard Joe.
Welcome aboard Joe.

youngtiger1
Joined: May 14, 2008
KitMaker: 534 posts
Model Shipwrights: 55 posts

Posted: Friday, June 05, 2015 - 10:29 AM UTC
It's nice to see you are back in this project Warren. Also, I'm glad that you guys fixed whatever that was causing problem in sending notice to followers. One thing for sure, it will be a heavy model with all those PE, WM, and resin parts. Can't wait to see other updates.
Mike
Mike
md72
#439
Joined: November 05, 2005
KitMaker: 4,950 posts
Model Shipwrights: 248 posts
Posted: Friday, June 05, 2015 - 10:51 AM UTC
Have you considered obtaining the services of a mental health professional? This build is insane. Best of luck to you!
This build is insane. Best of luck to you! 
bwiber
Joined: August 03, 2008
KitMaker: 436 posts
Model Shipwrights: 31 posts
Posted: Friday, June 05, 2015 - 11:54 AM UTC
This is going to be an amazingly interesting build.... interesting model and ace modeler. The fact that you are using a months production of brass from a normal sized country in it is just another point of interest....
Bob
Bob

Cosimodo
#335

Joined: September 03, 2013
KitMaker: 1,808 posts
Model Shipwrights: 871 posts

Posted: Friday, June 05, 2015 - 12:17 PM UTC
Warren, that just looks awesome. Other than the hull, what's left of the original kit? Not much I'd guess.
The hull plates look over scale though. Are you going to tone them down?
cheers
Michael
The hull plates look over scale though. Are you going to tone them down?
cheers
Michael
warreni
Joined: August 14, 2007
KitMaker: 5,926 posts
Model Shipwrights: 2,624 posts
Posted: Friday, June 05, 2015 - 03:49 PM UTC
Quoted Text
It's nice to see you are back in this project Warren. Also, I'm glad that you guys fixed whatever that was causing problem in sending notice to followers. One thing for sure, it will be a heavy model with all those PE, WM, and resin parts. Can't wait to see other updates.
Mike
I didn't know about the problem until RussellIE told me about it. All fixed!!
Not too heavy I hope..
Cheers
Warren
warreni
Joined: August 14, 2007
KitMaker: 5,926 posts
Model Shipwrights: 2,624 posts
Posted: Friday, June 05, 2015 - 03:51 PM UTC
Quoted Text
Have you considered obtaining the services of a mental health professional?
 You may be right, I may be crazy... Sounds like good song lyrics to me..
 Thanks for the best wishes my friend.
Warren
warreni
Joined: August 14, 2007
KitMaker: 5,926 posts
Model Shipwrights: 2,624 posts
Posted: Friday, June 05, 2015 - 03:52 PM UTC
Quoted Text
This is going to be an amazingly interesting build.... interesting model and ace modeler. The fact that you are using a months production of brass from a normal sized country in it is just another point of interest....
Bob
Thanks Bob. It all cost about the GDP of a small country as well!
Cheers
Warren
warreni
Joined: August 14, 2007
KitMaker: 5,926 posts
Model Shipwrights: 2,624 posts
Posted: Friday, June 05, 2015 - 03:54 PM UTC
Quoted Text
Warren, that just looks awesome. Other than the hull, what's left of the original kit? Not much I'd guess.
The hull plates look over scale though. Are you going to tone them down?
cheers
Michael
Only a few small parts are used from the kit. No, I am leaving the hull plates like they are as it would add weeks to the build if I tried that.. And I don't think they will be that pronounced with a few coats of the colours they are ment to be painted.
Cheers mate
Warren
TRM5150
Joined: January 03, 2010
KitMaker: 2,159 posts
Model Shipwrights: 1,400 posts
Posted: Friday, June 05, 2015 - 04:16 PM UTC
Impressive pile of goodies there Warren!! Looks like a pile of soldering fun is on the horizon soon!! Enjoy!
Enjoy!rolltide31
#377
Joined: June 27, 2010
KitMaker: 1,481 posts
Model Shipwrights: 1,332 posts
Posted: Friday, June 05, 2015 - 05:20 PM UTC
Warren,
That is am impressive list of AM goodies. Will be really interested to see how that all comes together in the end
Will be a fun ride to watch
Dave
That is am impressive list of AM goodies. Will be really interested to see how that all comes together in the end
Will be a fun ride to watch
Dave
warreni
Joined: August 14, 2007
KitMaker: 5,926 posts
Model Shipwrights: 2,624 posts
Posted: Saturday, June 06, 2015 - 02:17 AM UTC
Quoted Text
Impressive pile of goodies there Warren!! Looks like a pile of soldering fun is on the horizon soon!!
I know there is some soldering involved, but as I used to teach soldering HOPEFULLY I will be able to do this dumbed down version. I used to teach Micro-Minature Soldering and aerospace-level soldering. But I am going to defy the odds and use CA and Gator Grip glue where I can.
Cheers Todd
Warren
warreni
Joined: August 14, 2007
KitMaker: 5,926 posts
Model Shipwrights: 2,624 posts
Posted: Saturday, June 06, 2015 - 02:20 AM UTC
Quoted Text
Warren,
That is am impressive list of AM goodies. Will be really interested to see how that all comes together in the end
Will be a fun ride to watch
Dave
Dave, I too will be very interested to see how it comes together!!
A quick update, I have removed all the eyebrows from the portholes on the front (bow) half of the hull. I used my rotary tool and a little abrasive thingy. Now I need to go back and repair the trial bits I tried with a little saw attachment that got a bit too aggressive at times.
Cheers
Warren
RedDuster
Joined: March 01, 2010
KitMaker: 7,078 posts
Model Shipwrights: 6,649 posts
Posted: Saturday, June 06, 2015 - 02:50 AM UTC
Some real quality add ons Warren.
Looking forward to seeing this baby come together.
Si.
Looking forward to seeing this baby come together.
Si.
 |

WEB HOSTING BY


Copyright ©2021 Model Shipwrights and Kitmaker Network, a subsidiary of Silver Star Enterprises
All Rights Reserved. Please read our Conditions of Use and Privacy Policy.
All Rights Reserved. Please read our Conditions of Use and Privacy Policy.