He's baaack...
Welcome to another update on the 'Little White, Blue and Green Corvette'.. Well if I decide to use one of those camp schemes anyway. The paints are on order from the AIrbrush Company, but it has been a month and they still aren't here. One wonders why they are not answering their emails.. One is not impressed and has contacted Paypal for a refund..
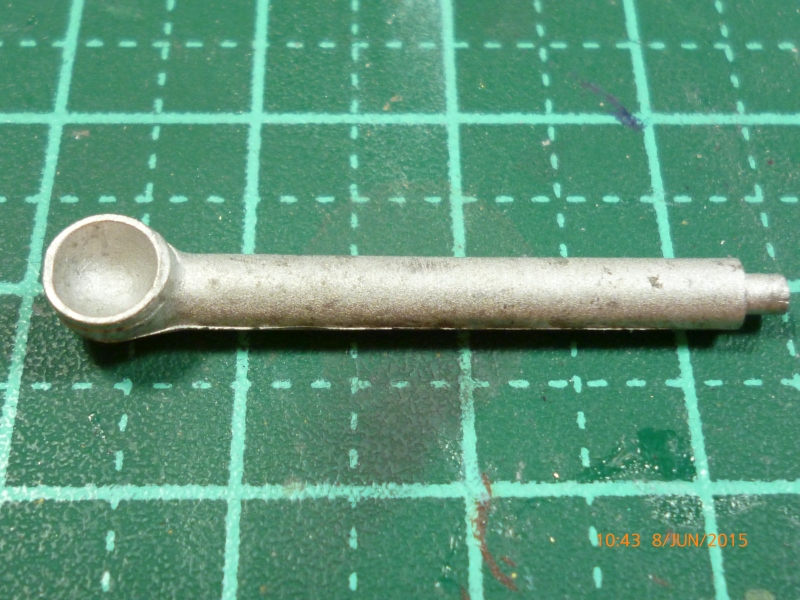
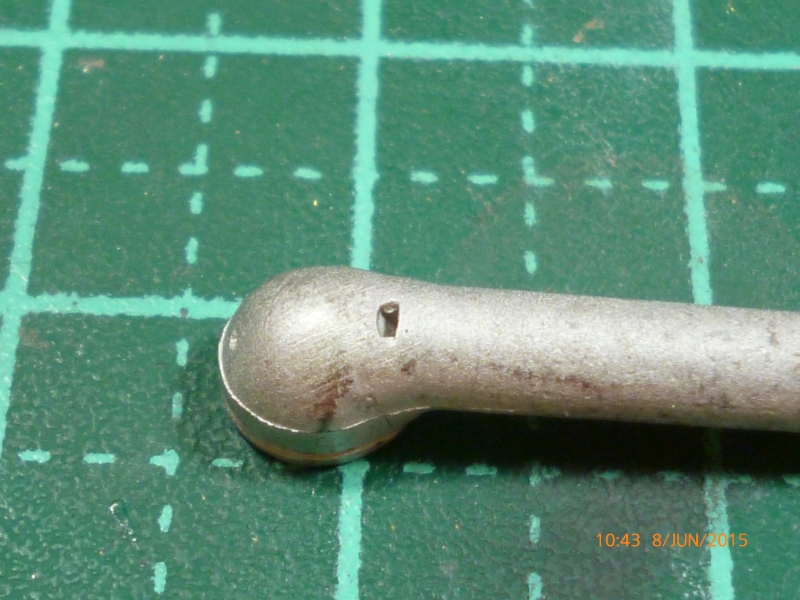
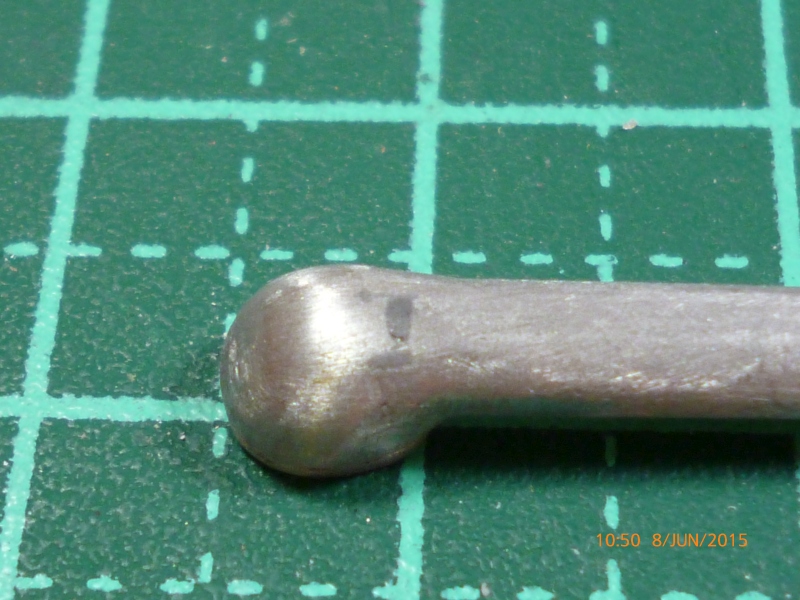
But back to the build. For some reason I sent into the hobby room and got out the kit instructions and noticed the parts needed to be installed before the propeller goes on the shaft. I duly cut the pieces off the sprue then found I didn't need any of them as the GLS kit for the rudder and prop has a diecast prop and a brass shaft to locate it with. Here is the prop after a little clean up of the rough bits..
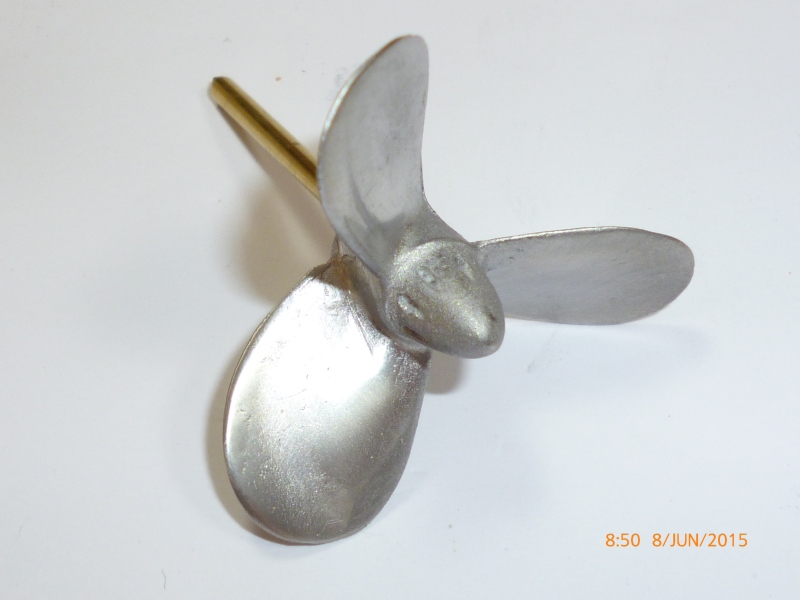
The shaft is just sitting almost in place as I need to drill the prop out as the brass piece doesn't really fit...
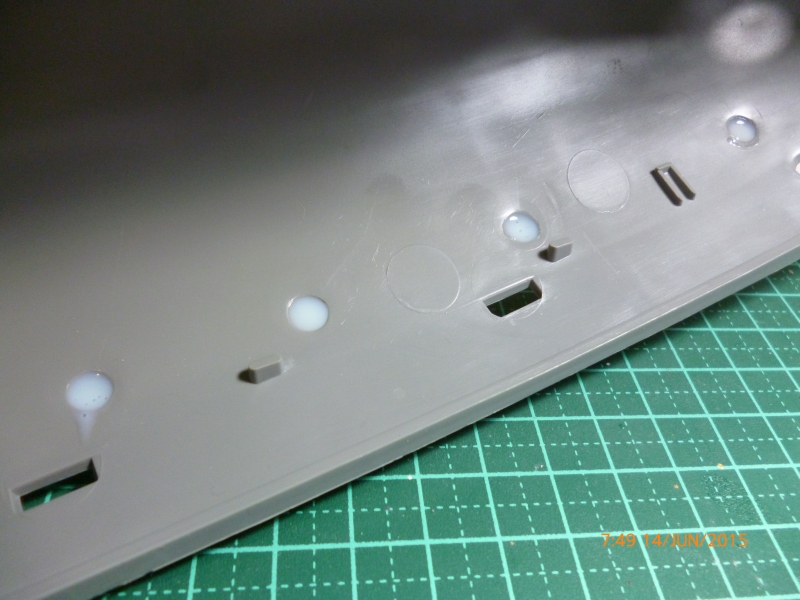
After that I remembered about the deck supports you have to glue in position to help support the deck, PE and plastic, but the first one I put in looked like it wasn't quite strong enough for the job..
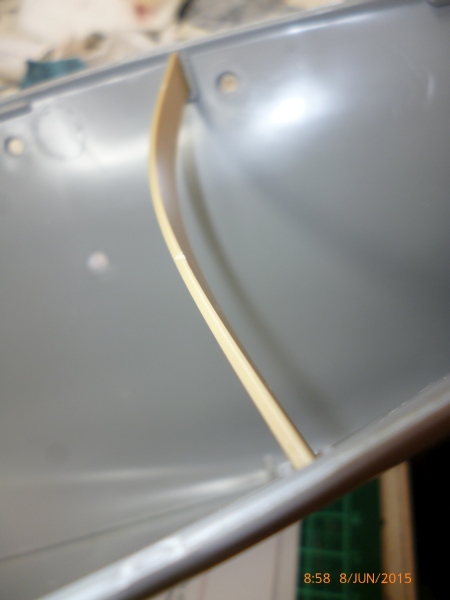
"Bugger" I thought to myself, well the word may have been a little more colourful, but you get the picture. After thinking for a bit I thought that just gluing some sort of support material to the weakling support may just do the job. After a few minutes tossing ideas around in my head I looked and the sprues for the items and thought they may just do the job.

Then, using copious amounts of extra-thin cement and copious numbers of clamps I attached these handily shaped pieces of spues to the spreaders..
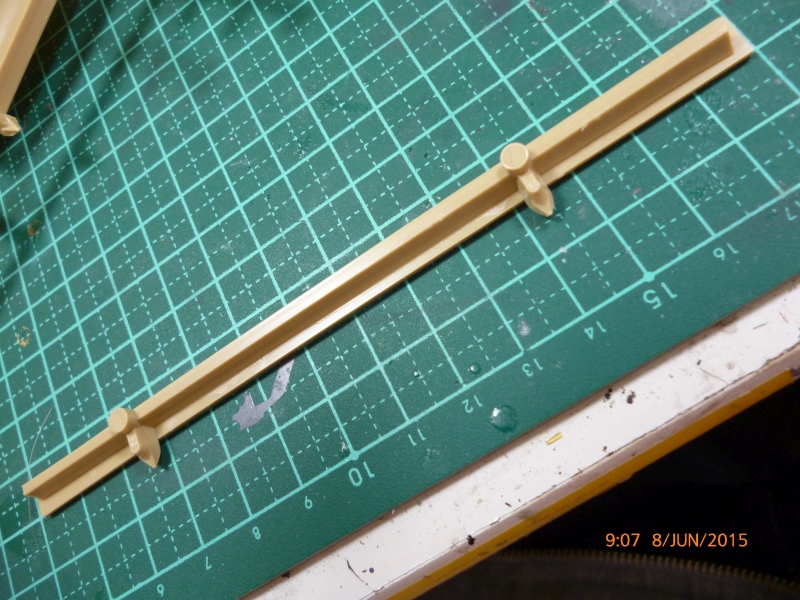
And after they dried and were inserted in the hull they looked like this..
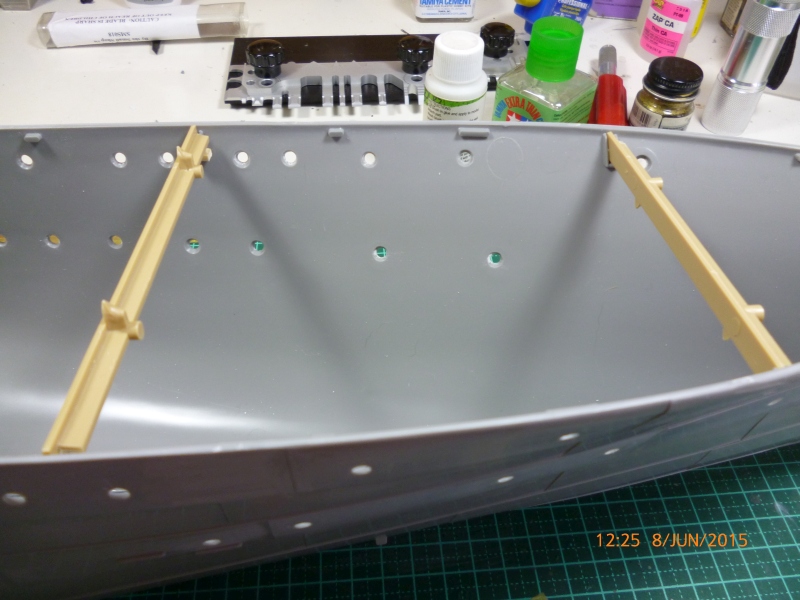
See!! No bending any more! Cheap and cheerful engineering at its best!
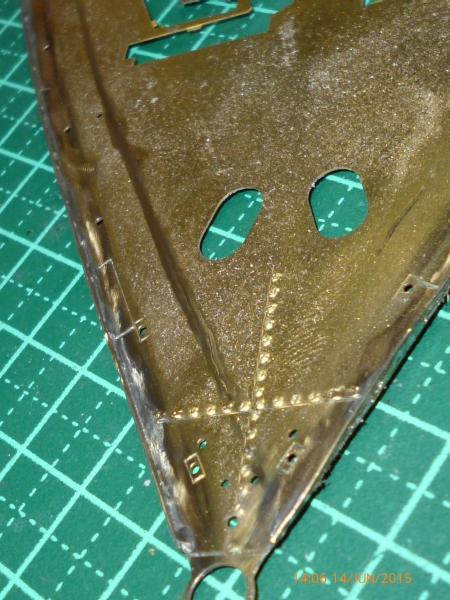
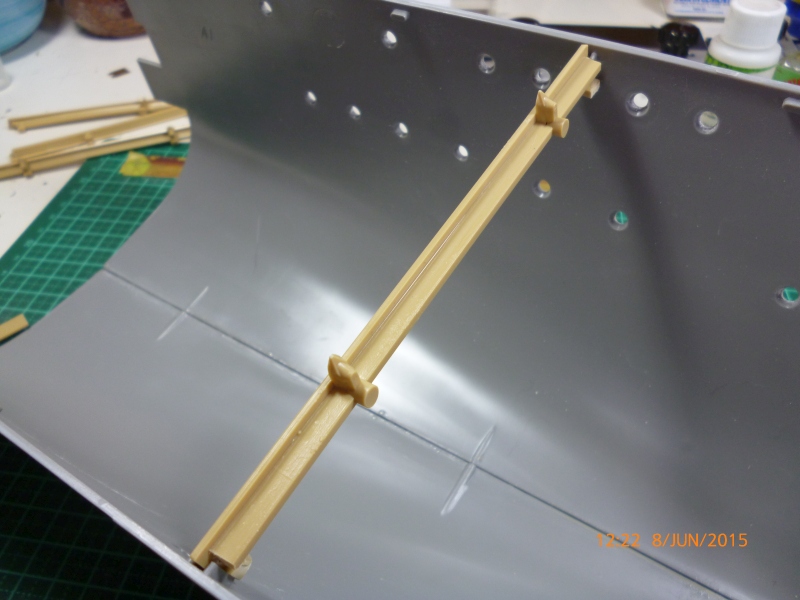
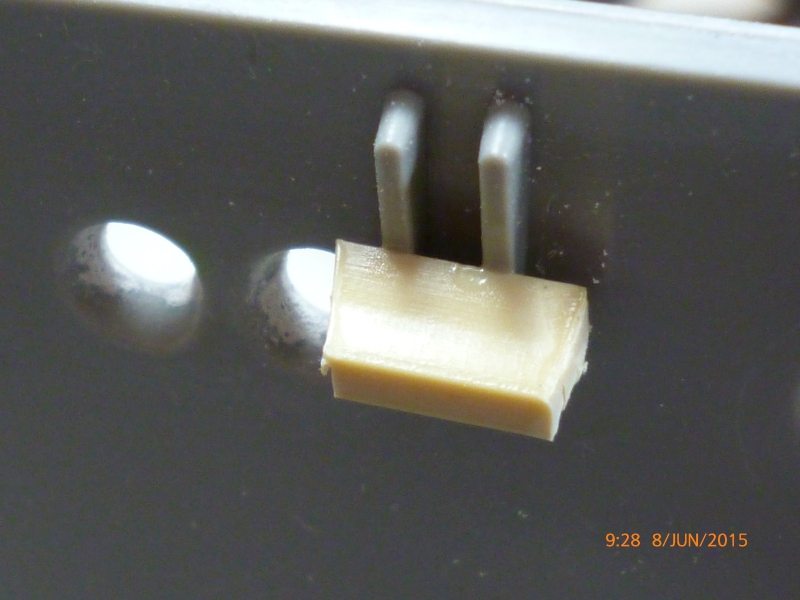
As the PE deck sits on top of the plastic hull, not in it like the kit, the supports have to be glued in place in a higher position than if you are using the kit deck. Ti make it easier to locate the supports for the fore deck in the correct position, and give the supports a little more ... erm .. support, I glued some more pieces of sprues to the brackets in the hull to add more supports for the .. supports...
After all that I brushed on some paint on the areas where I had polished earlier and they seem to look the same whether there are the tiny scrathes or the original hull..
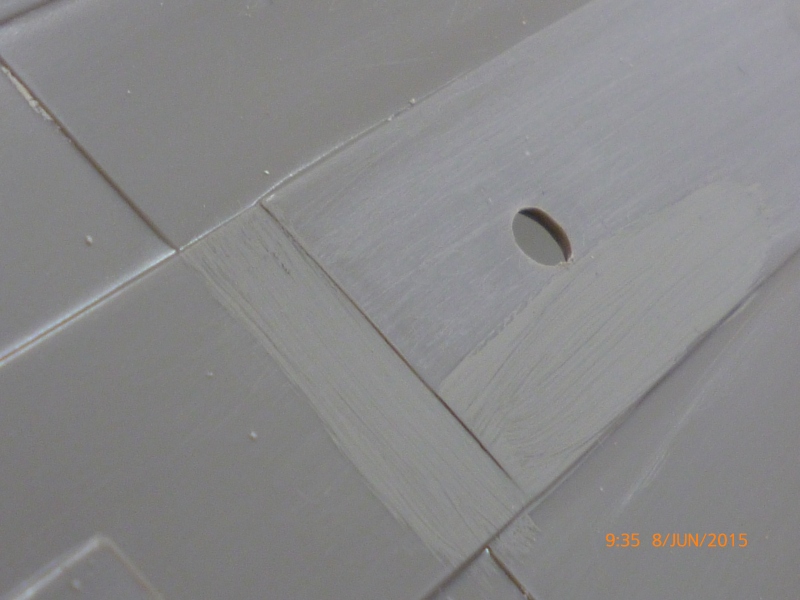
Bit more of a clean up to remove all the sanding detritus and all should be well for painting ... if the paints ever get here Mr Airbrush Company.. Did I type that before about how they have taken more than a month to get to me?
I tended to jump around today with this build and thought I would attach the support for one of the forward ventilator intakes. So here we have the raw diecast intake..
It is pity it is not resin as it would have been easy to drill out.. A little black paint will add the illusion of depth.
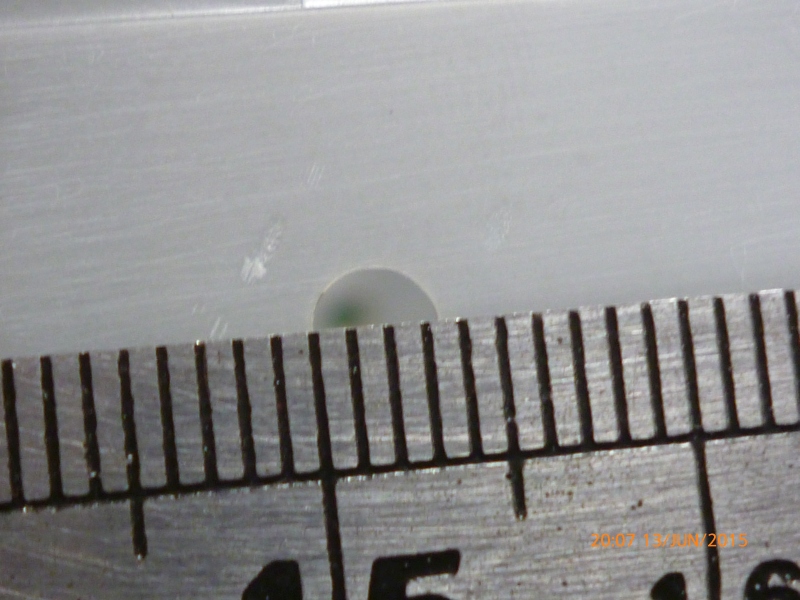
And if you were thinking "ah that is nice, just a little bit of clean up and all will be goodly" you would have been mistaken as when you turn it over, Houston we have a problem..
That hole ain't gonna buff out, so I fell back on my old standby for filling holes like this, thin CA glue. Like the ad said, it gets in..
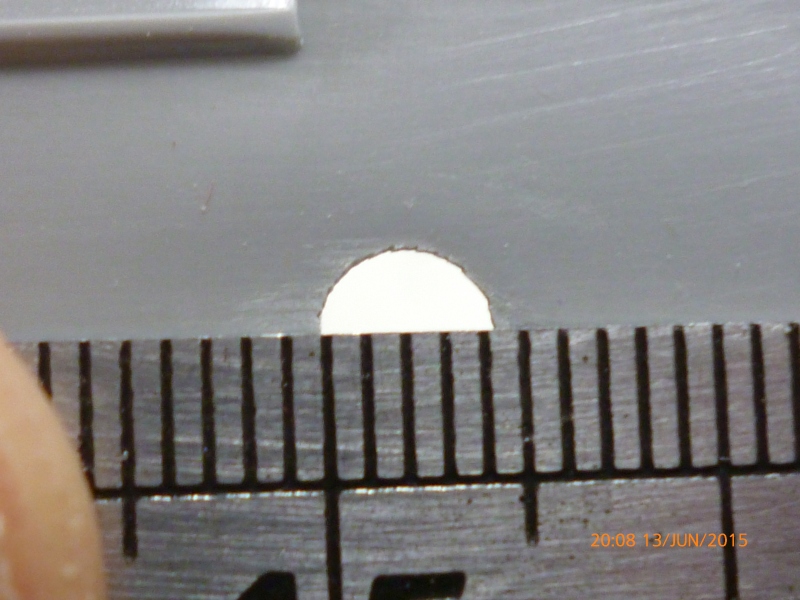
So after some clean up it ended looking like this,, no more hole! Take that evil hole...
Then came the second bit of bending with this kit, the support for said air intake..
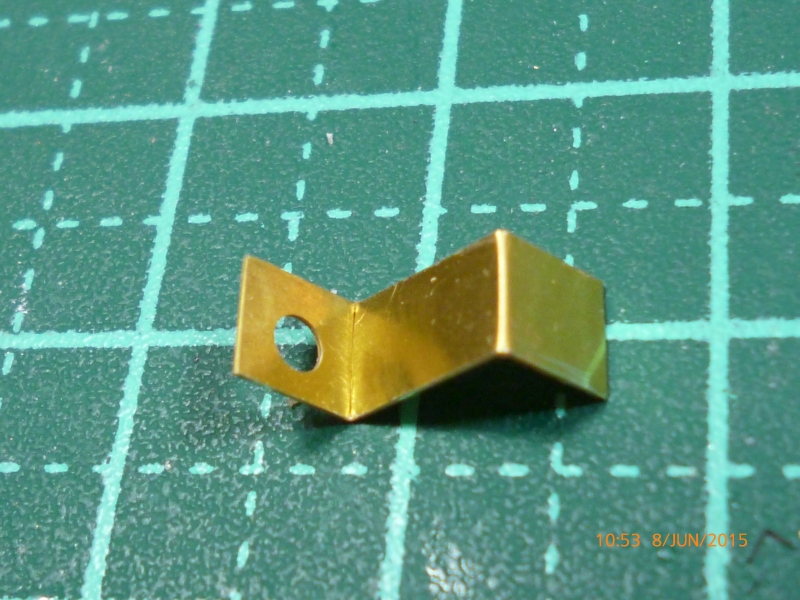
Nice, easy stuff. This then gets glued under the deck, but at the moment it is in a plastic bag with the intake waiting for a lot of work to be done with the deck before it gets installed. But more of that later.
Next up we have the begins of one of the Rope Winches on the fore deck. Now NORMALLY this would not need any soldering, but mine got specially modified when it fell on the floor after I bent it up. Guess where my foot landed when I went to push my chair back EVEN THOUGH I had checked the area and couldn't see it..
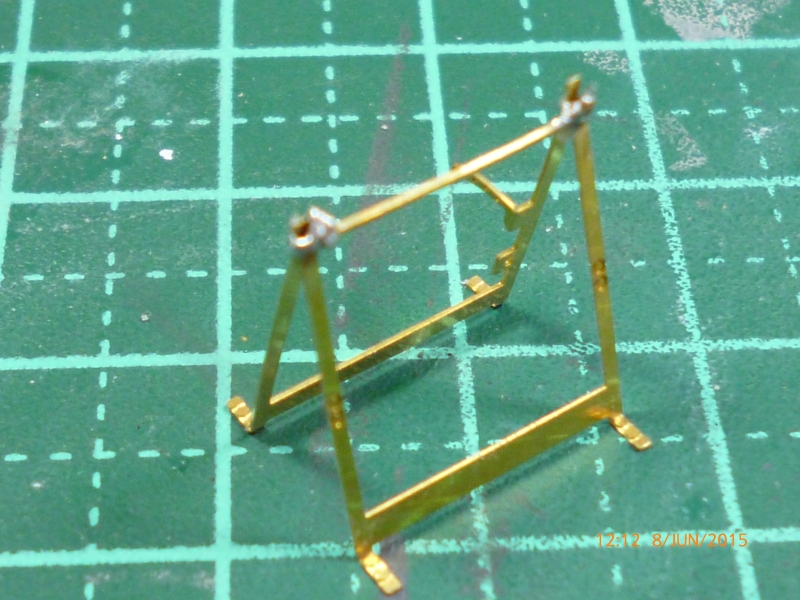
Anyway, this is the first ever time I have soldered brass anywhere but for work and it was very easy with my temp controlled soldering iron. Hopefully the rest of it will be that easy as well.
* Top Tip *
Don't forget to remove any remaining flux after you finish soldering as it is corrosive and won't do your brass work any good at all if you leave it there any length of time.
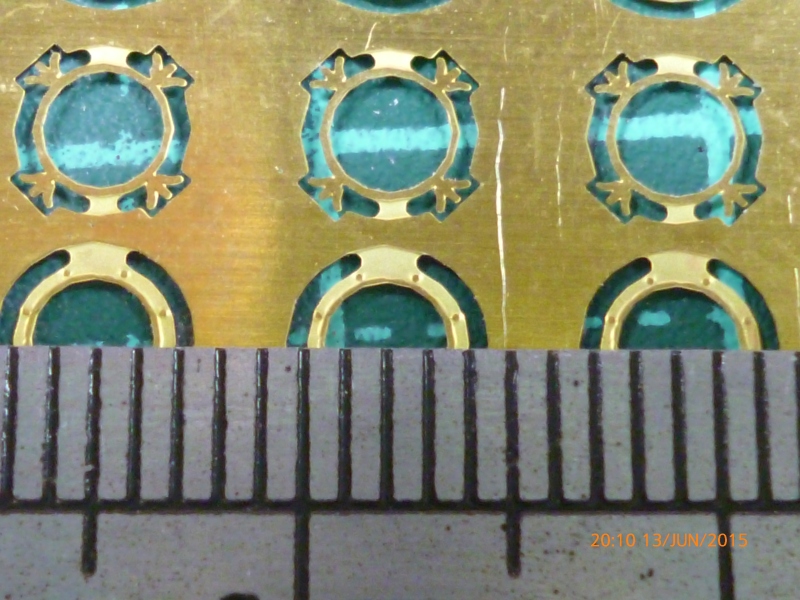
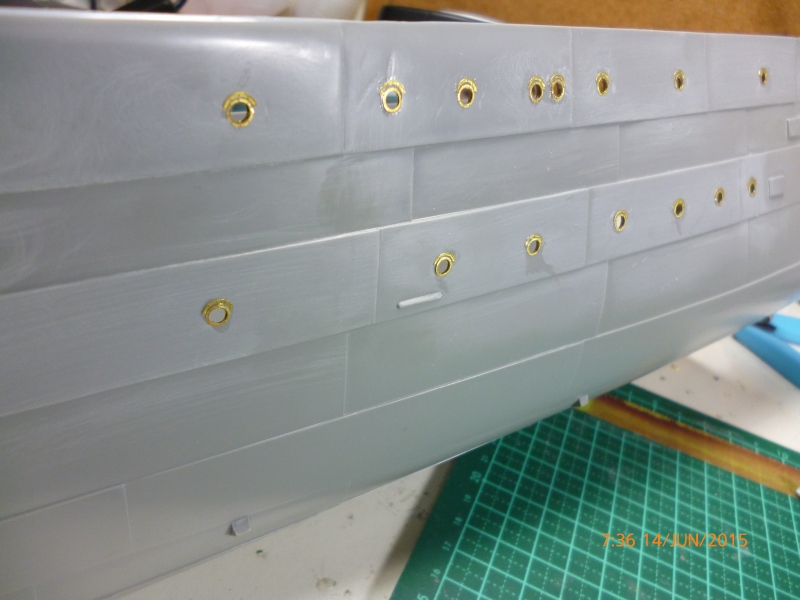
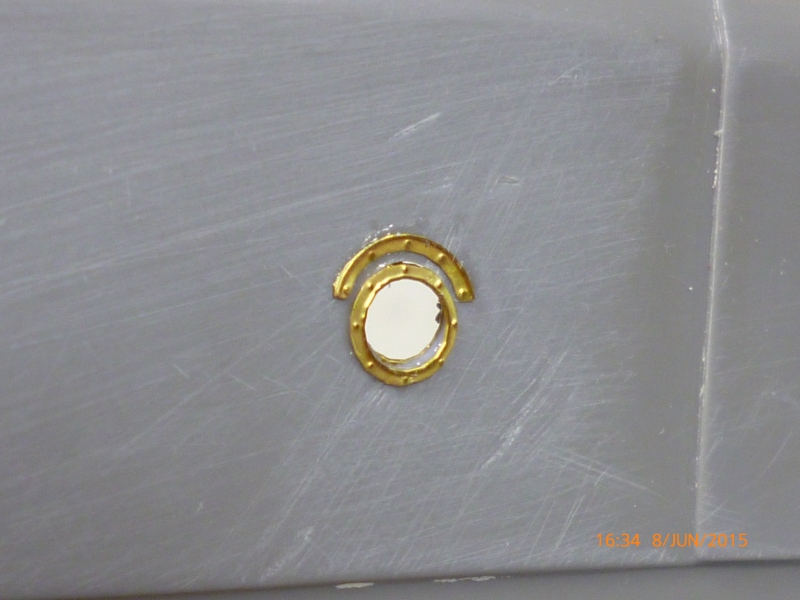
And then I did one of the scuttles.. Four bends on a piece of PE you can't even see (the inside bit with the fake wing nuts) so I have a feeling I may not be doing any more of those. And instead of having to mask up the windows after they are installed I will use crystal clear or similar AFTER the hull is painted.
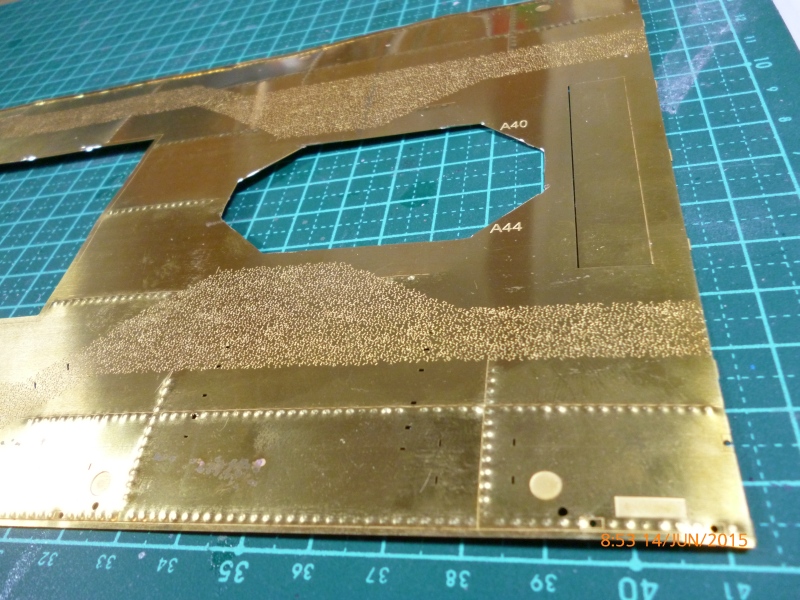
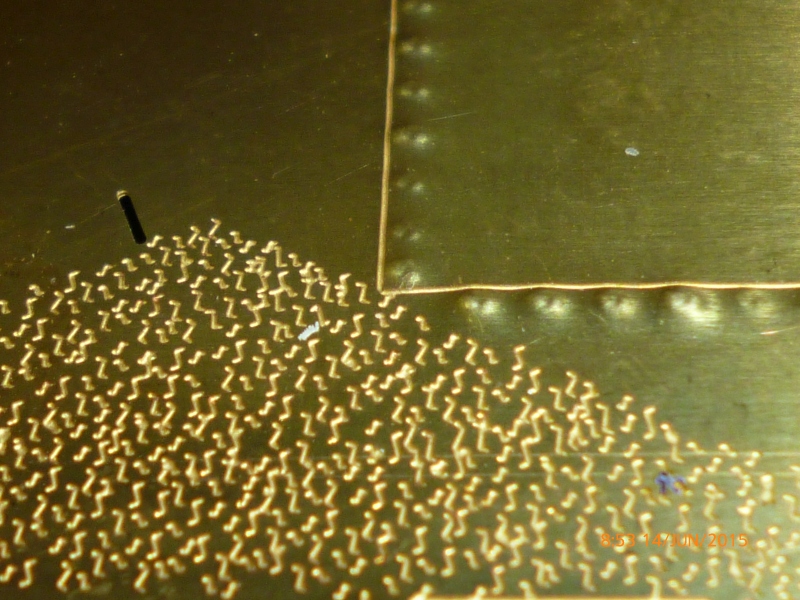
Well I can't do anymore on the main deck UNTIL my auto punch gets here and I get a chance to form approximately eleventy thousand rivets on the deck. After that is done there are another s&^tload to do on other parts of the decking. Joy.... But in the meantime I will continue with the scuttles.. only 40 of them, in the hull at least....
Stay tuned for another update
Cheers
Warren
Update.. The Airbrush Company finally got back to me and they are sending two more sets to me.