General Ship Modeling
Discuss modeling techniques, experiences, and ship modeling in general.
Building Revells 1/72 Flower-Class Corvette
warreni
Visit this Community
South Australia, Australia
Joined: August 14, 2007
KitMaker: 5,926 posts
Model Shipwrights: 2,624 posts
Posted: Wednesday, June 17, 2015 - 01:58 AM UTC
Oh well.. here is another update on the build of the Little Grey, White, Blue and Green Corvette.

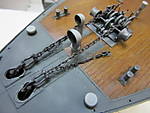
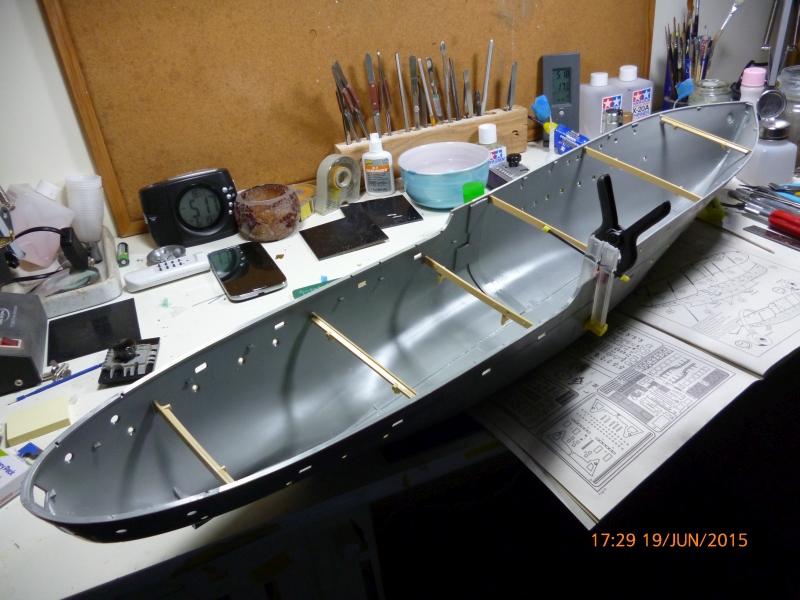
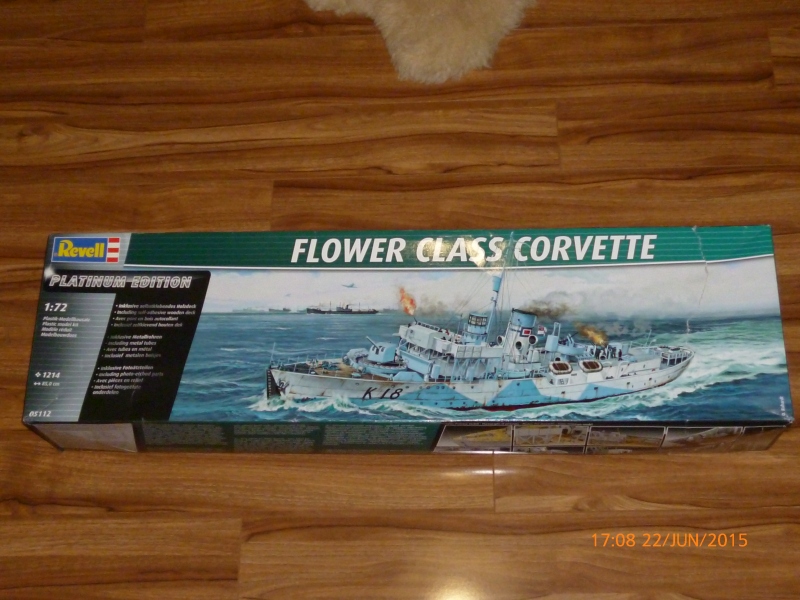
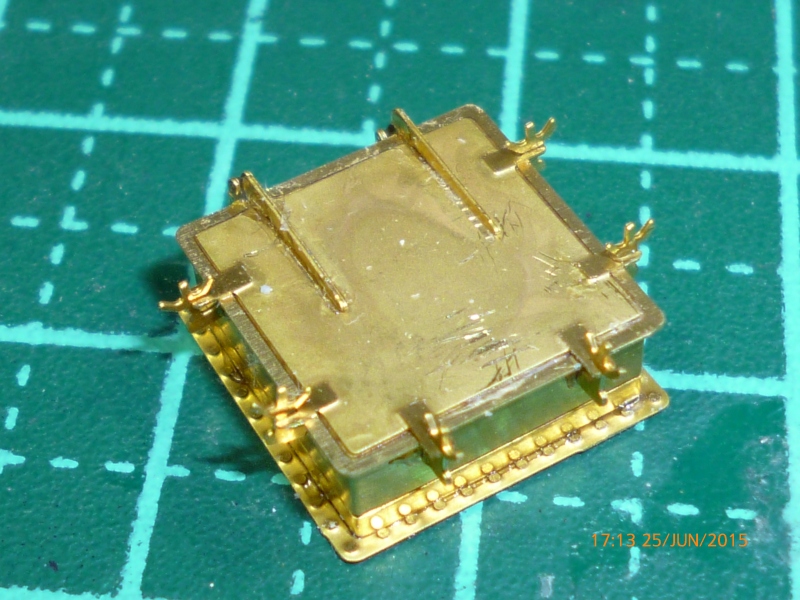
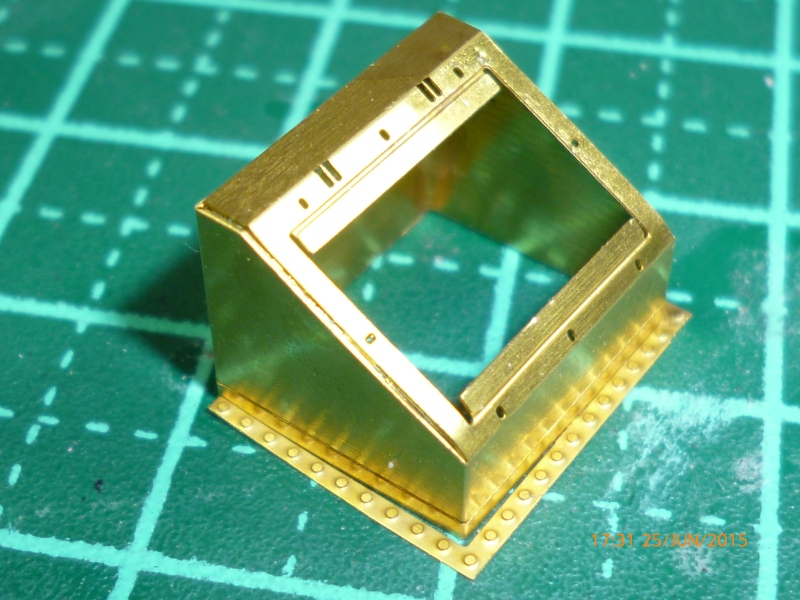
Last few days have all be about building up the foredeck with various layers of PE to replicate the real thing.. (I hope!)

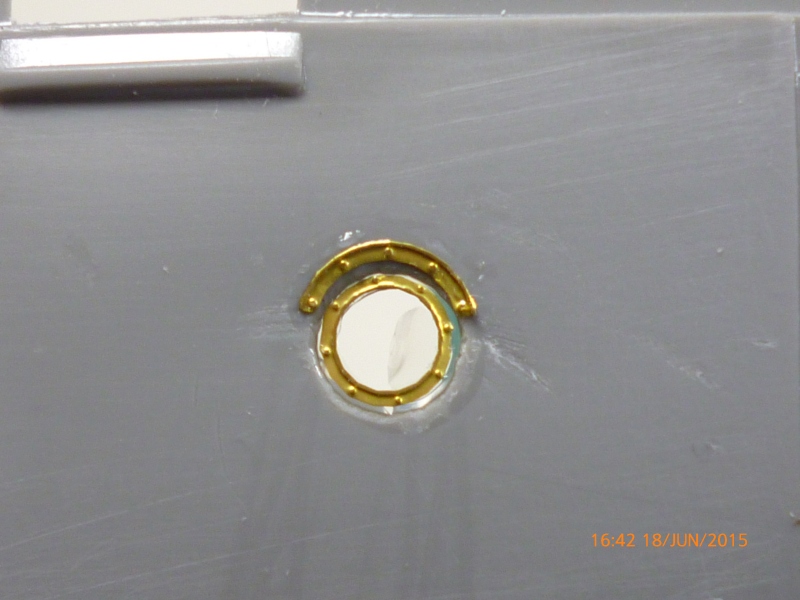
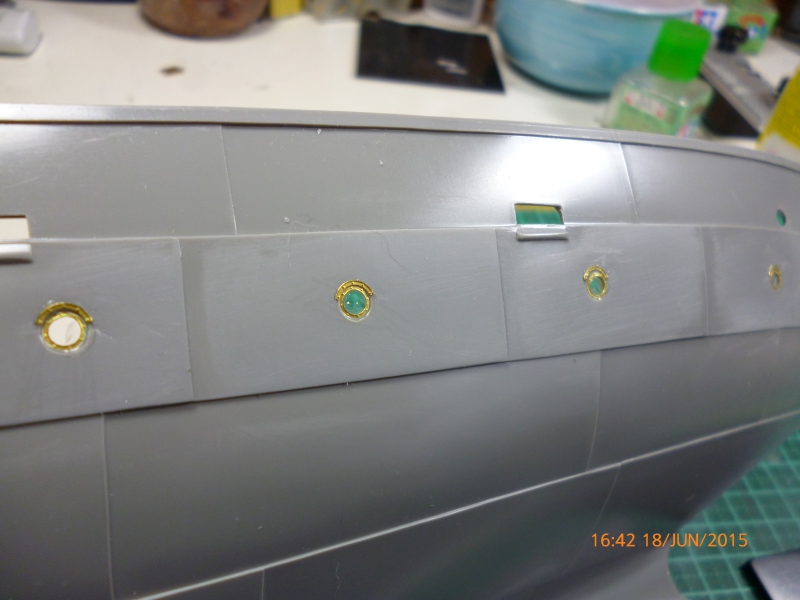
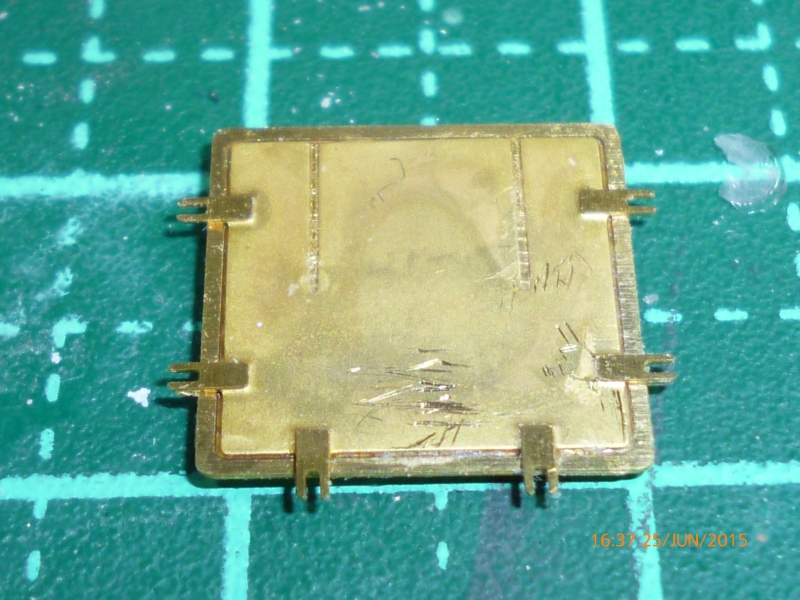
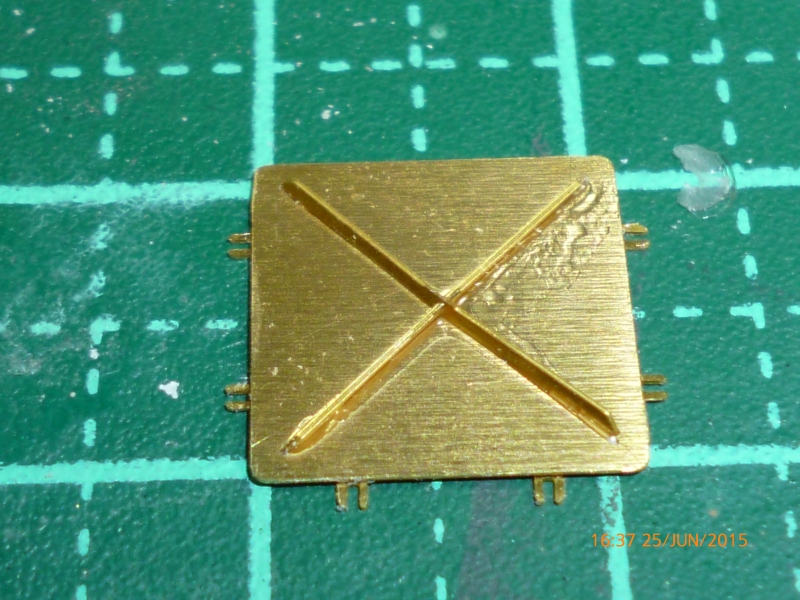
Here is the first layer..


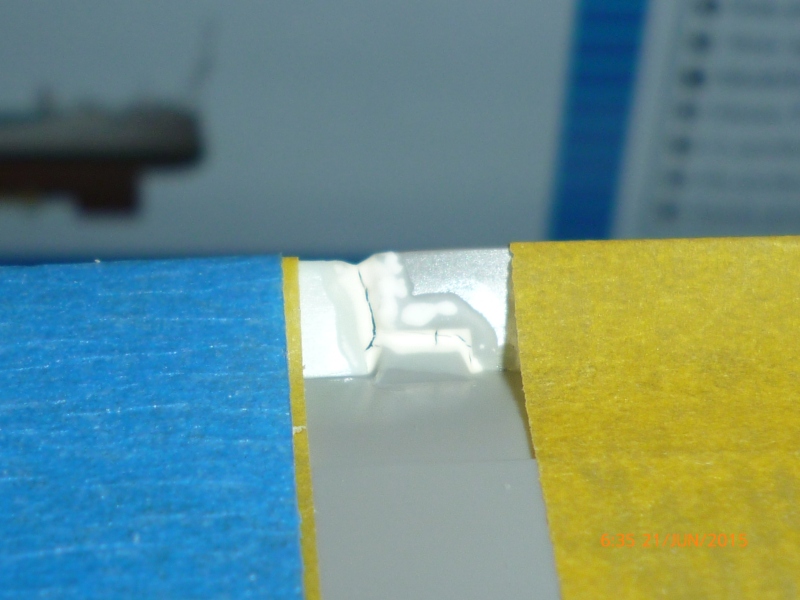
The clamps hopefully hold the parts in place while the CS glue sets after it is applied. Even though accelerator is used there is always some that needs to dry.

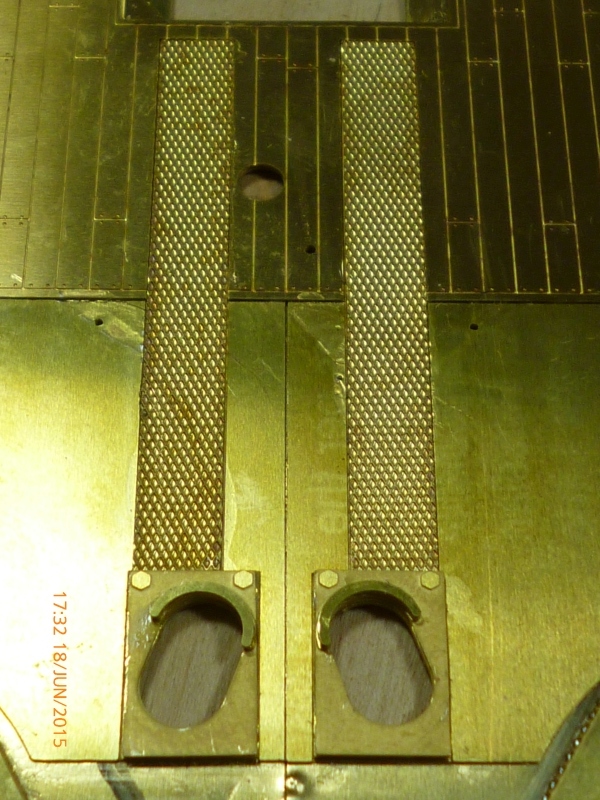
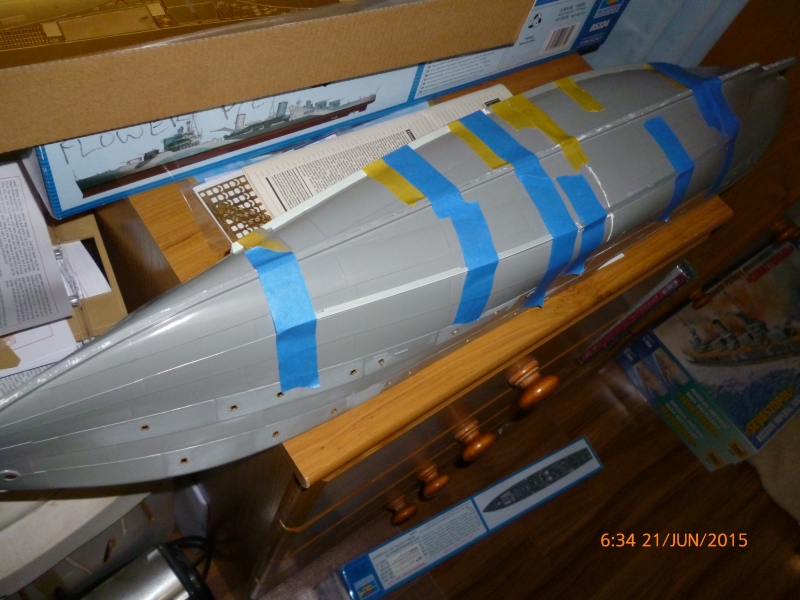
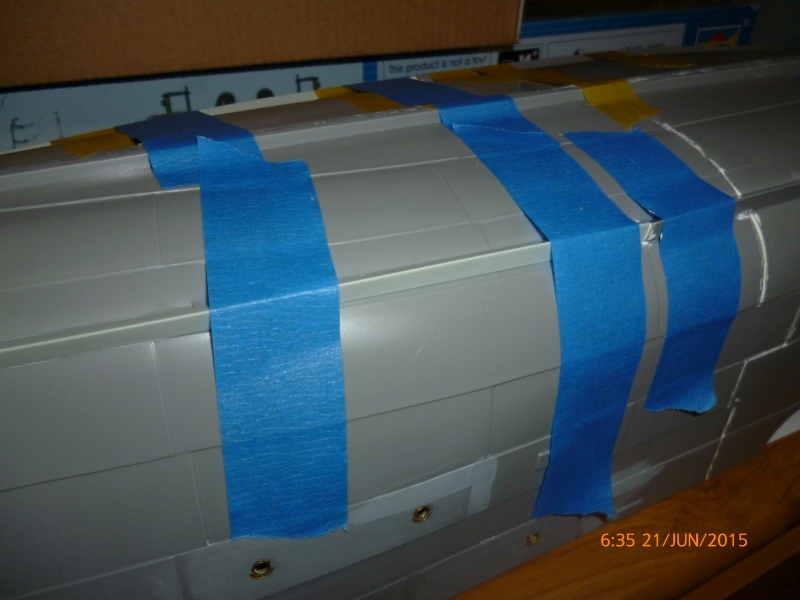
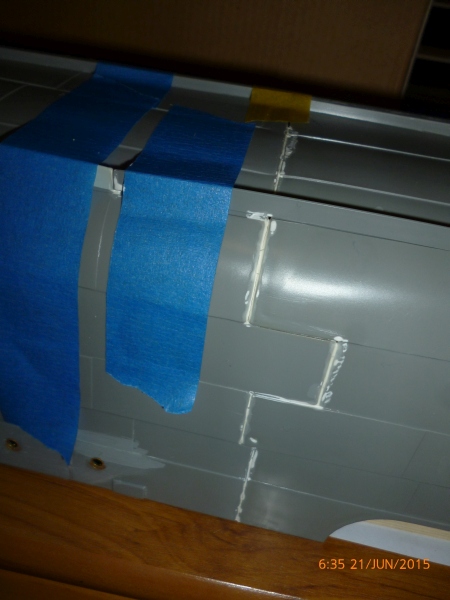
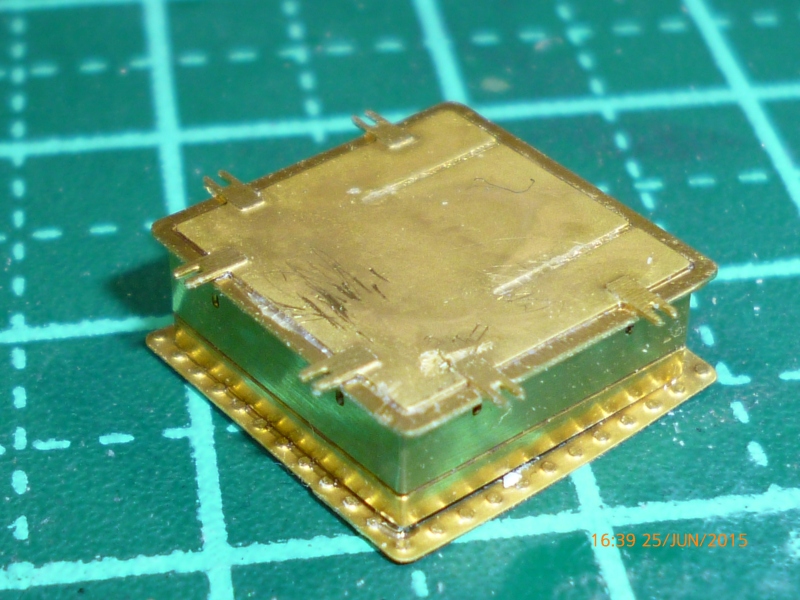
Next up we have the layers finished for the foredeck..


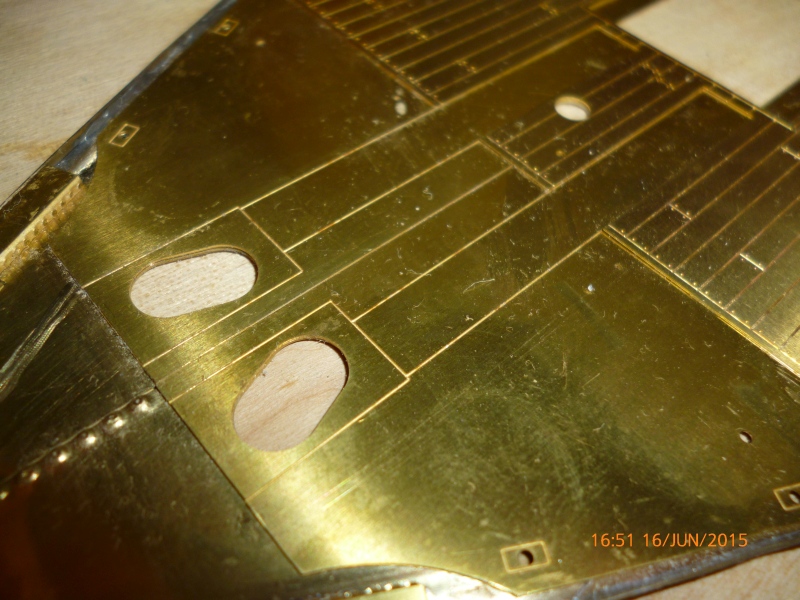
I am not sure what I am going to do to the wooden part yet as I have some wooden deck sheeting I bought with the exact plank width I need for this deck. But then there are others who say there was no wooden deck on the corvettes.. I have no photographic evidence either way yet.

From other's information the GLS deck is accurate and there were wooden decks on these Corvettes.

That's it for now

Cheers
Warren
RussellE
#306
Visit this Community
Victoria, Australia
Joined: June 27, 2010
KitMaker: 3,959 posts
Model Shipwrights: 2,777 posts
Posted: Wednesday, June 17, 2015 - 02:23 AM UTC
holey moley! That's a lot of brass-do you have a tinted opti visor to cut down on all the glare Warren?

Looking very good though.

Russ
cloggerdemps
Visit this Community
Australia
Joined: December 05, 2012
KitMaker: 88 posts
Model Shipwrights: 75 posts
Posted: Wednesday, June 17, 2015 - 02:41 AM UTC
For some corvettes, as far as I understand there were wooden decks on the corvettes. But only the foredeck and the bridge.
I painted them with a primer, then a sandy/yellow colour. Then applied lots of small 'dots'of oil paint (3 different browns were used), then used a brush to drag the oil along the planks to leave an impressive wooden grain effect. Need to practice on a piece of scrap first. I found out about this technique on another website somewere. http://https://lh3.googleusercontent.com/unq0yq6PQ5iAipghXcWnShhGt4eakr5CIdqMuaSV8MQ=w105-h140-p
cloggerdemps
Visit this Community
Australia
Joined: December 05, 2012
KitMaker: 88 posts
Model Shipwrights: 75 posts
Posted: Wednesday, June 17, 2015 - 08:33 AM UTC
cloggerdemps
Visit this Community
Australia
Joined: December 05, 2012
KitMaker: 88 posts
Model Shipwrights: 75 posts
Posted: Wednesday, June 17, 2015 - 08:34 AM UTC
Sorry, struggling with posting pictures. Example of what I was talking about in the above message.
warreni
Visit this Community
South Australia, Australia
Joined: August 14, 2007
KitMaker: 5,926 posts
Model Shipwrights: 2,624 posts
Posted: Wednesday, June 17, 2015 - 11:16 AM UTC

Quoted Text

Sorry, struggling with posting pictures. Example of what I was talking about in the above message.


That's fine mate.

I have my own 'secret' technique for wood grain I did a blog on a few years ago. I also have the Artwox self adhesive wooden deck I could use. I stuffed up and glues the 'wood' part on before I made a template so I will use the one in the Premium Edition kit if it is OK.

Thanks for the advise Sir!

Cheers
Warren
warreni
Visit this Community
South Australia, Australia
Joined: August 14, 2007
KitMaker: 5,926 posts
Model Shipwrights: 2,624 posts
Posted: Wednesday, June 17, 2015 - 01:12 PM UTC
Time for another update. What takes you minutes with plastic seems to take much longer with brass..

First up we have the scuttles I installed after filling the too-big holes with window making glue.


Then the main thing I did this afternoon, fitting of the hawse tube plates on the foredeck.


Each side consists of four parts which would take just one in styrene, but you wouldn't get the detail with styrene...

Cheers
Warren
Cosimodo
#335
Visit this Community
Auckland, New Zealand
Joined: September 03, 2013
KitMaker: 1,808 posts
Model Shipwrights: 871 posts
Posted: Wednesday, June 17, 2015 - 04:05 PM UTC
It's looking great Warren.
I agree you get much more fine detail from brass than styrene.
I will be interested to see how you go with the decking. i think it will look good with a some wood.

cheers

Michael
warreni
Visit this Community
South Australia, Australia
Joined: August 14, 2007
KitMaker: 5,926 posts
Model Shipwrights: 2,624 posts
Posted: Thursday, June 18, 2015 - 12:51 AM UTC

Quoted Text

It's looking great Warren.
I agree you get much more fine detail from brass than styrene.
I will be interested to see how you go with the decking. i think it will look good with a some wood.

cheers

Michael


Interesting times ahead Michael.
Fordboy
Visit this Community
Auckland, New Zealand
Joined: July 13, 2004
KitMaker: 2,169 posts
Model Shipwrights: 1,597 posts
Posted: Thursday, June 18, 2015 - 03:20 AM UTC
Ahoy Warren

Real nice work thus far.

With all the brass and additions you may need a small crane to lift in and out of the "slipway".

Cheers


Sean

warreni
Visit this Community
South Australia, Australia
Joined: August 14, 2007
KitMaker: 5,926 posts
Model Shipwrights: 2,624 posts
Posted: Thursday, June 18, 2015 - 08:52 AM UTC

Quoted Text

Ahoy Warren

Real nice work thus far.

With all the brass and additions you may need a small crane to lift in and out of the "slipway".

Cheers


Sean


You may very well be correct there Sean. For that reason I am going against the GLS instructions and using the plastic decks as well as the brass ones.

Cheers
Warren
warreni
Visit this Community
South Australia, Australia
Joined: August 14, 2007
KitMaker: 5,926 posts
Model Shipwrights: 2,624 posts
Posted: Saturday, June 20, 2015 - 01:49 AM UTC
Hello again from the city of churches.

Well the forward deck is resting peacefully on a shelf until it is required for the top of the hull, and that isn't happening until I fix the join between the forward and rear halves.

Here are the hull halves together and drying after the application of copious amounts of extra-thin cement so it gets into all the nooks and crannies.


Then I installed the stakes on the hull, which do not fit very well and required copious amounts of tape to hold them in position.


After I got that done I started applying Mr Dissolved Putty to the join between the hull halves which is pretty horrific in places.


Looks like the putty cracked at this join. Gap a bit too wide I think..


I put that aside to let the first side with the putty dry and went back to the hose reels that go on the forward deck. The first one got slightly mangled when it fell on the floor and I stood up to look for it, but guess what was under my slipper.. yep, one hose reel frame.

I managed to get it repaired, but with solder I shouldn't have needed, then discovered there are two spare reels included for other corvettes. Joy.. I put the rubbish one aside and built the two new ones.


That is the frame.

Then we have the reel itself..


And finally the whole shebang..


The funny thing is not pictures I have seen so far of the actual thing look anything like that reel.

The instructions can be a little confusing at times but it would be difficult to describe building these things without taking up pages and pages.

That's it for now.

Cheers
Warren
cloggerdemps
Visit this Community
Australia
Joined: December 05, 2012
KitMaker: 88 posts
Model Shipwrights: 75 posts
Posted: Saturday, June 20, 2015 - 02:58 AM UTC
Looking good.
Not sure if there should be 3 wheels in one rope reel altogether?
warreni
Visit this Community
South Australia, Australia
Joined: August 14, 2007
KitMaker: 5,926 posts
Model Shipwrights: 2,624 posts
Posted: Saturday, June 20, 2015 - 03:58 AM UTC

Quoted Text

Looking good.
Not sure if there should be 3 wheels in one rope reel altogether?


Hi there.

The instructions do say that the second wheels should be 2.5 mm away from the third wheel, BUT Anatomy Of The Ship and every other picture I have seen says there are only 2 wheels... All the pictures I have seen show a much smaller A frame that only goes up to the centre of the reel...

As someone wrote, there were lots of these built at several different dockyards and all had refits during their service, so no one configuration will be correct for the ships.
RedDuster
Visit this Community
England - South East, United Kingdom
Joined: March 01, 2010
KitMaker: 7,078 posts
Model Shipwrights: 6,649 posts
Posted: Saturday, June 20, 2015 - 04:11 AM UTC
Looking great Warren,

There is some serious brass happening, you are really turning a sow's ear into a silk purse.

Following with interest, and picking up tips.

Cheers.

Si
cloggerdemps
Visit this Community
Australia
Joined: December 05, 2012
KitMaker: 88 posts
Model Shipwrights: 75 posts
Posted: Saturday, June 20, 2015 - 07:47 AM UTC
I think you could be right! Just did a search under images and can only see 2 reels?
warreni
Visit this Community
South Australia, Australia
Joined: August 14, 2007
KitMaker: 5,926 posts
Model Shipwrights: 2,624 posts
Posted: Saturday, June 20, 2015 - 10:15 AM UTC

Quoted Text

I think you could be right! Just did a search under images and can only see 2 reels?


I concur..
warreni
Visit this Community
South Australia, Australia
Joined: August 14, 2007
KitMaker: 5,926 posts
Model Shipwrights: 2,624 posts
Posted: Saturday, June 20, 2015 - 10:16 AM UTC

Quoted Text

Looking great Warren,

There is some serious brass happening, you are really turning a sow's ear into a silk purse.

Following with interest, and picking up tips.

Cheers.

Si


Thanks Simon.

Don't pick up too many tips.. it may just be the blind leading the blind!
RedDuster
Visit this Community
England - South East, United Kingdom
Joined: March 01, 2010
KitMaker: 7,078 posts
Model Shipwrights: 6,649 posts
Posted: Saturday, June 20, 2015 - 02:18 PM UTC
Mate,

looks it's working so far, and to be honest when I tackle something big and different on here I do feel a bit the same.

Cheers

Si
Cosimodo
#335
Visit this Community
Auckland, New Zealand
Joined: September 03, 2013
KitMaker: 1,808 posts
Model Shipwrights: 871 posts
Posted: Sunday, June 21, 2015 - 02:40 PM UTC
Cripes, if you two don't know what you're doing what hope for the rest of us.
RussellE
#306
Visit this Community
Victoria, Australia
Joined: June 27, 2010
KitMaker: 3,959 posts
Model Shipwrights: 2,777 posts
Posted: Sunday, June 21, 2015 - 03:34 PM UTC
MASSIVE, Warren.

Just one question though: you've used thin CA to join the two halves together-wouldn't thin polystyrene glue be better at providing a stronger bond by welding the plastic together?

Russ
warreni
Visit this Community
South Australia, Australia
Joined: August 14, 2007
KitMaker: 5,926 posts
Model Shipwrights: 2,624 posts
Posted: Sunday, June 21, 2015 - 04:11 PM UTC

Quoted Text

MASSIVE, Warren.

Just one question though: you've used thin CA to join the two halves together-wouldn't thin polystyrene glue be better at providing a stronger bond by welding the plastic together?

Russ


Sorry Russell. The halves went together with copious amounts of Extra Thin Tamiya Cement. I used CA as part of the gap filling and extra strength on the insides.

Cheers
Warren
warreni
Visit this Community
South Australia, Australia
Joined: August 14, 2007
KitMaker: 5,926 posts
Model Shipwrights: 2,624 posts
Posted: Sunday, June 21, 2015 - 04:13 PM UTC

Quoted Text

Cripes, if you two don't know what you're doing what hope for the rest of us.


Scary..

Another Flower Corvette arrived today.. the Platinum Edition.
RussellE
#306
Visit this Community
Victoria, Australia
Joined: June 27, 2010
KitMaker: 3,959 posts
Model Shipwrights: 2,777 posts
Posted: Monday, June 22, 2015 - 02:29 AM UTC

Quoted Text


Quoted Text

MASSIVE, Warren.

Just one question though: you've used thin CA to join the two halves together-wouldn't thin polystyrene glue be better at providing a stronger bond by welding the plastic together?

Russ


Sorry Russell. The halves went together with copious amounts of Extra Thin Tamiya Cement. I used CA as part of the gap filling and extra strength on the insides.

Cheers
Warren


My bad, mate. When I saw 'extra thin' my brain went 'CA'. Let's put it down to 'baby brain'
warreni
Visit this Community
South Australia, Australia
Joined: August 14, 2007
KitMaker: 5,926 posts
Model Shipwrights: 2,624 posts
Posted: Wednesday, June 24, 2015 - 01:40 PM UTC
Oh my goodness.. it's been 2 days since I posted an update.. lazy butt Warren...

And it's OK to have brain-farts Russell..

Too make up for it I have a nice little update here on the progress I have made on the Corvette, and a few other items of interest.

First up, the two paint sets I had been waiting for turned up! This is the one I will be relying on for this build..


Yep, that's even a Corvette on the front. I still won't need it for a little while but it is always good to be prepared.

Next up, look what turned up in the mail..


Yep, the Premium Edition of this one I got for around AUD$130. What a bargain! And it will provide the template for my fore deck wooden planking, if I go that way..

Then we get to the actual work on the ship... I decided to do some more deck details before I put the deck on the hull. First up is one of the water-proof hatches.. First the base with the subtle rivet detail I applied to it..


Then the hatch itself.. Top


And bottom..


Then with the hatch glued to the base..


Then with the hinges and wing nuts applied..


After that I started on the wardroom skylight...


Nothing is glued in that photo, just bent to shape.

Then I thought I would try and take a picture on a very small area of one of the sheets, the part all these parts have come from.


Notice that all the areas are clearly marked as to what the parts within them build.

That's it for now friends.

Cheers
Warren