


Well it's going to be the HMS Dreadnought, what better then the first modern battleship.
Tom


Thanks Russell,
There is a lot to the Pontos, set, and of course the Duke in 1943 is quite a bit different from the Prince in 1941.
Would be good if the KGV's got the same treatment as the Yamato.
Si


 . It looking great so far!


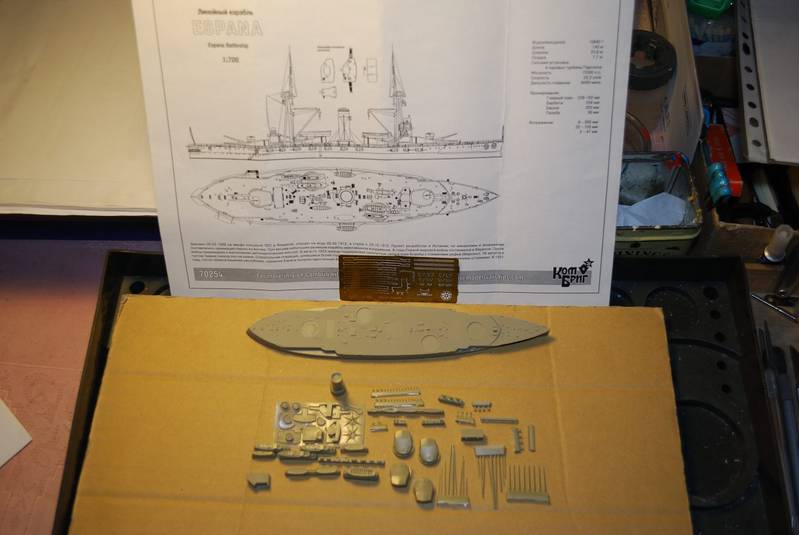
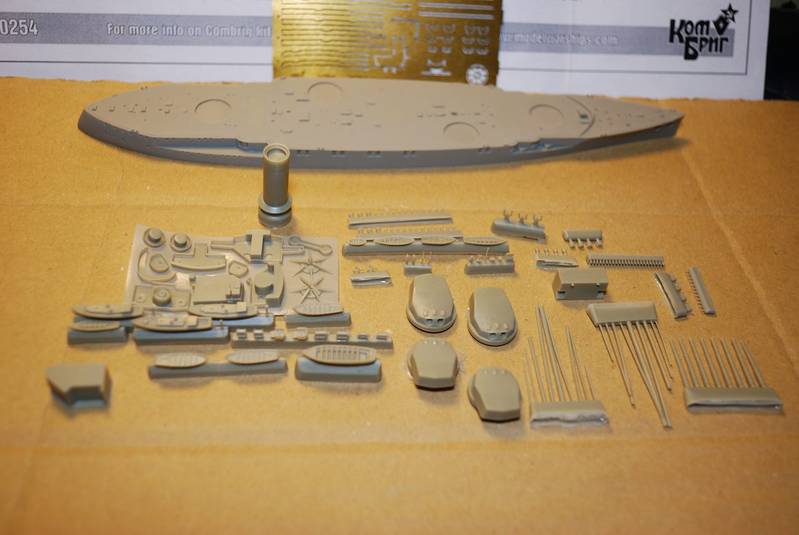
Hey Speedy Gonzalez ( Simon ) those forward gun tubs look great I,am doing some prep work now on my KG V hull will the brass for the de gauzing need to be fitted before I paint the hull or do I not fit this if the ship is going to be in 1945 colors
Cheers Keith


 you are well on your way to finishing and doing a great job...
  |


