Campaigns
Want to be part of a group build? This is where to start, plan, and meet about them.
Official Campaign: Battle of Leyte Gulf
RedDuster
Visit this Community
England - South East, United Kingdom
Joined: March 01, 2010
KitMaker: 7,078 posts
Model Shipwrights: 6,649 posts
Posted: Thursday, January 15, 2015 - 03:41 AM UTC
Thanks Joseph,

Great work on the Mogami, I know what you mean about disappearing parts, nice recovery.

Hanger deck and fore and after decks painted. Went for the hairy stick as masking the hanger sides would have been a nightmare.


Mounts for the elevator gear fitted, this is the forward elevator.


The flight deck and deck edge catwalks and gun tubs shot with deck blue.


Forward and after bulkheads unmasked and decks painted.


All the clutter along the side of the hull next.

Si
Littorio
Visit this Community
England - South East, United Kingdom
Joined: September 15, 2004
KitMaker: 4,728 posts
Model Shipwrights: 1,080 posts
Posted: Thursday, January 15, 2015 - 10:01 PM UTC
Looking good Si, I'm taking notes of your build for when I start the Princeton although that is some time away.

On with the Hoel, this afternoon I got some time in and painted the deck camo and the turrets, the hull sides got another coat of 5-O a little bit of touch up then on with the vertical camo. I'm using Anthracite as I feel that matt black is well to black.

The aft turrets are glued on however all the structures are still free.

Lastly, no turning back now as the name plate is attached to the base, protective film still in place until complete.


I feel the pe will start to be added soon.

Quick question, what colour should the blast bags be on the fore turrets?
RedDuster
Visit this Community
England - South East, United Kingdom
Joined: March 01, 2010
KitMaker: 7,078 posts
Model Shipwrights: 6,649 posts
Posted: Friday, January 16, 2015 - 02:20 AM UTC
Thanks Luciano, The Hoel is coming on really well. I like the deck Camo, that looks excellent.

Another issue with the instructions, the boat decks, there is mention of the pat number for the port side deck, or that there is need for two or part E28, or that they are a mirror image. Ok it's not rocket science, but for a kit of the complexity the instructions should be more accurate & informative.


The two boat decks assembled.


Camo on the funnels and radar mount.


The forward bulkhead and quad 40mm mount fitted, I have used the anchor cable provided in the Pontos set, can't really see it. I was a little surprised that although there holes provided, no capstans are provided, no real loss as they invisible, but would have liked them to be there.


And the funnels in place, the caps still need painting.


Si

Littorio
Visit this Community
England - South East, United Kingdom
Joined: September 15, 2004
KitMaker: 4,728 posts
Model Shipwrights: 1,080 posts
Posted: Friday, January 16, 2015 - 09:42 PM UTC
Started painting the anthracite (dull black) superstructure vertical surfaces and getting the small fittings ready for primer and paint.
The first bits of pe have also been added, first some grills to the funnels and the radar base on the director, the aft deck house has been glued on. She is now starting to look like a ship


Parts ready for primer
RedDuster
Visit this Community
England - South East, United Kingdom
Joined: March 01, 2010
KitMaker: 7,078 posts
Model Shipwrights: 6,649 posts
Posted: Saturday, January 17, 2015 - 02:08 AM UTC
Coming on well Luciano.

On with the Indy.

The after bulkhead in place.


The Pontos deck for the Indy is not quite as good a fit as their deck for the Dreadnought was, but fortunately there was enough spare on the sheet to fill the gaps.

The Wem replacements for the Paravane platforms are not perfect, but with a bit of fiddling they are not too bad, the trumpeter part, which looking at photos is more accurate, is below.


The boat decks painted and ready for fitting.


Si

Littorio
Visit this Community
England - South East, United Kingdom
Joined: September 15, 2004
KitMaker: 4,728 posts
Model Shipwrights: 1,080 posts
Posted: Saturday, January 17, 2015 - 09:23 PM UTC
Ok some progress made today, both funnels done and fitted some of the deck fittings have been fitted plus paint touch up as I go.

However I'm hoping the hot water treatment can sort out these two, bent twin 40mm and one tube on the quin launcher.

What colour were the torpedoes on US destroyers?


Rest of the shots for today, base twin 40's and Mk.51 directors ready for primer with out their pe parts.


RedDuster
Visit this Community
England - South East, United Kingdom
Joined: March 01, 2010
KitMaker: 7,078 posts
Model Shipwrights: 6,649 posts
Posted: Monday, January 19, 2015 - 02:23 AM UTC
Nice work Luciano,

Small progress on the Indy. This time it was WEM's instructions that weren't helpful, part 9 was just labelled as "Railings (E9)", obviously consisting of 4 sections but pictorial view of how they went on, however after a bit of head scratching got there.


Boat decks fitted, this is the port side.


Si
rolltide31
#377
Visit this Community
Texas, United States
Joined: June 27, 2010
KitMaker: 1,481 posts
Model Shipwrights: 1,332 posts
Posted: Tuesday, January 20, 2015 - 04:21 AM UTC
@Si - the Independence is coming along nicely. I have never built an Aircraft Carrier but it looks very challenging. Looking forward to seeing the Air Group assemble on the flight deck.

@Luciano - the USS Hoel is coming along beautifully. The L'Arsenal parts look to be making a big difference. I will definitely refer back to your build when I eventually start the USS Heermann.

@All - Everyone's work is looking great. Sorry for my lack of updates but real life has gotten a little in the way. I have been doing small updates but nothing that warrants a picture log. I will look to have one this weekend.

Great work everyone, this campaign is moving along smoothly.

Dave
frank153
Visit this Community
Georgia, United States
Joined: February 19, 2014
KitMaker: 27 posts
Model Shipwrights: 3 posts
Posted: Tuesday, January 20, 2015 - 07:01 AM UTC
Here is what I have decided to do for the build. Tamiya !/350 Fletcher, Toms Modelworks phothetch and a unknown (to me!) square bridge conversion kit that was in the box when I bought it!
I hope it is up to the quality of what I have seen here, the bar is pretty high.

Frank

frank153
Visit this Community
Georgia, United States
Joined: February 19, 2014
KitMaker: 27 posts
Model Shipwrights: 3 posts
Posted: Tuesday, January 20, 2015 - 09:32 PM UTC
forgot to it will be the USS Johnston!
BravoTwoZero
Visit this Community
California, United States
Joined: June 11, 2009
KitMaker: 461 posts
Model Shipwrights: 80 posts
Posted: Tuesday, January 20, 2015 - 09:41 PM UTC

Quoted Text

forgot to it will be the USS Johnston!


Sounds great! I've always wondered why such a heroic ship is not covered in an injection plastic version. I will be following your work!

Joseph
joeellias
Joined: February 02, 2007
KitMaker: 40 posts
Model Shipwrights: 39 posts
Posted: Wednesday, January 21, 2015 - 12:50 AM UTC
Be aware Johnston was a "square bridge" Fletcher. The Tamiya Fletcher is a round bridge.
rolltide31
#377
Visit this Community
Texas, United States
Joined: June 27, 2010
KitMaker: 1,481 posts
Model Shipwrights: 1,332 posts
Posted: Wednesday, January 21, 2015 - 06:31 AM UTC
Frank,

Great selection. Looking forward to watching your progress. I also have the Tamiya Fletcher with an unknown maker of a square bridge upgrade. Good luck!!!

Dave
kirkus2269
Visit this Community
Ontario, Canada
Joined: September 06, 2014
KitMaker: 42 posts
Model Shipwrights: 38 posts
Posted: Wednesday, January 21, 2015 - 08:45 PM UTC
i'm in! this is my first forum/ campaign build so let me know if i am not following proper protocol. there is obviously some real quality work going on so i hope my meagre attempts meet up with everyones' expectations!


first decision: unlike the broad, expansive deck of say the Yamato (another project i'm working on) where the wooden deck is a main feature of the build the relatively busy deck of the Yamashiro won't need replacing- so hand painting it is!


next to deal with is the aft section and getting rid of all that lumpy plastic


plastic detail removed


i know it looks messy- and i am a little rusty having not modelled for the last few months, but the glare makes things look worse than they are. once the cranes, trolleys, catapults, planes, deck accessories, people and rigging are added there really shouldn't be an issue.


now for the fun (nel) stuff! this is the first of what will be MANY sub assembly builds- again off with the plastic:


and on with the pe


starting to take shape:


i thought i had lost this little guy when he popped out of my tweezers and flew off into the ether! but perseverance and 20 minutes on my hands and knees with a flashlight...


thats better!


35 pieces later:


a scale shot:


i will continue to work on the funnel today and hope to have another update for you all shortly. feedback is always welcome
BravoTwoZero
Visit this Community
California, United States
Joined: June 11, 2009
KitMaker: 461 posts
Model Shipwrights: 80 posts
Posted: Wednesday, January 21, 2015 - 10:47 PM UTC
Great job Kirk! Your PE work looks awesome. I can relate to getting down on my knees looking for parts that flew off the tweezers. So annoying! I even resorted to wearing an apron while I work in the hopes that it will catch parts that I drop but somehow, the parts seem to avoid the apron and fall somewhere on the floor. I'm working at 1/350 scale and it looks like you're working on 1/700? I can only imagine how frustrating it is for the parts to fly off. Looking forward to your next update.

Joseph
RedDuster
Visit this Community
England - South East, United Kingdom
Joined: March 01, 2010
KitMaker: 7,078 posts
Model Shipwrights: 6,649 posts
Posted: Thursday, January 22, 2015 - 12:14 AM UTC
Thanks Dave,

Not more challenging, just differently challenging. I will build one each of the Avengers and Hellcats shortly, wings folded and sat on partially raised elevators, the five of each will go on deck, with some deck vehicles and the figures provided by dragon.

Hi Kirk,

what Joseph said, very impressive etchwork, looking forward to more progress.

Si
rolltide31
#377
Visit this Community
Texas, United States
Joined: June 27, 2010
KitMaker: 1,481 posts
Model Shipwrights: 1,332 posts
Posted: Thursday, January 22, 2015 - 01:16 AM UTC
Kirk,

Welcome aboard. great looking PE work. I have a hard time with 1/350 scale, I can only imagaine how difficult 1/700 would be. Look forward to seeing more updates.

Dave
Littorio
Visit this Community
England - South East, United Kingdom
Joined: September 15, 2004
KitMaker: 4,728 posts
Model Shipwrights: 1,080 posts
Posted: Thursday, January 22, 2015 - 06:25 PM UTC
Kirk firstly welcome aboard. I'm in awe at your pe skill in 1/700.

Just a little taste of where I'm at, all the little bits

L'Arsenal Mk.51 on the left, kit part on the right.


Ok I have a question, the kit has 7 x single 20mm Oerlikon's, the L'Arsenal set supplies both twin and single mounts and information on Hoel at Leyte suggest she had 11 x 20mm but no supporting photos or drawings, so should the midship positions be twins? That would give the 11 guns or were there more singles and if so where?

More photos later.
rolltide31
#377
Visit this Community
Texas, United States
Joined: June 27, 2010
KitMaker: 1,481 posts
Model Shipwrights: 1,332 posts
Posted: Thursday, January 22, 2015 - 08:15 PM UTC
Luciano,

your MK51 Gun Directors look great. I have the same ones from L'Arsenal for my USS Samuel B. Roberts. I only hope I can make them look as good as you have.

With regards to the 20mm Configuration. I found this link on the web and the description mentions 7 X 20mm Single. Does not mention 20mm Doubles. I cannot access the website but hopefully you can and can find the answer.

www.wrecksite.eu/wreck.aspx?143184

Dave
Littorio
Visit this Community
England - South East, United Kingdom
Joined: September 15, 2004
KitMaker: 4,728 posts
Model Shipwrights: 1,080 posts
Posted: Friday, January 23, 2015 - 03:01 AM UTC
Thank you Dave, the info I got is on this site, I'll look around some more and see what I can find, in the mean time here's a small update for today:

First are two 20mm's and an accommodation ladder that have been bent to shape and treated with pe blackening, I've then placed them on a moist tissue to dry.


Next up are the Mk.51 directors in place, Mk.4 radar and the completed Mk.9 depth charge 'K-guns' and racks.

rolltide31
#377
Visit this Community
Texas, United States
Joined: June 27, 2010
KitMaker: 1,481 posts
Model Shipwrights: 1,332 posts
Posted: Saturday, January 24, 2015 - 02:31 AM UTC
@Luciano, hope the information helps. I have only found mention of 7 x 20mm on the USS Hoel other than the website you found. Your PE work is looking great. Question, what blackening agent do you use and what does it do for you? Does it make the paint stick better?

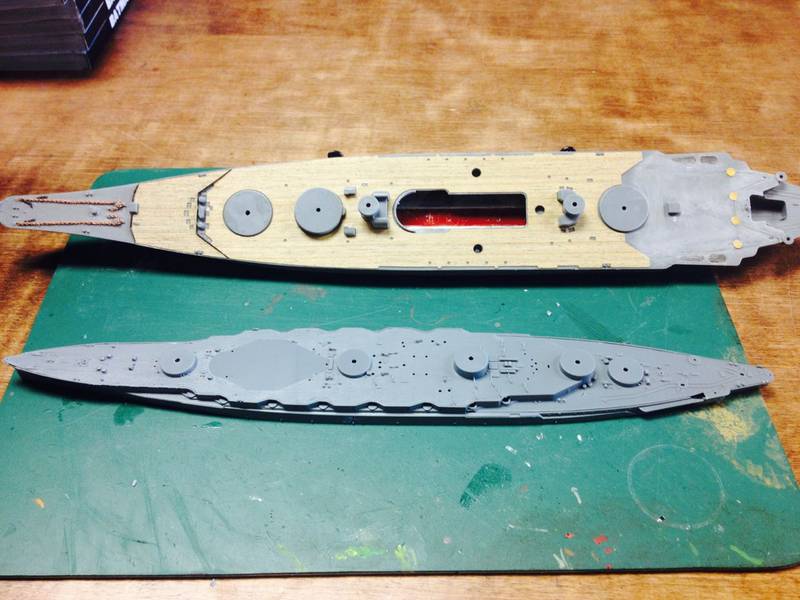
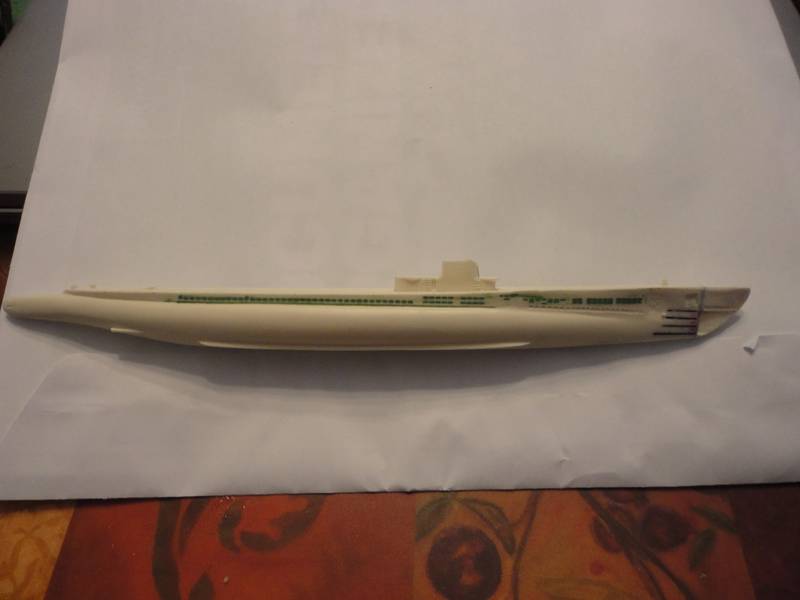
OK, so here is a USS Dace update.

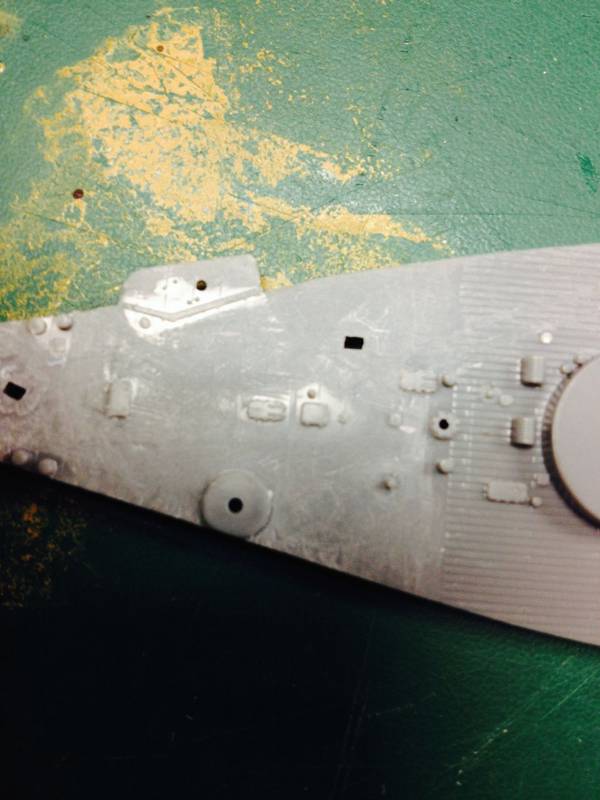
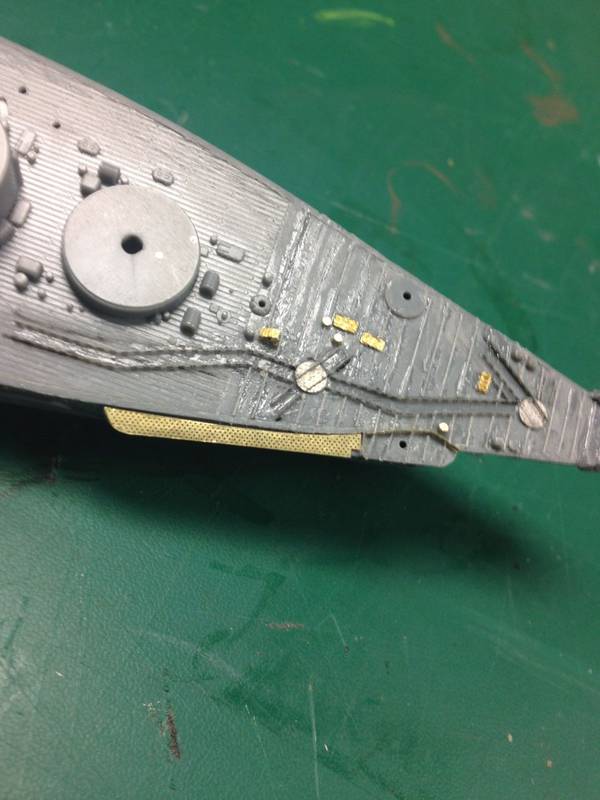
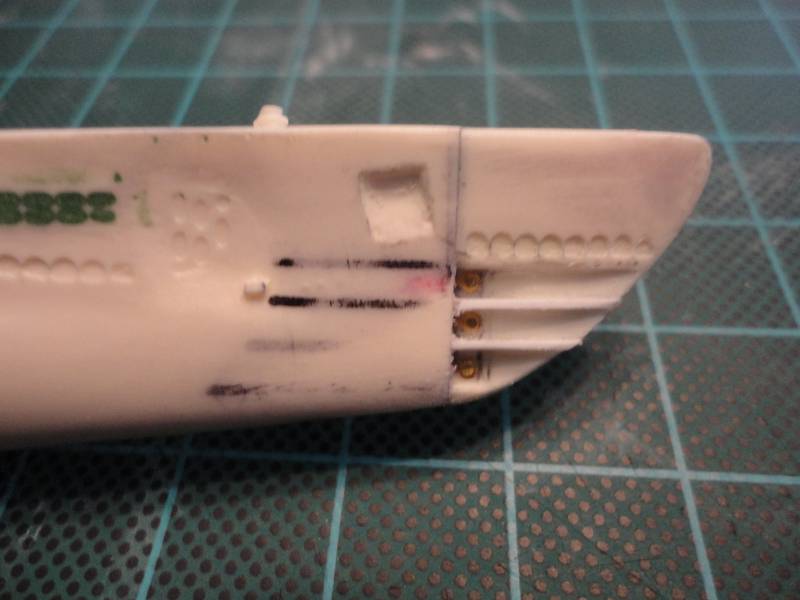
The front bow is finally reattached.


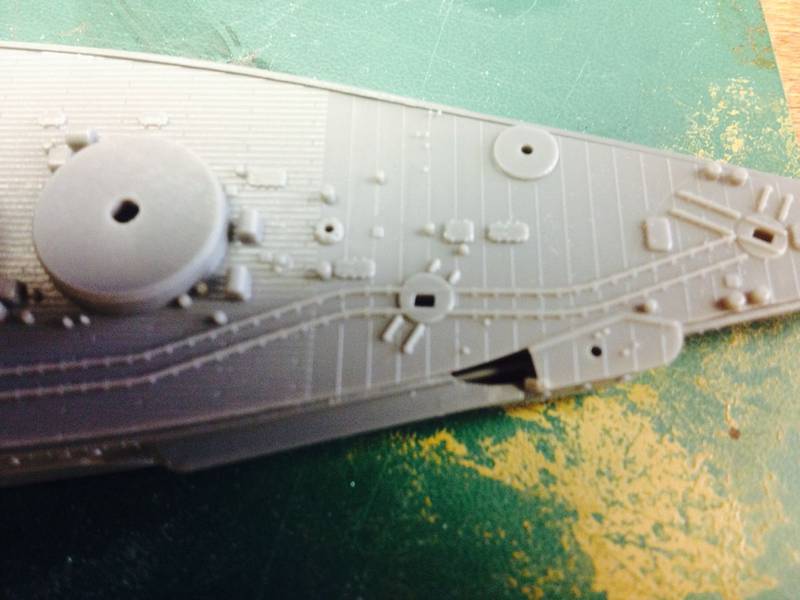
Now I am adding the hull ribs that separate the torpedo tubes. Figuring out how to do this has been a big challenge. Hopefully the final result will look good.

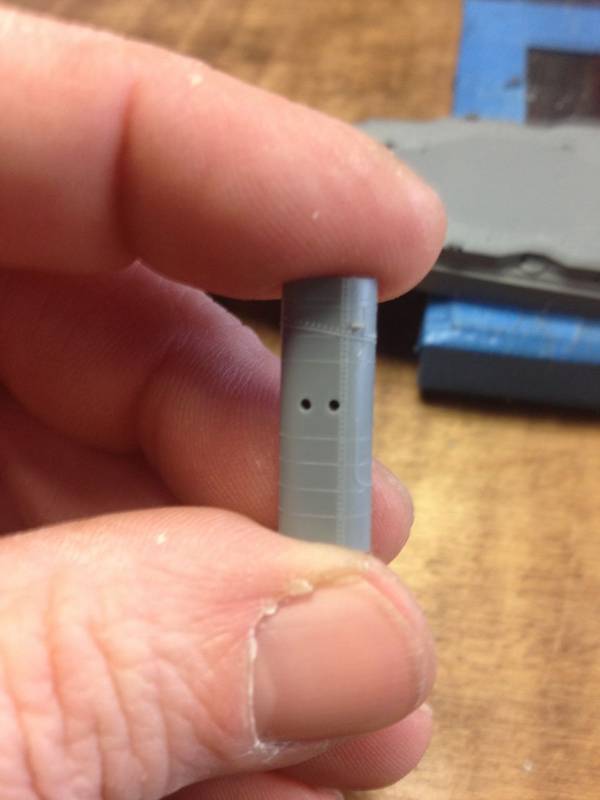
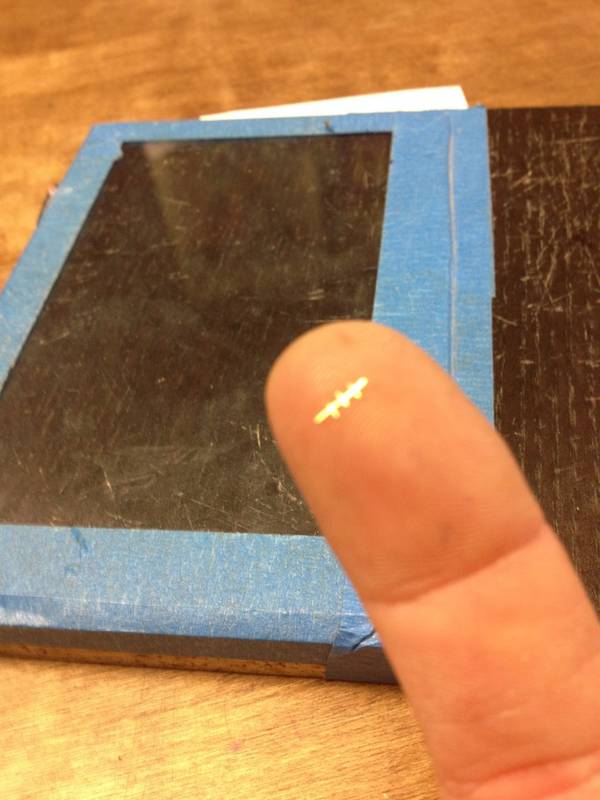
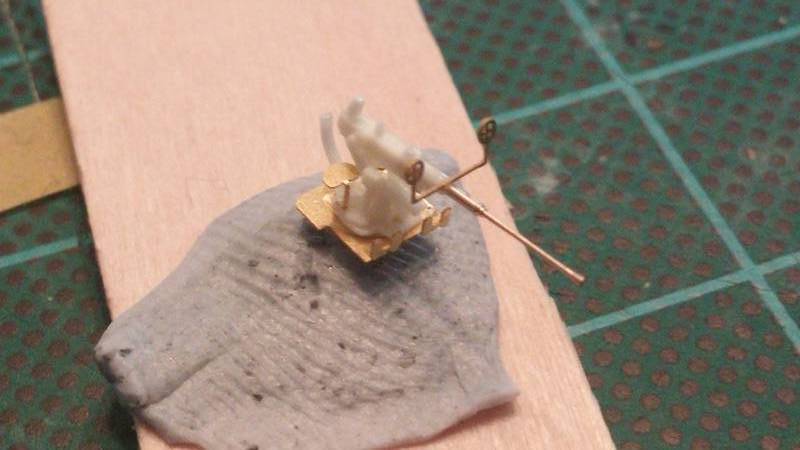
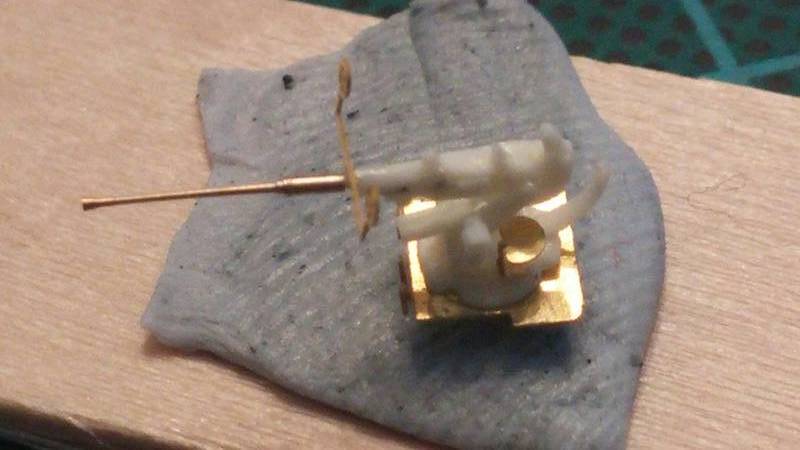
With the ribs drying I started on the two 40mm Single Barrel Bofors.


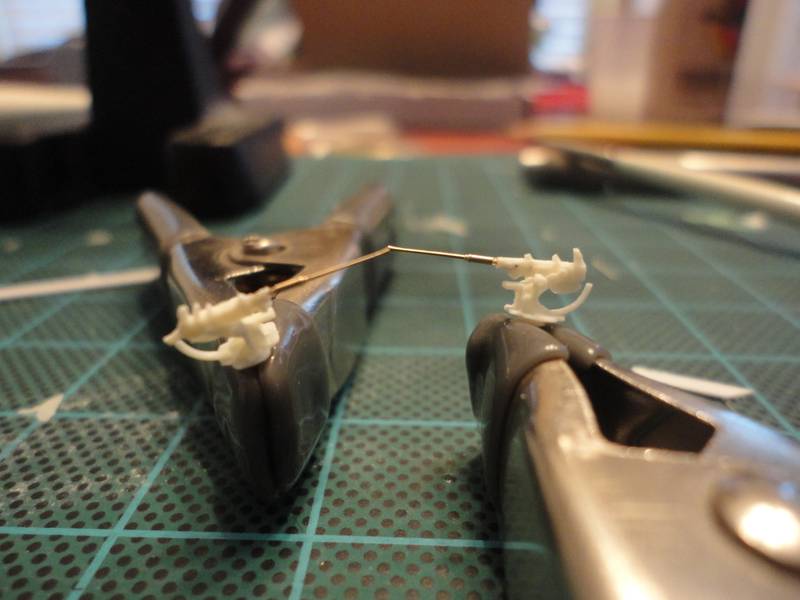
Sorry for the blurry picture but you get the idea. I used the Master Model 40mm Air Cool Barrels. Very challenging drilling the hole to mount the barrels. I see a little gap in the picture. Hopefully the paint will make that disappear or some white glue.

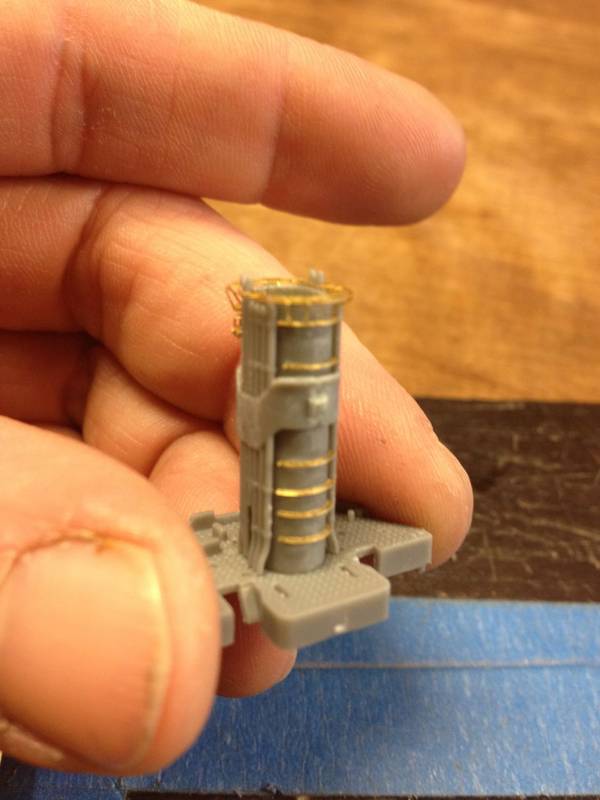
A little more PE work on the bofors and they will be ready to mount

I should receive the 3d printed pieces I need sometime this week and I can get moving along more on the Dace.

Great looking builds all around, so much to learn from each of you.

As always comments and criticism is welcome.

Dave
Littorio
Visit this Community
England - South East, United Kingdom
Joined: September 15, 2004
KitMaker: 4,728 posts
Model Shipwrights: 1,080 posts
Posted: Saturday, January 24, 2015 - 04:06 AM UTC

Quoted Text

Question, what blackening agent do you use and what does it do for you? Does it make the paint stick better?


Dave the blackening agent I use is from Master but I know others do also sell their own versions, I would think they all work the same.
Basically you put some agent in a container (I use an old clean resealable yogurt put lid) then place the PE in the agent for approx 30sec each side sometimes they take more or less time. The agent causes a chemical reaction that forms a black layer on the PE, once it's black take it out and leave to dry, the agent can be reused so put that back in its bottle. Once completely dry the blackening helps paint adhere to the brass although it can itself still be rubbed off, one nice bonus is that when you look at photos of builds you will sometimes see the 'gold' glint of a bit of pe where the paint has either not adhered, been missed or has chipped, the blackened pe won't glint.
Hope that explains it, it may look like I know what I'm talking about but I've only been using it a couple of months now and wish I'd had it when I started the Eskimo as on that I can see a bit of PE that has got chipped but I can't get a brush to it to touch it up.
rolltide31
#377
Visit this Community
Texas, United States
Joined: June 27, 2010
KitMaker: 1,481 posts
Model Shipwrights: 1,332 posts
Posted: Saturday, January 24, 2015 - 04:21 AM UTC
Luciana, thanks for the explanation. I need to get some of that. I sometimes have a hard time working with PE cause of the shine. Thanks for the advice

Dave
Littorio
Visit this Community
England - South East, United Kingdom
Joined: September 15, 2004
KitMaker: 4,728 posts
Model Shipwrights: 1,080 posts
Posted: Saturday, January 24, 2015 - 05:24 AM UTC

Quoted Text

Luciana, thanks for the explanation. I need to get some of that. I sometimes have a hard time working with PE cause of the shine. Thanks for the advice

Dave


One last thing try and do all your folding before using the blackening as the act of folding can rub off some of the blackening. I haven't tried it but I would suggest you don't put glue in the agent as it is a chemical so the two mixing may have undesired results.
Oh if you look at my post of the Mk.51 directors you can see what the blackening has done to my knife blade Don't worry as it's only surface and rubs off.
rolltide31
#377
Visit this Community
Texas, United States
Joined: June 27, 2010
KitMaker: 1,481 posts
Model Shipwrights: 1,332 posts
Posted: Saturday, January 24, 2015 - 11:32 PM UTC
Hey all,

So more updates on the USS Dace as promised. I have added the hull ribs separating the torpedo tubes and the torpedo tube hatches. A little more shaping to go for the ribs and then adding the outer torpedo tube doors and I will begin working the conning tower.


Also I finished the two 40mm bofors. The L'Arsenal resin kits are great with detail. I think the Master Model barrels make them complete.


Well that will probably be it for this week. My wife is headed out of town for a week so there will be much dock yard work next week.

@Luciano - thanks for the heads up regarding the glue. I generally use gator grip for all my PE work. I just cant seem to handle the CA that well. Plus the gator grip gives me plenty of work time to place the PE where I want it.

Sorry for the upside down pictures, cant seem to get them to rotate.

As always comments and criticism is always welcome and appreciated.

Dave