So, in looking at where the buntlines belay to (on the mizzenmast top, step 27C), the instructions indicate they belay to some pullies that were (supposed to have been) installed in step 22C. Well, I remember looking at step 22C, and it shows 4 blocks attached to the rings in the mizzen top, and those 4 blocks are magically attached to 4 more blocks, with a flag in the instructions to indicate I should look at step 27C for further instruction. Well, these being those finely thought-out Heler instructions, I decided at the time to just skip utting the blocks in, and I'd belay the buntlines to the rings. Well, now that I'm putting the rigging into place, I decided to go ahead and put the pullies in place, and try to rig the buntlines. as they're supposed to be? Heller's instructions skip over just how all this tuff get put together.
But before putting any blocks in place, I had to fabricate another ring, as the one I previously glued into placed had broken off. So I took a 4 mm metal ring, cut some of it, and formed a ring with the remaineder, then super-glued it to the mizzen top. In attaching the blocks to the rings (blocks p278, p280, p282, and p284) the question comes to mind, how high up from the top should the pullies be? I decided to make their height about even with the mast cap, with the inner blocks belonging to the topgallant buntlines, and the outer blocks belonging to the topsail buntlines. So now, the guess is to determine how far from the yardarm the buntline should fall, before that end wraps around a block (in this case, either p279, p281, p280, or p285). So ow, I have to go back a little bit, and attach blocks to the fore and main tops for the buntlines on the sails on those masts. (For what's it worth, I started getting the blocks prepared tonight. I found that for the fore mast, the distance from the top to the mast cap is 45 mm, and for the main mast, the distance is 55 mm).
I hope all of that made some sense!
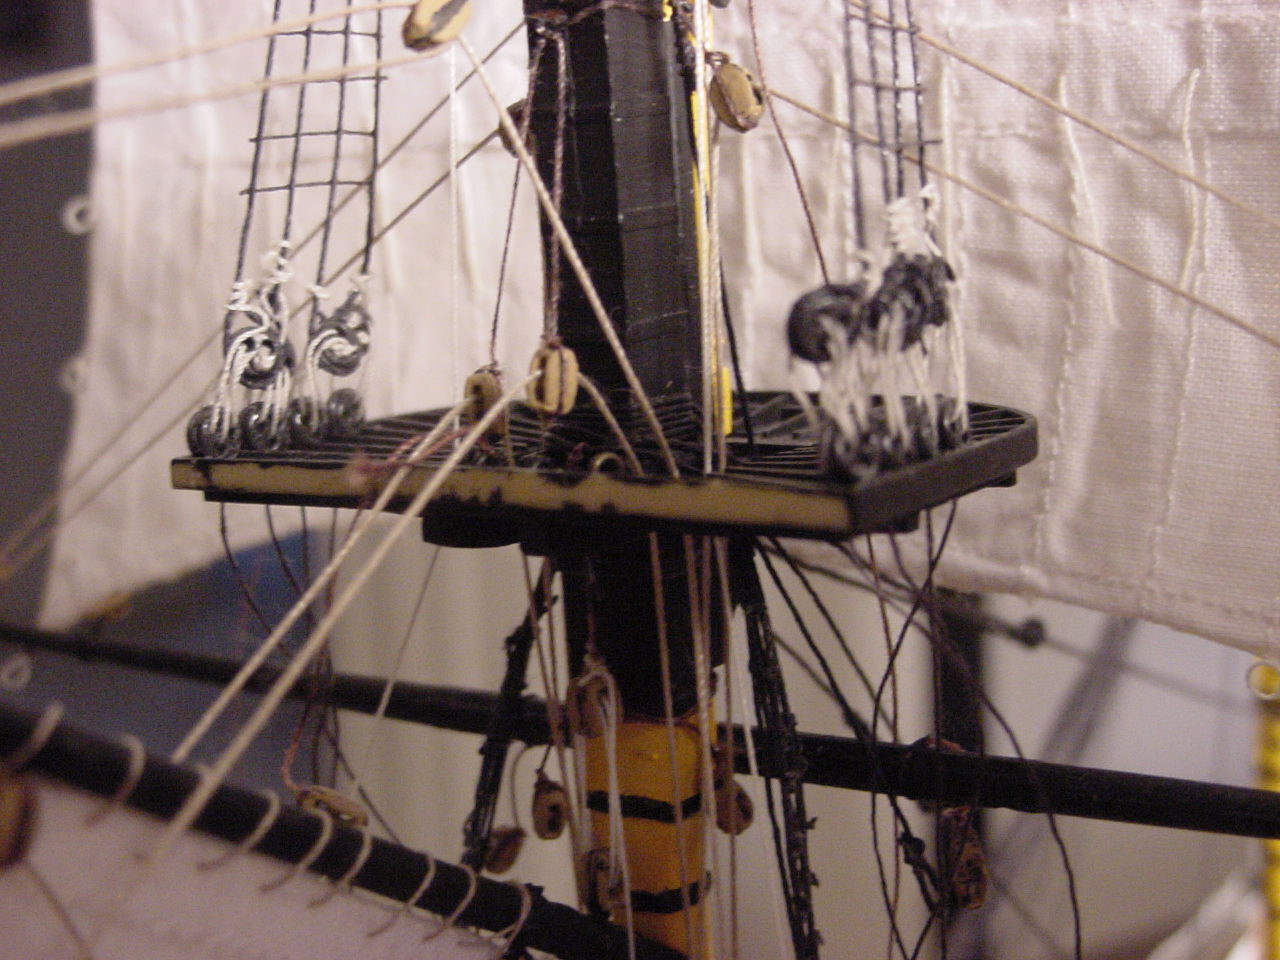
So here is a picture of the metal ring I made. It's slightly larger than the rings that came with the kit, but I don't think anyone's going to notice. The ring is already attached to the top; it's about in the middle of the picture:

" BORDER="0">
This is a picture of the rings, with one block already installed to an inner ring:


" BORDER="0">
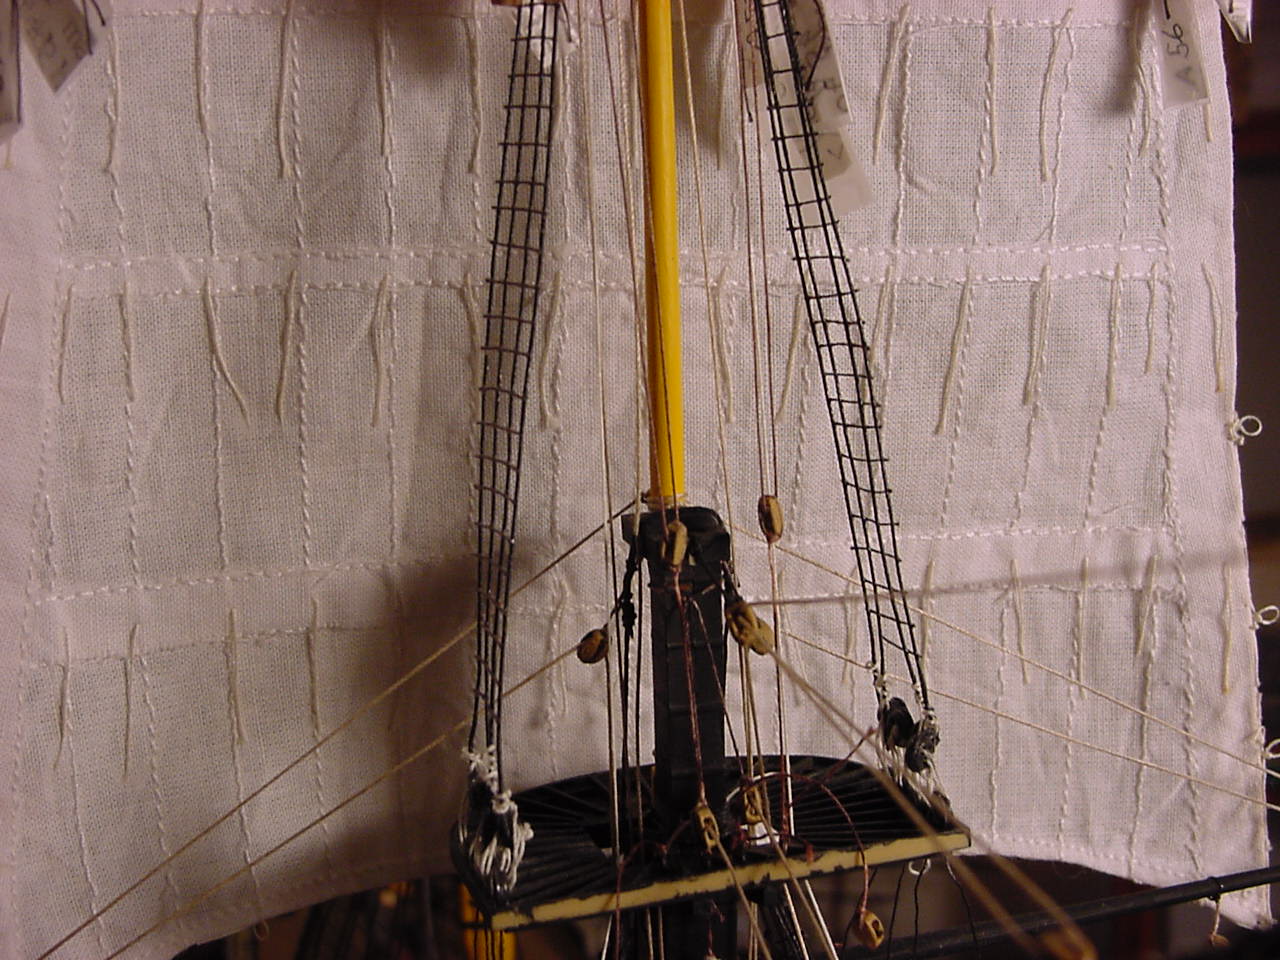
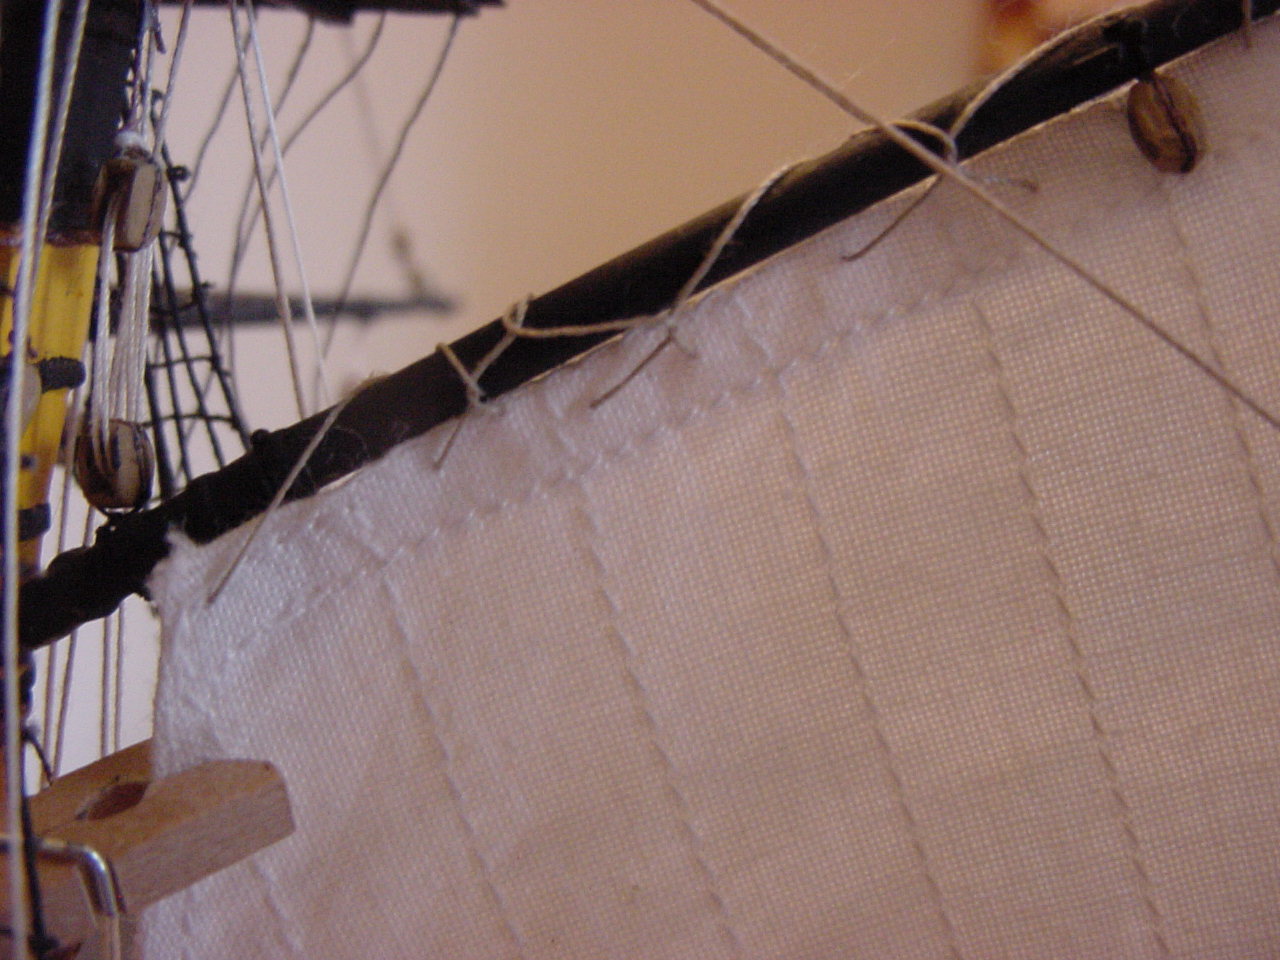
And this last one shows 2 buntlines roved through separate blocks; you'll notice that the blocks are at about the same height as the mast cap.

" BORDER="0">
So that's about it for now. One bright spot: since I haven't really done much rigging on the other 2 masts, installing the blocks on the respective tops should be a little bit easier.
Thanks for taking a look, and I hope everyone has a Happy New Year!!


 " BORDER="0">
  " BORDER="0">


 " BORDER="0">
 " BORDER="0">
  " BORDER="0">
  " BORDER="0">
 " BORDER="0">
  " BORDER="0">
  " BORDER="0">
  " BORDER="0">
 " BORDER="0">


 " BORDER="0">
  " BORDER="0">
  " BORDER="0">
 " BORDER="0">
 " BORDER="0">

 " BORDER="0">
 " BORDER="0">
  " BORDER="0">


