 " BORDER="0">
You are viewing the archived version of the site.
Go to modelshipwrights.com for the current dynamic site!
Go to modelshipwrights.com for the current dynamic site!
General Ship Modeling
Discuss modeling techniques, experiences, and ship modeling in general.
Discuss modeling techniques, experiences, and ship modeling in general.
Hosted by Jim Starkweather
Build blog for Heller's HMS Victory
timmyp

Joined: May 18, 2008
KitMaker: 496 posts
Model Shipwrights: 404 posts

Posted: Thursday, July 02, 2020 - 03:10 AM UTC
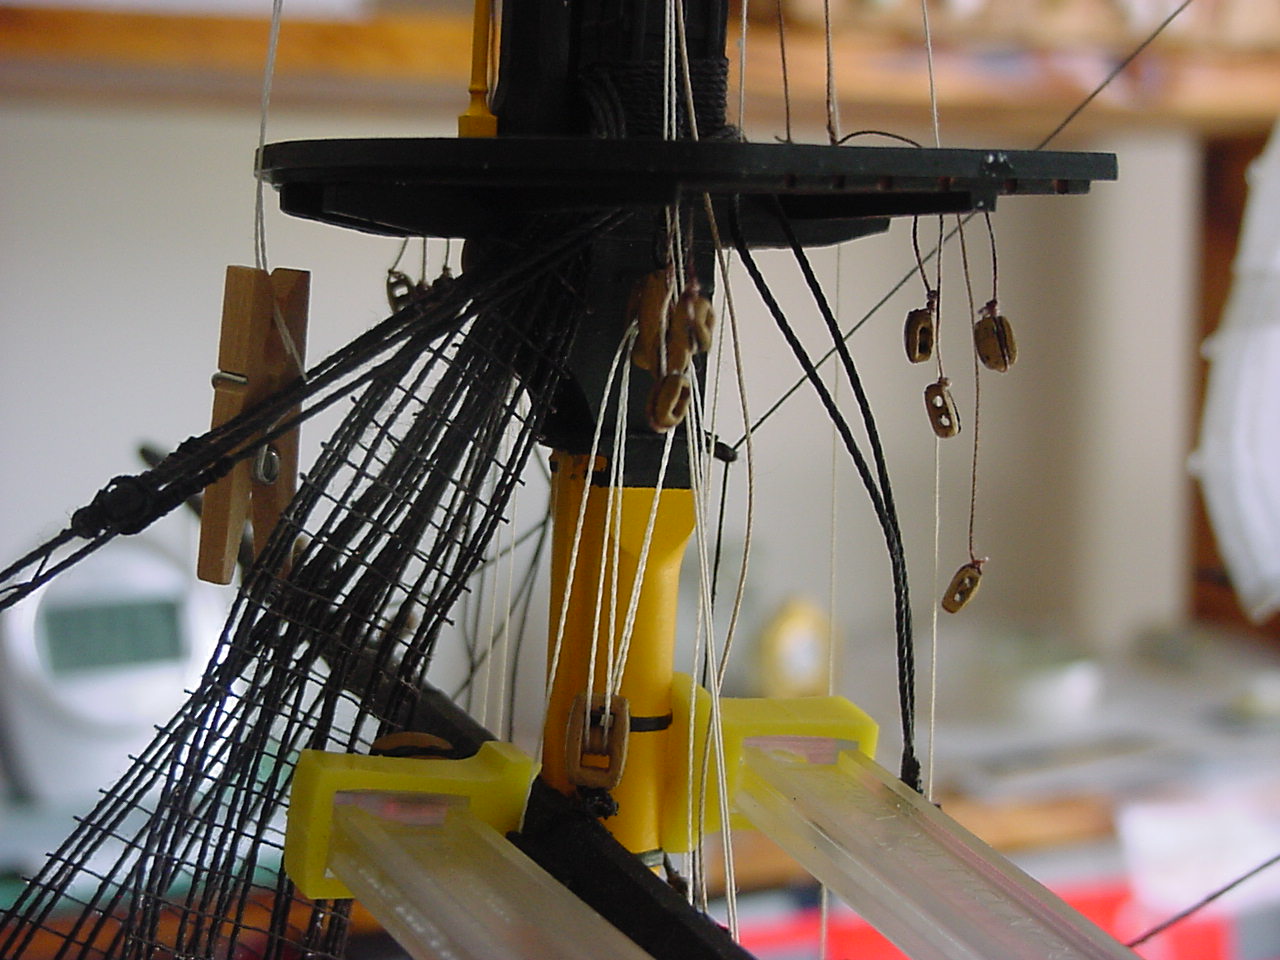
So I did a test fit of the main yard, trying to get a feel for how long the thread should be for the main yard lift. This is rigged differently from most of the other yards on the ship; it's a couple of big blocks that have multiple sheaves on them, so it's very much an industrial-looking set-up. What I discovered, though, is that with the lower block (the one attached to the yard) not being fixed in a definite direction, the rigging got twisted (see the photo). So my cure (which I haven't put into action yet) is put the blocks on the yardarm under some tension (so that they "stand up") and then glue them in place. I hope it works!

 " BORDER="0">
 " BORDER="0">
 Posted: Thursday, July 02, 2020 - 07:16 AM UTC
Sounds like a good plan. Let us know how it came out.
Mark
Mark

timmyp

Joined: May 18, 2008
KitMaker: 496 posts
Model Shipwrights: 404 posts

Posted: Sunday, July 12, 2020 - 04:20 AM UTC
Well, Mark, here's how it looks on the bench. The first picture is how the starboard side block turned out:

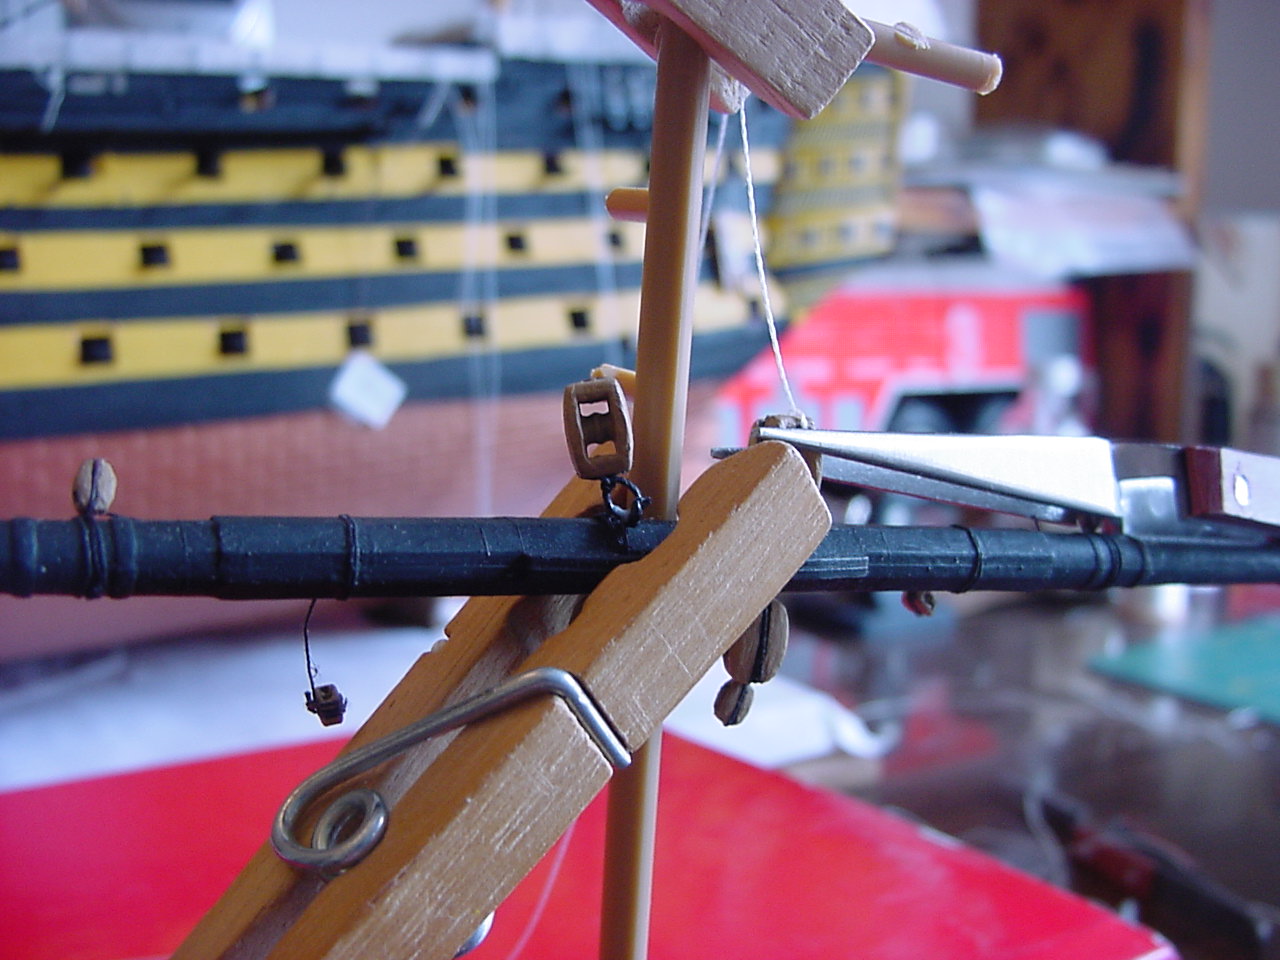 " BORDER="0">
And here's how the port side block was set-up, after I (hopefully) got it glued in to place:

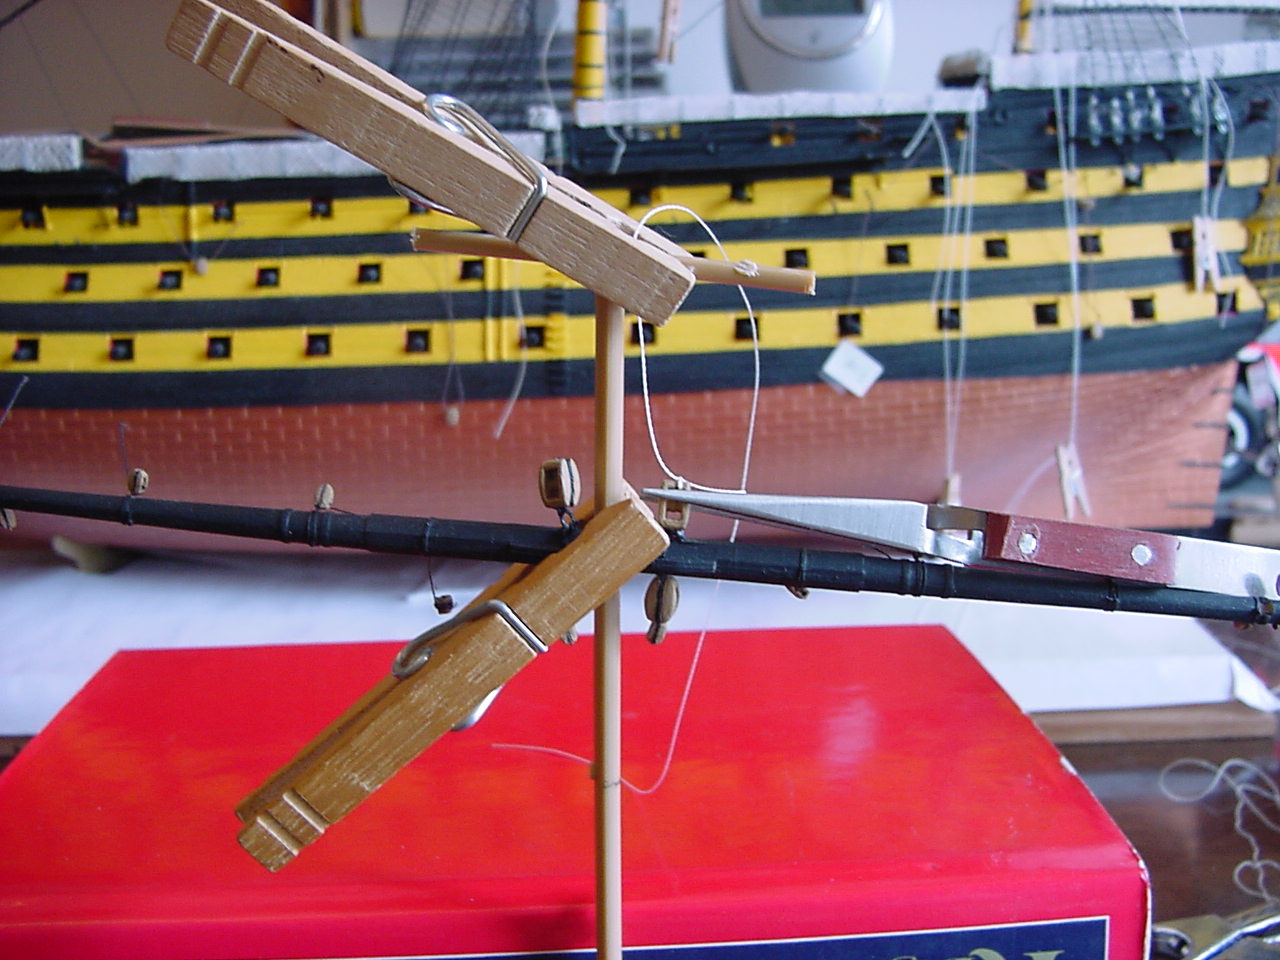 " BORDER="0">
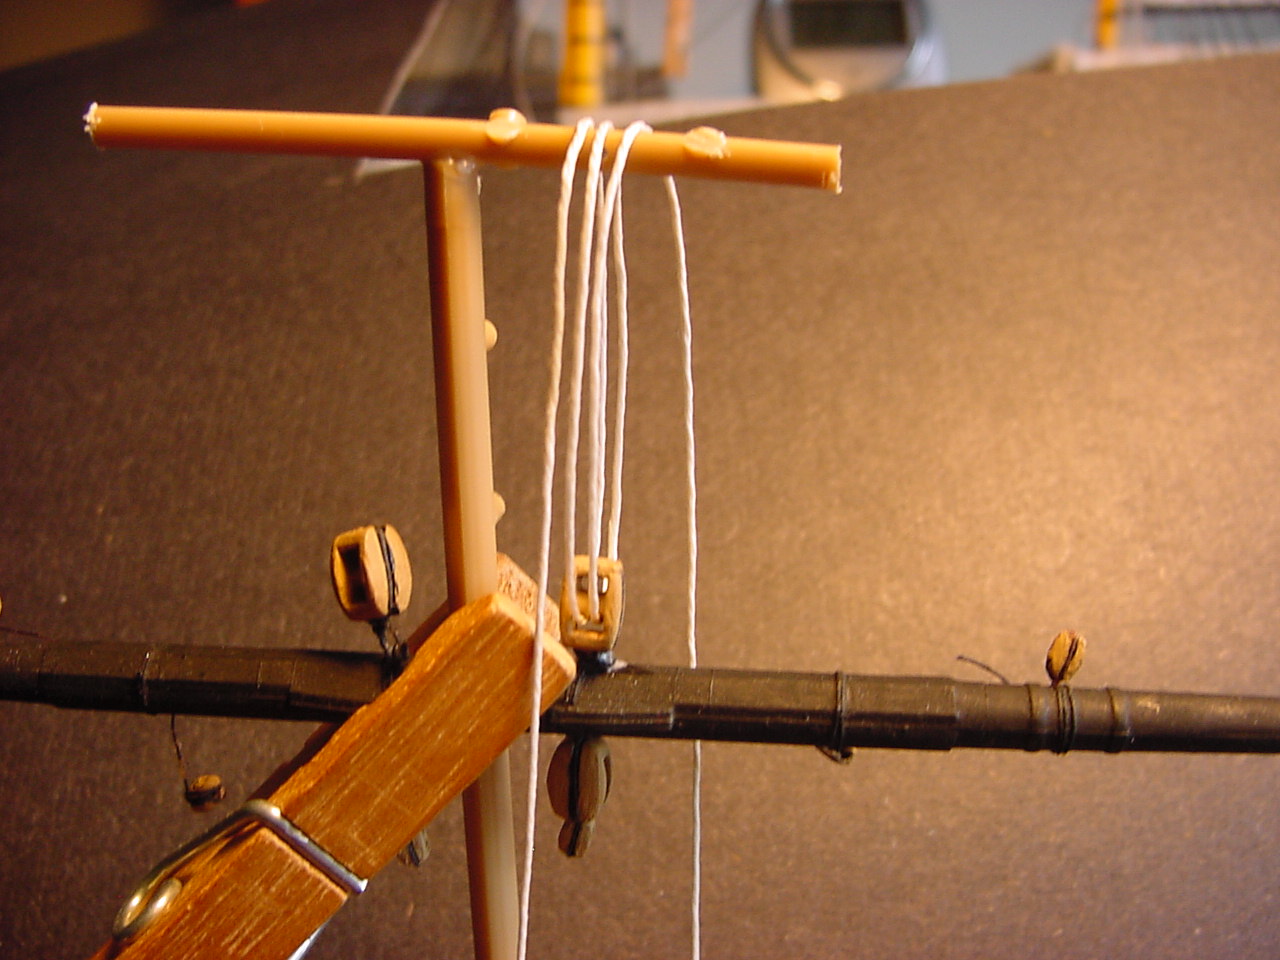
And this is the port side block, with some line rove through it.
The line is 0.5 mm hemp thread; I wanted to use something beefier than just sewing thread for this rigging. But I'm curious: if I soak this hemp thread in water for a while, to try and make it a bit more pliable, would it cause the thread to swell up? Because if it swells up too much, I won't be able to get the thread through the sheave holes. Any ideas? Thanks!
Tim
 " BORDER="0">
 And here's how the port side block was set-up, after I (hopefully) got it glued in to place:
 " BORDER="0">
 And this is the port side block, with some line rove through it.
The line is 0.5 mm hemp thread; I wanted to use something beefier than just sewing thread for this rigging. But I'm curious: if I soak this hemp thread in water for a while, to try and make it a bit more pliable, would it cause the thread to swell up? Because if it swells up too much, I won't be able to get the thread through the sheave holes. Any ideas? Thanks!
Tim
timmyp

Joined: May 18, 2008
KitMaker: 496 posts
Model Shipwrights: 404 posts

Posted: Sunday, July 12, 2020 - 04:22 AM UTC
Duh! Forgot to add the last picture:

 " BORDER="0">
 " BORDER="0">
 Posted: Sunday, July 12, 2020 - 10:40 AM UTC
Timothy,
Looking good. Would be nice to have four hands once in awhile. I know I would could use them at times.
Mark
Looking good. Would be nice to have four hands once in awhile. I know I would could use them at times.
Mark

timmyp

Joined: May 18, 2008
KitMaker: 496 posts
Model Shipwrights: 404 posts

Posted: Sunday, July 12, 2020 - 08:57 PM UTC
Only four hands?? 

Posted: Thursday, July 30, 2020 - 09:40 AM UTC
Hi Tim,
to me it clearly appears you would have more than four hands... And don't ask my for advise on your threads, I'm just watching with awe and following how you work and fight through all this. Great to see progress and that you are, step by step, getting there!
Cheers
Jan
to me it clearly appears you would have more than four hands... And don't ask my for advise on your threads, I'm just watching with awe and following how you work and fight through all this. Great to see progress and that you are, step by step, getting there!
Cheers
Jan
timmyp

Joined: May 18, 2008
KitMaker: 496 posts
Model Shipwrights: 404 posts

Posted: Monday, August 03, 2020 - 02:00 PM UTC
Quoted Text
Hi Tim,
to me it clearly appears you would have more than four hands... And don't ask my for advise on your threads, I'm just watching with awe and following how you work and fight through all this. Great to see progress and that you are, step by step, getting there!
Cheers
Jan
Hi Jan,
Hope all is well with you.
WRT hands, maybe I can enlist one of the Indian gods - you know, one with 20 arms - to help out!
I abandoned the use of the hemp string I bought. I did put a small length of the stuff in some water for an hour or two, and it made it quite pliable. But when it dried, it seemed to have a stiffness that I wasn't happy with. So I used some thread that I had in my spares/leftovers box for rigging the main yard lift. I think I'll use that hemp string for the sheet lines on the main and fore sails.
The biggest "fighting" I do now, is to avoid knocking something off the ship, when trying to add some rigging!
My next post, in a day or two, will be some photos of the main yard lift & stuff. Stay tuned!
Tim

timmyp

Joined: May 18, 2008
KitMaker: 496 posts
Model Shipwrights: 404 posts

Posted: Tuesday, August 11, 2020 - 11:48 AM UTC
Well, it's been longer than a day or two, but I'm finally ready to post! I guess I'll start with a pic of the main yard glued in place:

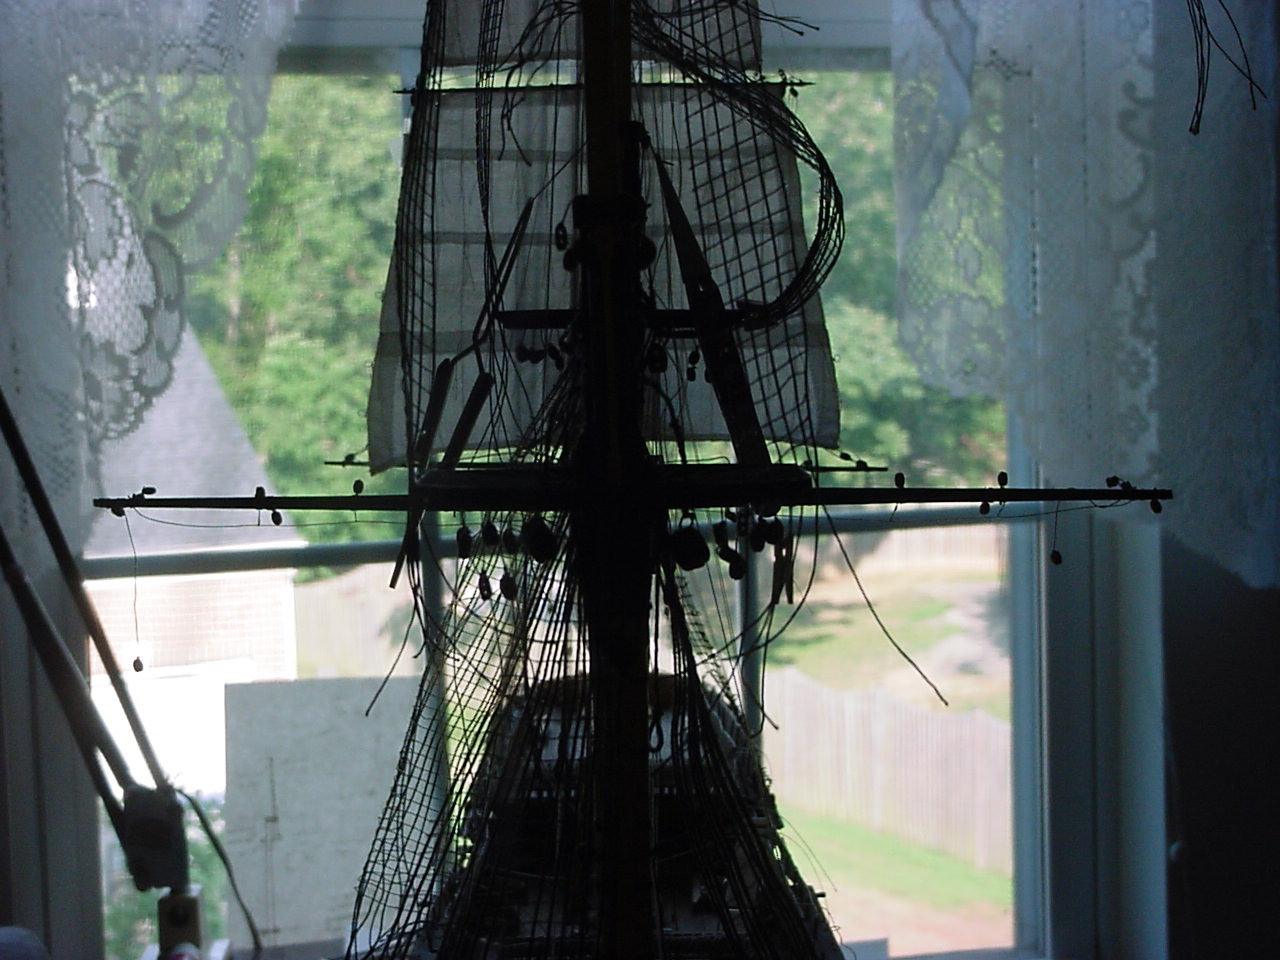 " BORDER="0">
So getting the main yard in place, led me to do the rigging for the main yard lifts:

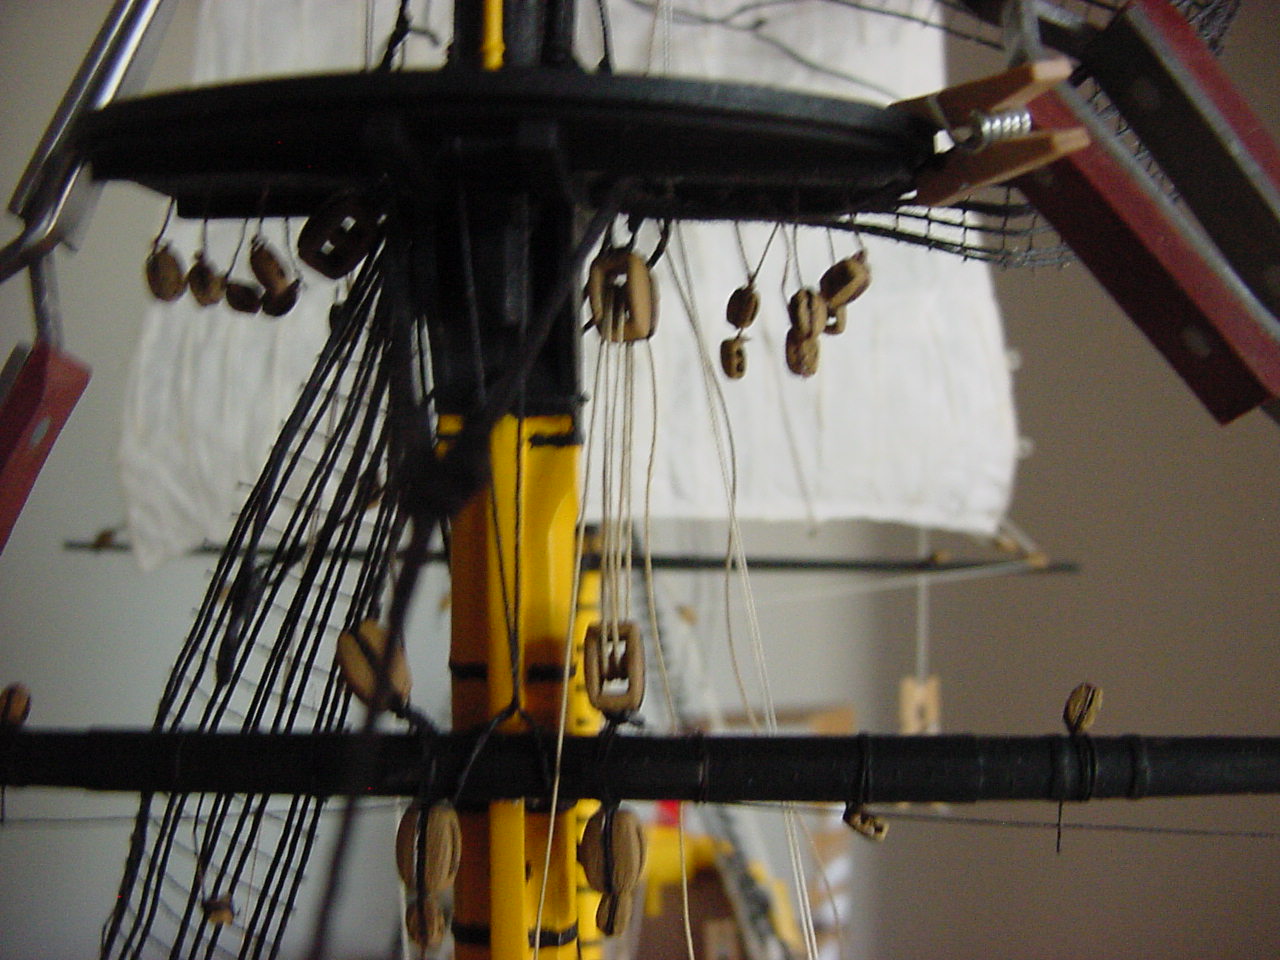 " BORDER="0">

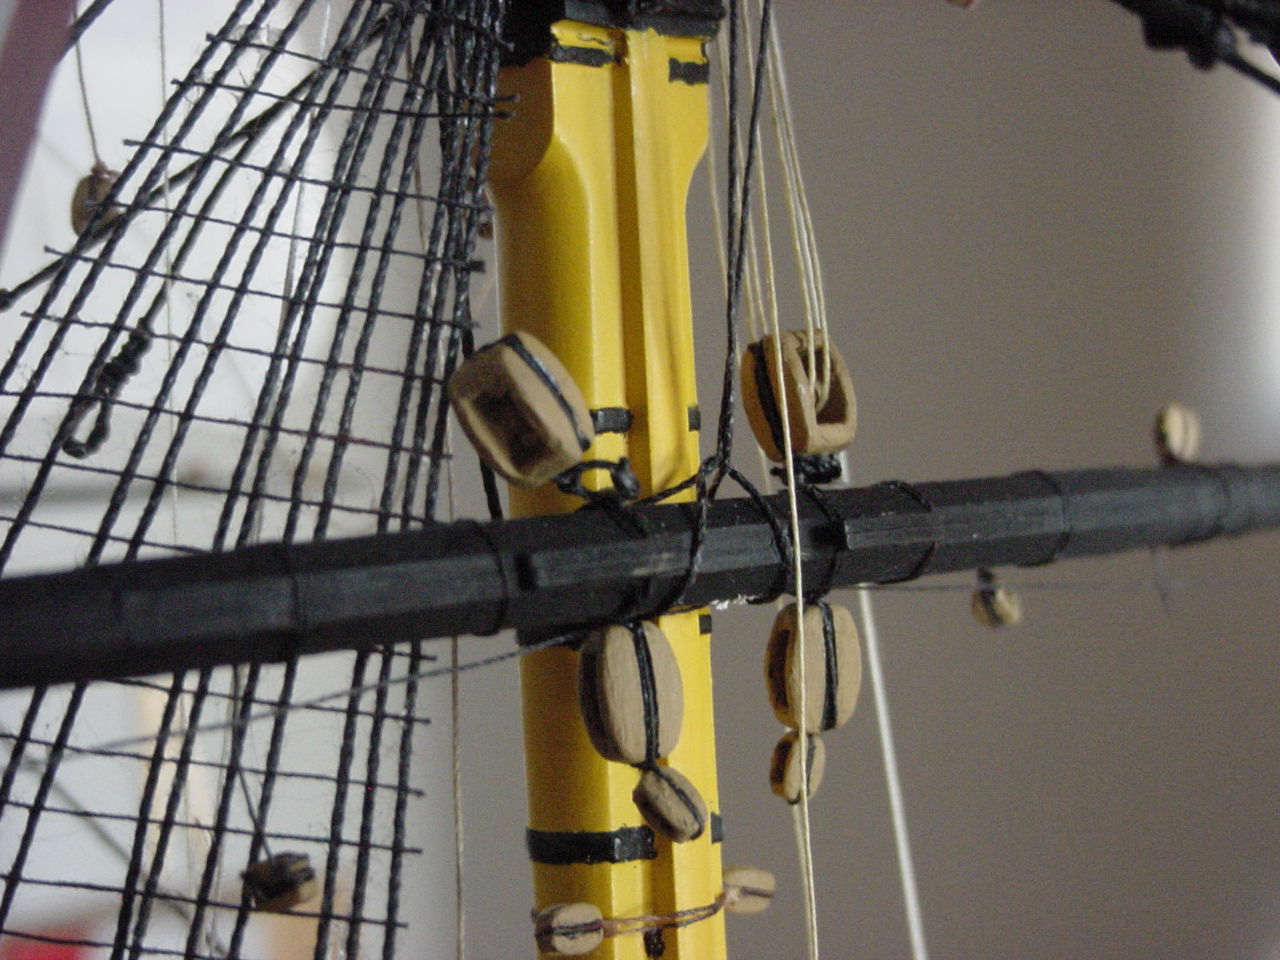 " BORDER="0">

 " BORDER="0">

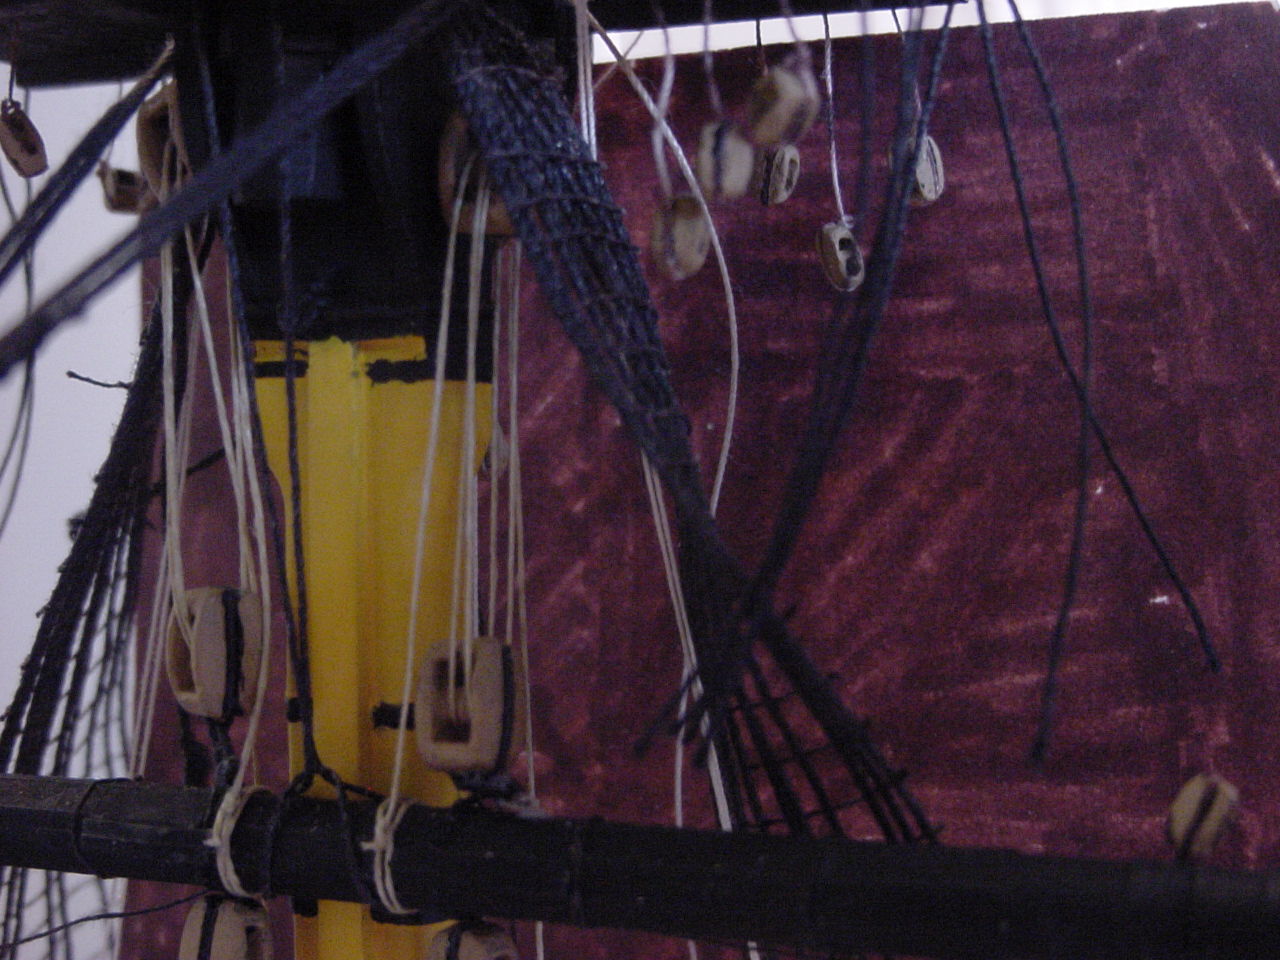 " BORDER="0">
In the previous photos, you might have noticed a black thread going around the main yard, right about at its center. This is a sling that the main and fore yards get. In Heller's instructions, it says to use 0.6mm thread (but then, just about every thread that starts with an "E" is supposed to be 0.6 mm). So I used some 0.53 mm thread I have, but it absolutely looks too thin for its purpose. I found a reference that said to use 1.3mm thread (plenty beefy!), but cheapskate that I am, I'm not going to run out to the store and start looking for some 1.3 mm thread - I'll just yank the current thread out, and trying using my 0.75 mm thread to make it look a bit better. Here's a couple of pics of the sling. One thing to note, is that the sling goes through the small square opening in the top; when I first test-fitted the thread, I had pulled each side up through the larger openings on the side of top:

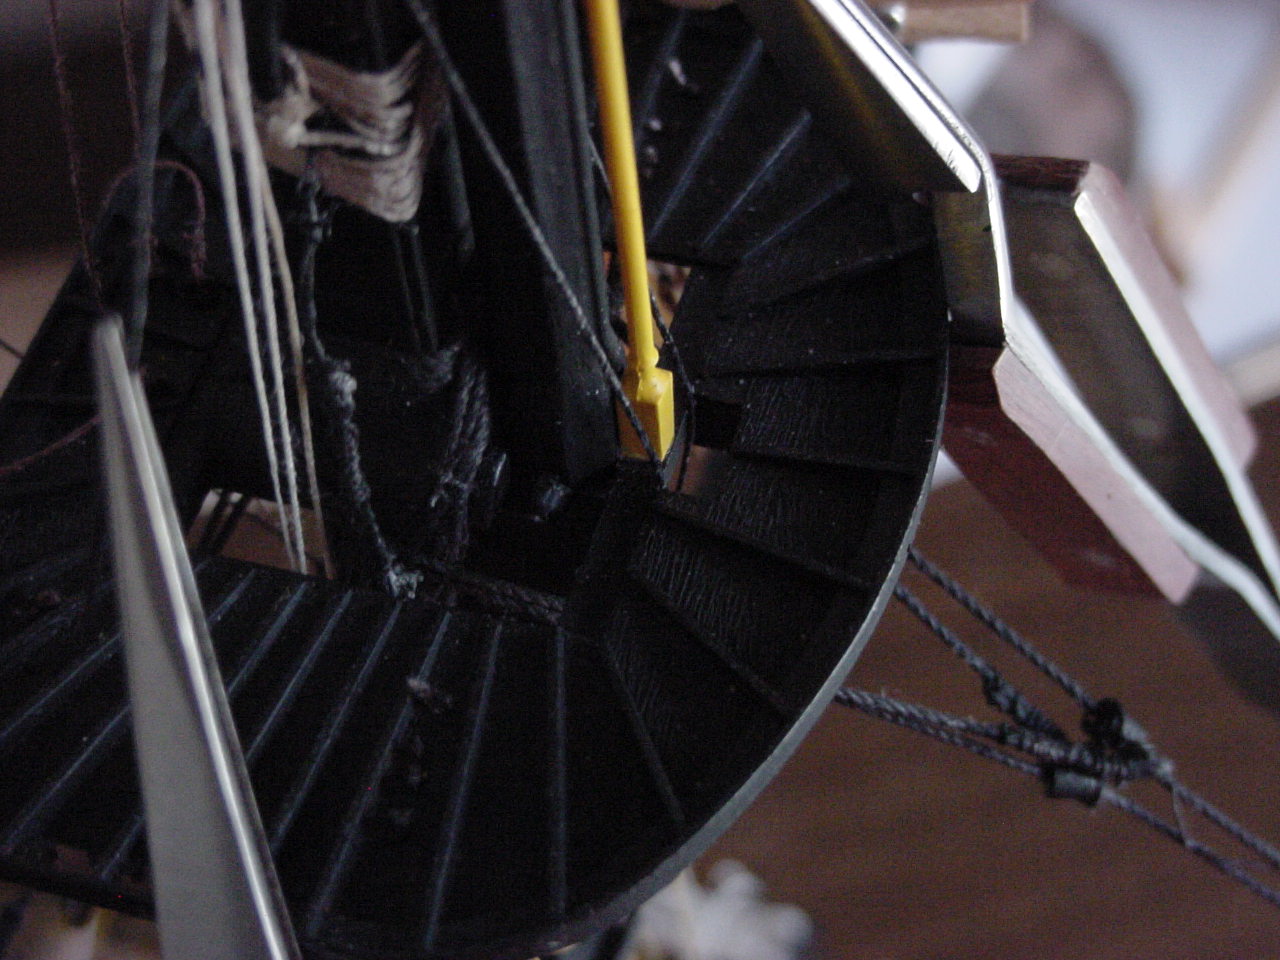 " BORDER="0">
This is the sling, going over the top of the mastcap:

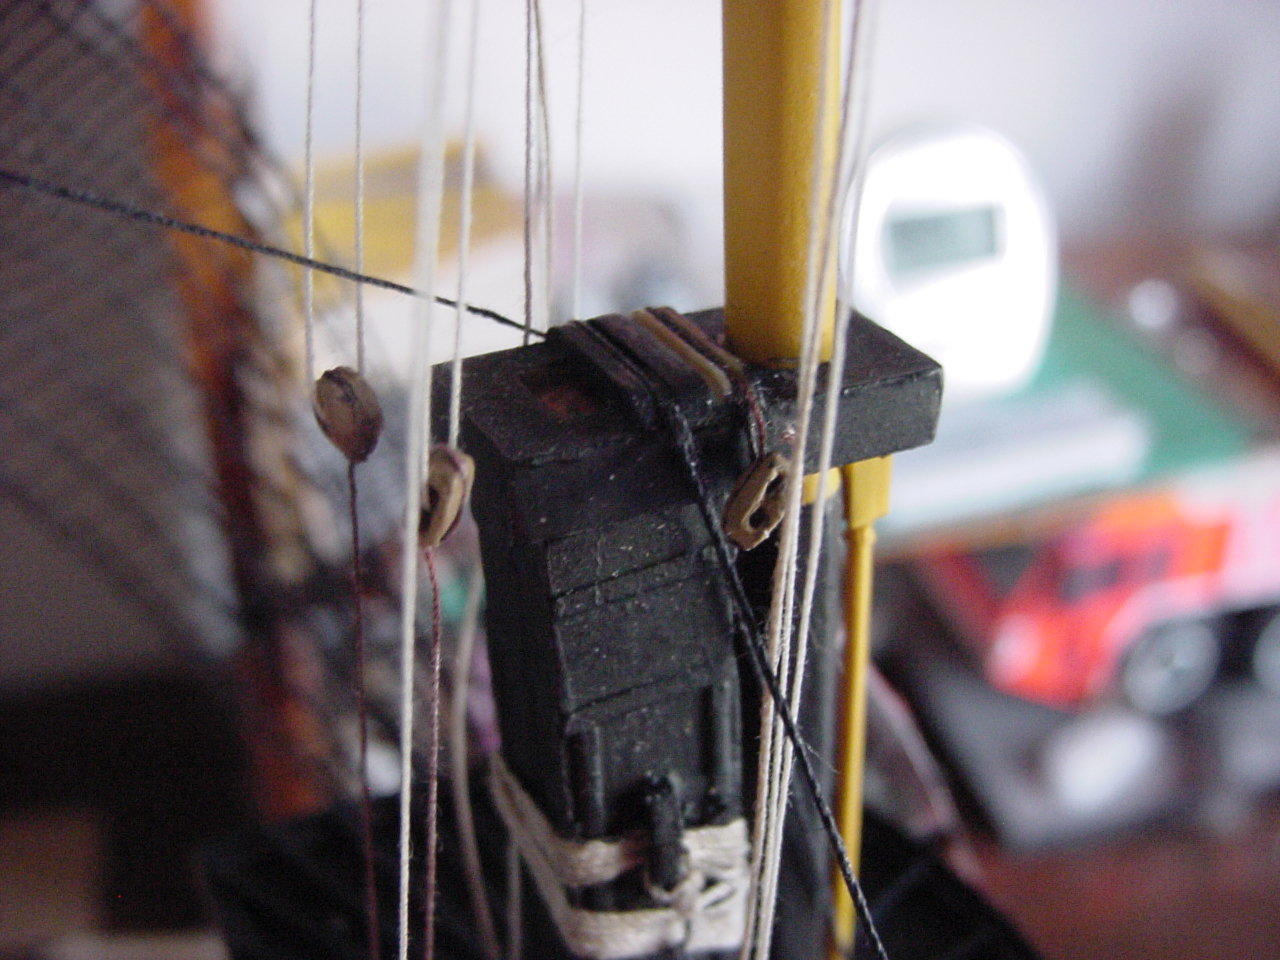 " BORDER="0">
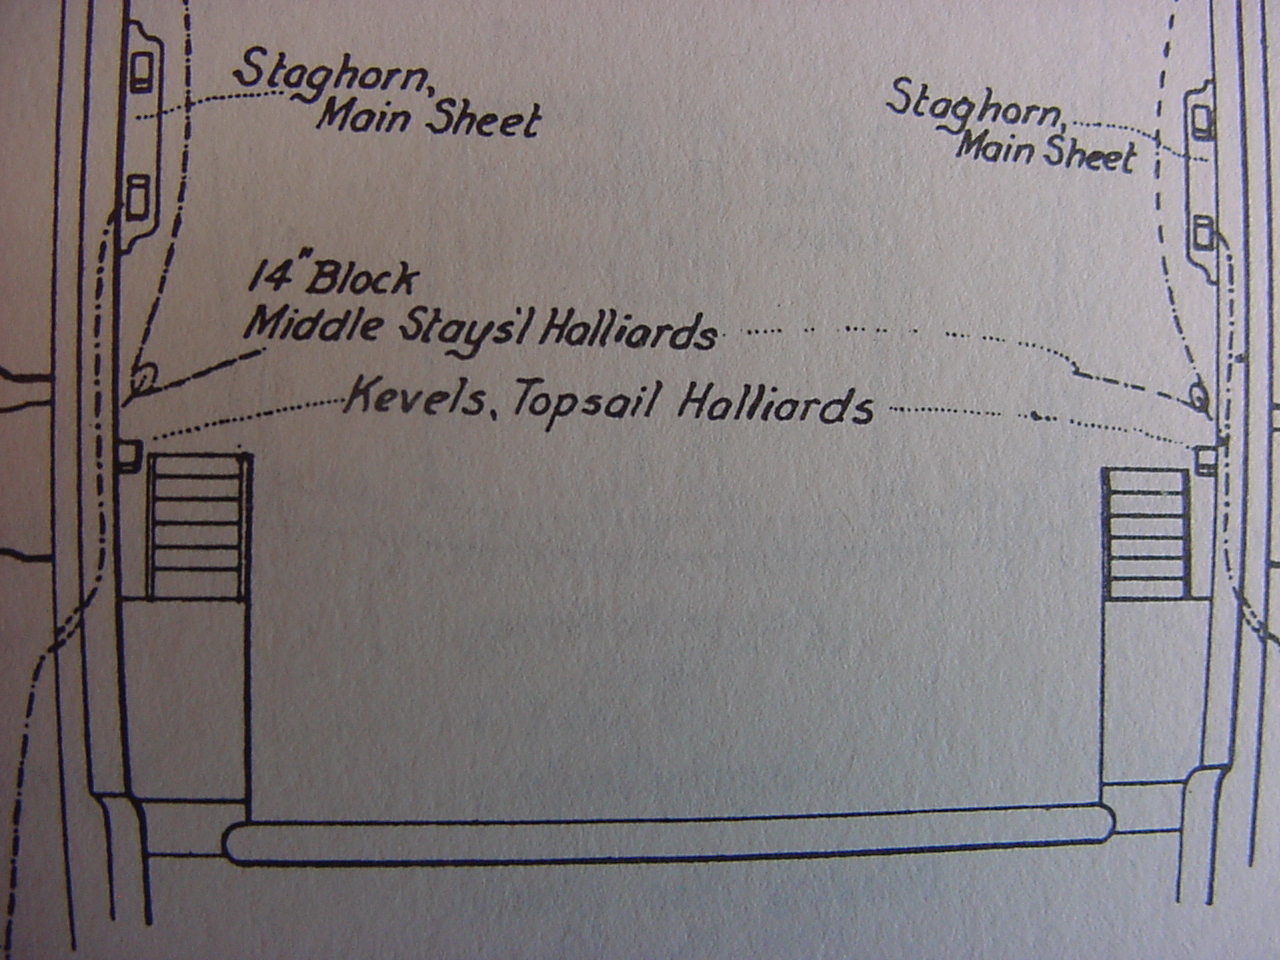
One reason I put the main yard in now, and especially before installing the main top sail, was just so I would have some space to manipulate the lift blocks and such. So with the main yard in place, I went back and installed the topgallant sheet lines. Now, in Heller's instructions, it shows the sheet lines being attached to a "kevel" towards the rear of the mast. In looking at this, I got to wondering if the sheet line went through the main top, then to its belay point, or did it go outside the main top, and then to its belay. Well, in checking Longridge's book, it shows the sheet line belaying to the first pine on the fife rail against the hull; it further shows that the kevels are used for some different lines.

 " BORDER="0">

 " BORDER="0">
I thought this over the past week, as to where to belay that sheet line. In the end, I decided to go with what Heller has, as I'm pretty much building this out of the box.
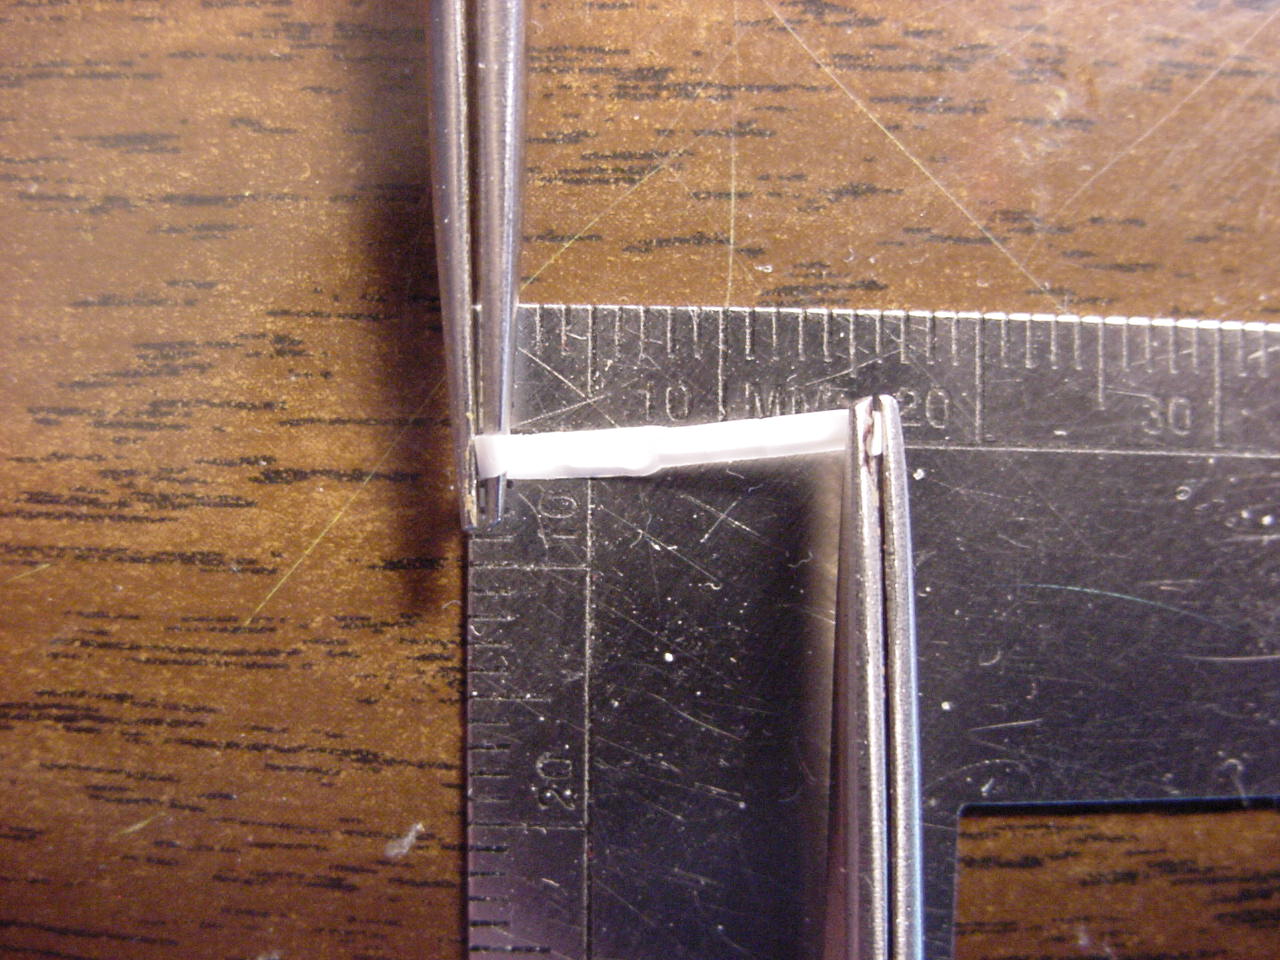
There's also a problem with main mast, in that it never did seat correctly against the hull. So now, I have a main mast that rotates! I got to thinking about what I could use to slide between the mast and the hole in the deck to secure the mast; I came up with the idea of planing some thin strips of styrene off of one of the sprues. In the next picture, these are the strips as they came off the plane; the second picture shows one of the strips uncurled and pulled out straight:

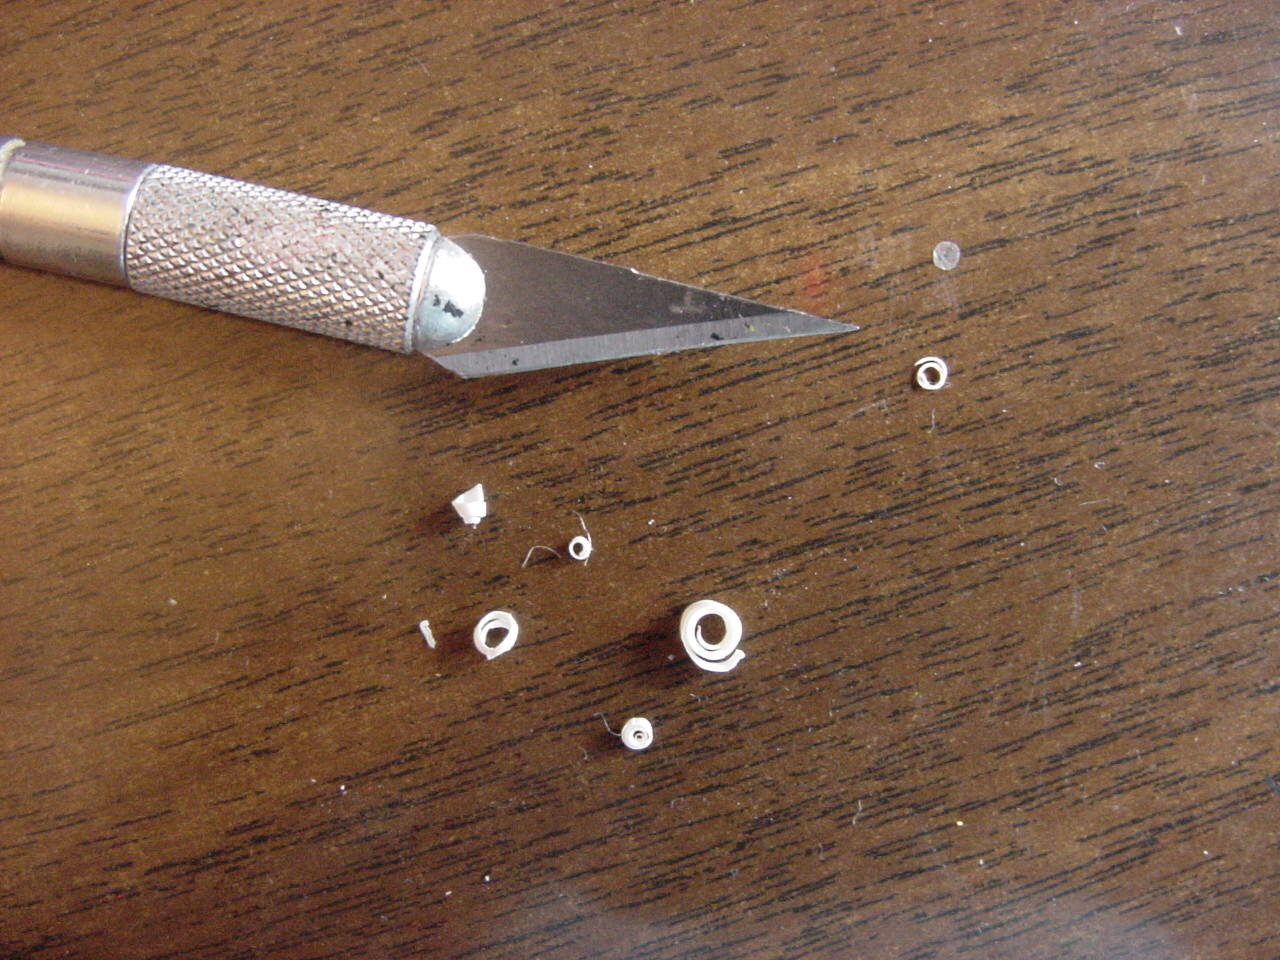 " BORDER="0">

 " BORDER="0">
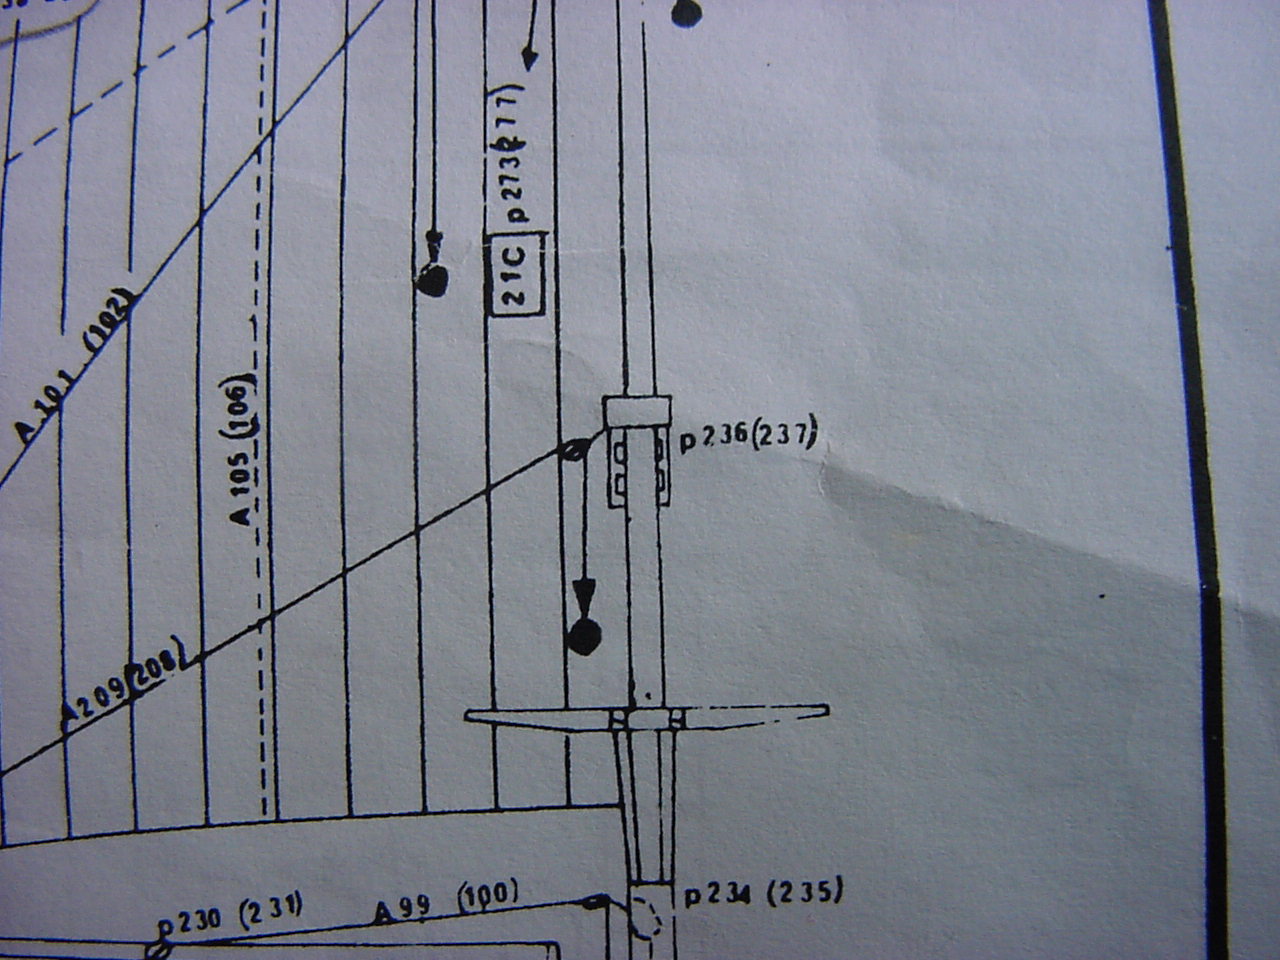
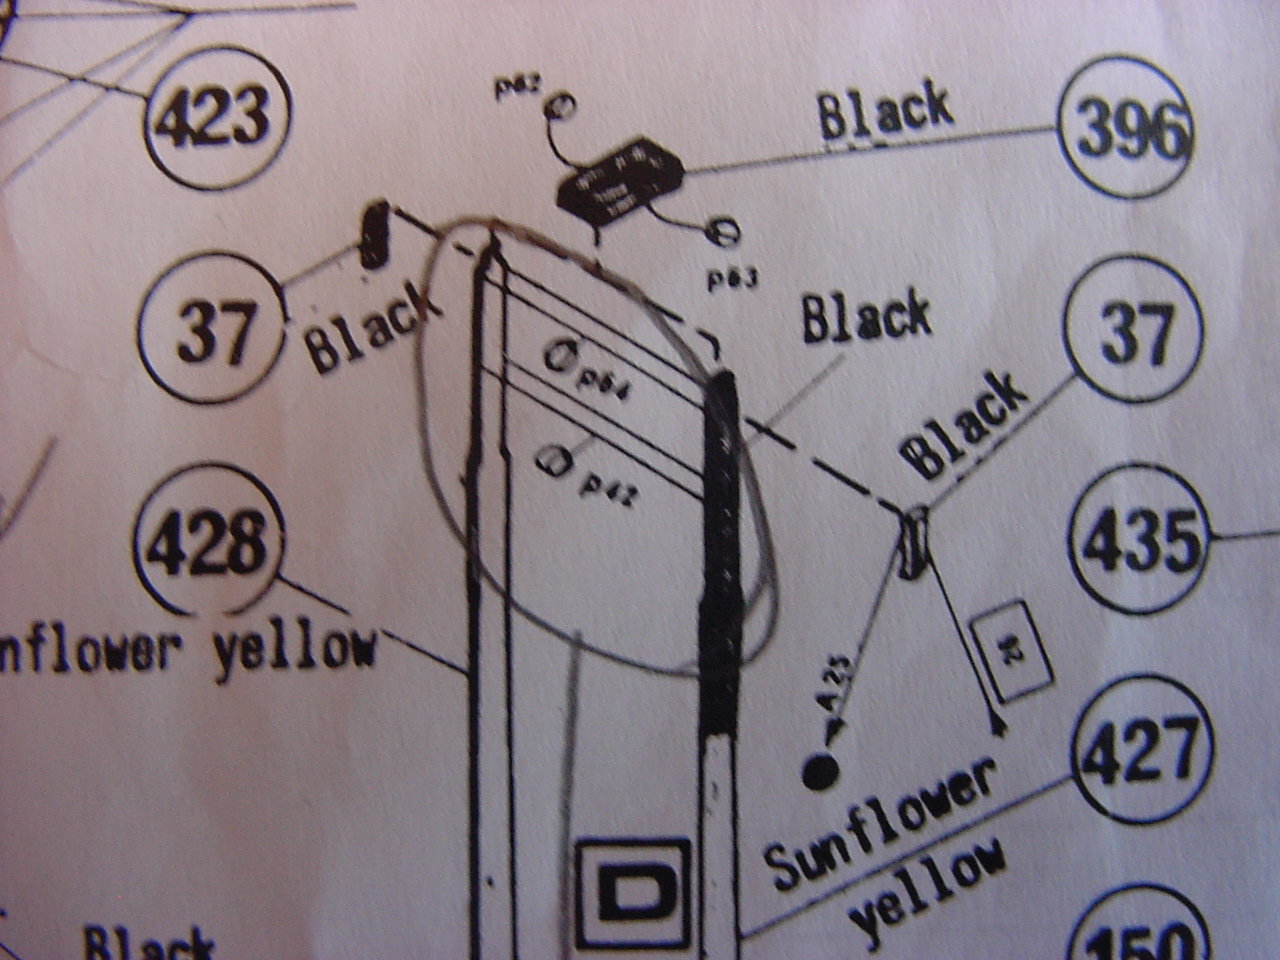
Here's a construction tip: in the assembly of the fore and main masts, it shows in the instructions that part 37 goes at the very upper end of the middle segment of the mast. However, if you install parts 37 at that point, you won't be able to fit the trestletree over them (at least, I don't think you will). So the tip here is, put the mast together, and glue those parts 37 into place as one of the last things you do on the mast.

 " BORDER="0">

 " BORDER="0">
For what it's worth, those parts 37 are incorrectly placed on the mainmast, but correctly placed on the foremast.
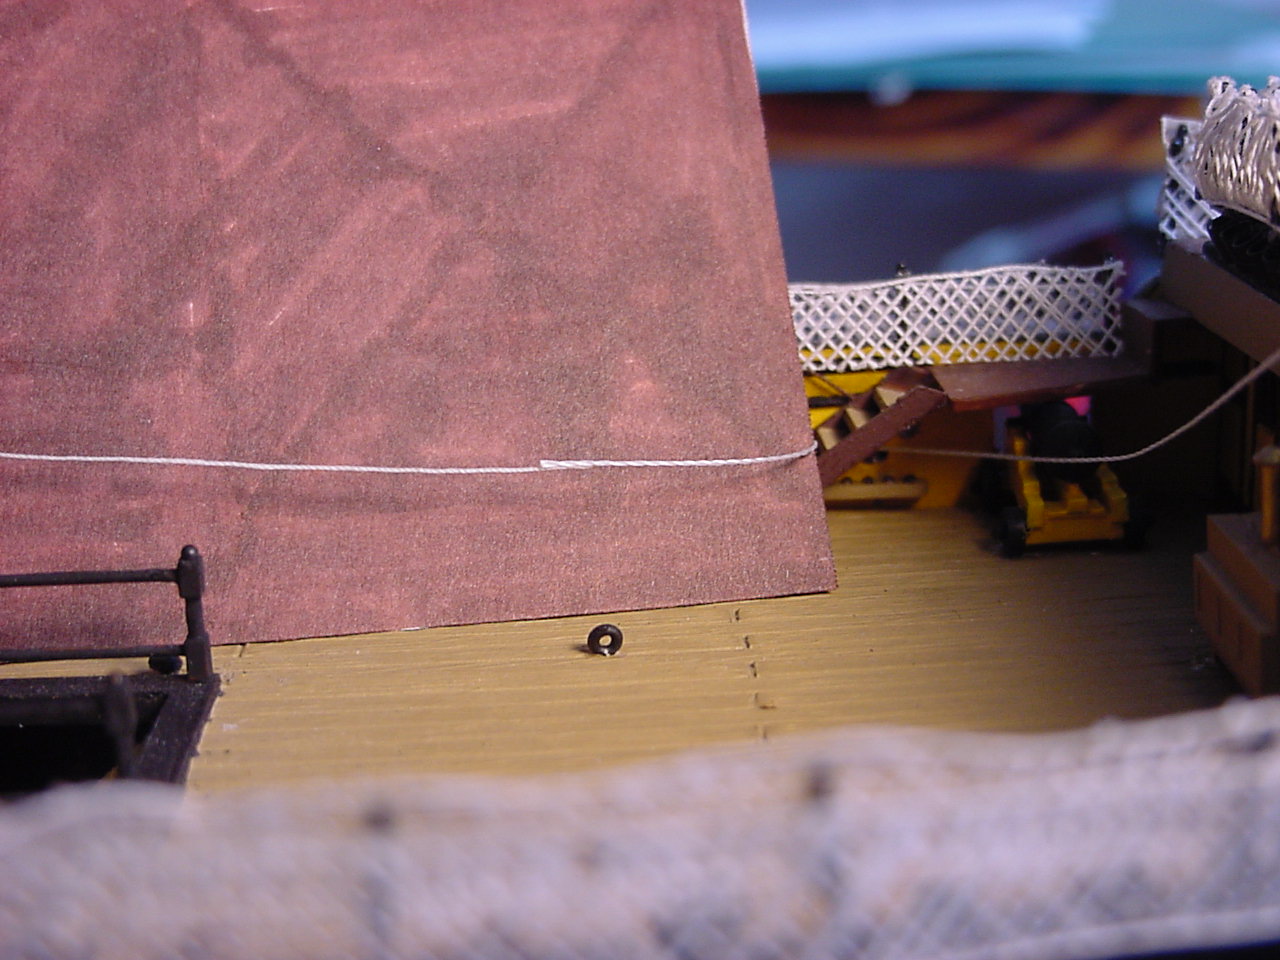
And lastly, how the topgallant sheet lines got installed. I previously had put a "helper" thread through the kevel, knowing that if I didn't, I'd have the hardest of times trying to push the actual sheetline through there. So here's a pic of sheet line & helper thread glue together (the sheetline is on the left, the help to the right).

 " BORDER="0">
Surprisingly, once I started to get the sheetline in place and everything, the first one I did (port side) was a big harder to do than the starboard side. So here's some pix of the sheetlines installed. The only problem is, with those sheetlines in the direction that they are, it's going to be tougher to install further rigging.

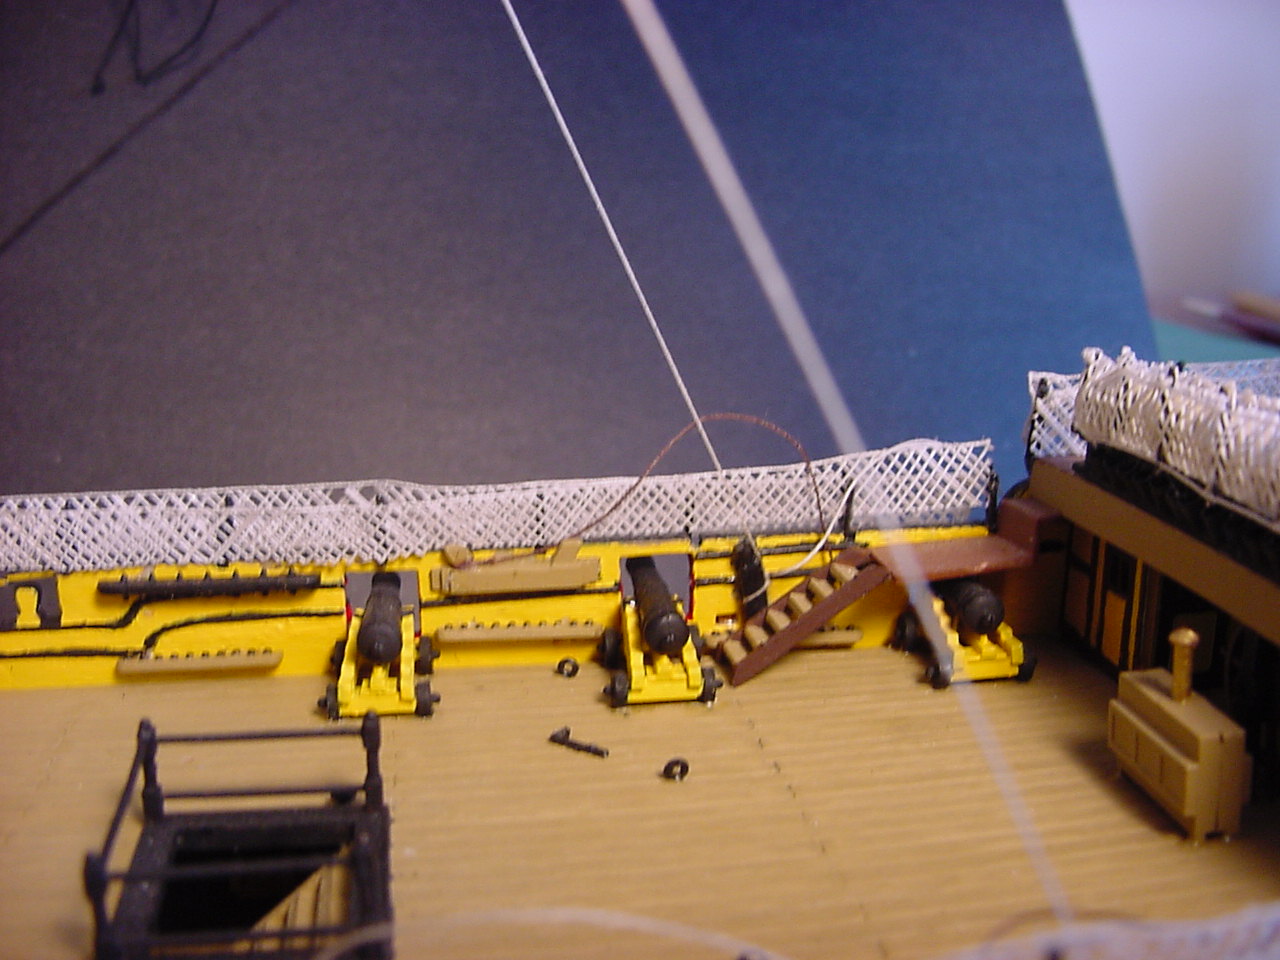 " BORDER="0">

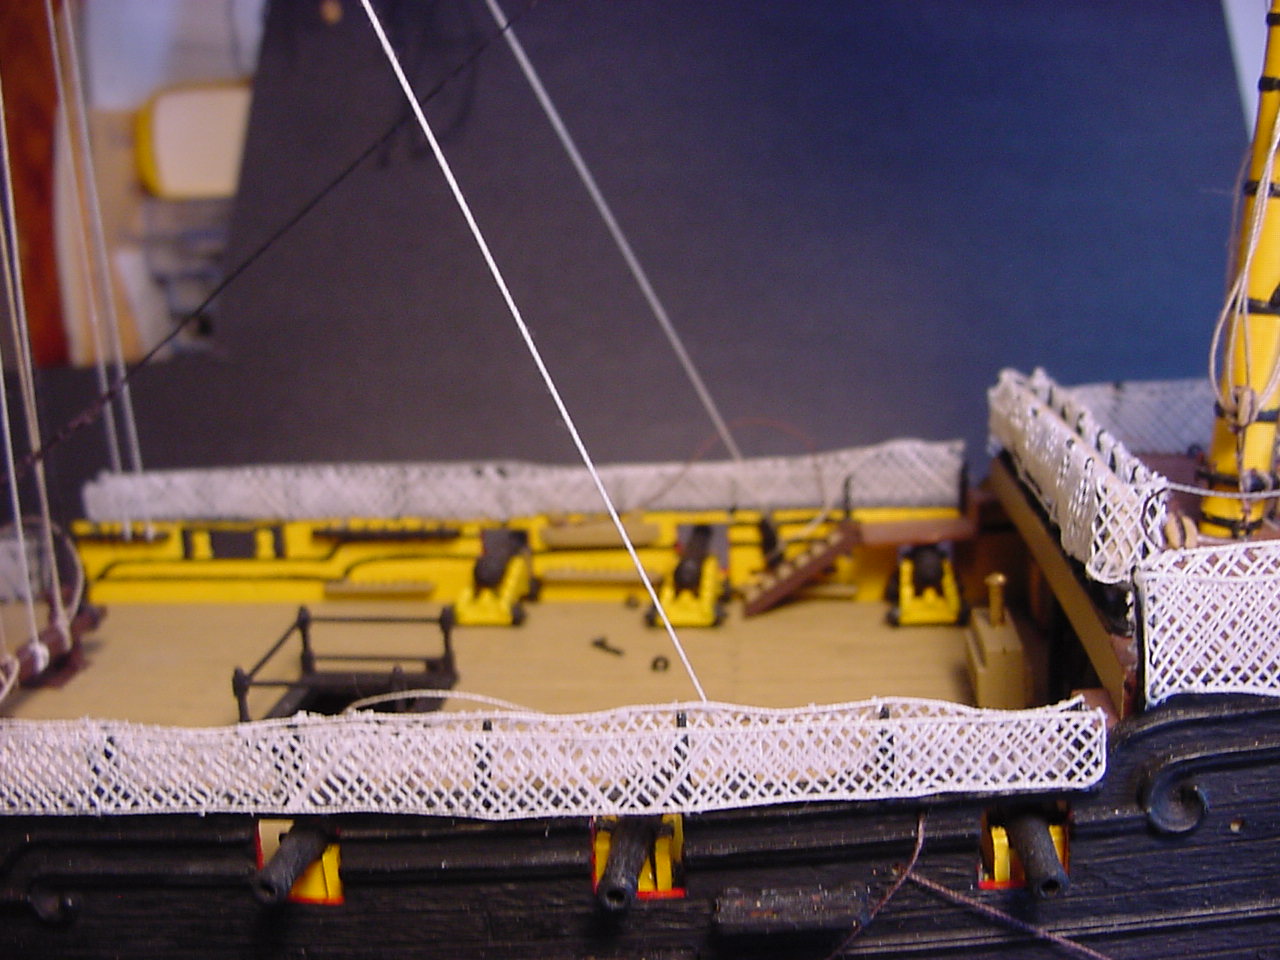 " BORDER="0">
So now, I guess I can install the main top sail, rig it, and then install the foretopgallant sail and foretop sail. I think, right now, I'm going to leave the fore and main sails for later.
Thanks again to all for taking a look, and I hope everyone is healthy!
Tim
 " BORDER="0">
 So getting the main yard in place, led me to do the rigging for the main yard lifts:
 " BORDER="0">
  " BORDER="0">
  " BORDER="0">
  " BORDER="0">
 In the previous photos, you might have noticed a black thread going around the main yard, right about at its center. This is a sling that the main and fore yards get. In Heller's instructions, it says to use 0.6mm thread (but then, just about every thread that starts with an "E" is supposed to be 0.6 mm). So I used some 0.53 mm thread I have, but it absolutely looks too thin for its purpose. I found a reference that said to use 1.3mm thread (plenty beefy!), but cheapskate that I am, I'm not going to run out to the store and start looking for some 1.3 mm thread - I'll just yank the current thread out, and trying using my 0.75 mm thread to make it look a bit better. Here's a couple of pics of the sling. One thing to note, is that the sling goes through the small square opening in the top; when I first test-fitted the thread, I had pulled each side up through the larger openings on the side of top:
 " BORDER="0">
This is the sling, going over the top of the mastcap:
 " BORDER="0">
 One reason I put the main yard in now, and especially before installing the main top sail, was just so I would have some space to manipulate the lift blocks and such. So with the main yard in place, I went back and installed the topgallant sheet lines. Now, in Heller's instructions, it shows the sheet lines being attached to a "kevel" towards the rear of the mast. In looking at this, I got to wondering if the sheet line went through the main top, then to its belay point, or did it go outside the main top, and then to its belay. Well, in checking Longridge's book, it shows the sheet line belaying to the first pine on the fife rail against the hull; it further shows that the kevels are used for some different lines.
 " BORDER="0">
  " BORDER="0">
 I thought this over the past week, as to where to belay that sheet line. In the end, I decided to go with what Heller has, as I'm pretty much building this out of the box.
There's also a problem with main mast, in that it never did seat correctly against the hull. So now, I have a main mast that rotates! I got to thinking about what I could use to slide between the mast and the hole in the deck to secure the mast; I came up with the idea of planing some thin strips of styrene off of one of the sprues. In the next picture, these are the strips as they came off the plane; the second picture shows one of the strips uncurled and pulled out straight:
 " BORDER="0">
  " BORDER="0">
 Here's a construction tip: in the assembly of the fore and main masts, it shows in the instructions that part 37 goes at the very upper end of the middle segment of the mast. However, if you install parts 37 at that point, you won't be able to fit the trestletree over them (at least, I don't think you will). So the tip here is, put the mast together, and glue those parts 37 into place as one of the last things you do on the mast.
 " BORDER="0">
  " BORDER="0">
 For what it's worth, those parts 37 are incorrectly placed on the mainmast, but correctly placed on the foremast.
And lastly, how the topgallant sheet lines got installed. I previously had put a "helper" thread through the kevel, knowing that if I didn't, I'd have the hardest of times trying to push the actual sheetline through there. So here's a pic of sheet line & helper thread glue together (the sheetline is on the left, the help to the right).
 " BORDER="0">
 Surprisingly, once I started to get the sheetline in place and everything, the first one I did (port side) was a big harder to do than the starboard side. So here's some pix of the sheetlines installed. The only problem is, with those sheetlines in the direction that they are, it's going to be tougher to install further rigging.
 " BORDER="0">
  " BORDER="0">
 So now, I guess I can install the main top sail, rig it, and then install the foretopgallant sail and foretop sail. I think, right now, I'm going to leave the fore and main sails for later.
Thanks again to all for taking a look, and I hope everyone is healthy!
Tim
Posted: Tuesday, August 11, 2020 - 11:20 PM UTC
Timothy,
You don't want any masts turning on you while installing all that rigging, it could really screw up the works.
Nice progress. Is that ratline suppose to be twisted I see in one of the photos?
Mark
You don't want any masts turning on you while installing all that rigging, it could really screw up the works.
Nice progress. Is that ratline suppose to be twisted I see in one of the photos?
Mark

timmyp

Joined: May 18, 2008
KitMaker: 496 posts
Model Shipwrights: 404 posts

Posted: Wednesday, August 12, 2020 - 05:56 AM UTC
Quoted Text
Timothy,
You don't want any masts turning on you while installing all that rigging, it could really screw up the works.
Absolutely!
Quoted Text
Nice progress. Is that ratline suppose to be twisted I see in one of the photos?
Mark
Thanks, Mark. No, that ratline shouldn't be so twisted; currently I don't have any of the ratlines secured on either the fore or main masts; the twist you see, I'm hoping it will get straightened out a bit once I secure the ratlines.
Thanks for looking in!
Tim
TimReynaga

Joined: May 03, 2006
KitMaker: 2,500 posts
Model Shipwrights: 1,830 posts

Posted: Thursday, August 13, 2020 - 04:05 AM UTC
Timmy, that is some intricate, beautiful work. As always, I stand in awe of someone willing and able to take on a complex project such as this. Keep up the good work!
timmyp

Joined: May 18, 2008
KitMaker: 496 posts
Model Shipwrights: 404 posts

Posted: Friday, August 14, 2020 - 01:06 AM UTC
Quoted Text
Timmy, that is some intricate, beautiful work. As always, I stand in awe of someone willing and able to take on a complex project such as this. Keep up the good work!
Thanks, Mr. Reynaga! I find that the more complex a thing is, the more enthused I am.
Currently, I'm hesitant to do any work on her, as I'm deathly afraid of knocking something off of her!

timmyp

Joined: May 18, 2008
KitMaker: 496 posts
Model Shipwrights: 404 posts

Posted: Wednesday, August 19, 2020 - 02:12 AM UTC
So, just some pictures of the fix I made to keep the mainmast from rotating around. One of the initial problems I had was that, just as I got the sliver of plastic down in between the mast and deck, I would push the plastic a bit too much, and it would drop down onto the deck below (and not always recoverable!). So I finally got things in place, used a little bit of Testor's glue, and then finished things by painting the slivers the same color as the deck.

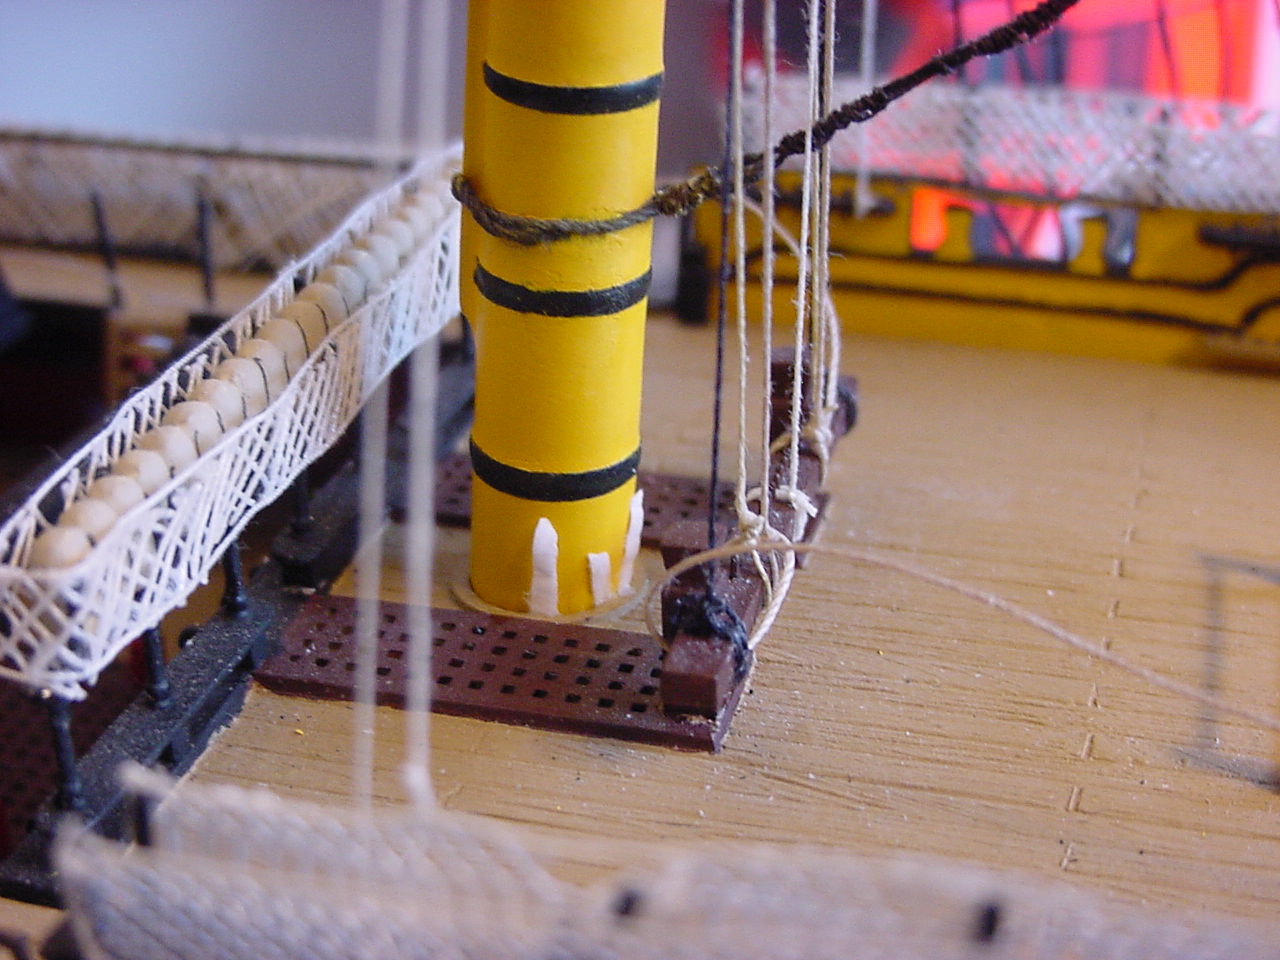 " BORDER="0">

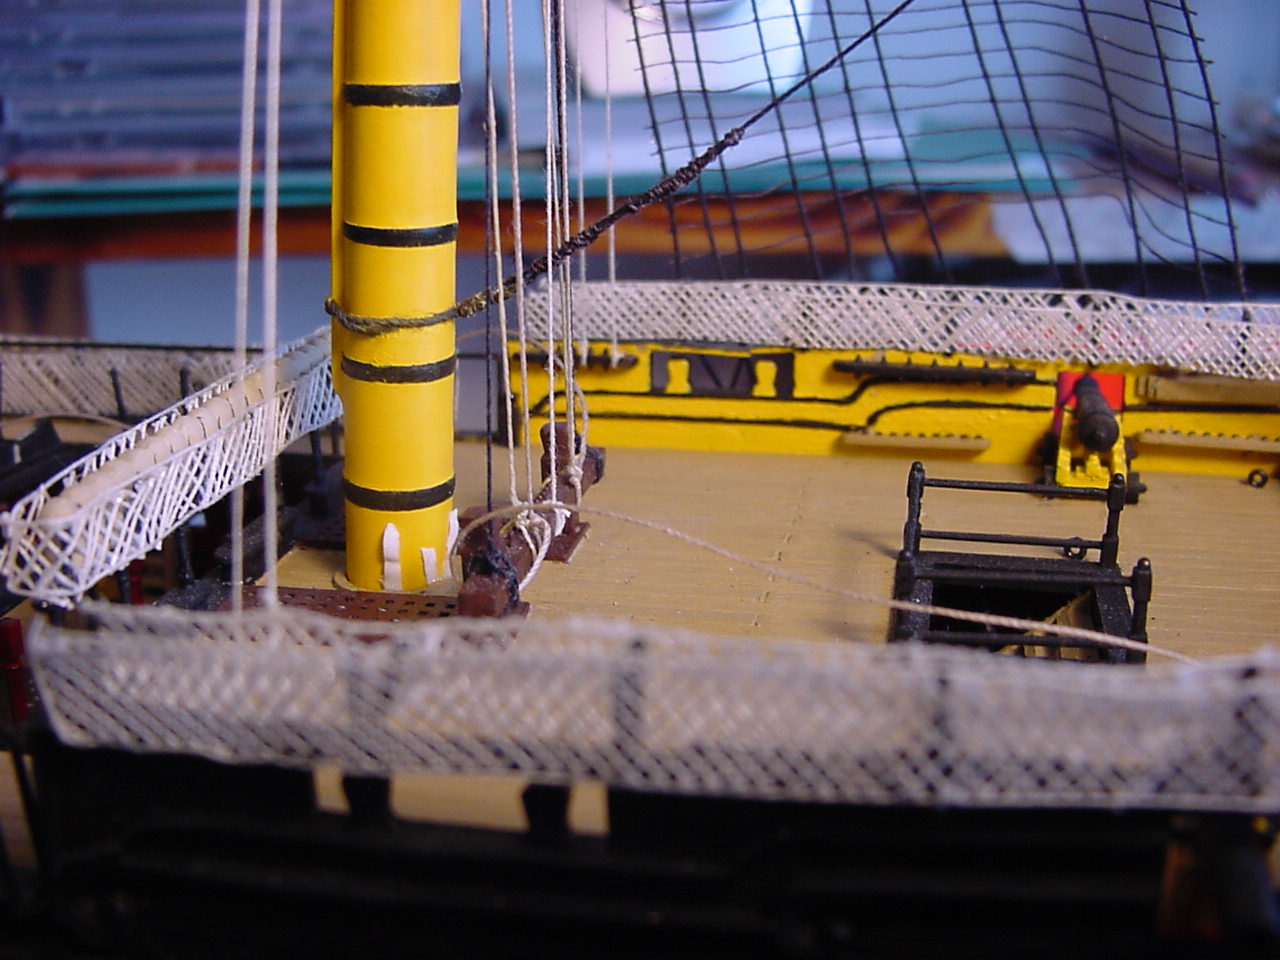 " BORDER="0">

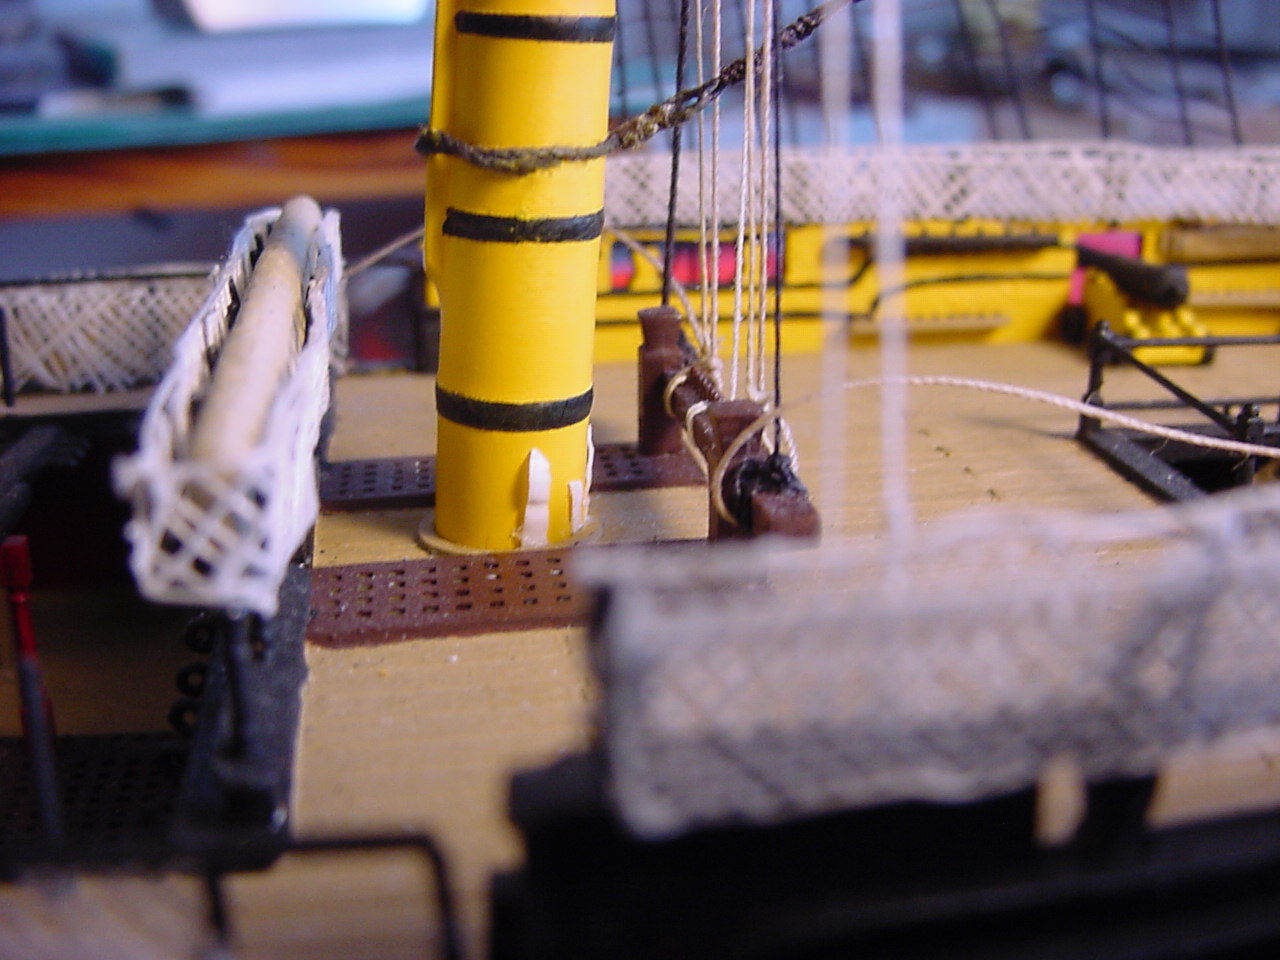 " BORDER="0">

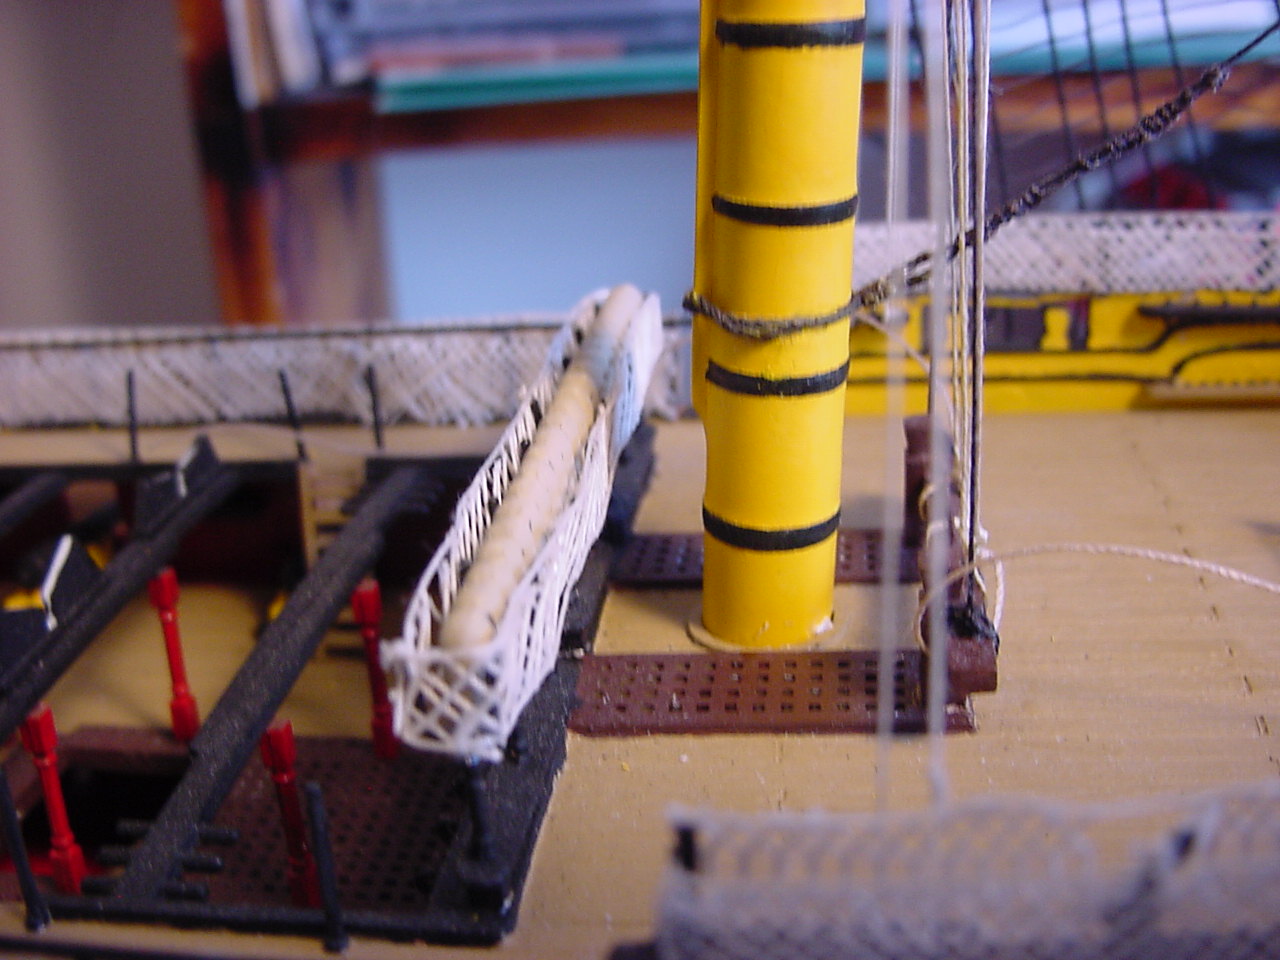 " BORDER="0">

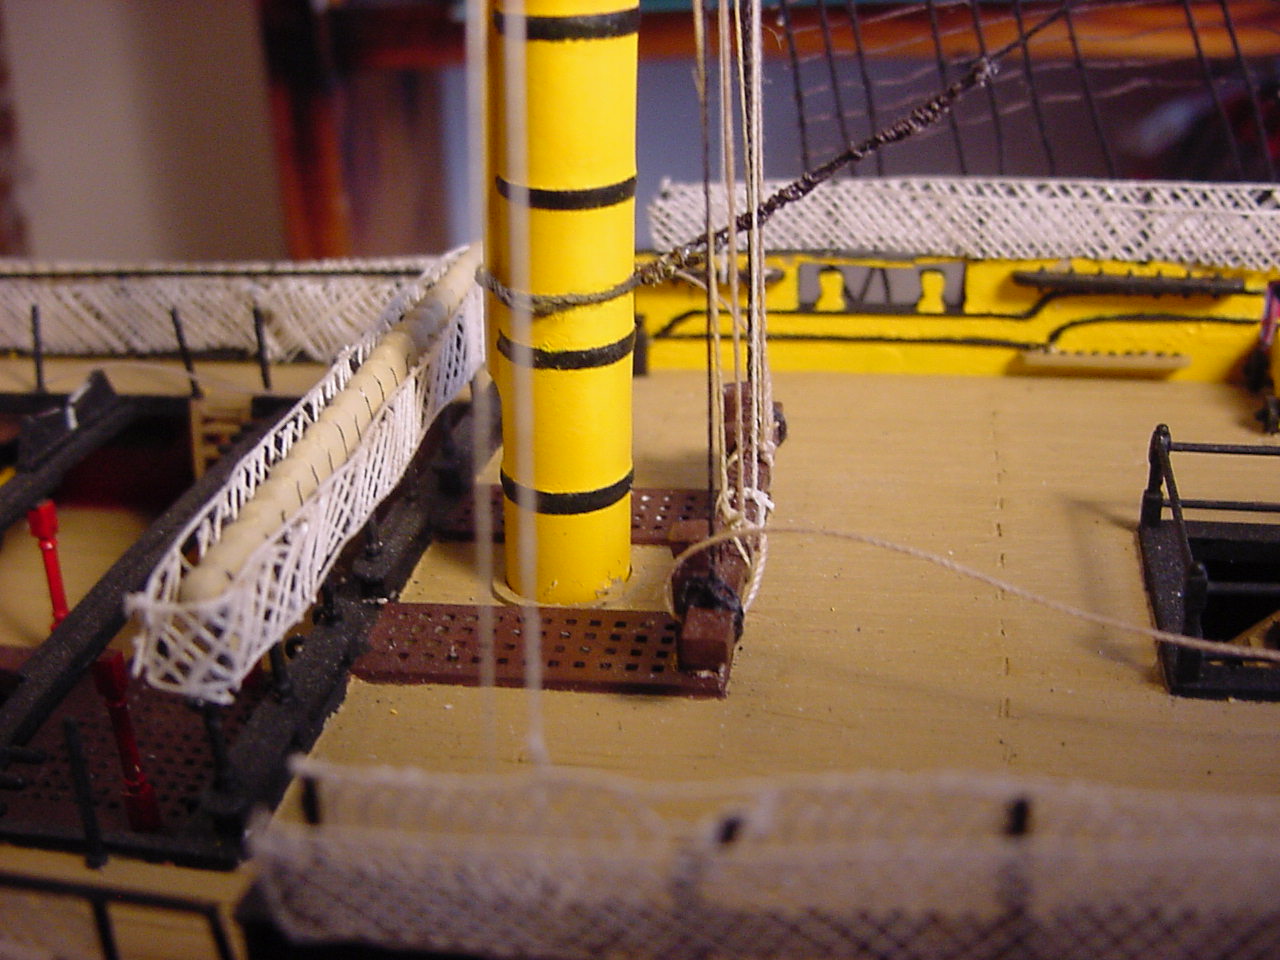 " BORDER="0">
Hope everyone is safe & sound!
 " BORDER="0">
  " BORDER="0">
  " BORDER="0">
 " BORDER="0">
 " BORDER="0">
 Hope everyone is safe & sound!

Posted: Wednesday, August 19, 2020 - 10:48 AM UTC
Timothy,
your persistence and determination to finish this model to a superb standard are just amazing!
your persistence and determination to finish this model to a superb standard are just amazing!

timmyp

Joined: May 18, 2008
KitMaker: 496 posts
Model Shipwrights: 404 posts

Posted: Wednesday, August 19, 2020 - 10:57 AM UTC
Quoted Text
Timothy,
your persistence and determination to finish this model to a superb standard are just amazing!
And here I thought I was just staying out of trouble!
Thanks, Russell!


Posted: Wednesday, August 19, 2020 - 11:27 PM UTC
Quoted Text
Quoted TextTimothy,
your persistence and determination to finish this model to a superb standard are just amazing!
And here I thought I was just staying out of trouble!
Thanks, Russell!


 Aren't we all, Timothy? At least, that's what I tell my wife


Posted: Thursday, August 20, 2020 - 07:42 AM UTC
Hi Tim!
Well, that is quite some progress while I was busy doing real life things... Great update, and great fix to the turning mainmast!
I've said it again and agin, but your patience and your skill with all the rigging simply amazes me, just fantastic! And you are getting there!
Cheers
Jan
Well, that is quite some progress while I was busy doing real life things... Great update, and great fix to the turning mainmast!
I've said it again and agin, but your patience and your skill with all the rigging simply amazes me, just fantastic! And you are getting there!
Cheers
Jan
timmyp

Joined: May 18, 2008
KitMaker: 496 posts
Model Shipwrights: 404 posts

Posted: Thursday, August 20, 2020 - 02:29 PM UTC
Quoted Text
Hi Tim!
Well, that is quite some progress while I was busy doing real life things... Great update, and great fix to the turning mainmast!
I've said it again and agin, but your patience and your skill with all the rigging simply amazes me, just fantastic! And you are getting there!
Cheers
Jan
Hi Jan!
Thanks for writing, and I hope you're doing well! Hope all your real world stuff got finished.
The mainmast has been a problem for a long time - even as I was assembling the hull & decks, I was finding out that the main mast didn't seat well into the bottom of the hull. I thought I had the problem fixed (by using copious amounts of ) kleben, but I guess working on the rigging caused the mast to come loose. I think I've got it permanently fixed (fingers crossed!)
And yes, definitely getting there: I'm going to try and get the main top sail attached & rigged over the next couple of days, and then get the mainsail attached. Plus, I figured I need to go to the local craft store and maybe buy some stuff. Very exciting!
As for the patience & skill stuff, well, if I hadn't built a 1/96 scale model of the clipper ship Thermopolaye when I was an adolescent, I probably wouldn't even be trying to build Victory.
Did you notice in the pictures how dirty and dusty things are? Some one needs to start scrubbing the deck!

So stay tuned, Jan, there is definitely more to come!!
Tim
JannerKebab

Joined: May 27, 2020
KitMaker: 9 posts
Model Shipwrights: 9 posts

Posted: Saturday, August 22, 2020 - 06:35 AM UTC
Hi Tim
The build is looking great. Iíve finally started my build, the amount of painting is unbelievable. Went to build the stand and found I only had one spru 8, should be two. Heller website doesnít work and finally found a company in Germany have taken over, hopefully getting what I need soon, will just carrying on with the painting.
Lee
timmyp

Joined: May 18, 2008
KitMaker: 496 posts
Model Shipwrights: 404 posts

Posted: Saturday, August 22, 2020 - 07:58 AM UTC
Quoted Text
Hi Tim
The build is looking great. Iíve finally started my build, the amount of painting is unbelievable. Went to build the stand and found I only had one spru 8, should be two. Heller website doesnít work and finally found a company in Germany have taken over, hopefully getting what I need soon, will just carrying on with the painting.
Lee
Hi Lee,
Sorry to hear your kit came up short on parts - but in reading reviews of this kit, having missing parts seems almost to be the norm.

Yes, the amount of painting is unbelievable! I probably asked before, but are you using a brush to paint everything (my method), or are you airbrushing, or a combo of the two? And what have you started painting? I think I did the copper on the hull first, then went on and painted and assembled all the cannons & the carriages. Painting the alternating yellow and black on the upper hull took a while, what with trying to determine the way each color went down the hull.
Well anyway, good luck! Gimme a shout if you have any questions.
I bought some thicker threads at the craft store yesterday, so that the sling going around the main and fore yards is a bit beefier. I almost bought some colored markers, to dye my thread different colors. I was thinking about getting a silver or light gray marker, because when you look at sailing ships today, the lines that started out as white, over time, get dirty, and the color changes from pure white to a silver-gray, plus dirt and grime gets in between the strands. But I had spent enough time choosing the colors I did! (BTW, the colors I bought were "Mocha Light", "Mocha Dark", and "Sand". I just did a test run, and Mocha Light seems to be a winner).
JannerKebab

Joined: May 27, 2020
KitMaker: 9 posts
Model Shipwrights: 9 posts

Posted: Saturday, August 22, 2020 - 08:28 PM UTC
Hi Tim
My method of painting is brush. They may have changed the model slightly as there are thin lines that show you where the colours change on the hull, they are tiny so you donít see them until up close.
Iím doing the cannon painting at the moment, will only build enough for each deck as and when I need them.
Lee
timmyp

Joined: May 18, 2008
KitMaker: 496 posts
Model Shipwrights: 404 posts

Posted: Sunday, August 23, 2020 - 11:19 AM UTC
Quoted Text
Hi Tim
My method of painting is brush. They may have changed the model slightly as there are thin lines that show you where the colours change on the hull, they are tiny so you donít see them until up close.
Iím doing the cannon painting at the moment, will only build enough for each deck as and when I need them.
Lee
Yes, my Victory has the lines engraved/molded into the hull, to assist on where the bands of yellow and black go. But sometimes those lines seemed to disappear, and I was on my own! I used the front sheet of the instructions to help guide where the color bands went - I usually used a cannon porthole or something on the hull as reference points.
I worked on all the cannons first - partly because I was in a hurry to start putting parts together, and partly because they're fairly easy to assemble. Plus, it gave me a chance to settle myself down, by painting the insides of the cannon carriage, before tackling the outsides of the carriages.
Carry on!!

timmyp

Joined: May 18, 2008
KitMaker: 496 posts
Model Shipwrights: 404 posts

Posted: Sunday, August 23, 2020 - 01:11 PM UTC
Just a quick pic of the main yard sling, using a beefier thread. This thread is almost as big as the anchor cable!

 " BORDER="0">
 " BORDER="0">
 Posted: Sunday, August 23, 2020 - 02:43 PM UTC
Timothy,
It does look large, any reason why you increased the size?
Mark
It does look large, any reason why you increased the size?
Mark

 |


