Albeit, I'll admit, a self made one. Gasp! (not the first time either that this has happened, I know, I know, forehead slap!
 )
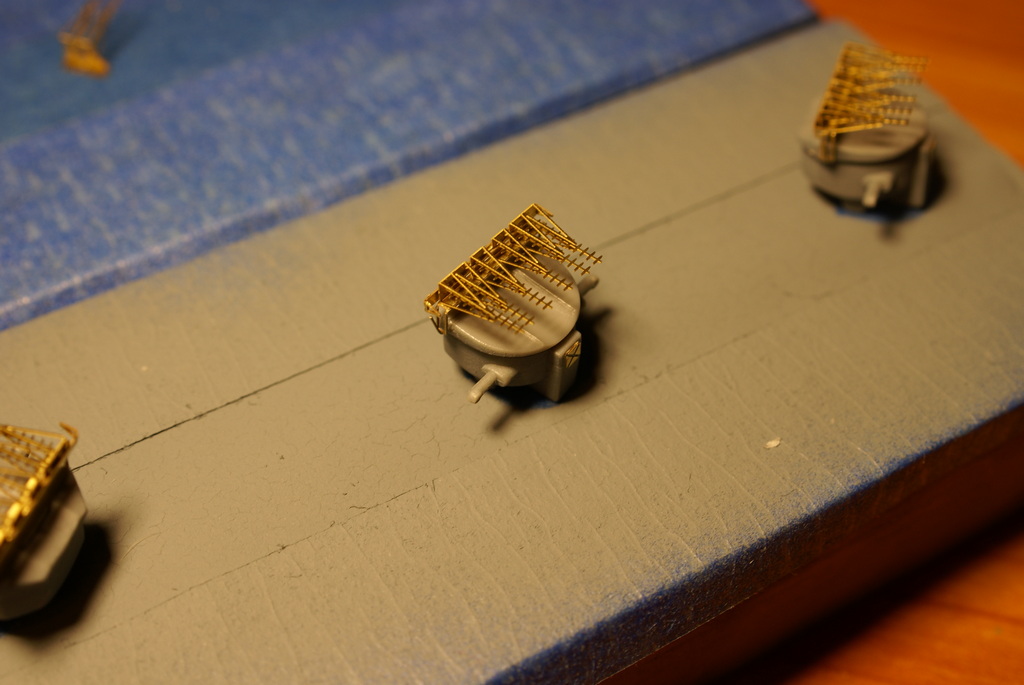
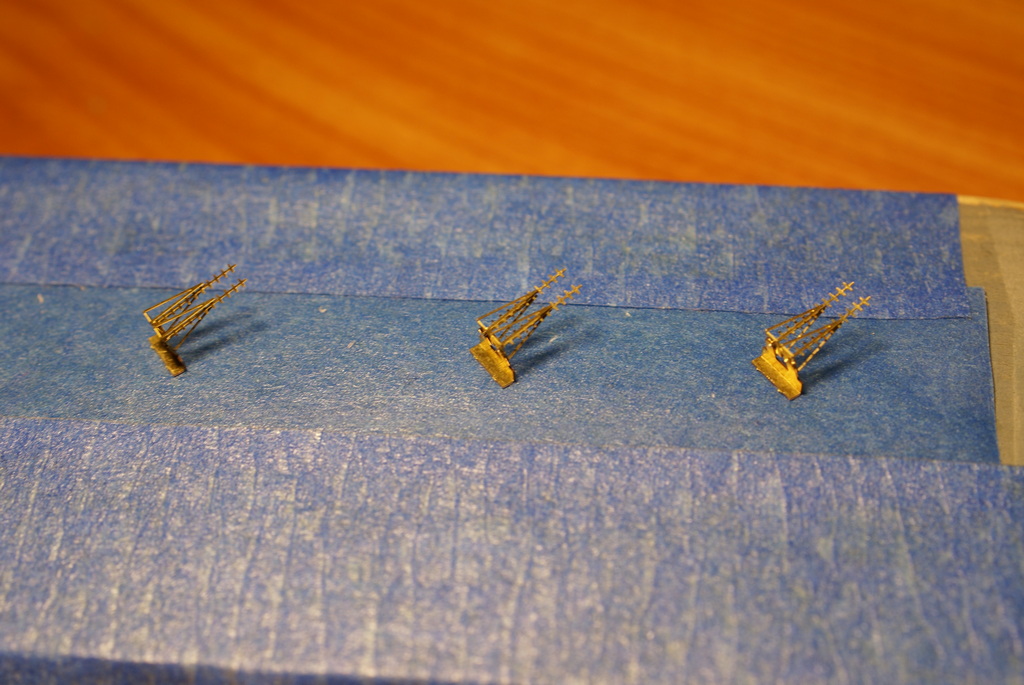
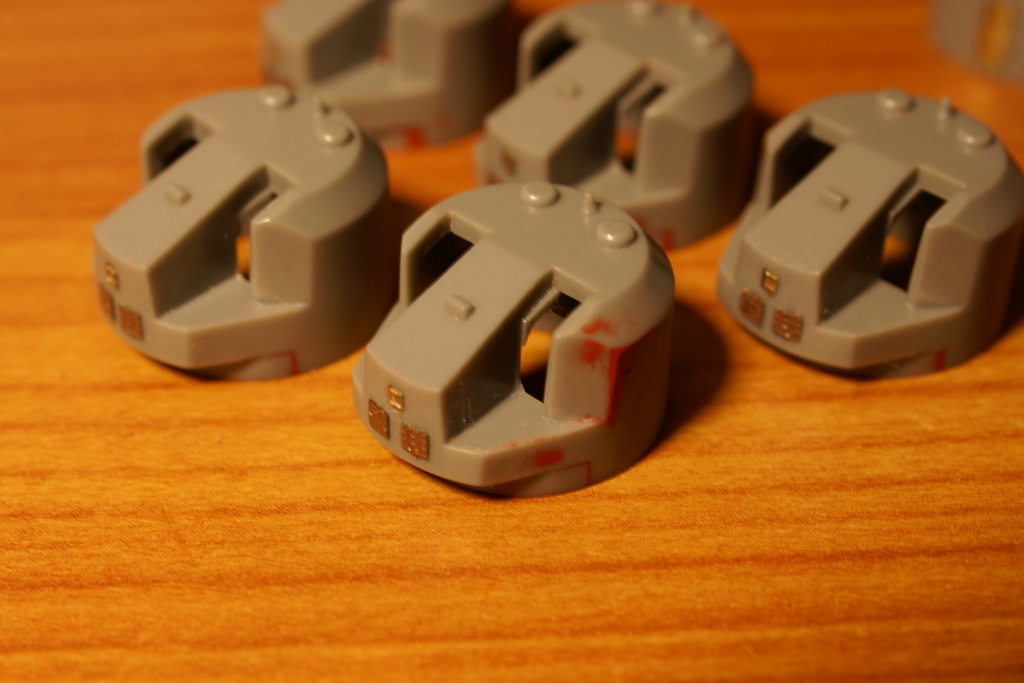
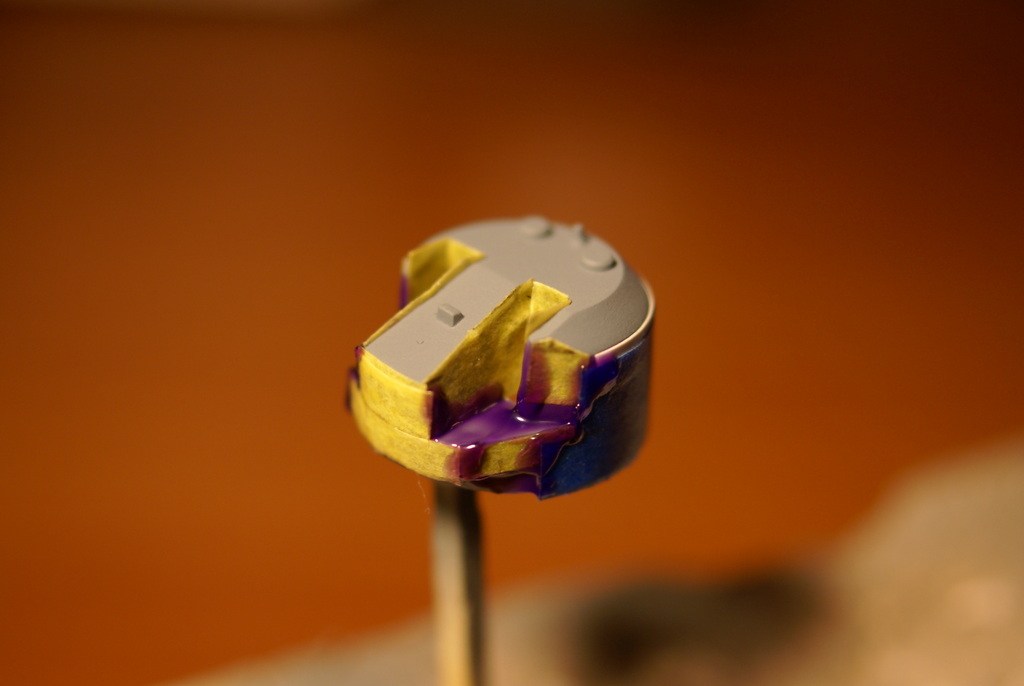
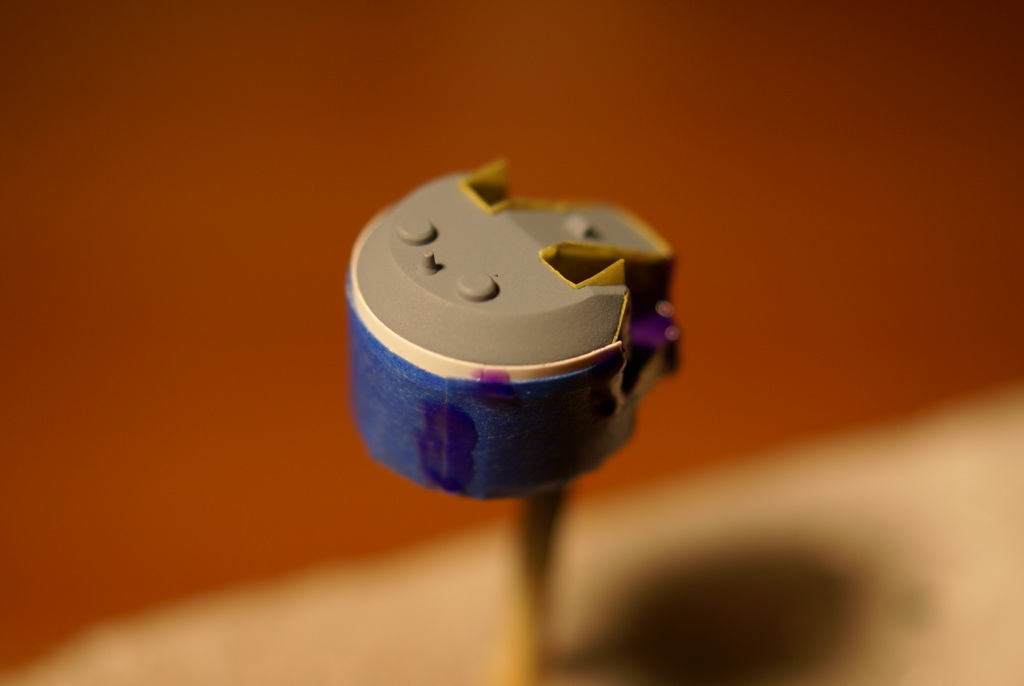
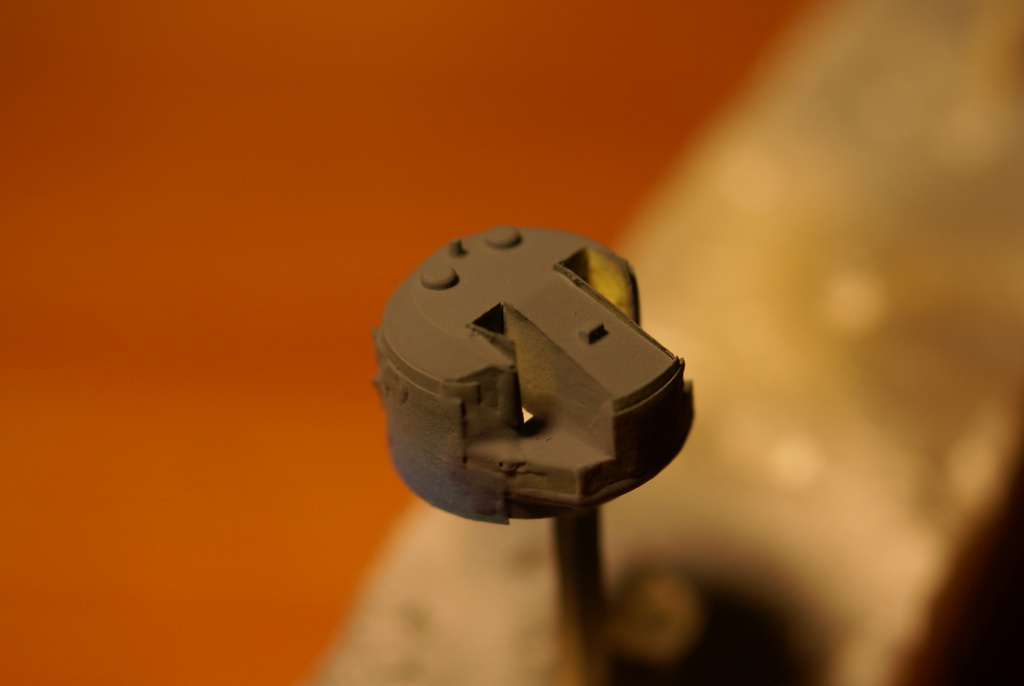
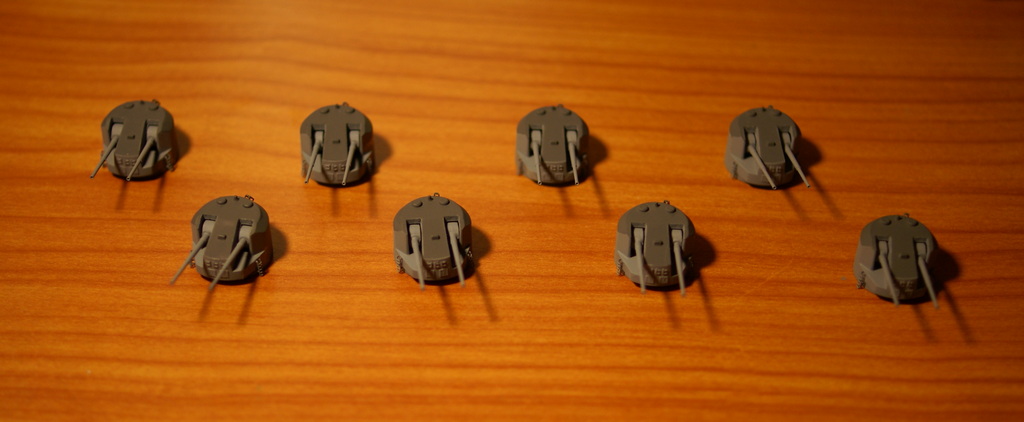
)Apparently I thought I was clever in cutting up the crane jibs and then gluing them back together to avoid unsightly gaps. But it turns out that I'm not. (Clever that is)
 Tut-tut, I hear you say.
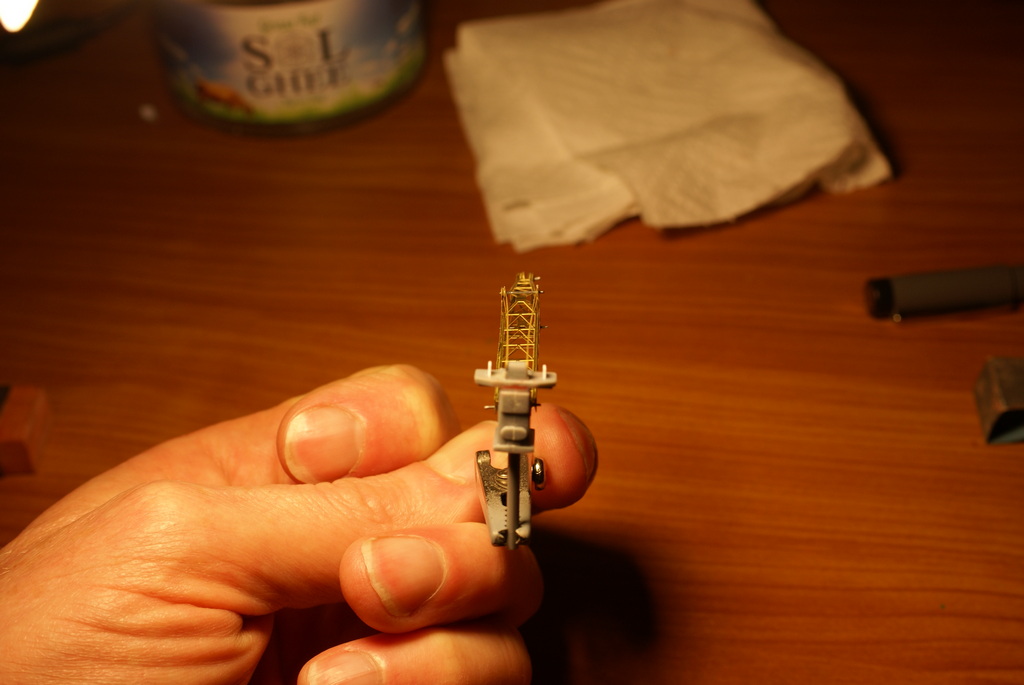
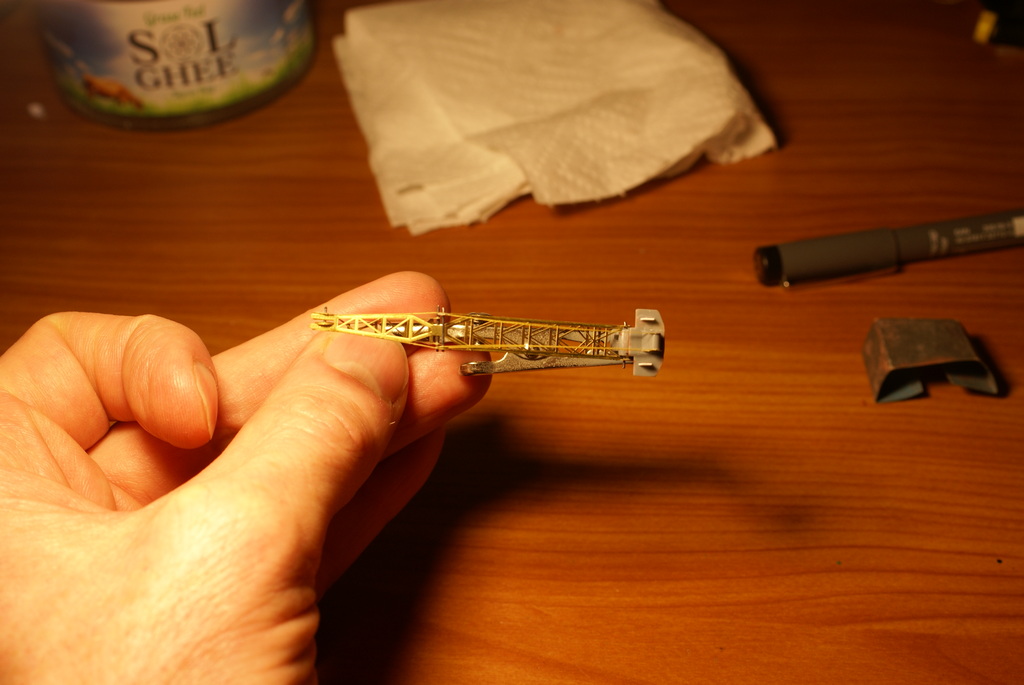
Anyways, as I have been attempting to assemble the jibs with the crane cabs I've discovered that they have an awful twist in them which is very visible even to the casual observer!

So, now I am putting out a request out to all my MSW mates to see if anyone has a spare set of PE cranes (WEM or Pontos pls) for the KGV that they'd be willing to part with/that they no longer require?
 (for a fee of course )
I did consider buying another WEM PE set for her, but the high cost versus the fact that I would only use the cranes and that the rest would go to waste has put me off that option...
Any help or leads would be appreciated...