


Looking good though Warren


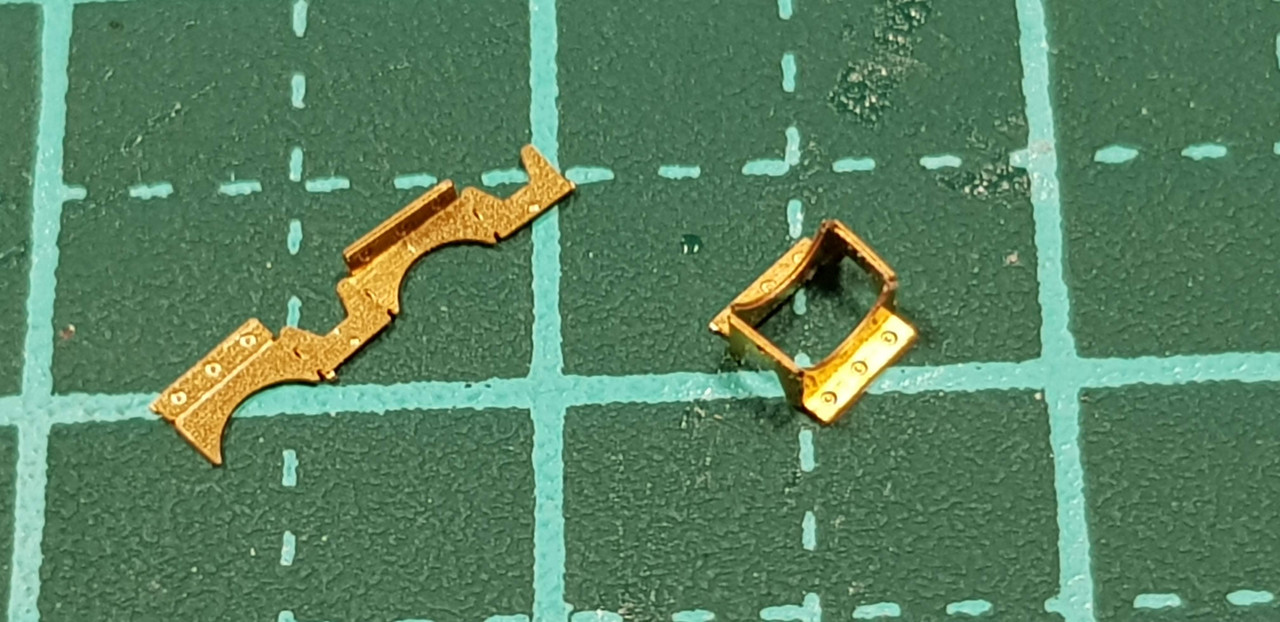
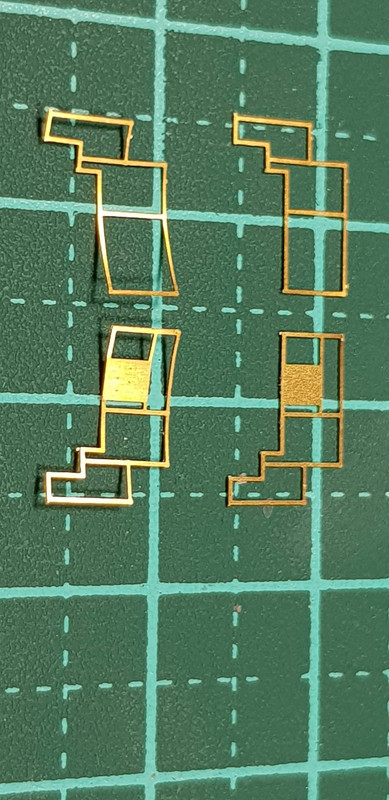
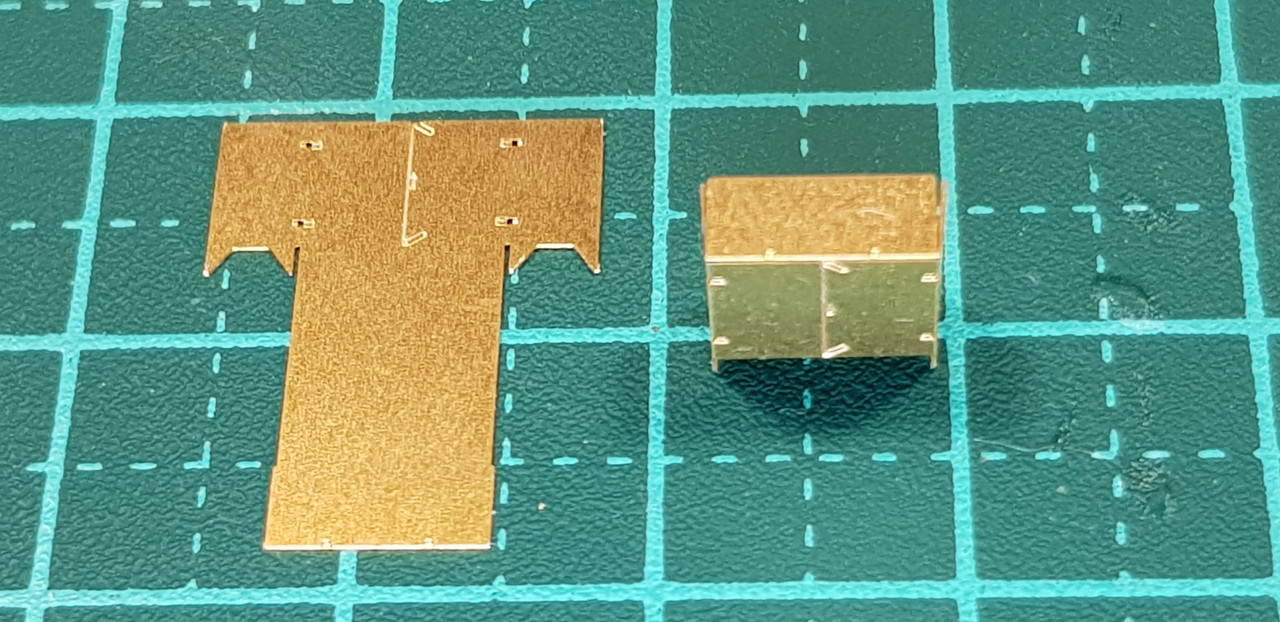
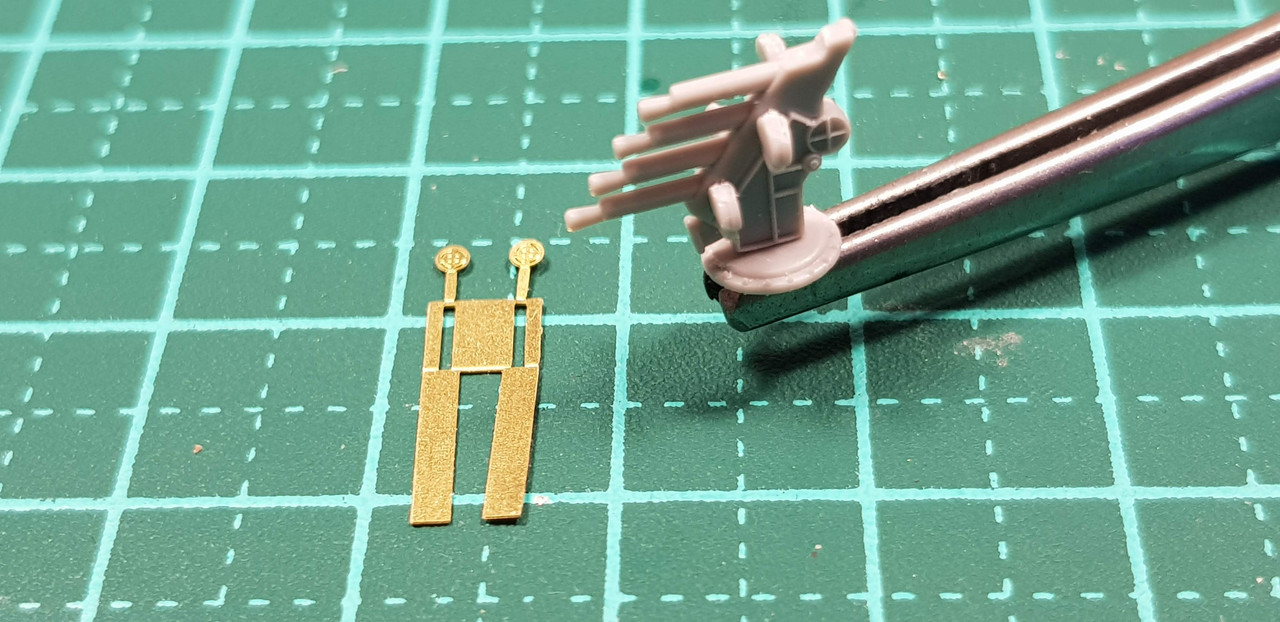
Pom Poms: rinse, repeat, rinse, repeat
Looking good though Warren


Nice tutorial Warren.
Will keep this in mind when I start on one of the big beasties.
Cheers
Si


Warren,
Welcome back, you definitely know how to make a grand entrance with your return.
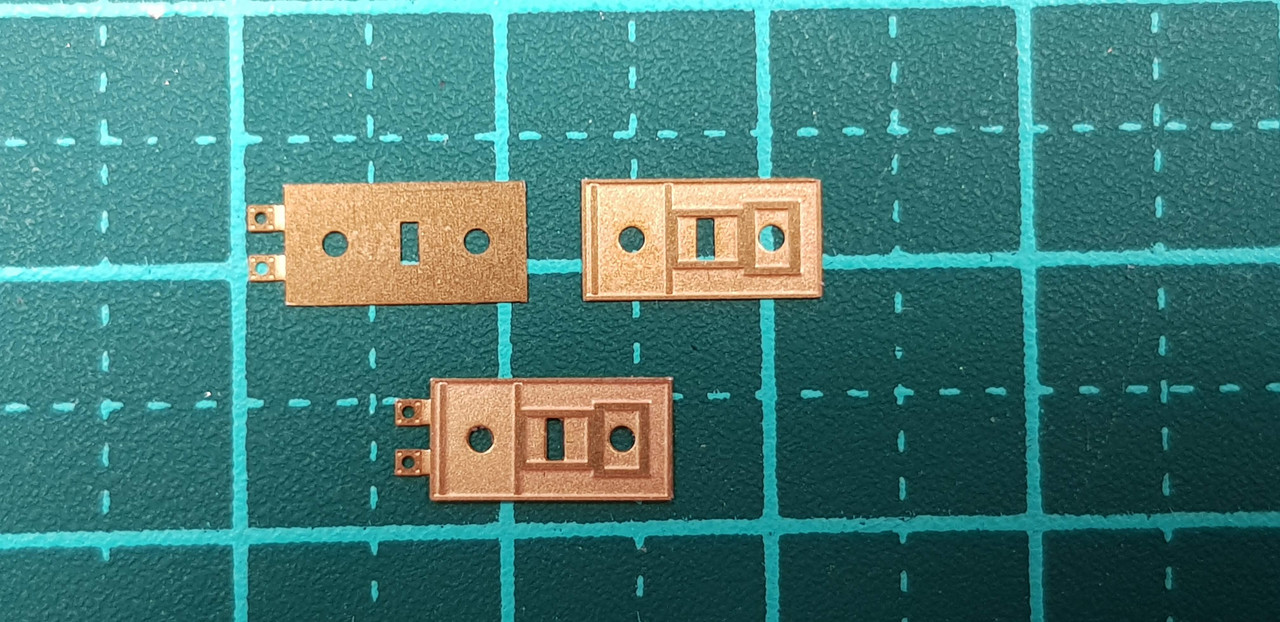
Amazing work, love the level of detailed descriptions your giving with each step of the build. I strive to reach that level of detail and explanation with my build logs.
Amazing work.
Looking forward to seeing more
Dave
Nice progress Warren,
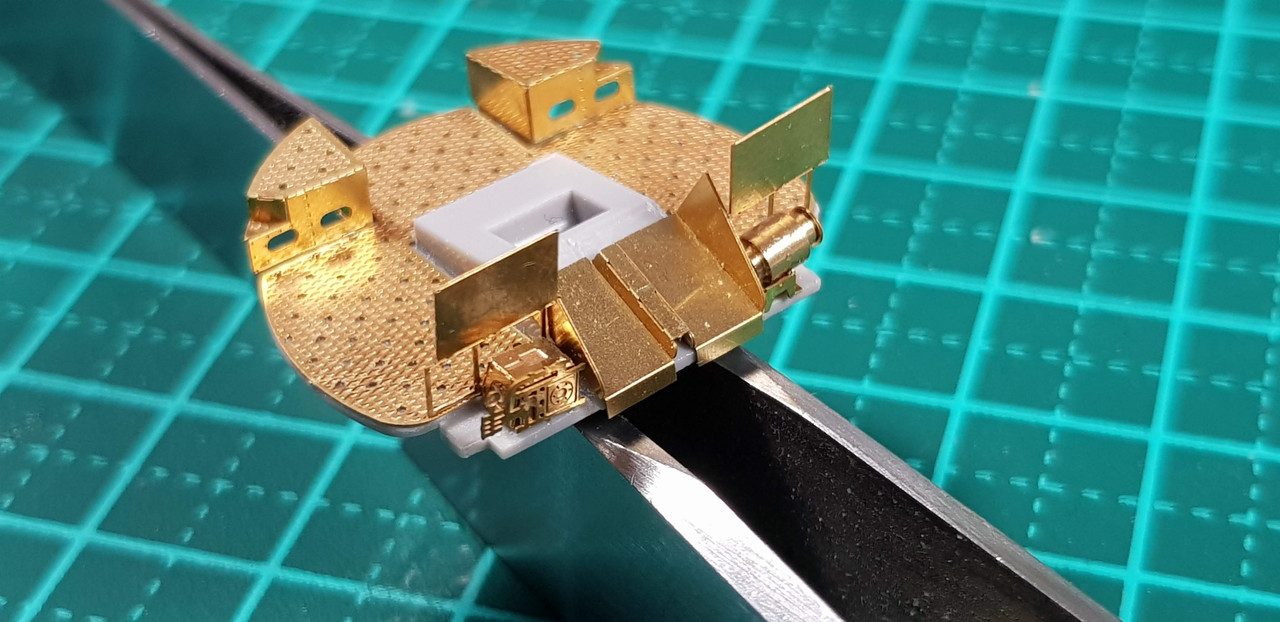
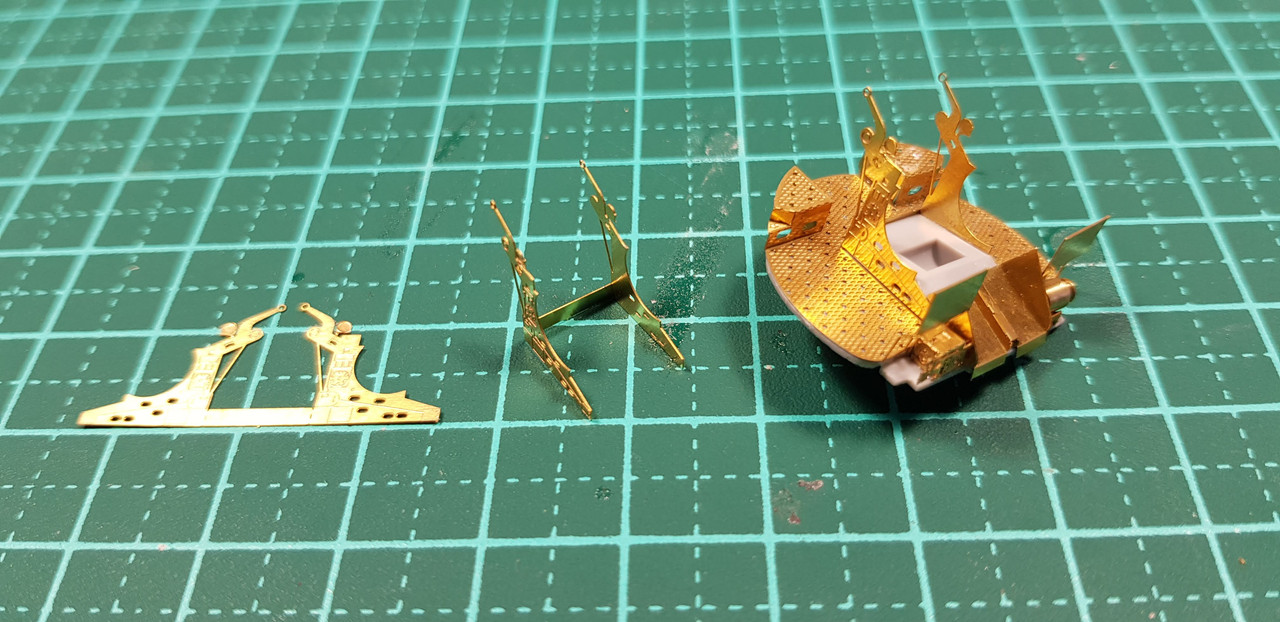
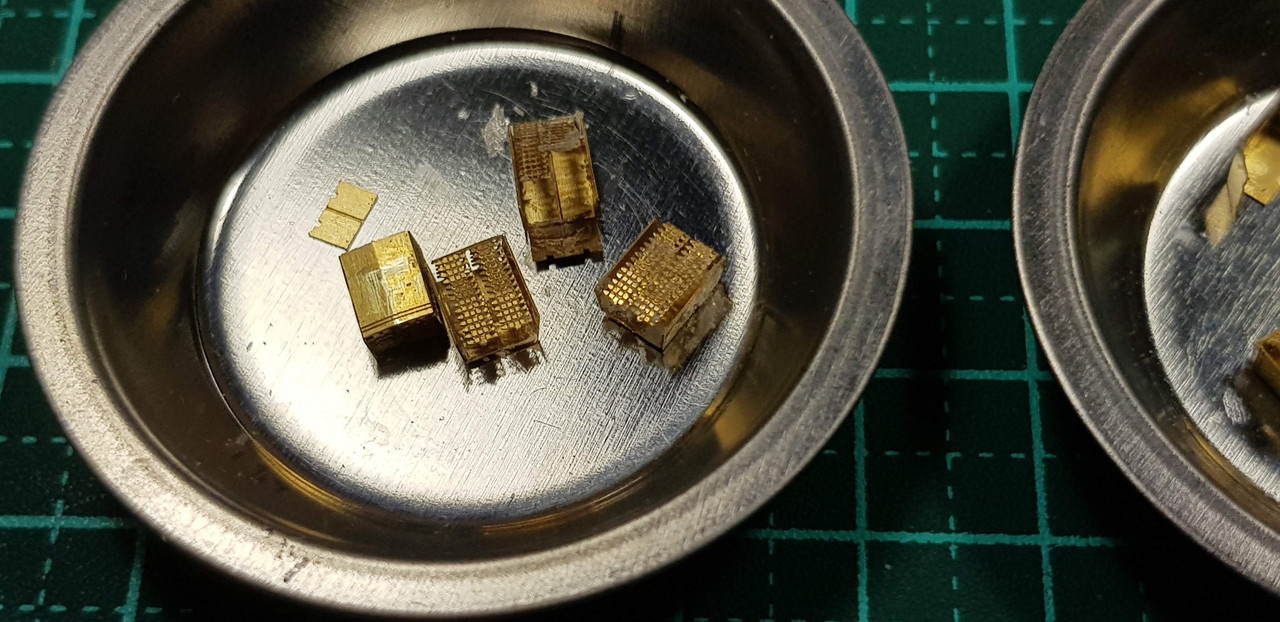
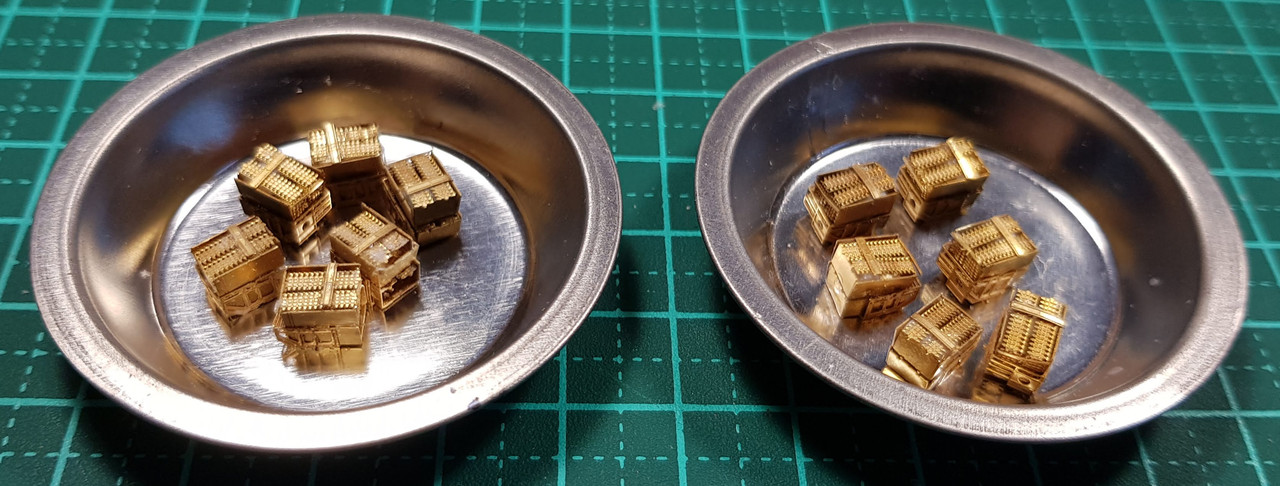
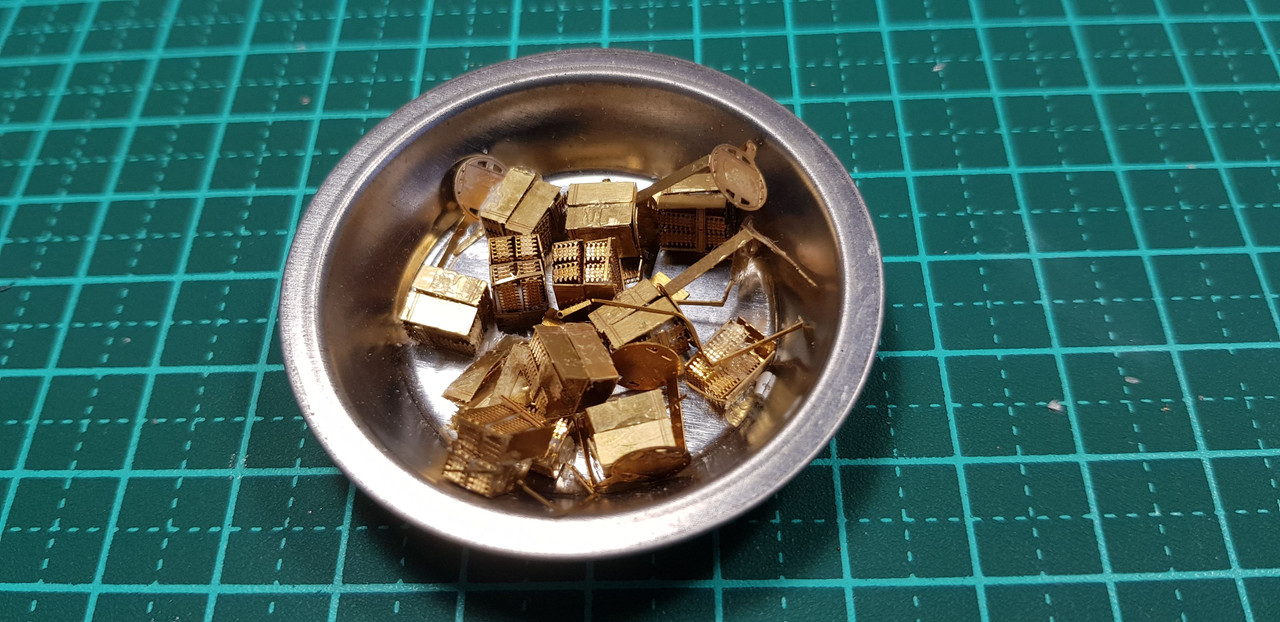
The magazines look really good.
Cheers
Si


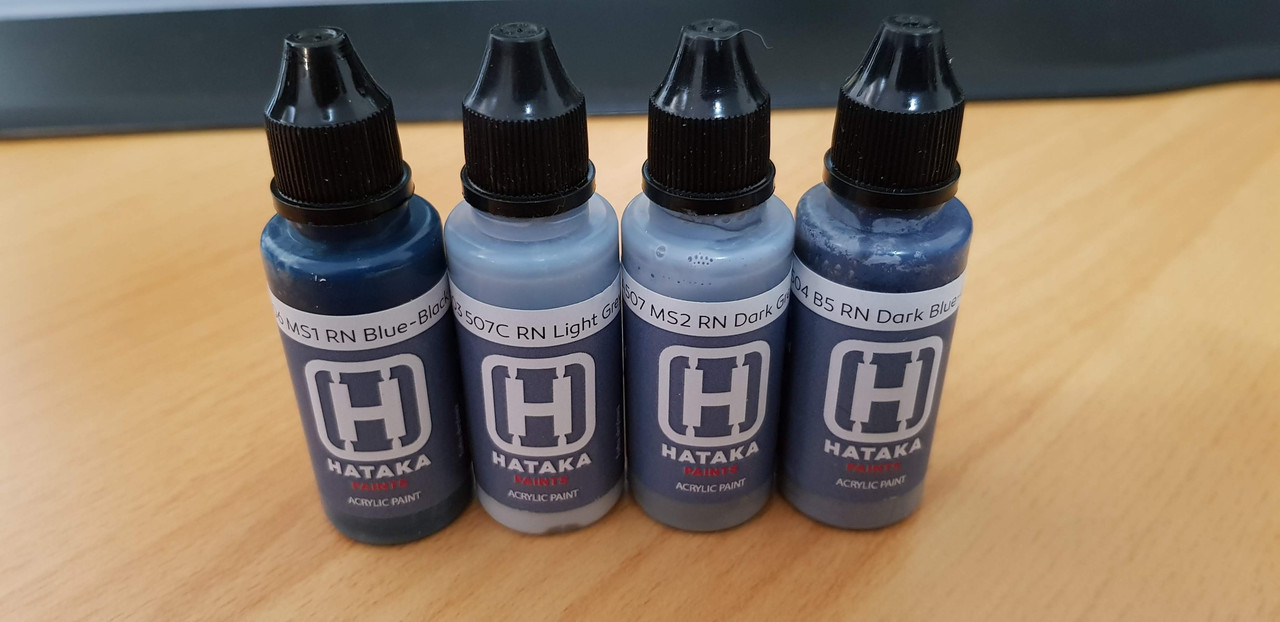
Does anyone have pictures of both sides of the Rodney in her camo scheme? I have received the colours I need now I need a poroper diagram as the Trumpeter one is not even close from what I can gleen.
I am thinking o fusing a bit of artistic licence and using the camo scheme with the natural wooden deck... or maybe I will do this one in overall grey with natural wooden deck as the Rodney was when it tangled with the Bismarck and build another Rodney later on with the camo and camoed deck.. two 1/200 Rodneys won't take up much room..


Warren,
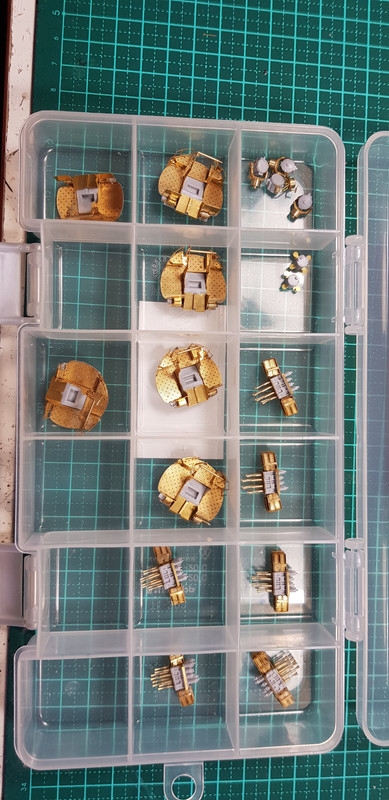
Your organizational skills do you credit - and will probably save your sanity as things progress on this awesome build!

Warren,
Your organizational skills do you credit - and will probably save your sanity as things progress on this awesome build!
Hi Warren,
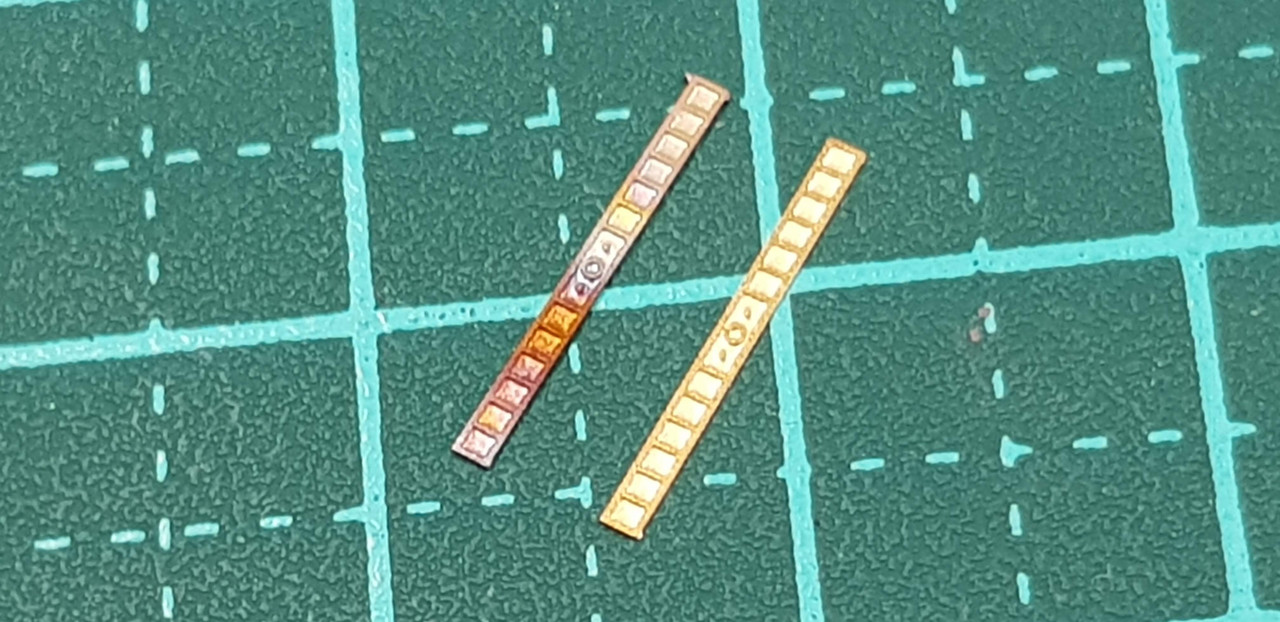
Do wonder with aftermarket manufacturers sometimes, etched ammo boxes are great if you wanted to show them empty, or if the kit parts are bland, but in this scale... do the rounds look a bit two dimensional?
What Tim said about your organisation. I spend far too much time hunting round the bench for which little box / tub / pot I have put something in.
Cheers
Si
Quoted TextWarren,
Your organizational skills do you credit - and will probably save your sanity as things progress on this awesome build!
I was thinking more as a safety issue. More than once I sat a bottle of glue or something on the edge of those metal trays and launched assembled PE parts all over the work bench and floor.
Mark


 |


