General Ship Modeling
Discuss modeling techniques, experiences, and ship modeling in general.
1/200 HMS Rodney with Pontos Stuff
warreni
Visit this Community
South Australia, Australia
Joined: August 14, 2007
KitMaker: 5,926 posts
Model Shipwrights: 2,624 posts
Posted: Tuesday, June 05, 2018 - 03:22 PM UTC
Hello everyone out there in MSW land.
I have ended my self-imposed absence from the internet blog sites. I needed a rest for a while and the Photobucket debacle took all the wind out of my sails (boat related stuff!)
For my return I have decided to build the Trumpeter 1/200 HMS Rodney, one of the ships that helped sink the Bismarck back in 1941. I also have the 1/200 Bismarck as well and I am not 100% sure I will do the Rodney yet as the Hataka paint paint I ordered hasn't arrived from overseas as yet, whereas I have all the colours I need for said Bismarck.
In the meantime, here are some pictures of the Wodney (too much Monty Python) before I start it.
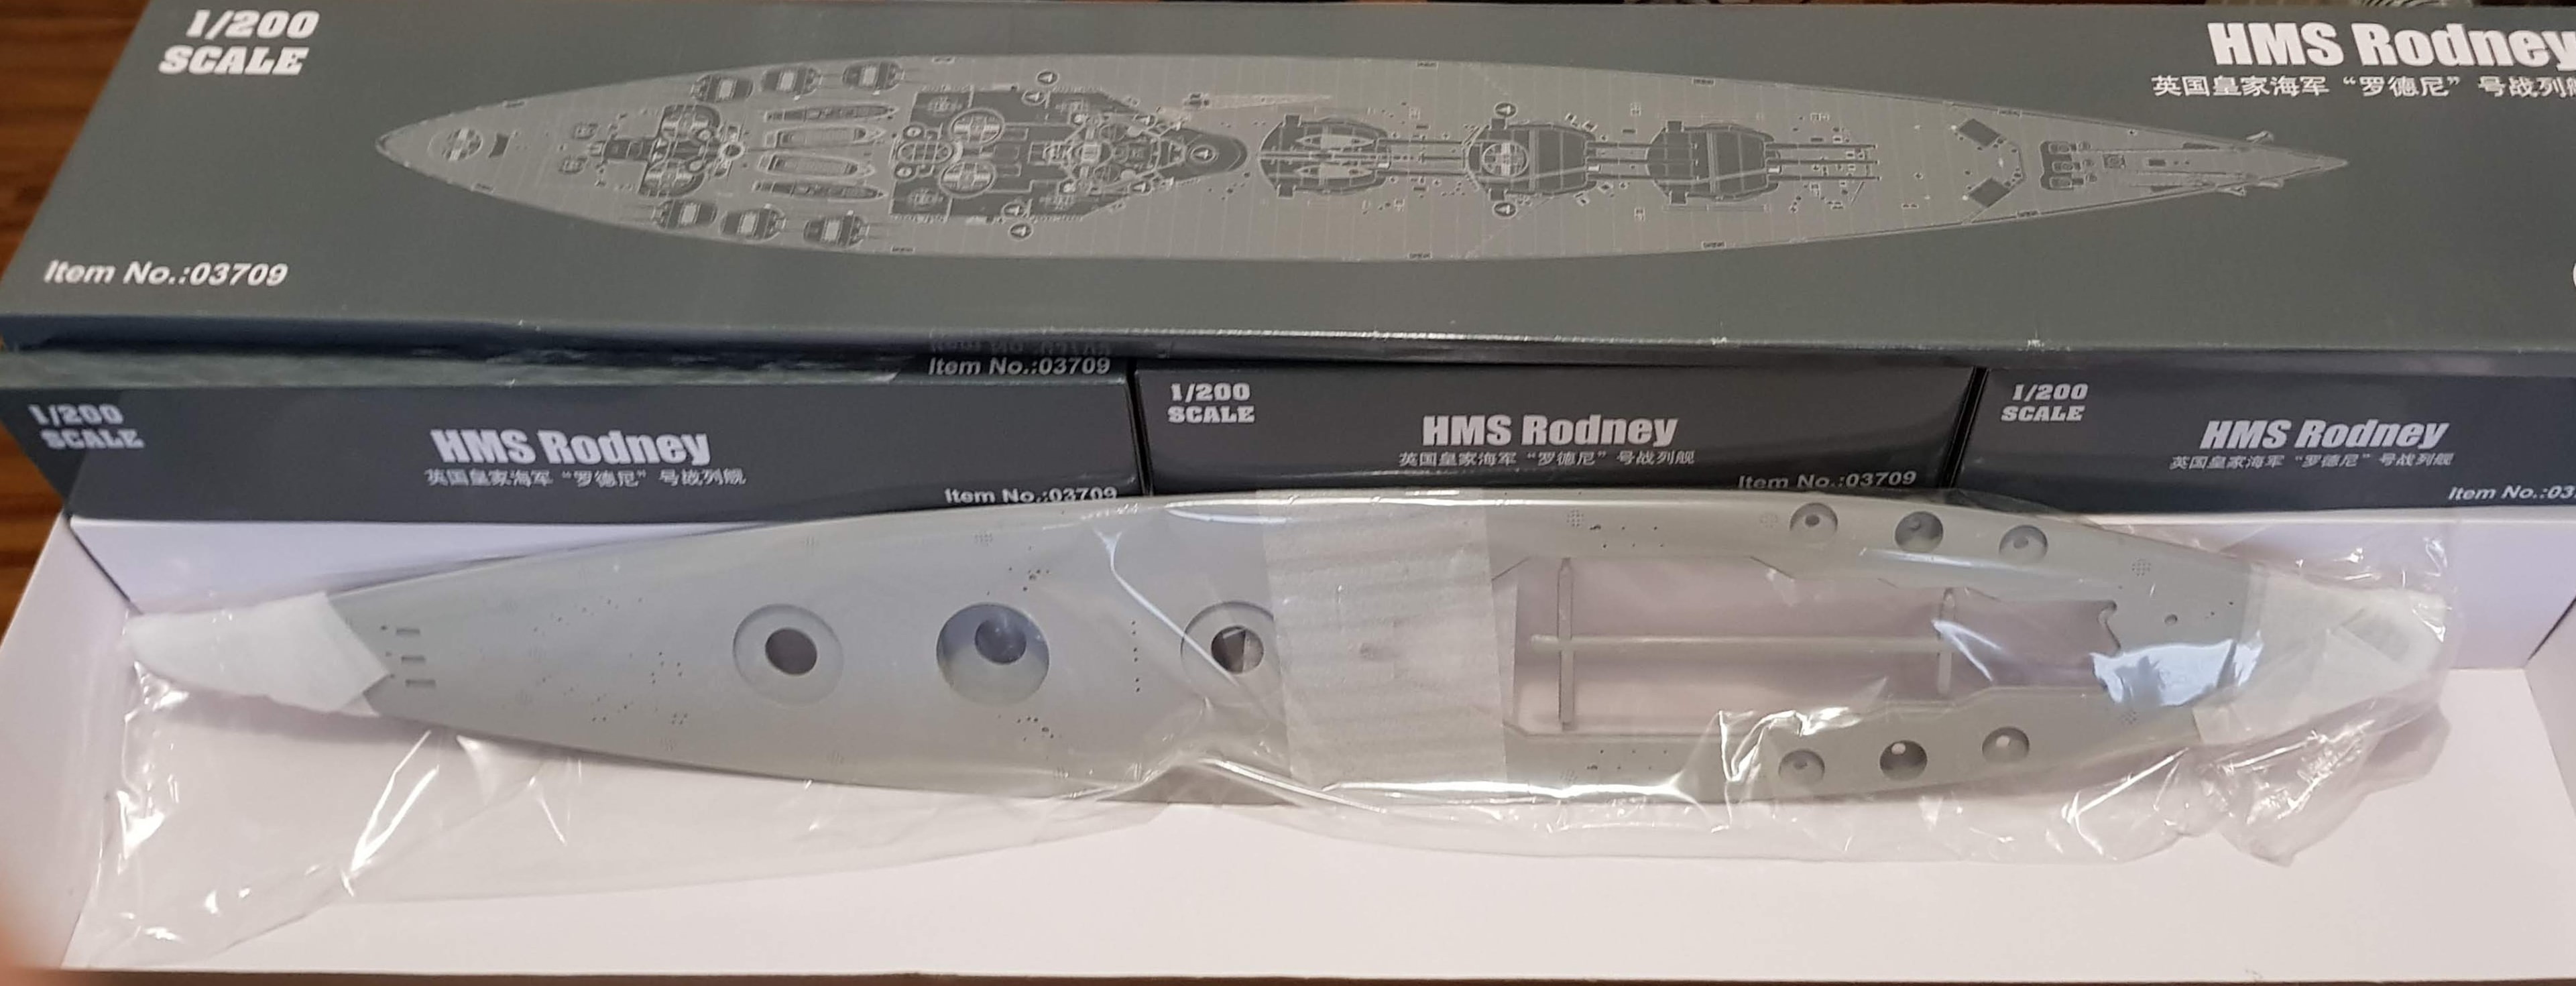
First off we have the art work on the box.


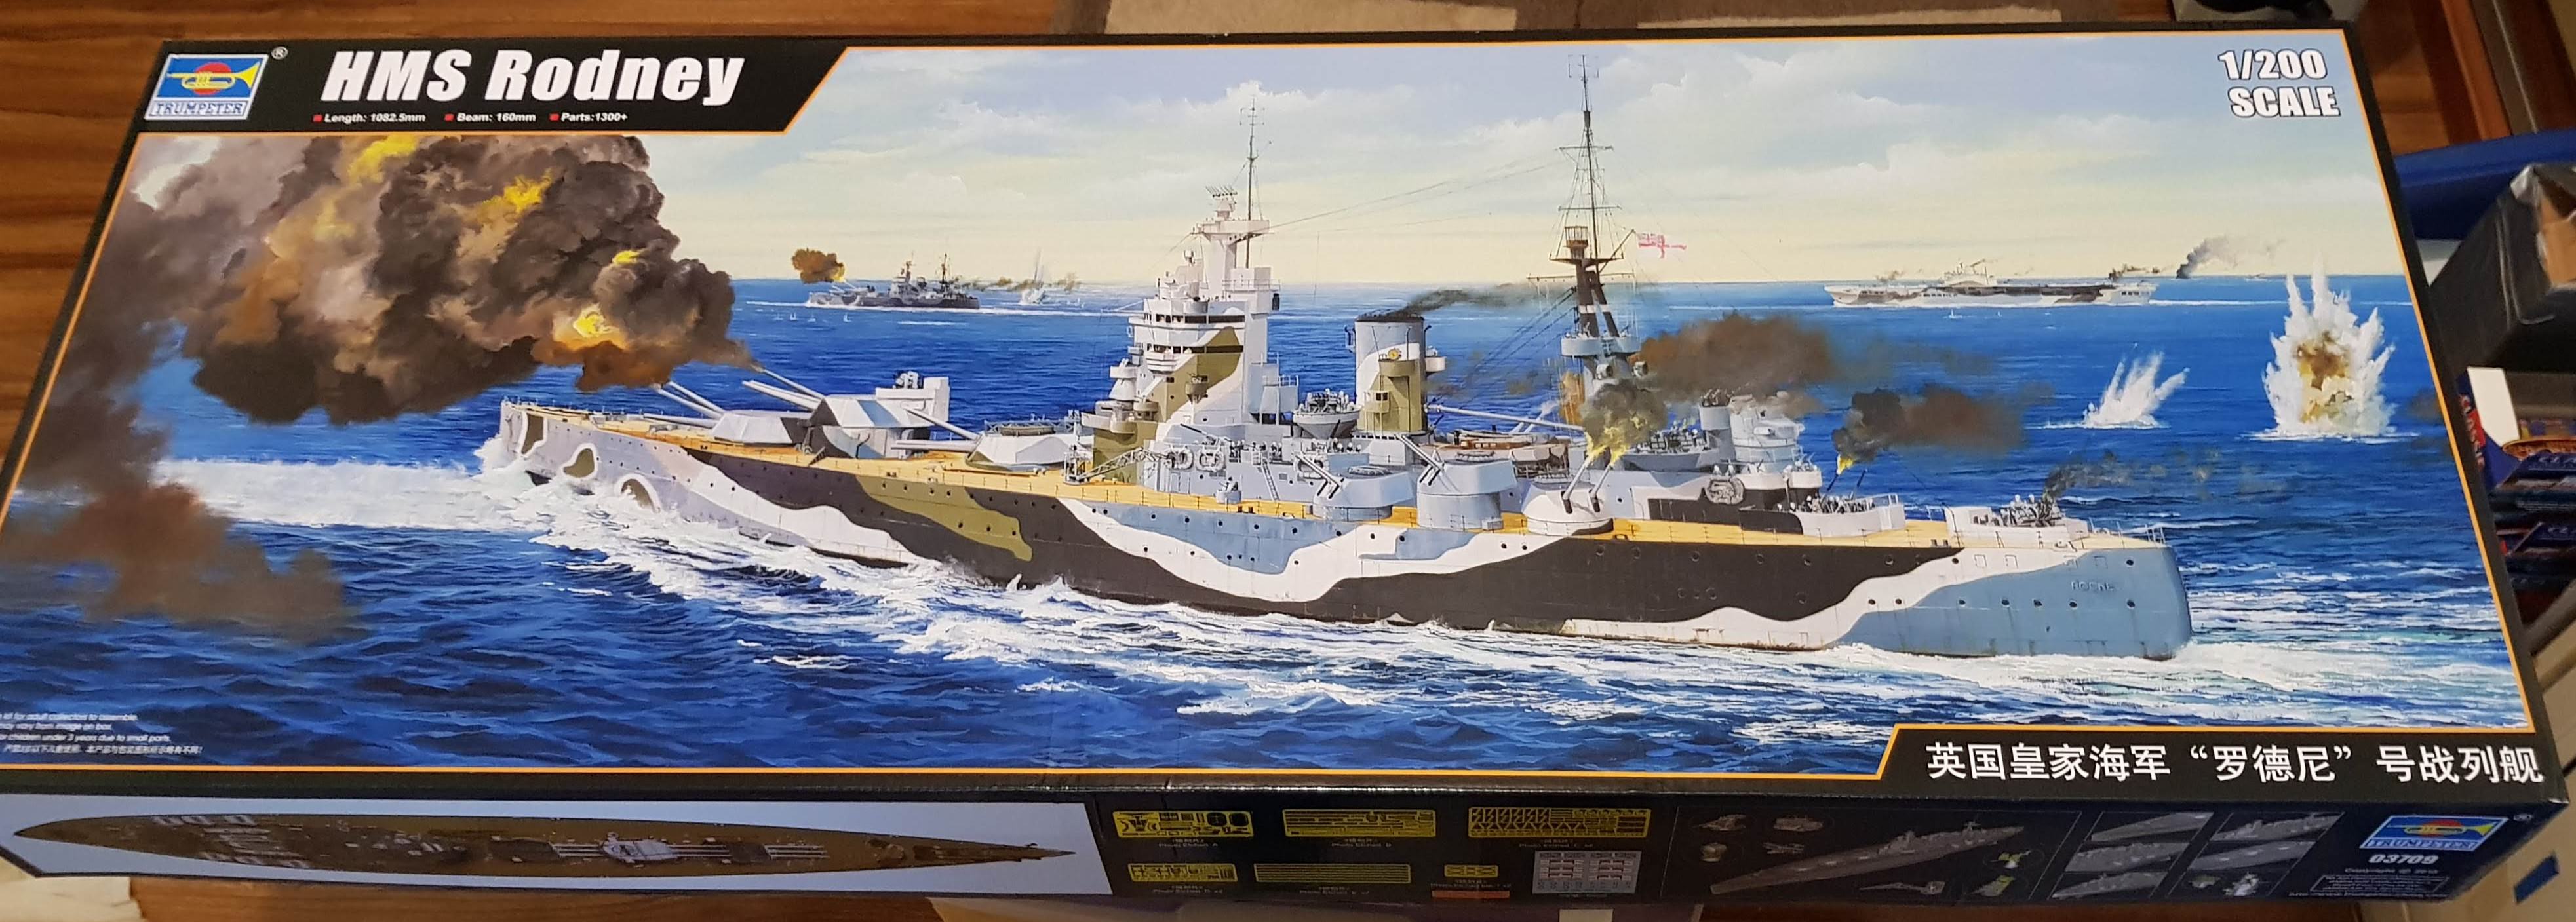
One weird thing is that the Rodney and Nelson have the same pictures on the Trumpeter website..

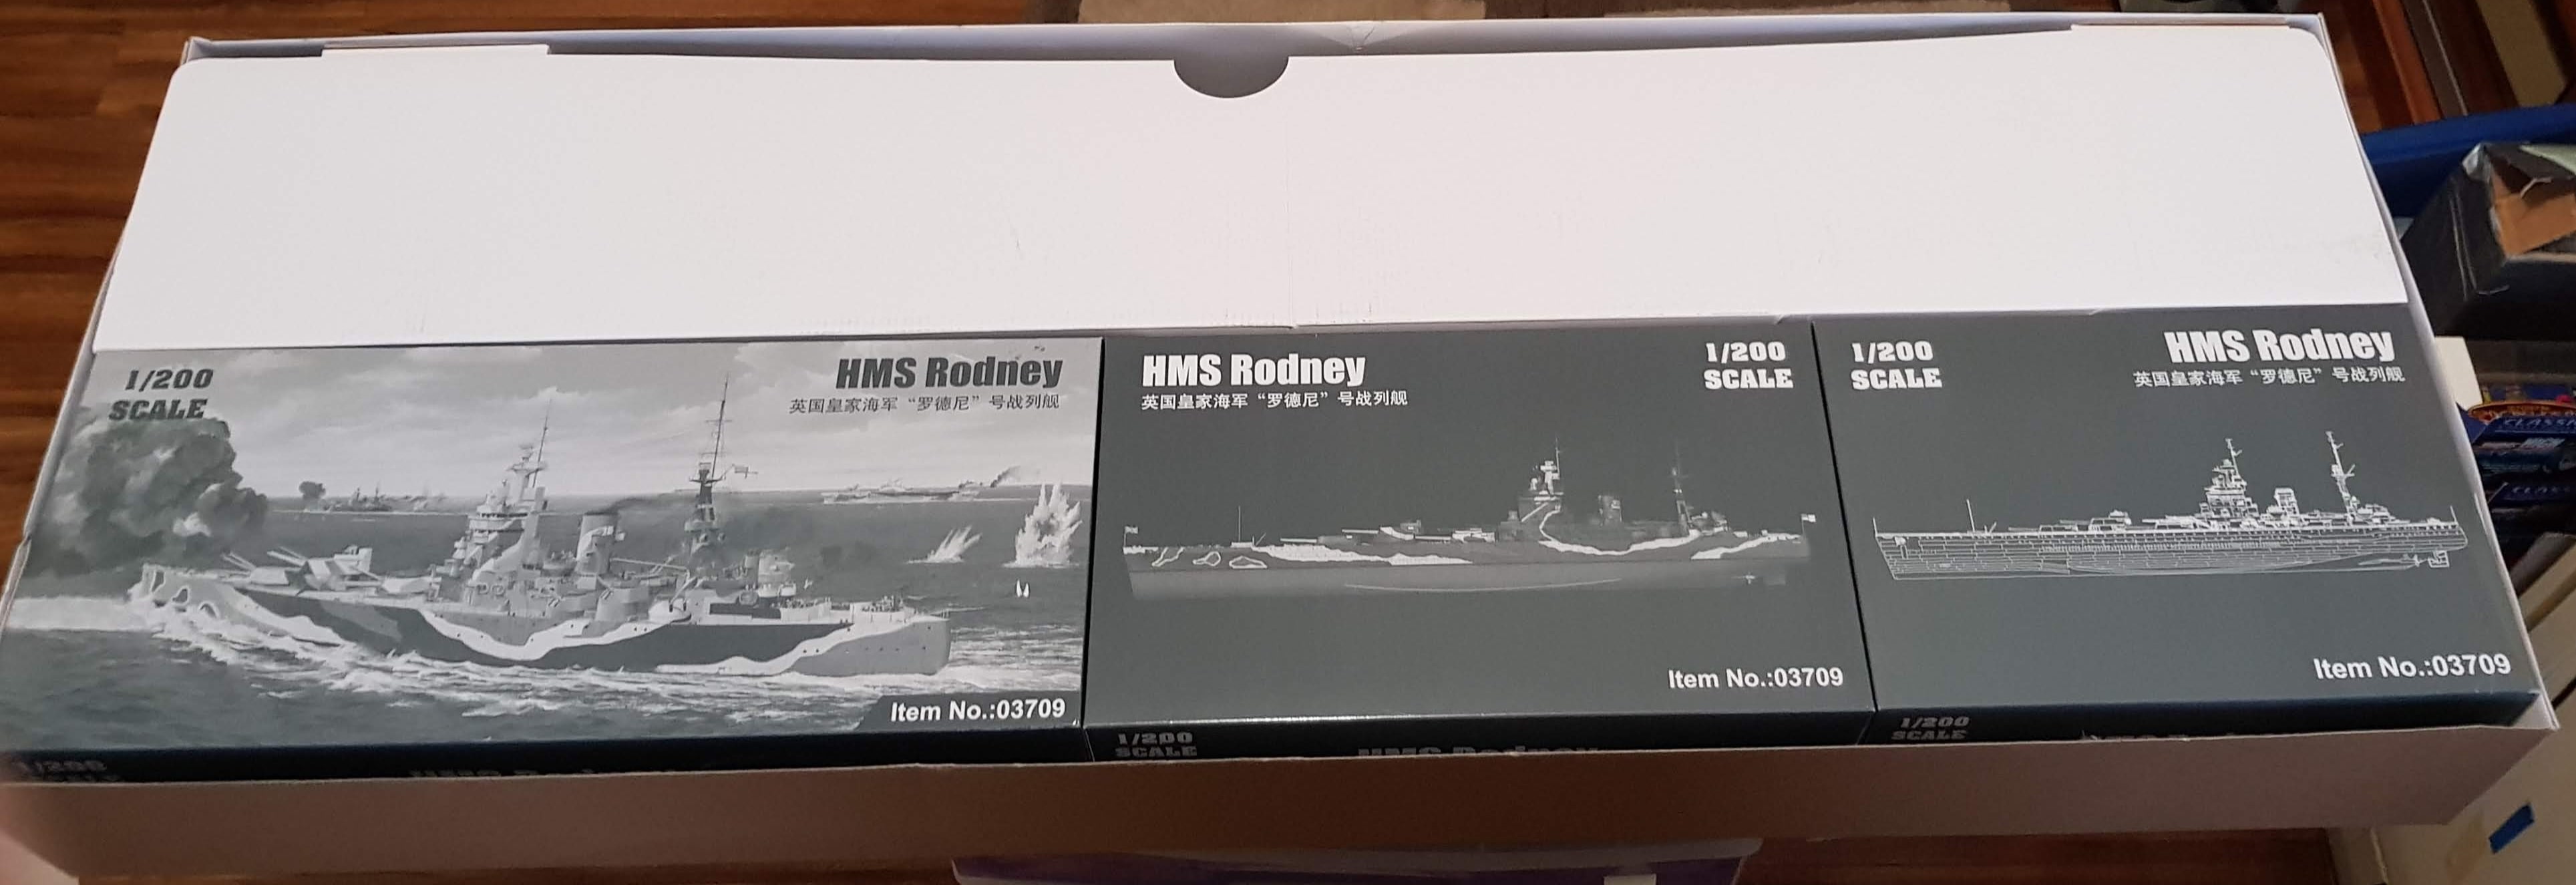
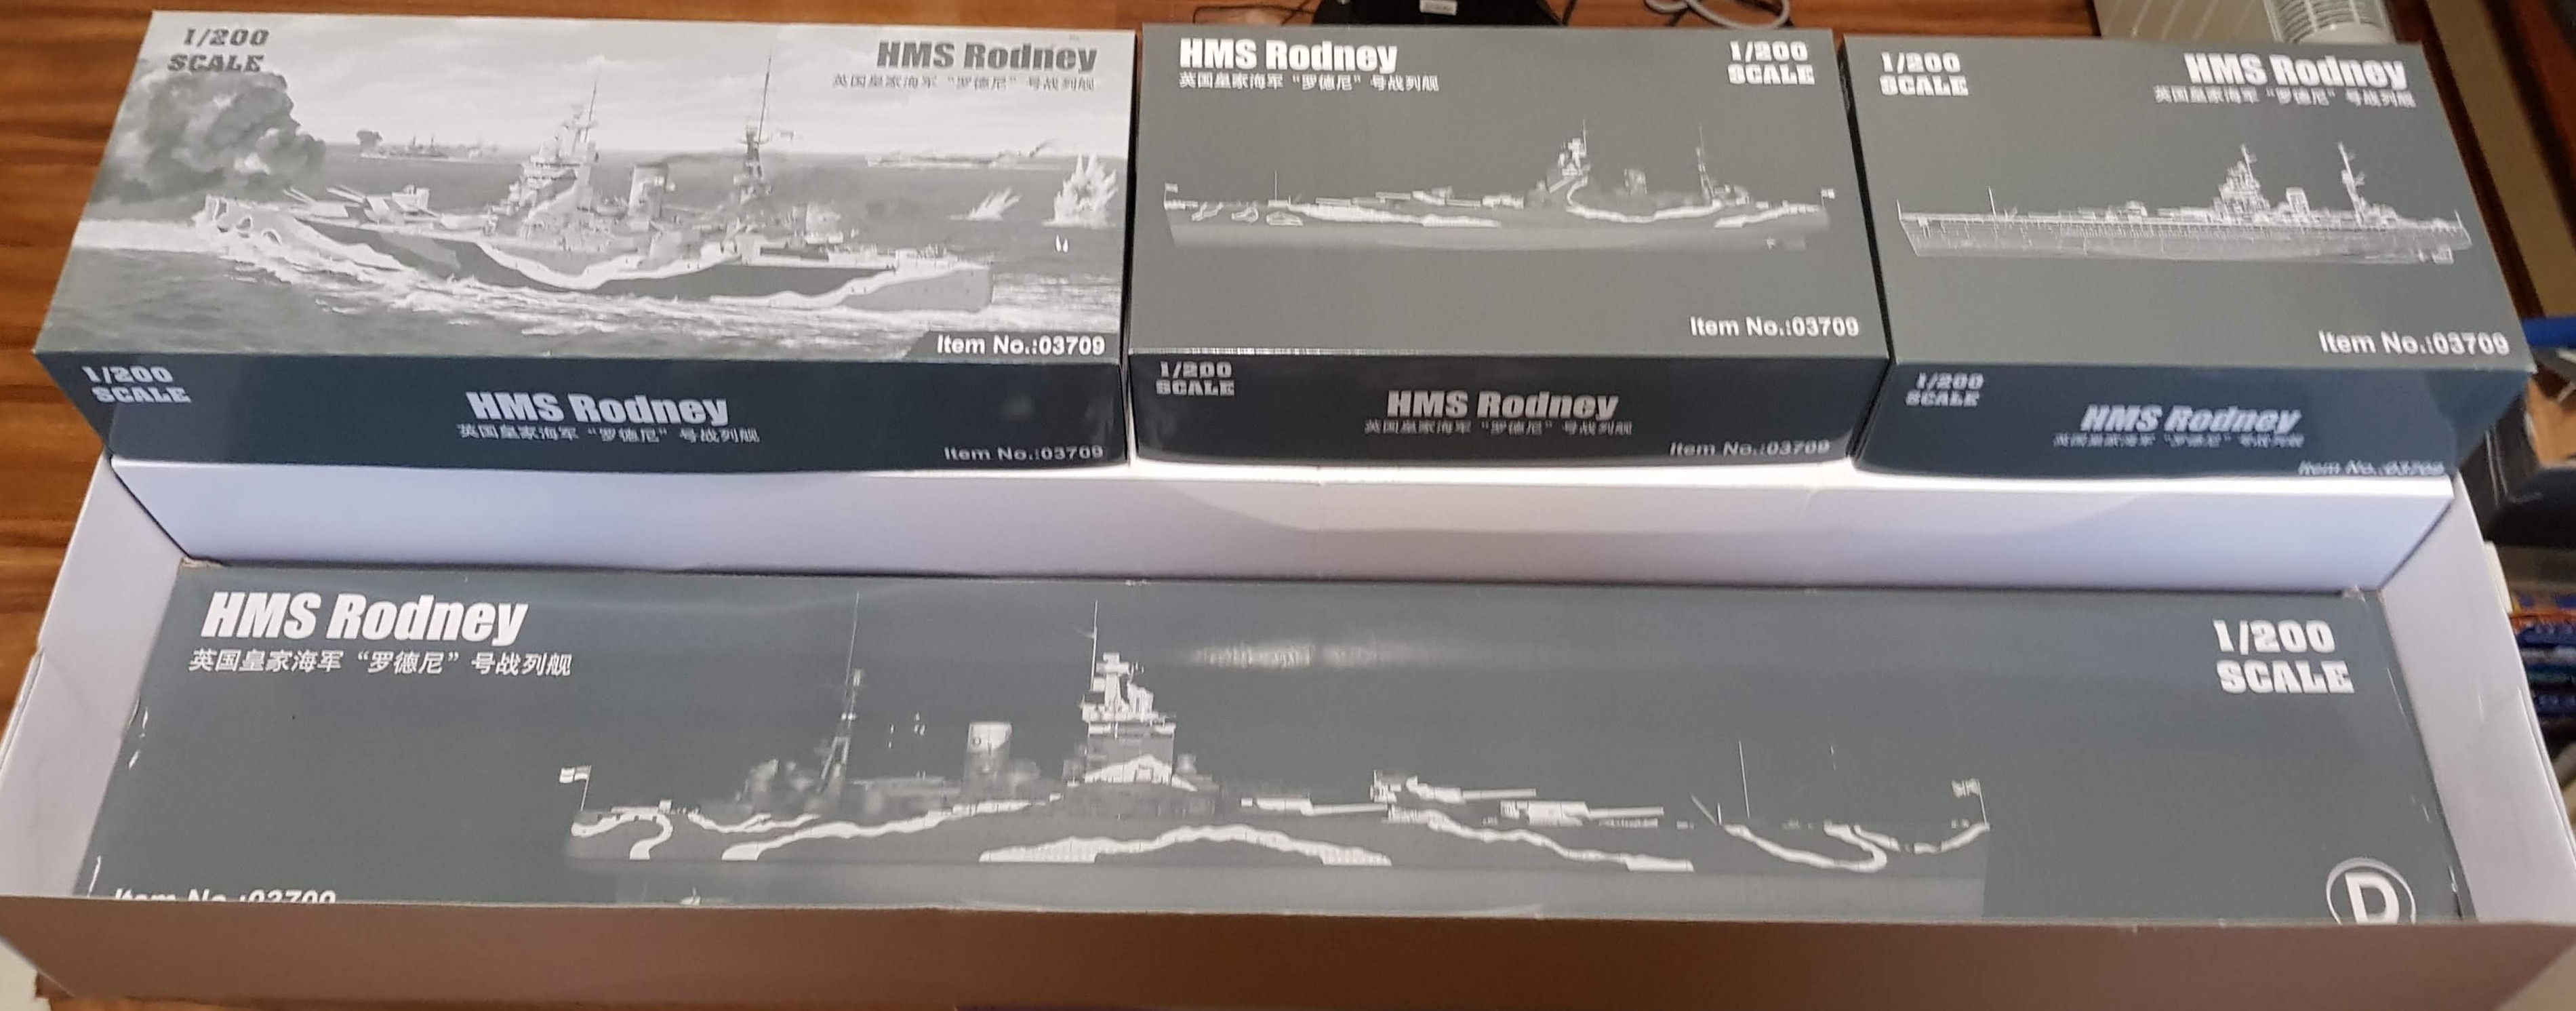
On removing the tight fitting lid you find four seperate boxes. The long white one holds the one piece hull (yay!) and the other three are stuffed with plastic sprues.


When you remove the three smaller boxes you are confronted with a large box which holds the one-piece deck (again yay!)


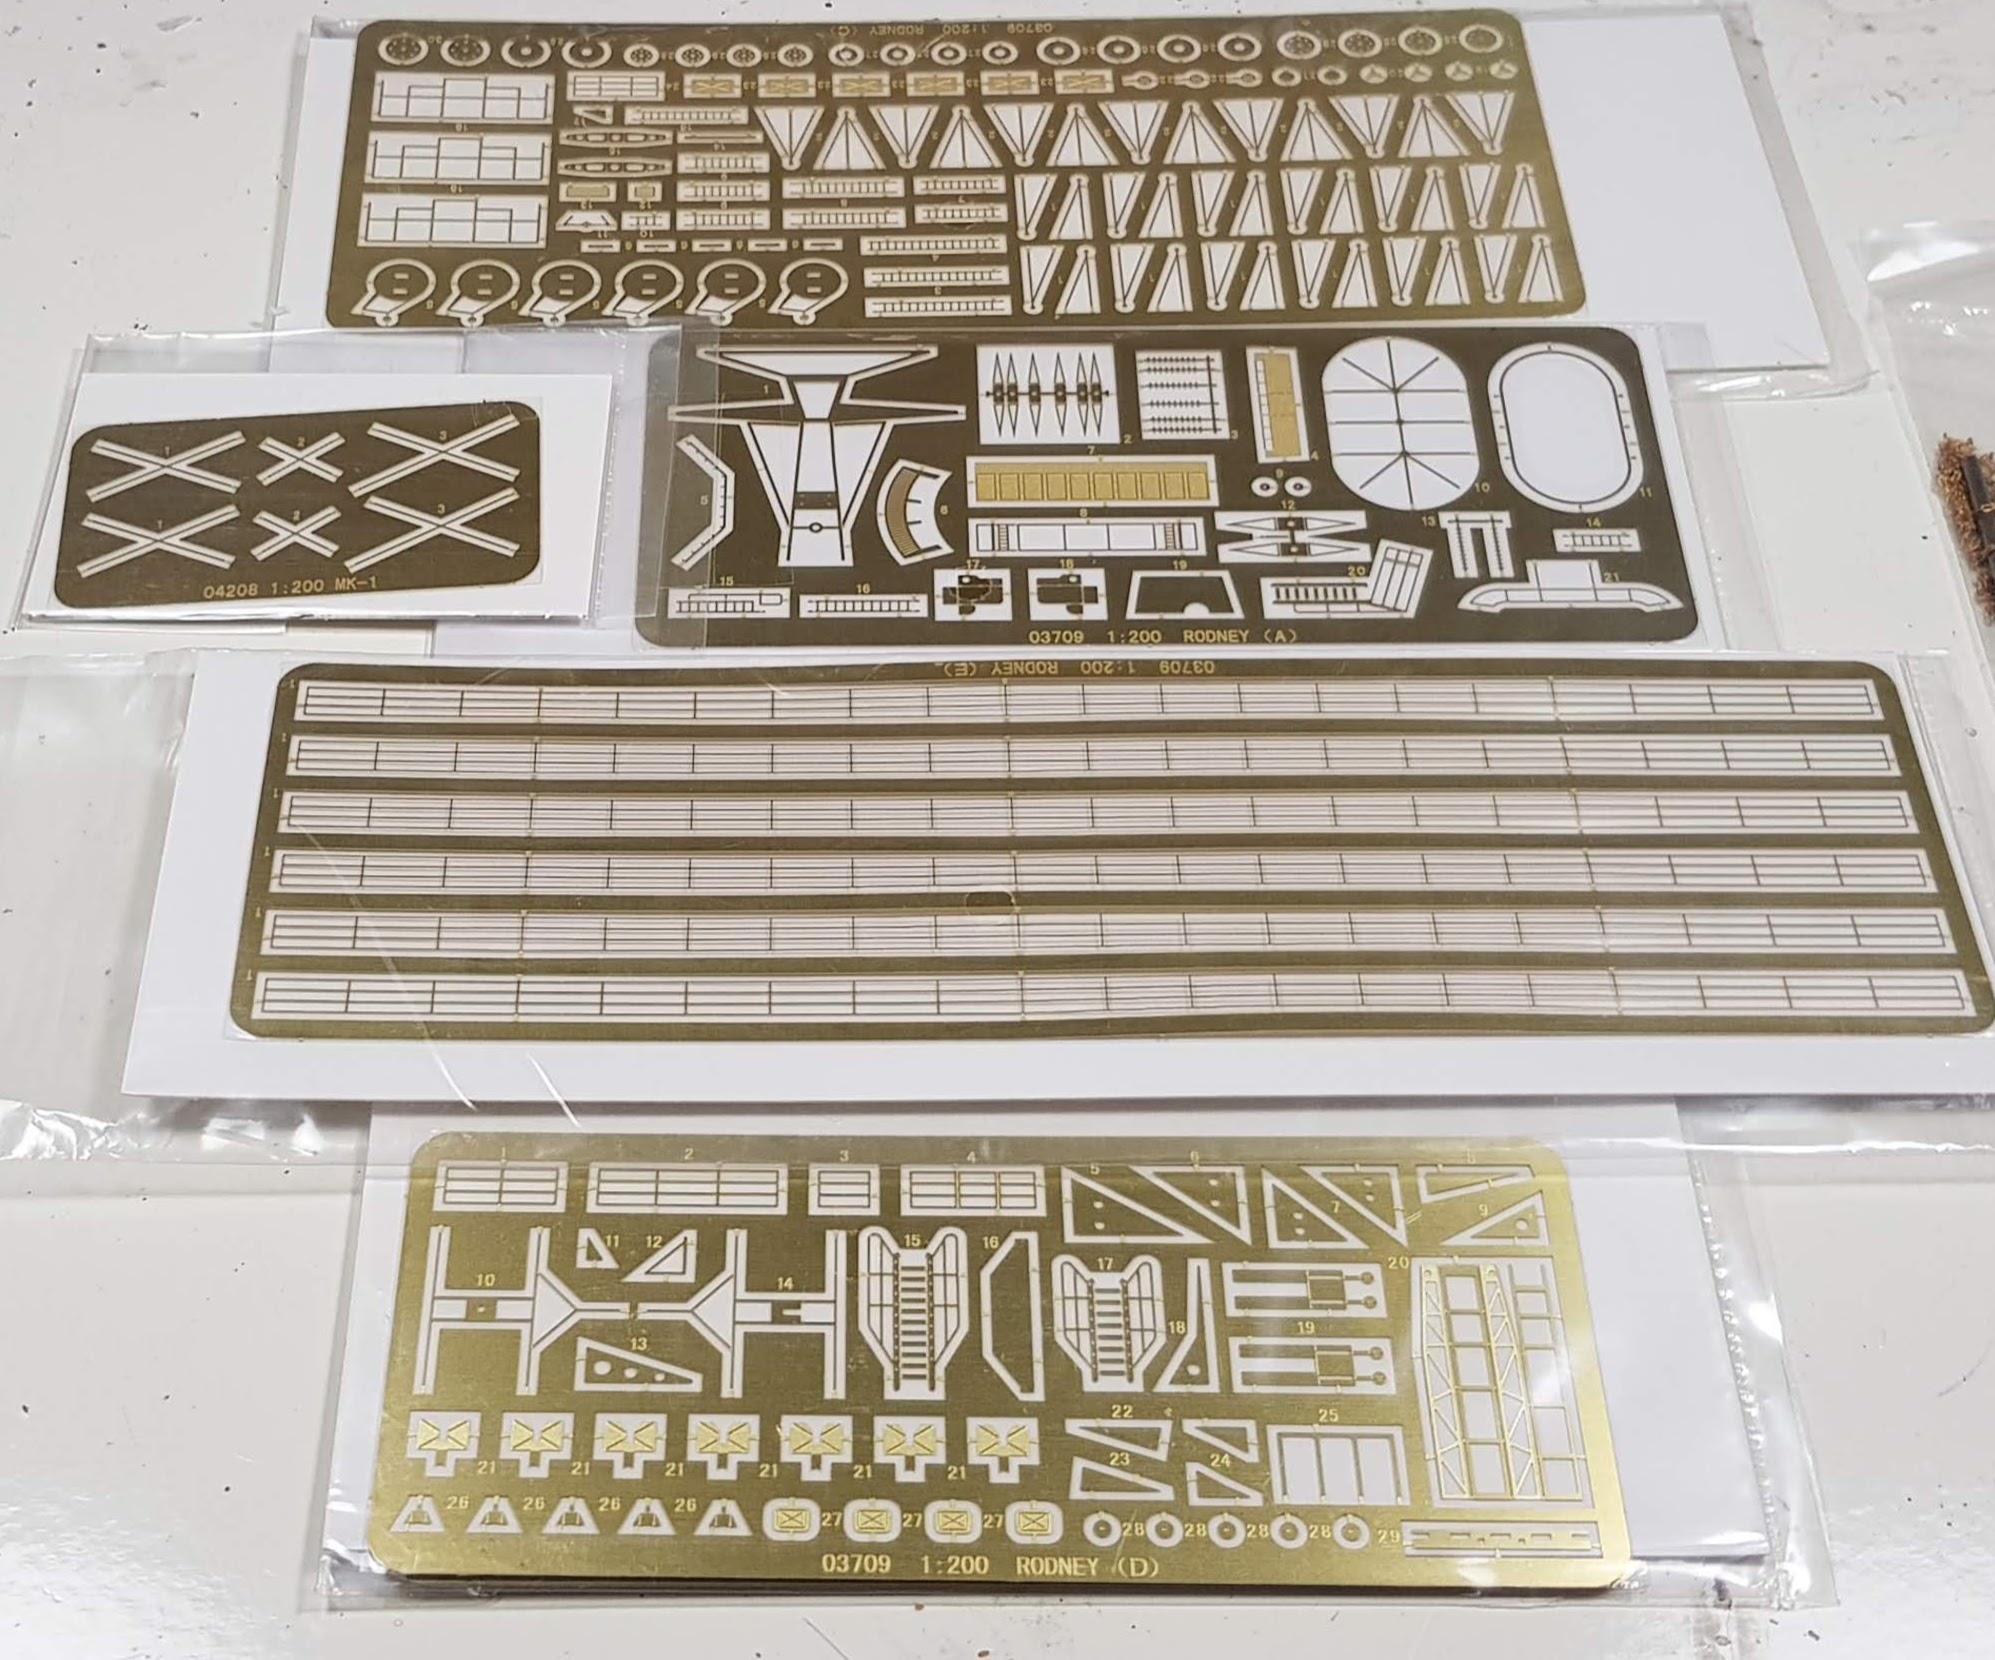
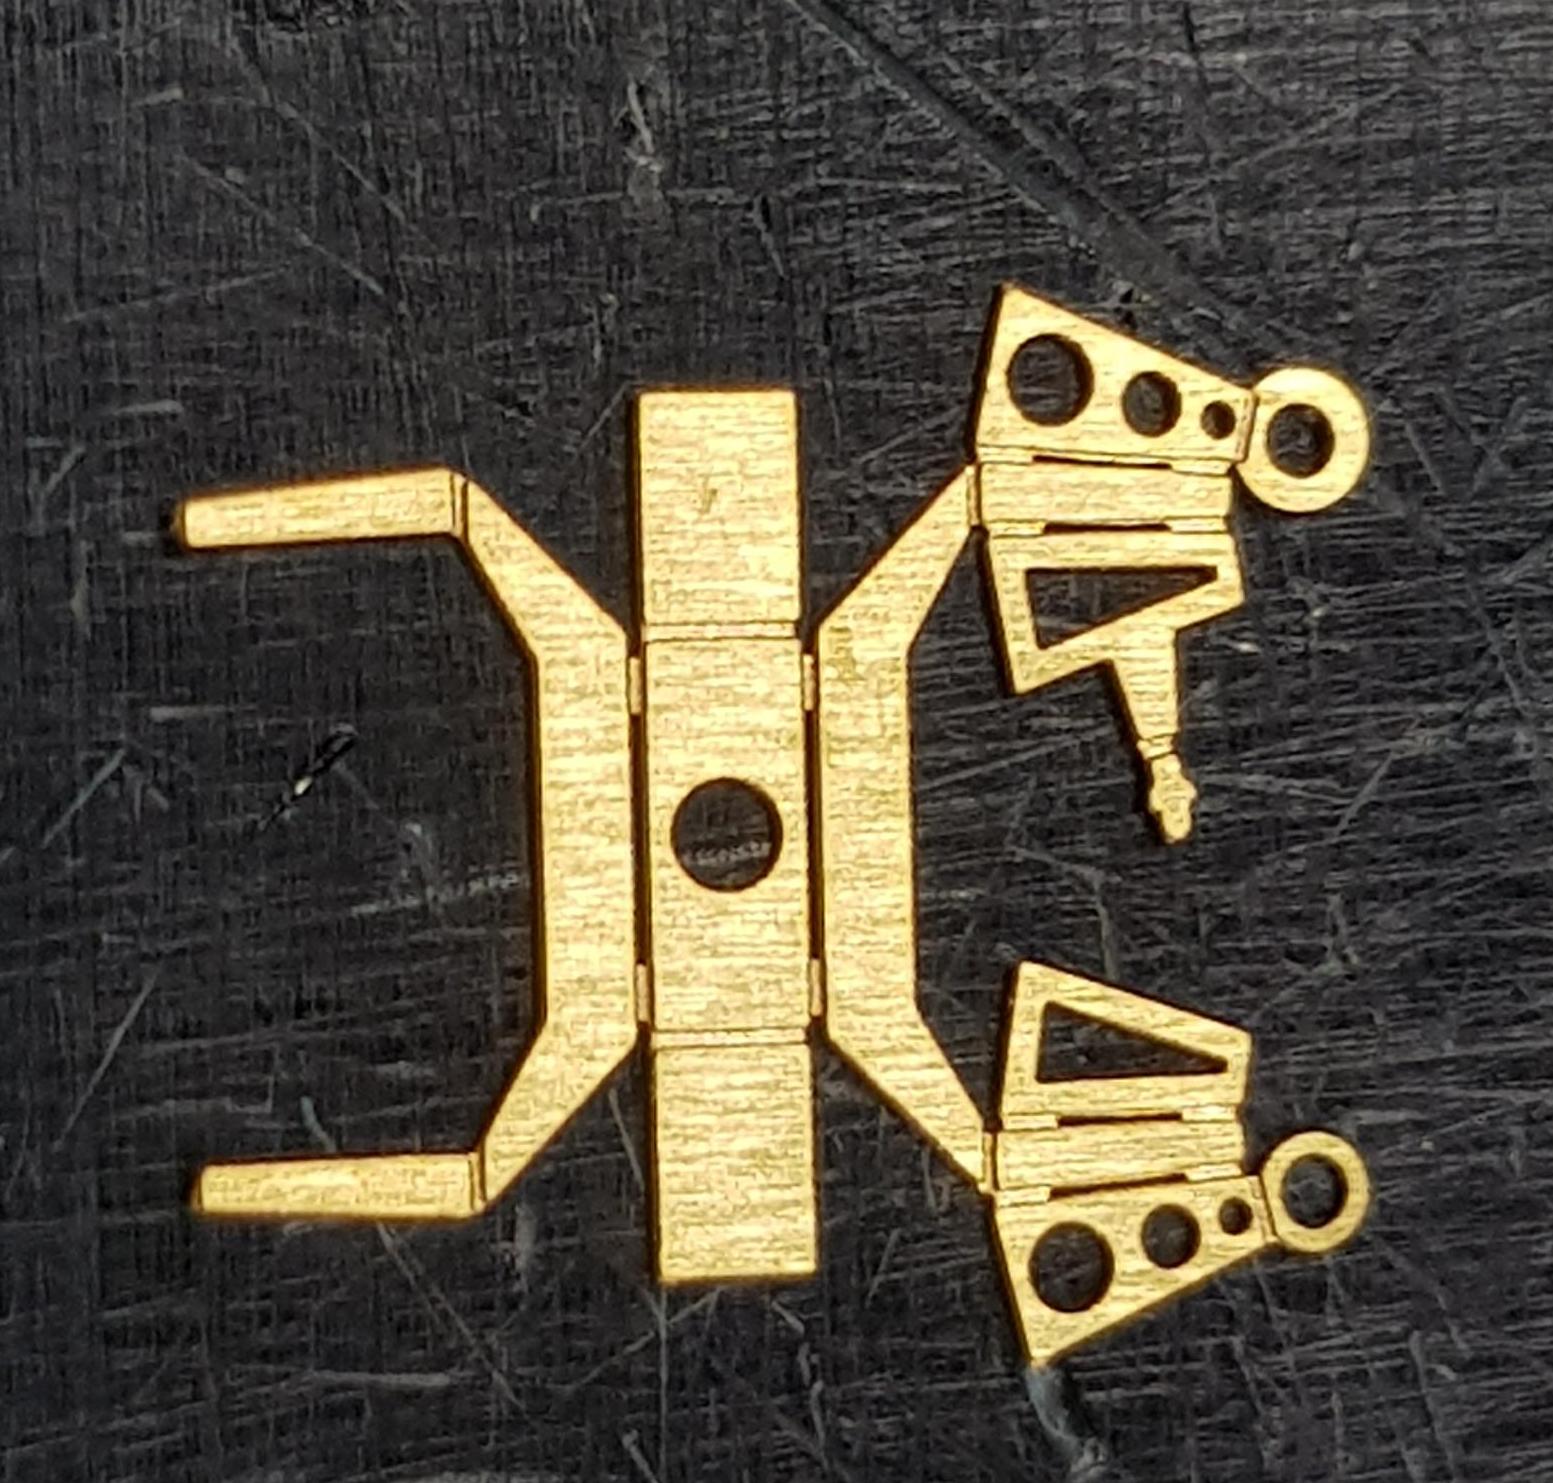
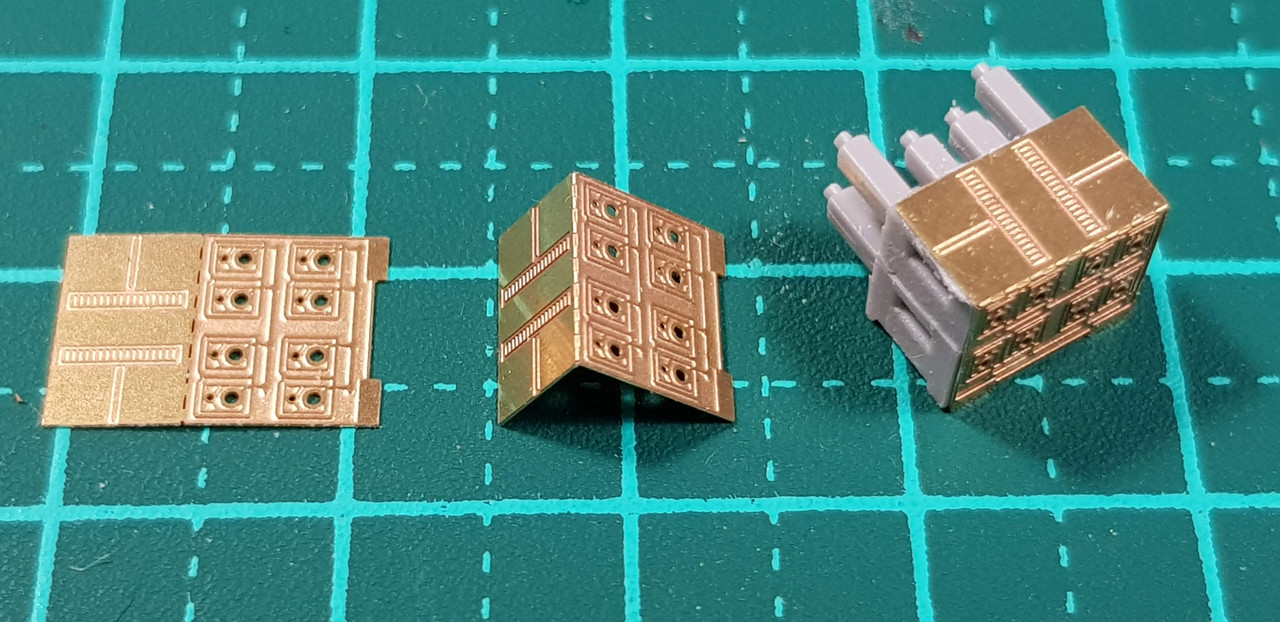
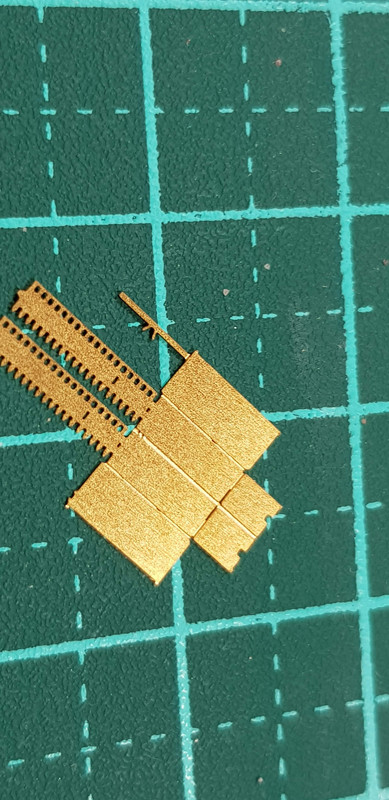
There are a total of 10 Photo etch sheets, 2 per bag..


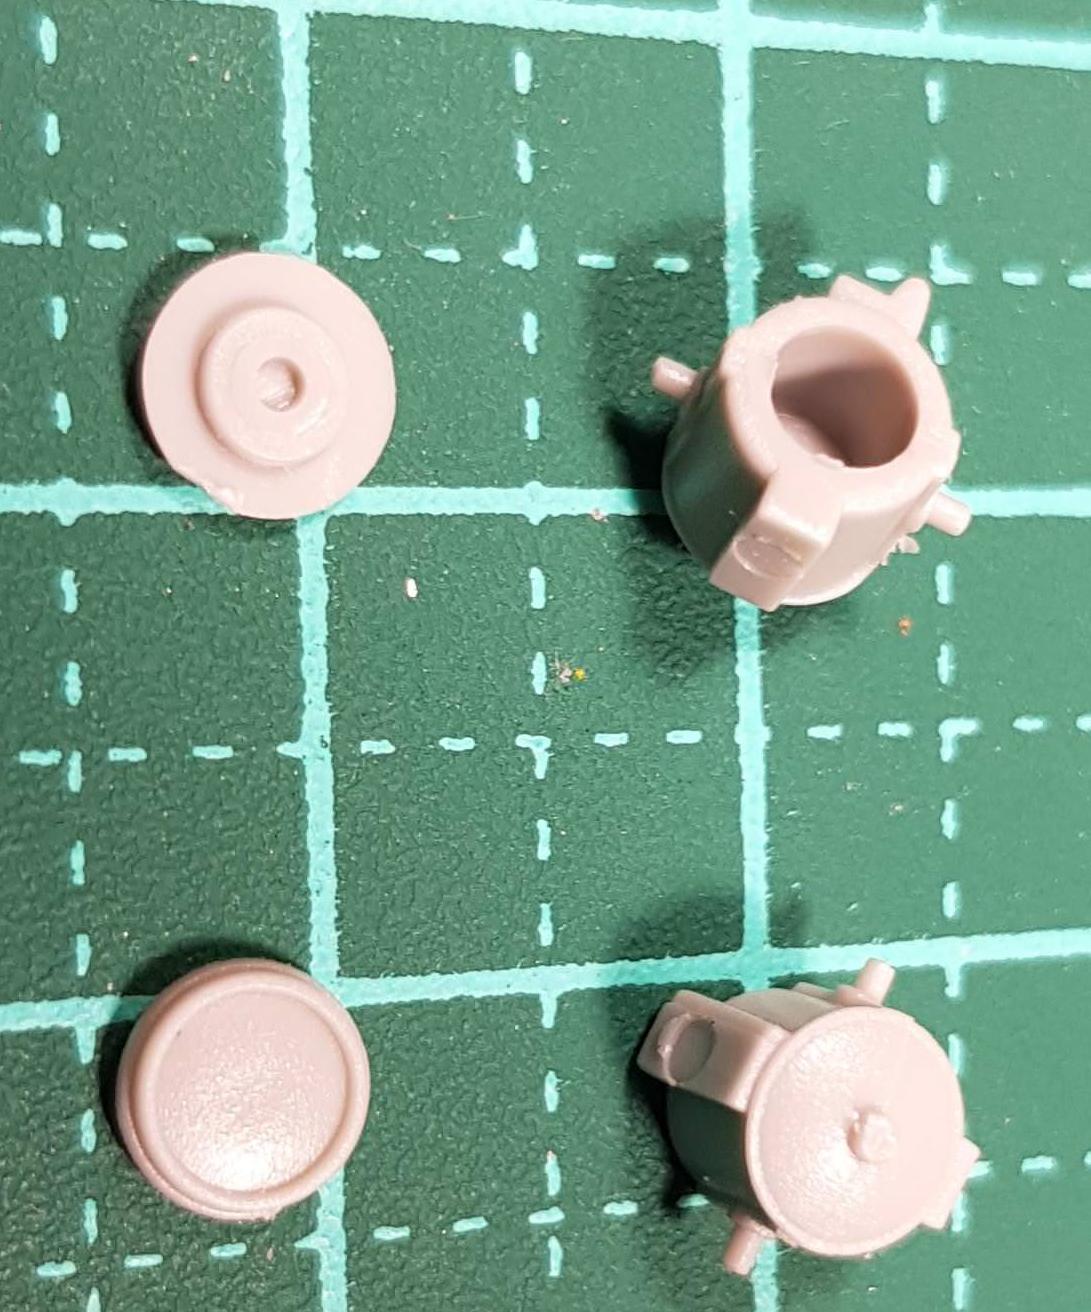
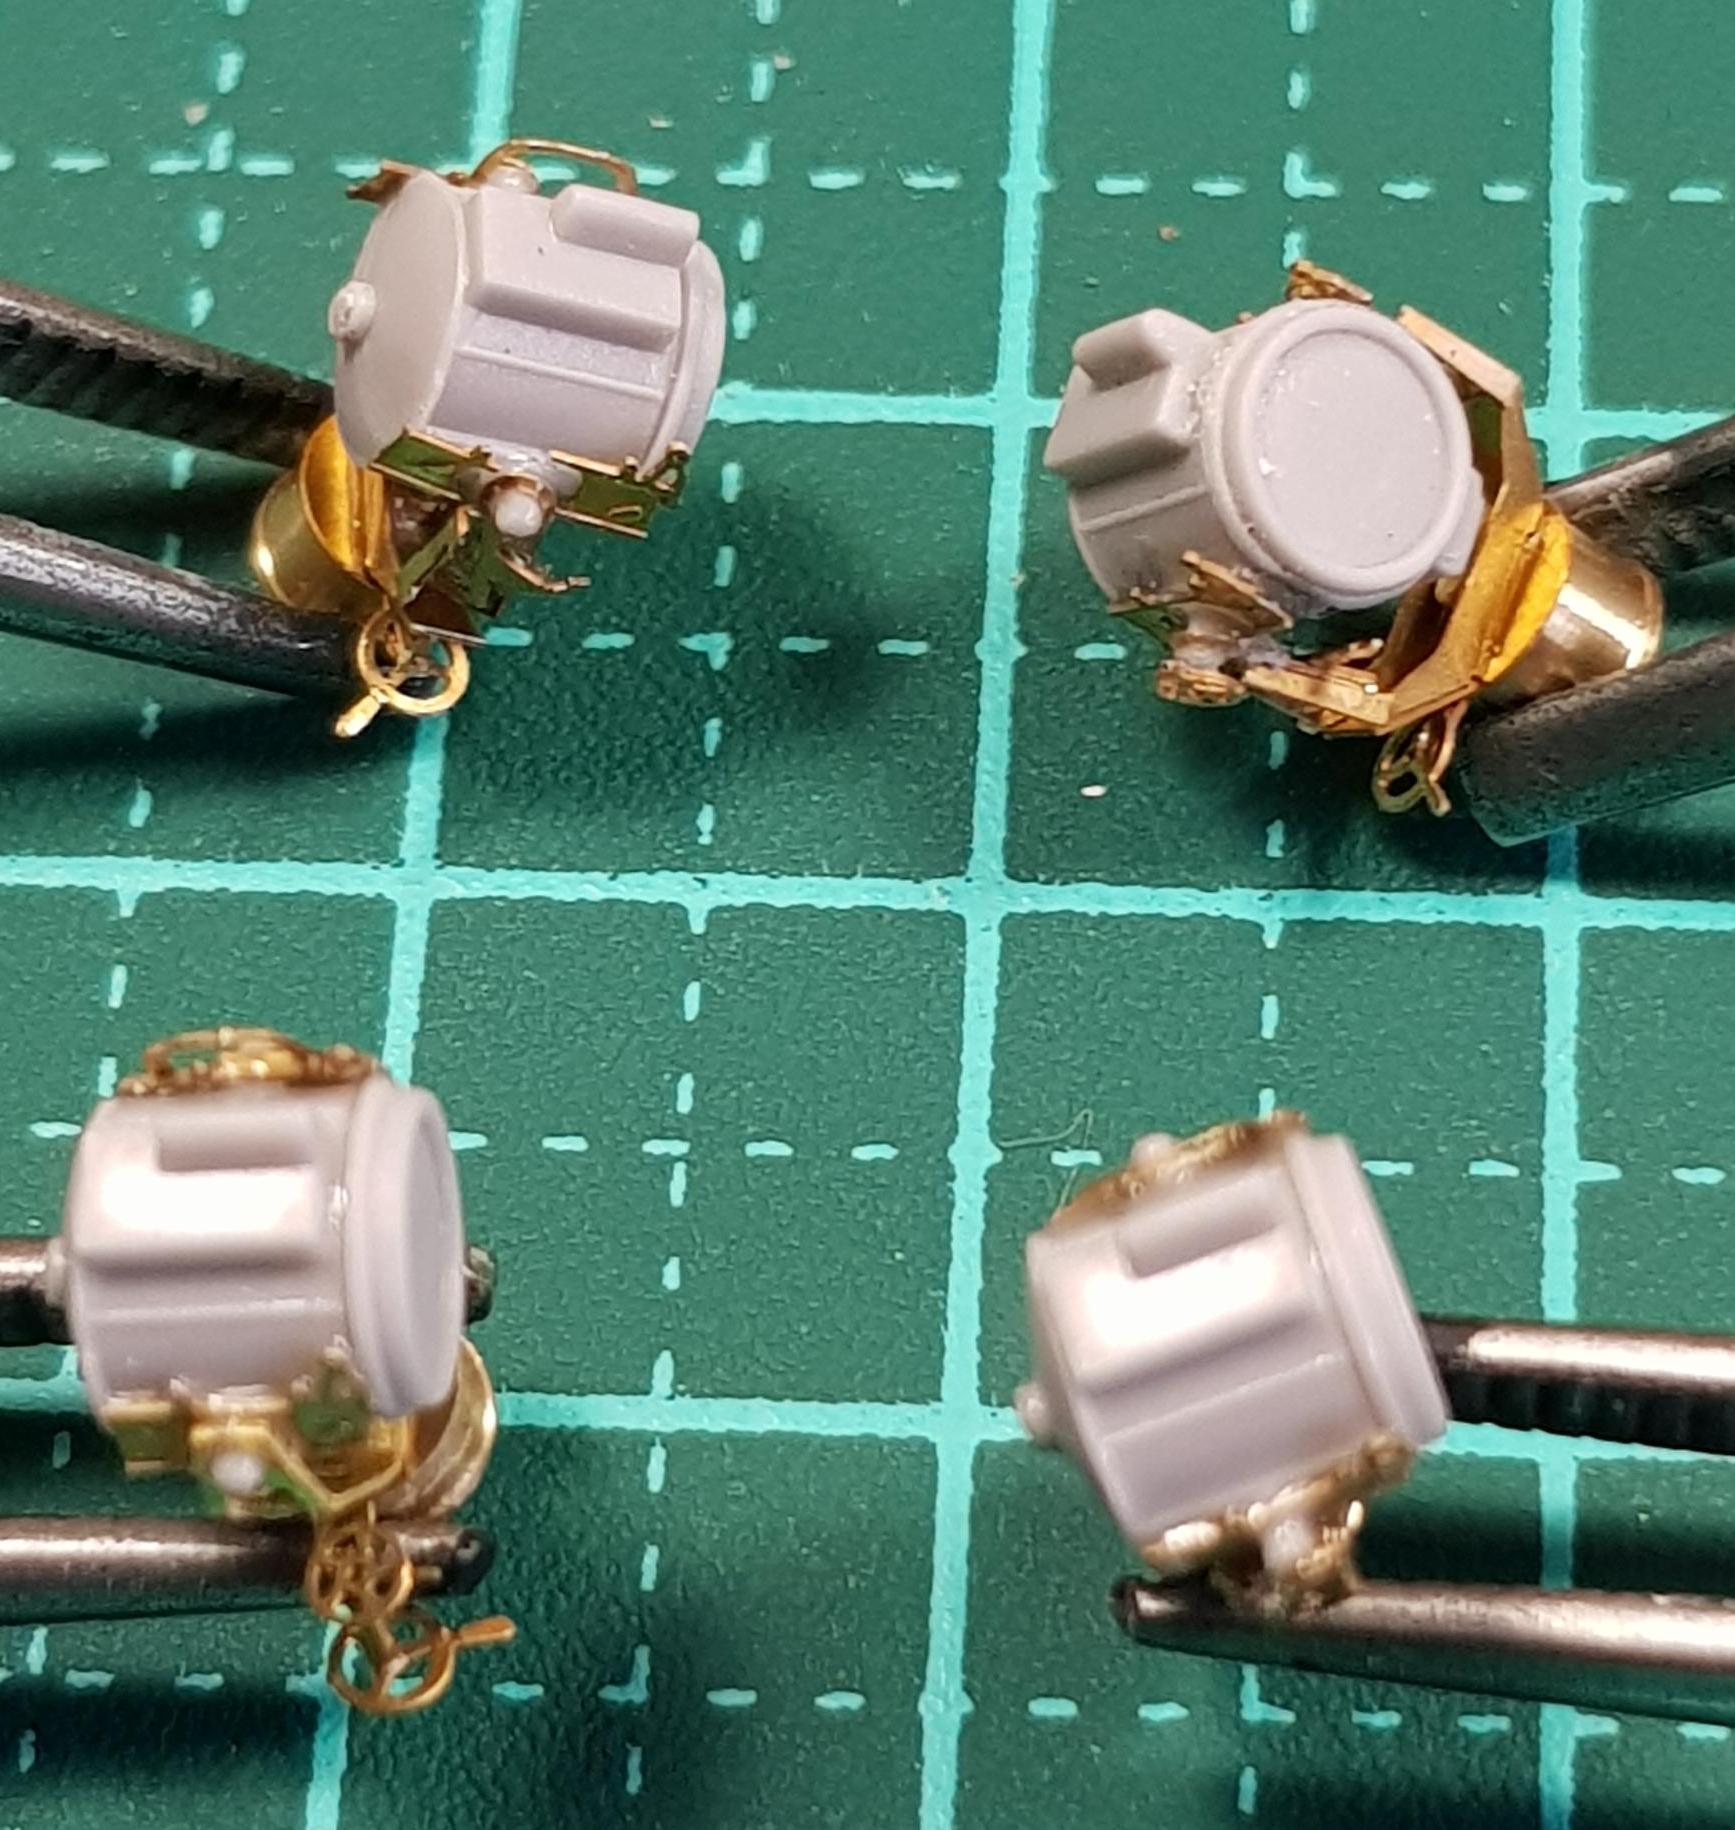
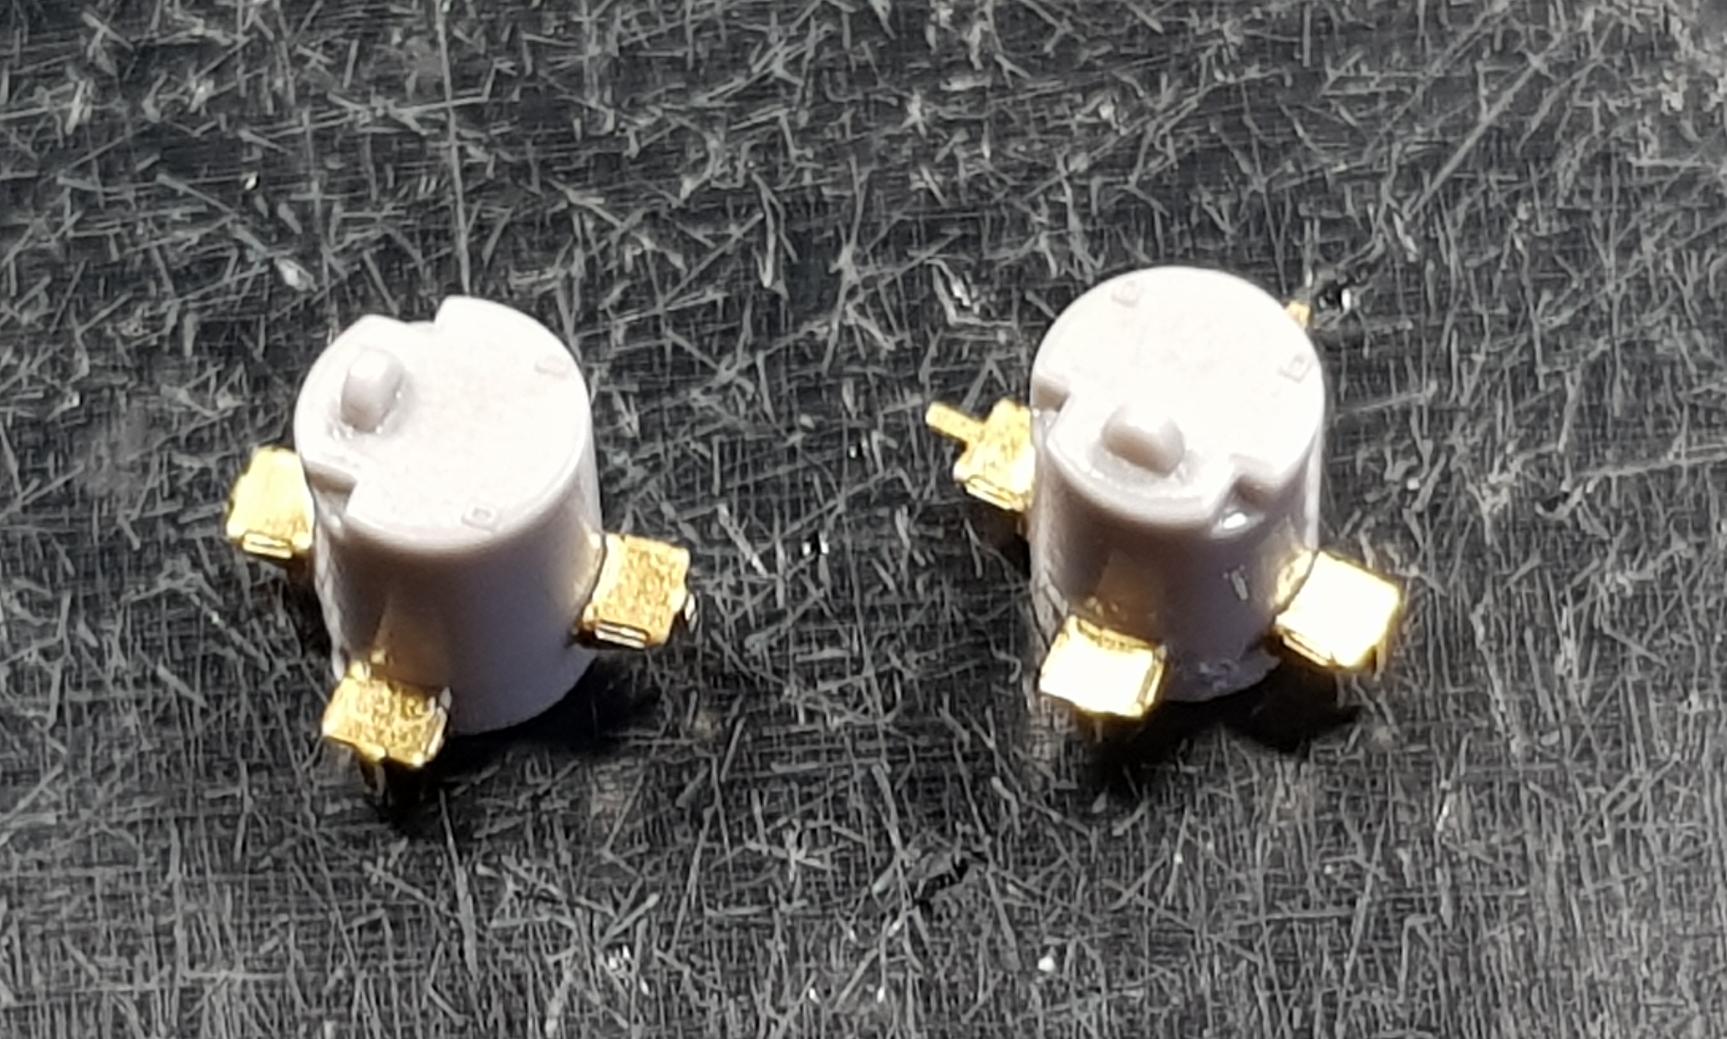
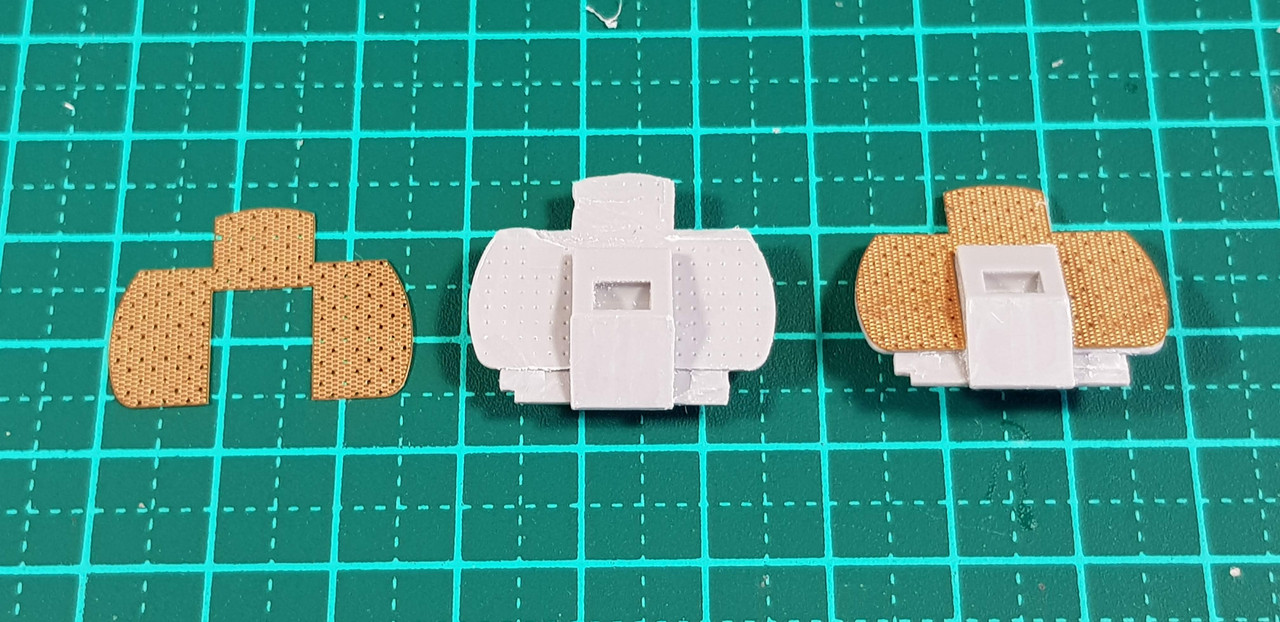
The other item used in this build will be the incredibly awesome Pontos detail set.


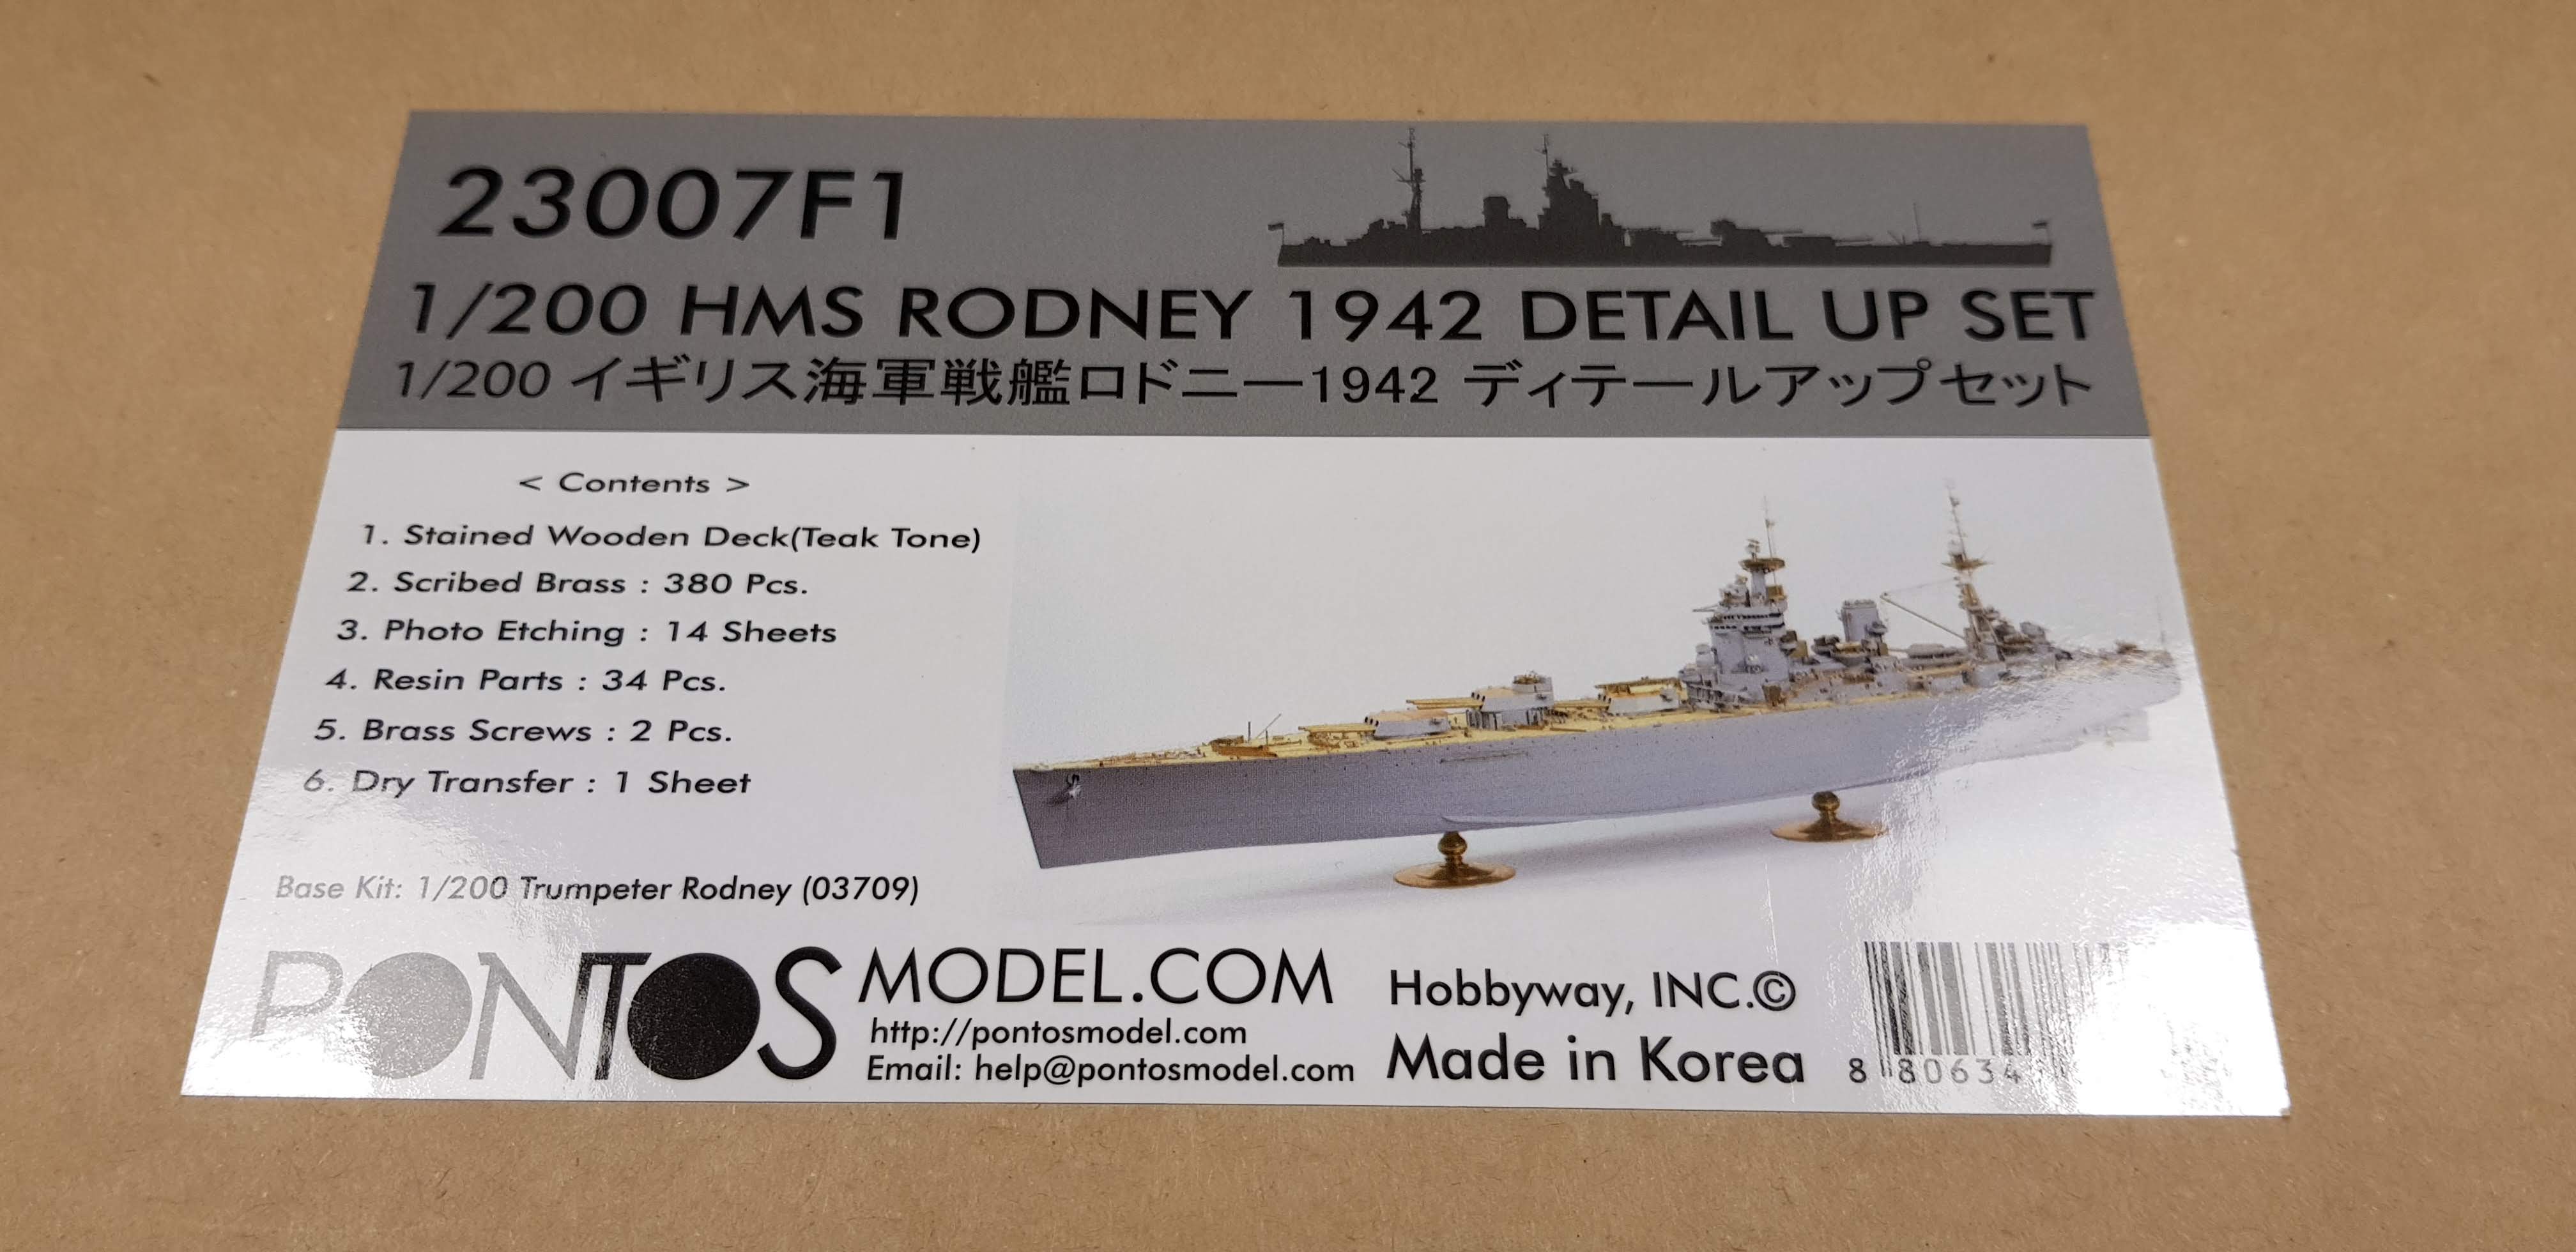
If you want to see what all the PE sheets, resin pieces, turned brass barrels etc and wooden deck pieces go to the Pontos site for a look. Pictures of all will be uploaded a bit later when I finally decide to build this kit.. or maybe I will build both at once! Now there is a sure way to insanity!
That's it for now,
Warren
RedDuster
Visit this Community
England - South East, United Kingdom
Joined: March 01, 2010
KitMaker: 7,078 posts
Model Shipwrights: 6,649 posts
Posted: Wednesday, June 06, 2018 - 07:45 AM UTC
Nice subject Warren,

Will be following along,

Cheers

Si
RussellE
#306
Visit this Community
Victoria, Australia
Joined: June 27, 2010
KitMaker: 3,959 posts
Model Shipwrights: 2,777 posts
Posted: Wednesday, June 06, 2018 - 09:24 AM UTC
Me too. Following along that is
Cadeus
Visit this Community
Indiana, United States
Joined: September 01, 2015
KitMaker: 144 posts
Model Shipwrights: 139 posts
Posted: Wednesday, June 06, 2018 - 10:41 AM UTC
I’m in too
warreni
Visit this Community
South Australia, Australia
Joined: August 14, 2007
KitMaker: 5,926 posts
Model Shipwrights: 2,624 posts
Posted: Wednesday, June 06, 2018 - 03:18 PM UTC
Welcome aboard to my old blog mates Simon and Russell, and welcome to Norman.

Let's hope there is fair sailing ahead.

I am wondering if anyone out there has ever attempted to build two 1/200 ships both with Pontos sets? Has anyone been mad enough to attempt the feat? Is there a place in the Guiness Bool of Records for such a mad task?

Wibble, wibble...
warreni
Visit this Community
South Australia, Australia
Joined: August 14, 2007
KitMaker: 5,926 posts
Model Shipwrights: 2,624 posts
Posted: Wednesday, June 06, 2018 - 08:11 PM UTC
And so it begins, with a 44in Searchlight.. well not in 1/200..

The first sprue to be attacked, Sprue H of which there are 2 in the one bag.


Then the first parts to be removed from a sprue..


These parts then get glued together to form the bodys of the searchlights.


Then it is tome to go over to the Pontos set and add so much PE to each of these lights they will look nothing like the kit parts. BTW, the kit comes with PE for the searchlights as well, but the Pontos PE is far and away the best..


I attache dthe mirror image piece to the other side and that is all the construction for tonight as I didn't sit down at the bench until after 5pm and there is ni way I am going to have late dinner! You can call me anything you want, just don't call me late for dinner!

Oh, one possibly helpful tip if you have a shed load of PE sprues to use, I store mine in a large paperbak, like this..


Stops the frets and parts getting damaged.

Cheerio for now
Warren

RussellE
#306
Visit this Community
Victoria, Australia
Joined: June 27, 2010
KitMaker: 3,959 posts
Model Shipwrights: 2,777 posts
Posted: Wednesday, June 06, 2018 - 11:10 PM UTC

Quoted Text

Welcome aboard to my old blog mates Simon and Russell, and welcome to Norman.

Let's hope there is fair sailing ahead.

I am wondering if anyone out there has ever attempted to build two 1/200 ships both with Pontos sets? Has anyone been mad enough to attempt the feat? Is there a place in the Guiness Bool of Records for such a mad task?

Wibble, wibble...


Mate, I'm not even game to attempt one 1/200 scale kit (with or without Pontos AM), let alone two!
warreni
Visit this Community
South Australia, Australia
Joined: August 14, 2007
KitMaker: 5,926 posts
Model Shipwrights: 2,624 posts
Posted: Saturday, June 09, 2018 - 08:16 AM UTC
Go on Russ! You can do it.

Anyway, back to the blog. If you fold this piece as Pontos want you to fold it..


... the searchlight body doesn't fit in the cradle you have just bent. Joy. Unfortunately my first cradle got me annoyed and paid the price. Pontos have made a cock-up with this part and the mounts for the searchlight have been etched around the wrong way compared to the frame ie you have to remove the PE part with the hole for the searchlight studs and make it so it is on the inner side of the frame, not the outer.

Sorry for the explanation being a bit nebulous, I did take a picture but it seems to have disappeared off my phone. Anywho after a lot of folding and trimming and glueing I came up with 4 44in searchlights.


I then started on the next part of Step 2 of the instructions and made something that looks like a circular building with four seats around it. The first photo shows the supports for the seats which is Trumpeter PE.


And the second the assembly gefor the seats are attached to their supports..


I am sure someone out there will know what this strange structure is for.

Last photo is Sprue F.


Next up is the first part of the armament, the 40mm pom poms.

Cheers
Warren
warreni
Visit this Community
South Australia, Australia
Joined: August 14, 2007
KitMaker: 5,926 posts
Model Shipwrights: 2,624 posts
Posted: Saturday, June 09, 2018 - 08:23 AM UTC
Oops! Forgot to mention I also completed step one of the instruction by drilling out various holes in the deck. I presume it is the same deck as the Nelson as there are lots of flashed -over holes in the deck.
Removed by original poster on 06/09/18 - 20:25:34 (GMT).
d6mst0
#453
Visit this Community
Texas, United States
Joined: August 28, 2016
KitMaker: 1,925 posts
Model Shipwrights: 1,298 posts
Posted: Saturday, June 09, 2018 - 10:26 AM UTC
Warren,

Nice PE work you are doing there. Do you find working 1/200 PE easier than 1/350?

Mark
warreni
Visit this Community
South Australia, Australia
Joined: August 14, 2007
KitMaker: 5,926 posts
Model Shipwrights: 2,624 posts
Posted: Saturday, June 09, 2018 - 11:12 PM UTC
Welcome aboard Mark.

I have been using PE for so long now most of it is fine. Worst I have had was some of the GLS stuff as the attaching points are just too large. Makes clean ups long and tedious.

And when they get the design wrong doesn't help much.
RedDuster
Visit this Community
England - South East, United Kingdom
Joined: March 01, 2010
KitMaker: 7,078 posts
Model Shipwrights: 6,649 posts
Posted: Sunday, June 10, 2018 - 07:38 AM UTC
Nice start Warren,

The searchlights look like complex little kits on their own.

Cheers

Si
warreni
Visit this Community
South Australia, Australia
Joined: August 14, 2007
KitMaker: 5,926 posts
Model Shipwrights: 2,624 posts
Posted: Sunday, June 10, 2018 - 09:11 AM UTC

Quoted Text

Nice start Warren,

The searchlights look like complex little kits on their own.

Cheers

Si


Hi Simon.

Yes they were, and the 40mm pom poms are even more complex. I started building the six of them yesterday and if I was purely using the Trumpeter parts I would probably be finished them by now. But I am using the Pontos set and there are over 50 parts in each one. If you have a look http://pontosmodel.com/manual/23007f1-page16.pdf here you can see the instruction page for the pom poms on the Pontos website. (Please delete is not allowed ed)

I removed the pieces of the base of the guns as instructed, original plastic piece on the right, modified on the left..


The first one I did manually by hand and it took about 30 minutes and I stabbed myself in the thumb. Then somewhere in the vast empty hall of my mind a blinding light globe went on and I remembered my power tool in one of my drawers, no not Stanley... So the next five took about 10 minutes using the wonder off current flow through devices and some nice sharp tools. And no more stab wounds!

After I modified the base I started removing the part that hols the eight guns. When you are building the items you need to replace all the plastic barrels with petit brass barrels. This one already has one removed as if by magic..


I have no idea what happened to it. But no poroblem in the long run.

Then there is the mystery of Part 34 on the sprue all this gun stuff is located on. There is a tab for part 34 but there is no part 34 there..


It is on the sprue bu not really anywhere near the tab for the part, Inscrutable oriental gentlemen at work again or a stuff up during sprue development? (Cue boring X-Files theme music or Twilight Zone for the older members)

Anyway, that's the report for yesterday. Is a public holiday here today and I will get back to the bench very soon, when my headache goes away after the two bottles of wine last night at the restaurant... Very rare for me but everything was so good I just drank wine instead of Coke Zero for a change.

Cheers
Warren


warreni
Visit this Community
South Australia, Australia
Joined: August 14, 2007
KitMaker: 5,926 posts
Model Shipwrights: 2,624 posts
Posted: Sunday, June 10, 2018 - 07:46 PM UTC
Well, I didn't spend the whole day at the bench. I watched a couple of 'Fantom Works' shows then spent an hour or so on the 1:1 MG. But I did get a bit done. First up. First up I remove all the excess plastic on the pom poms not needed anymore and the gun breech assy ended up looking like this..


Next I folded and applied the front and bottom of the breech assy..


Then I cut off the floor of the pom pom assy and applied it to the plastic floor..


Before I go much further I thought I would take a piccy of most of the tools I use for the PE so newbies wanting to try PE will have some idea of what you may need..


Some tools are a luxury like the two folding tools I have, and the perspex cutting boards, but you will probably need the other tools. If any one wants I can describe them later.

Then I started on the magazines for the pom poms. Each gun has 4 magazines for the 8 guns. Problem is the way the Pontos stuff has been designed there is nothing to really support the ammo belt runs going over the top and bottom of the magazines which makes it very difficult to fasten brass to brass on very narrow surfaces. You will normally have them sorng open later at the most inconvenient time. Keeping this in mind I came up with a cunning plan to glue some round stock of the right size onto the base of the magazines and then attach all the ammo and sides to that. It starts with the shell of the magazines..


Then I glued the round stock in place..


.. then I just folded up the ammo belts..


.. and attached them to the round stock.


Then folded up the rest of the magazine..


Et voila! One of 24 ammo magazines. I actually used a tools for cutting the round stock that made it much faster..


It is called 'The Chopper' and makes it easy to cut multiple pieces of plastic to the same size everytime. Very handy at times. I am half way through the magazines and will see if I can get any done tomorrow afternoon.

Til then Au revoir!

RussellE
#306
Visit this Community
Victoria, Australia
Joined: June 27, 2010
KitMaker: 3,959 posts
Model Shipwrights: 2,777 posts
Posted: Sunday, June 10, 2018 - 10:14 PM UTC
Pom poms look good Warren!

So much more detail in 1/200 so I'll be watching
RedDuster
Visit this Community
England - South East, United Kingdom
Joined: March 01, 2010
KitMaker: 7,078 posts
Model Shipwrights: 6,649 posts
Posted: Monday, June 11, 2018 - 06:22 AM UTC
Hi Warren,

What Russ said, and so far they look like they are going to be well worth the effort.

Keep up the good work mate.

Cheers

Si
Fordboy
Visit this Community
Auckland, New Zealand
Joined: July 13, 2004
KitMaker: 2,169 posts
Model Shipwrights: 1,597 posts
Posted: Monday, June 11, 2018 - 07:08 AM UTC
Ahoy Warren

Great to see you back and with a great build.

Apologies for not commenting sooner.

Love some insight into how you tackle PE.

Cheers


Sean
warreni
Visit this Community
South Australia, Australia
Joined: August 14, 2007
KitMaker: 5,926 posts
Model Shipwrights: 2,624 posts
Posted: Monday, June 11, 2018 - 07:37 AM UTC

Quoted Text

Pom poms look good Warren!

So much more detail in 1/200 so I'll be watching


You are 100% correct there Russell. But that means the builds take much longer that means in the end the larger scale ships are better value as they occupy your bench for much longer.. I think...
warreni
Visit this Community
South Australia, Australia
Joined: August 14, 2007
KitMaker: 5,926 posts
Model Shipwrights: 2,624 posts
Posted: Monday, June 11, 2018 - 07:38 AM UTC

Quoted Text

Hi Warren,

What Russ said, and so far they look like they are going to be well worth the effort.

Keep up the good work mate.

Cheers

Si


Thanks Simon.
warreni
Visit this Community
South Australia, Australia
Joined: August 14, 2007
KitMaker: 5,926 posts
Model Shipwrights: 2,624 posts
Posted: Monday, June 11, 2018 - 07:41 AM UTC

Quoted Text

Ahoy Warren

Great to see you back and with a great build.

Apologies for not commenting sooner.

Love some insight into how you tackle PE.

Cheers


Sean


Welcome Sean.

I will go through all the tools I use as I progress through the build. Give me a nudge if you have any questions during the build.
Remember there are no dumb questions, just dumb people who wan't ask them.

Cheers
Warren
warreni
Visit this Community
South Australia, Australia
Joined: August 14, 2007
KitMaker: 5,926 posts
Model Shipwrights: 2,624 posts
Posted: Monday, June 11, 2018 - 07:50 PM UTC
Hello again.
As requested by Mr Ford I will give a brief description of how I use each of the tools in the picture above.
1. No.2 size knife – This is for cutting items off the frets and trimming small bits of brass left over from when they are removed.
2. The small and large PE bending jigs are very handy. The small one is called the bug and came from the small shop as did the larger one. These are not 100% necessary but just having The Bug can make bending parts much easier.
3. Razor blade – Came with the Bug and is used with the Bug for bending parts. Slide it under the part to be bent after clamping it in the bug and bending without distorting is pretty easy.
4. Needle file – used for cleaning up the parts after they are removed from the fret. Makes it simple to remove excess brass on attachment points etc.
5. Black Perspex – Gets used whenever I cut off pieces from frets. Makes sure you don’t damage your knife blade or surface you are cutting on. Available in larger sheets as well for bigger parts.
6. Blue Handled Pliers – These pliers have narrow jaws and I use them to bend stuff when there isn’t much room when putting second and third bends into parts. Also used when bending without the two jigs.
7. Tweezers – used with every build for either bending pieces or placing pieces.
If you are bending or cutting large PE parts or parts with large attachment points (eg GLS HMCS Snowberry PE sets you will want to use either metal cut off wheels or larger PE scissors to remove the parts. Sorry I forgot a photo of the scissors but will try and remember to take a picture of them tonight.
And here is the picture as promised..


And I got all 4 magazines finished this afternoon..


And as usual I didn't work out the best way to do it until about half way through making them.

That’s it for now.

Cheers
Warren
Fordboy
Visit this Community
Auckland, New Zealand
Joined: July 13, 2004
KitMaker: 2,169 posts
Model Shipwrights: 1,597 posts
Posted: Tuesday, June 12, 2018 - 06:53 AM UTC
Thanks Warren.

Cheers


Sean
beefy66
Visit this Community
England - North East, United Kingdom
Joined: October 22, 2007
KitMaker: 971 posts
Model Shipwrights: 645 posts
Posted: Tuesday, June 12, 2018 - 09:47 AM UTC
Great to see you back building again Warren
I will be lurking in the back ground keeping an eye on this

Keith
warreni
Visit this Community
South Australia, Australia
Joined: August 14, 2007
KitMaker: 5,926 posts
Model Shipwrights: 2,624 posts
Posted: Friday, June 15, 2018 - 08:08 AM UTC
Hi Keith. Nice to hear from you again.

I am in the slow and fiddly PE zone at the moment, hence the reduction in posts. I am still working on the six mini kits of these guns. I bent up the magazine baskets.


These are like cages that the ammunition magazines fit into. Then I wnt back to the body of the guns and knew I had to drill out holes for the brass barrels but the 0.5mm drill required was too fine for any of the collets I had for my Dremel-type machines. SO it was back to the pin-vices. Now in the olden days I would have just held the body and drilled away, but these barrels are so closely packed that having them anything but perfectly positioned would look rubbish. So I decided to use my mini vice to hold them in place.


As an aside, I remember when I joined the RAAF in 1981 one of the first things we did as budding techos was a hand skills course in which one of the things we did was to male our very own mini vices from scratch. I still have mine somewhere.
Next I attached the sides of the body assemblies..


Here is an overview of the bench at the moment with some of the various PE parts in their little tin containers.


I have started on another part of the base which involves some tricky folding that I will post photos of later.

Cheers
Warren